Currently in the writing area, our children have been exploring different ways to develop their fine motor skills.
Children need good fine motor control to hold and use a pencil or crayon correctly. Skills such as drawing pictures and eventually writing letters all rely on fine motor strength and coordination. Take a look at some of the fine motor activities we’ve been enjoying this week.
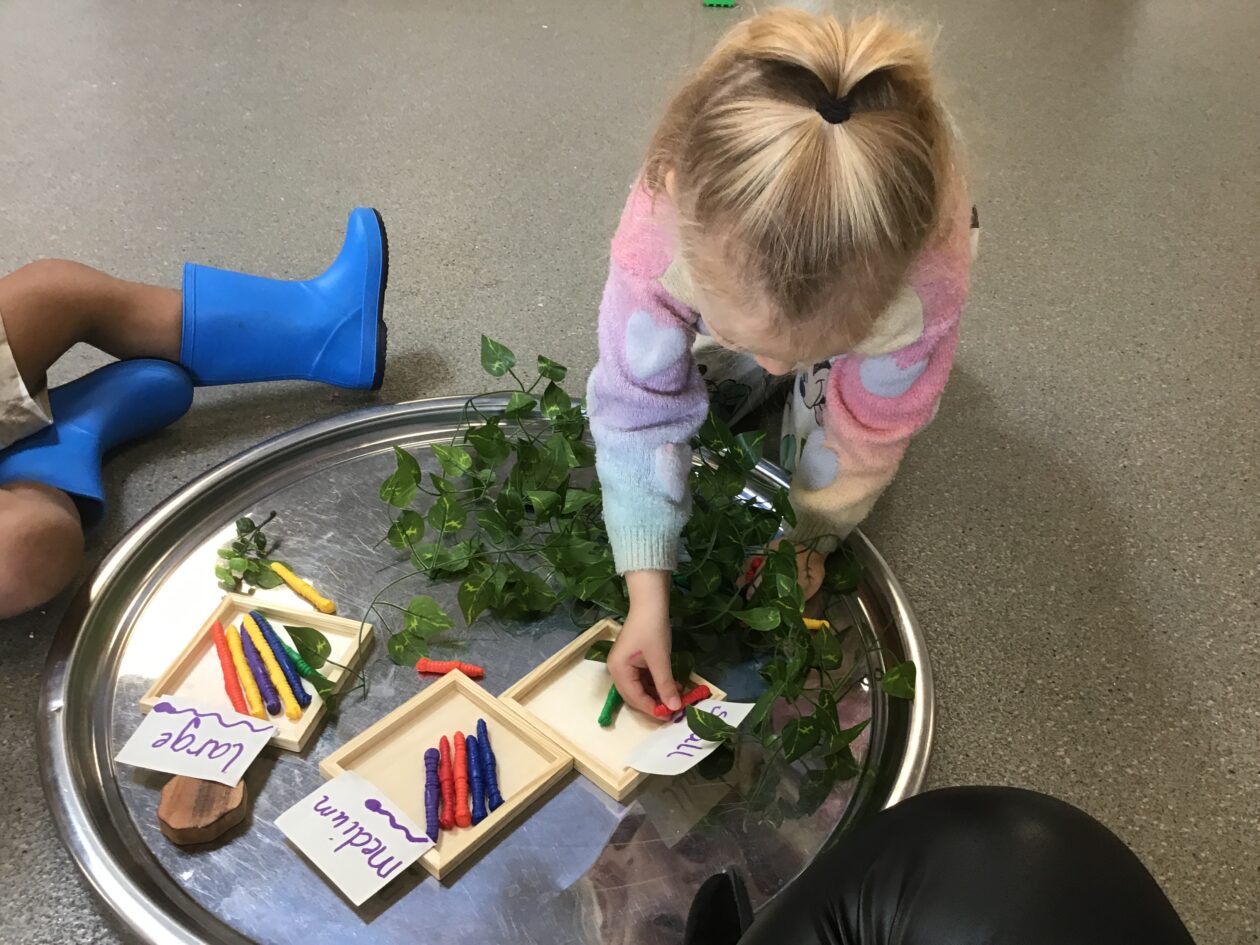
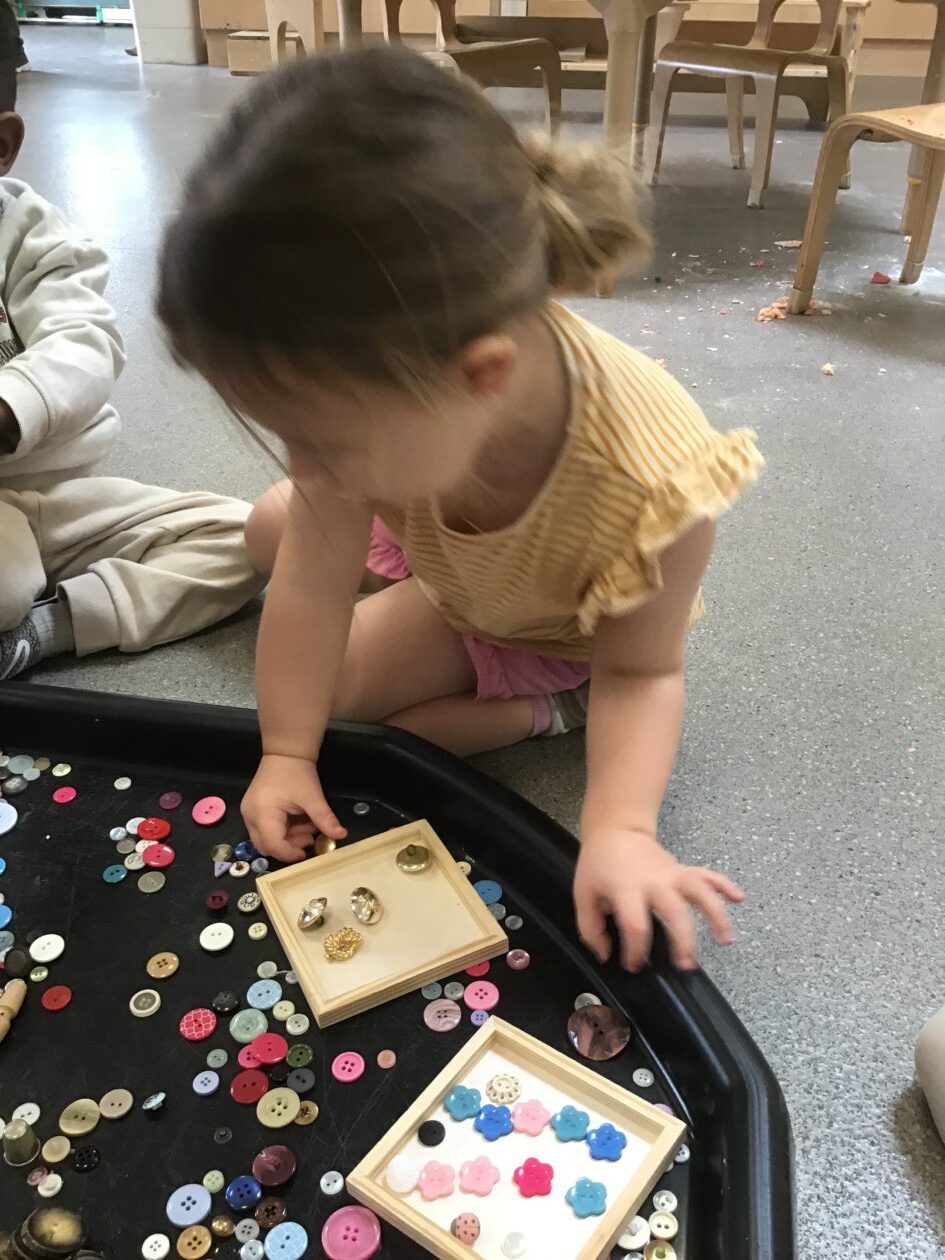
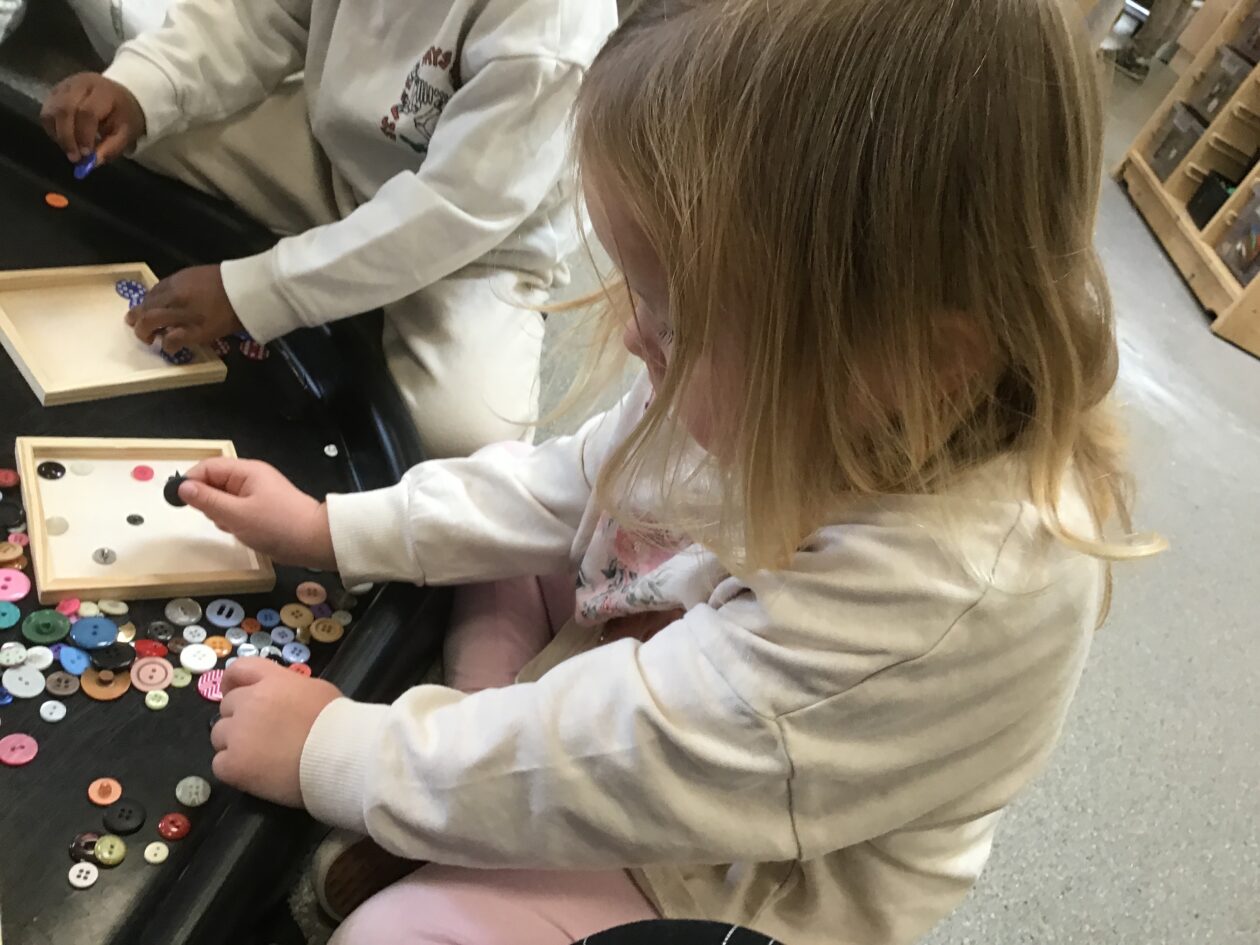
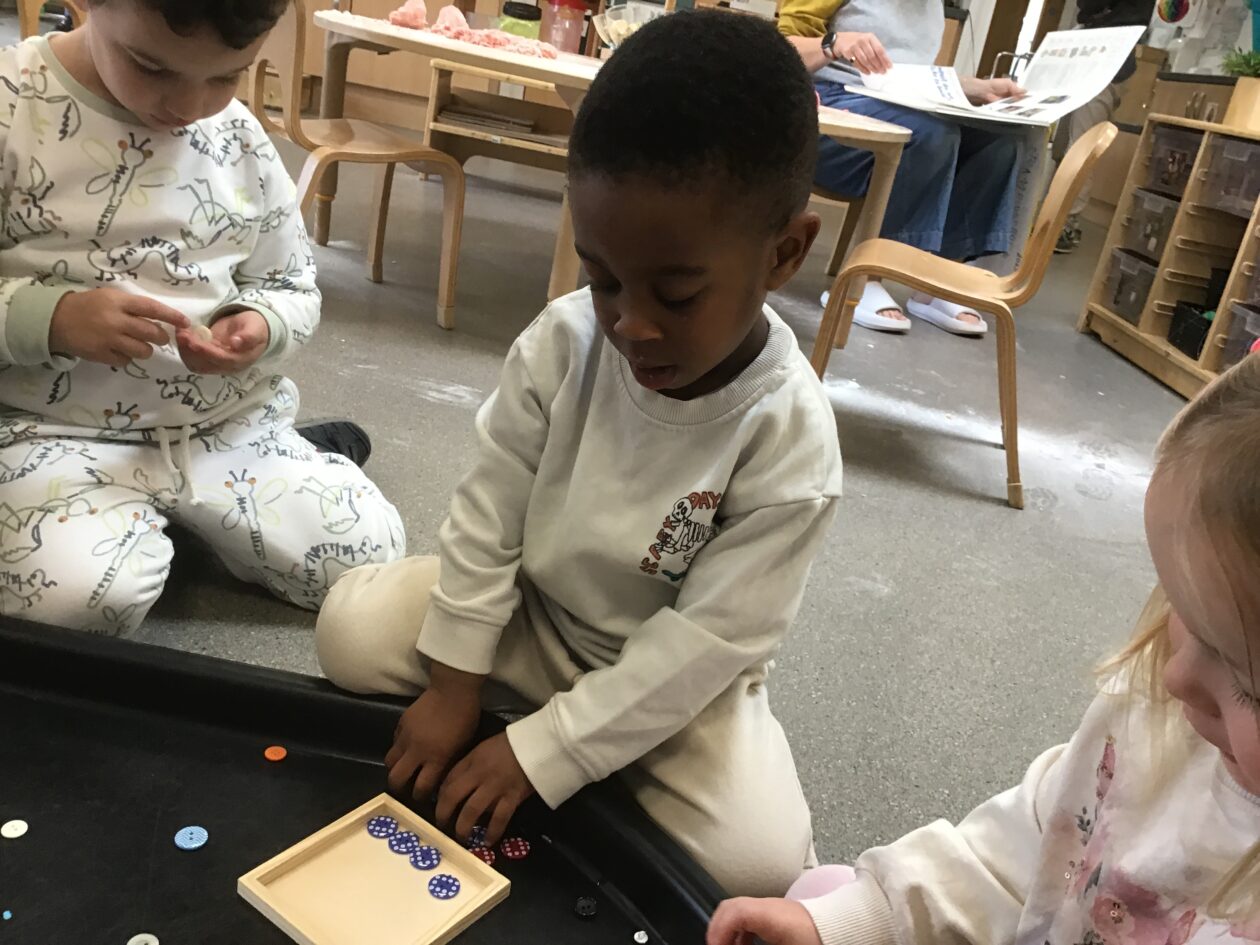
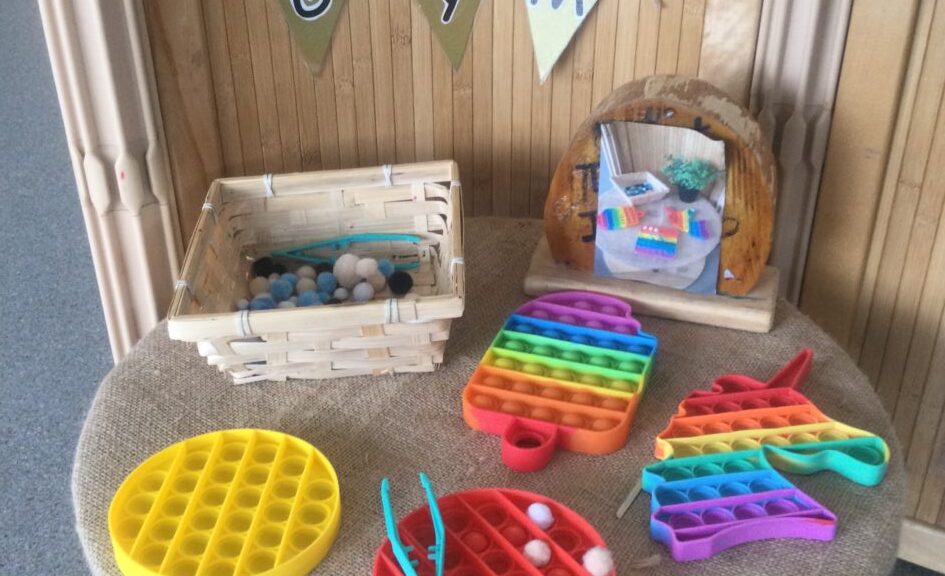
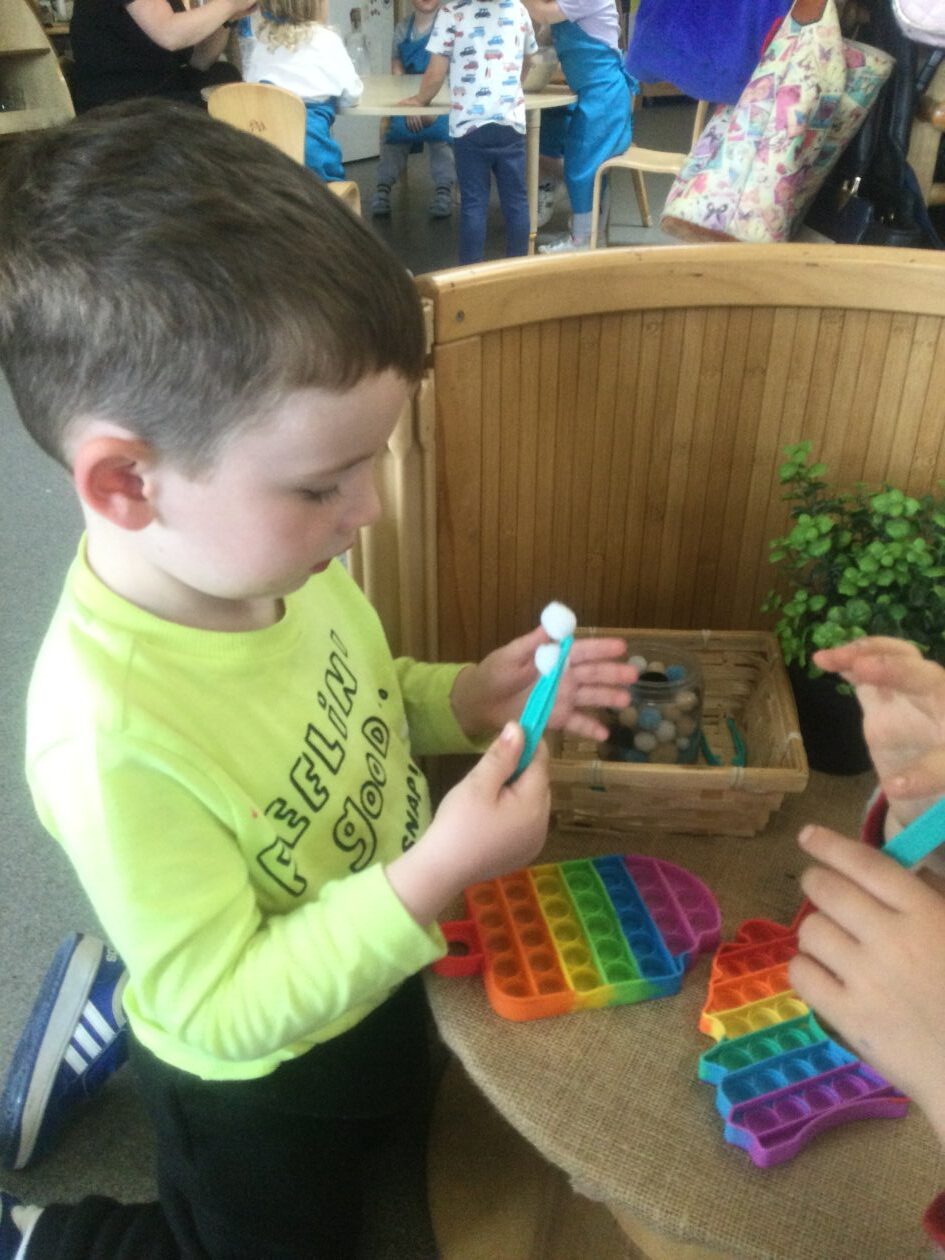
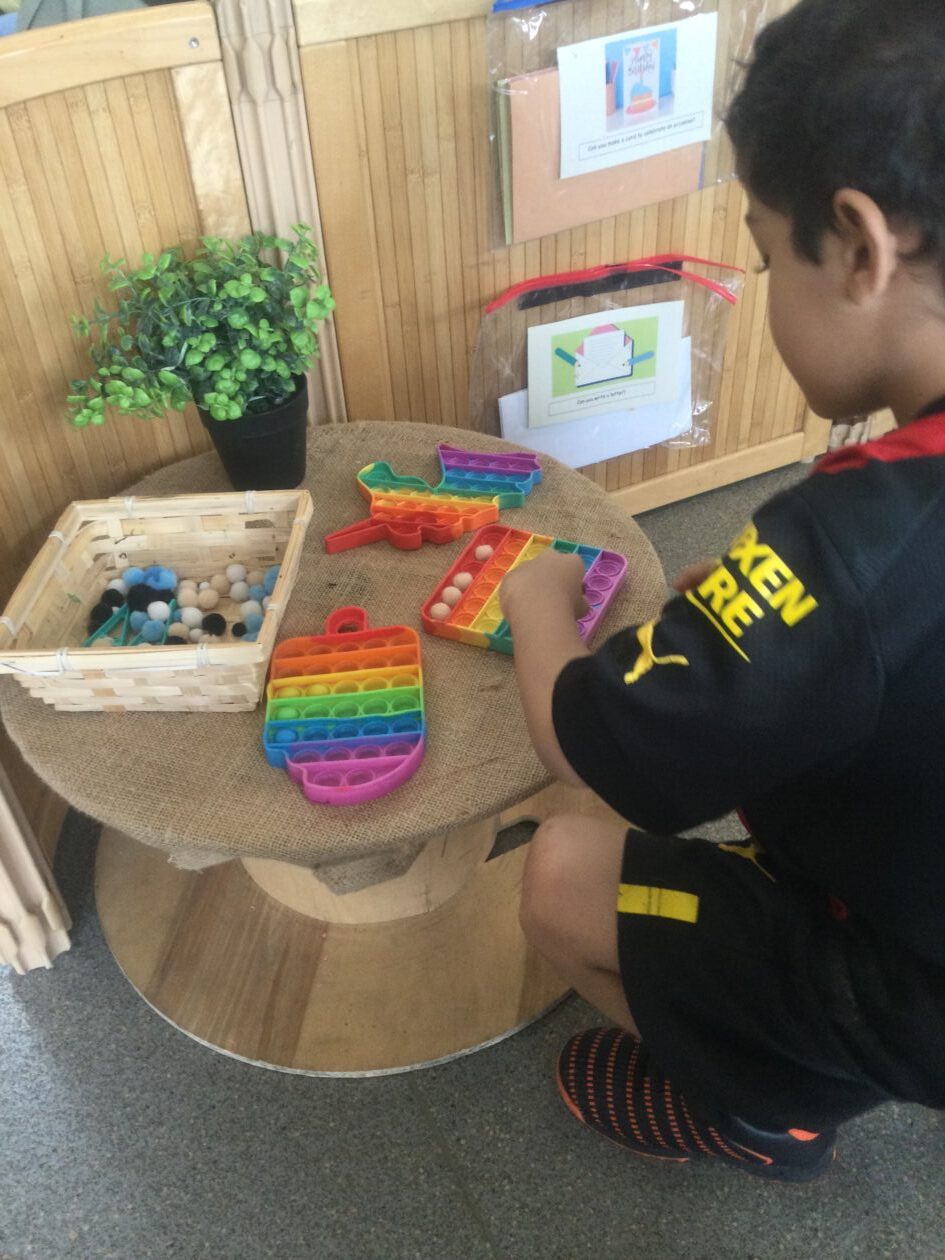
Tweezers and fidget boards
The children used tweezers to pick up colourful pom-poms and carefully place them into the tiny holes on our fidget boards. While it may look like a simple, this activity is a excellent way to build the fine motor strength needed for early writing skills.
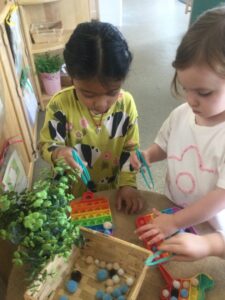


By using tweezers, children are strengthening the small muscles in their hands and fingers, helping them develop the pincer grip they will later use to hold a pencil correctly. The act of picking up each pom-pom and placing it in the right spot requires hand–eye coordination, concentration, and careful control of their movements.
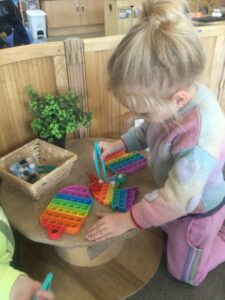
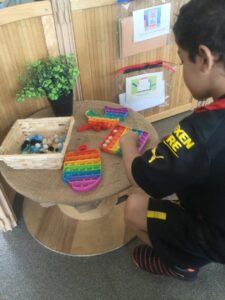
Many children even took on extra challenges, such as sorting the pom-poms by colour or counting them as they worked. This added opportunities for early maths skills, like counting, sorting, and problem-solving, all within a fun, play-based activity. Most importantly, this task gave the children a sense of achievement as they completed their colourful patterns and designs, building confidence as well as skill.
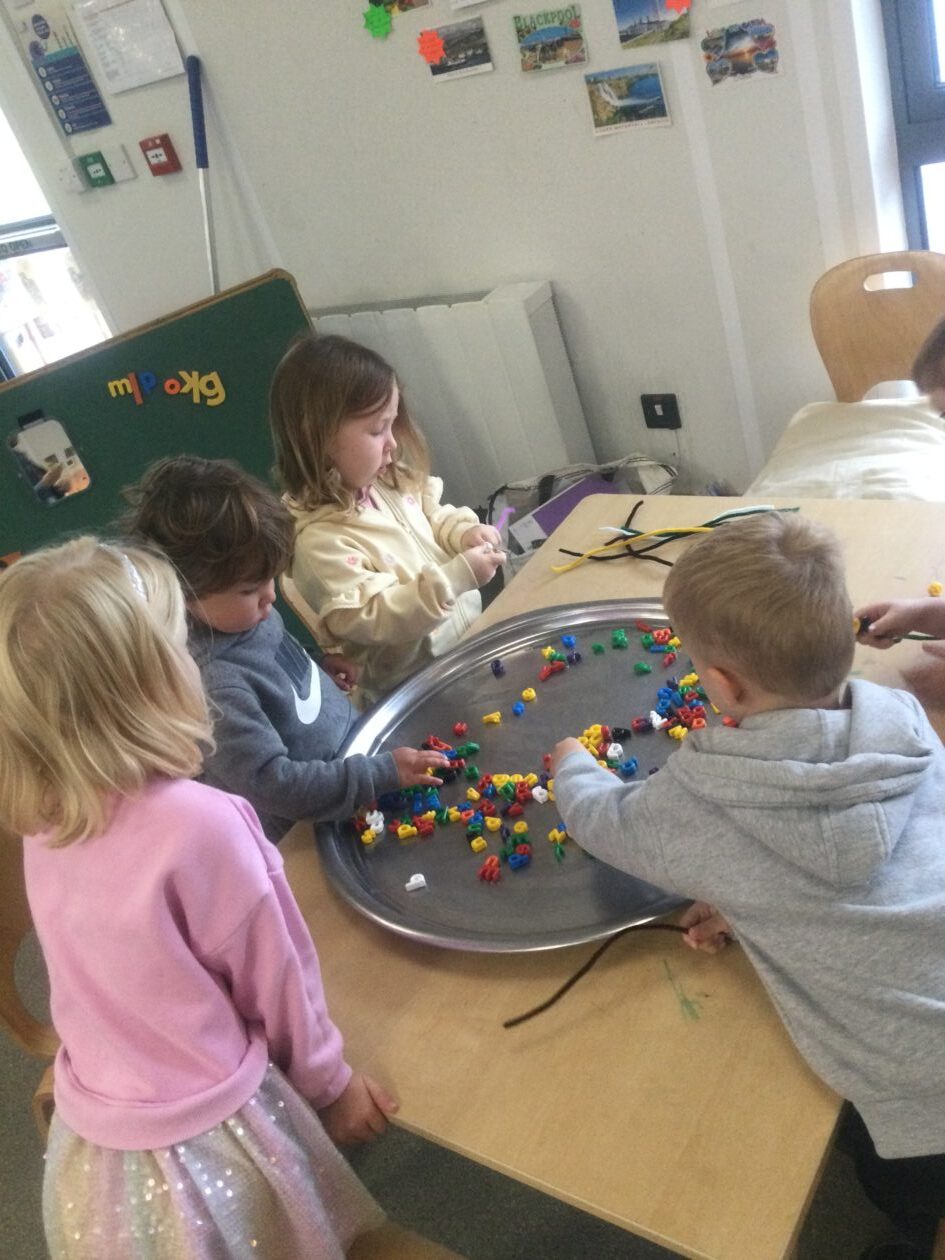
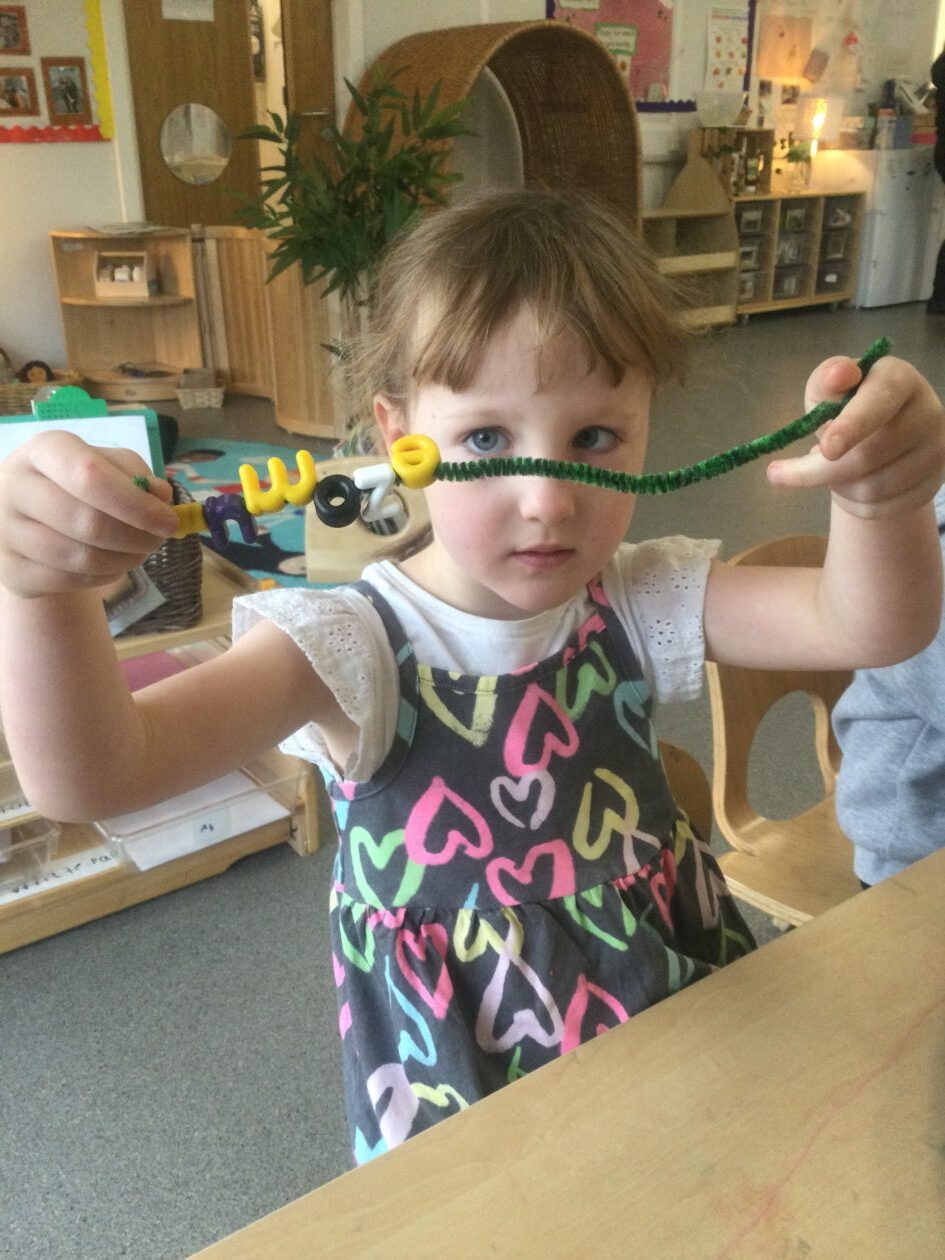
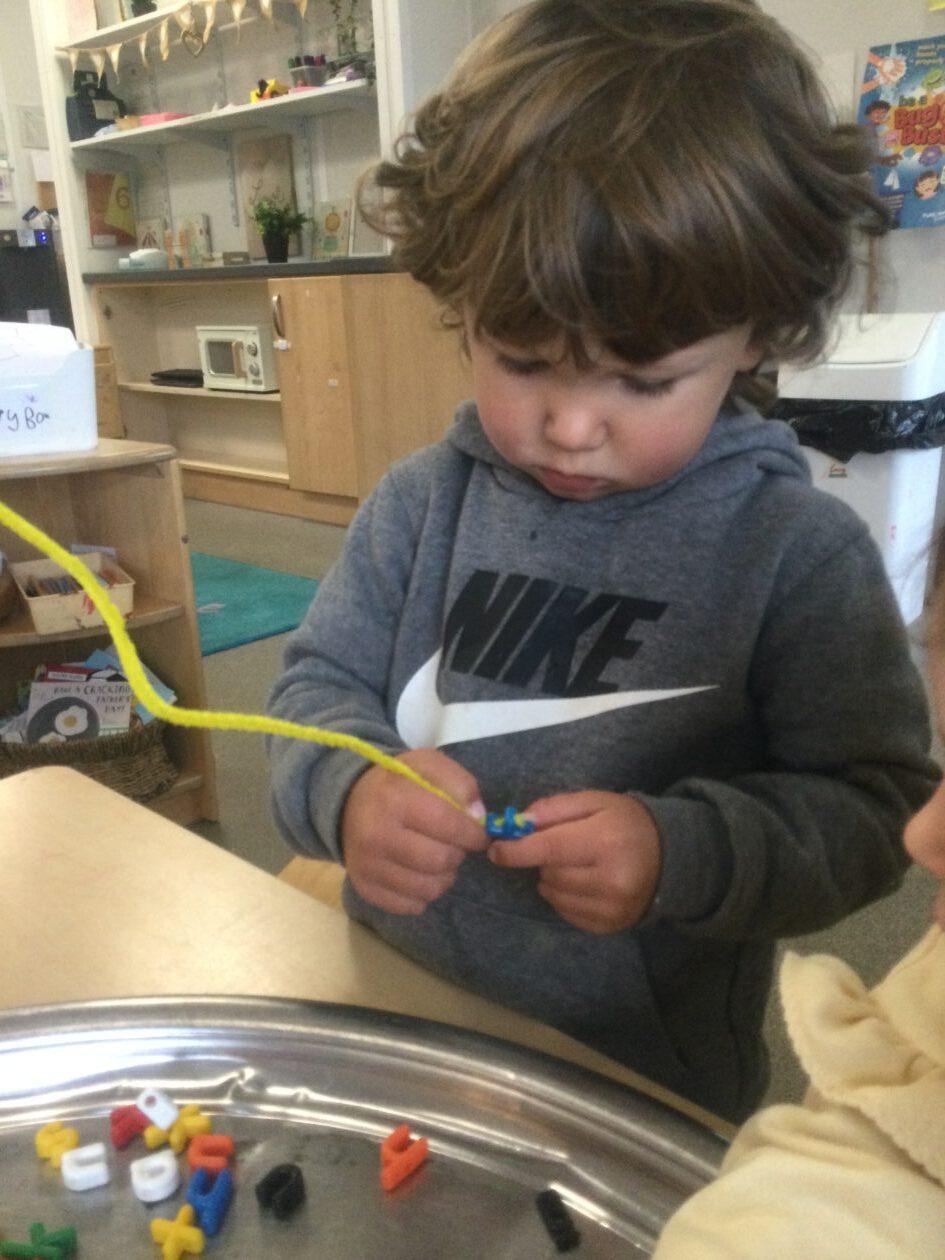
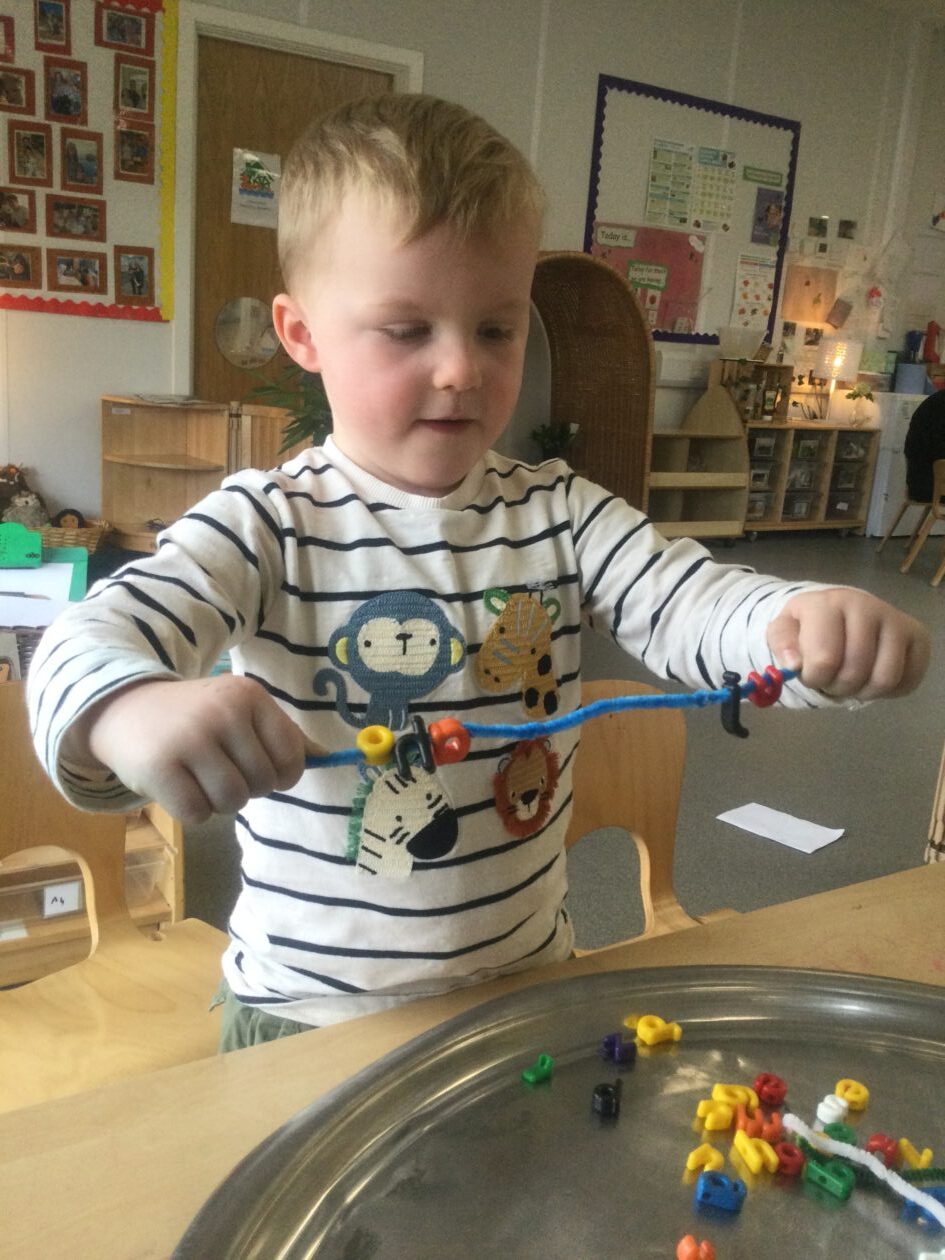
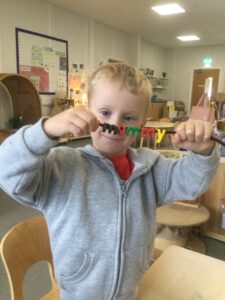
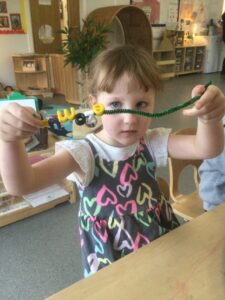
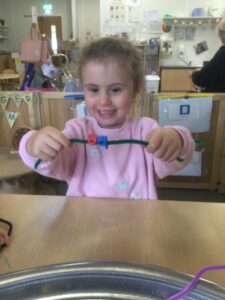
Letters and pipe cleaners
The children threaded pipe cleaners through letters to develop fine motor skills and hand–eye coordination. We Introducing large plastic letters with holes in them and provided colourful pipe cleaners for threading. This activity not only strengthened the children’s fine motor control but also introduced important early literacy skills in a fun and hands on way. As they worked many children began to recognise letters, with some even threading the letters in their own names! With a little adult support, a few created longer words such as “mummy” and “octopus”. This gave them a real sense of pride and showed how early mark making and letter recognition naturally develop through play.


UNCRC ARTICLES
Article 28 – A right to education
Article 31 – The right to play and relax