Bonjour every one. It’s been a great start to our new term in our garden. The sun has been shining and we have been taking part in lots of outdoor activities.
We are so pleased to see our returning children back again and also to meet lots of new friends who have joined us at Cart Mill. We had lots of happy faces this week.
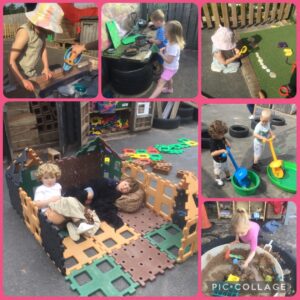
In our garden this week we have been adapting some of our areas. We have our mud kitchen where we have added a table, chairs, jugs, pots and pans. We have also added in a water jug for children to self select some water to enhance their role play experience.
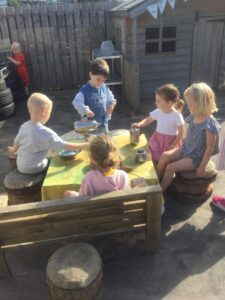
We haven’t got a name for our mud kitchen yet. I wonder what we will call it…..
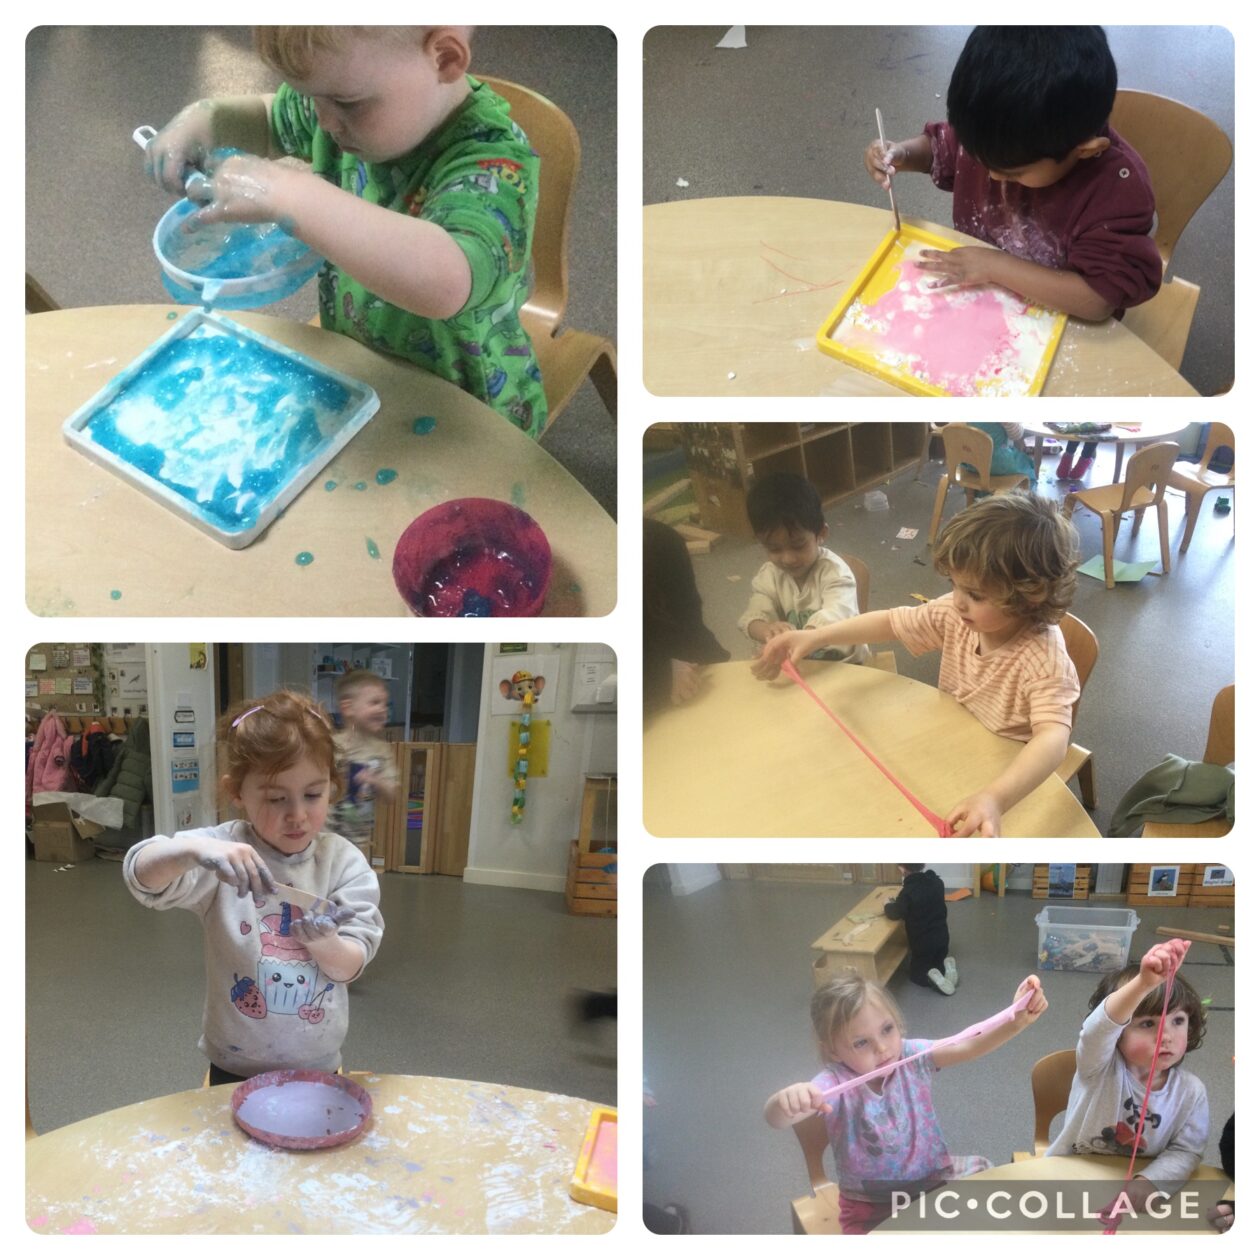
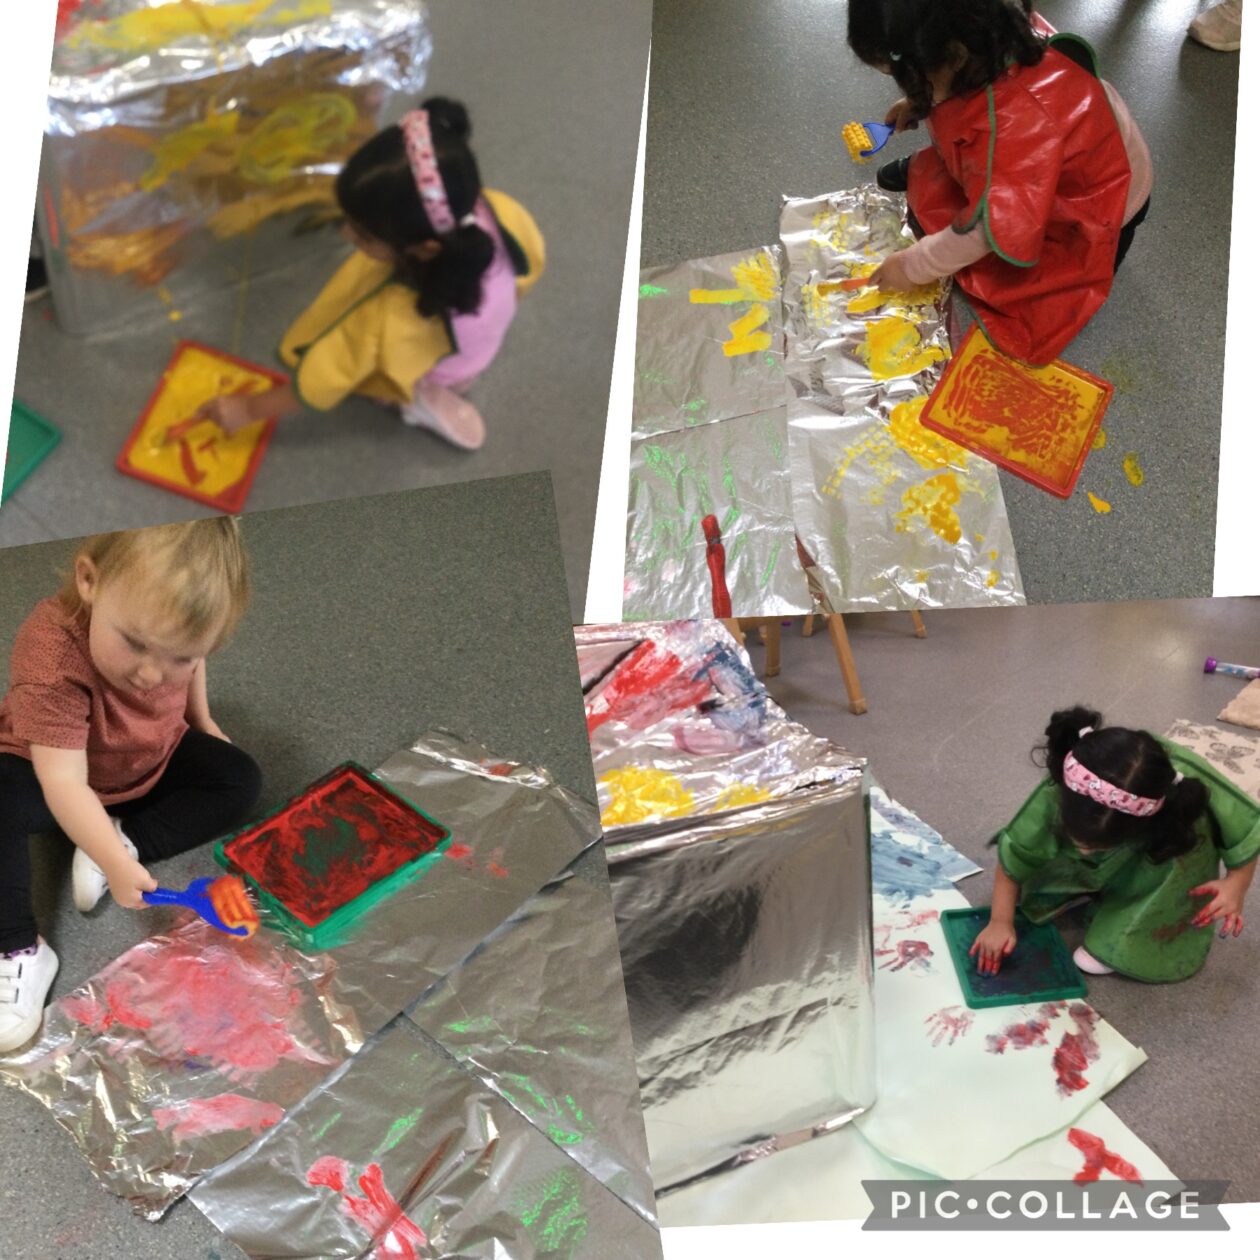
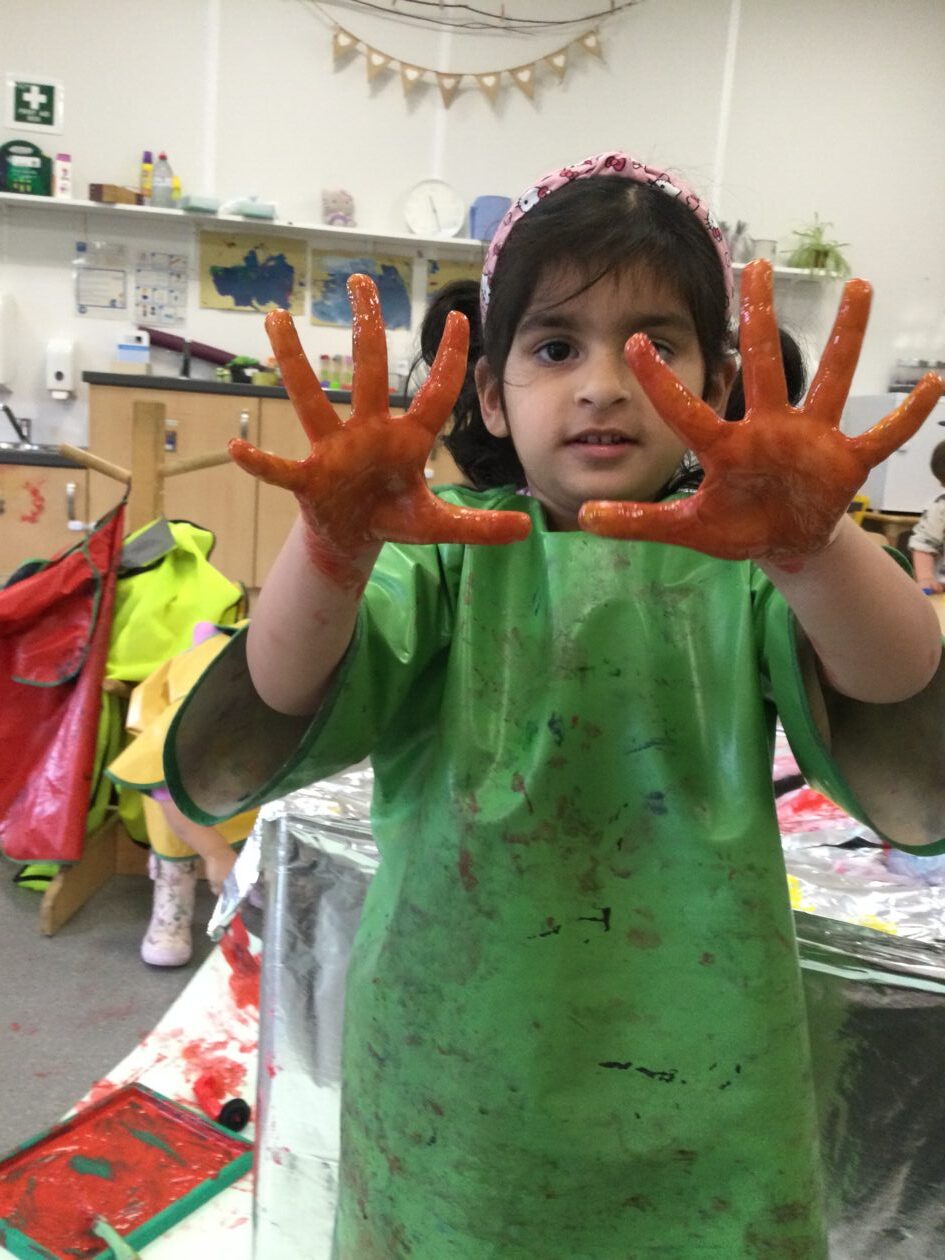
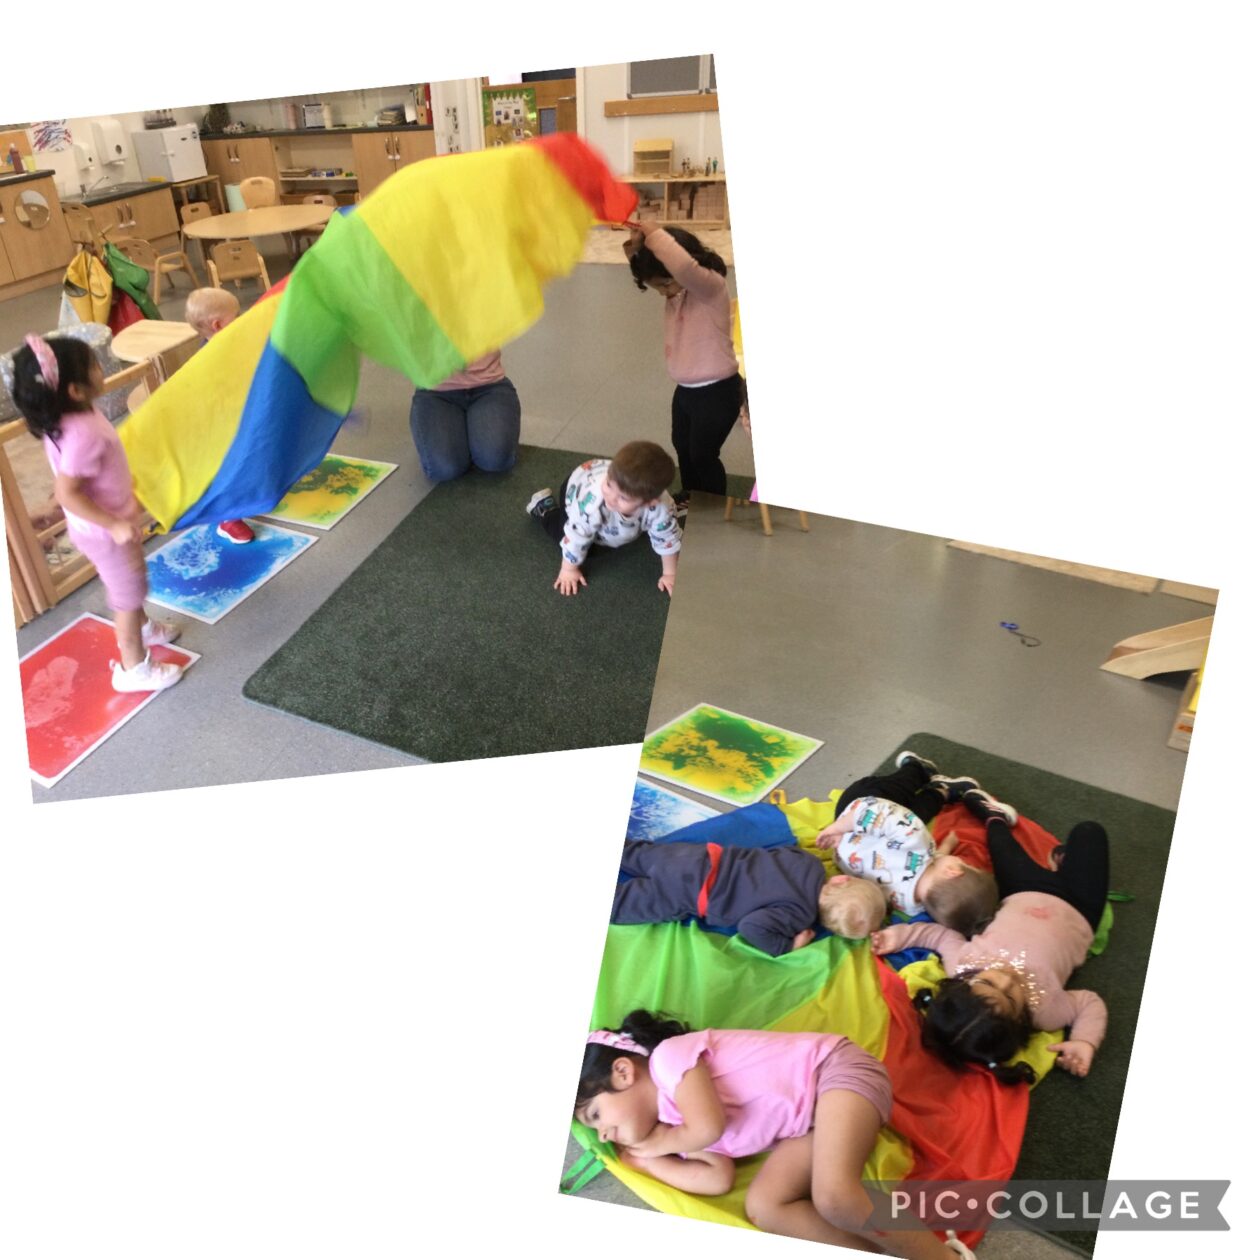
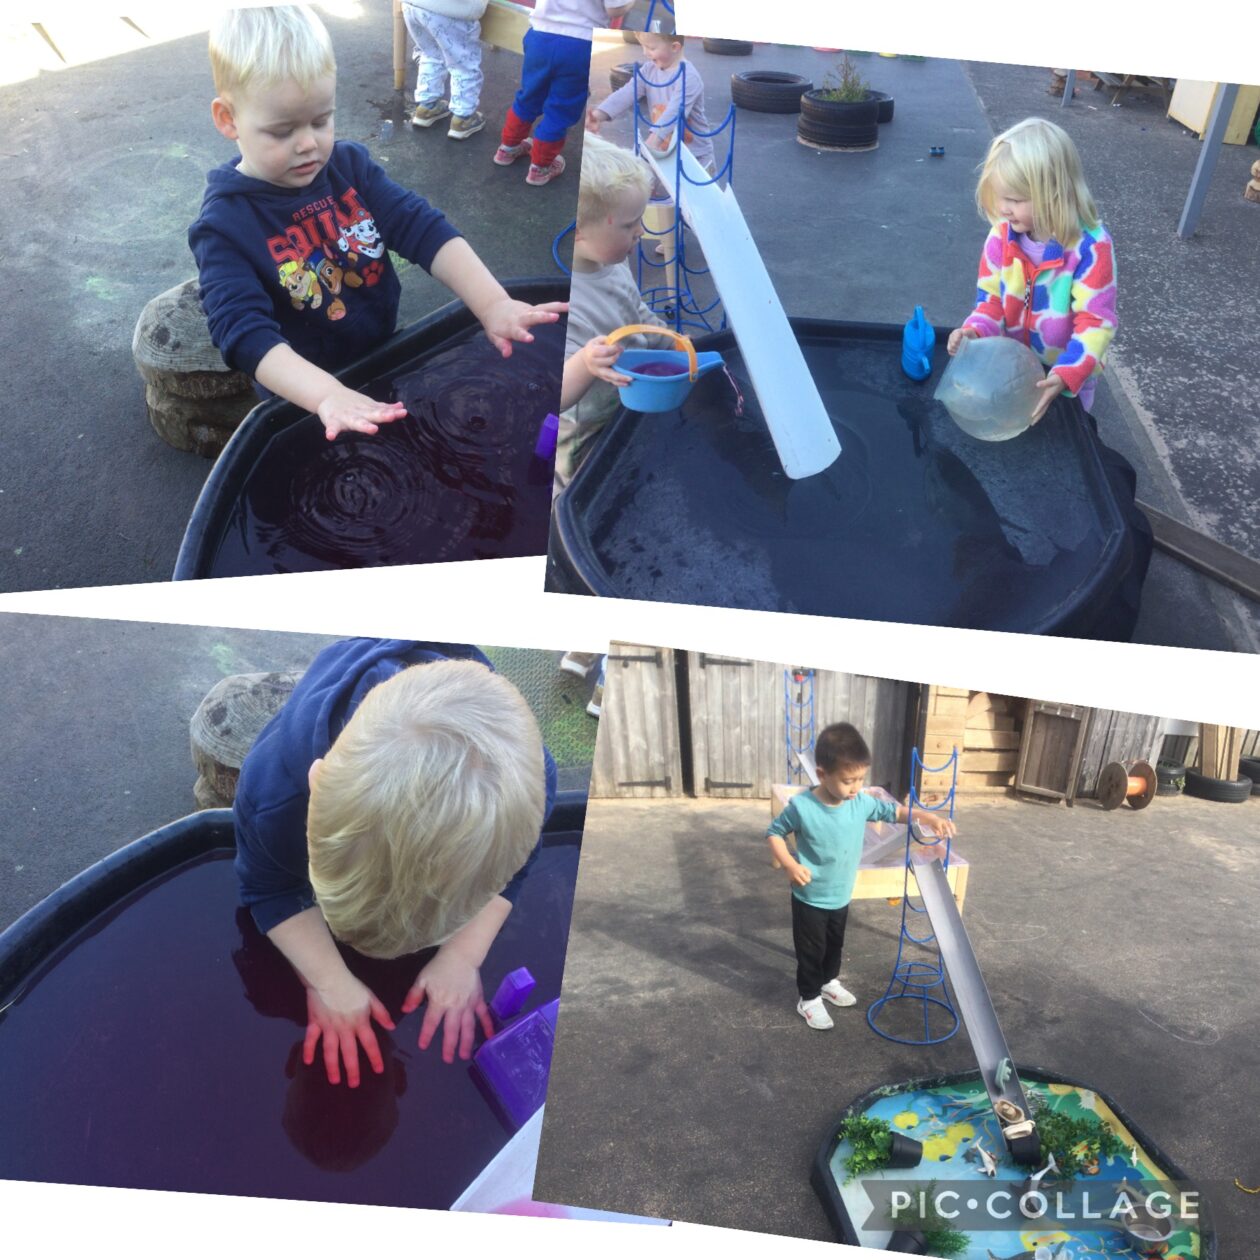
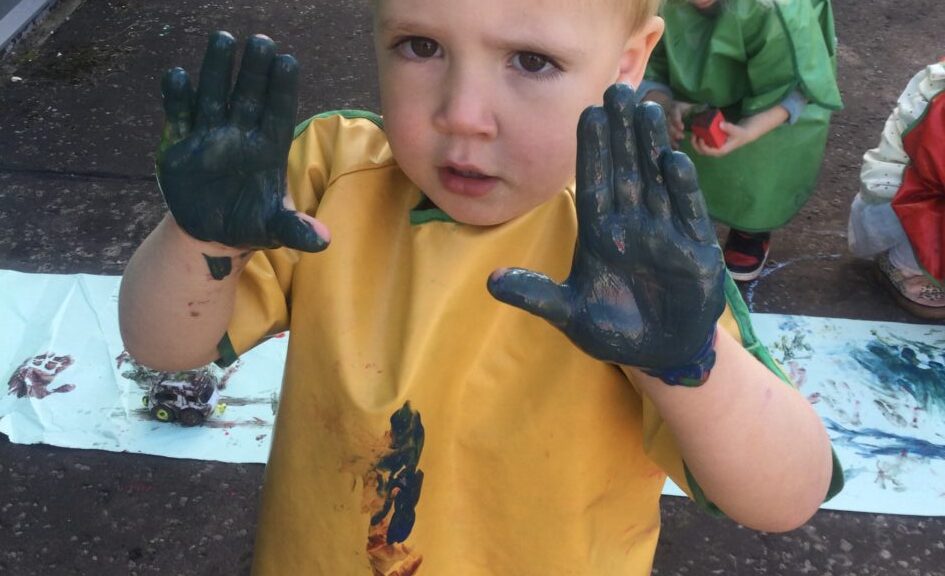
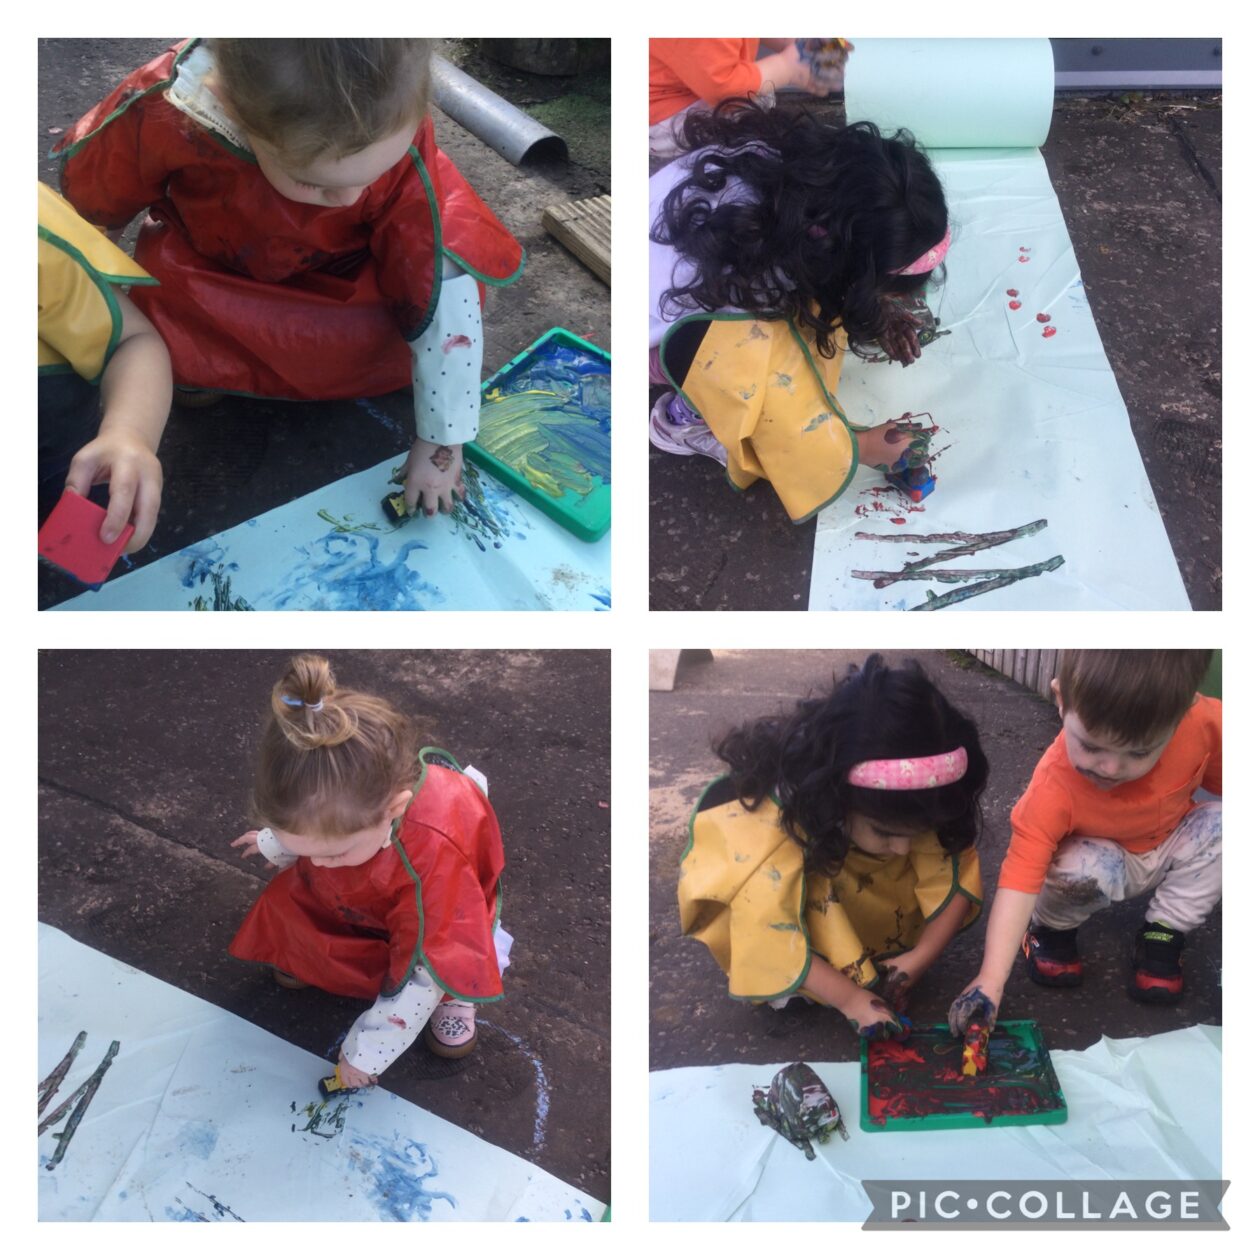
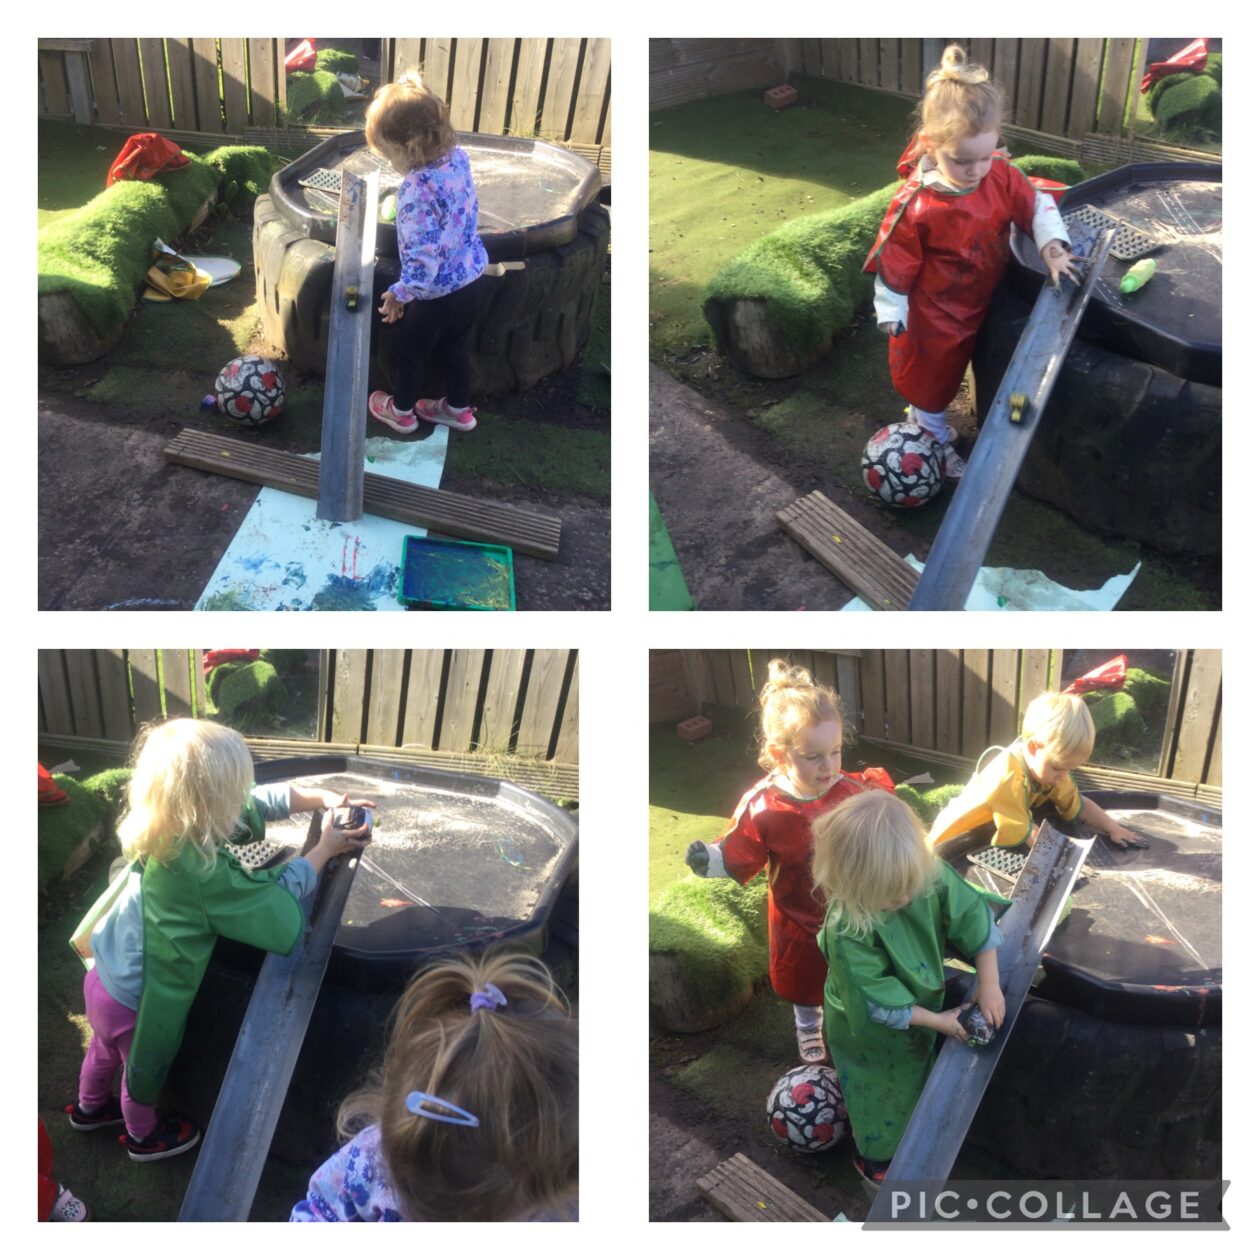
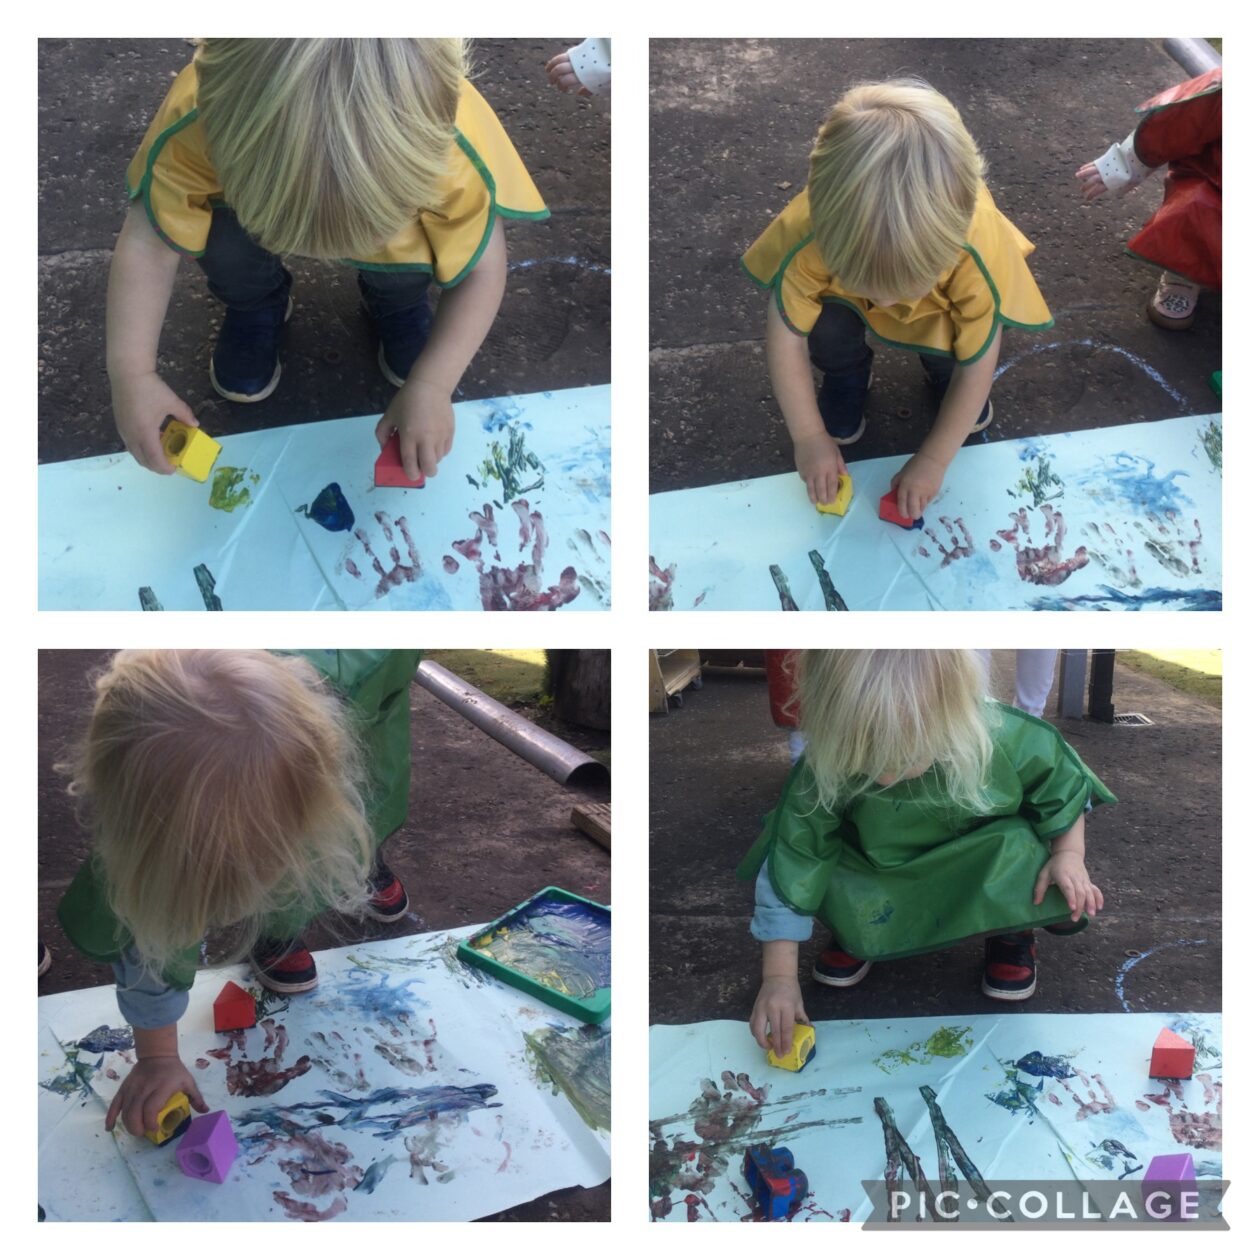
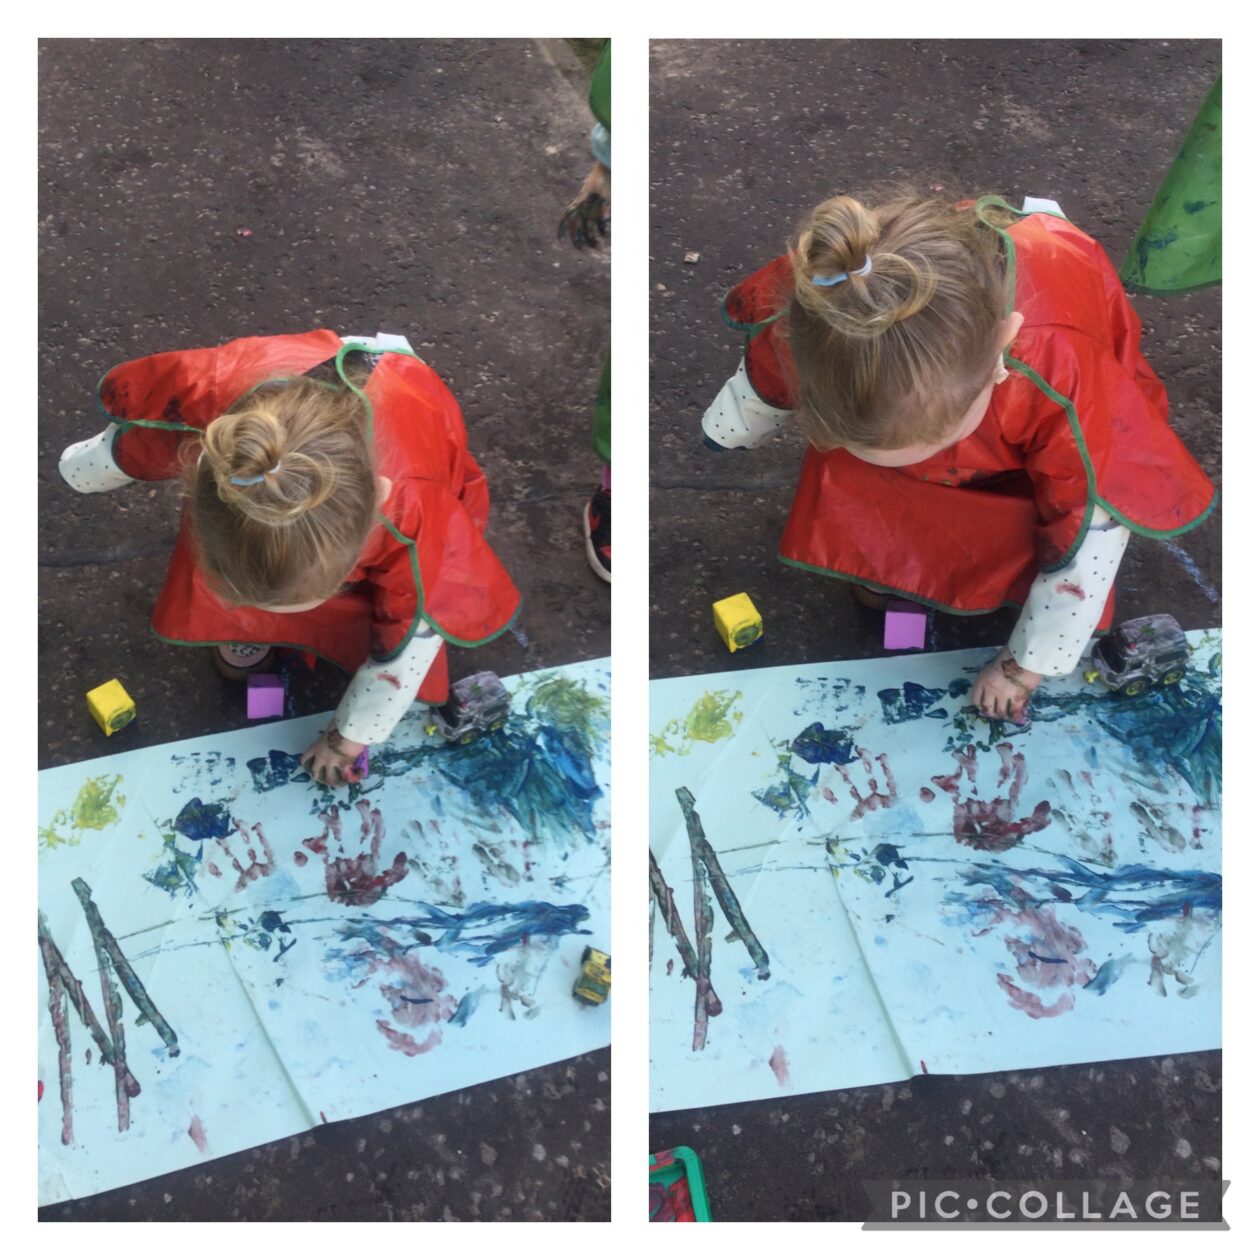
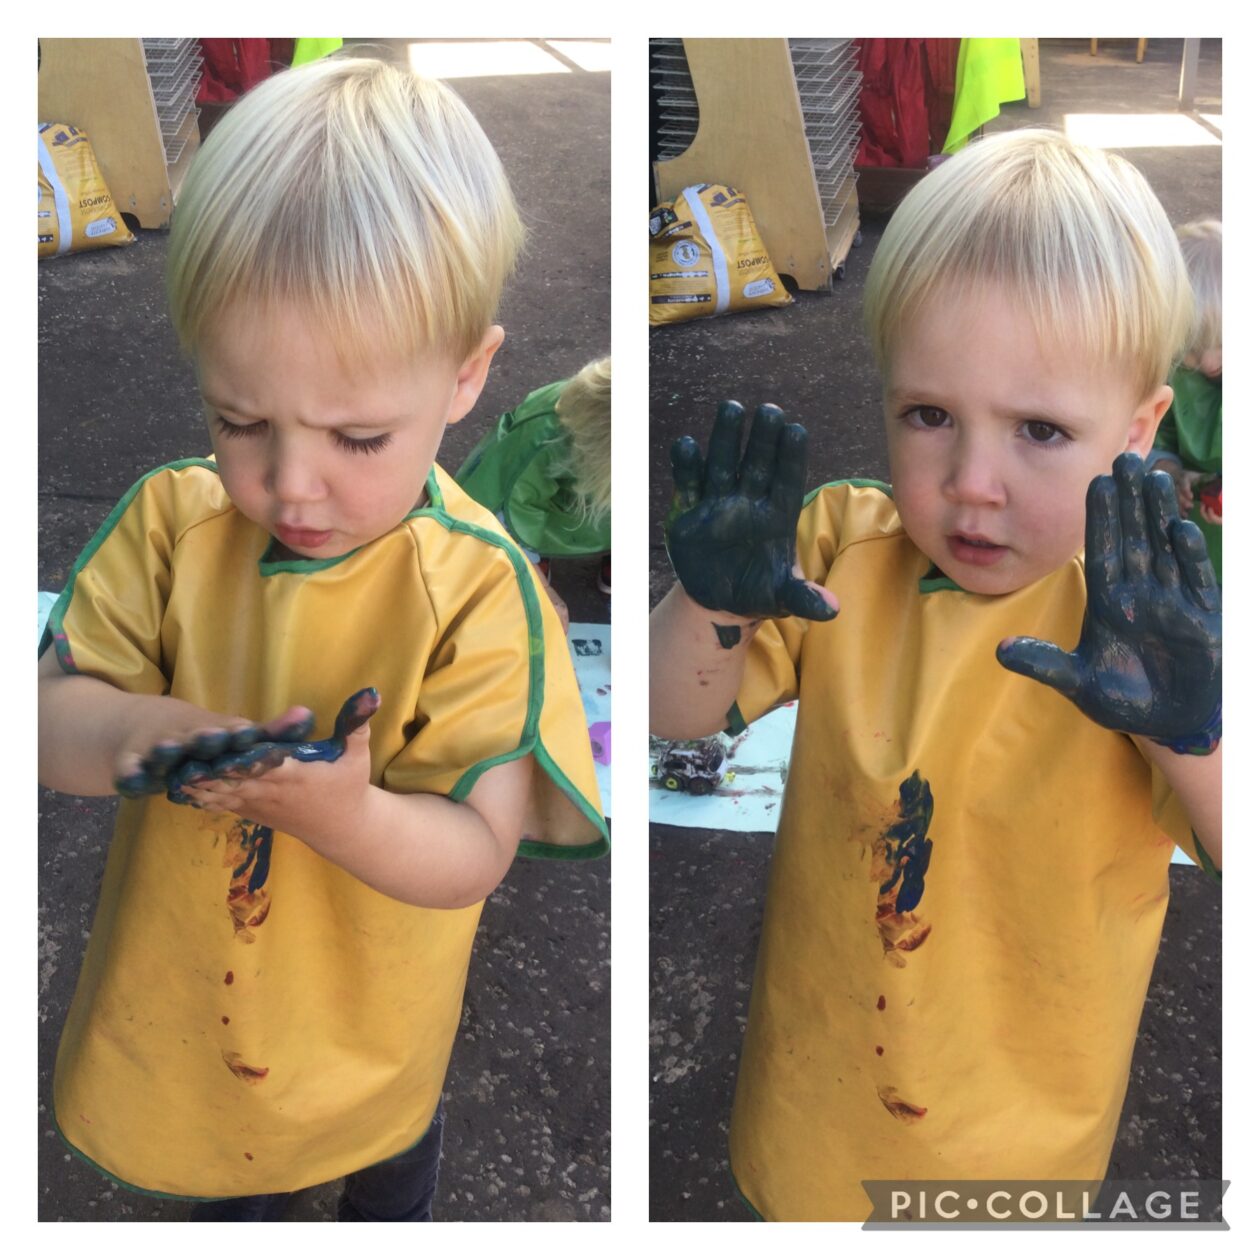
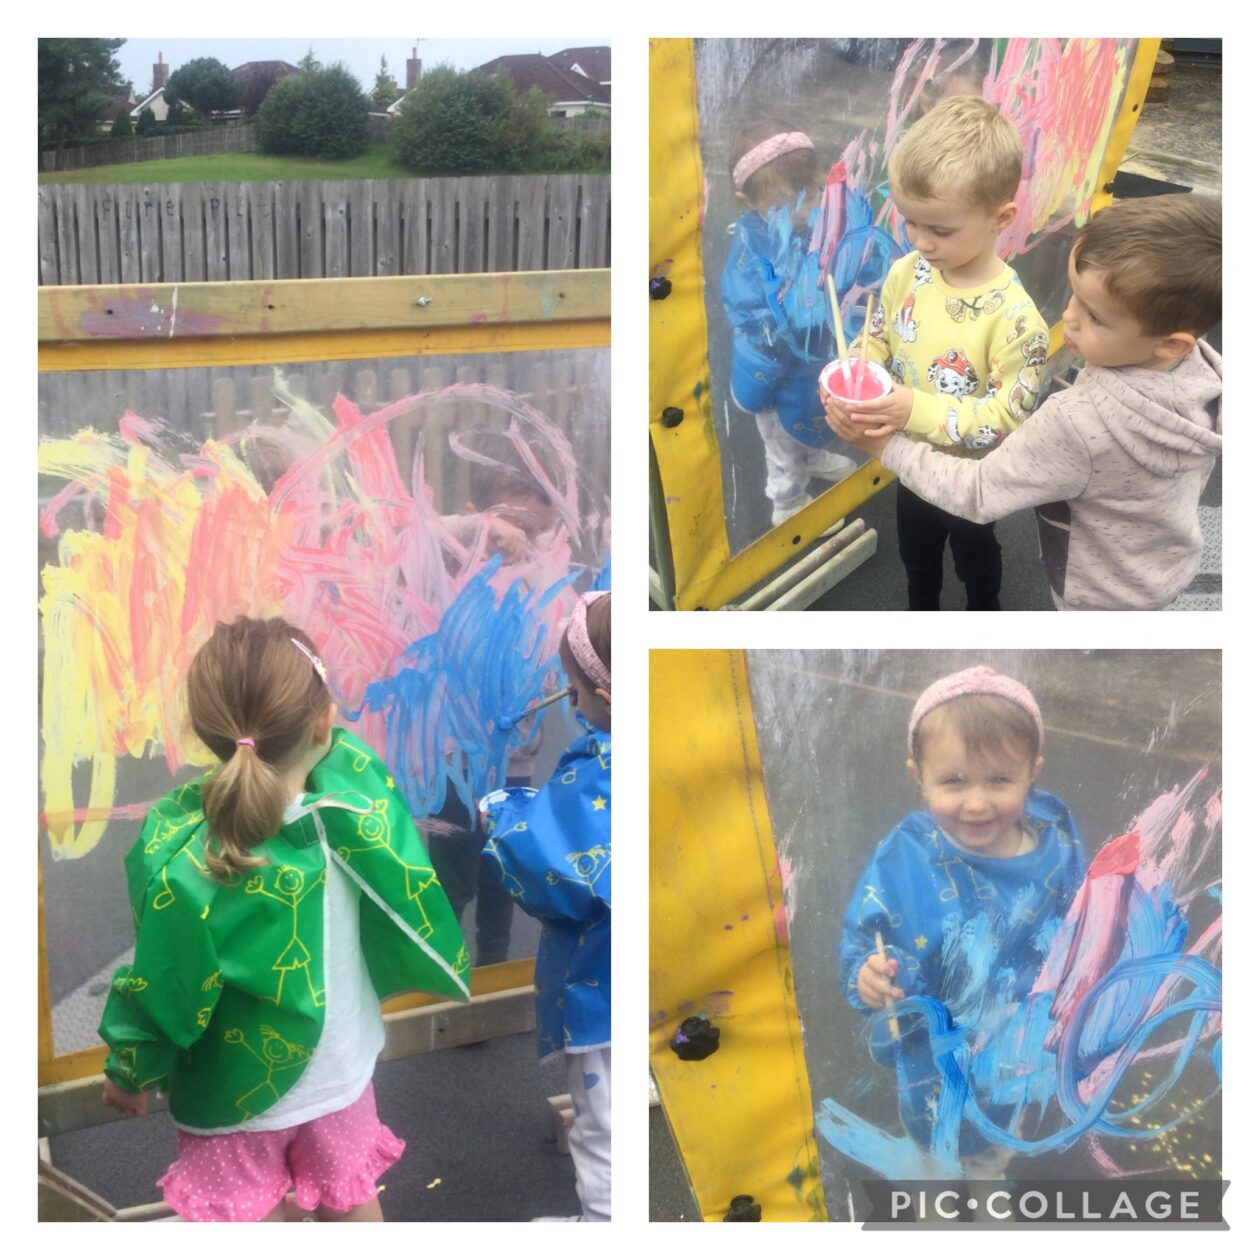
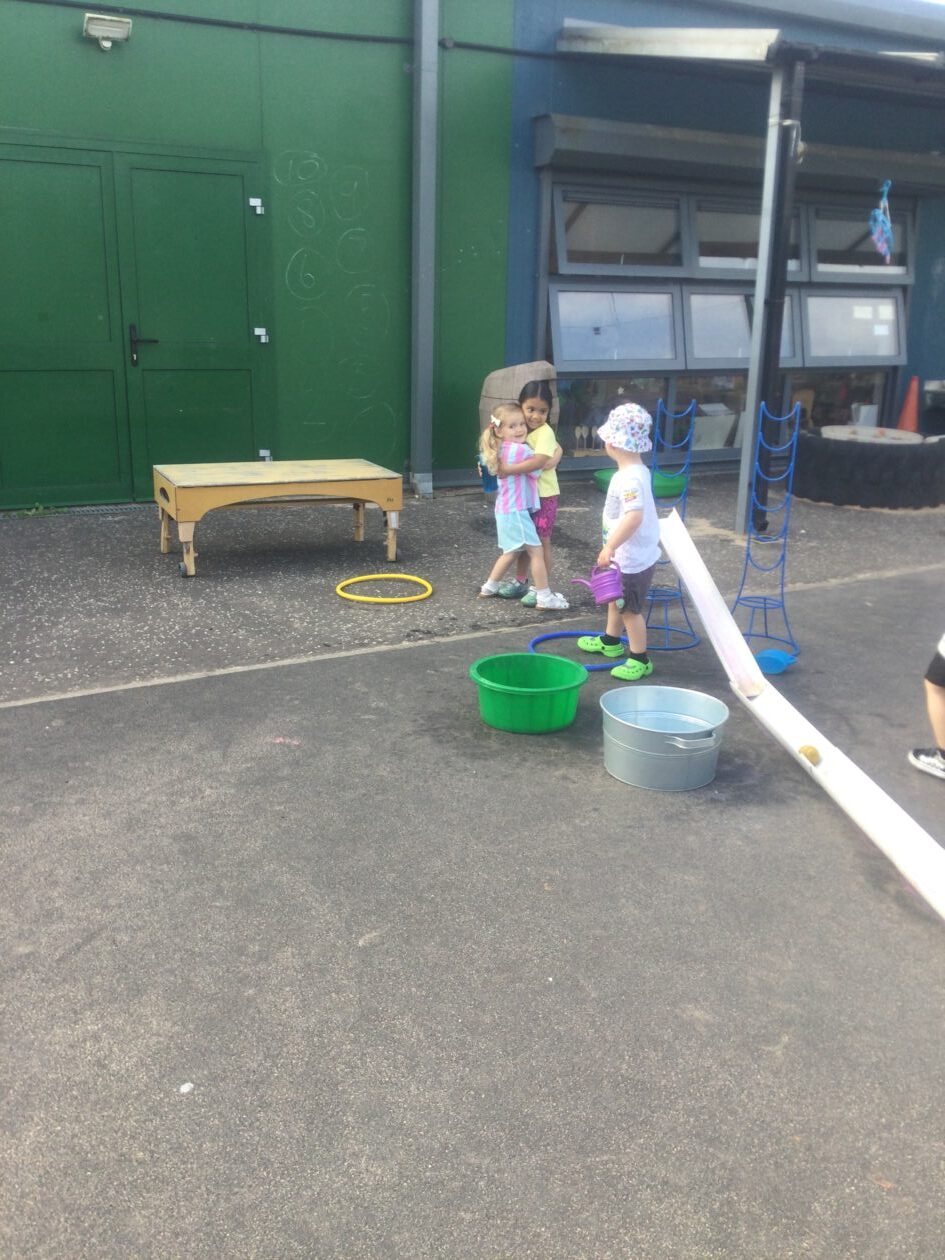
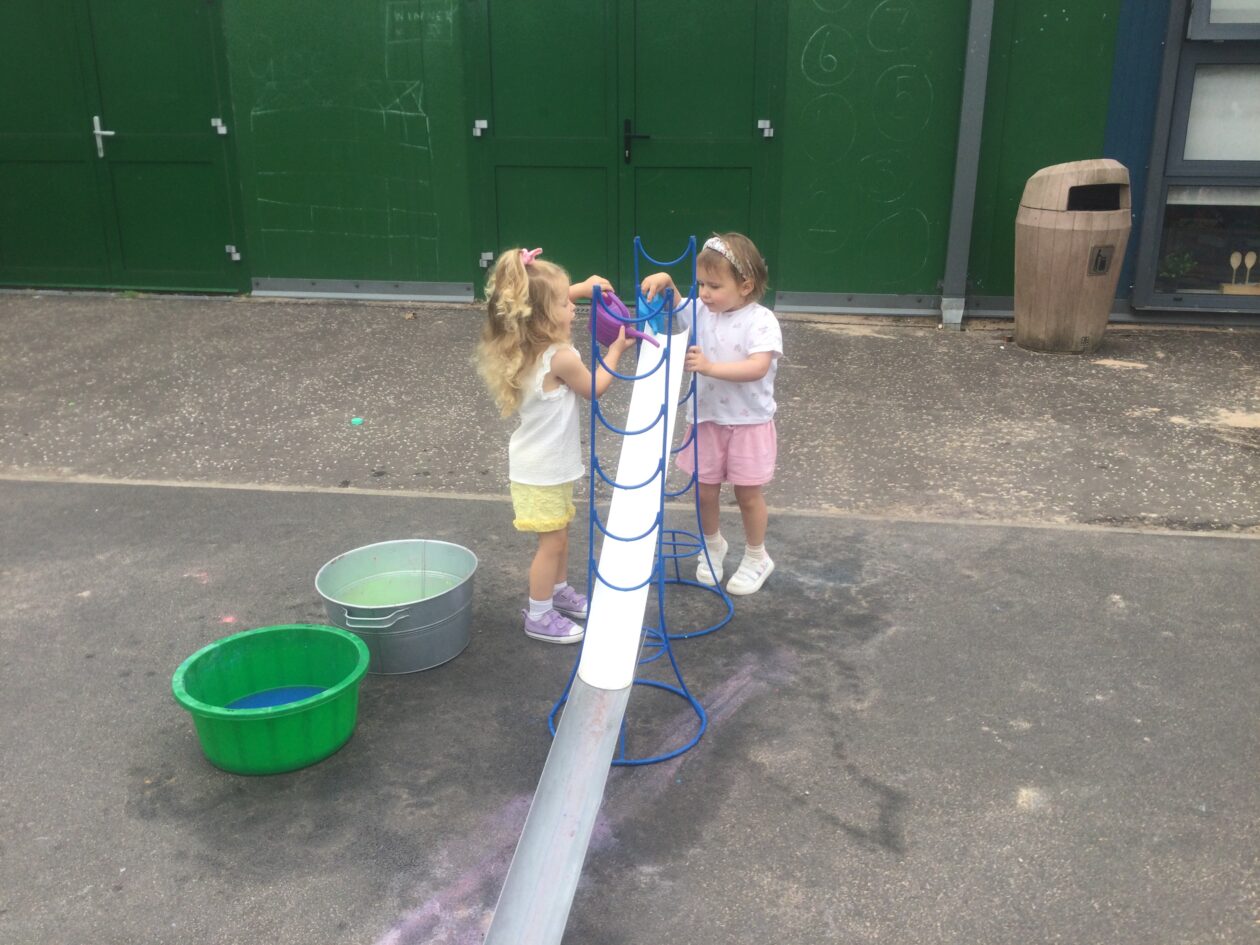
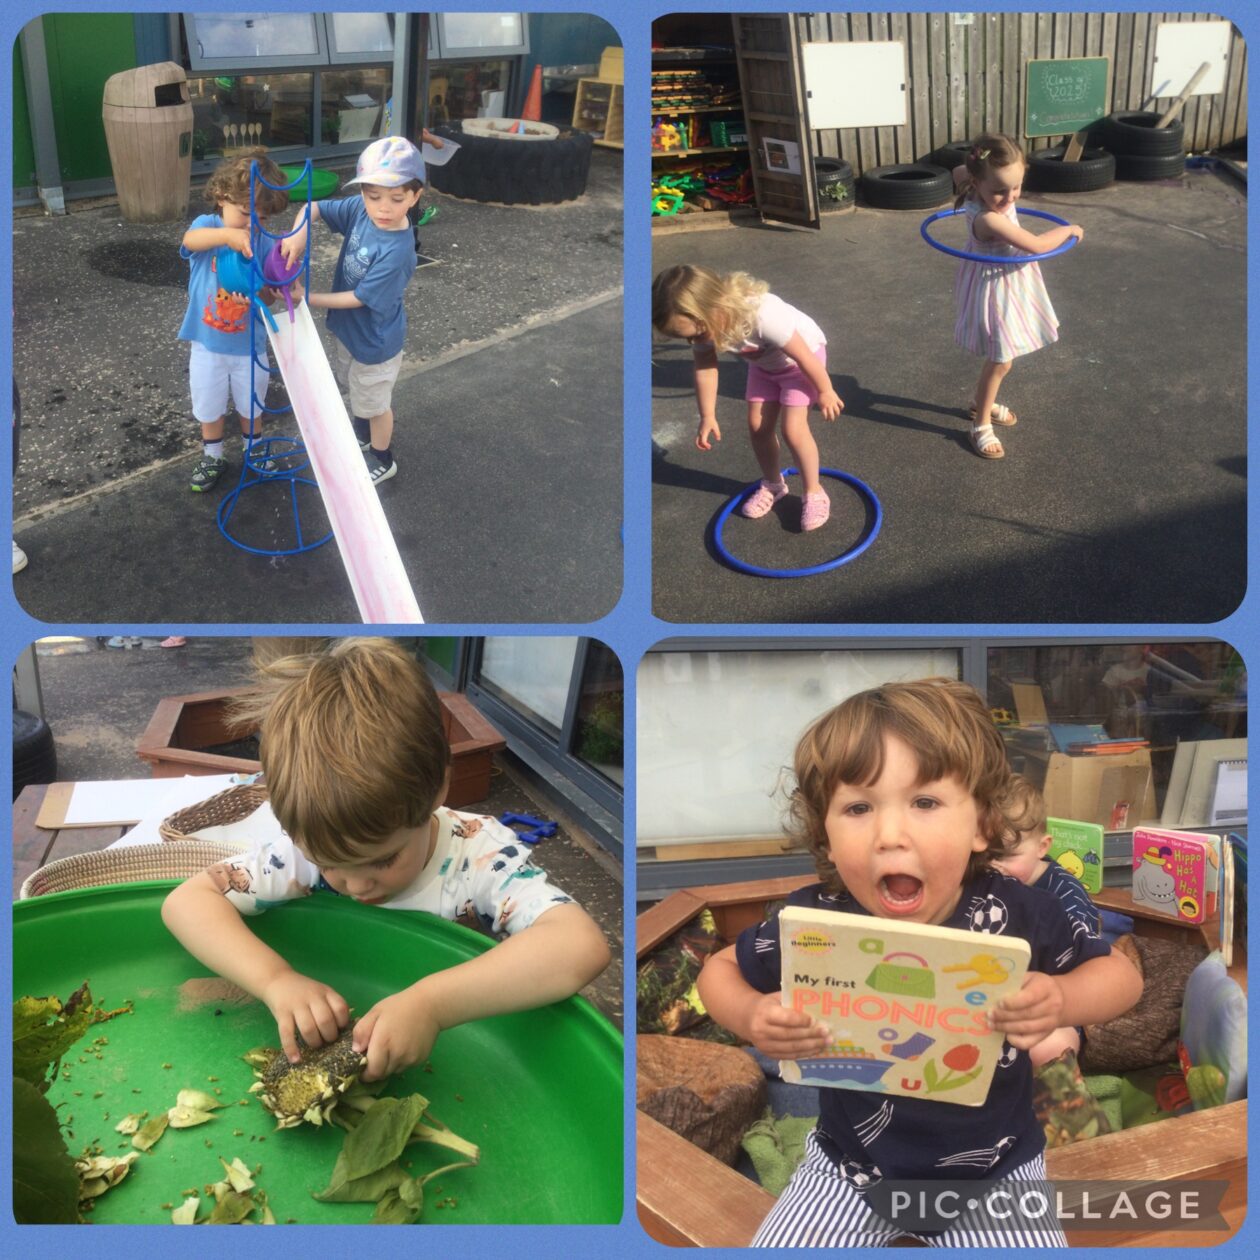
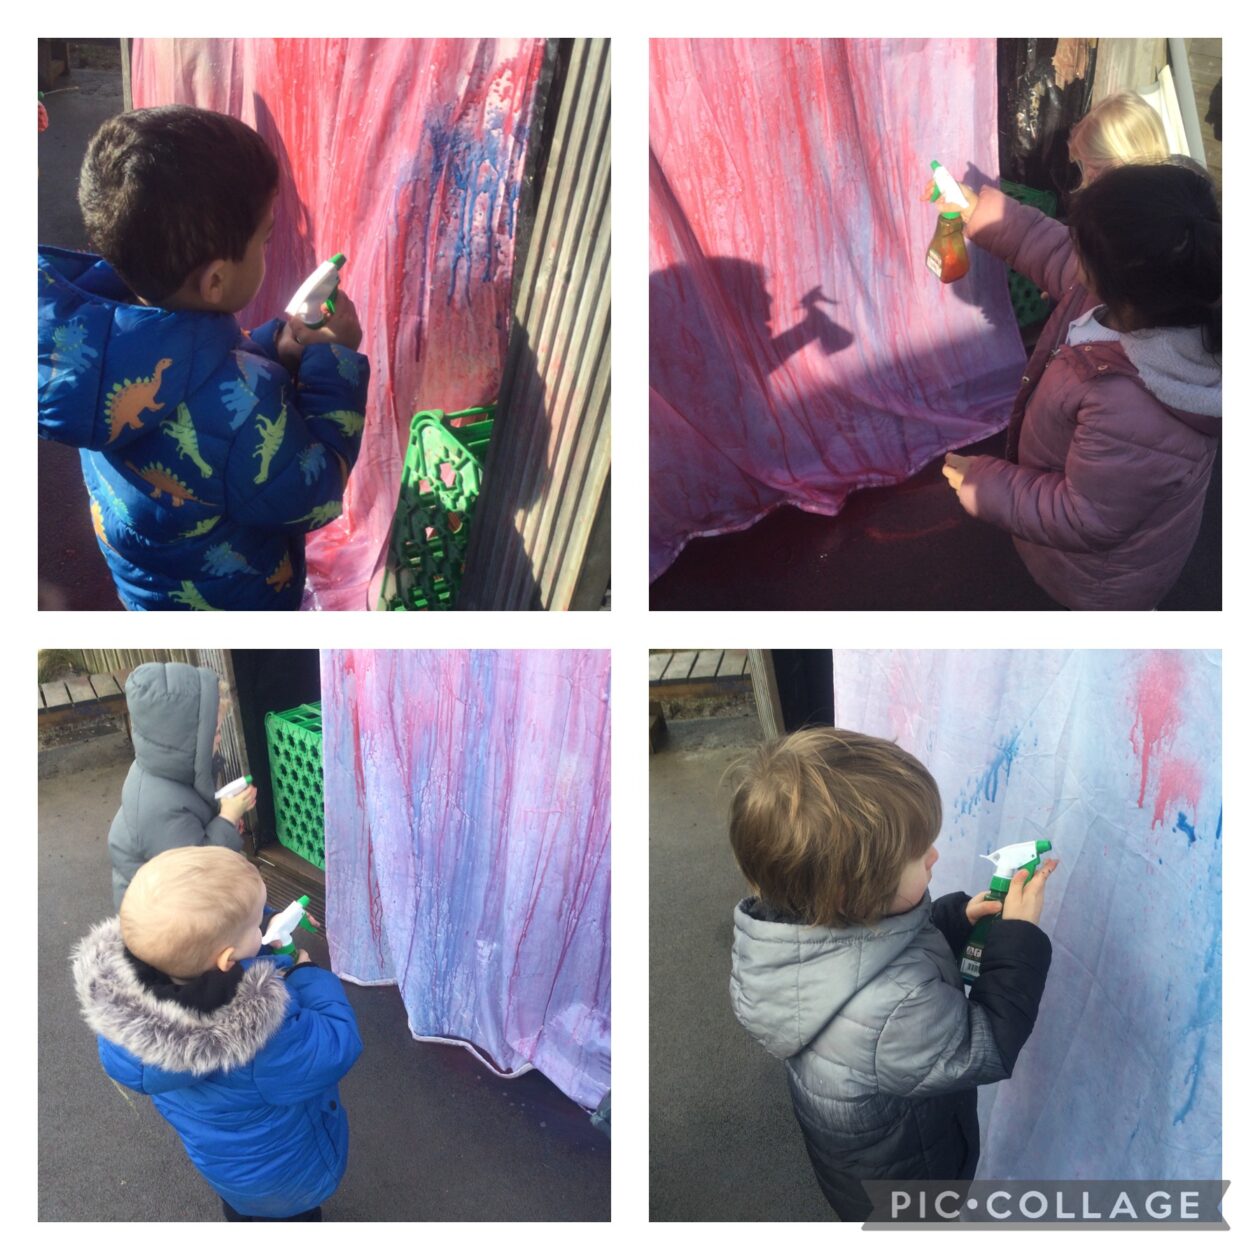
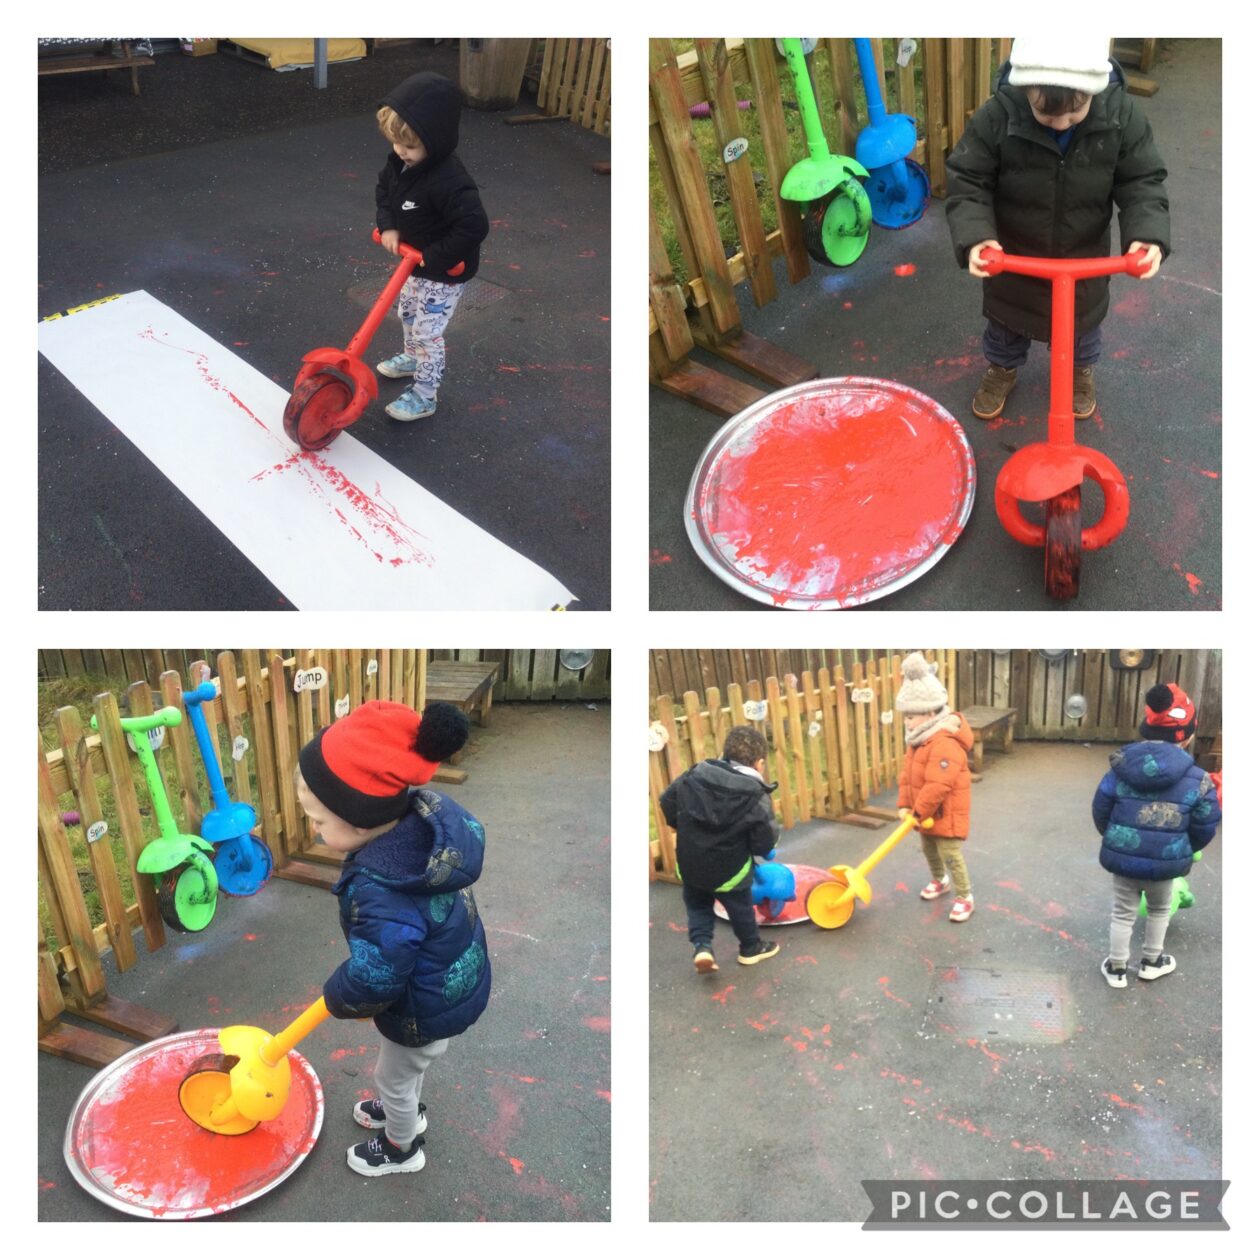
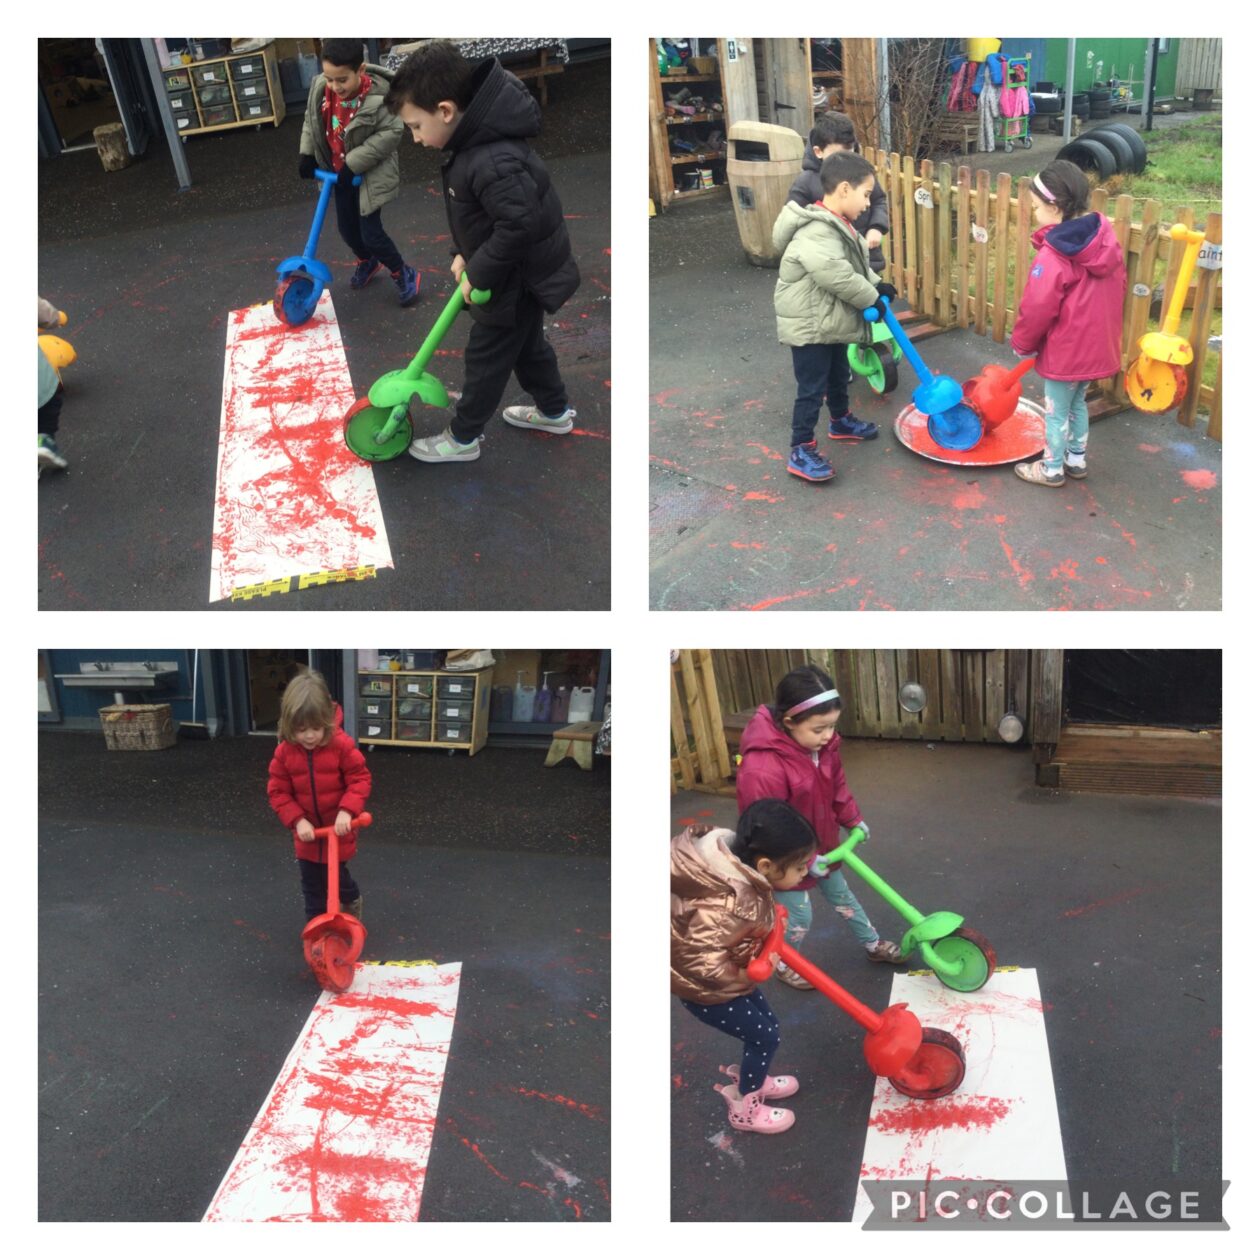
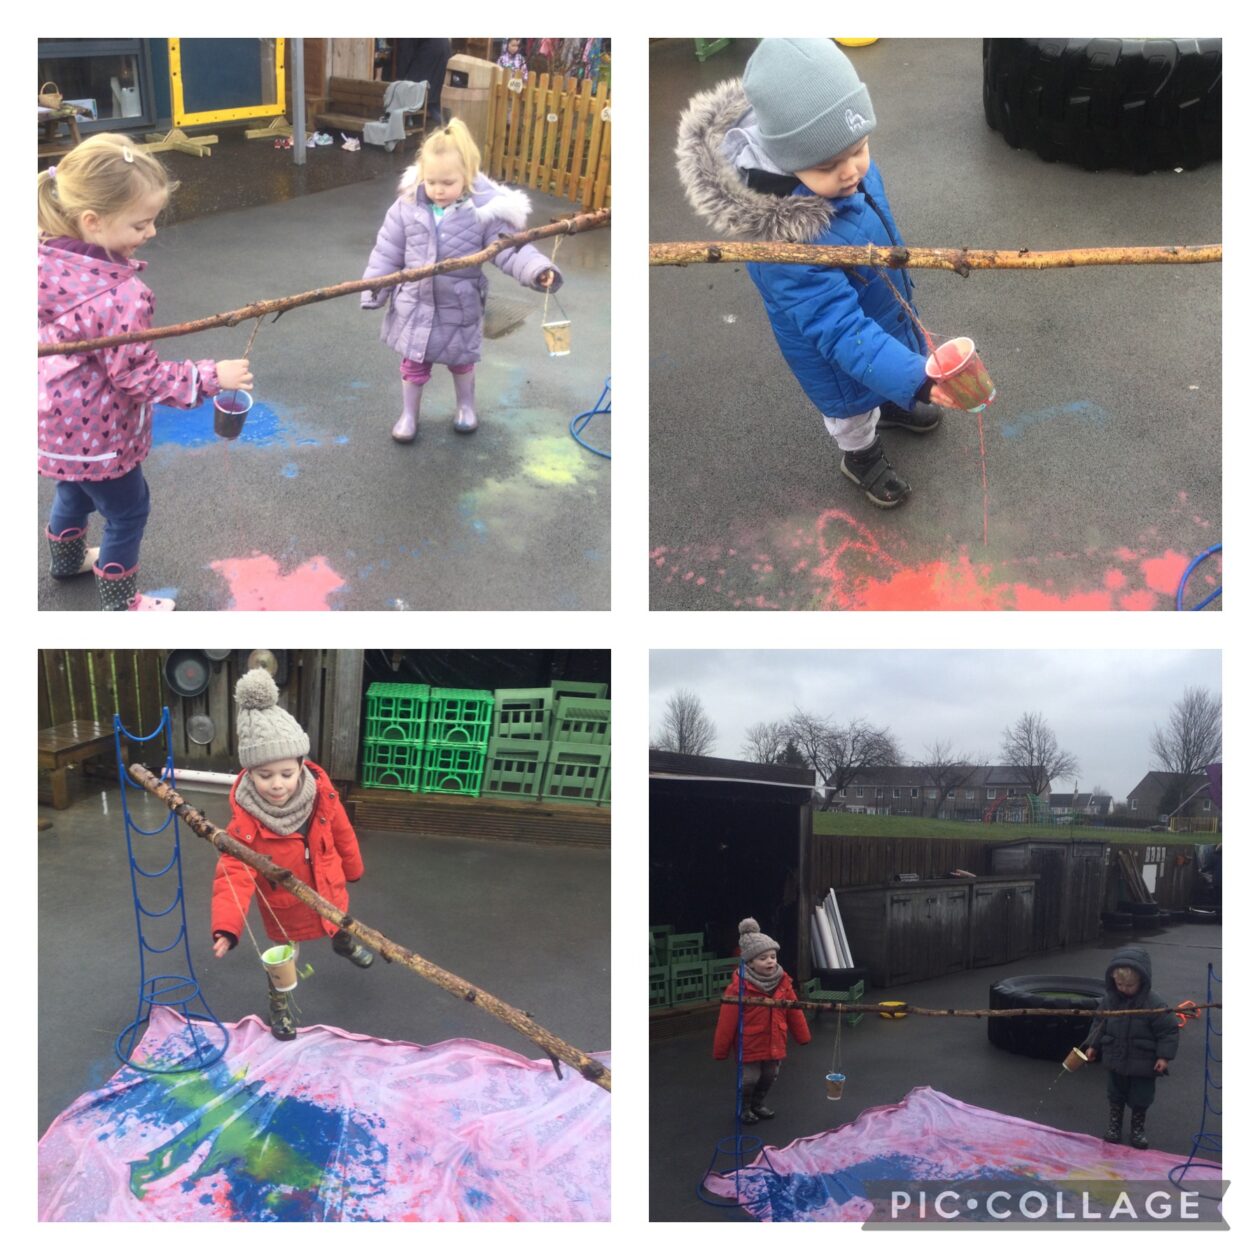
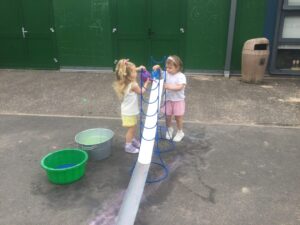
In our gross motor art area we have been exploring pouring, filling and colour mixing using large apparatus and loose parts. We enjoyed using the watering cans to pour the coloured water down the guttering and watch the colours mixing together at the end. We kept fixing the guttering when we had a “leak in the system” we had to work fast to fix it.
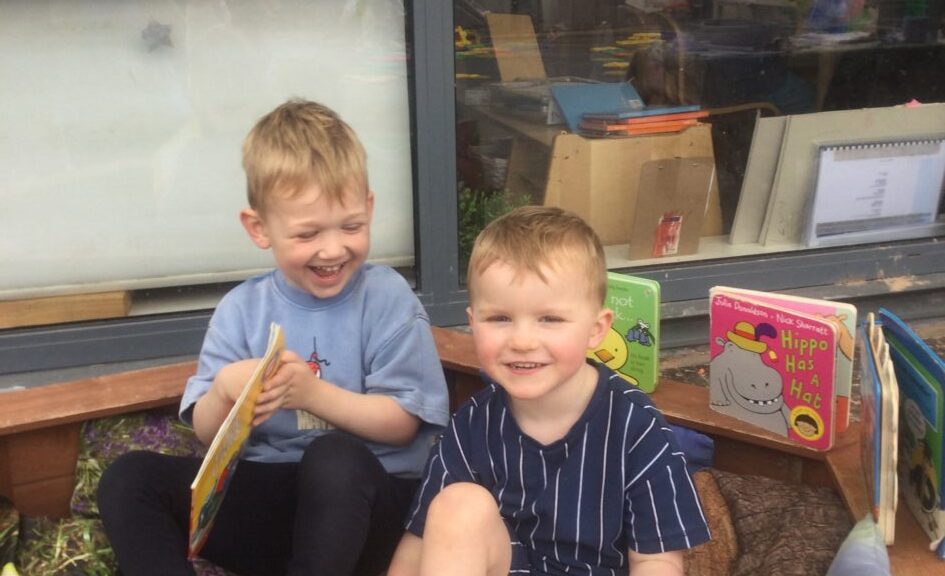
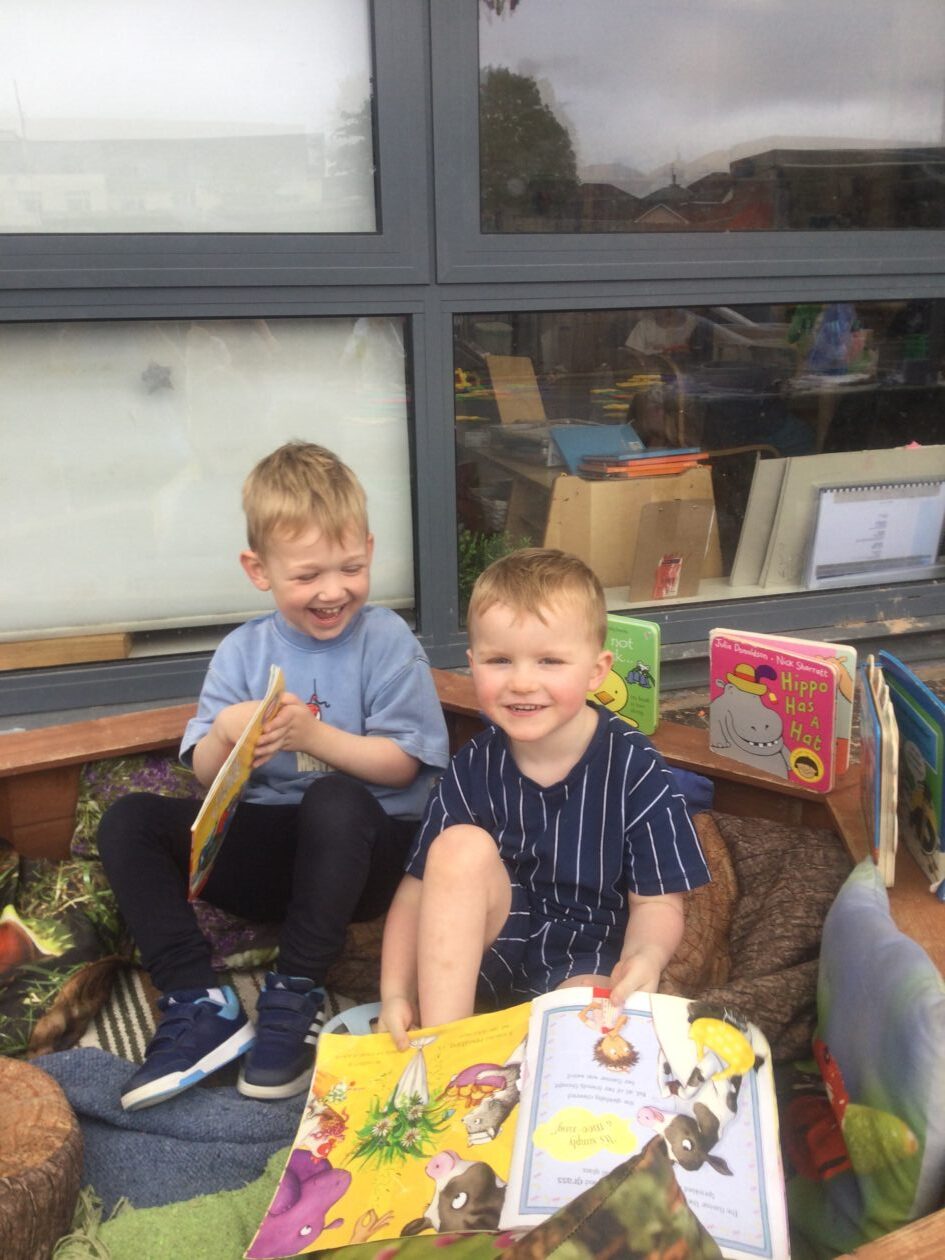
We changed our story area to give us a cosy comfortable area to share stories with friends. We love choosing our stories and the most comfortable cushion to sit on.

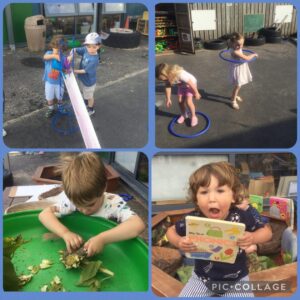
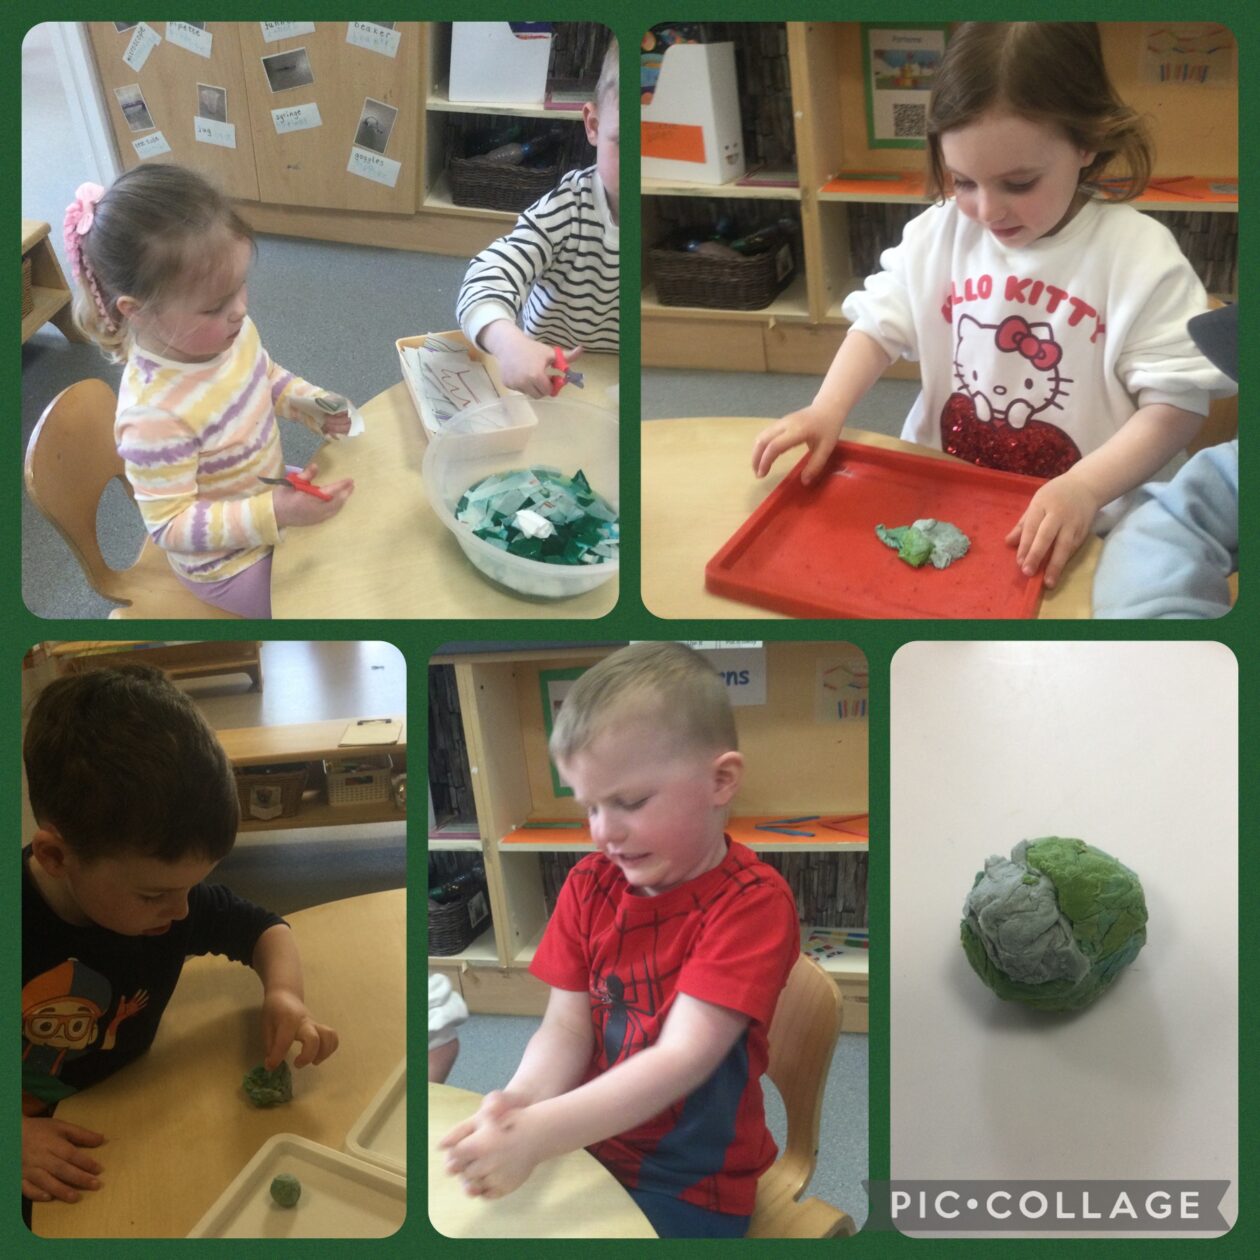
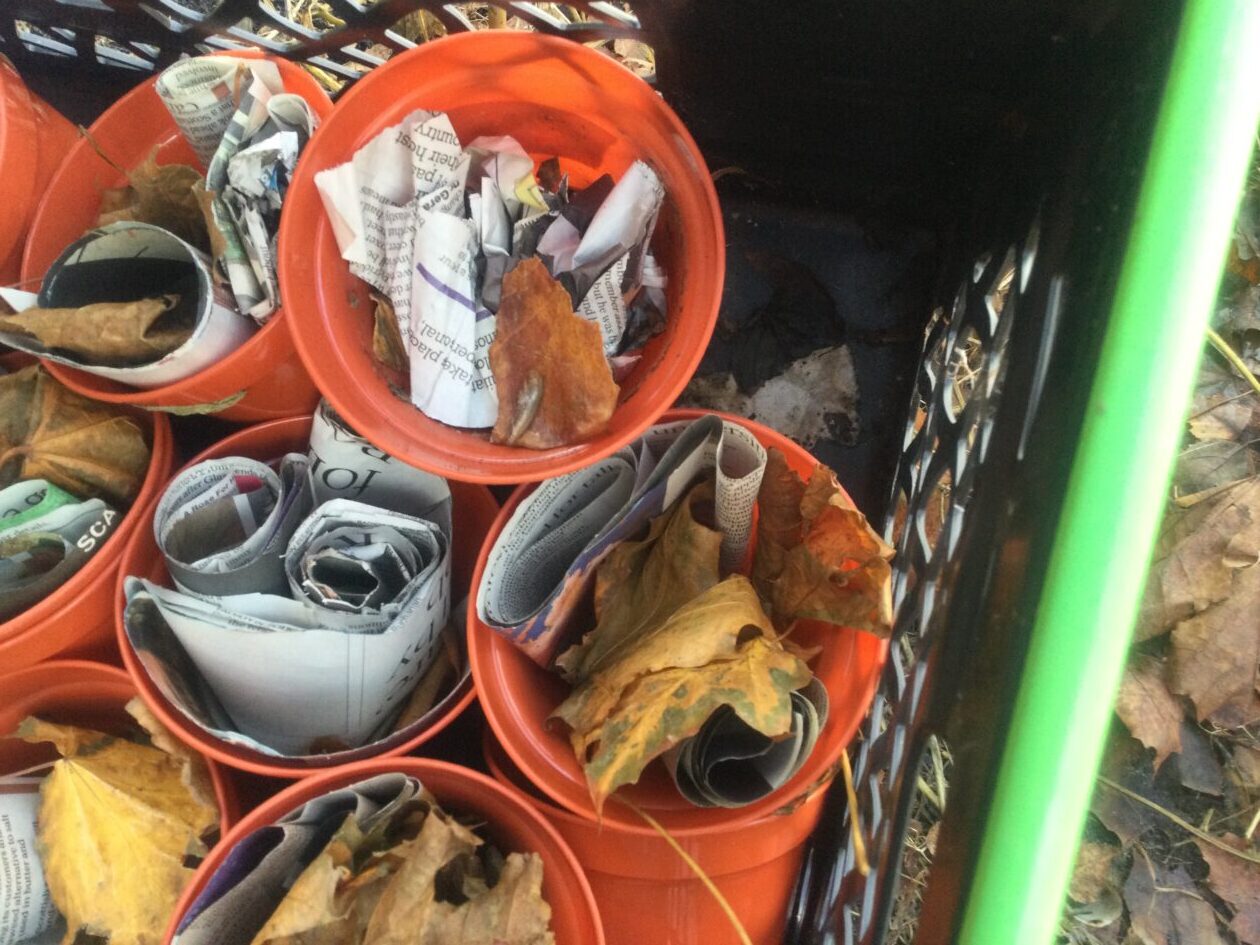
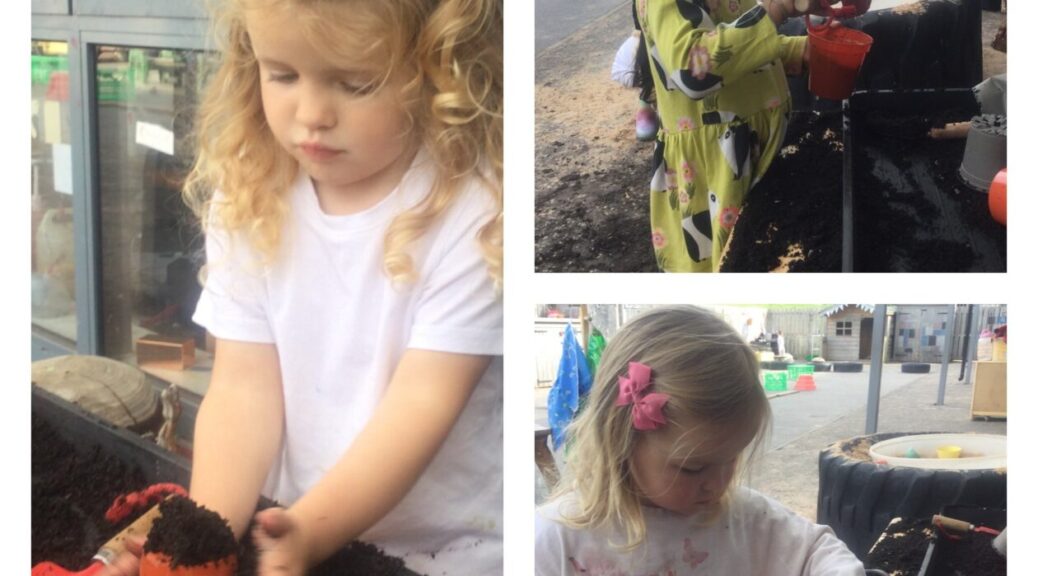
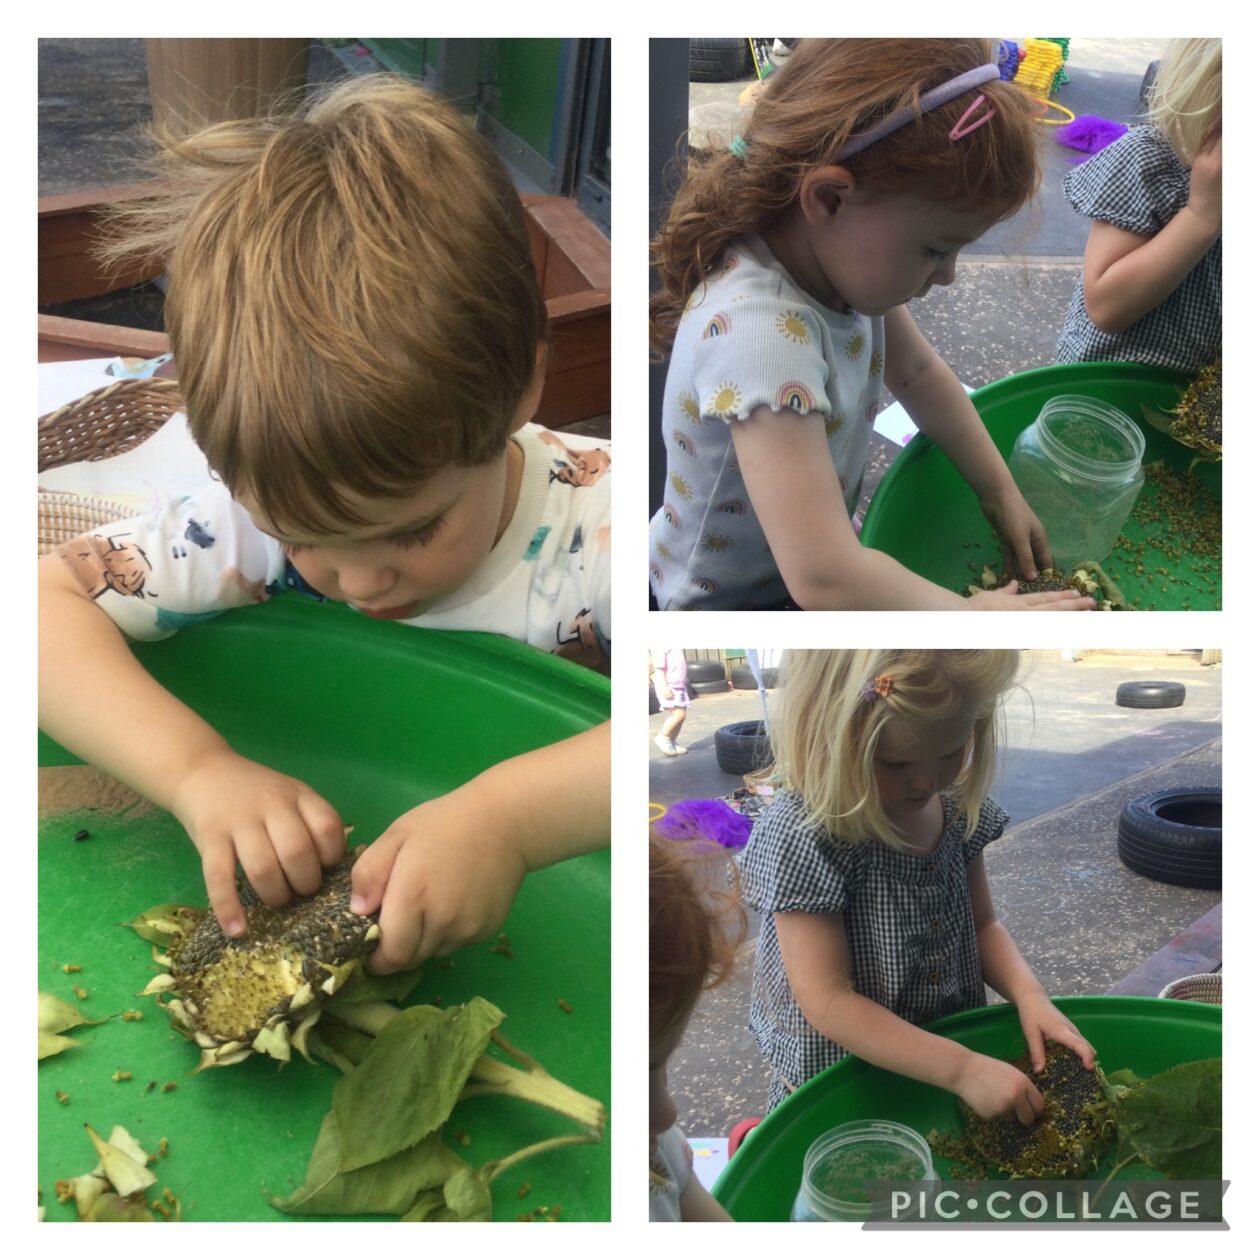
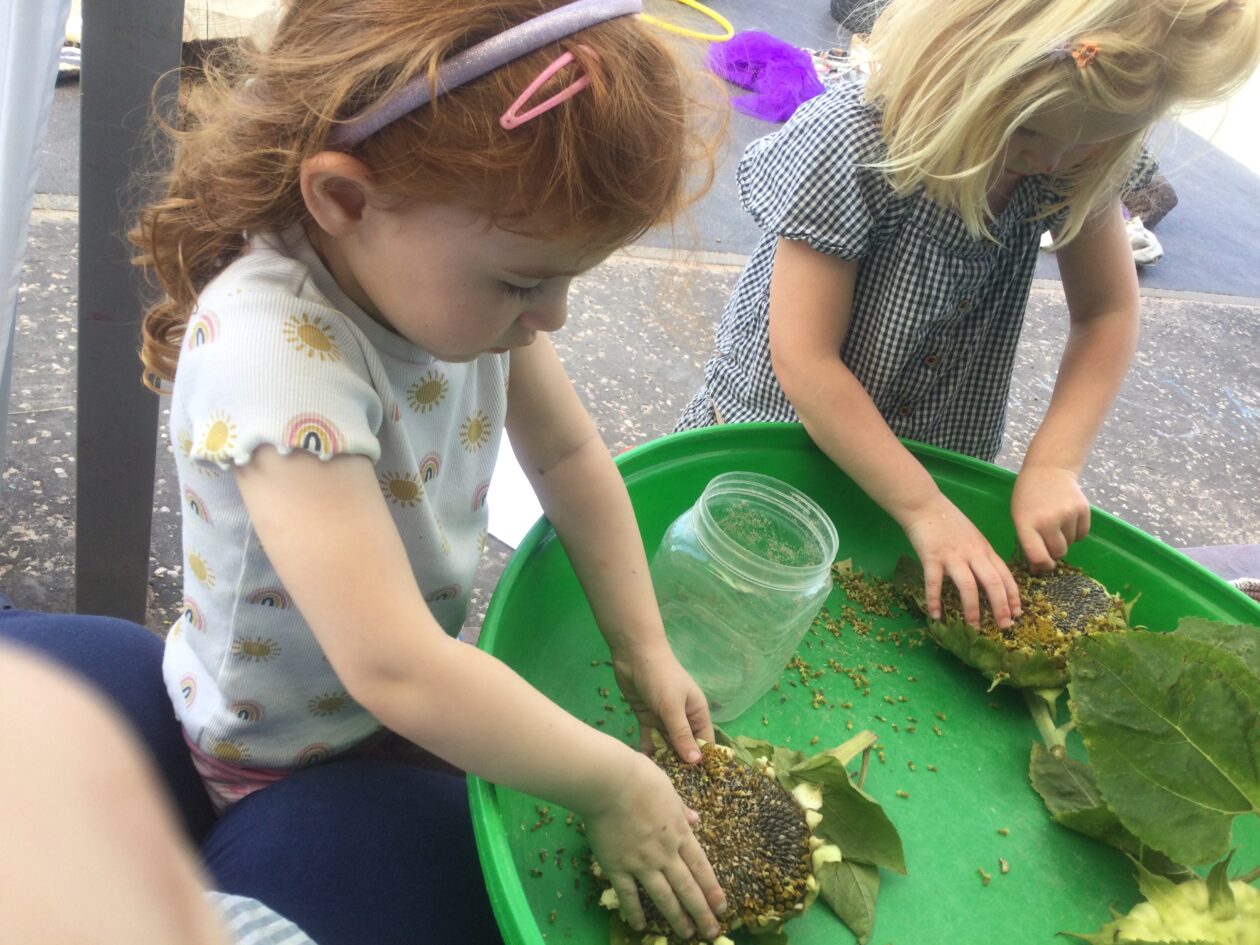
In our Planting area we have been exploring the seeds of the sunflowers that we had grown. By dissecting the sunflowers and removing the seeds, it allows us to replant them again and grow more sunflowers.

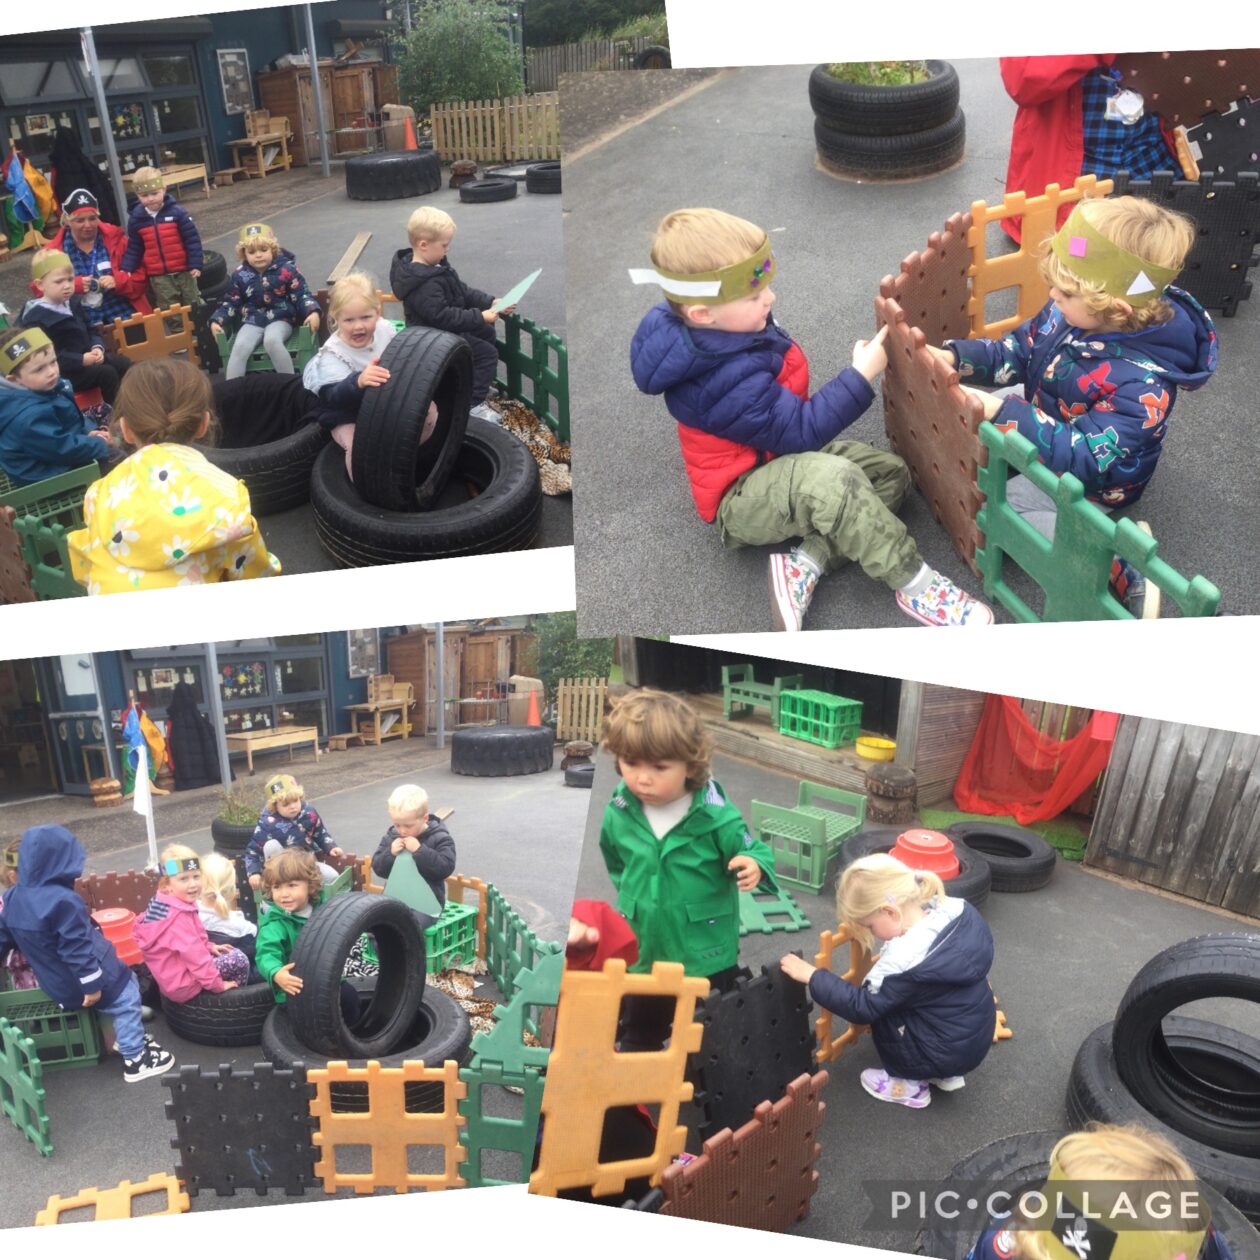
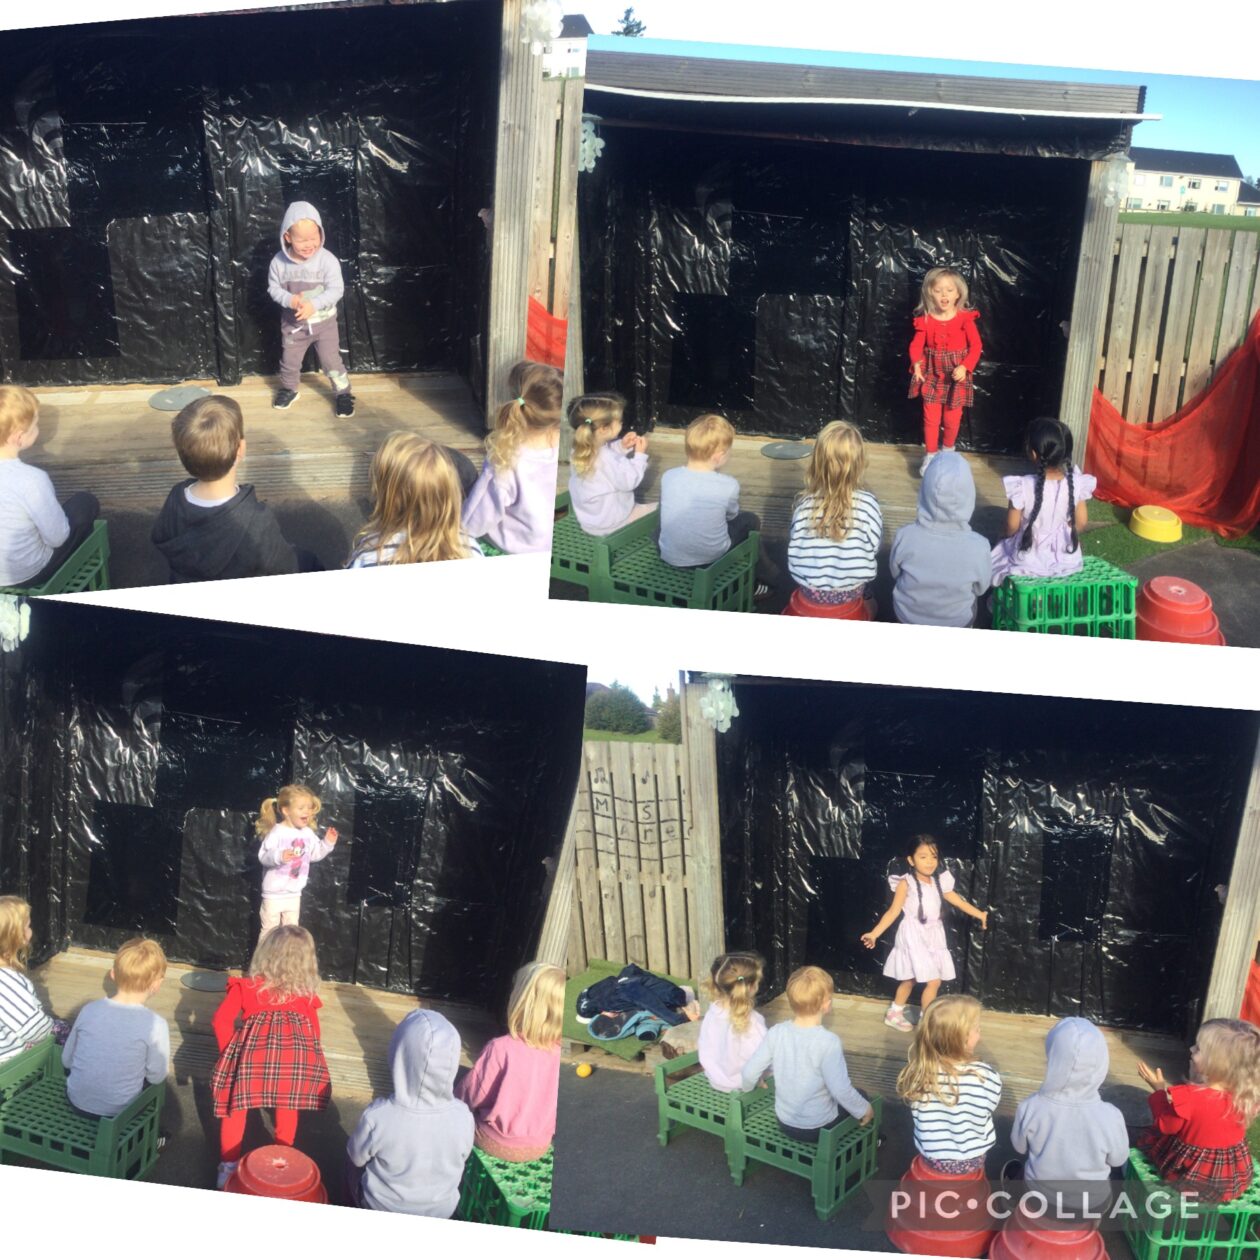
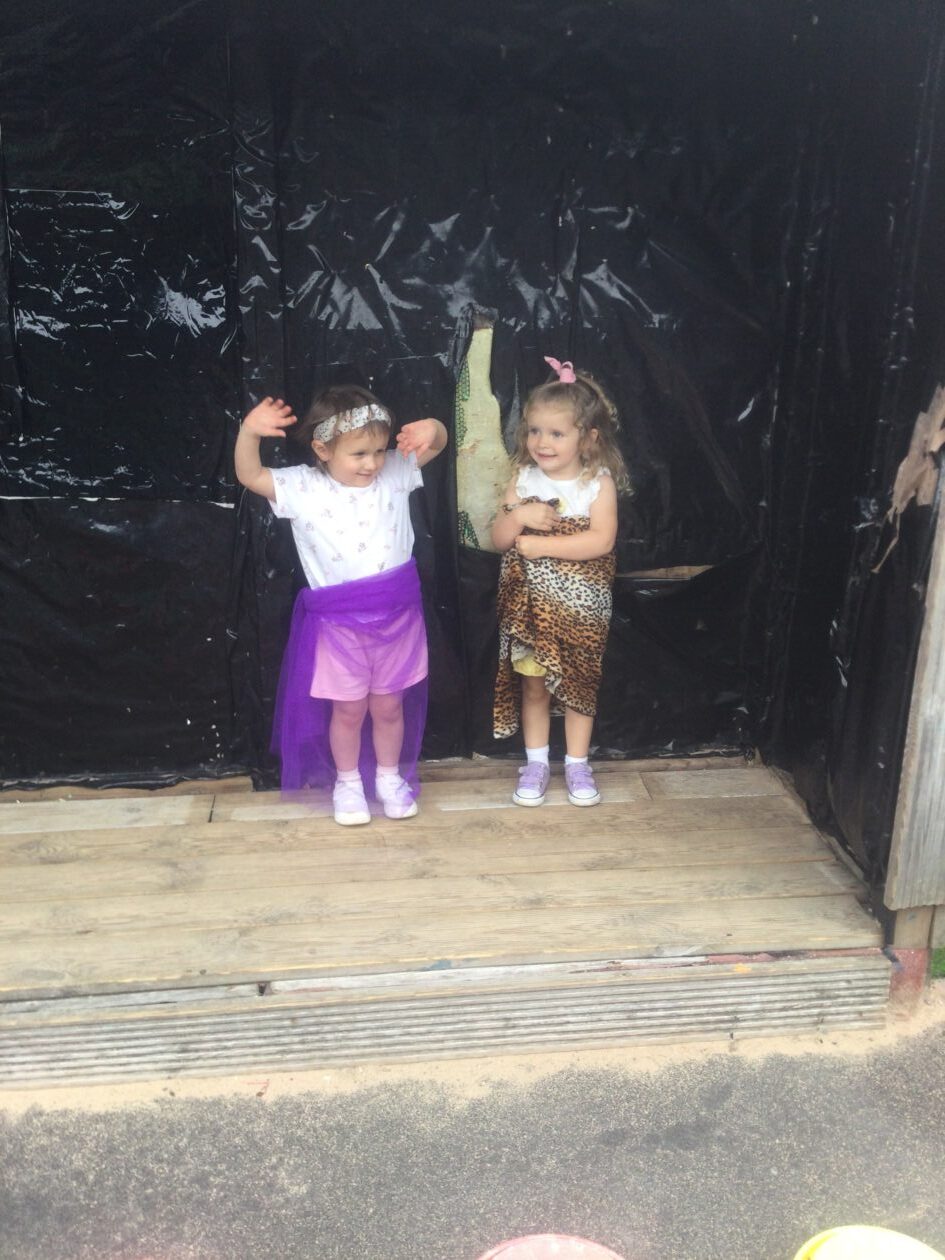
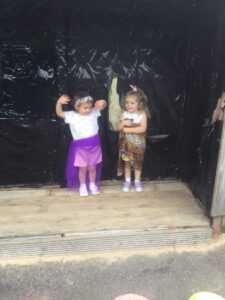
We have loved our stage where we have been dressing up and putting on shows for our audience. We have had lots of renditions of “let it go”.
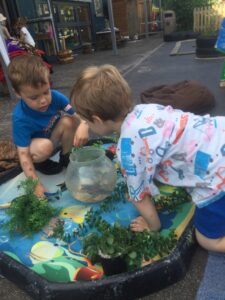
We have enjoyed our small world areas where we have had mini beasts, farm and sea animals to play with. The children liked the sea animals the best. We made our very own “aquarium”.
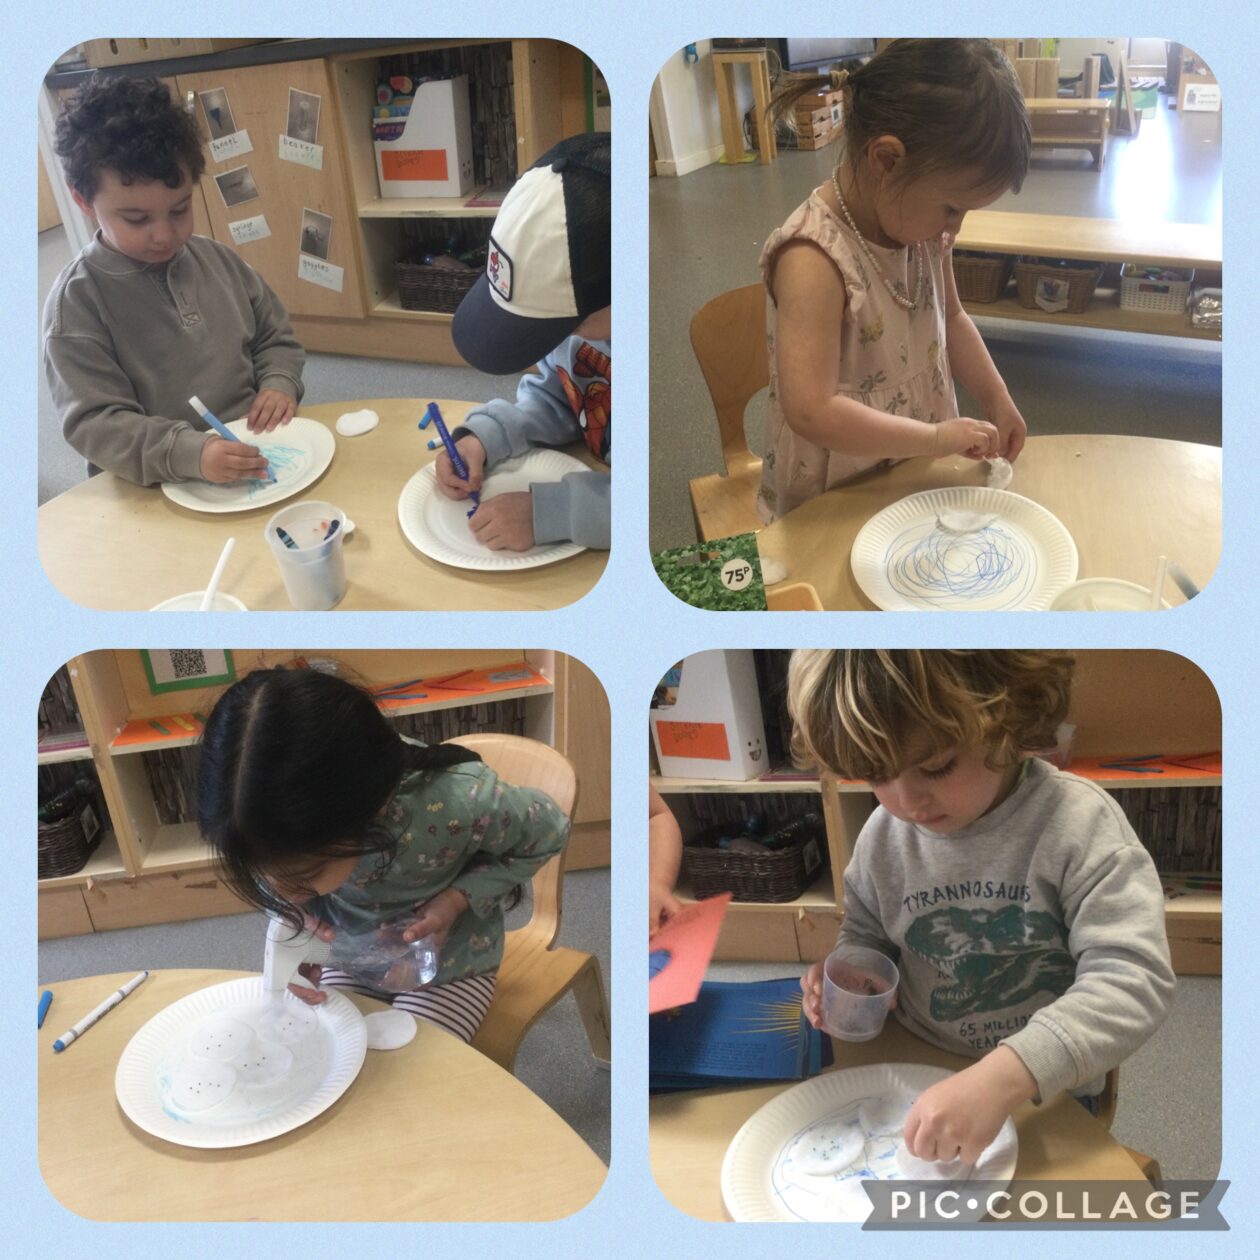
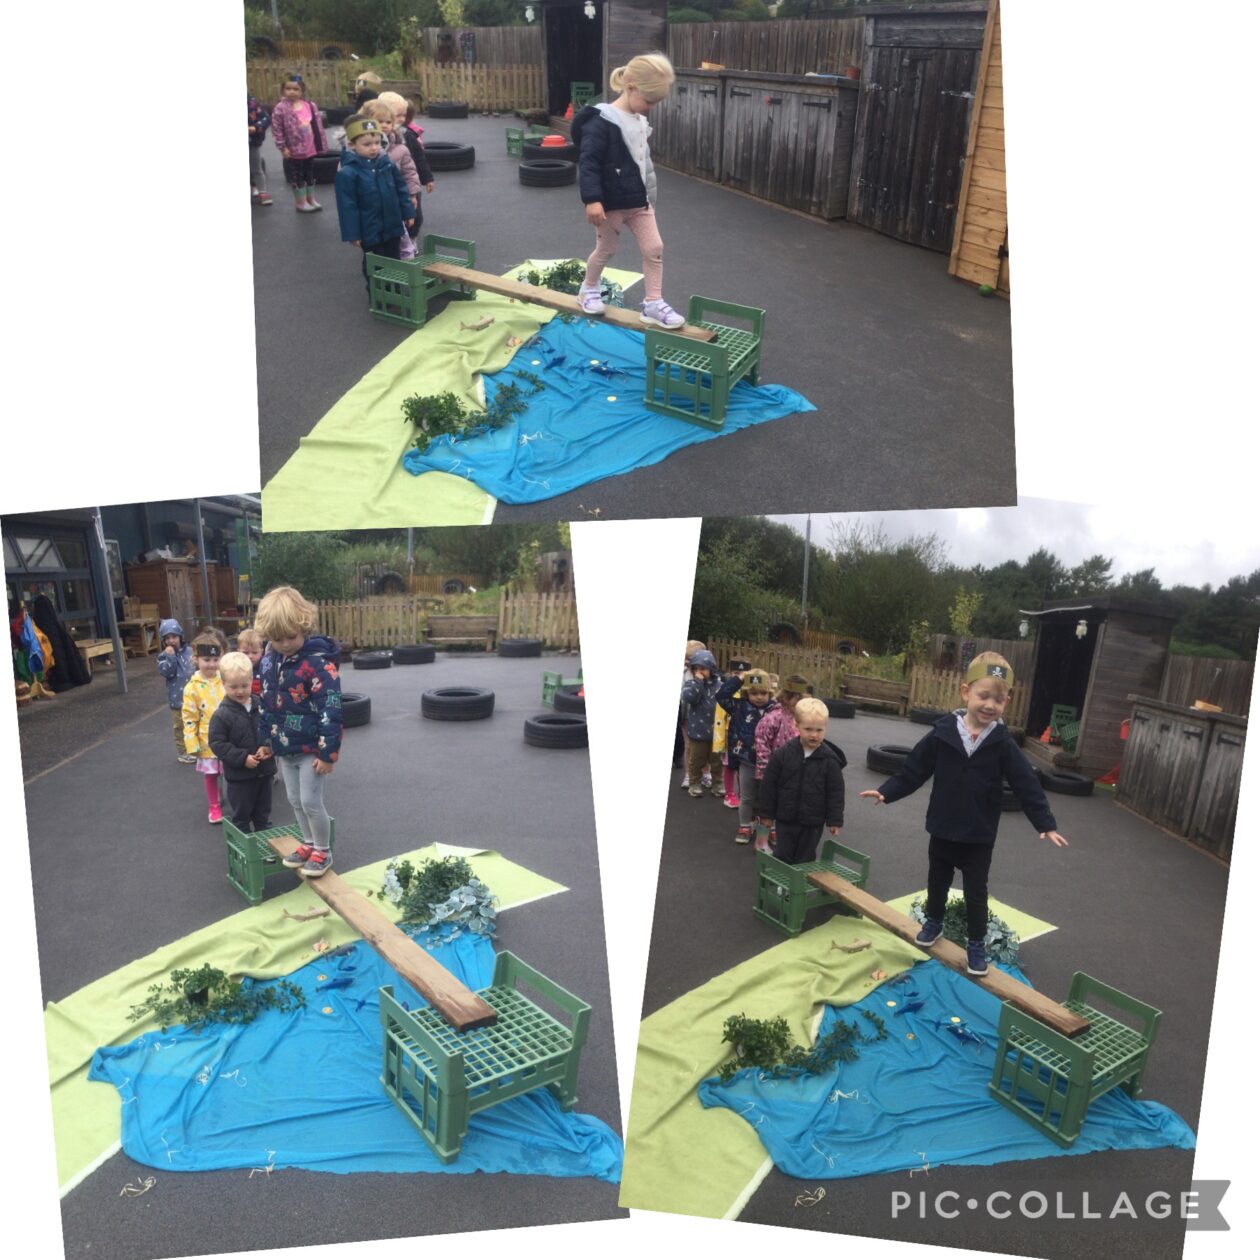
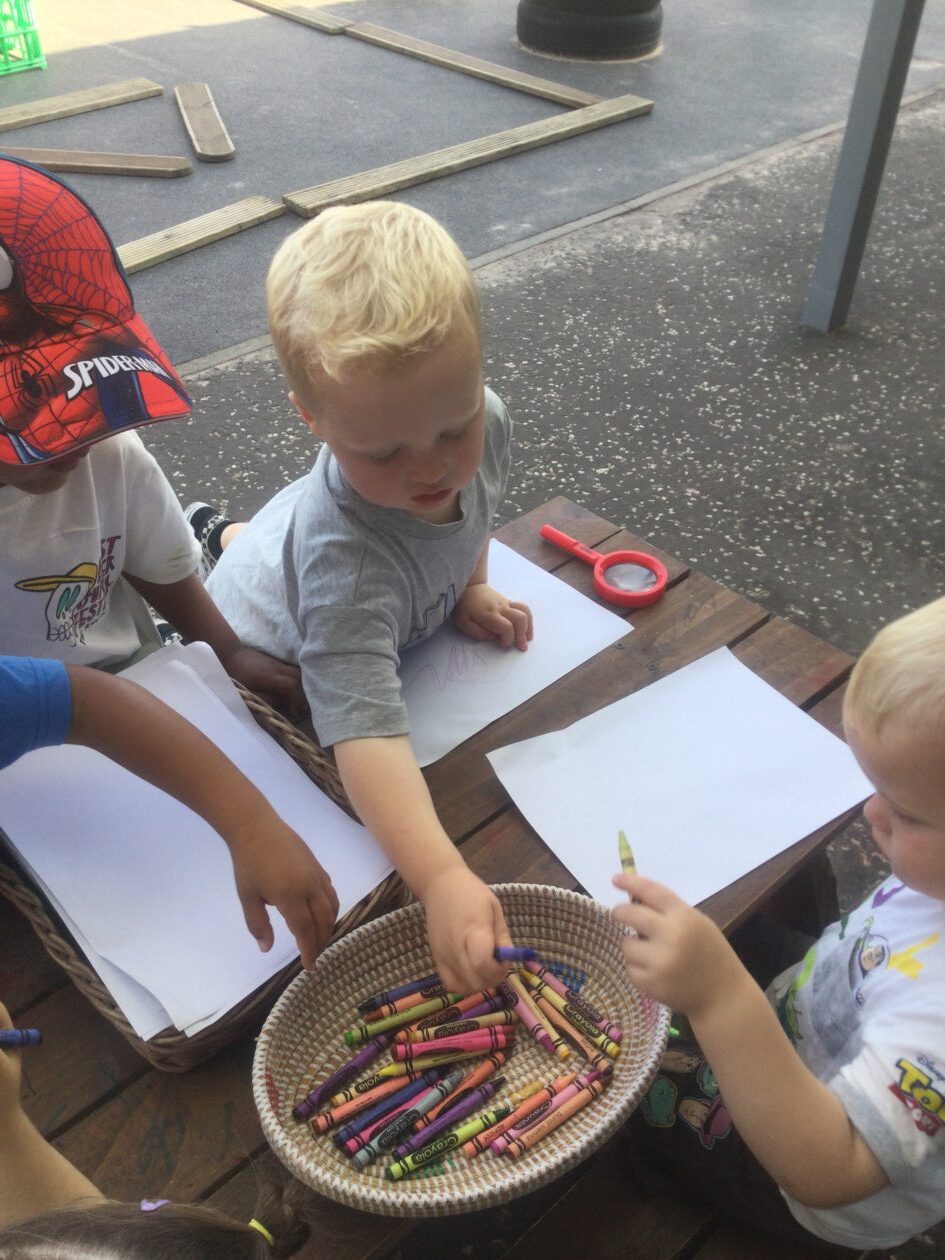
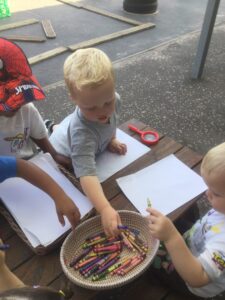
We have been mark making at our writing area. We have been making treasure maps and hunting for the X that marks the spot. We have been using our imagination to become pirates searching for the lost treasure, following the clues on our maps.
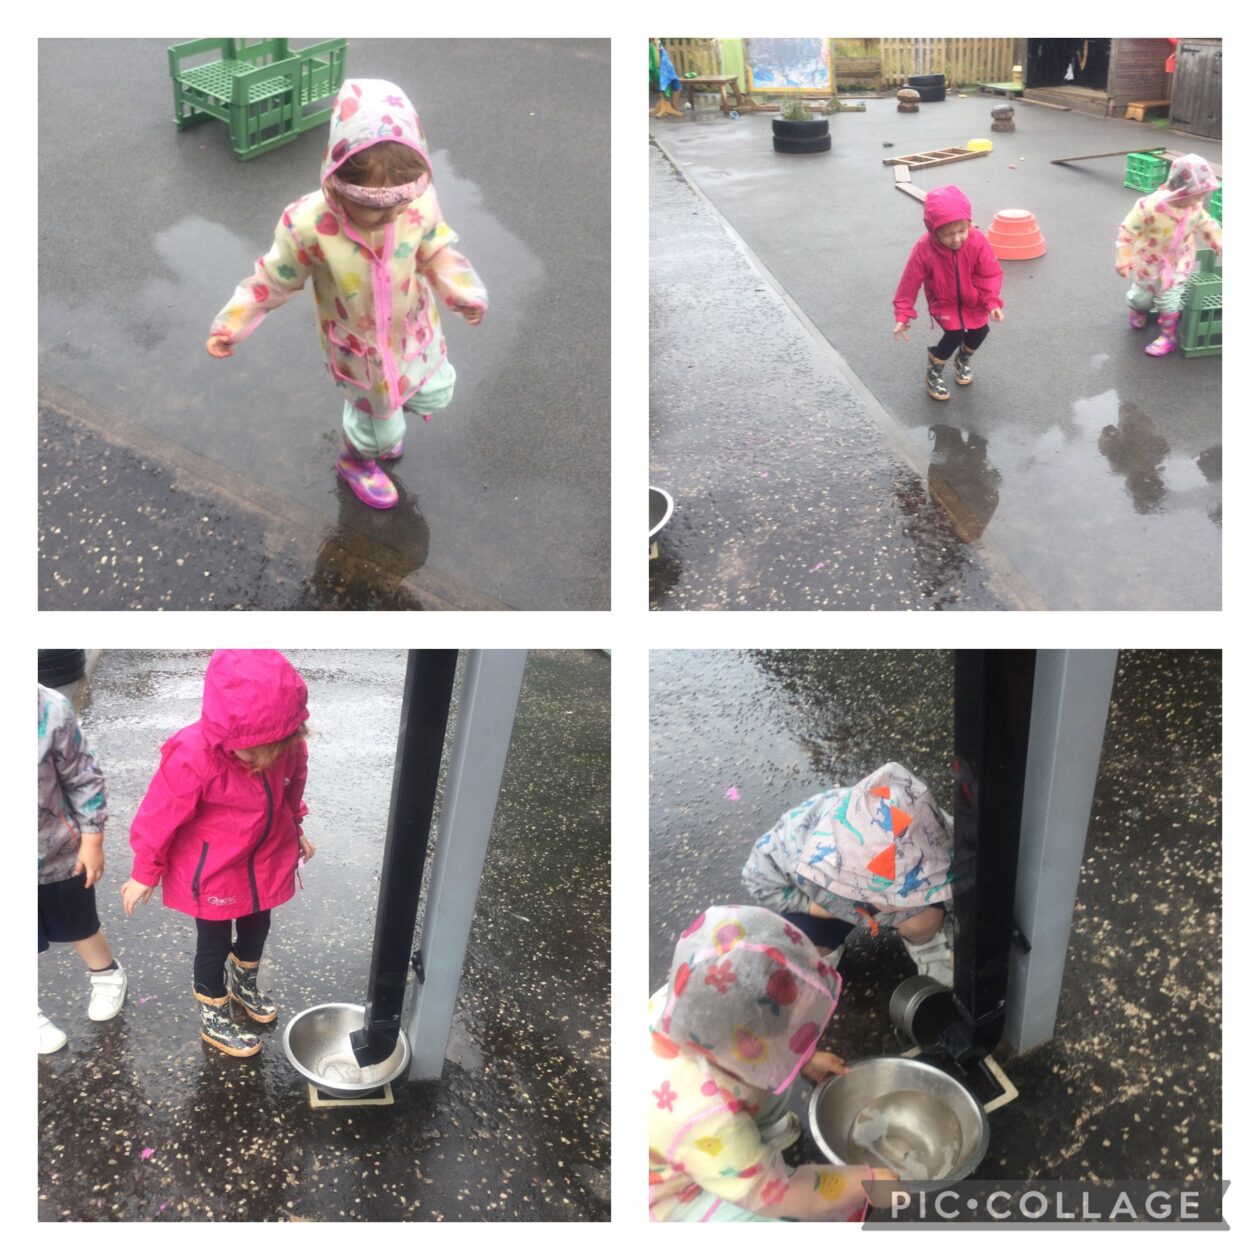
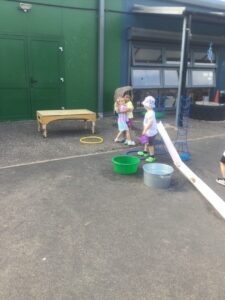
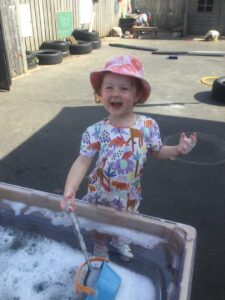
In our Water area we have continued our pouring and filling and used both large and small piplets to transport water. We’ve enjoyed water play in our warm weather.
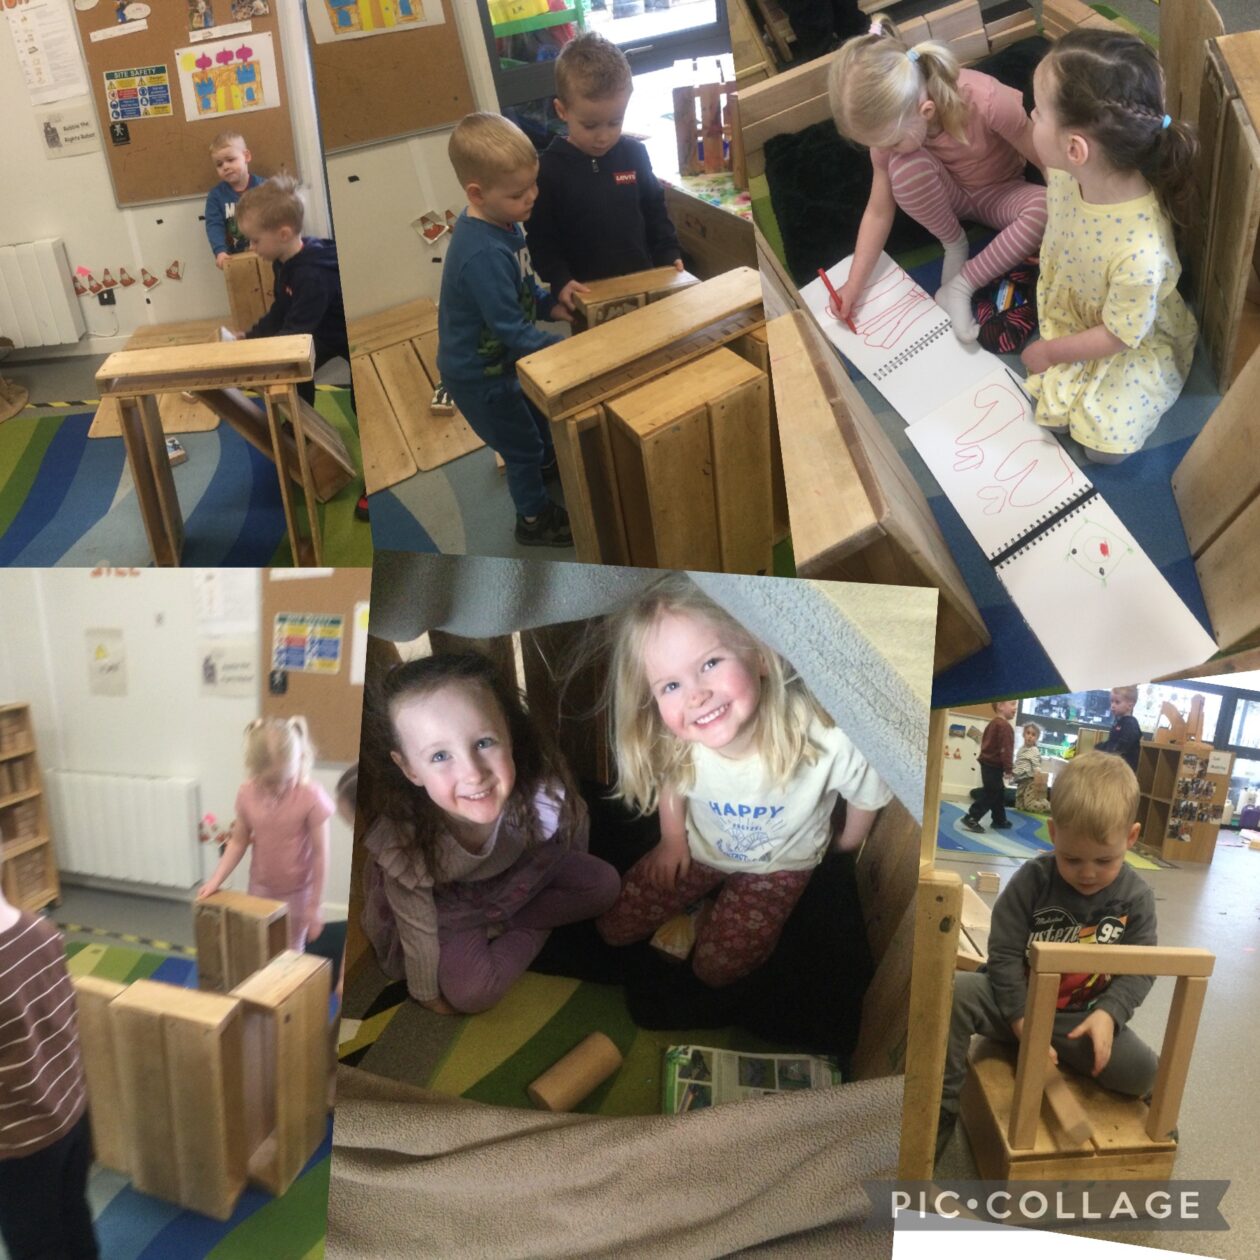
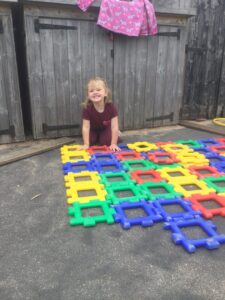
In our construction area we have been using the polydron to build wonderful creations such as dens and houses. We added loose parts and material to bring our creations to life. We worked together to problem solve and share our design process.

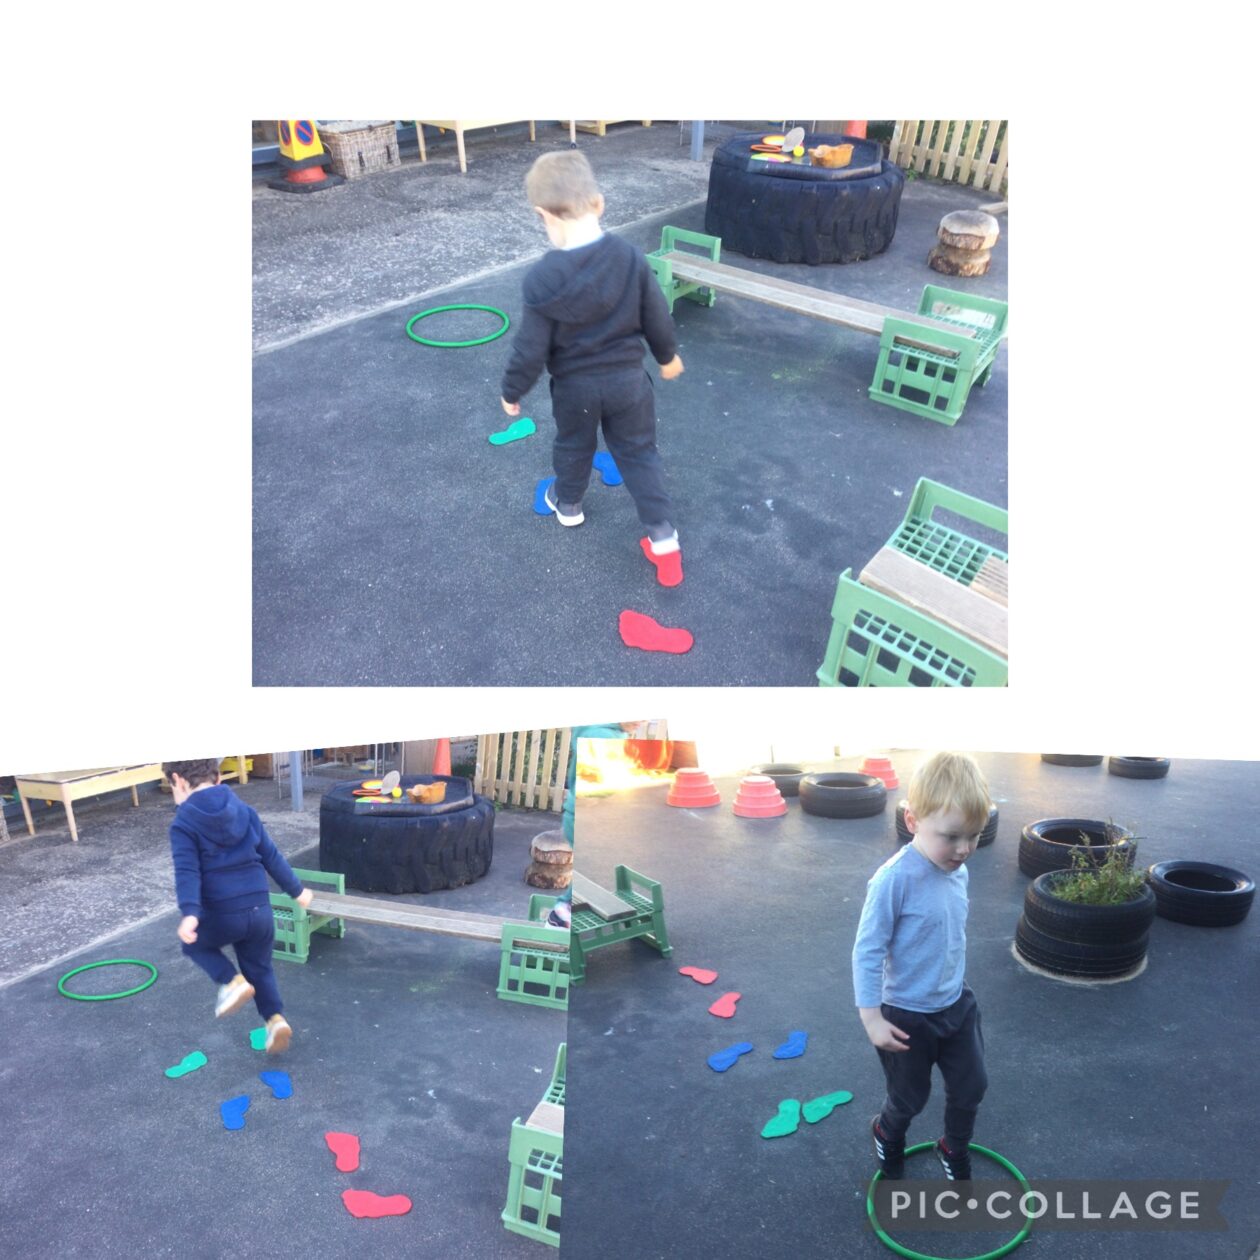
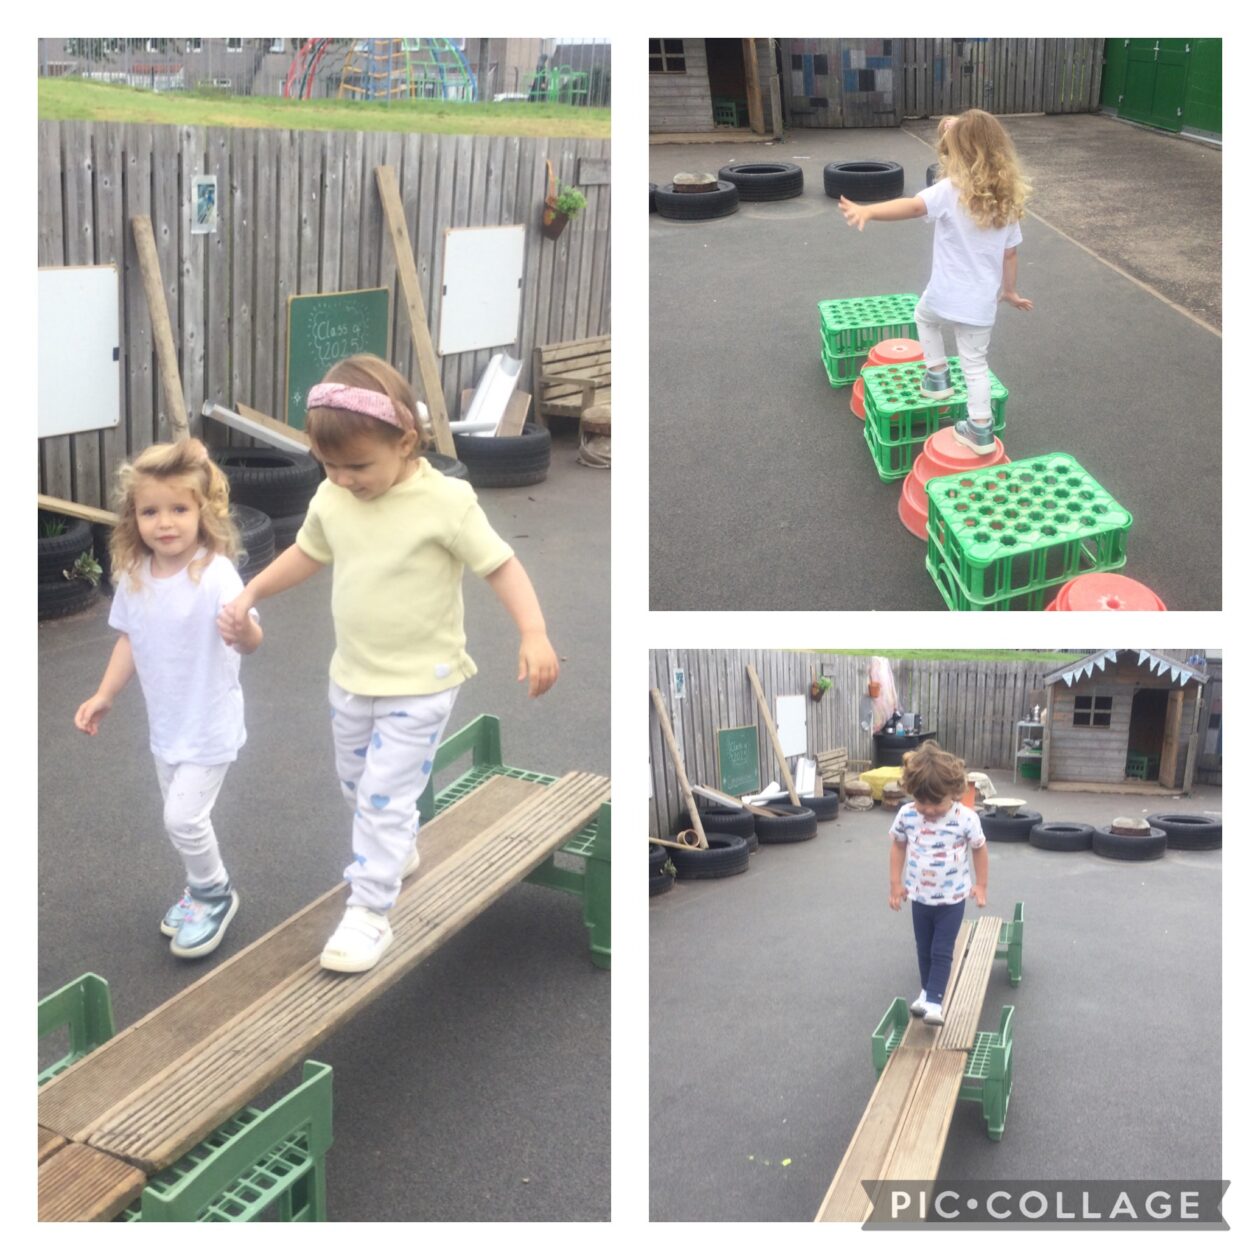
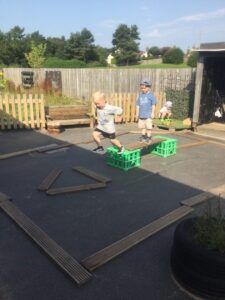
At our Muddy movers area we have been building and creating our own obstacles course. We have been discussing how to stay safe and risk asses our play. We have enjoyed balancing, climbing and jumping. The children are enjoying adding different challenge to our obstacle courses.
It’s been so much fun I wonder what will will get up to next week.
Au revior everyone