This week in the snack area, we’ve been exploring foods from around the world, sparked by the children noticing that the fruit we eat comes from different countries. Our focus this week was on making pitta bread and hummus, a delicious snack enjoyed in many Middle Eastern countries. We looked online to find a recipe we could follow. Let’s find out how we made them. 😃
Step 1: Making the Pitta Bread
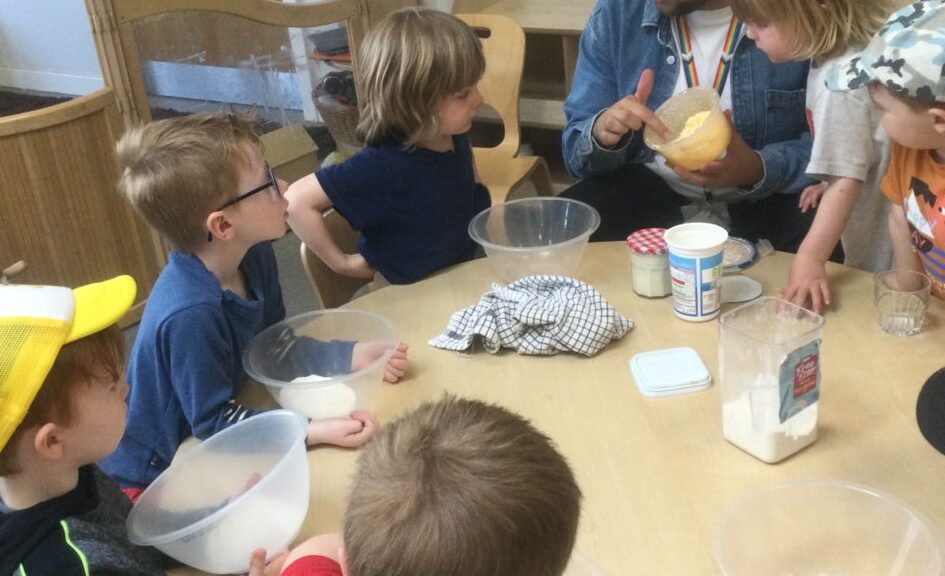
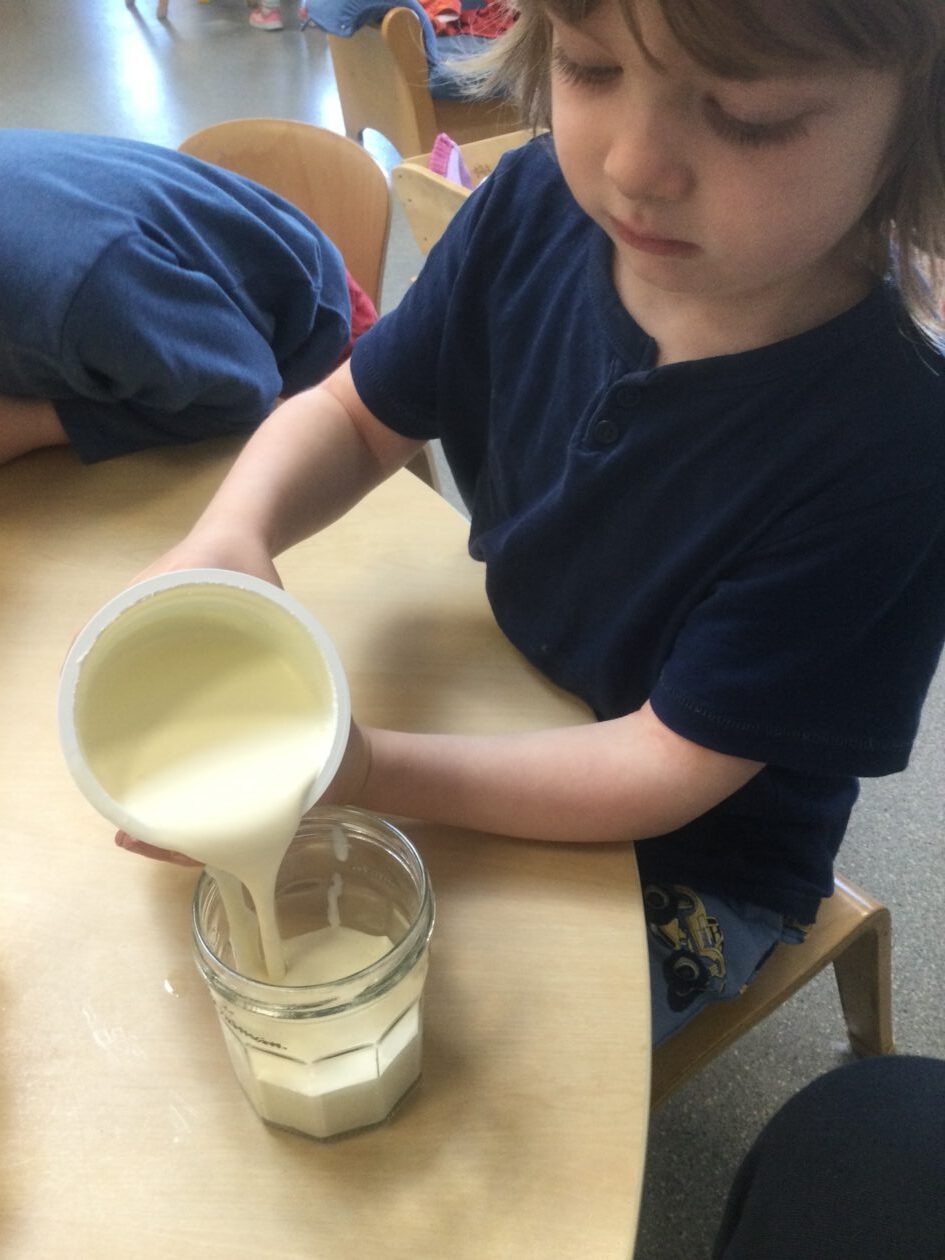
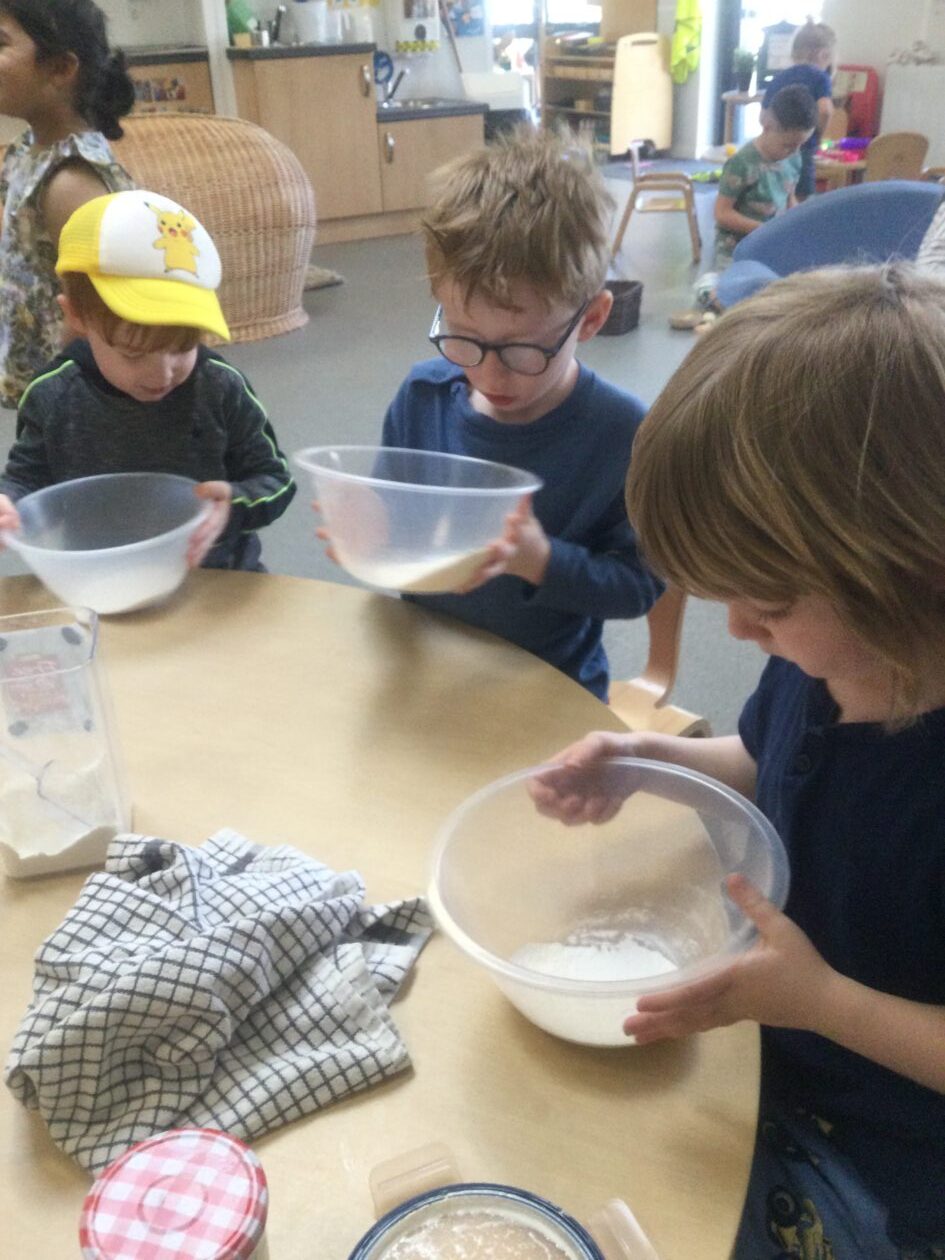
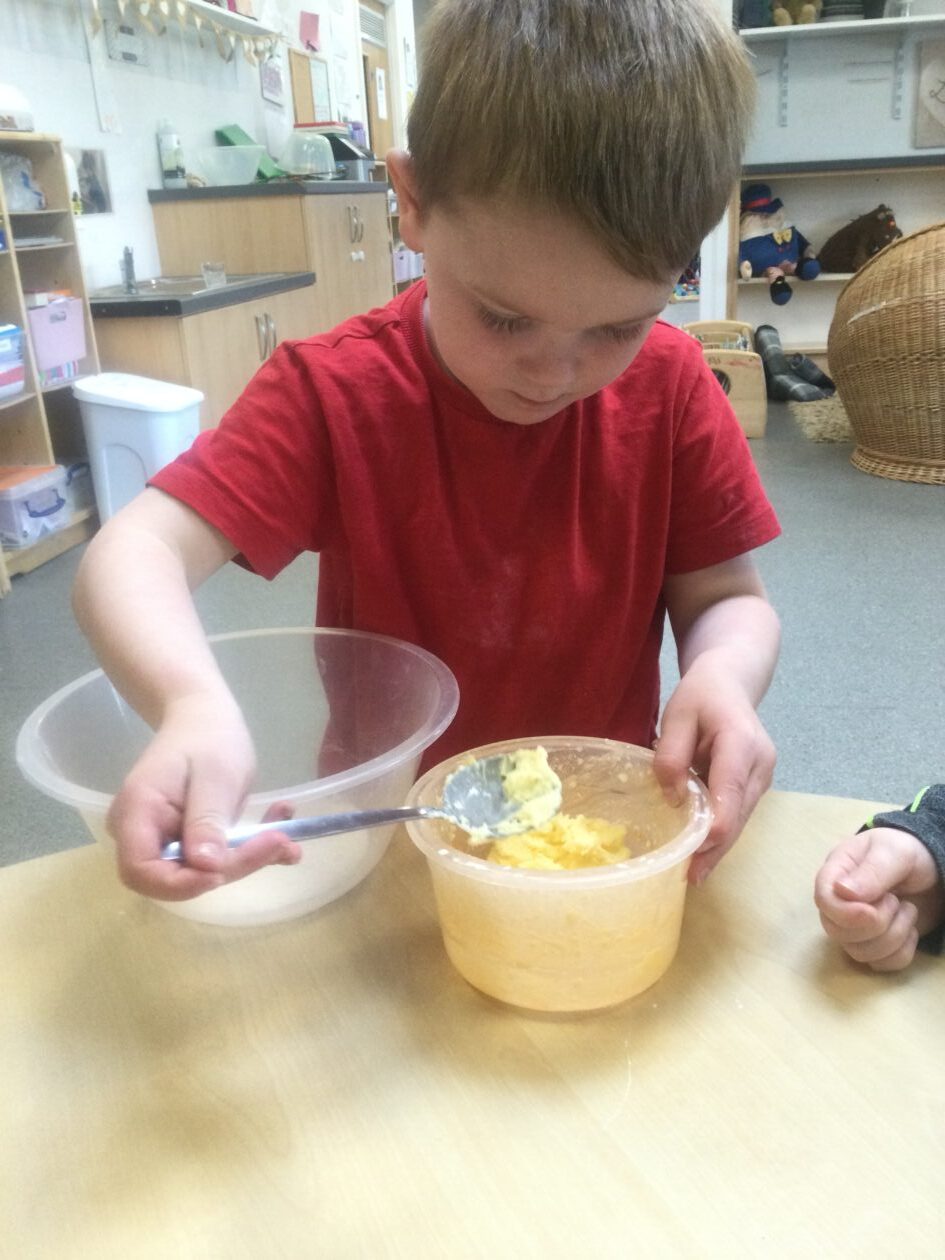
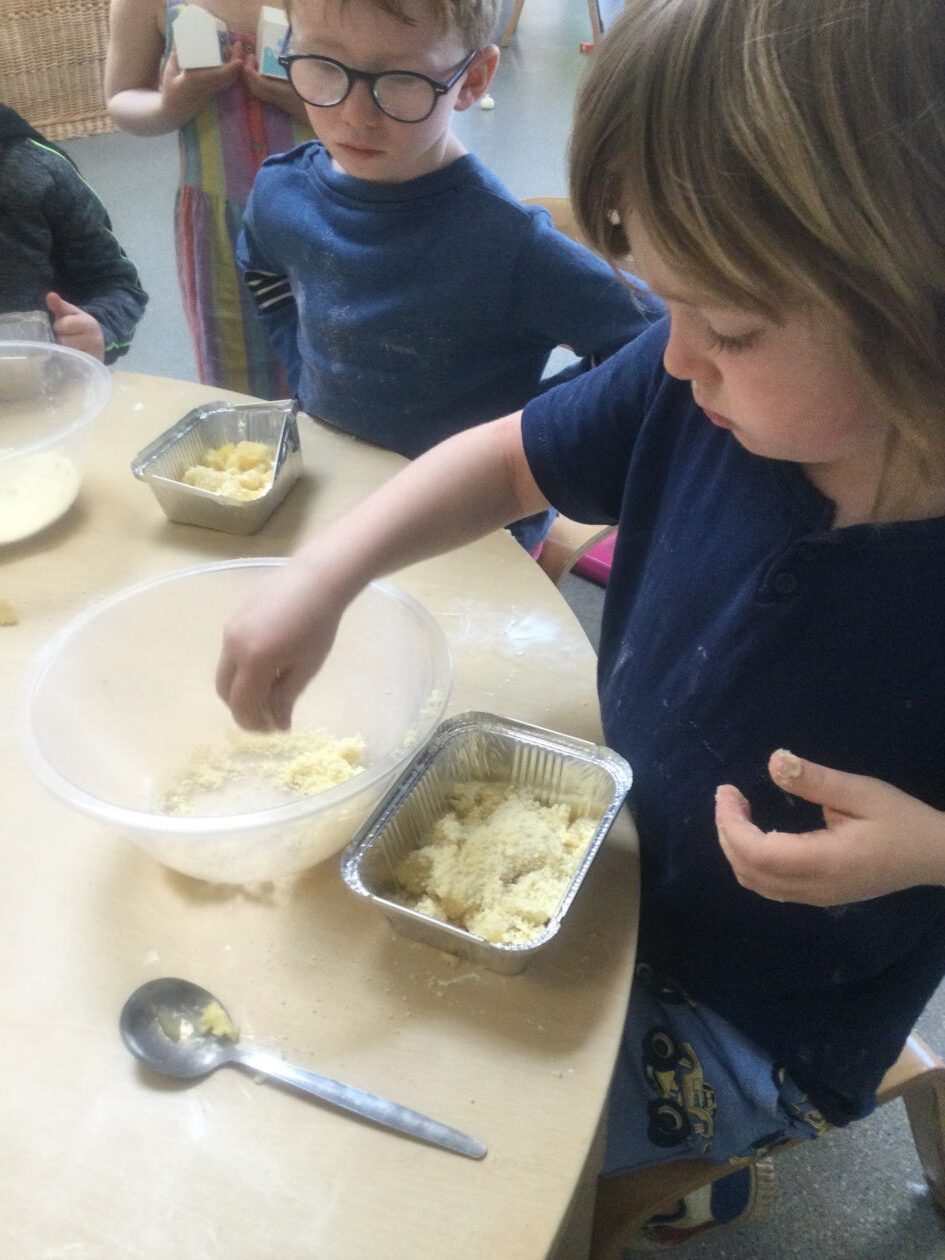
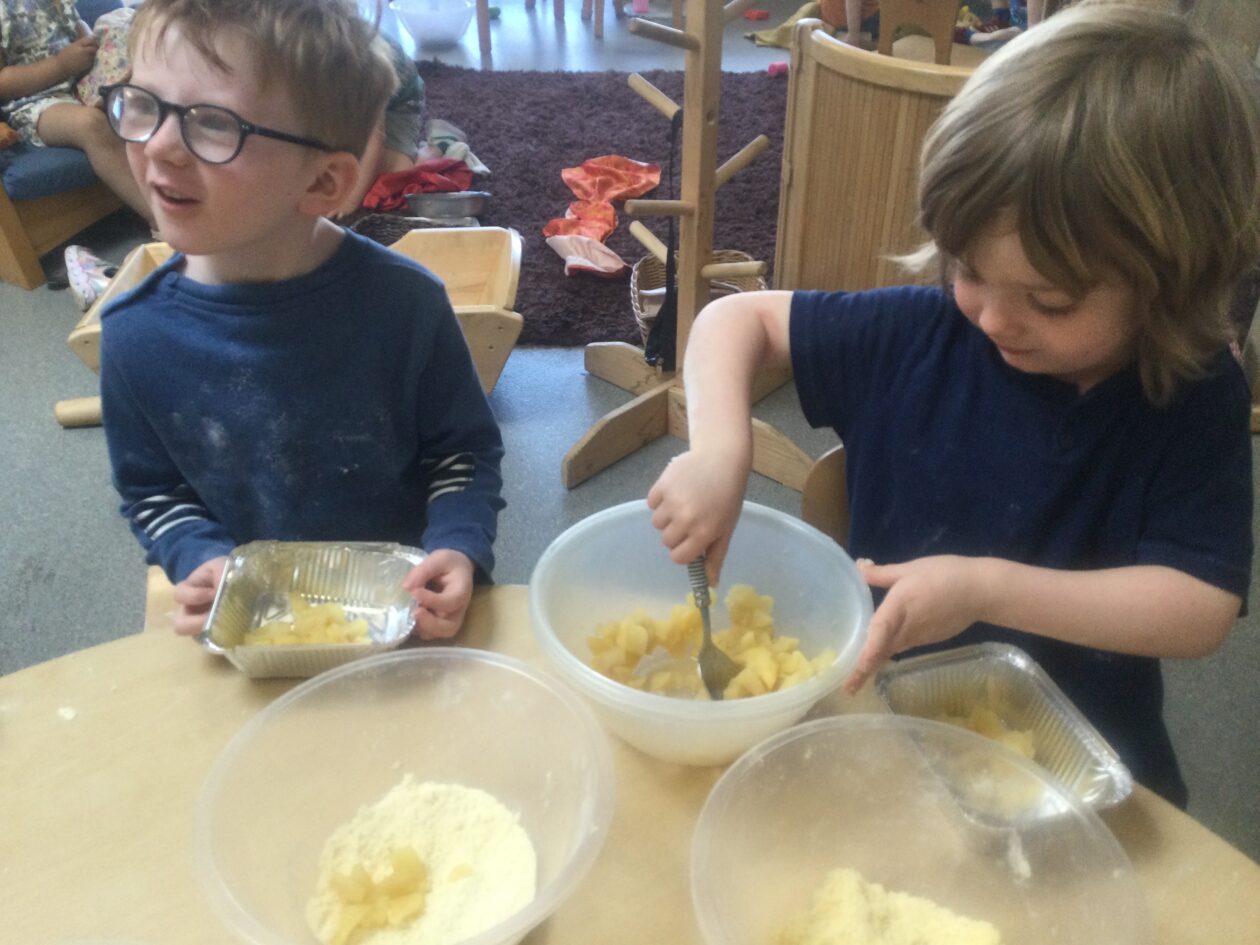
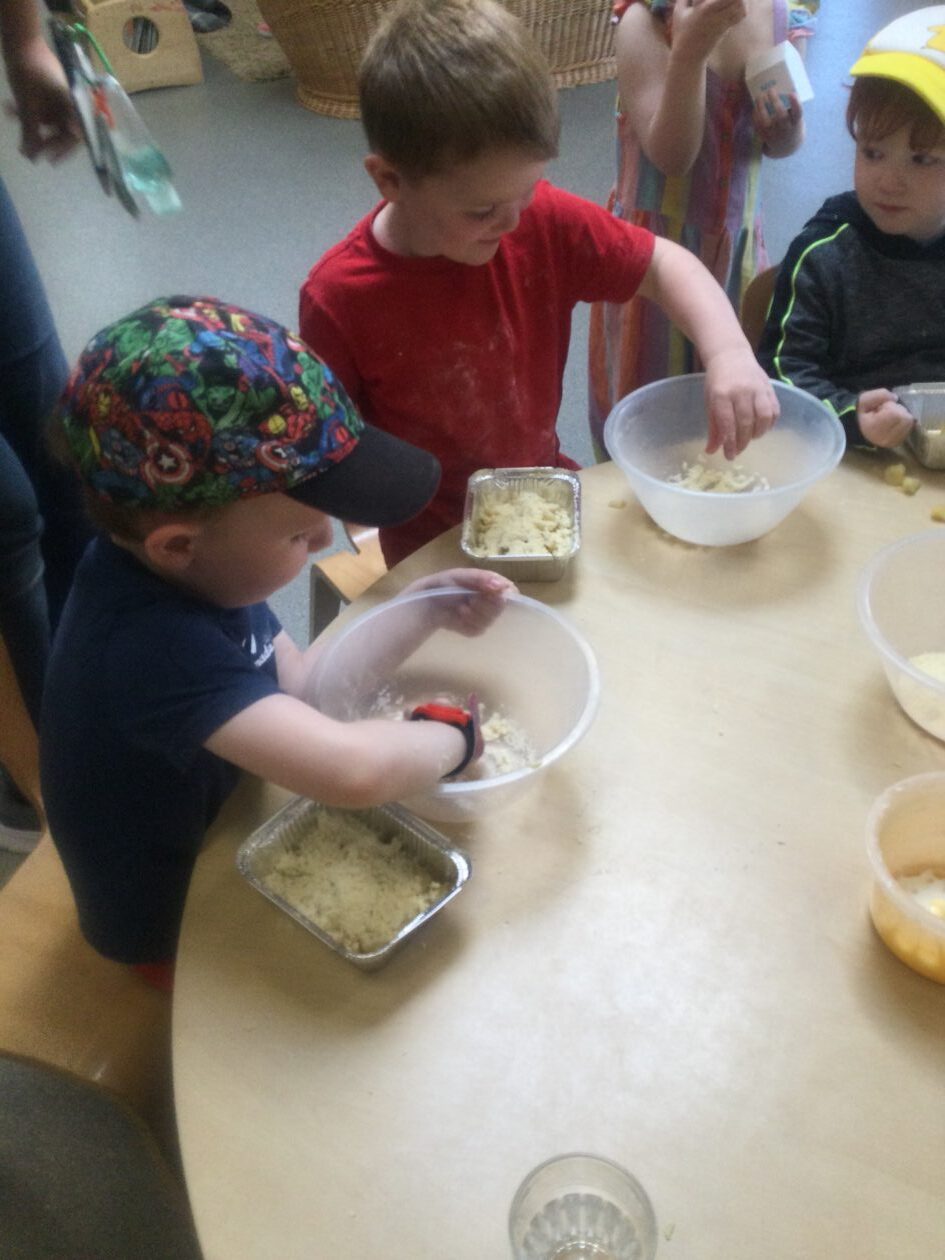
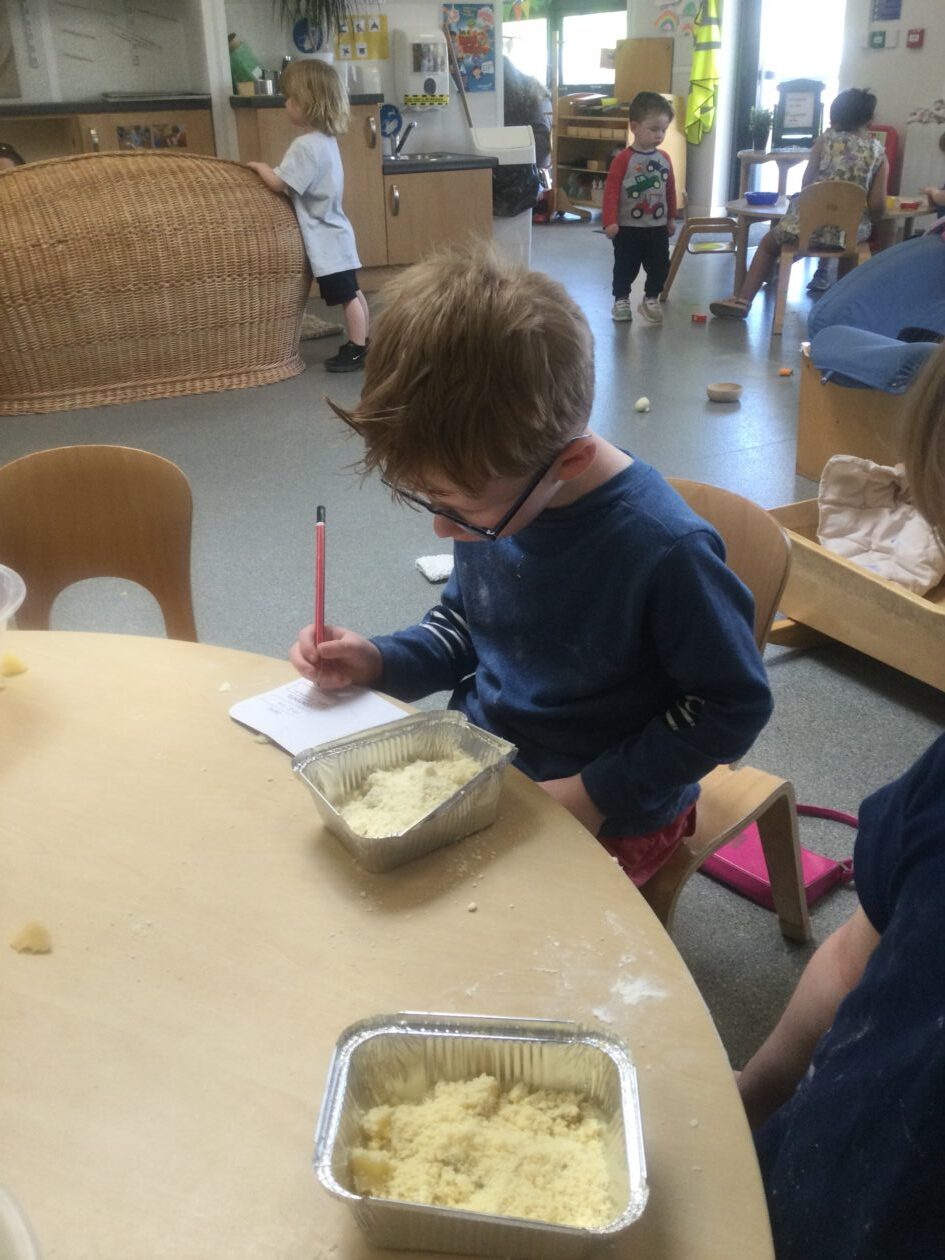
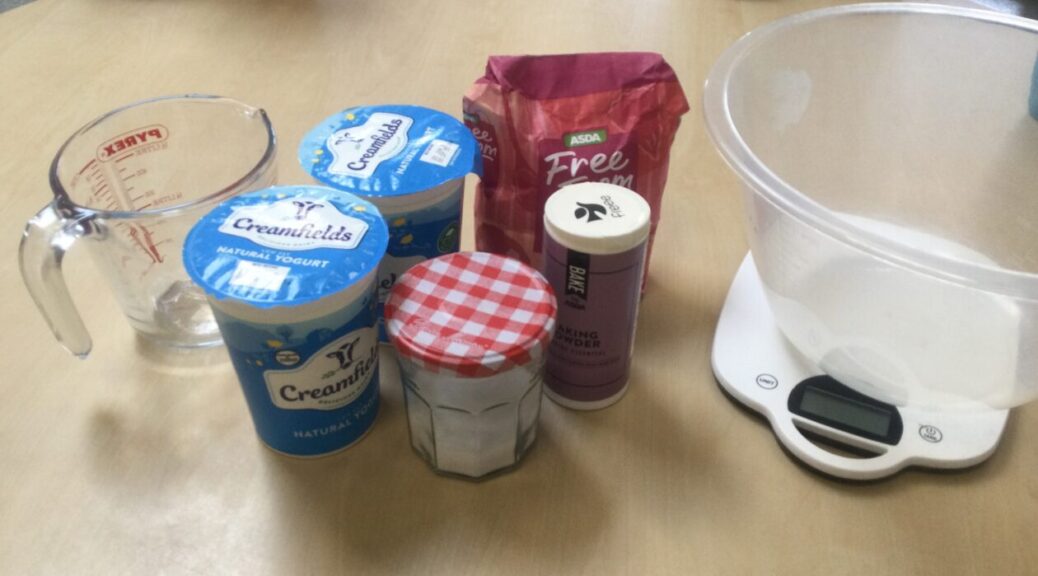
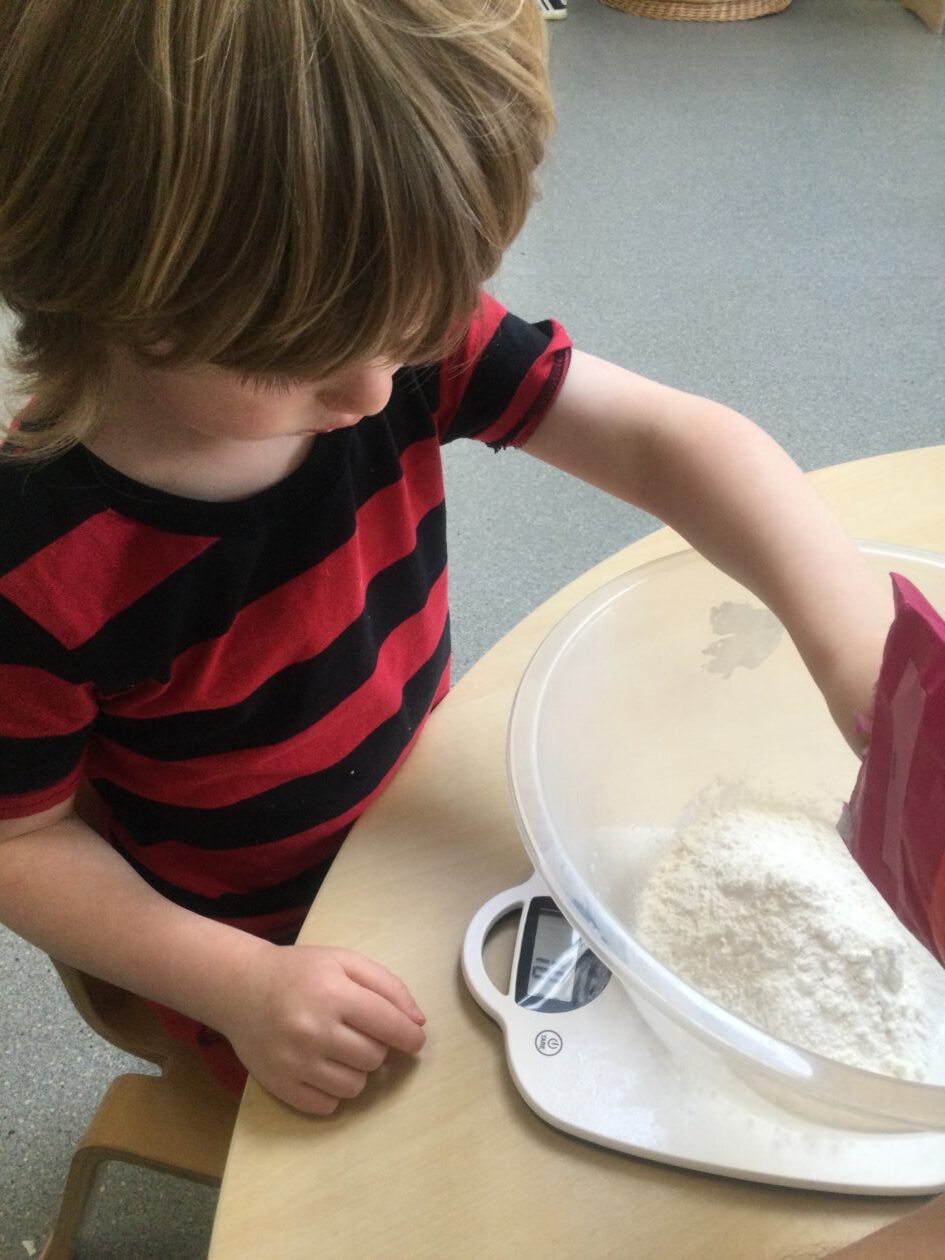
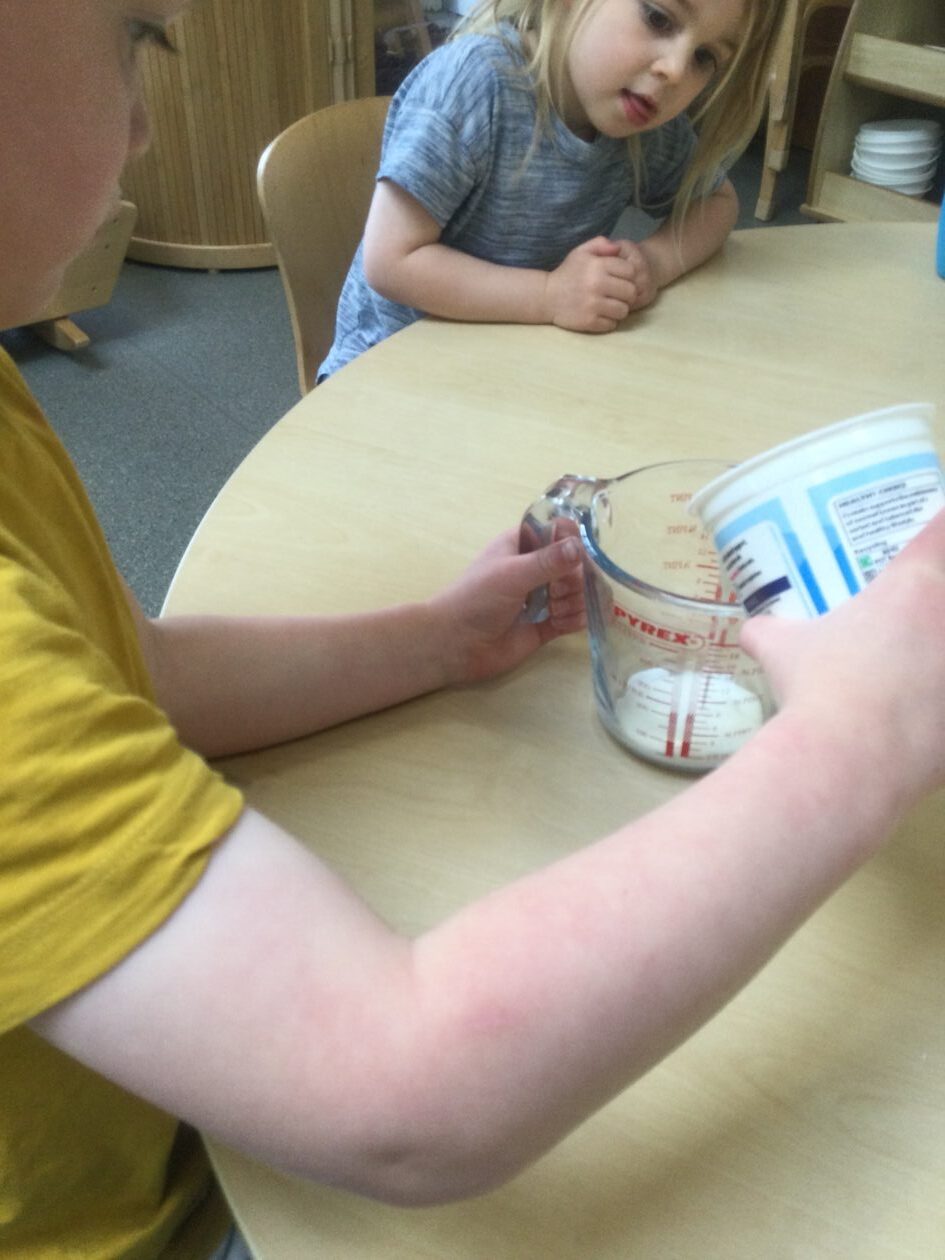
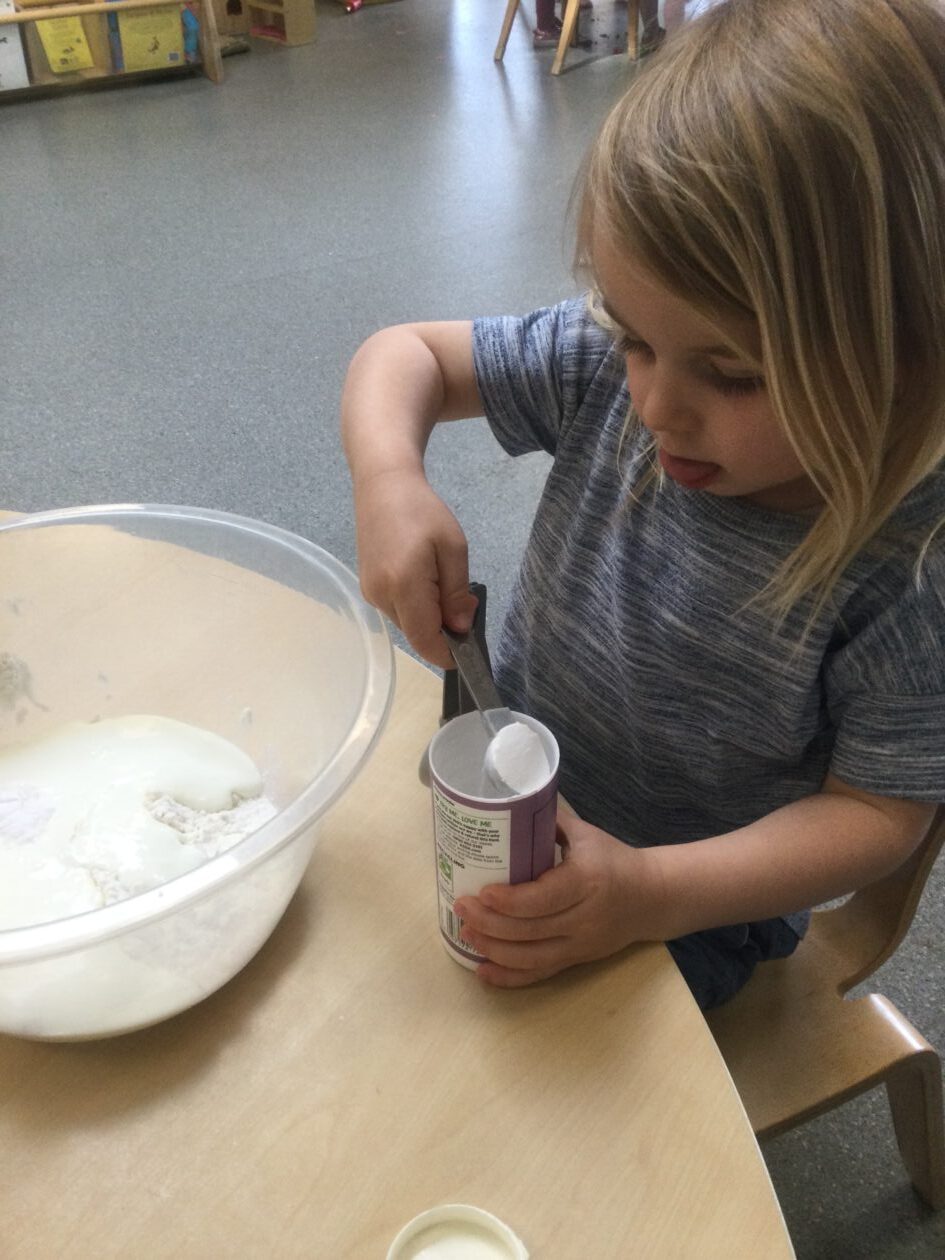
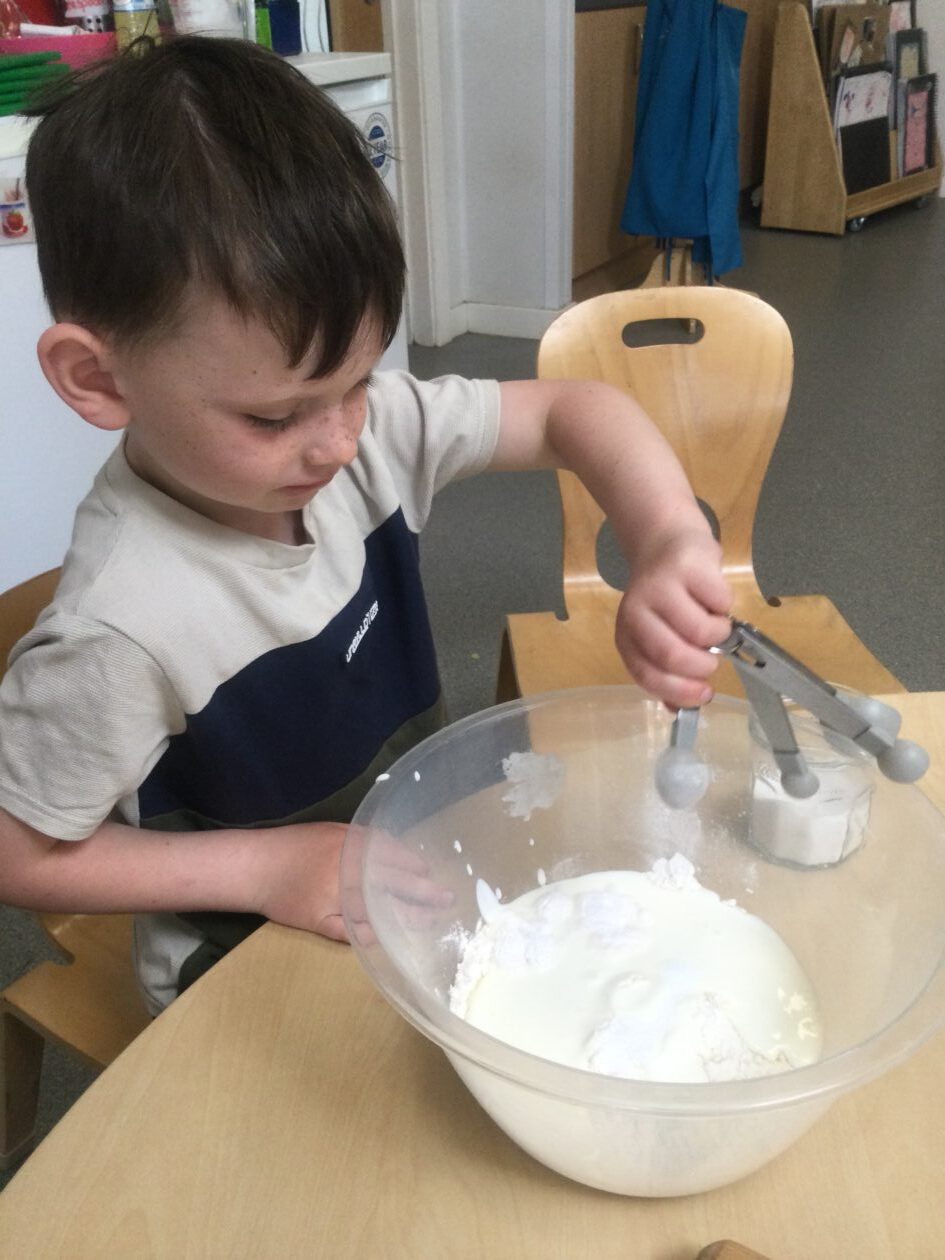
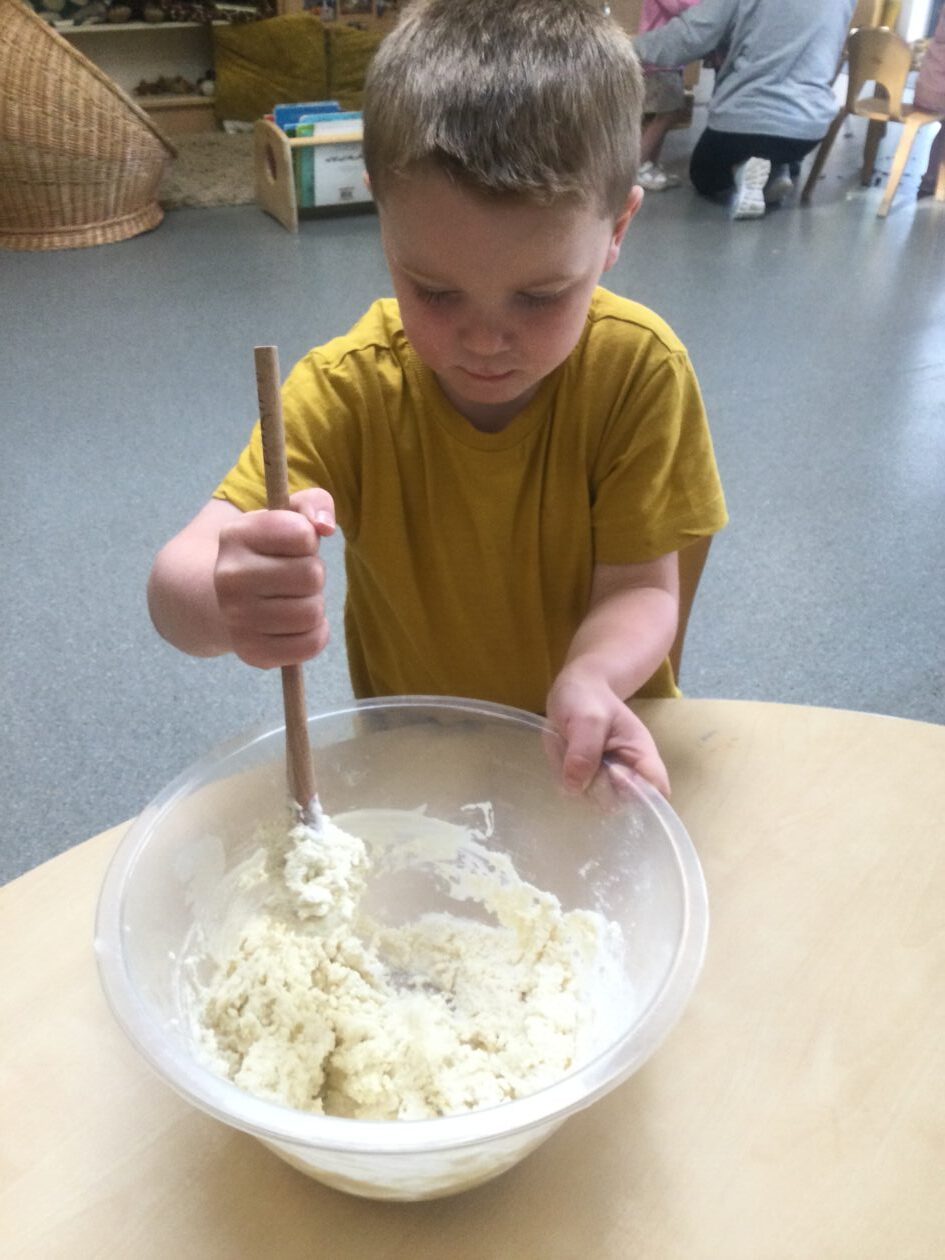
First, we used scales to measure the ingredients, Weighing out 350g of gluten-free flour, we added it to a bowl. Next we used a jug to measure out 300ml of natural yogurt, adding it to the bowl along with a pinch of salt and 2 tsp of baking powder. We mixed them all together with a wooden spoon to create a simple dough.

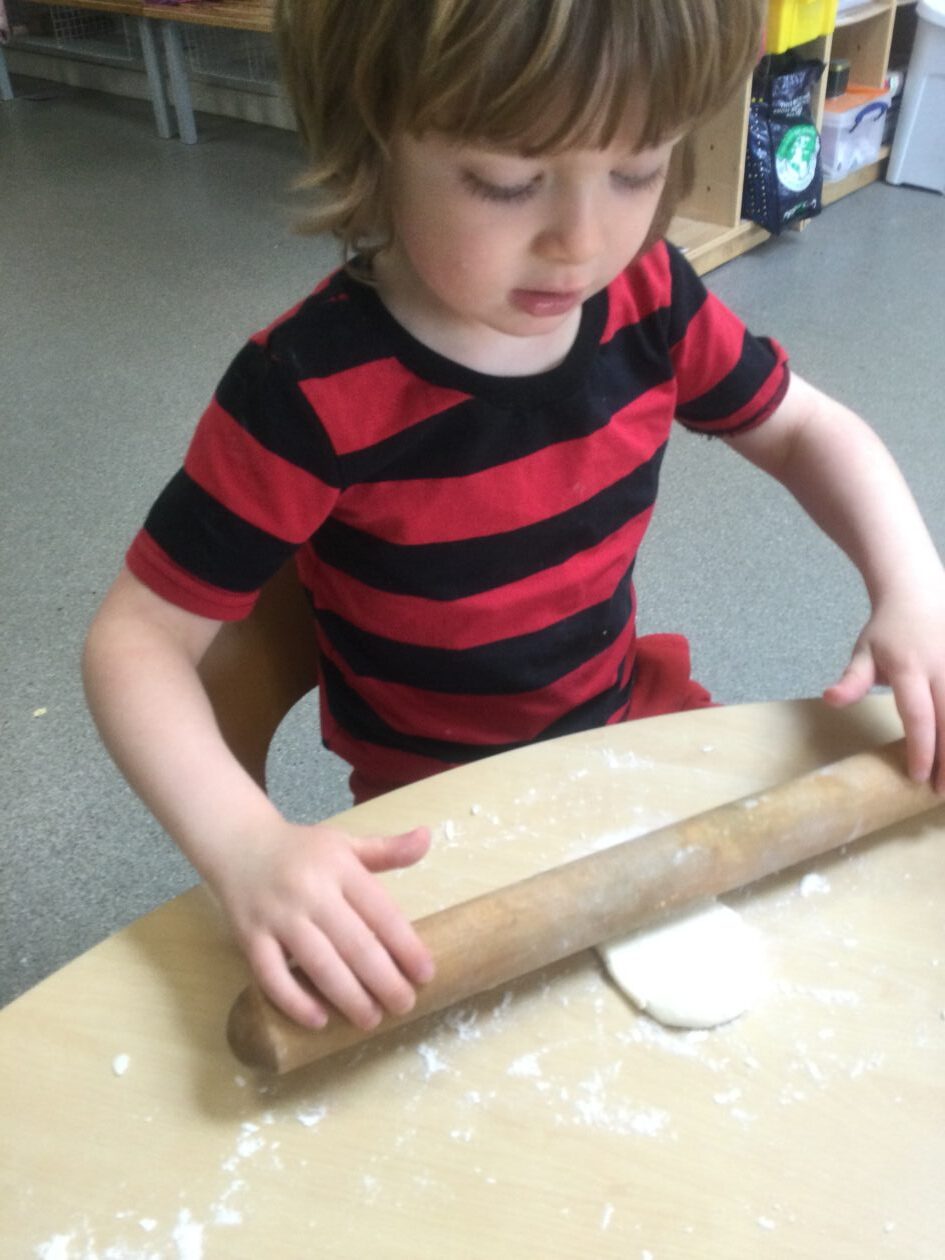
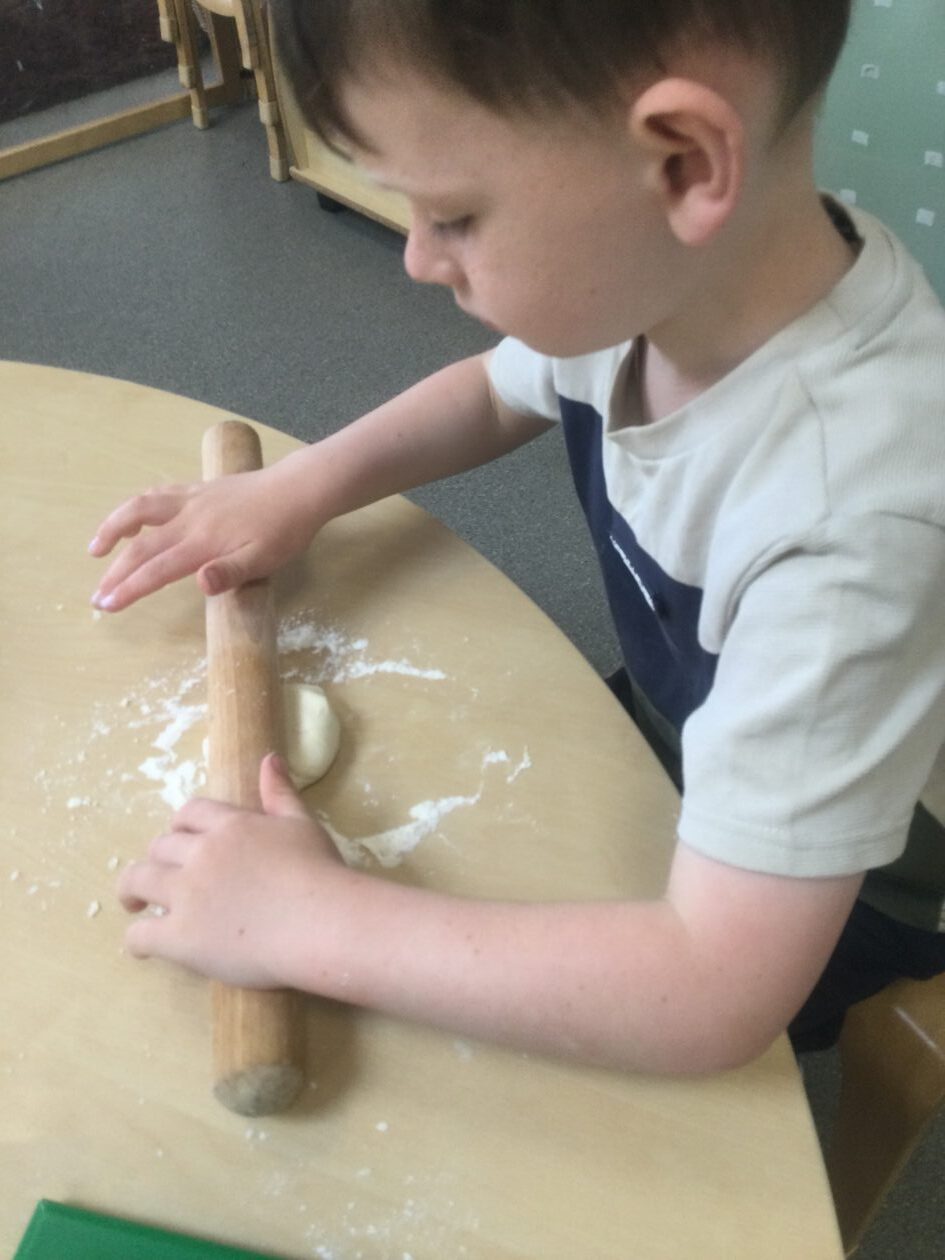
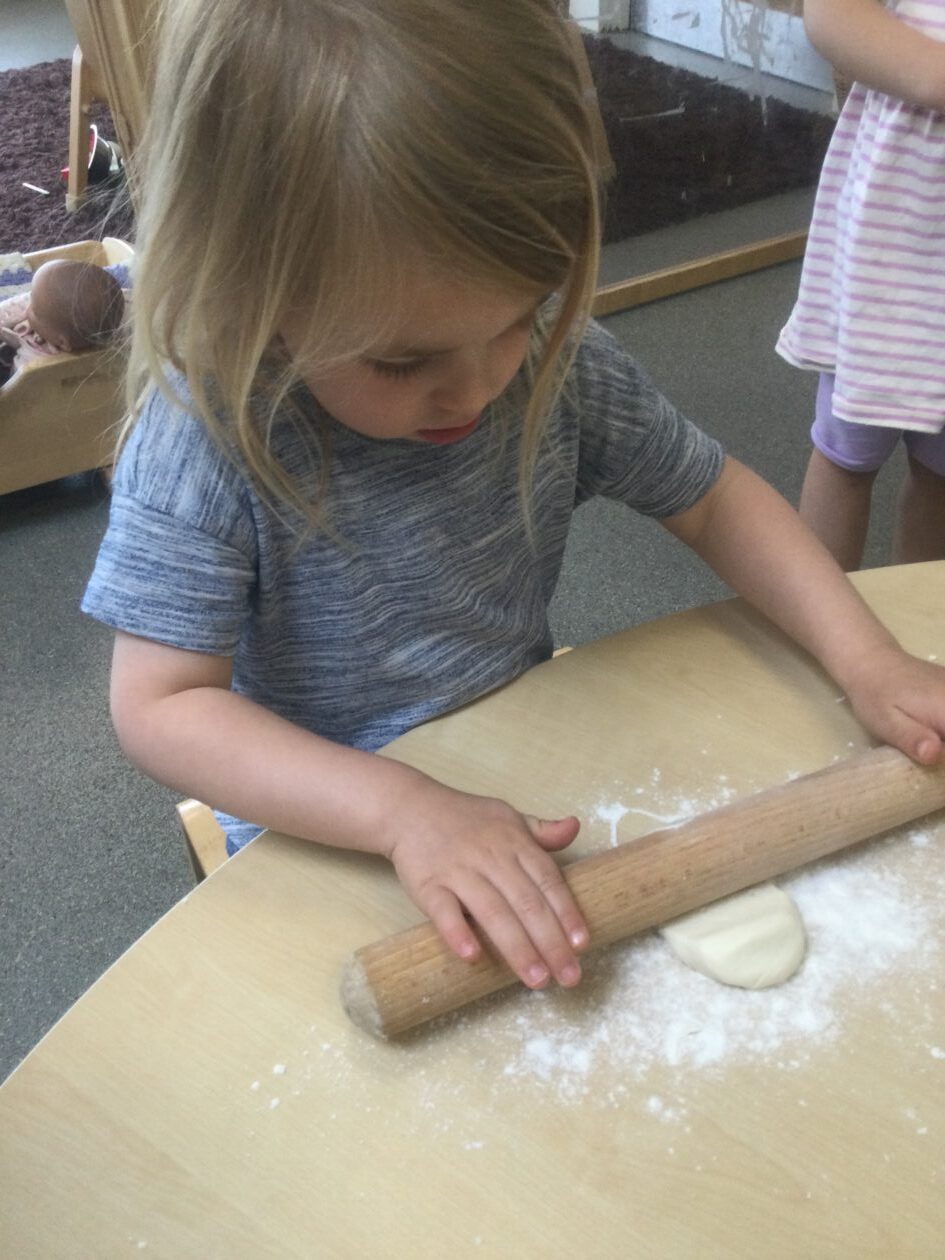
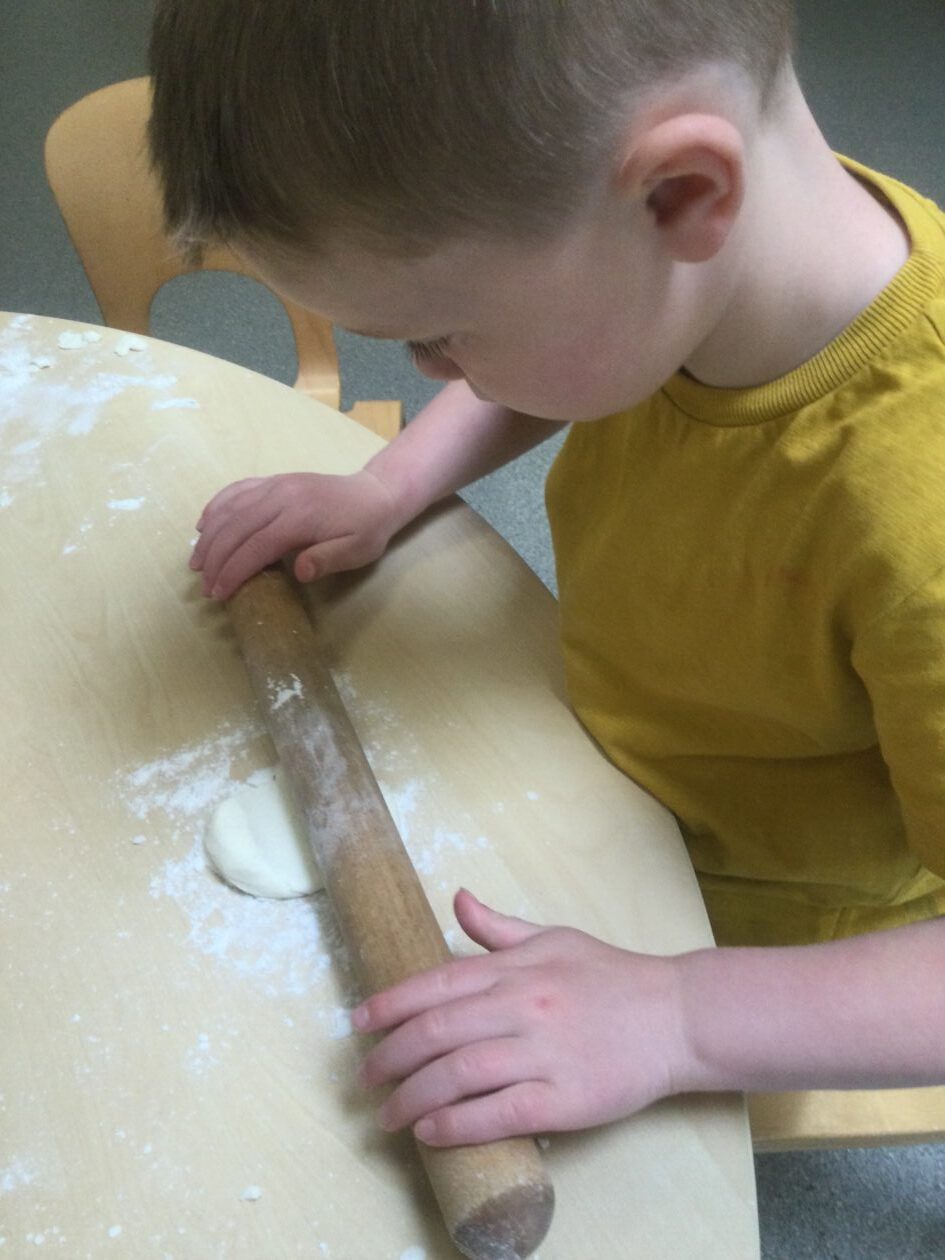
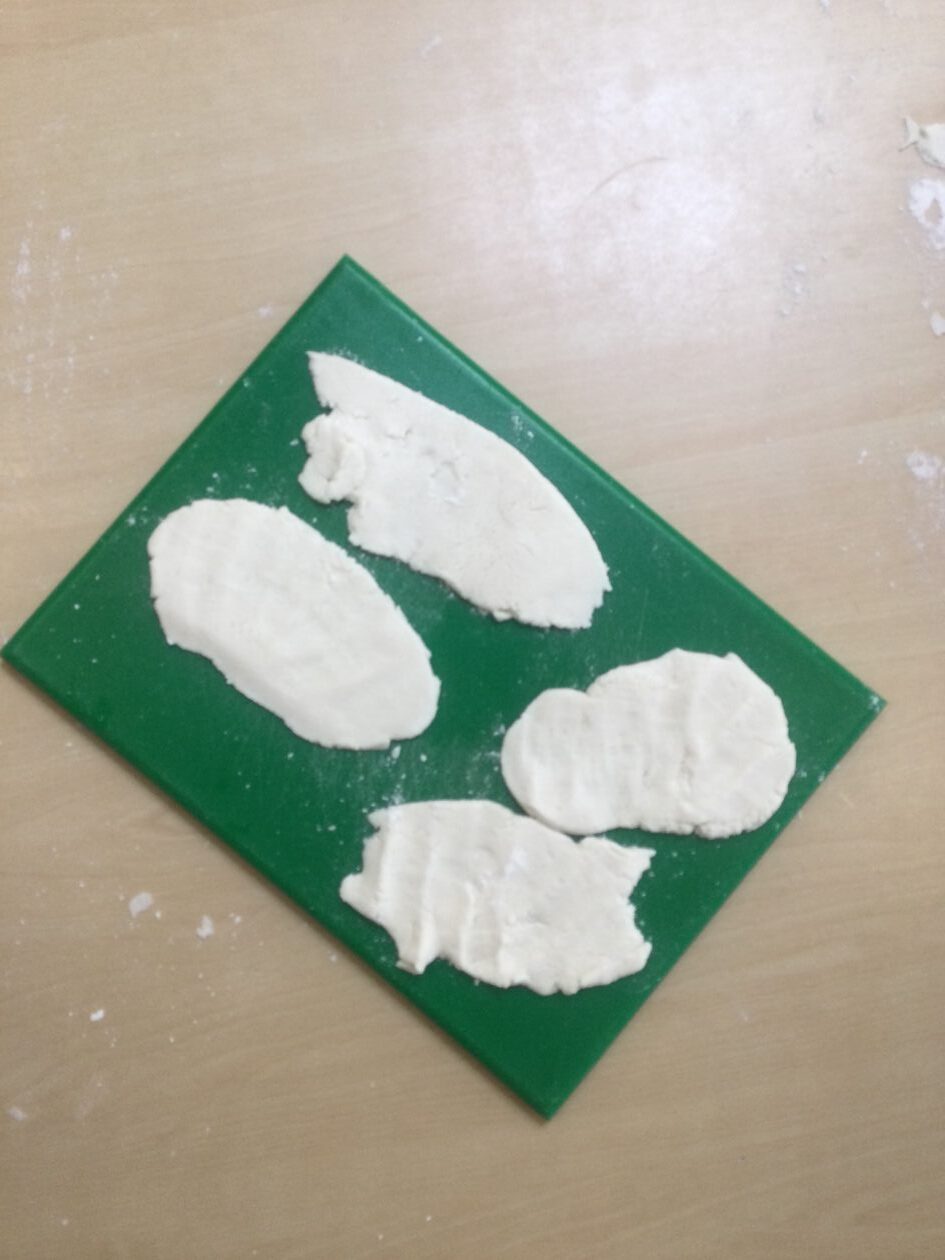
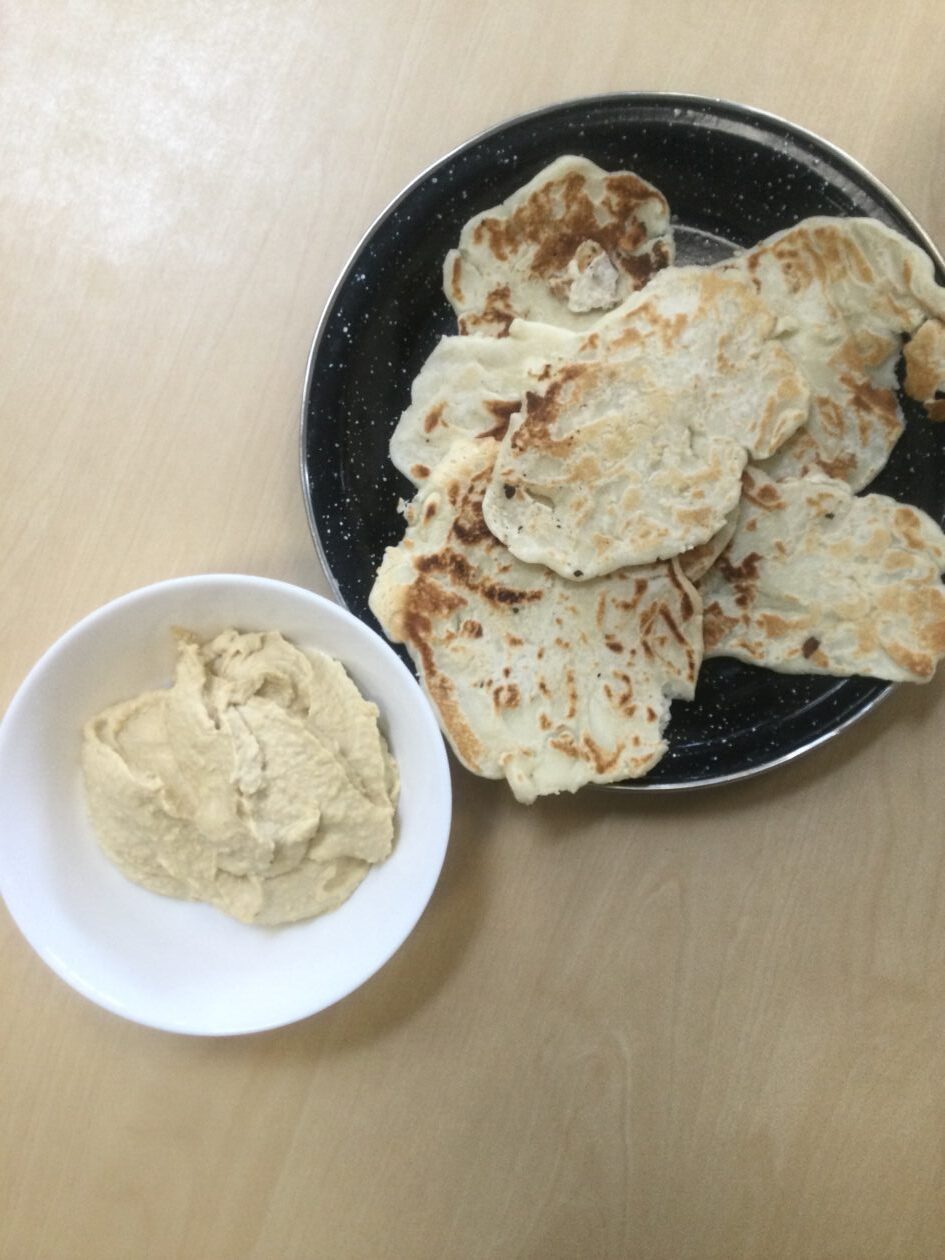
We then used a rolling pin to roll out the dough into small circles, ready to cook. Doing this helped develop fine motor skills and hand-eye coordination. Once cooked, the pitta breads were ready to taste at snack time.
Step 2: Making the Hummus
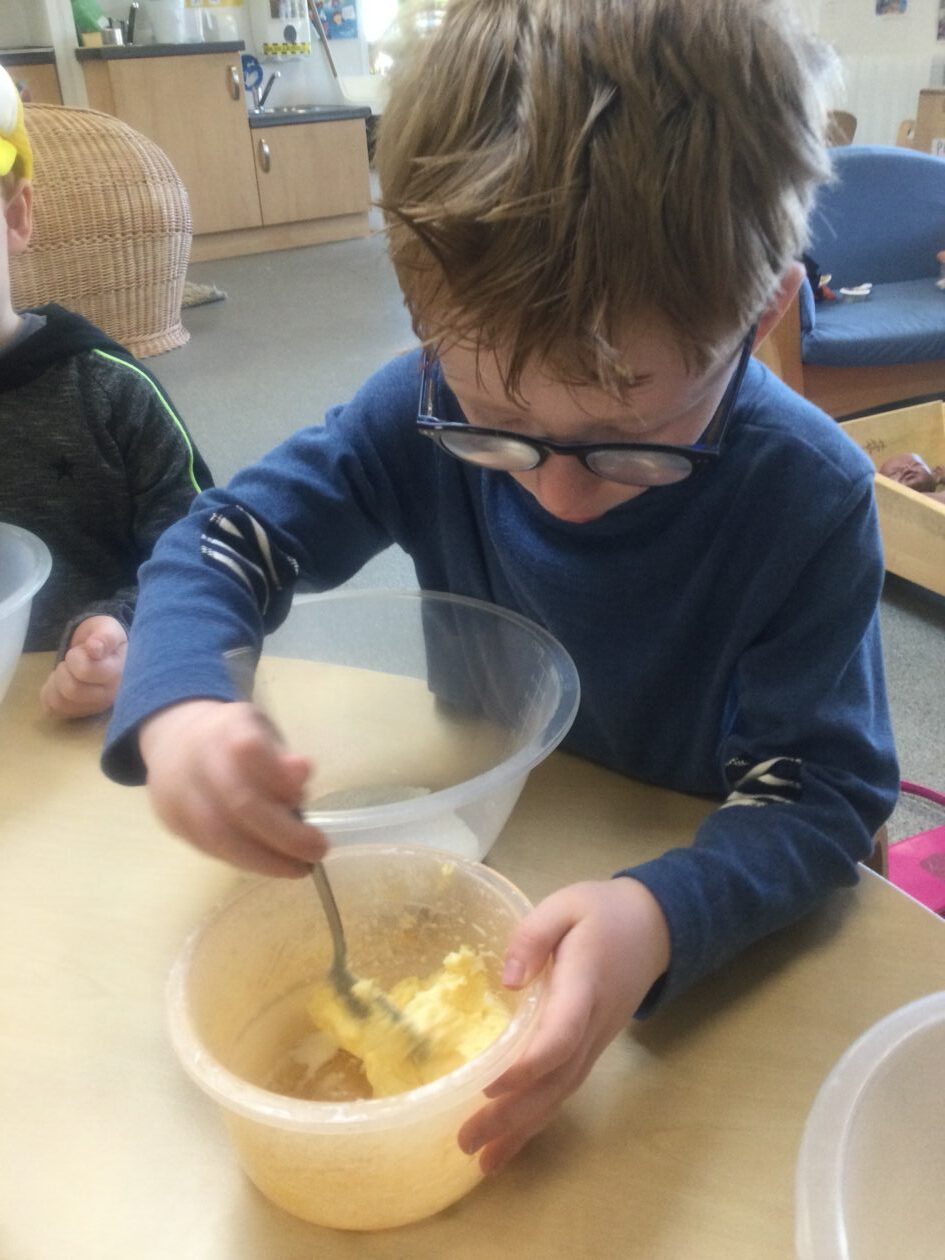
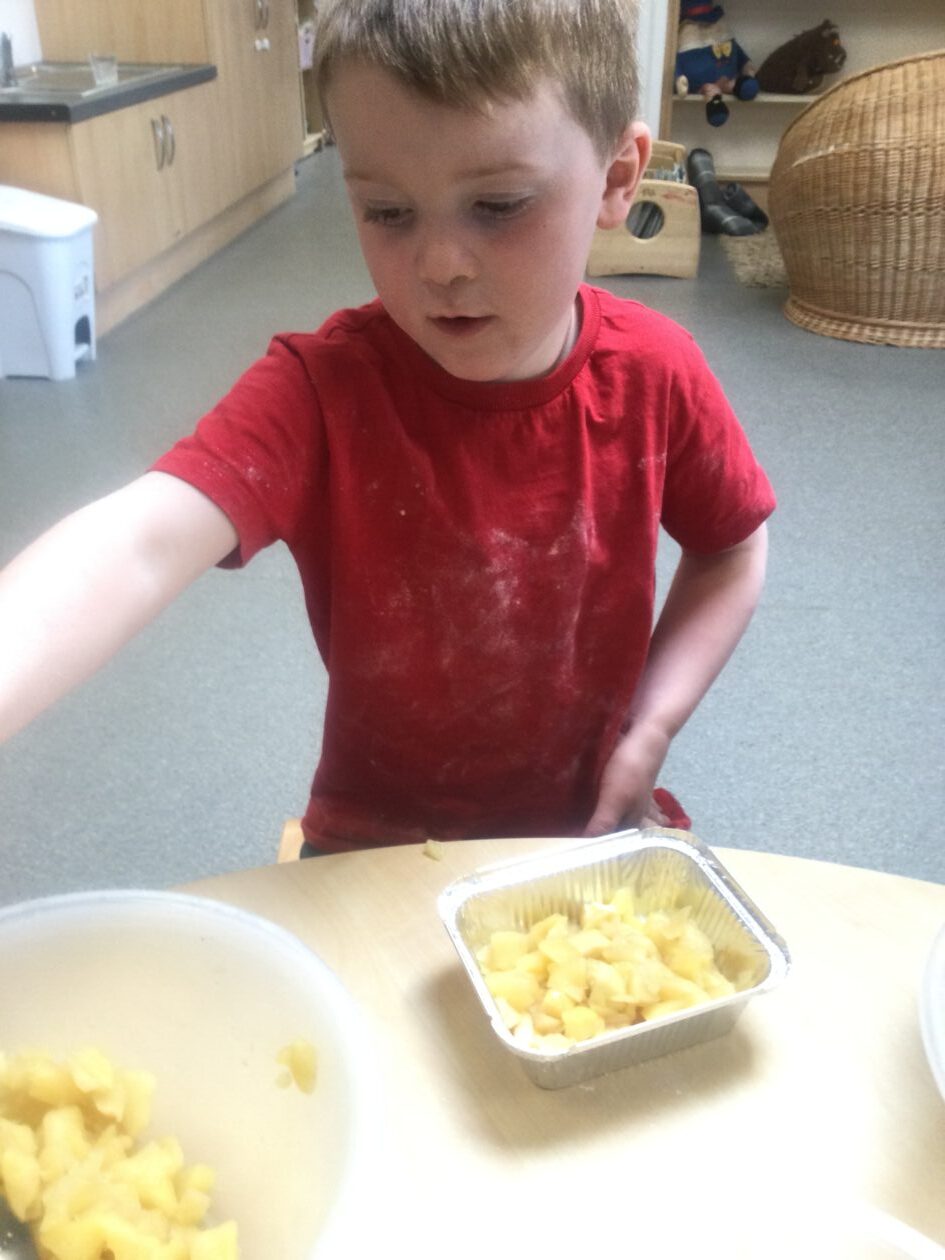
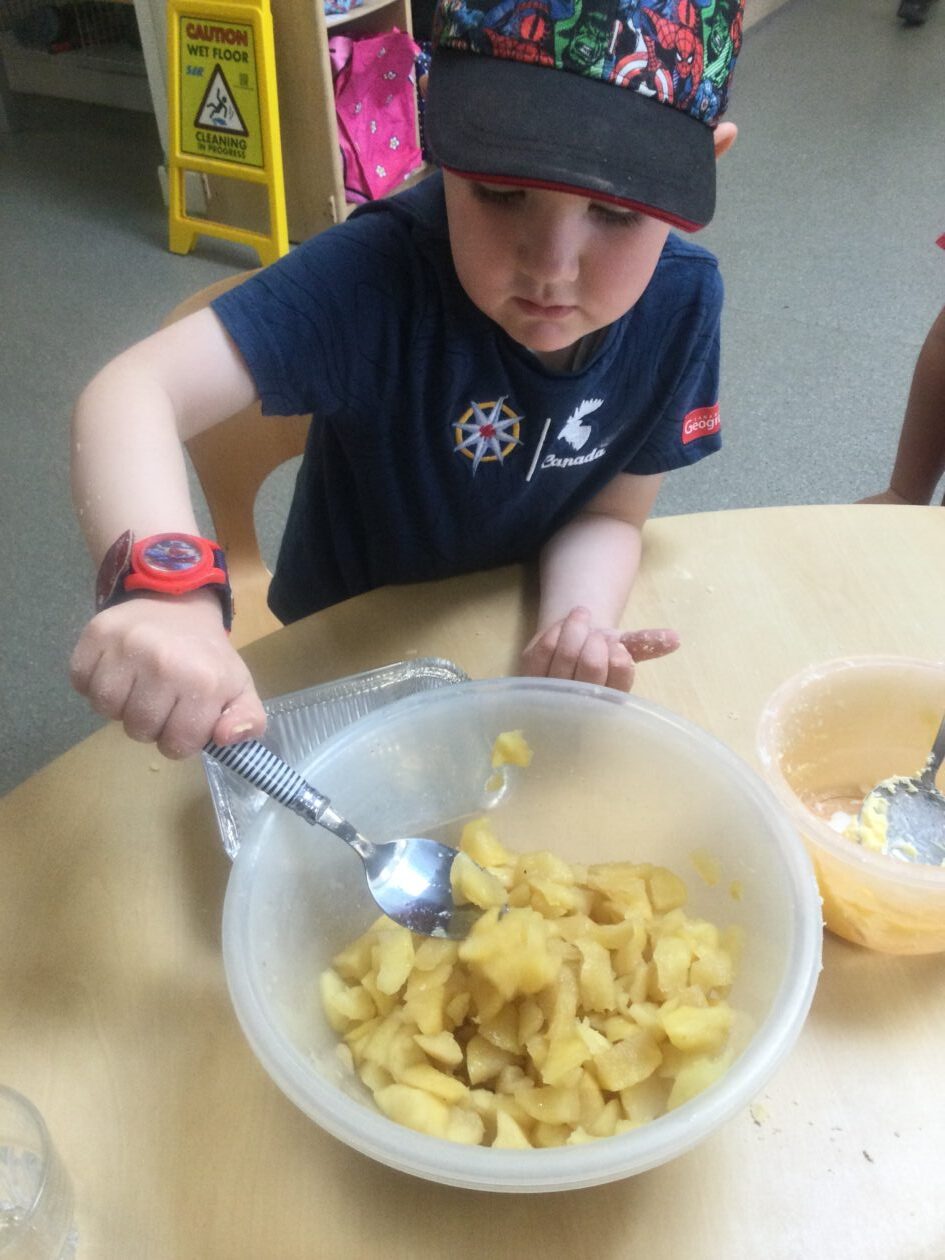
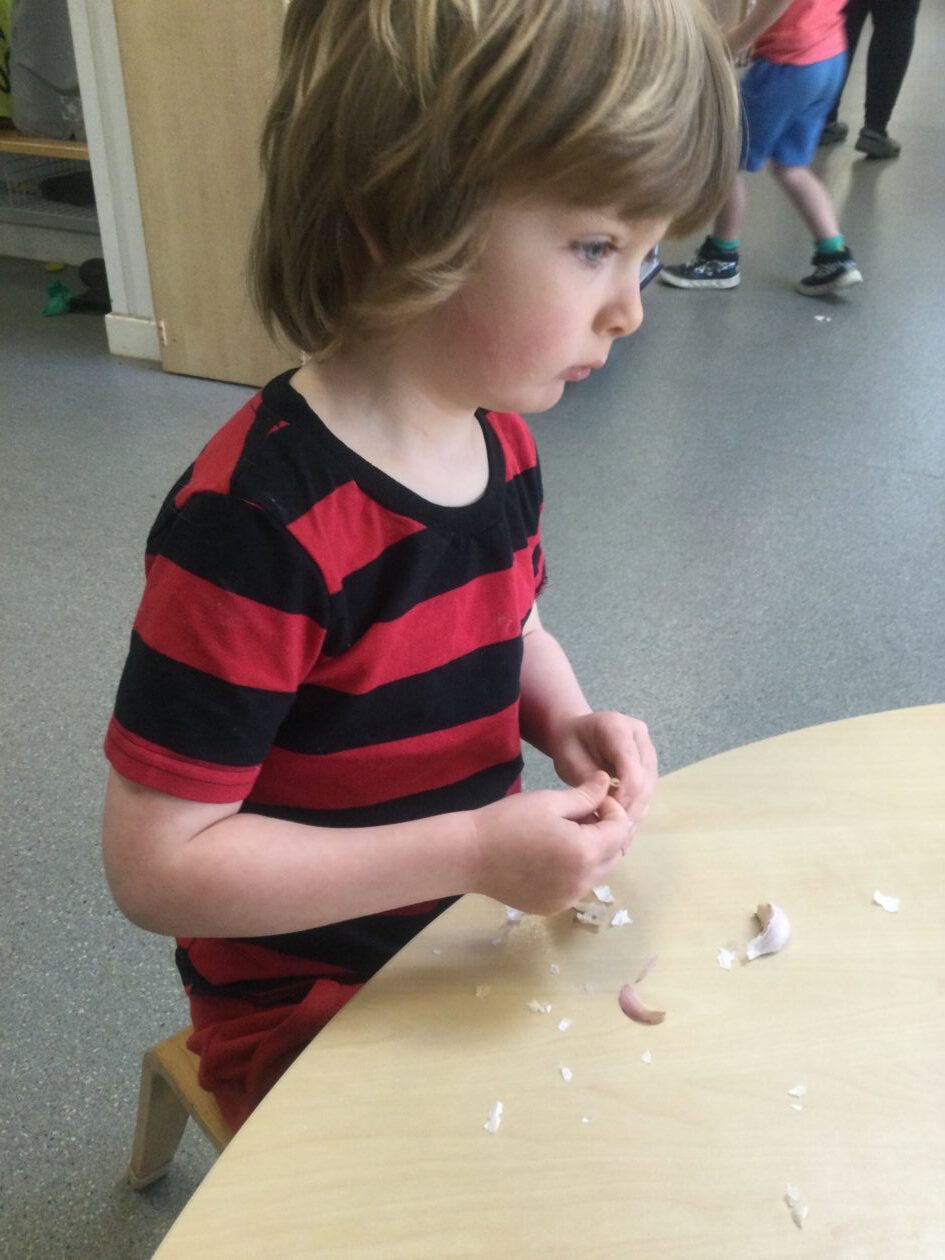
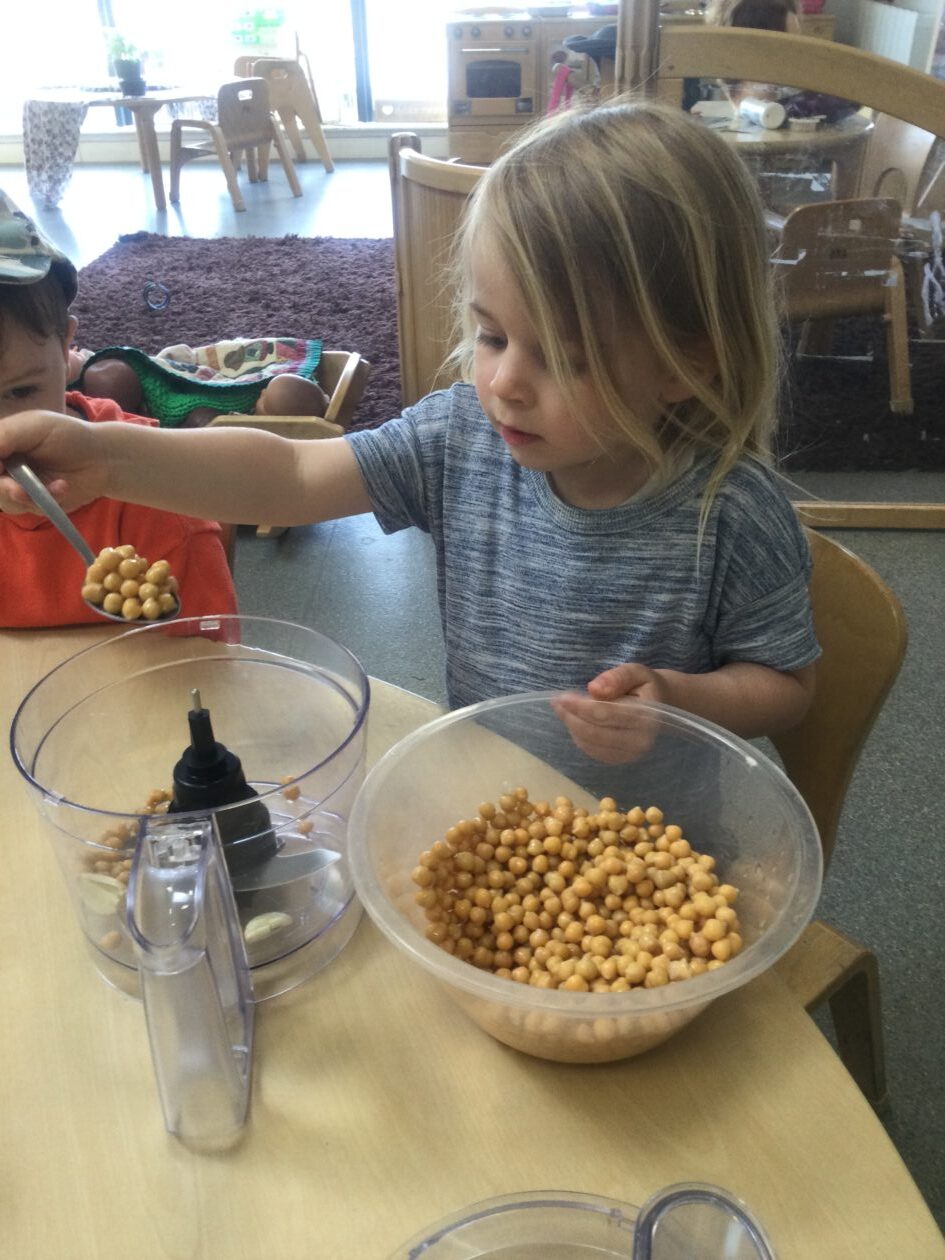
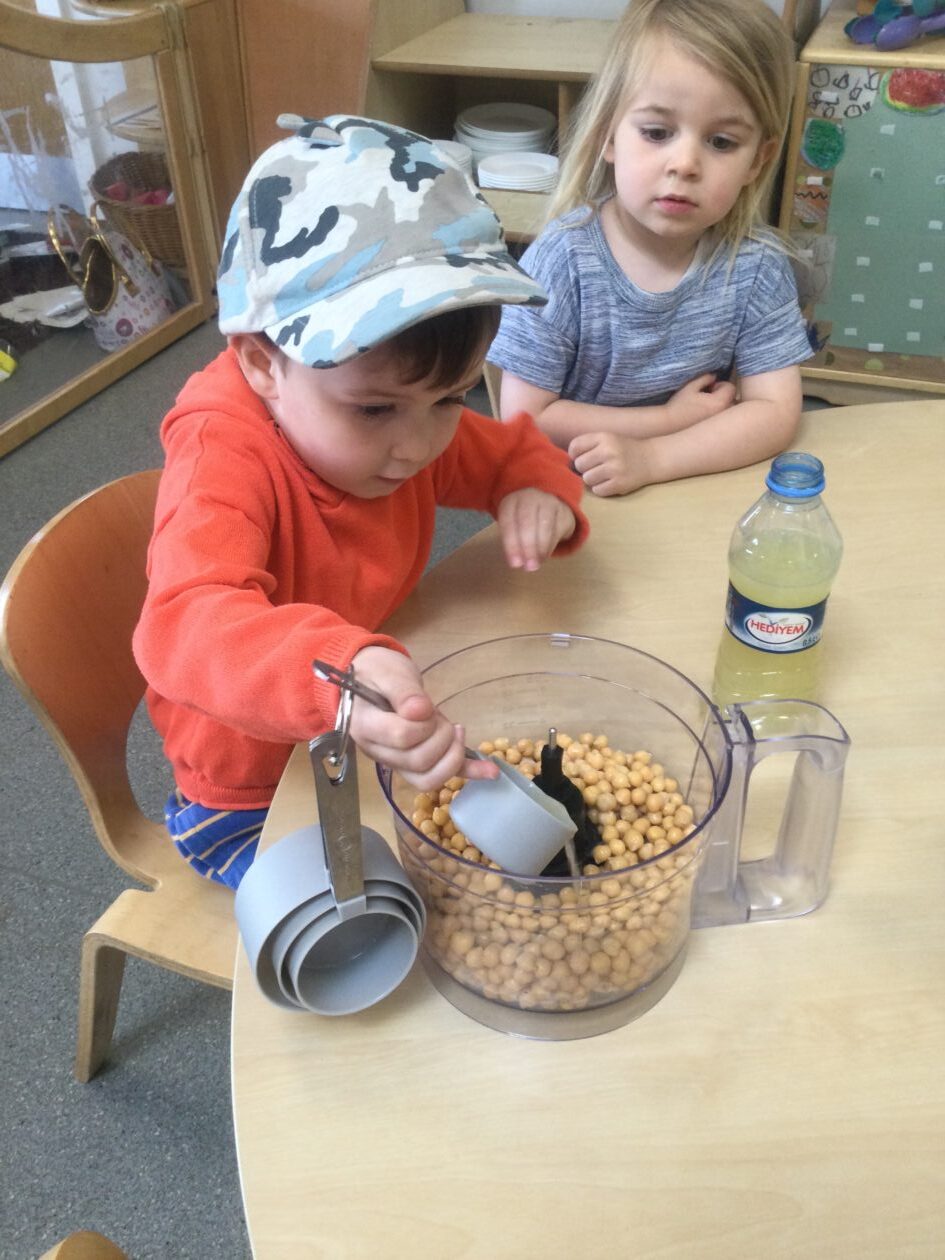
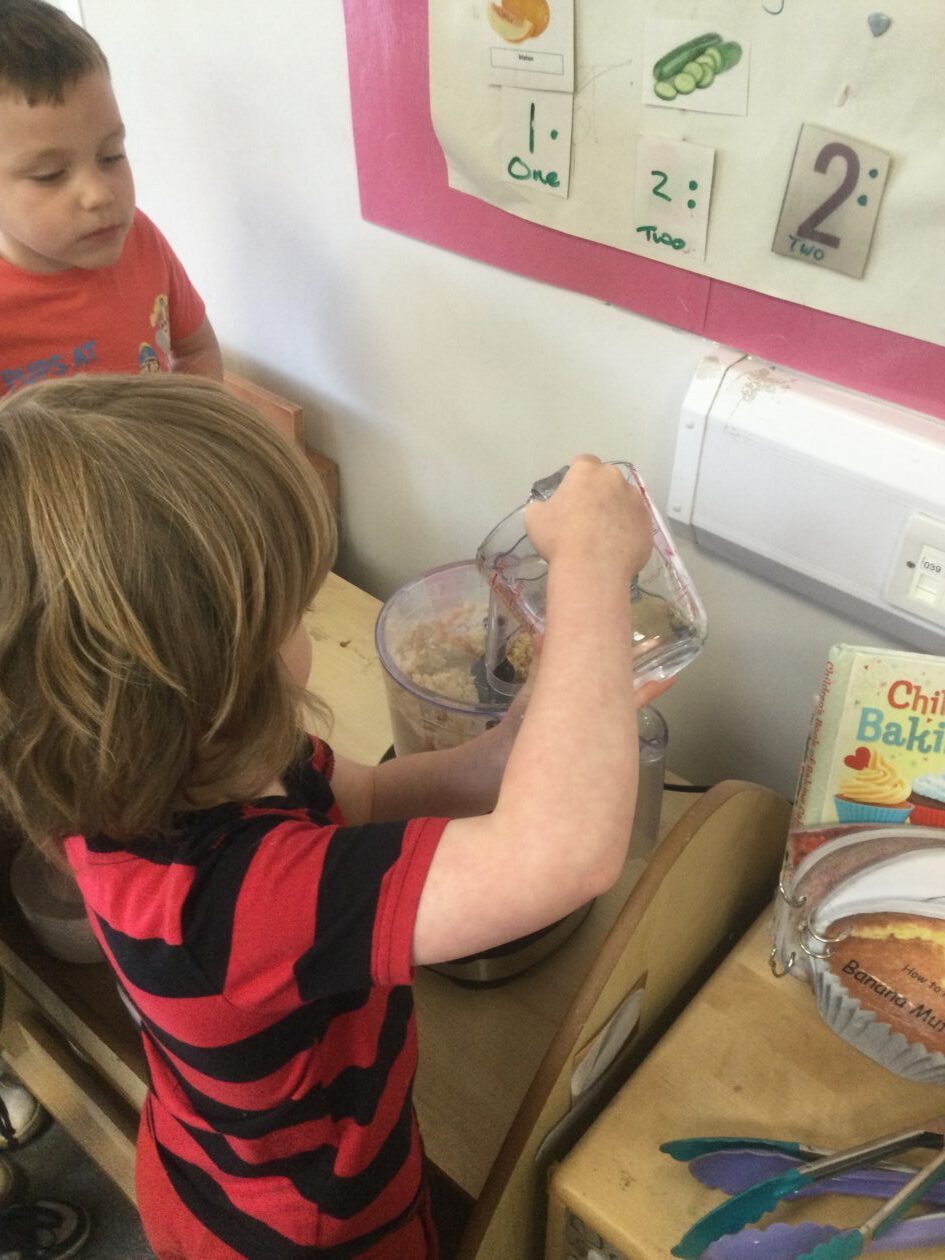
We combined chickpeas, garlic, lemon juice, and tahini in a blender, taking turns to measure out the quantities needed.
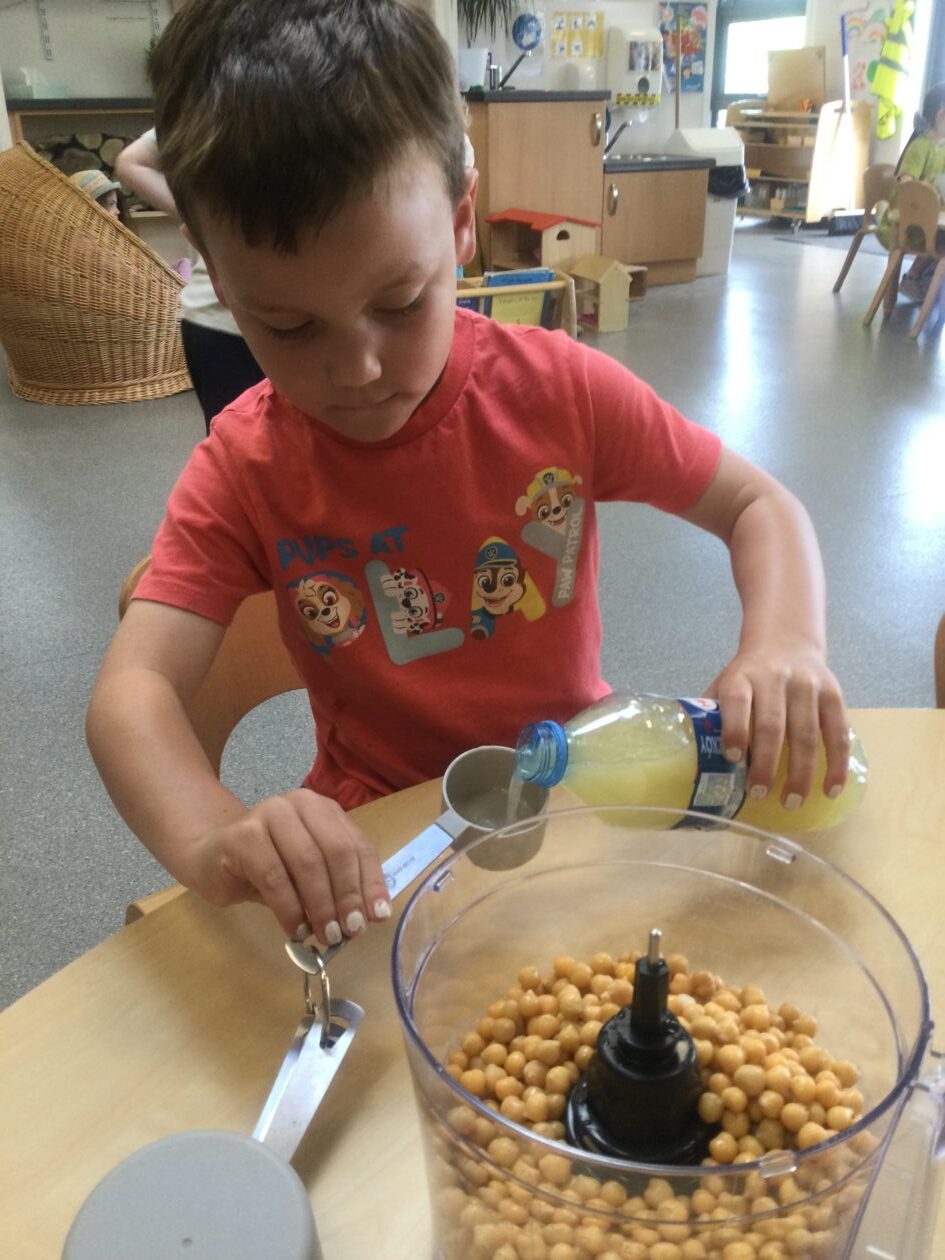

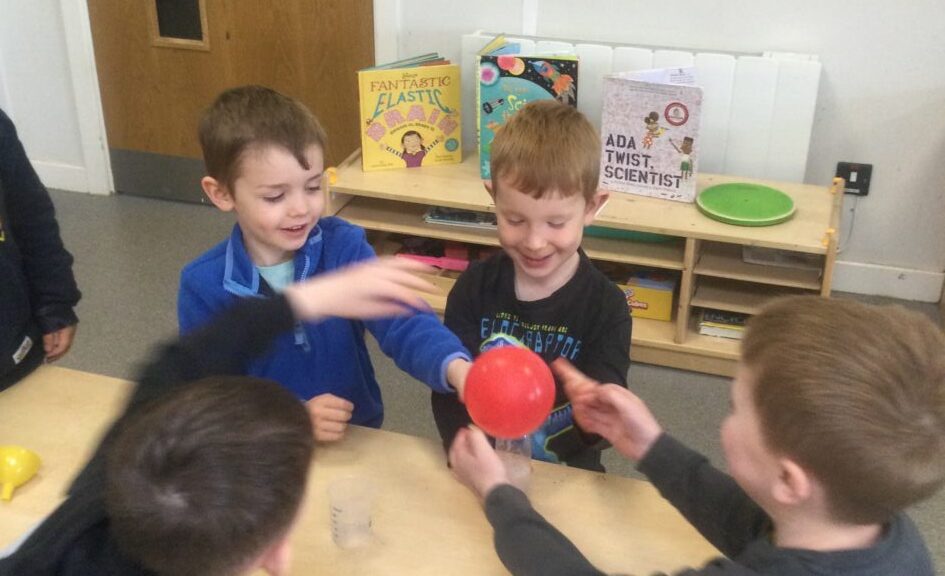
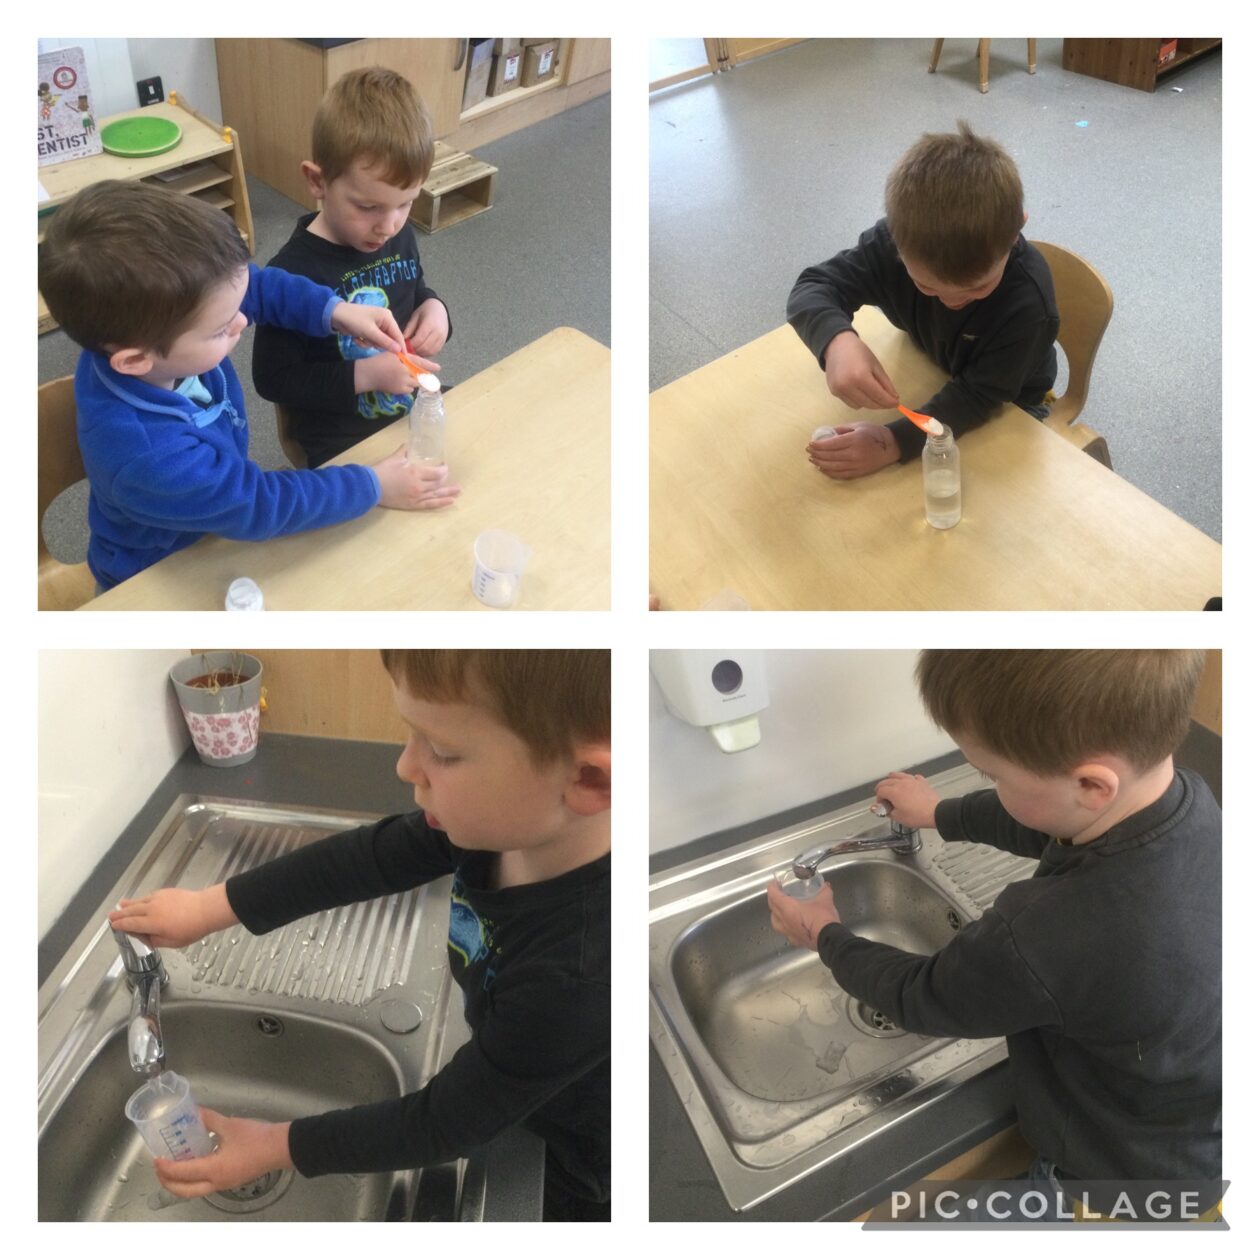
Next we turned on the blender mixing them until we achieved a smooth paste. At first we noticed that the consistency was a little thick. Using our problem solving skills one the children suggested adding water. We added a little water at a time till it was perfect to try with our freshly baked pitta breads. The process expanded the children’s vocabulary and helped them follow multi-step instructions.
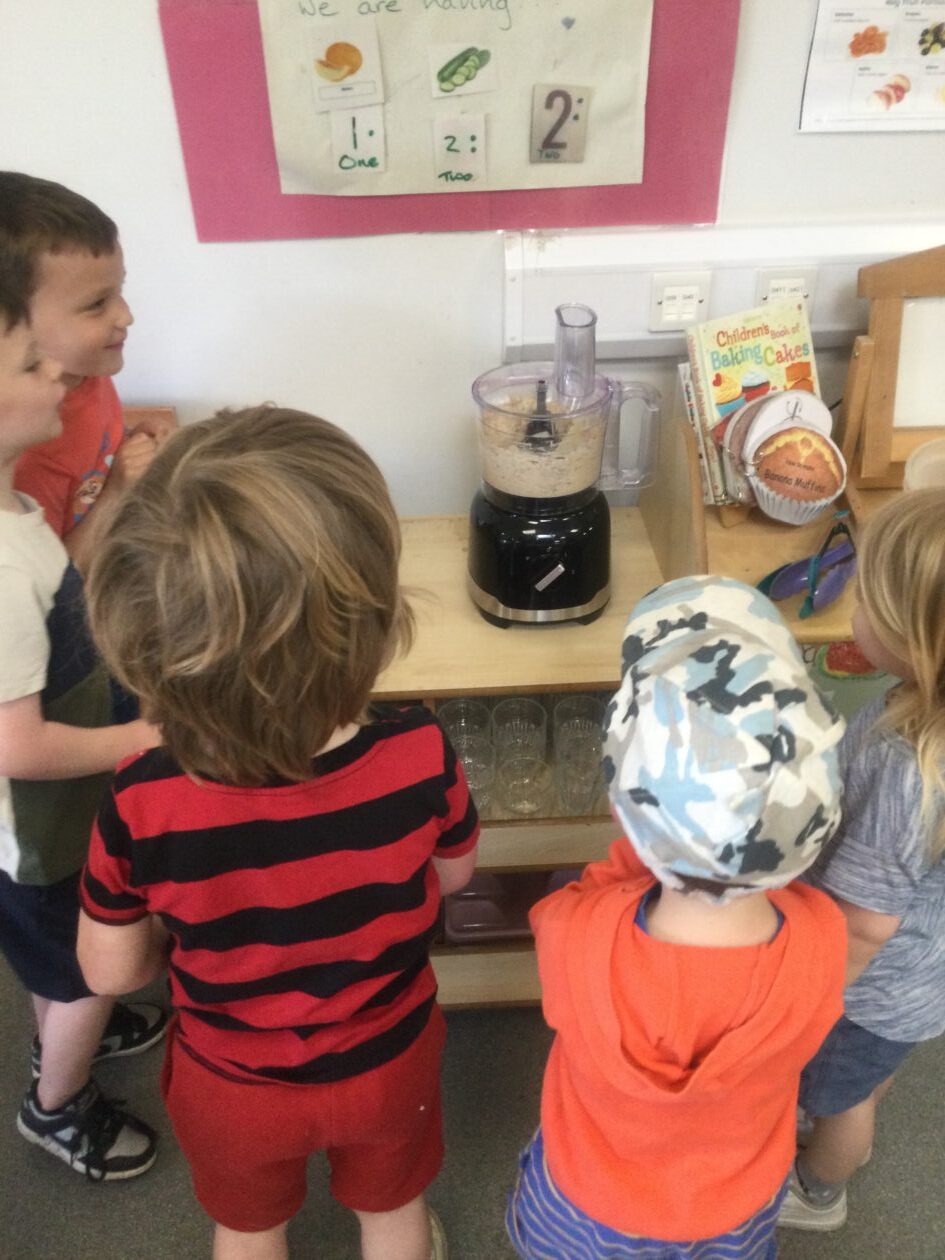
Take a look at some of the fabulous comments bellow.
“It’s mixing together”
“It’s evolving”
“I think it will be smooth”
“It’s mixing really fast”
The children enjoyed both the process and the delicious results, learning about foods from around the world and exploring new cooking techniques.
I wonder what we could make next week? If you have any suggestions please leave them in the comment box below. 😃
Article 1
Everyone under 18 has all these rights
Article 28
You have the right to education.