This week at Cart Mill, we explored a wide variety of activities across all our rooms. Take a look at what we’ve been up to!
In the discovery room it’s been an exciting week exploring forces. We were highly engaged with an activity using balloons attached to cars. It was lots of fun using our observation skills to identify if the air coming out of the balloon was strong enough to move the car back and forth, enhancing our understanding of motion and forces.

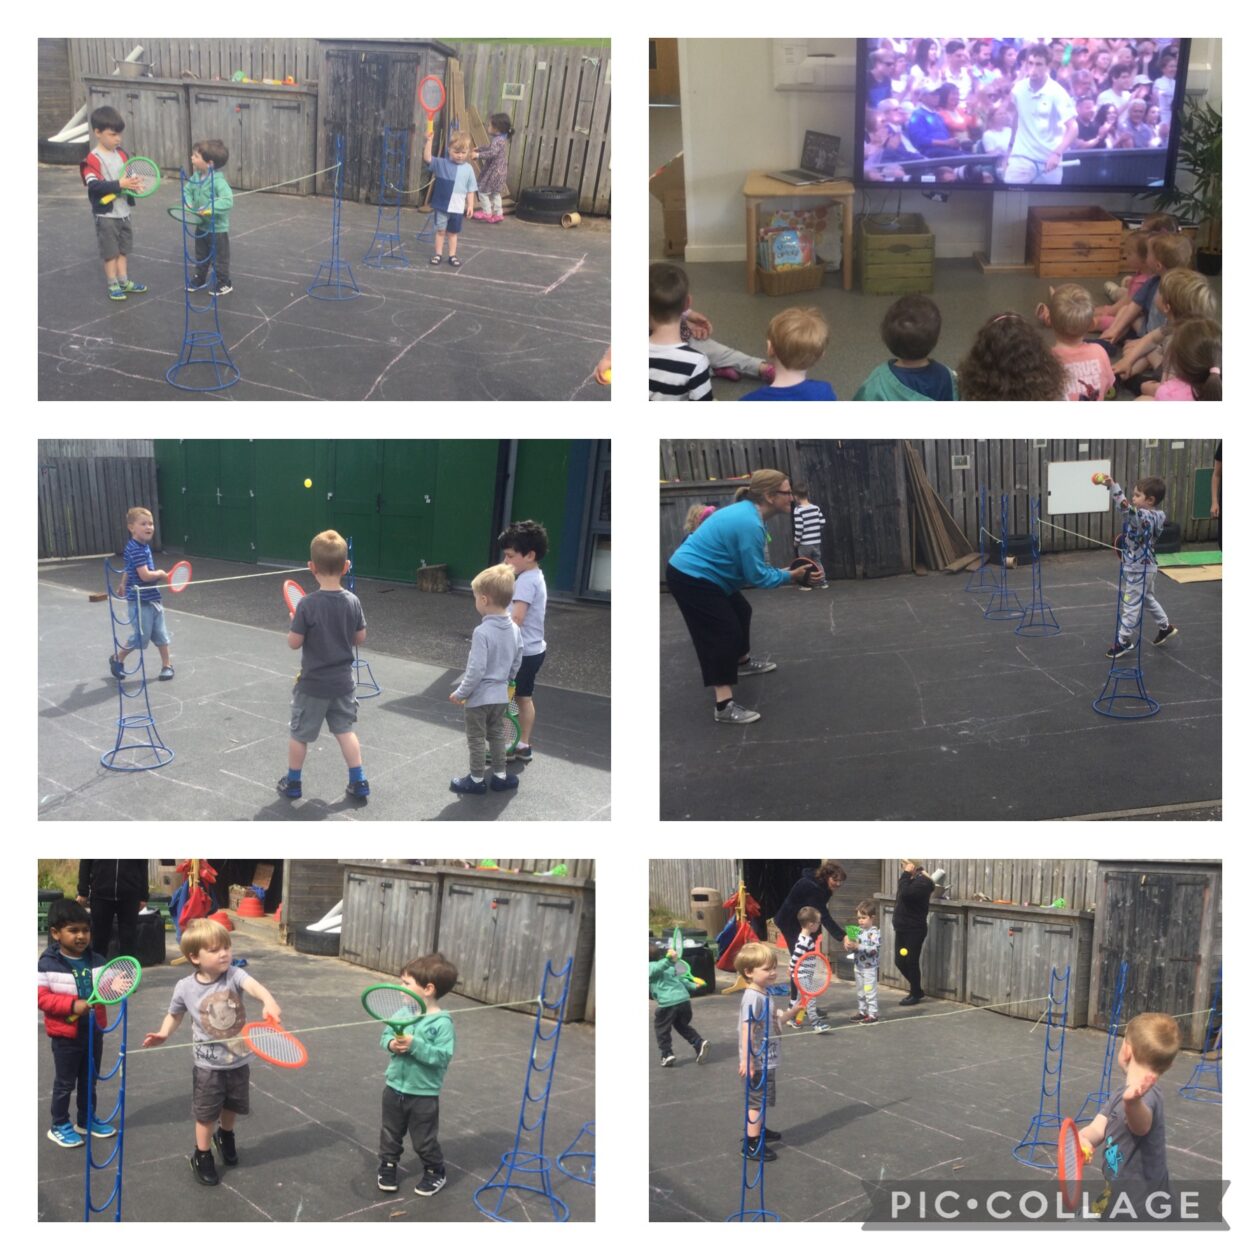
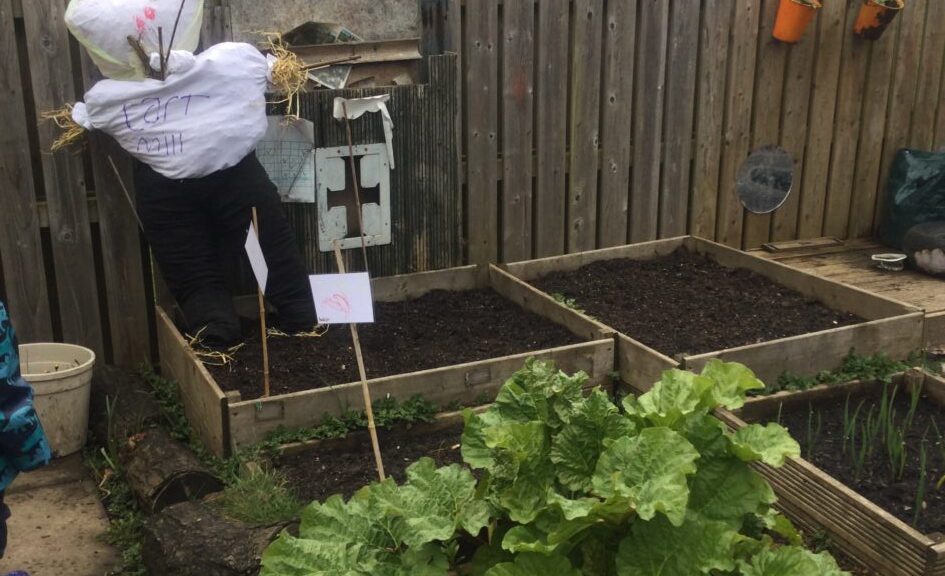
In the garden the weather has been kinder this week, allowing us to enjoy the outdoors more. With Wimbledon underway, we decided to have our own tennis tournament and learn all about this exciting racket game. Exploring our technology skills we watched a game of tennis on the smart board, discussed the rules, and then took turns playing on our makeshift court. This fantastic activity kept our bodies active and helped develop our motor skills and hand-eye co-ordination. No Wimbledon experience is complete without strawberries! Our children in the Home Room were busy chopping them up for us to enjoy. Yum!


Lots of fun was had creating enormous bubbles in our garden! Everyone enjoyed this sensory experience immensely. Using washing-up liquid and water, we mixed our own bubble solution and used our fine and gross motor skills to create fantastic bubbles. We then explored cause and effect by blowing the bubbles and popping them with our fingers.

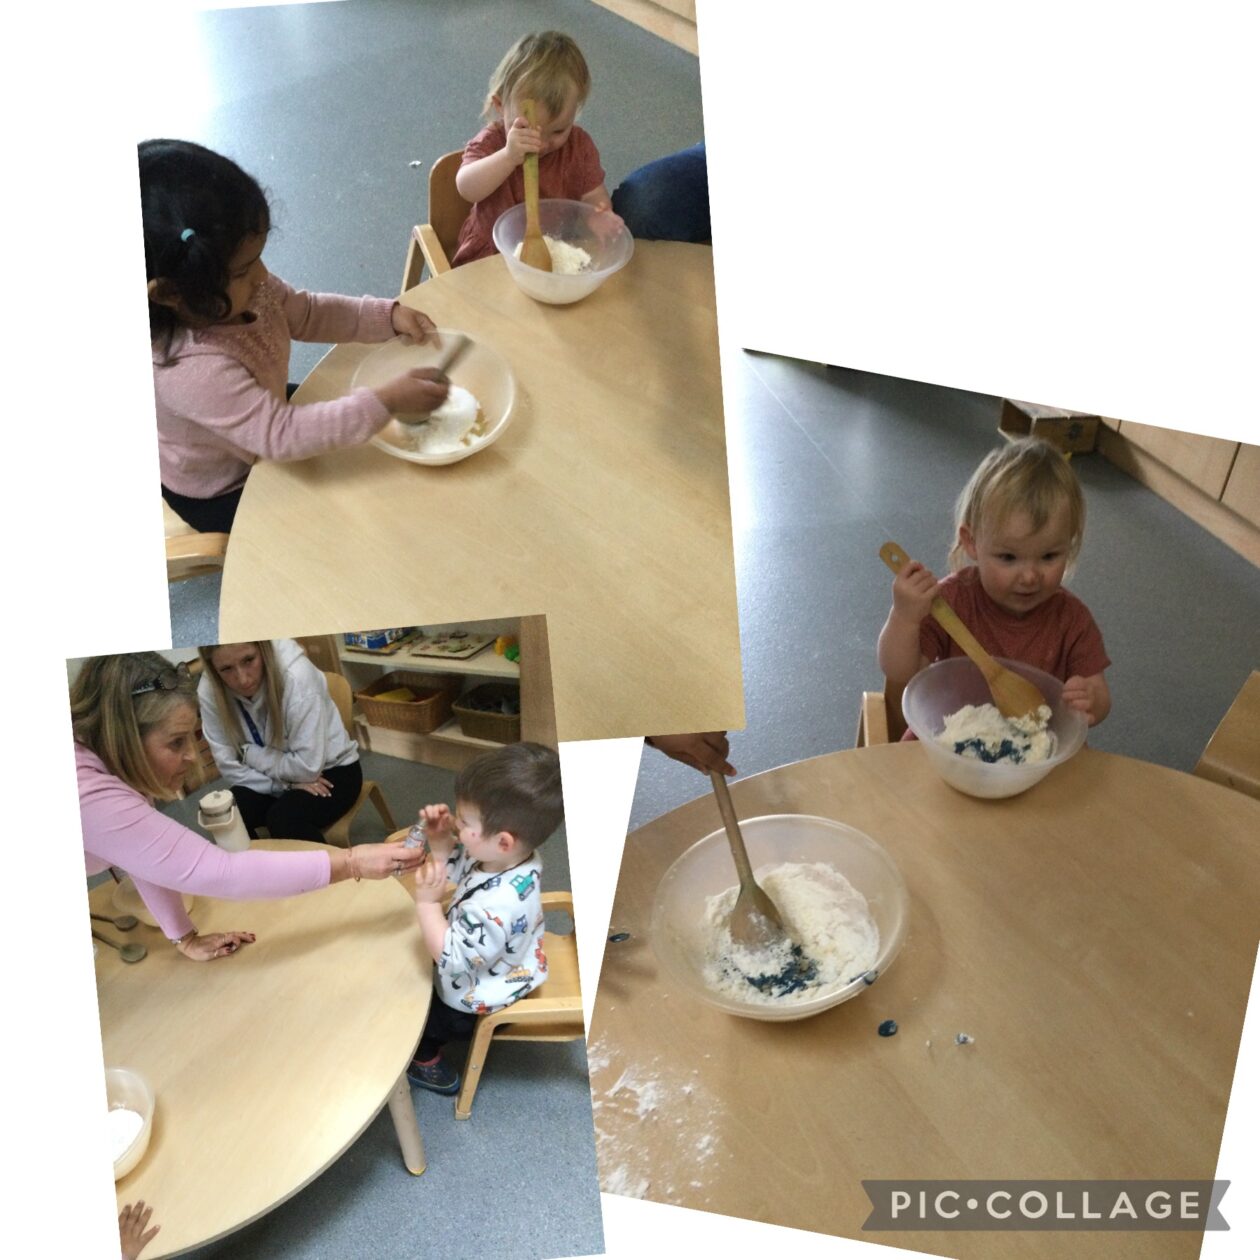
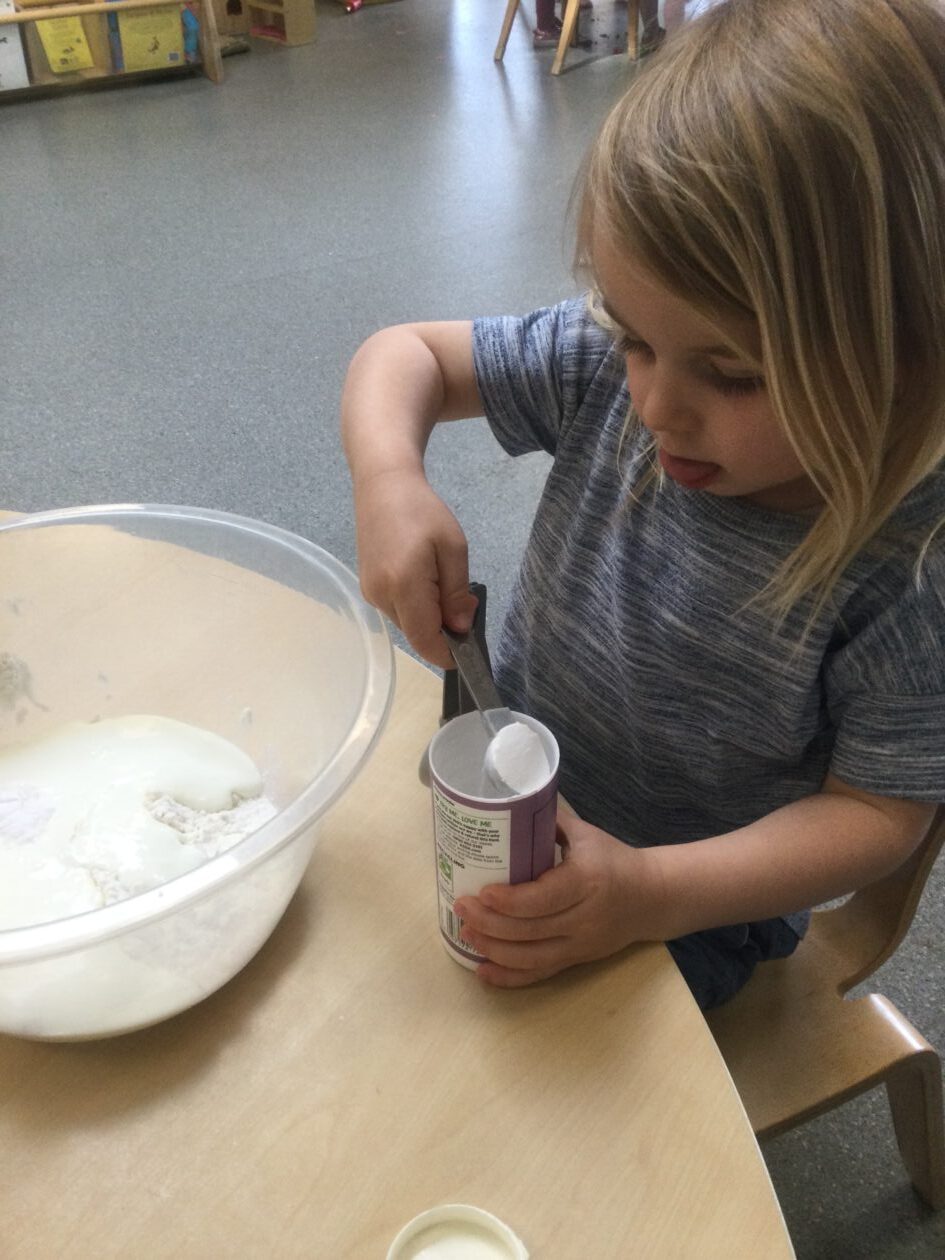
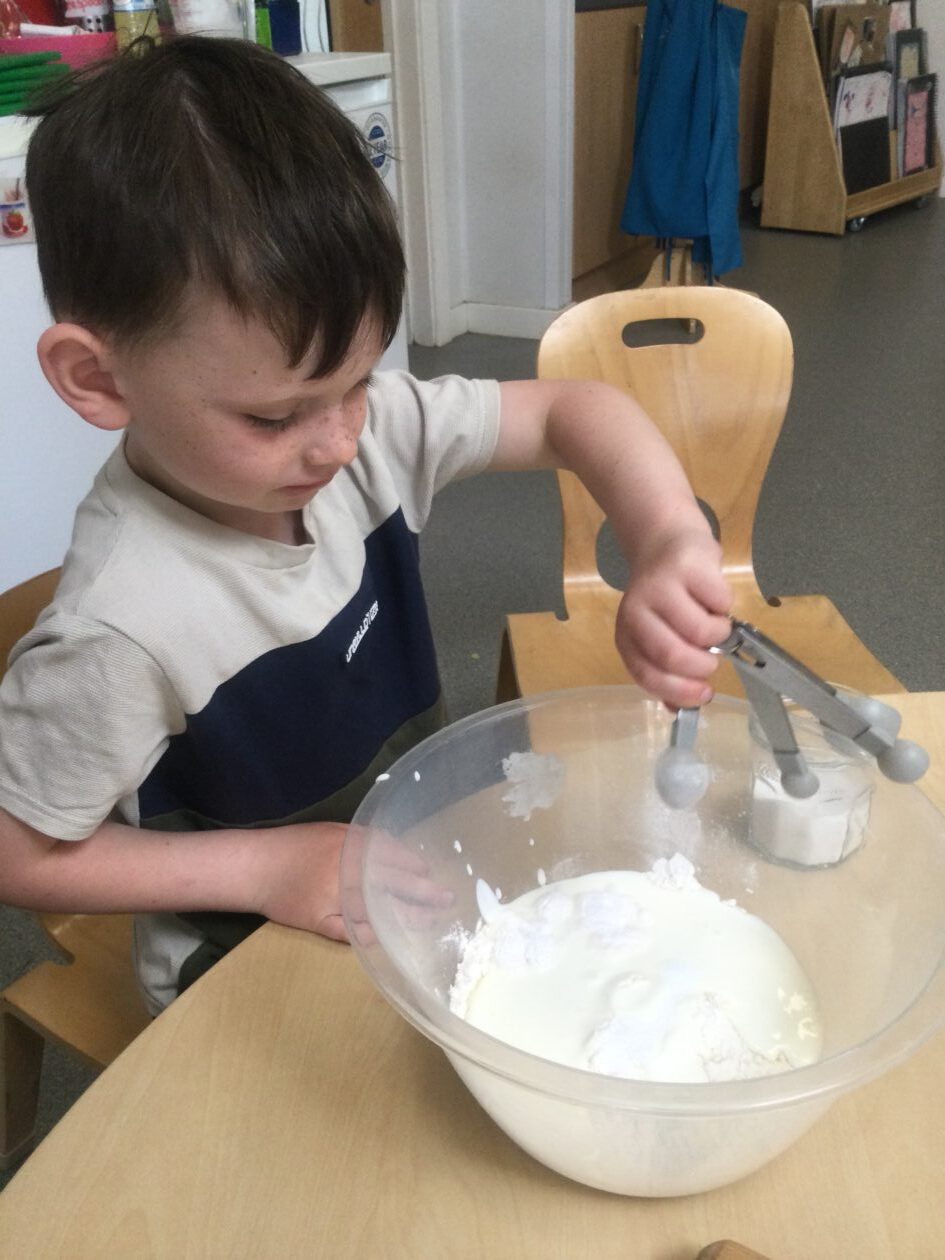
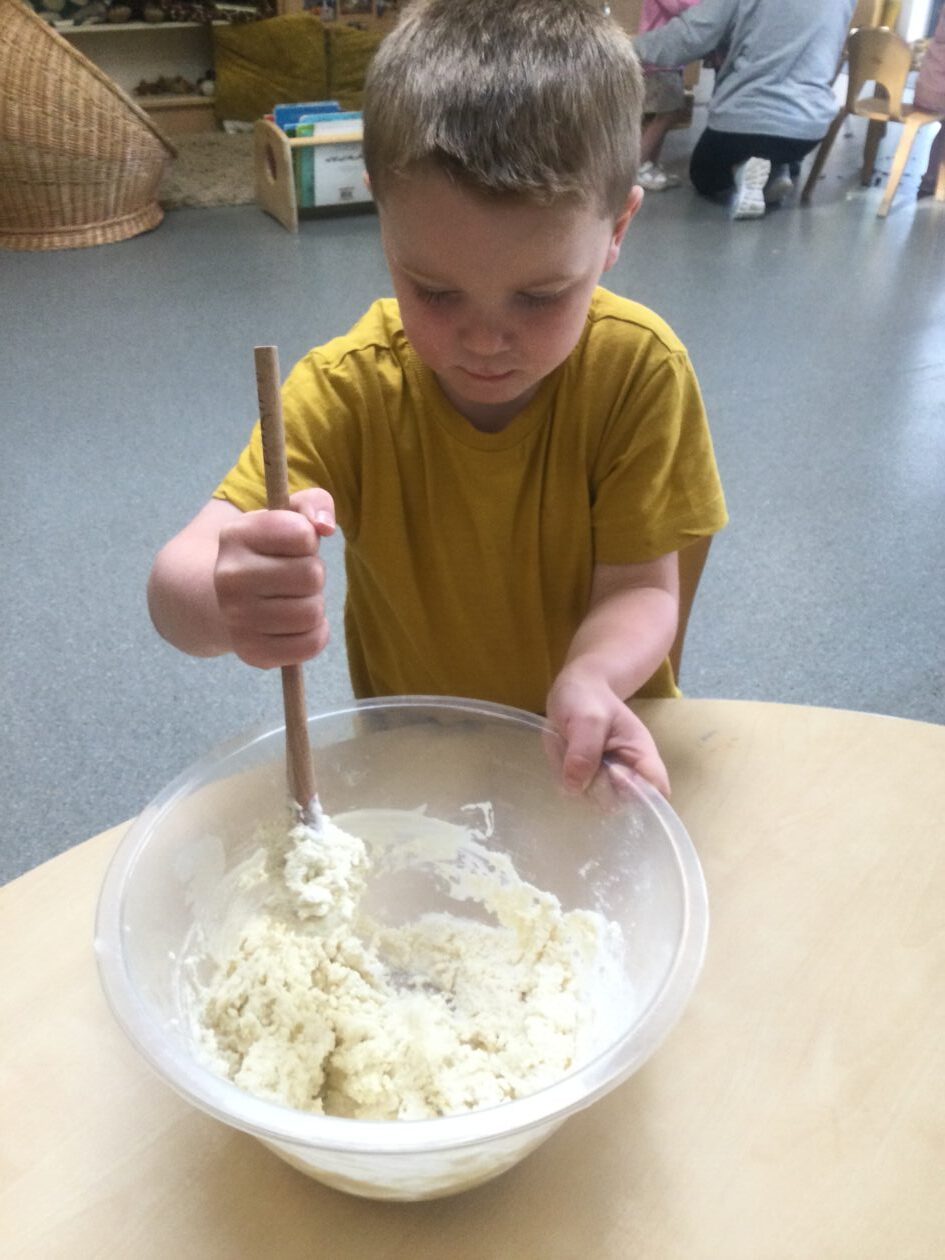
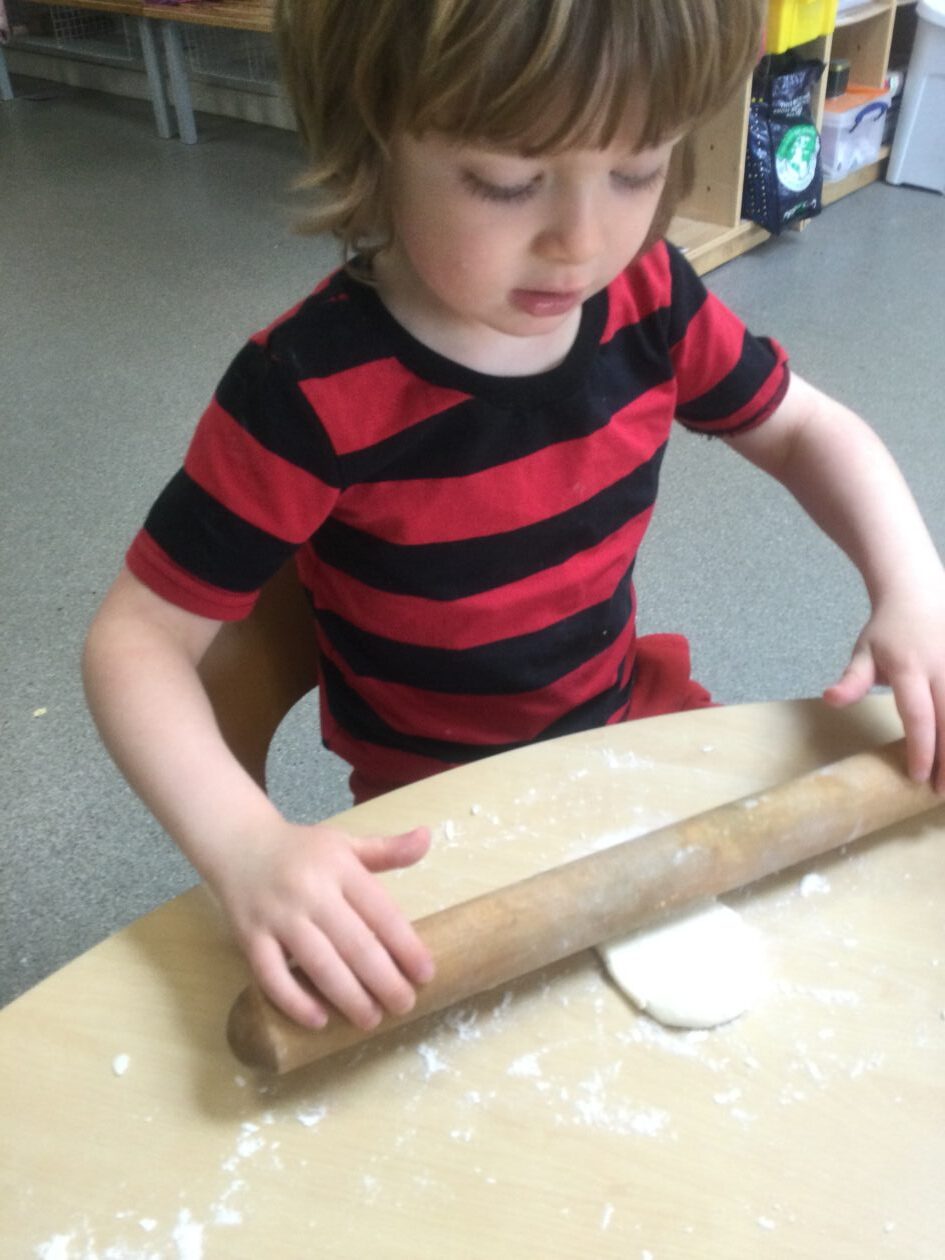
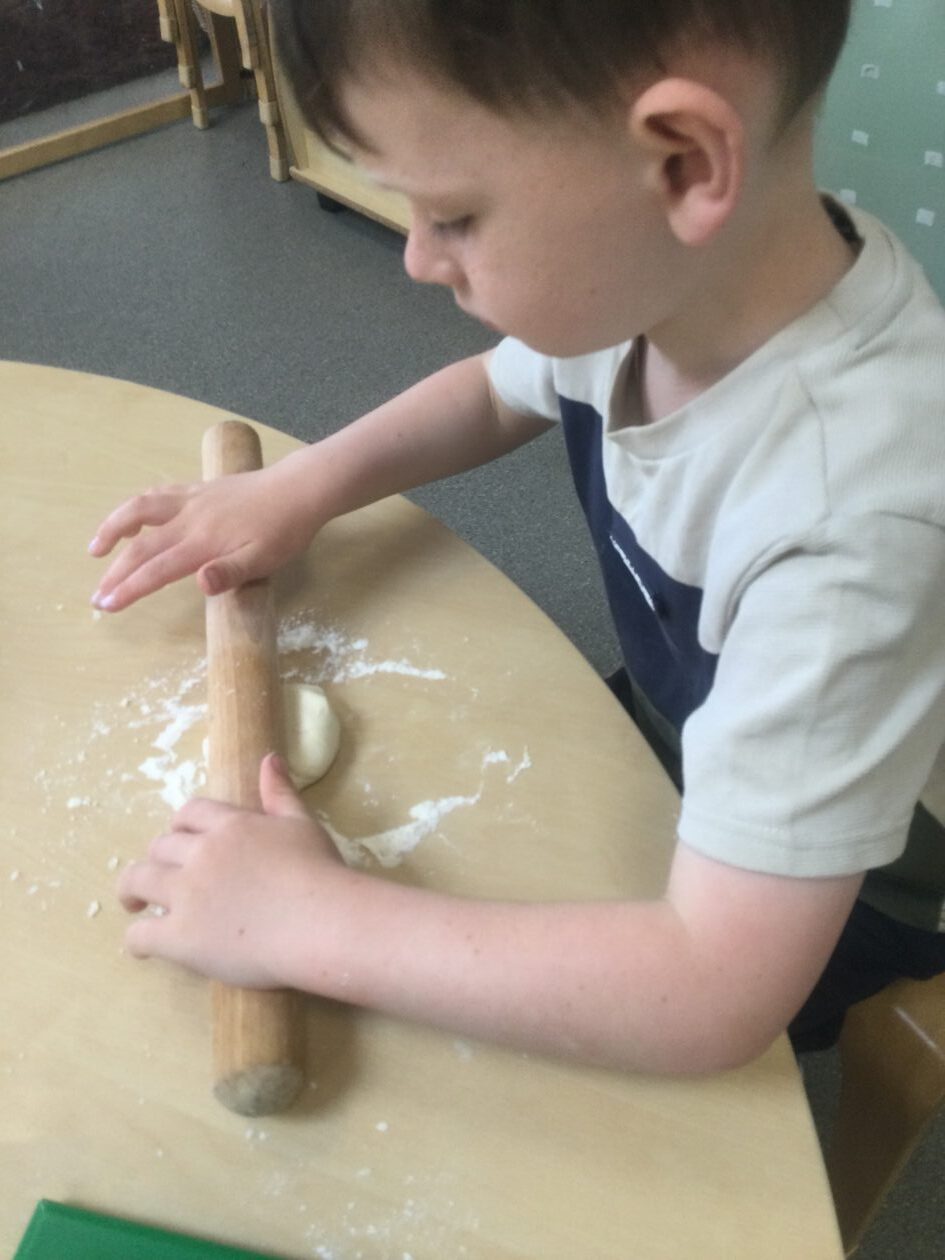
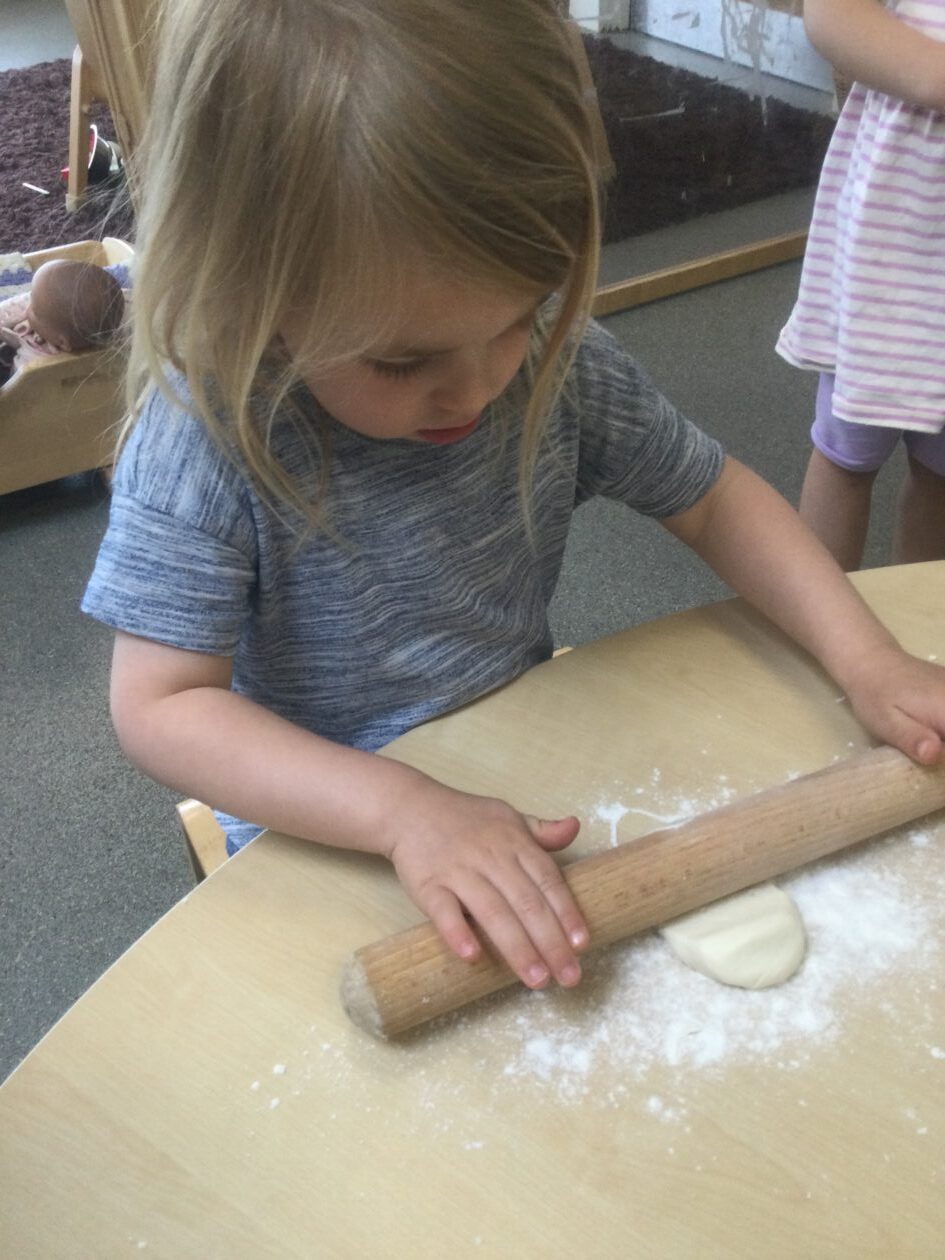
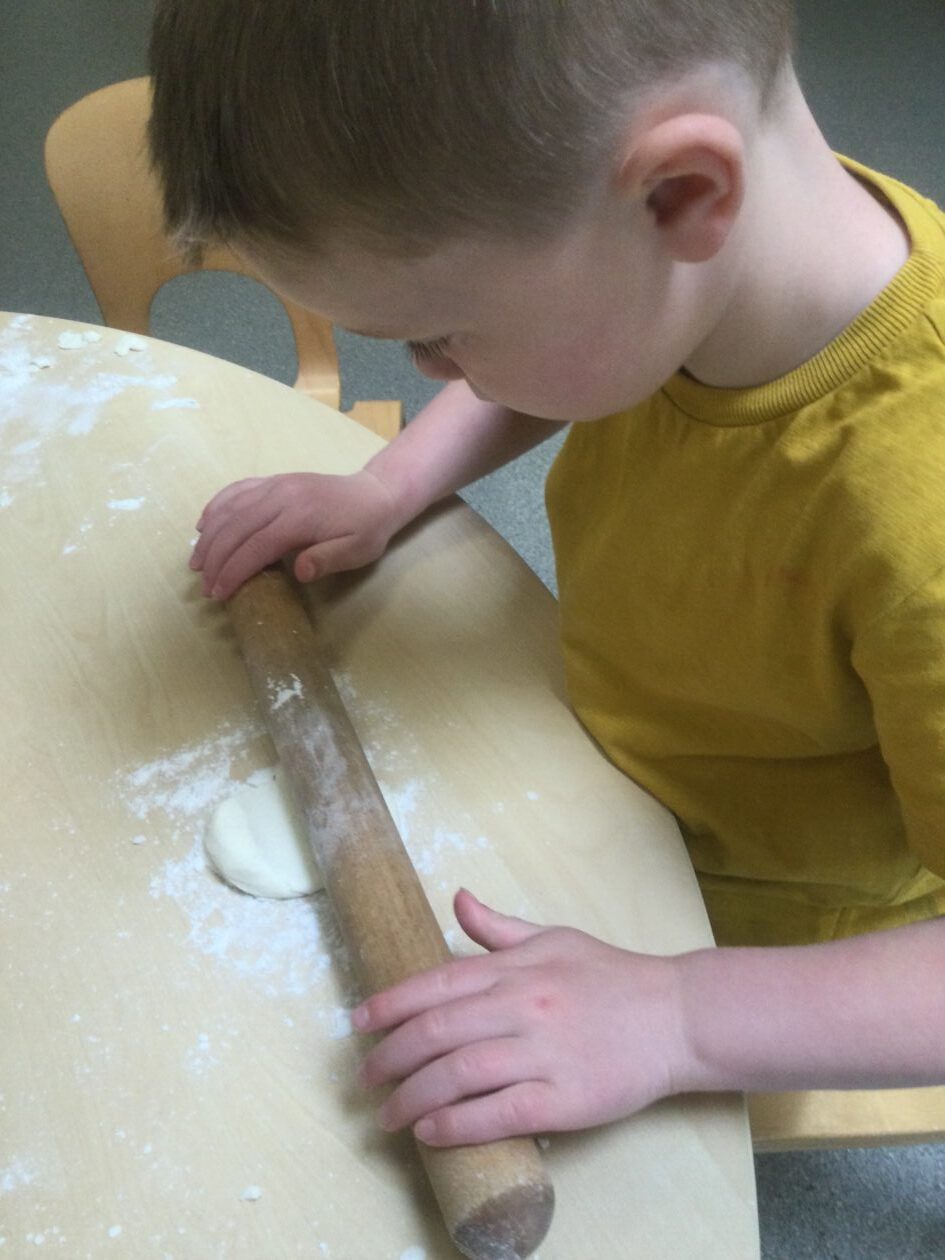
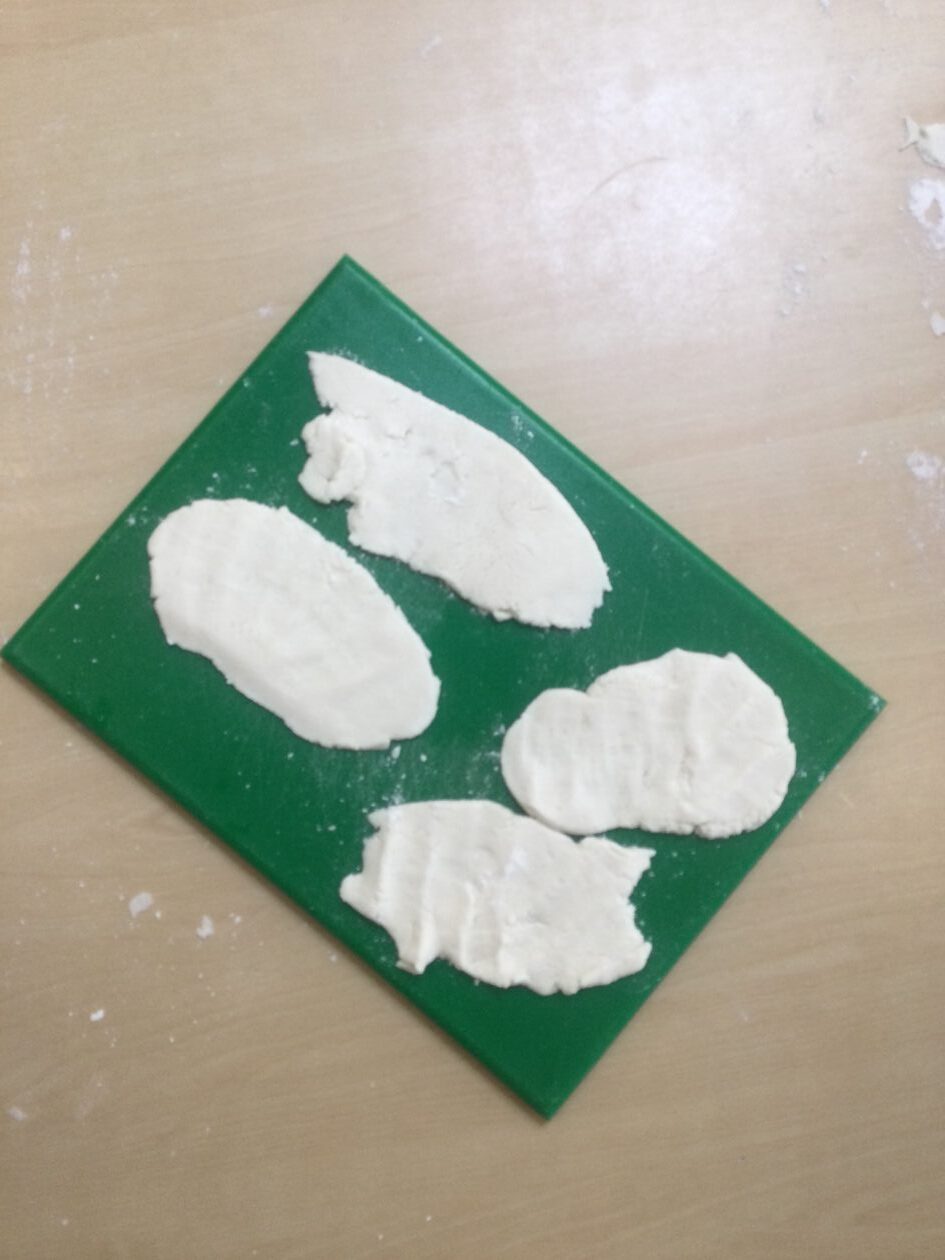
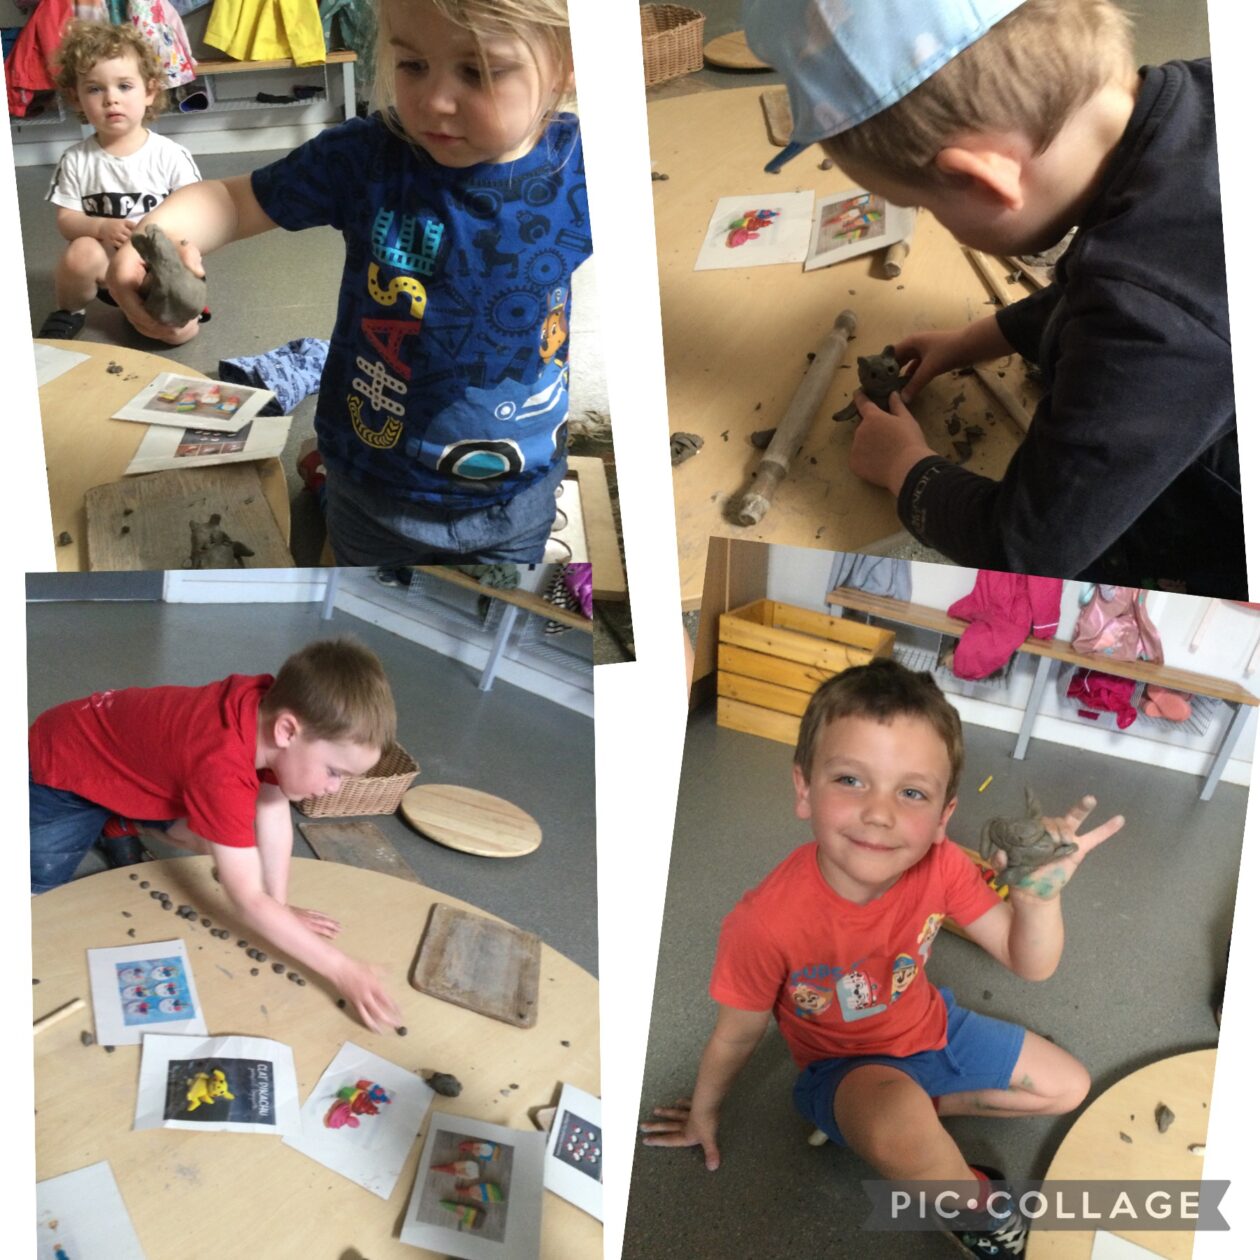
In the home room at the playdough table, we have been experimenting with our playdough recipe and created some delightful chocolate playdough. By adding vegan drinking chocolate to the playdough mixture, we crafted a fantastic sensory experience to explore. The rich scent and smooth texture of the chocolate playdough added an extra layer of excitement to our play. Using loose parts, we created imaginative models, enhancing our creativity and fine motor skills. We also enjoyed spreading the playdough to see how thin we could get it.

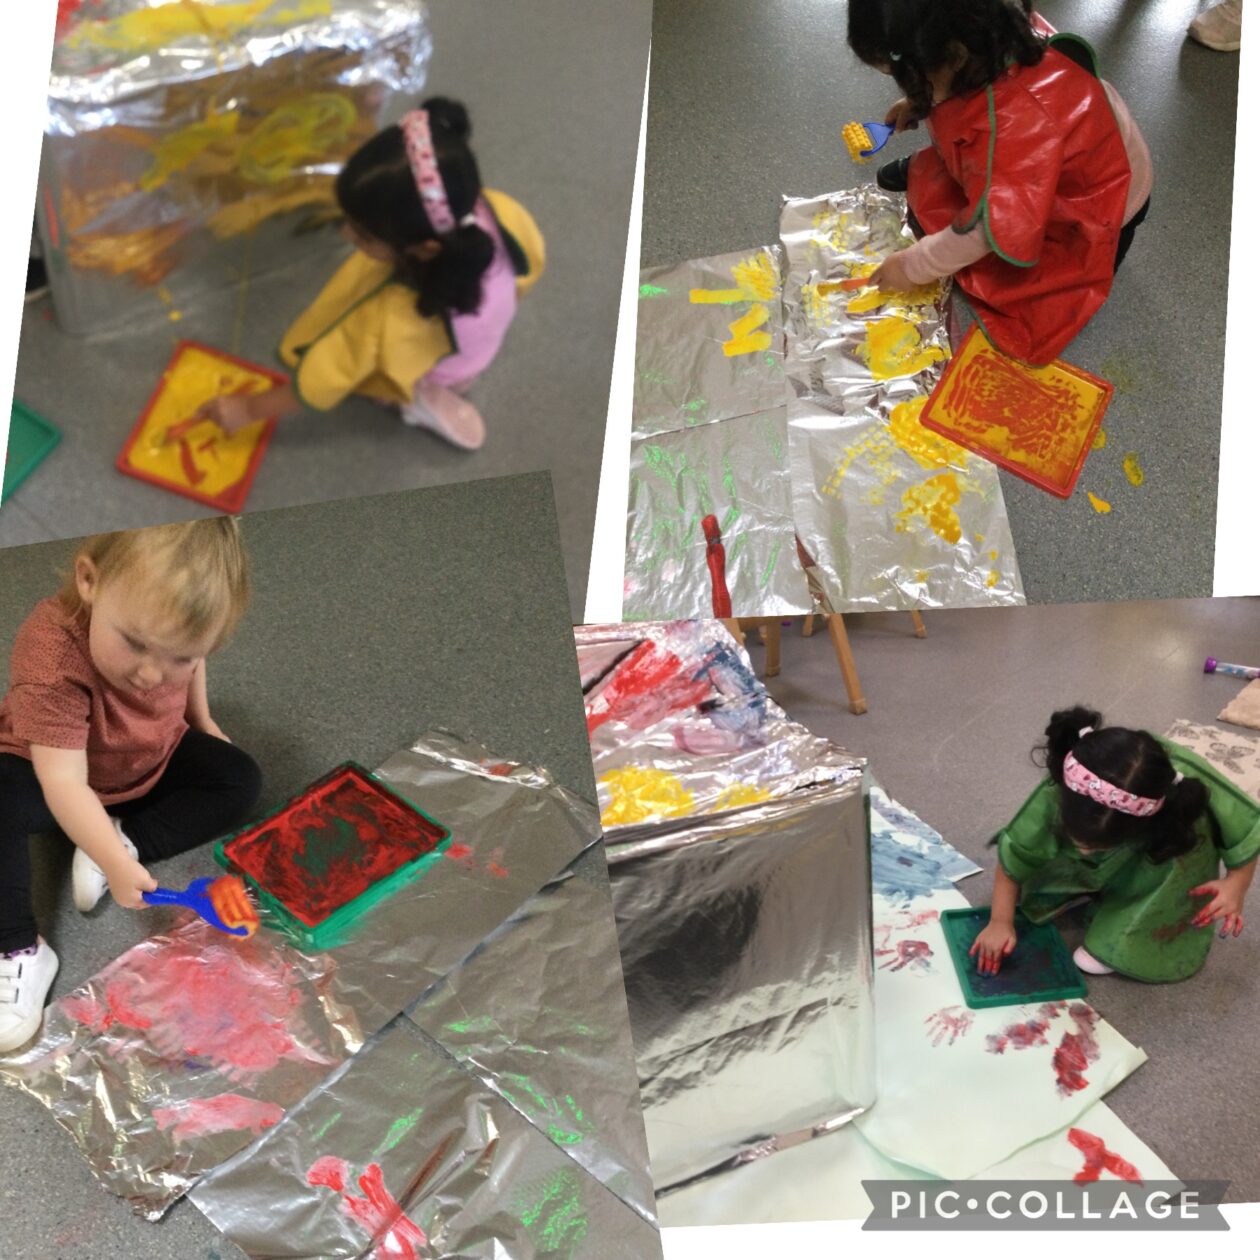
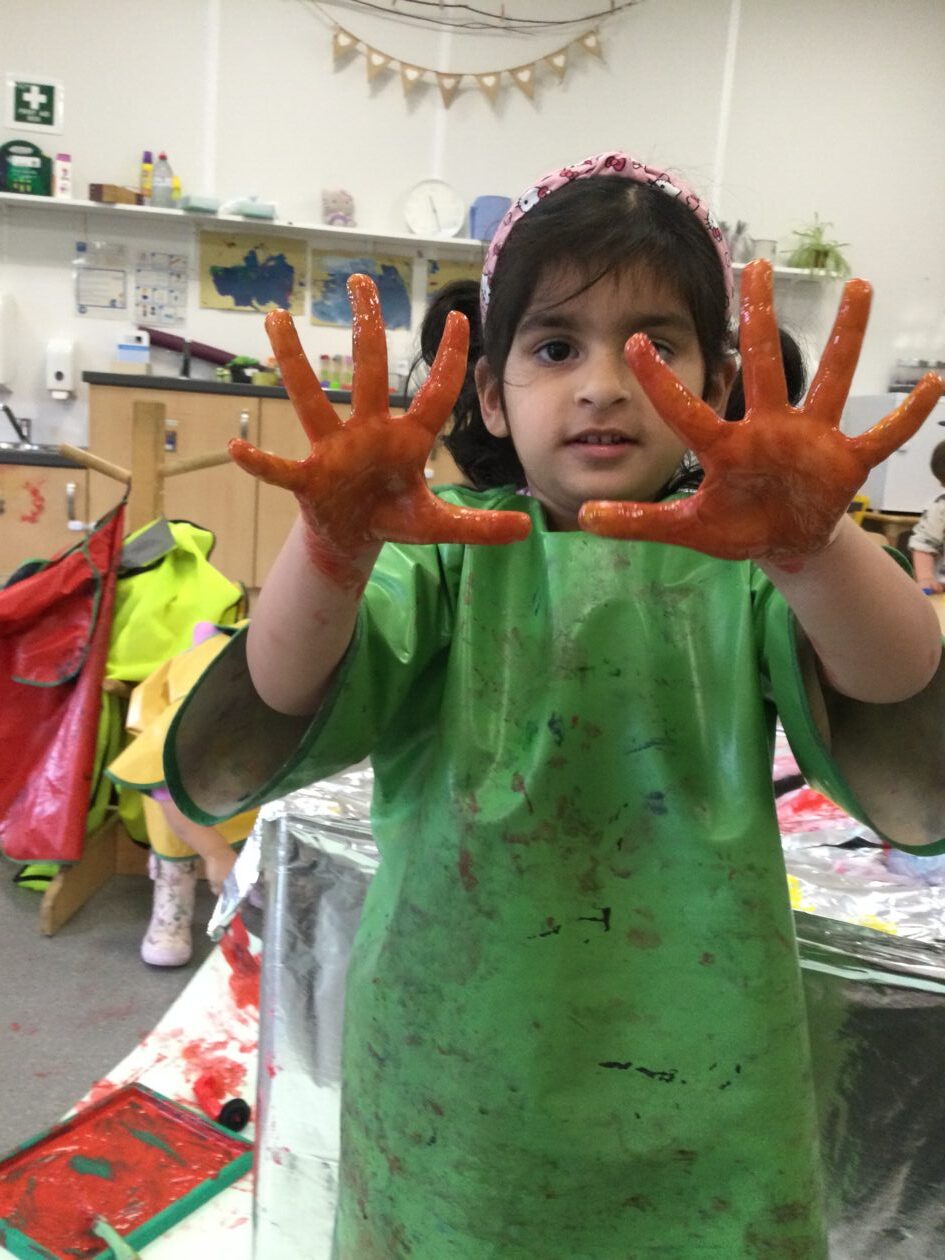
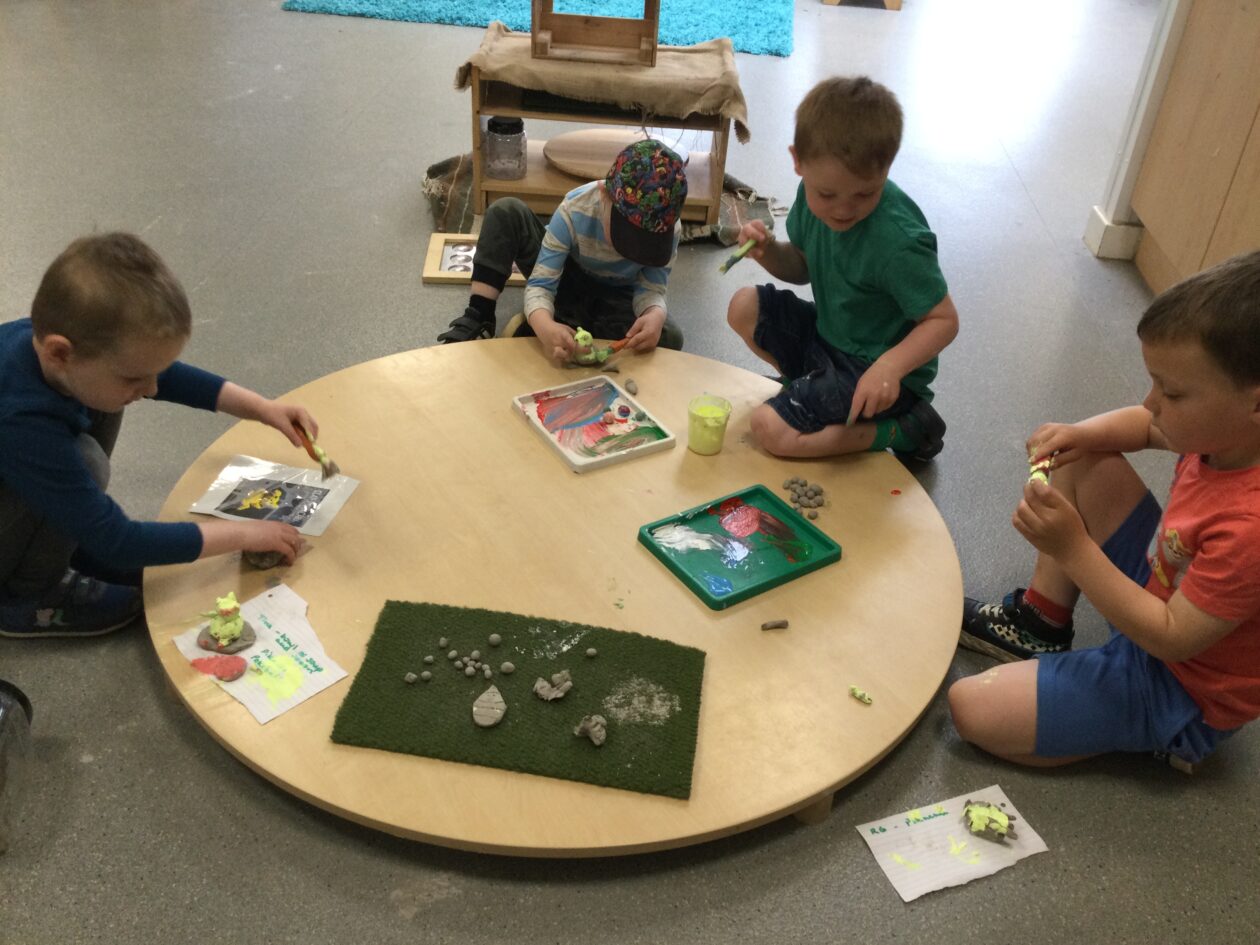
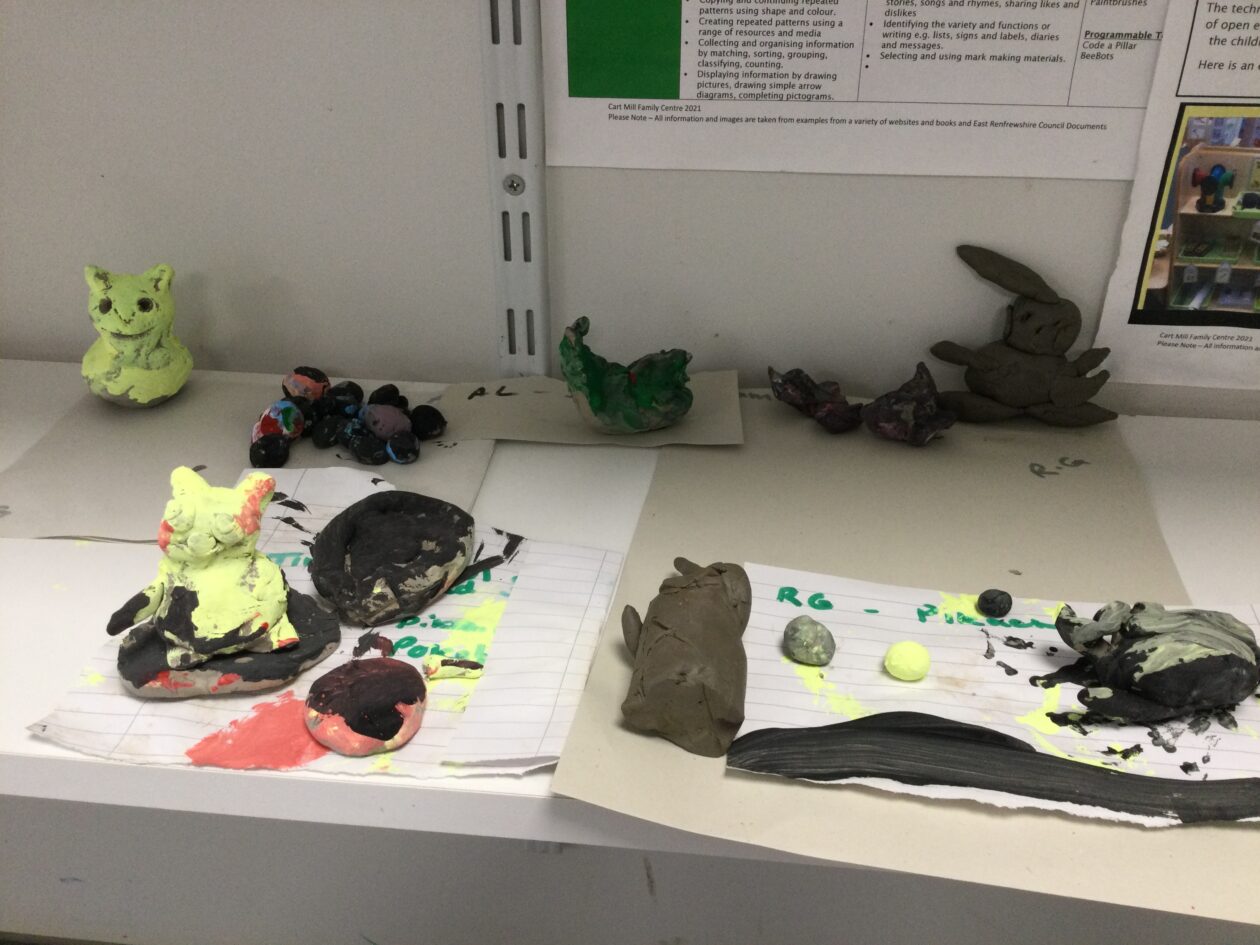
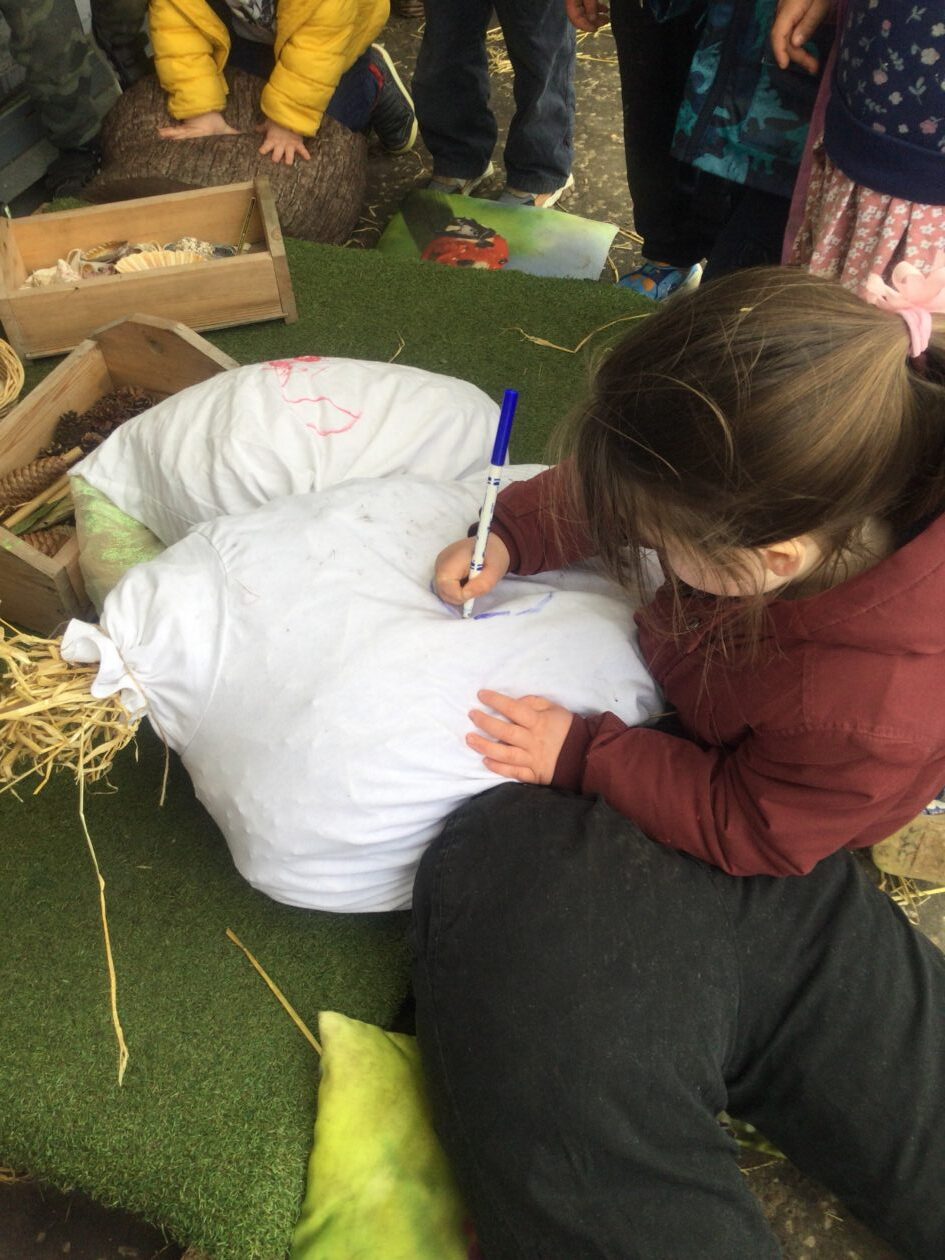
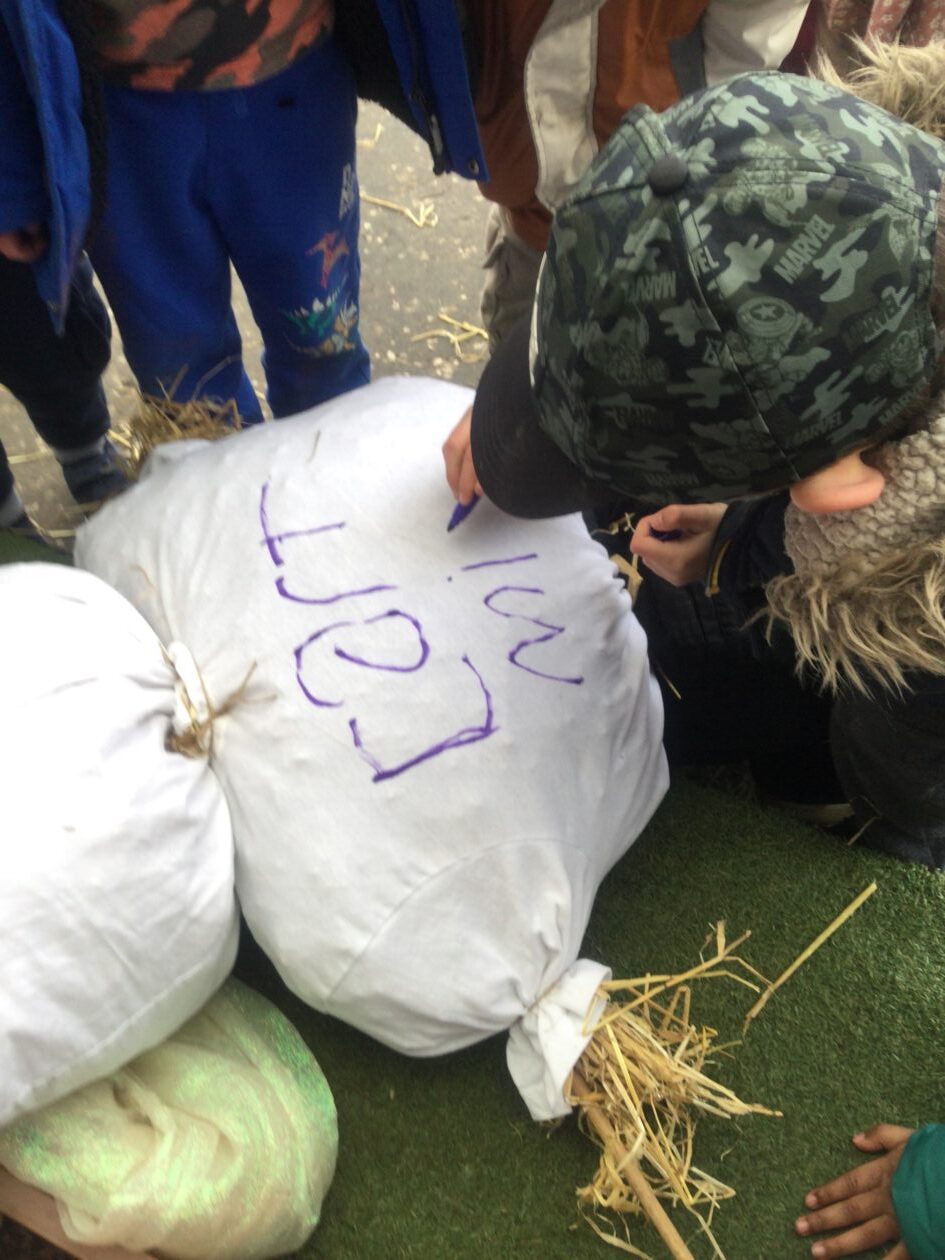
In the studio we engaged in mark-making using a variety of paints and tools, providing a rich and creative environment for us to express ourselves artistically. Lots of fun was had through exploring patterns using rollers, discovering how different pressures and movements could create a wide range of textures and designs. Using sponges, we experimented with shapes, learning how to manipulate the tools to form circles and squares. Paintbrushes allowed us to delve into our own unique styles, mixing colours and creating beautiful creations. This activity not only enhanced our fine motor skills but also encouraged us to think creatively and express our emotions and ideas through art.

We ventured outside the nursery to visit the park and explore the large field behind us. At the park, we enjoyed playing on the swings, developing our balance on the wooden beams, and building our confidence on the large slide. The field provided ample space for running and playing games. We participated in running and crawling races with our peers, promoting physical fitness and teamwork. These outdoor activities were fantastic opportunities for us to develop our motor skills and enhance our social interactions whilst enjoying the fresh air and sunshine.


Come back next Friday to see what fun learning activities we get up to next week!
UNCRC Articles: Our activities this week align with several articles from the United Nations Convention on the Rights of the Child (UNCRC):
- Article 13: Freedom of expression
- Article 31: Leisure, play, and culture
- Article 28: Right to education