Tag Archives: problem solving

Creative with paints!

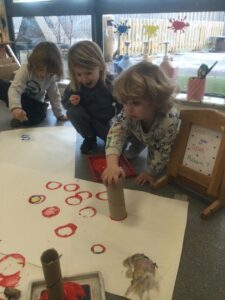
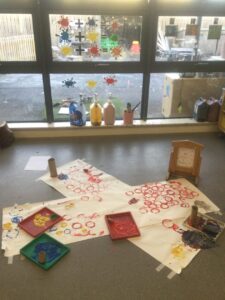
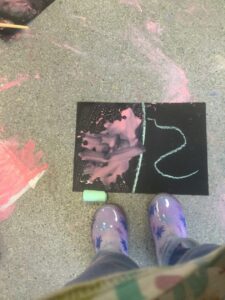
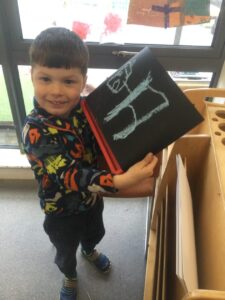
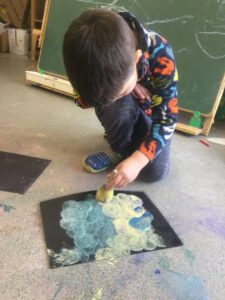
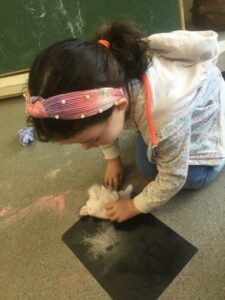
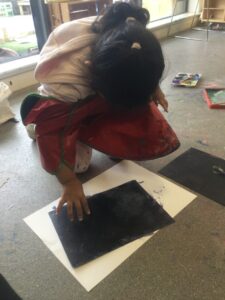
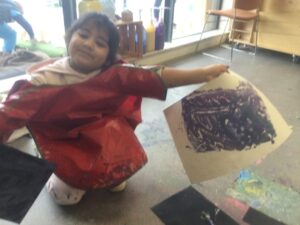
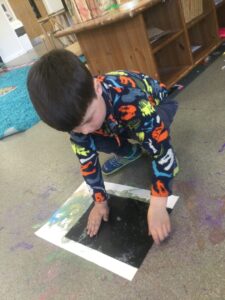
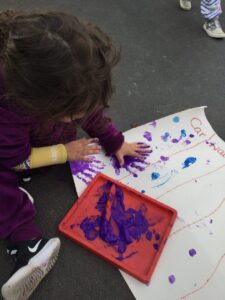
The children have been exploring various different ways to express their creativity in the painting area this week. The children were very excited to discover special waterproof paper in the art area, which sparked lots of imaginative ideas!

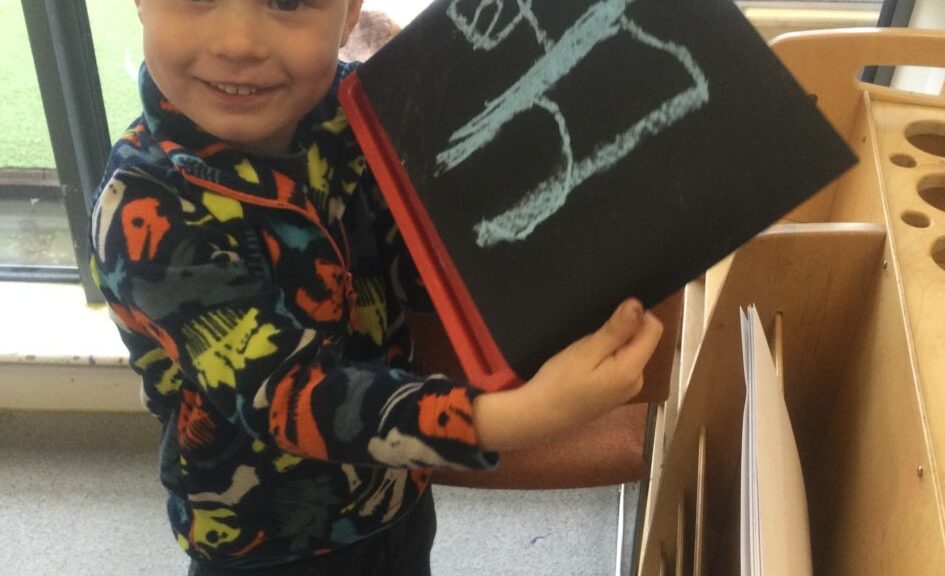
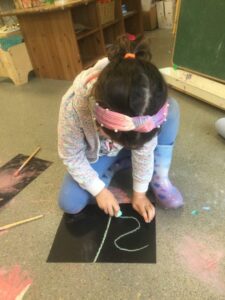
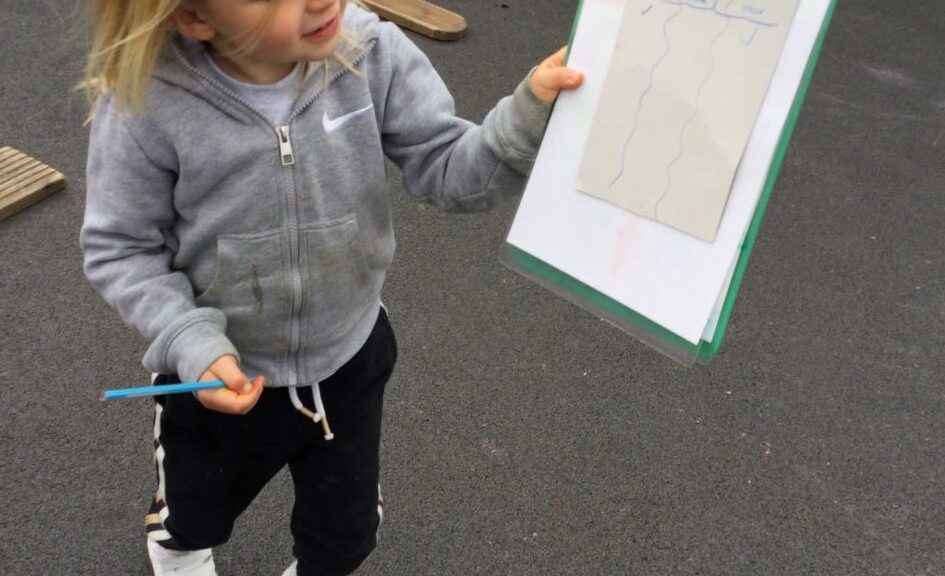
Some children wanted to draw their pictures first using chalk, and copying it with paints


Others explored fun patterns using different resources…


The best part is, as the paper is waterproof, you can paint and clean as many paintings as you like!

“Taadaa!”

The children were keen to take their paintings home with them, so after some wonderful suggestions the children came up with a solution.

“Maybe if I put it on the big paper, it will stick?”


“It worked!”

“Great idea! I’m going to try it too”

The children worked so well as a team, helping their peers with fun suggestions and solutions. Keep up the great work everybody!


What is STEM?

At the start of the new term we revamped our STEM area and have since been learning about the different areas of STEM and how they can connect together. First we started by asking ‘What is STEM?’ and the children had some great ideas;
”It’s magnets.”

”It’s doing the shapes.”

”It’s floating and sinking.”

”It’s science.”

I explained that STEM stands for Science, Technology, Engineering and Maths so they were absolutely right, it is all of those things. We have been having great fun exploring all the different areas…

Science and the magic of magnets…


We have been learning about forces and how magnets can hold and move metal objects. We mixed science and maths by counting how many magnetic toys we could hang from the large magnet before they fell off. We even used science to paint by putting a paper clip in the paint and using the magnets to drag it around from under the paper plate!

Science and engineering in the water tray…

We have explored the different properties of water, finding out how it can change from a solid to a liquid through ice play and have learned why some objects float on water and some will sink. We then used this knowledge to create our own boats. We started by using the foil, but soon found the water came on top and sunk our boats.  Using our problem solving skills, we became engineers and worked together to find a solution. One of us realised that boats have sides to stop the waves crashing inside the boat.  This inspired us to wrap the foil round our hands and voila, our boats could not only float but also carry cargo!

Maths in action…

Numbers, numbers everywhere!

Some of us were able to order the number cards from 0-20 and had a great time hopping along it, shouting the numbers as they went. We have also been reading number stories and practising recognising numbers from 0-10.

Next week we will start exploring technology through coding.  As it is Maths Week Scotland, we will learn about using positional language as well.

Hands up Scotland

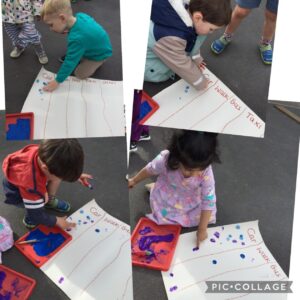
It’s that time of year again! Hands up Scotland collect data every year on how children in Scotland travel to School and nursery, so the children have been working hard today to help carry out a survey to find out the ways in which we travel.

We discussed all the different ways we can travel,

“Flying on aeroplanes”

“Motorbikes and Fire Engines”

“On my scooter”

The children came up with fantastic answers and we decided to make a chart to display how everyone travels to nursery.


They choose blue and purple paint, they each took turns to put some paint on their fingers and put their fingerprints in the column that answered how they travel to Cart Mill.

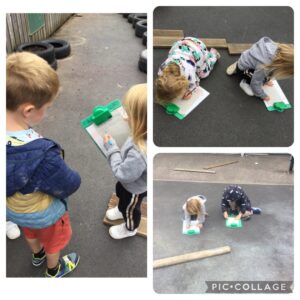
The older children used clipboards with paper and pens and asked all their friends how they travelled to nursery, they then ticked which column suited their answers.

This is a fun way to develop our numeracy skills in early level data analysis as the children count up all the information they have gathered.  We noticed that most of the children travelled by car to Cart Mill.

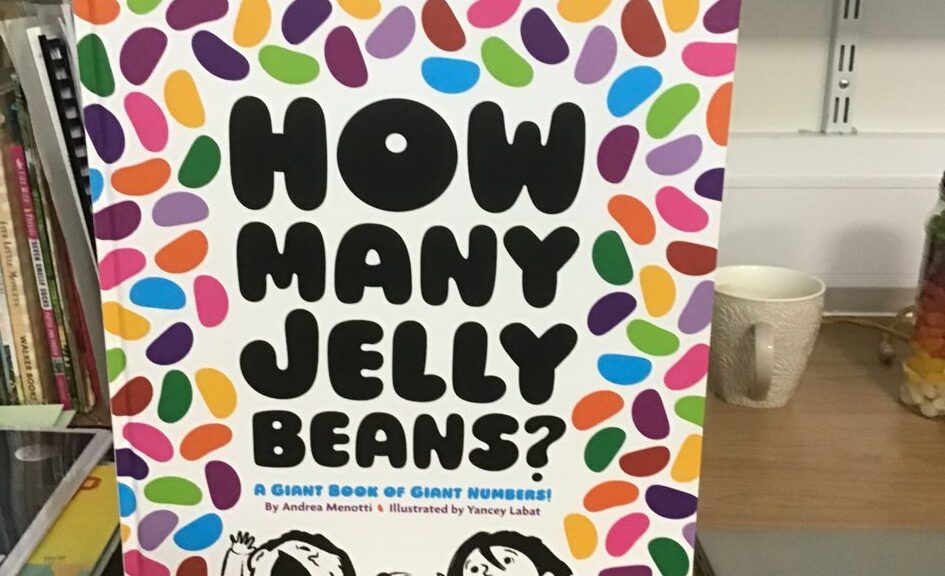
How Many Jelly Beans?!

Some of our children have been asking to explore ‘big big numbers’ so today we introduced them to the story of How Many Jelly Beans?

We began the story of Emma and Aiden who are discussing how many jelly beans they can eat. Starting with ten jelly beans, the number of jelly beans gets higher and higher as they try to outdo each other with larger and larger amounts. Each quantity is represented in the same amount of jellybeans which prompted lots of discussion from the children as the numbers increased more and more.
“Look at all these jelly beans!”

”1000 has three zeros.”

“There are too many to count!”

You might be sick if you ate all of them!”

The children got more and more excited as the numbers got higher and higher and soon the whole page was full of jelly beans as we got to ONE MILLION JELLY BEANS!

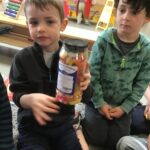
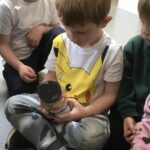
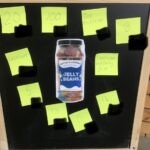
When we finished the story Helen invited us to carry out our very own Jelly Bean Challenge. We had a large jar of jelly beans and our challenge was to guess how many were inside. We all took a turn of holding the jar to help us estimate how many. We learned that estimating means having a look and guessing how many by what we could see.


We estimated….

”I think there is one million and forty four”

“I think there is a trillion!”

We decided that we wanted to count our jelly beans to see how many we had. We had lots of discussion about how we could count them and we finally decided that we would first sort them into colours and then count them.

It took a long time to count them as we had so many but we worked together as a team and found that we had 136 jelly beans altogether!

We had a great morning of counting and estimating and perhaps even more surprisingly, no jelly beans were sneakily eaten!

Article 28 You have the right to education

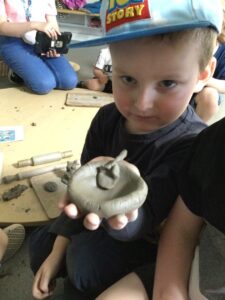
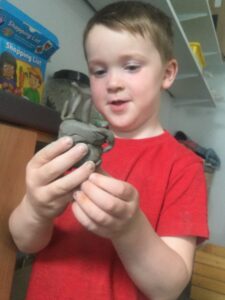
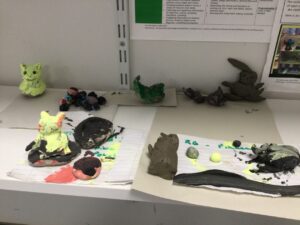
Pikachu clay models

The children wanted to make something different with the clay, but they were unsure of what. So last week we sat down together and discussed some ideas, I asked the children questions to get them to really think about their interests and how we could incorporate these in to our clay area.

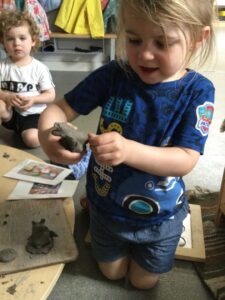
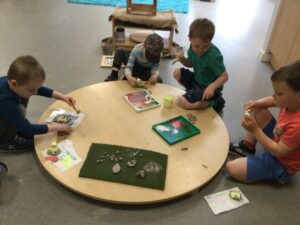
Pokémon seemed to be a common theme so we used the iPad to search the internet for some Pokémon ideas. We came across a clay Pokémon figure, it was perfect! The children helped pick out some other clay model pictures including unicorns, garden gnomes, and even Elsa from Frozen . I printed these out and laminated them, leaving them on the table to inspire some ideas.
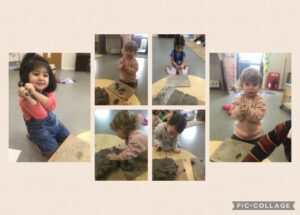
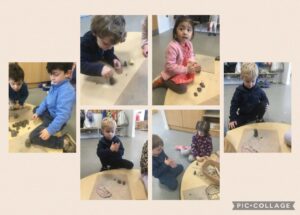
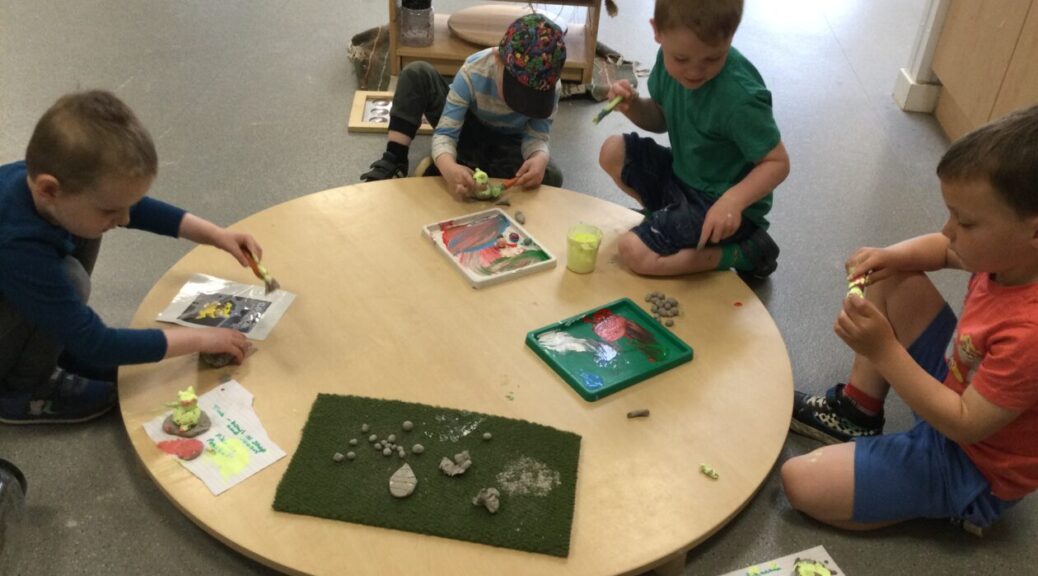
The children began to make their own models, squeezing, rolling, and manipulating the clay to their desired shape. They soon realised looking at the pictures that our clay was grey and the pictures used coloured clay, how would they make their own models colourful? They worked together using their problem solving skills to come up with some ideas. “I know, we could get paint!” “and paintbrushes and paint them and that’s how they will be colours”.


Once their models were finished we left them to dry out over the weekend, ready for painting this morning.

There was lots of great ideas.


“A bowl of soup with spoon”

“Pikachu”

“I made a snail”


They put their finished models on the shelf to let the paint dry, we can’t wait to see the end result.


Some marvellous Monday fun for our little scientists 😍


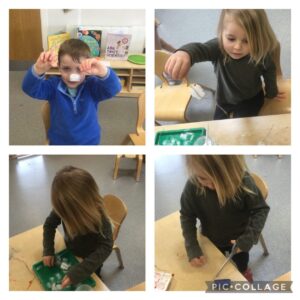
Today some of the children wanted to do the sticky ice experiment for today’s experiment. We used some ice and then put some thread in the centre of the ice cube. Then we sprinkled salt onto it waited a few minutes and just like magic the thread had stuck to the ice cube enough for us to lift the cube up using the thread. I explained to the children that salt lowers the freezing point of water making the ice easier to melt. After sprinkling the salt around the thread the melted water is affected by the surrounding low temperature and freezes again so the thread and ice are frozen together.

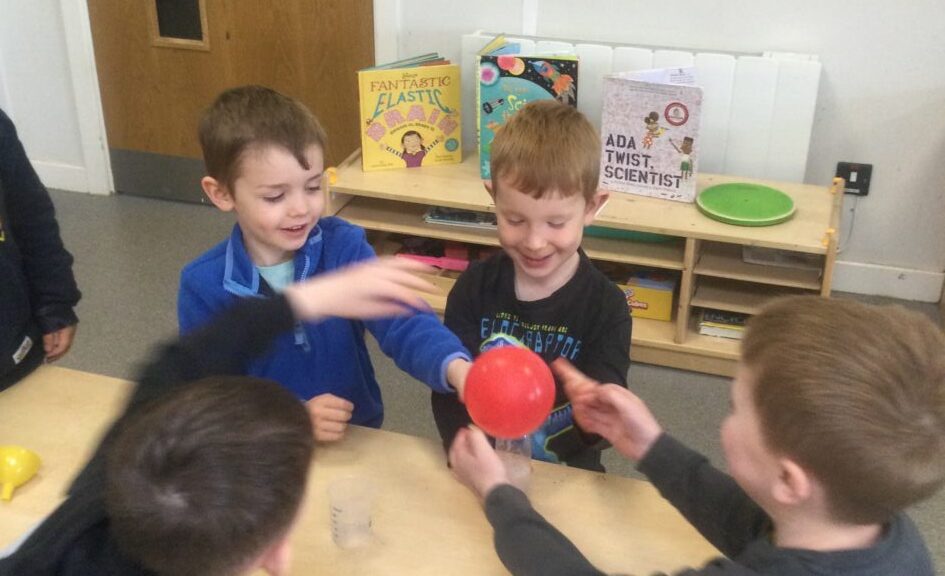
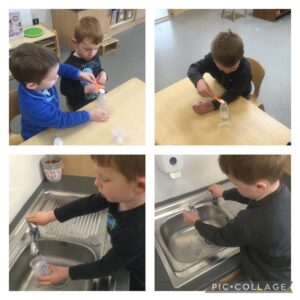
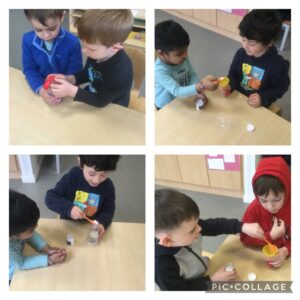
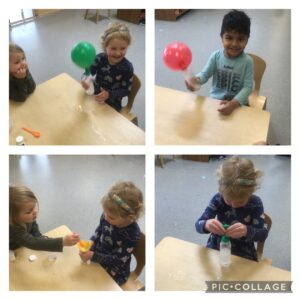
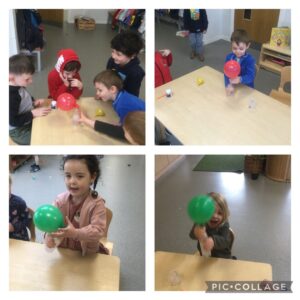
The next experiment the children asked to do was the blow up the balloon without blowing experiment. Firstly we had to measure out 100mls of water into a beaker. We then added two spoons of baking soda and poured the mixture into a bottle. We then carefully used the funnel to fill our balloon with two spoons of citric acid put the balloon on the lip of the bottle and poured the citric acid from the balloon into the bottle.

To the children’s delight the balloon started to slowly inflate. I explained that the reason for this is baking soda is an alkaline substance that reacts with acidic citric acid to produce a large amount carbon dioxide gas the more carbon dioxide produced the more the balloon inflates. The children followed my instructions and measured the ingredients out accurately  they quickly realised that the more baking soda and citric acid they used the bigger their balloons got.


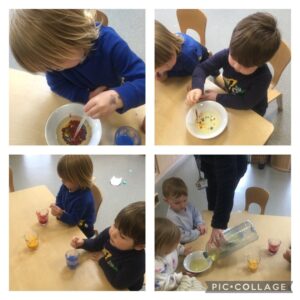
Our last experiment of the day was to see if oil and coconut milk which we added food colouring to would mix the children quickly seen that it doesn’t. This is because the molecular structure is very different as is their density so that when the milk is dropped into the oil it forms small droplets.
Well done everyone, you made predictions about what you thought would happen next, studied cause and effect and answered my questions about what actually happened during the experiment. You truly are the best scientists.

Building Bridges

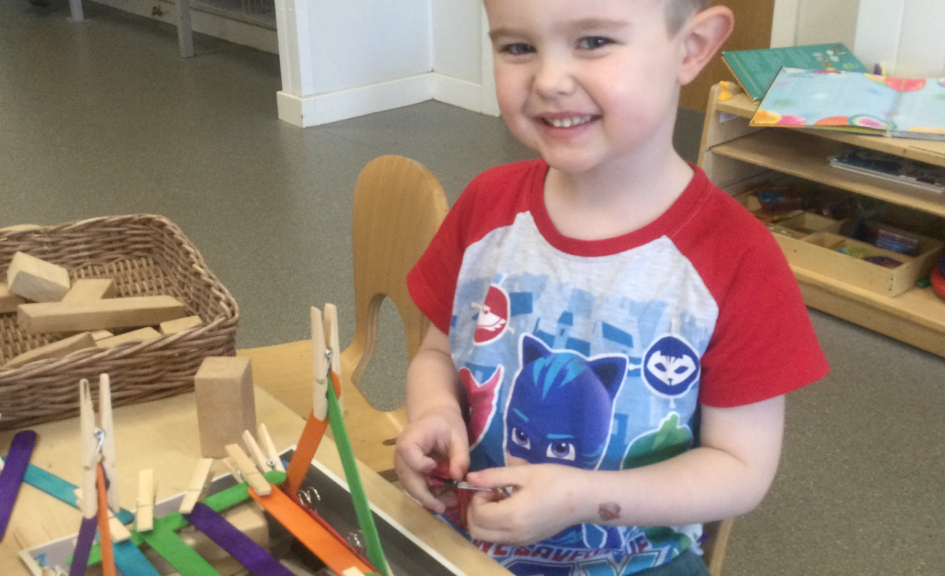
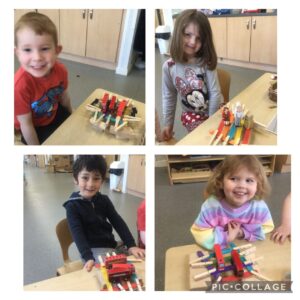
This week we decided we would use small blocks and loose parts to build our bridges.

The children began exploring the different materials provided  and using their fine motor skill and hand and eye coordination  to connect the pieces together.

“ this is too heavy, it’s going to fall.”

“This is really hard”

“Mine is a bit wobbly”

The children used problem solving skills while exploring a variety of ways to ensure the creations did not fall apart. The children shared their thoughts and ideas with each other.

“ I think the clips are too big and they bend”

“ glue would be good”

”mine are staying together”

”I like the pegs the best”

While building the children were discussing what they were creating and continued to share their thoughts and ideas.  They used mathematical language to describe their creations and had great concentration skills.

“Mine is strong and long”

“I am building a bridge which  is going going to be so long”

“I am going to build a big one for cars”

”mine is for cars too”

We then decided we would check how strong our bridges were. and chose a car or person to put on it.


“ I have 3 cars on”

”I have 3 people”

”I have 3 cars and 8 people”

The children were delighted at how strong their bridges were and that they were able to hold cars, figures or both.

Story time 📖📚

This morning the children had transferred some of our stories and story puppets to the home corner.

They brought some of our dolls over and pretended they were going to read them a story.  First of all they picked out “A squash and a squeeze” then showed the ‘babies’ the matching puppets and named them.

“This one is the pig, the pig says oink”

” This is cow, he says Moooo!”

” The hen goes cluck, cluck”

Using the pictures the children showed their understanding of what was happening in the story and ‘read’ to the babies, using the puppets as they went along and imitating the ways that adults round about them would read a story.

“The hen knocked the jug over”

“Lady pushes pig in house”

“and the cow, its getting too busy in there”

The children had so much fun using their imagination to re-enact real life situations in the home corner.

Article 31 (leisure, play and culture) Every child has the right to relax, play and take part in a wide range of cultural and artistic activities.

Will the glove fit🧤🪡🧵

In the studio this week one of our children drew around her hands onto paper, then she cut them out and decorated them. This sparked an idea “I want to make some gloves”

Using her problem solving skills she decided the paper would just rip if we tried to put it on her hands but she could use her paper hands to draw around and use some material. All of a sudden, she had a template!
“I want to sew my gloves for school, will I have a enough time before I go?

Once she selected and measured her material she had to make sure it was big enough for the size of her hand.
Mastering fine motor skills and the hand grip required to hold  and thread the needle, she got to work sewing. Well done!

We found a pair of gloves to help us problem solve how we were going to create our gloves. We discovered that the hands that we drew around didn’t match. They have to be symmetrical to be able to make the glove. We began sewing the glove onto the other material to cut around it after.

With a a little of help holding the fabric our super glove designer was able to sew all the way around the fingers. After a lot of hard work and concentration we tried the glove on to see if the glove fits.
The glove fits 🤩 Amazing Work!

“I need to make another glove because 2 gloves make a pair”

Sewing helps children understand the creative process, develop fine motor skills, improve their concentration, and learn how to work with their hands. This can help them become more independent and self-motivated.

Article 29 – You have the right to education which tries to develop your personality and abilities as much as possible and encourages you to respect other peoples rights and values and to respect the environment.

Summer fun🎈Afternoon Tea at Cart Mill 🍓


The children led this blog and narrated as they went – enjoy their own words!
On a nature walk the children noticed that the bushes across from the nursery have raspberries on them.  “ Can we pick some and make something with them” “ I love raspberries “ “ The strawberries in the garden are ready to we could make some jam and put it onto scones “

“These strawberries aren’t very big” “ Bet they still taste good though” “We need to wash our strawberries and raspberries “

” We need to mash the fruit up, I think a fork would be best for mashing “ “ The strawberries and raspberries smell really good” “ I’m going to mash up 5 strawberries and 3 raspberries because I like strawberries the best”


“ Lets carefully measure out the ingredients so our scones are tasty” “Don’t put to much baking powder in or it will taste horrible, I think half a teaspoon is fine “

is
“let’s cut our scones out,we need the special scone cutter and we need to use the rolling pin , to make it flat”” mine is a bit sticky” 

”I think 11 minutes will be enough “ ” I don’t want mine to burn”

” Mmmm my scone tastes yummy “ “ I’m only putting a little jam on mine”  “ we better wash our dishes”

Great team work the scones tasted amazing and you even washed the dishes. 🤩