Tag Archives: mark making

Number Stones

Over the past week we have been developing a range of skills at our play area. From counting to recognising numbers, shapes and patterns, Gross motor skills and writing stories we have experienced it all. The children have been so creative.

I observed the children playing a game at the clay table, they were drawing pictures in the clay with different clay tools and asking their friends to guess what they had made. One child wrote the number 4 in clay.

“Guess what I’m drawing it has a shell on it” – A snail

“I draw happy face”

“I did number 4, cause  I’m 4”

This lead us on to writing numbers in the clay, we made number stones and decided to paint them lots of different colours. When the paint was dry we brushed over them with Pva glue and left them to dry. Finally using a black marker to make numbers stand out.


The children have used these number stones to lead their own learning. We have used our counting skills and number recognition to rearrange the numbers in order from 1-10.
They have played lots of different games with the number stones, one game involves the children laying the numbers out in order and closing their eyes 👀  I take one number stone away and they have to guess what number is missing. To make it more challenging we mixed the numbers up and before removing one.

“It’s number 4” Next we added in numbers 10-20 to add fun challenge to their learning.


“I’m doing it upside down and the wrong way round 😂”

Pikachu clay models

The children wanted to make something different with the clay, but they were unsure of what. So last week we sat down together and discussed some ideas, I asked the children questions to get them to really think about their interests and how we could incorporate these in to our clay area.

Pokémon seemed to be a common theme so we used the iPad to search the internet for some Pokémon ideas. We came across a clay Pokémon figure, it was perfect! The children helped pick out some other clay model pictures including unicorns, garden gnomes, and even Elsa from Frozen . I printed these out and laminated them, leaving them on the table to inspire some ideas.

The children began to make their own models, squeezing, rolling, and manipulating the clay to their desired shape. They soon realised looking at the pictures that our clay was grey and the pictures used coloured clay, how would they make their own models colourful? They worked together using their problem solving skills to come up with some ideas. “I know, we could get paint!” “and paintbrushes and paint them and that’s how they will be colours”.


Once their models were finished we left them to dry out over the weekend, ready for painting this morning.

There was lots of great ideas.


“A bowl of soup with spoon”

“Pikachu”

“I made a snail”


They put their finished models on the shelf to let the paint dry, we can’t wait to see the end result.


Dandelion tea in our mud kitchen cafe

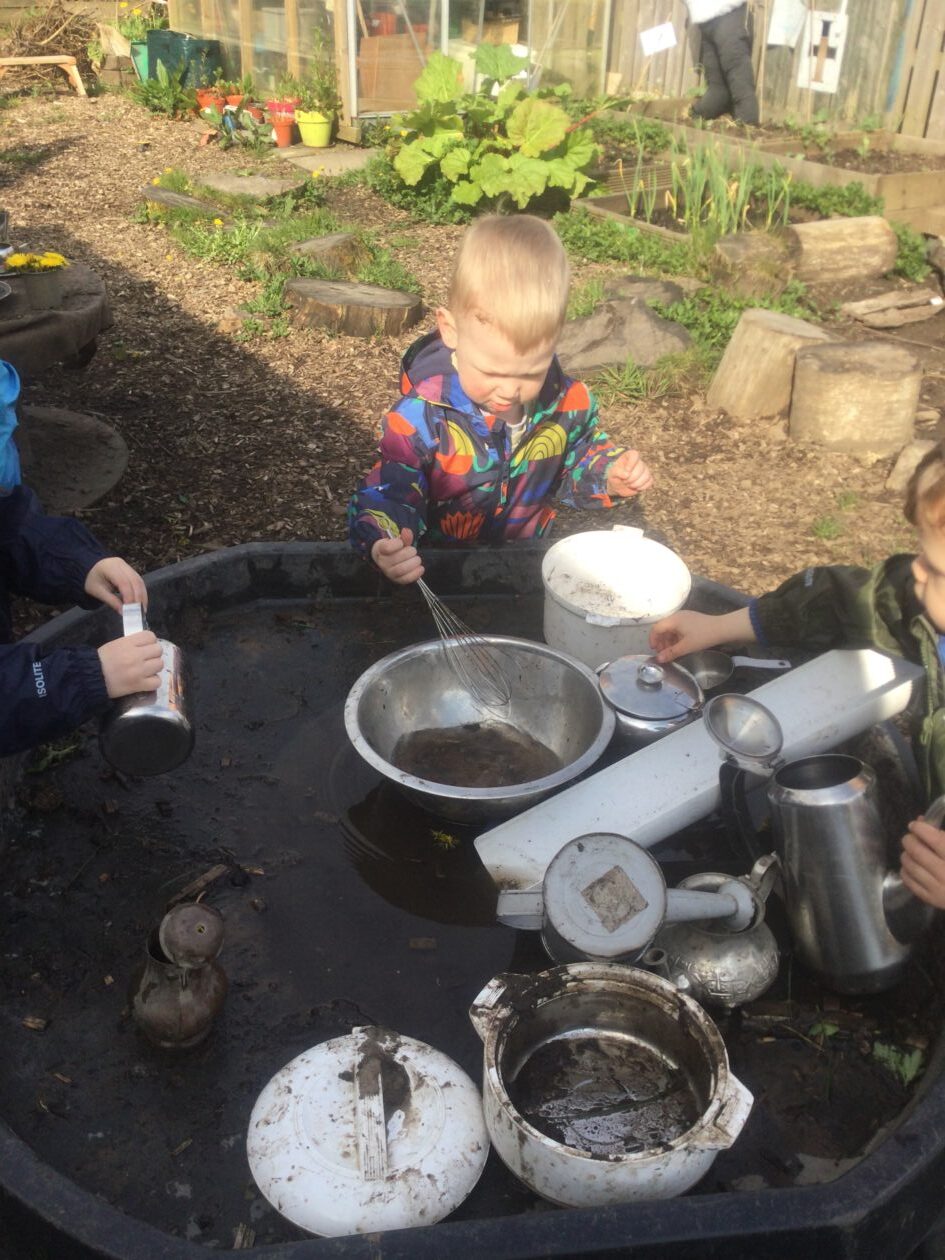
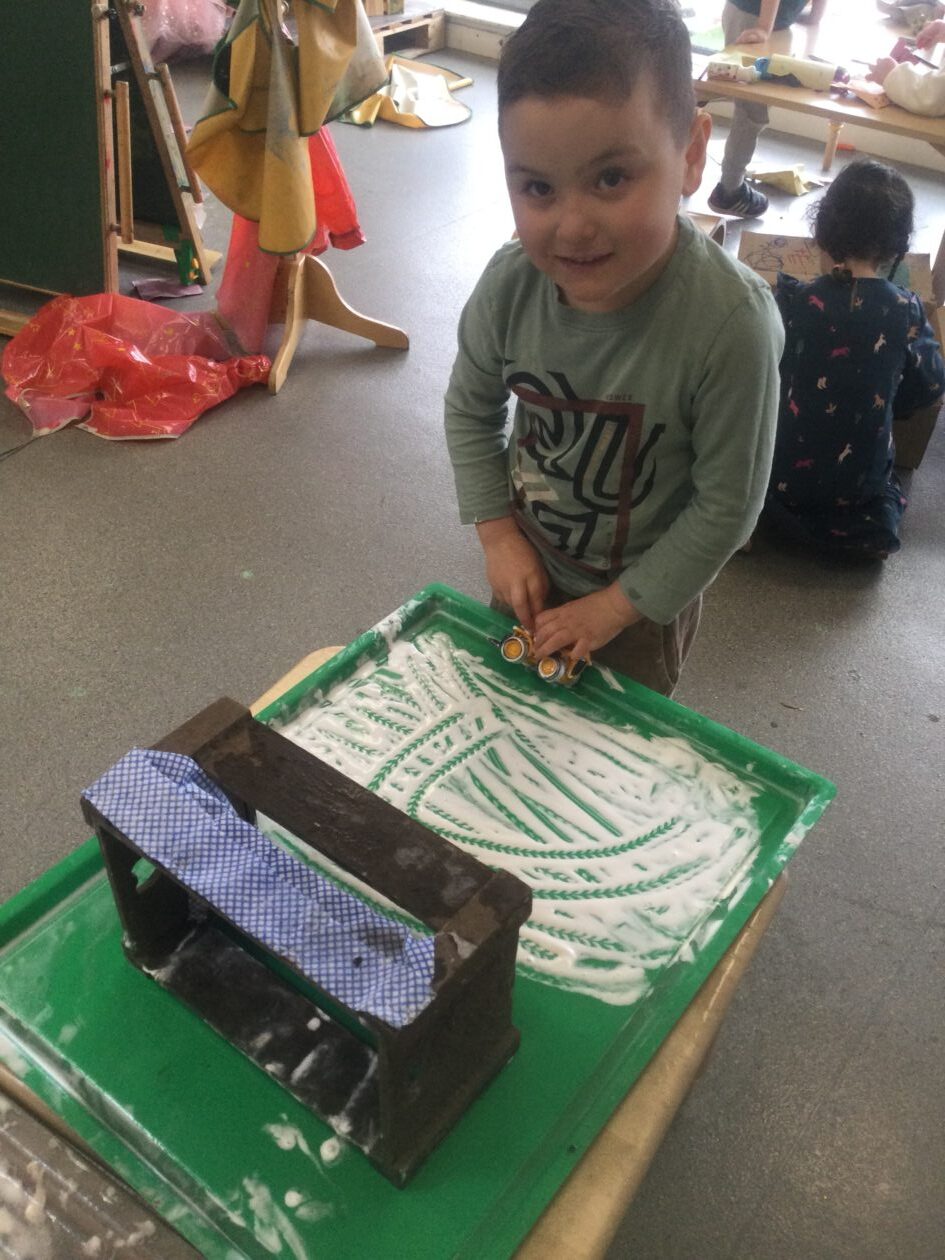
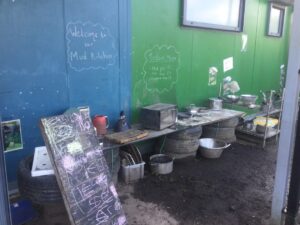
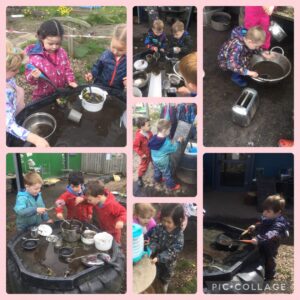
We have really been enjoying our mud kitchen area in our nursery garden. The children have particularly enjoyed the role play aspect of our mud kitchen.


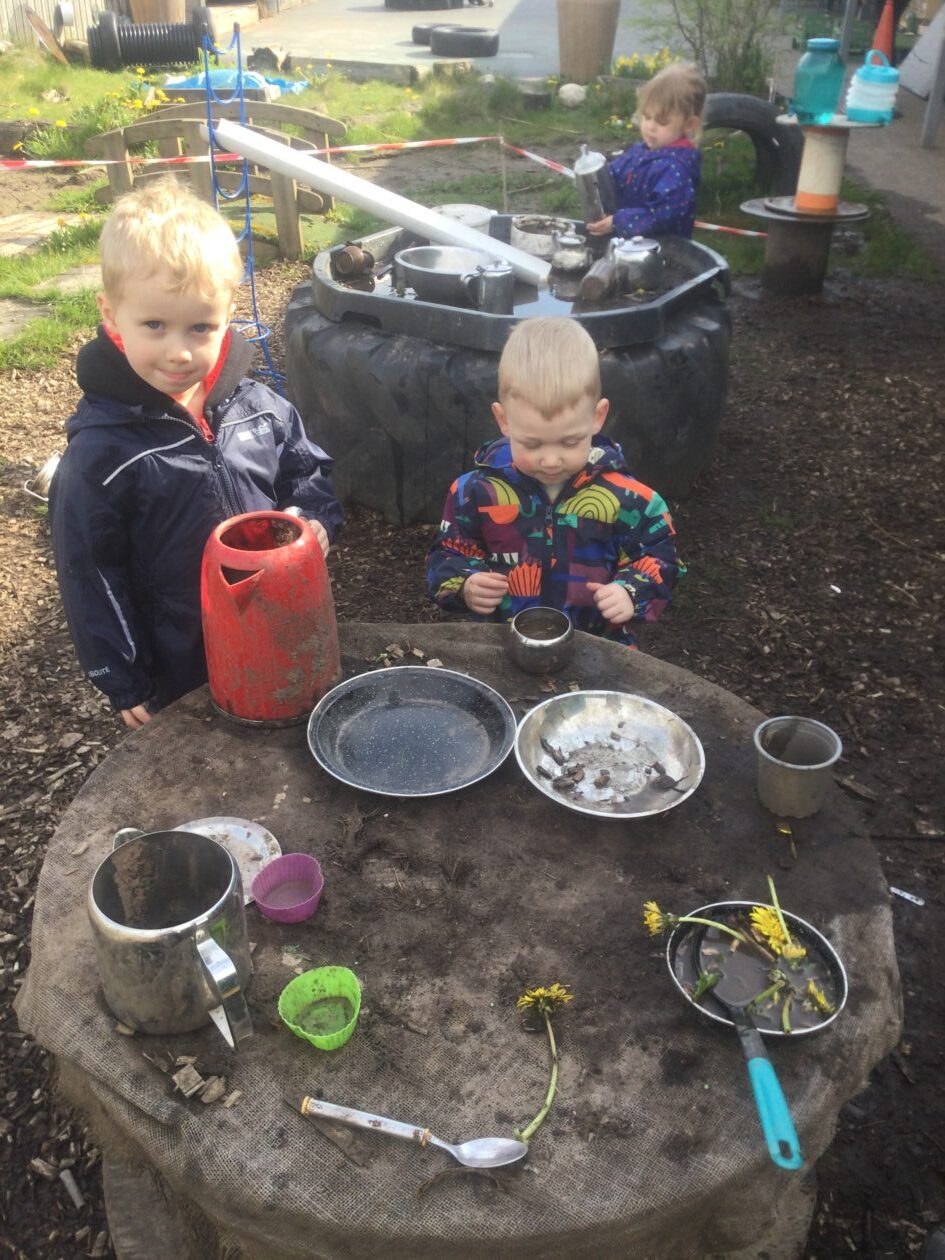
We have been using the mud, water and utensils to create lots of wonderful muddy meals.  The children have turned our mud kitchen into the “mud kitchen cafe”. The children have been taking it in turns to  see who will be the cook and who will be the customer.  This has been especially enjoyed by our 3-5 year old children.

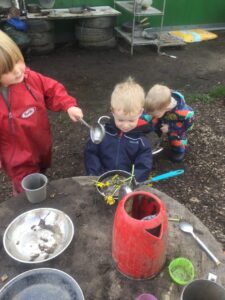
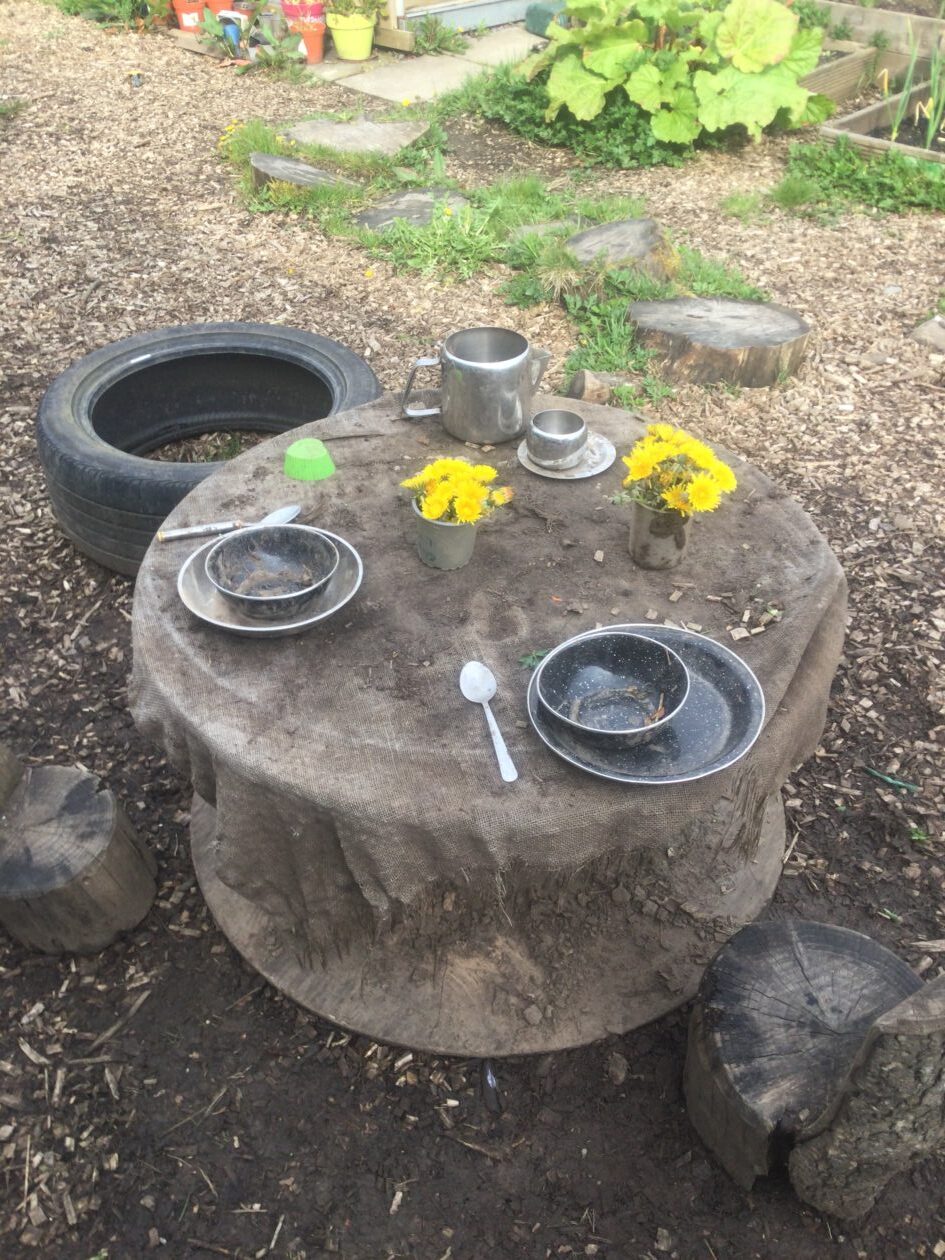
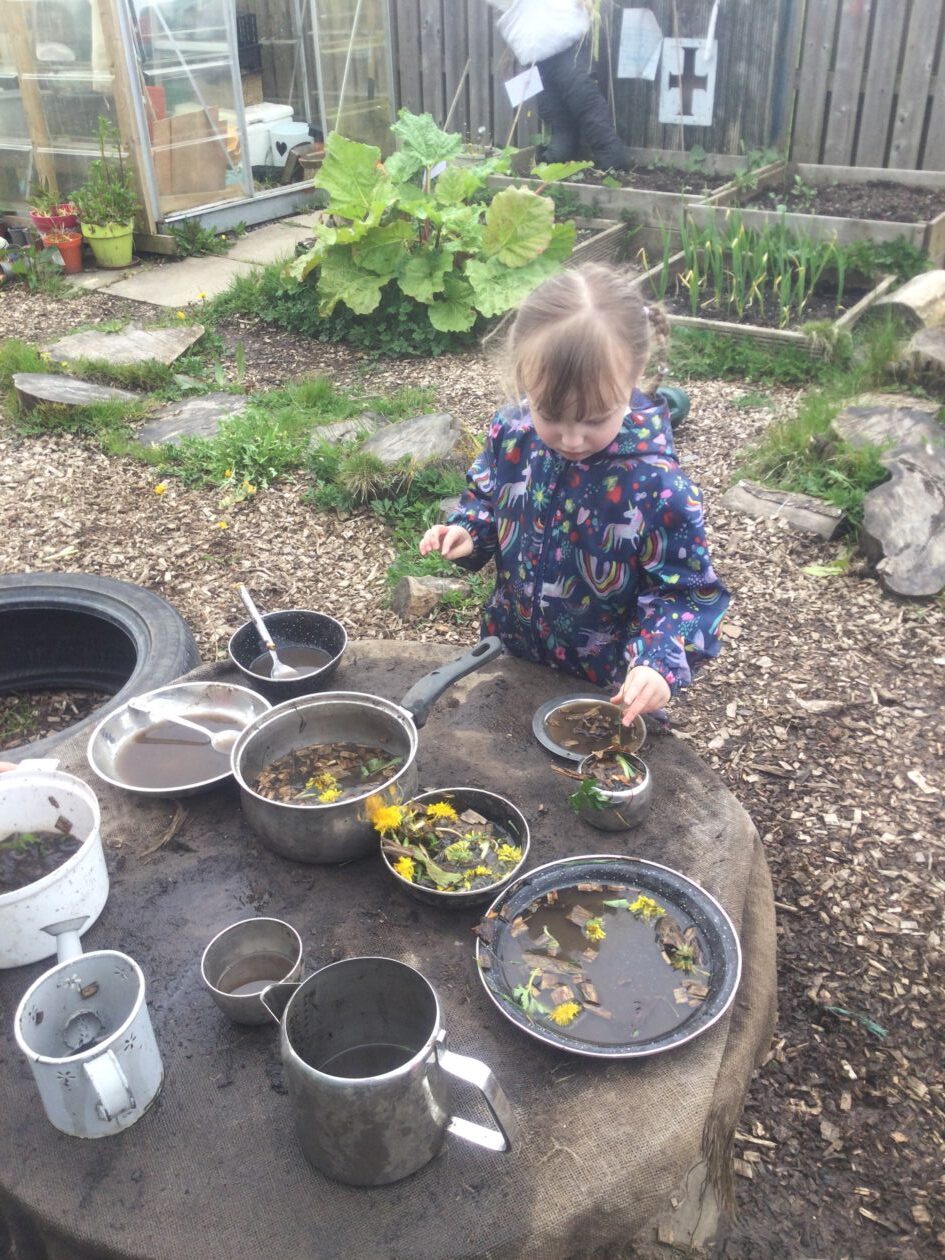
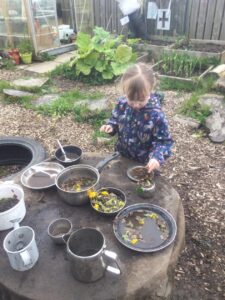
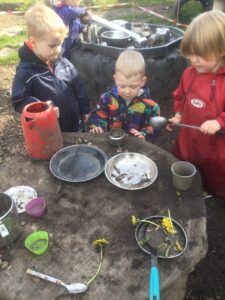
This week in our mud kitchen cafe some of our children noticed there were some dandelions growing in our garden and wanted to use them as part of the ingredients for their muddy meals.

The cooks got to work mixing, whisking and cooking the delicious muddy meals and daffodil tea.

We were using so many skills during our role play, such as gross and fine motor skills, creative thinking, imaginative play, problem solving and learning new vocabulary.

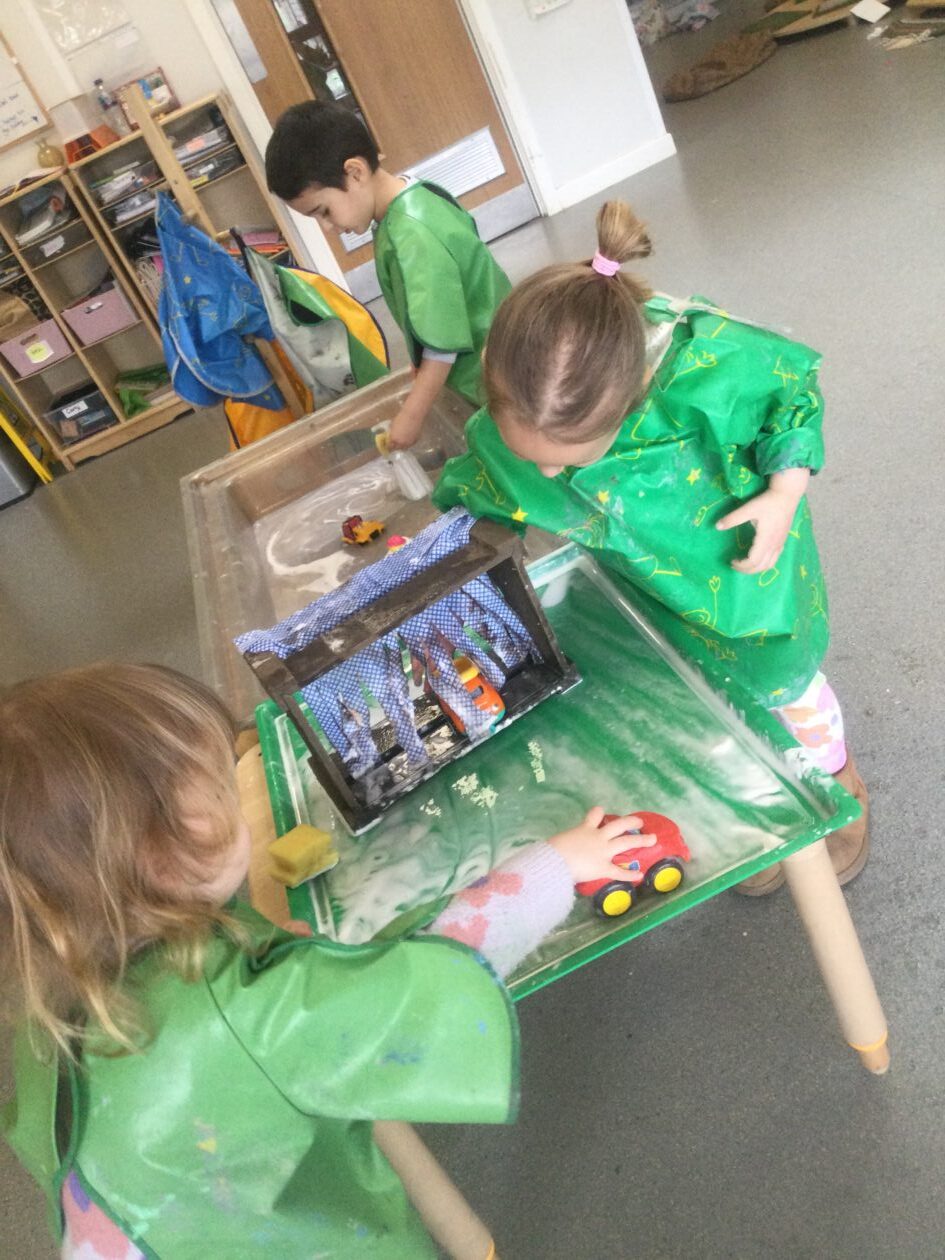
Once the food was cooked at the kitchen it was time to take it to the table to serve the customer

and pour the dandelion tea.

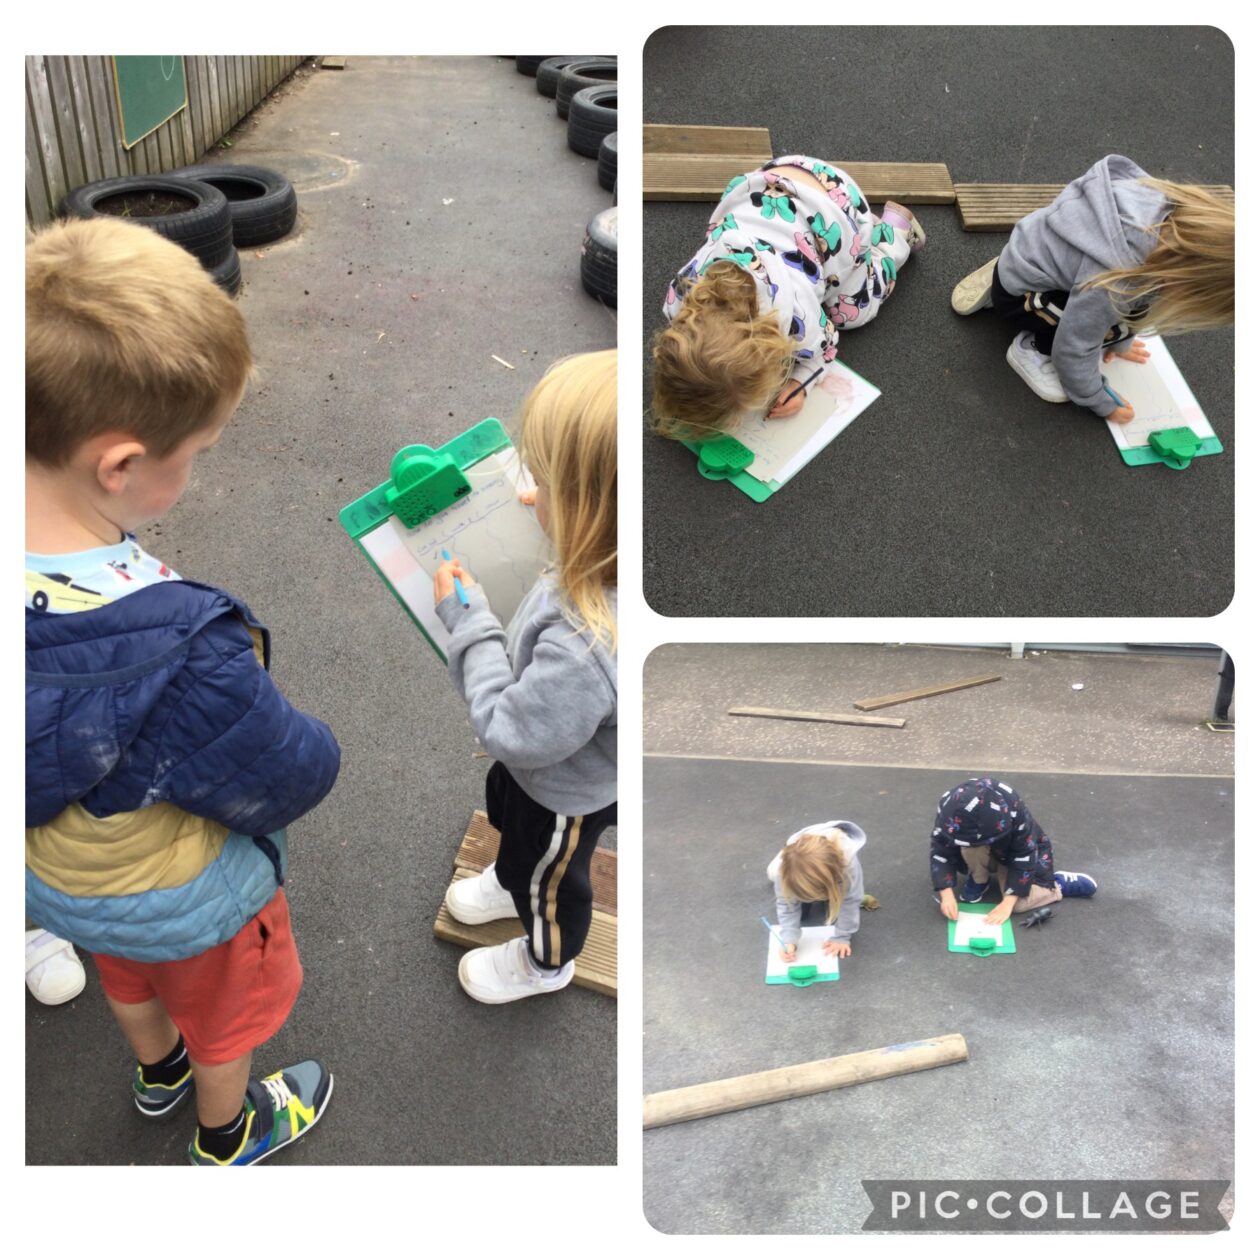
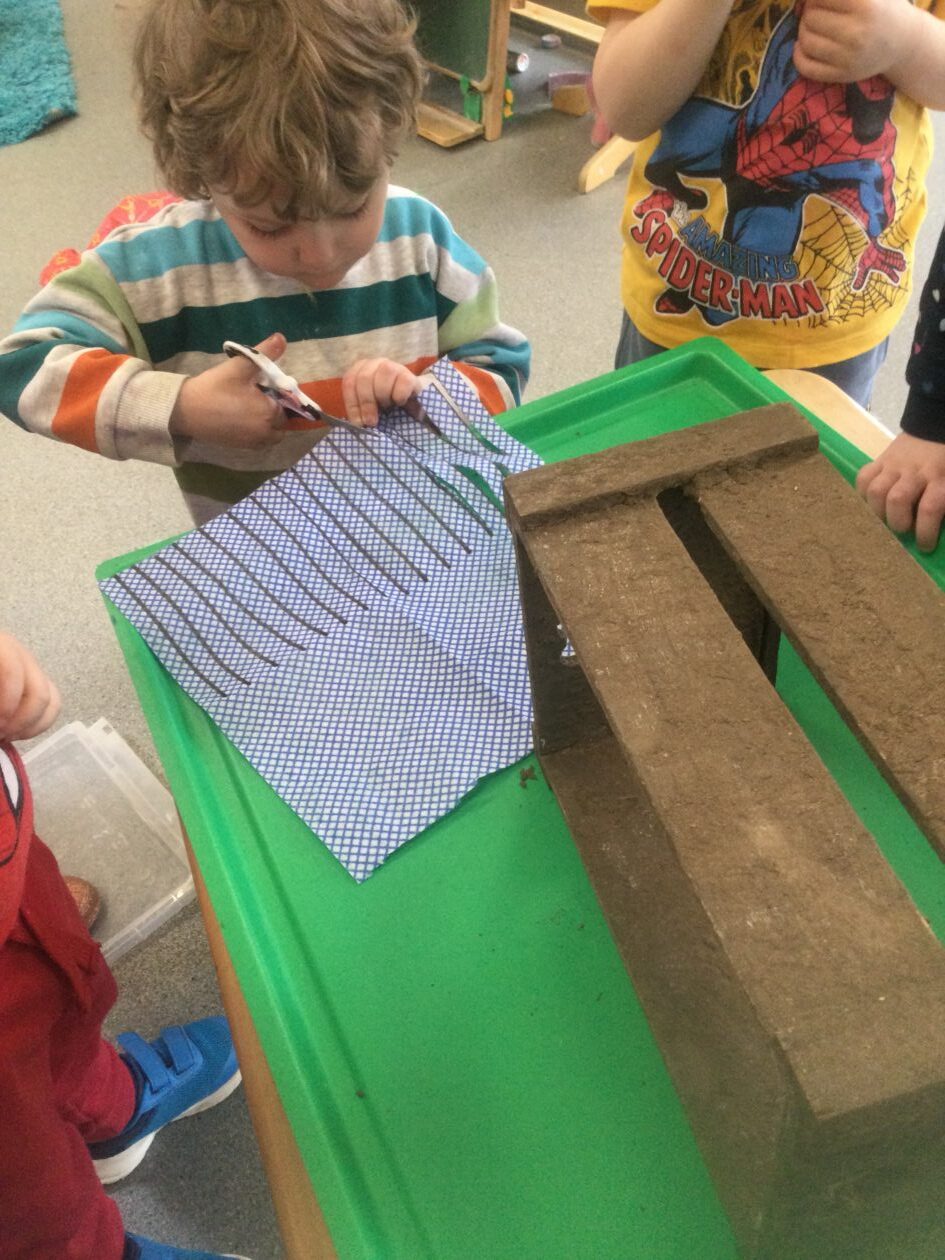
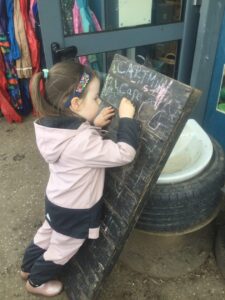
We also used our early writing and mark making skills to create our menu board to tell the customers what they could buy and how much it was going to cost them.

Our older children have been great role models for our younger children helping them to develop new skills and guiding them how to play.

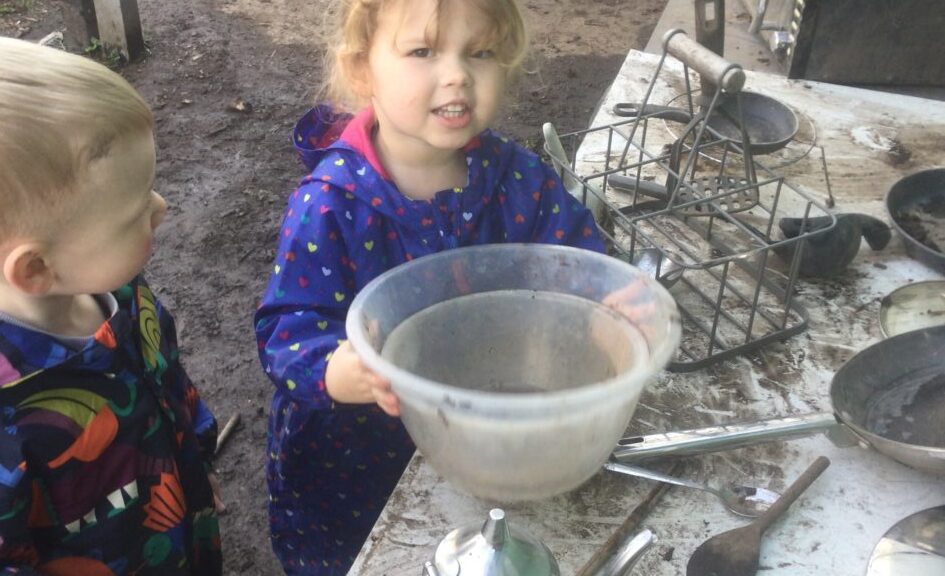
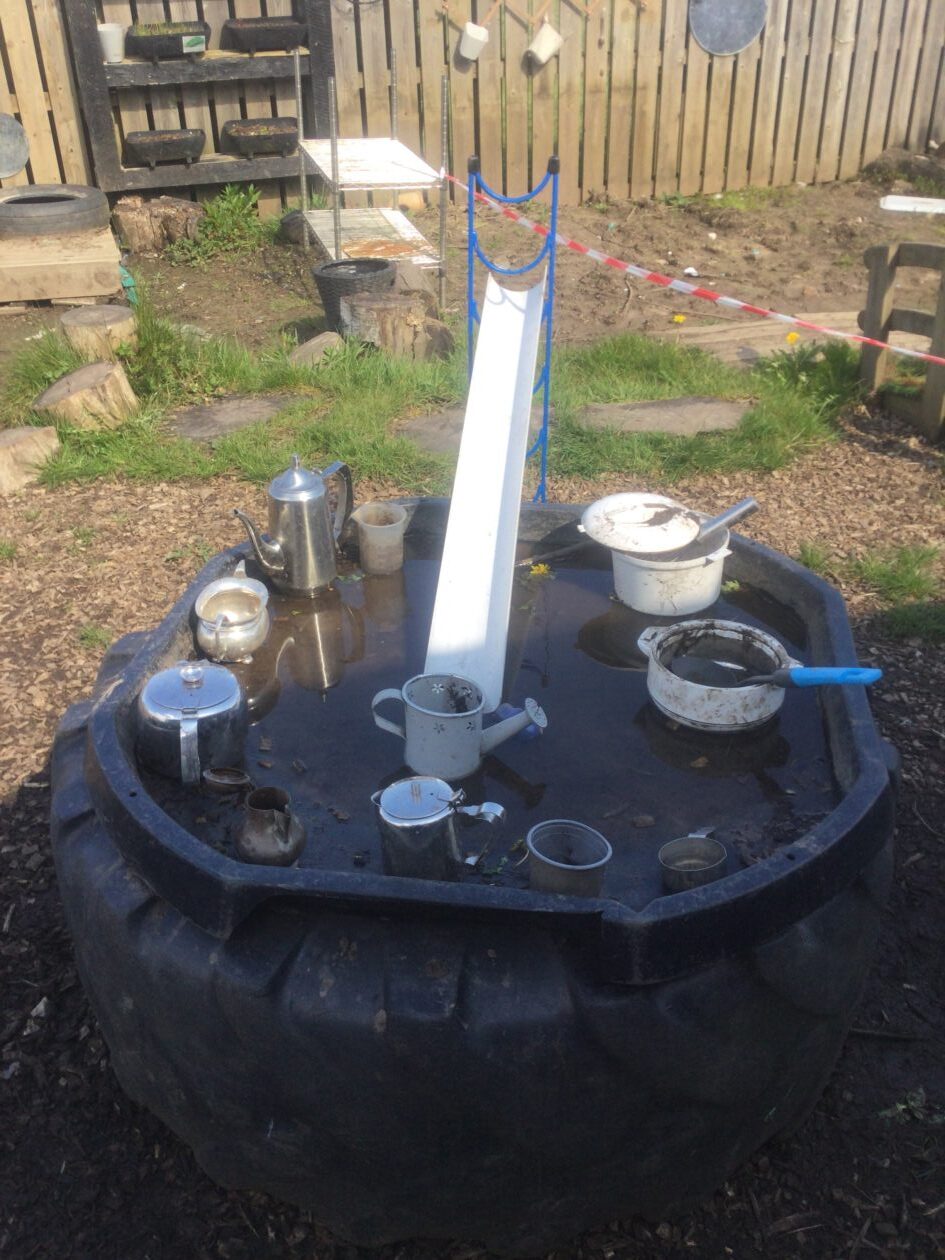
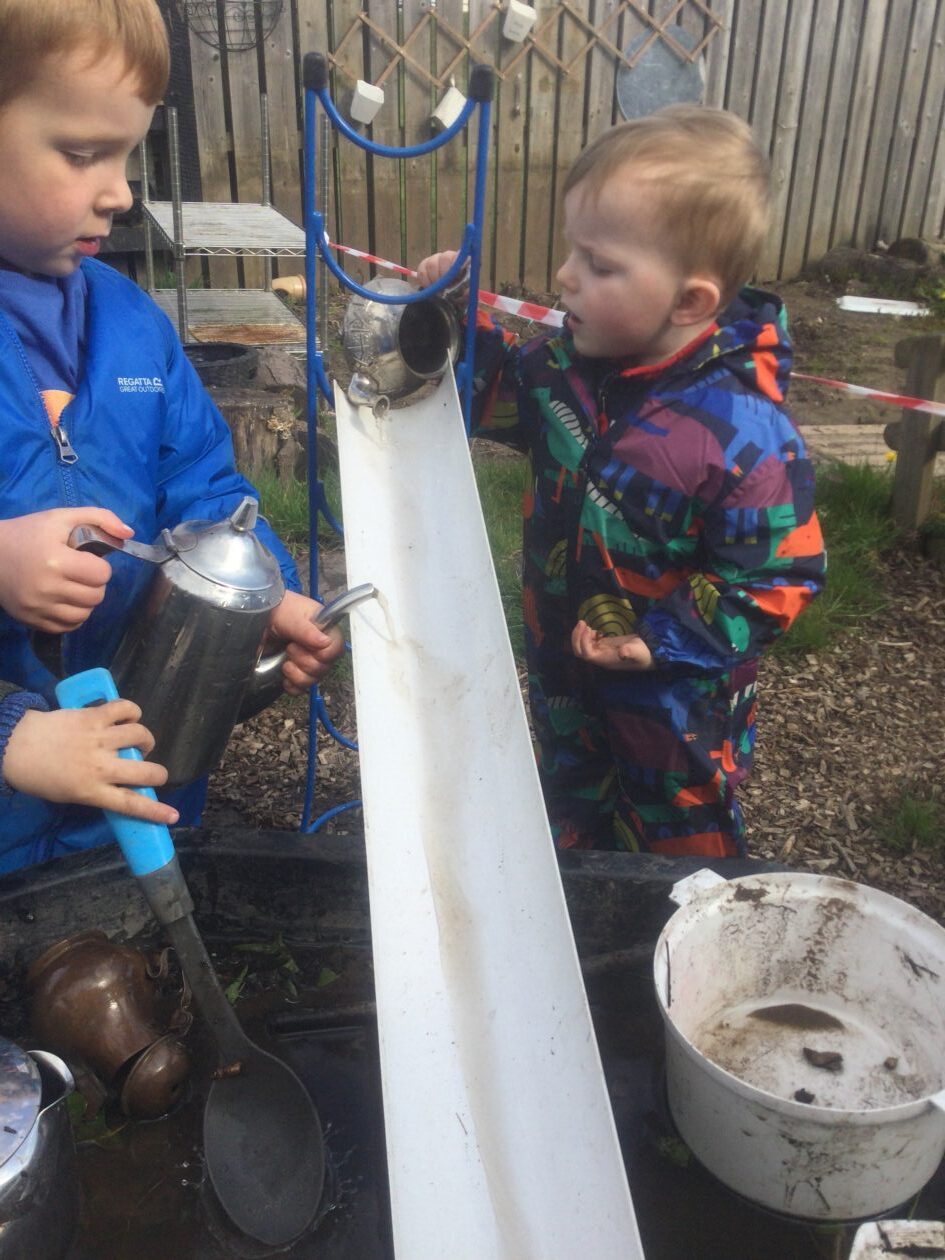
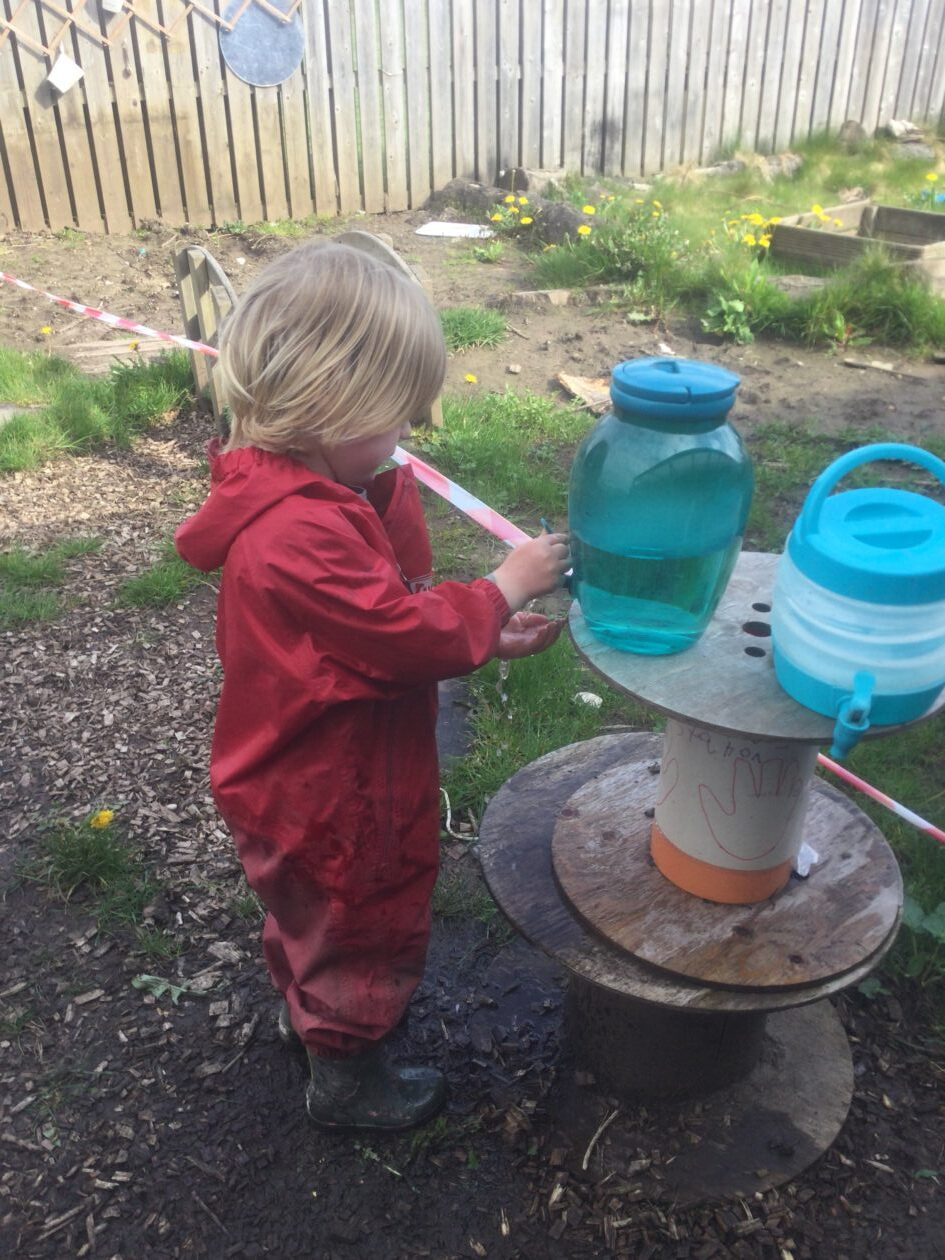
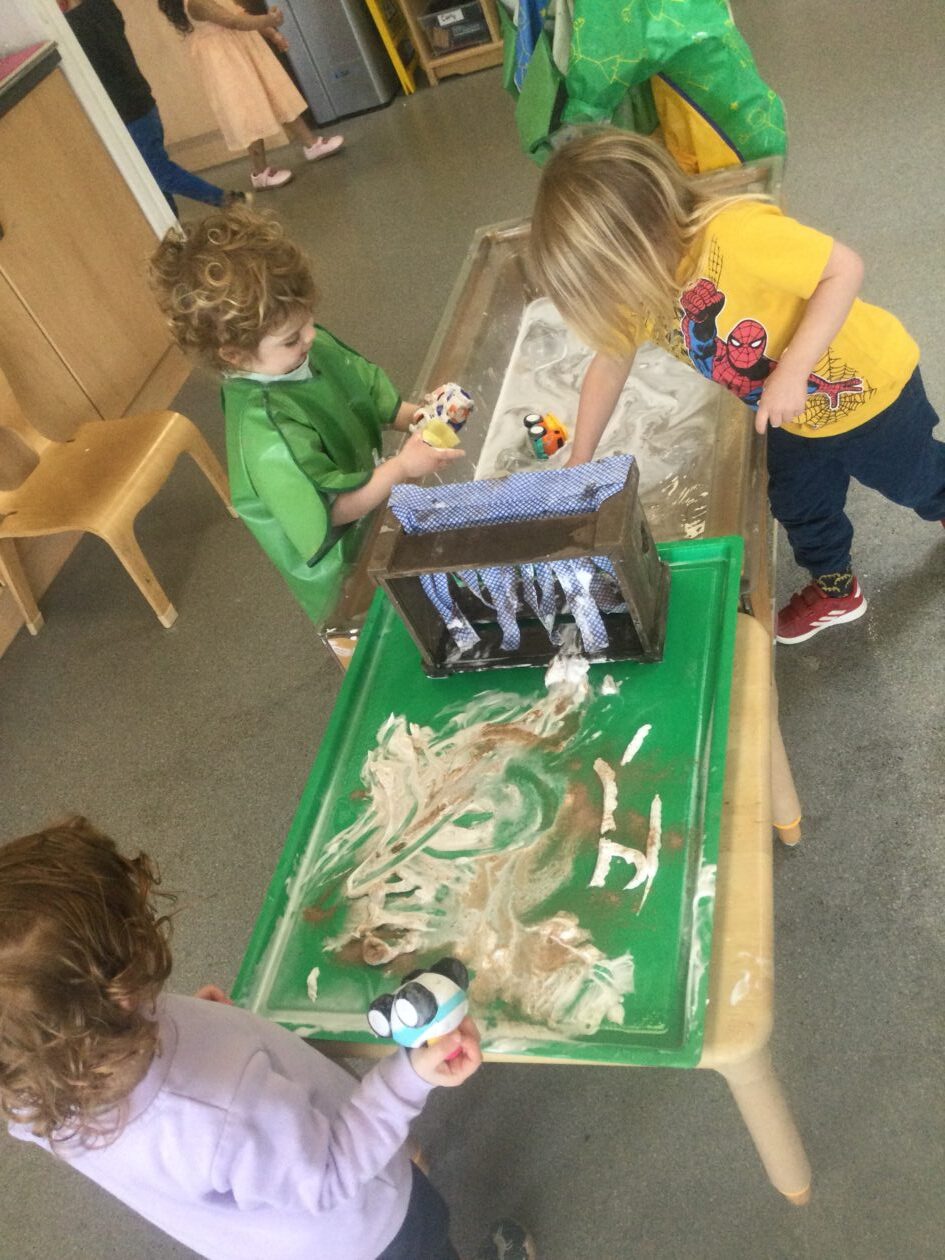
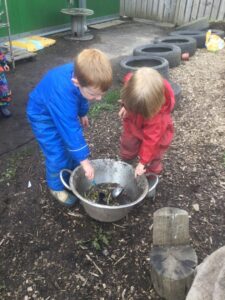
Within our mud kitchen we have noticed the enjoyment the 2-3 year old children have gained from pouring and filling using the mud kitchen utensils. We set up a pouring and filling station on our tough tray in the mud kitchen to engage our younger children and follow their interests.

The children had so much fun using the water to fill up the different sized utensils and containers pouring them from one to the other or down the plastic gutter.

Our younger children were using their pouring and filling skills while developing their curiosity.

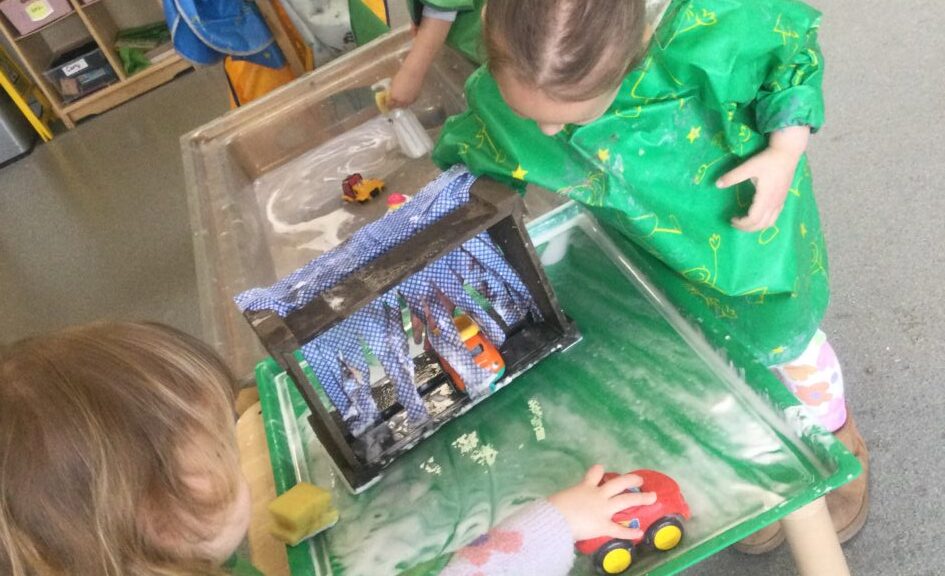
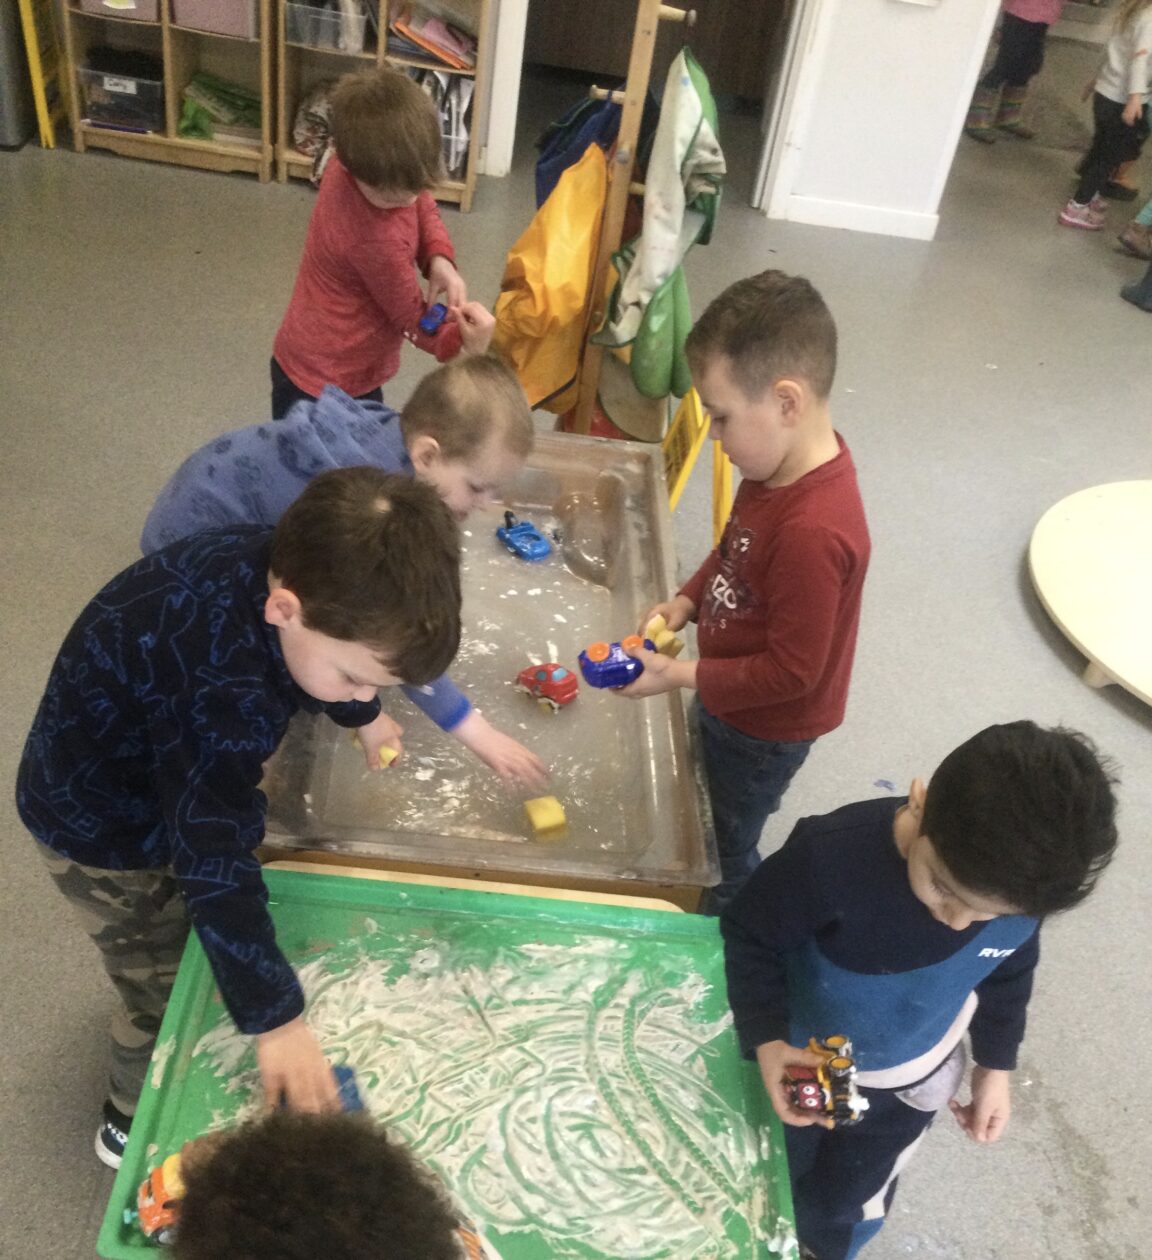
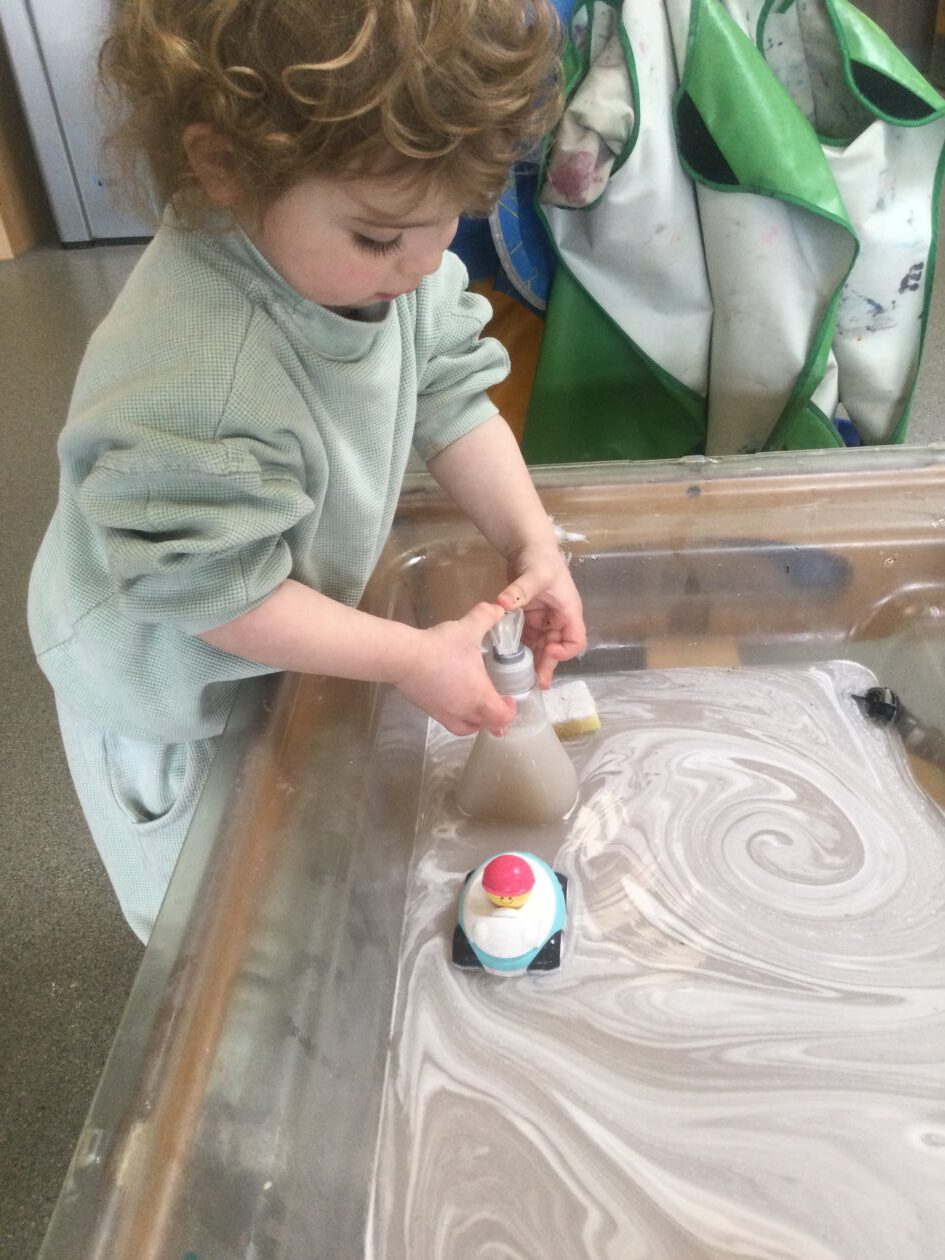
We had so much fun mixing and whisking the water just as if we were cooking in the mud kitchen cafe as well.

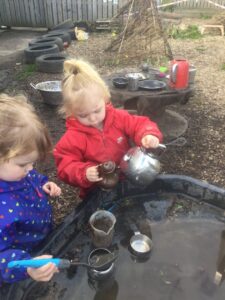
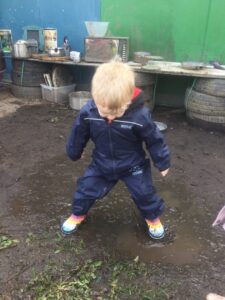
We loved pouring and filling the water so much we even made a puddle to splash in.

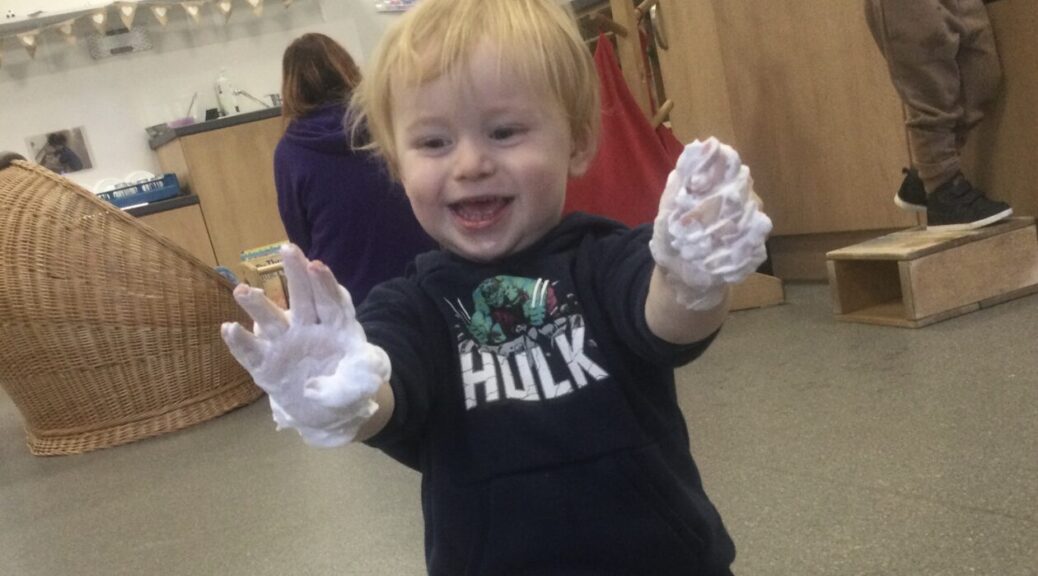
If our hands got too muddy and we didn’t like it we used our water jugs to wash away all the mud from our hands if we wanted to continue to play before going inside to wash our hands with soap.

I wonder what we will be serving in our mud kitchen cafe tomorrow?

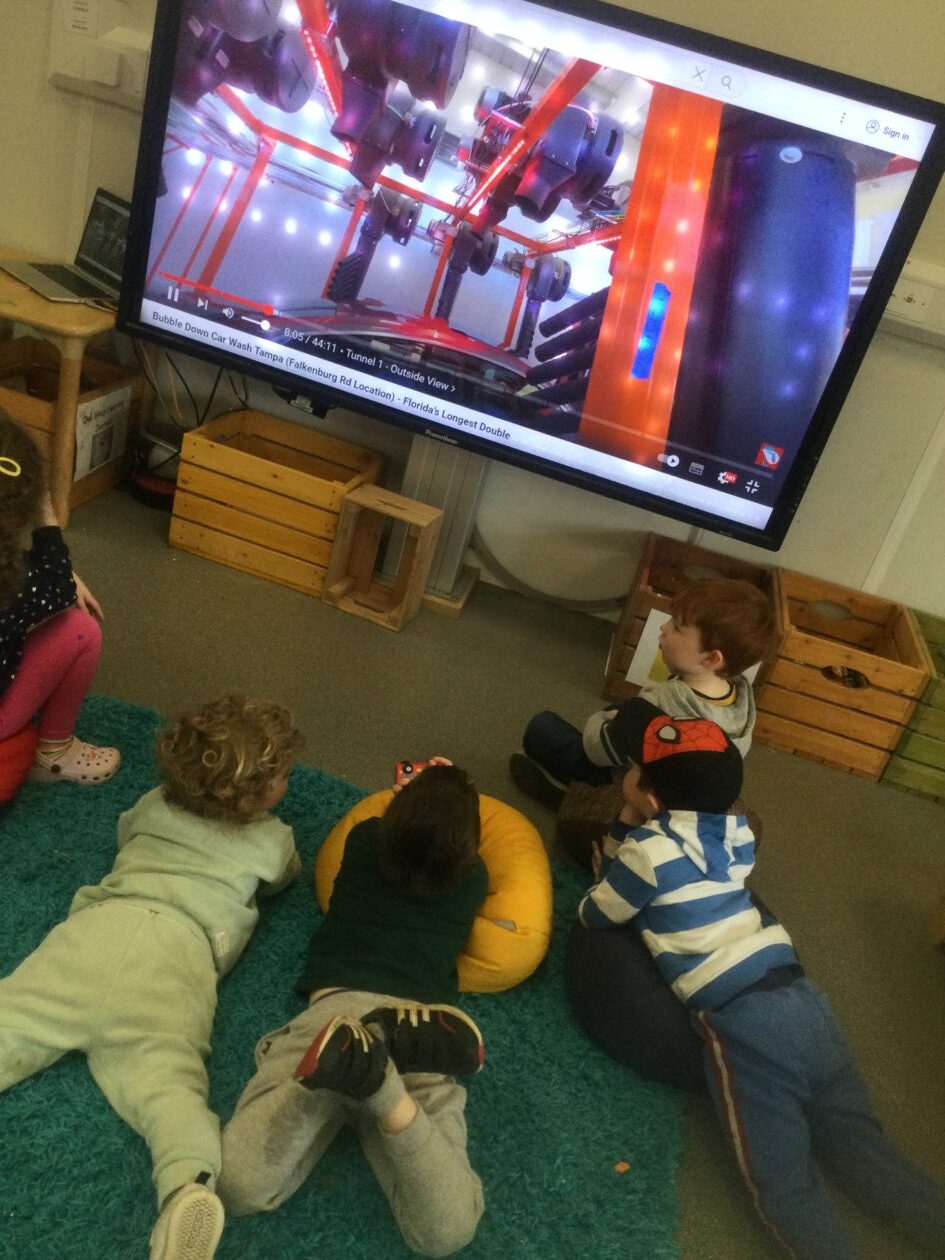
Article 31 – I have the right to relax and play. 
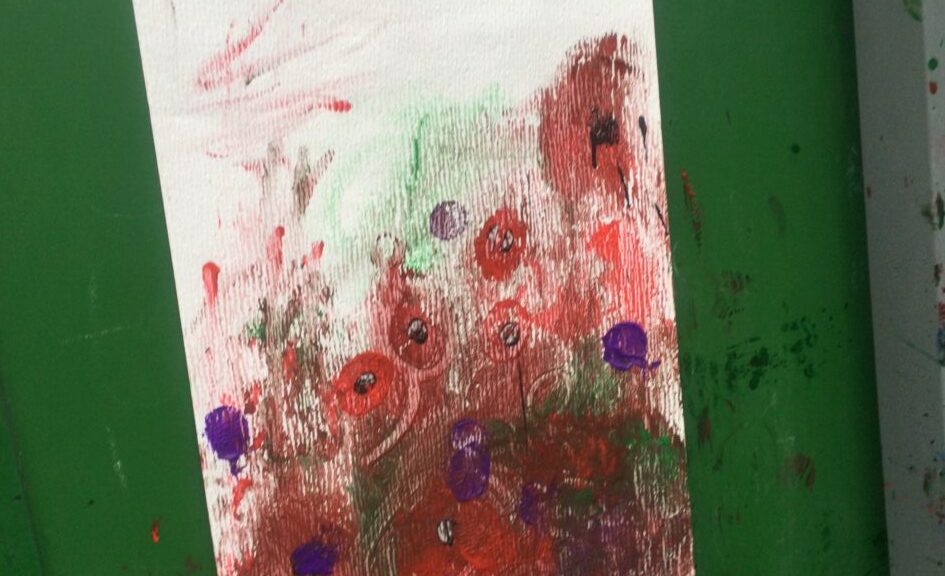
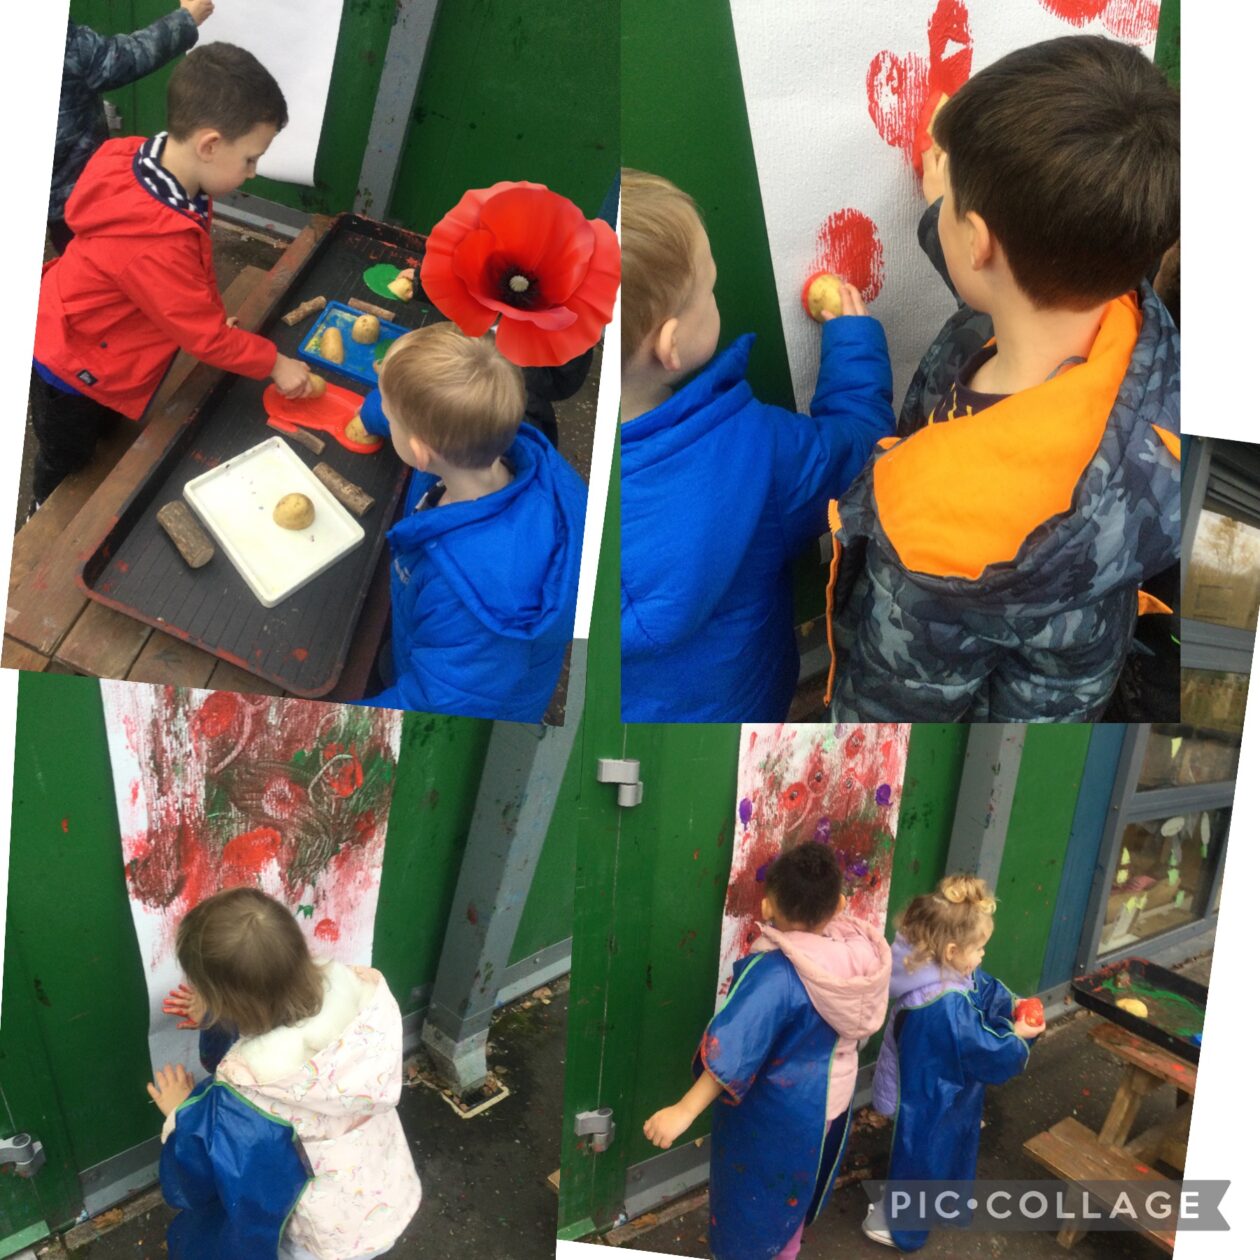
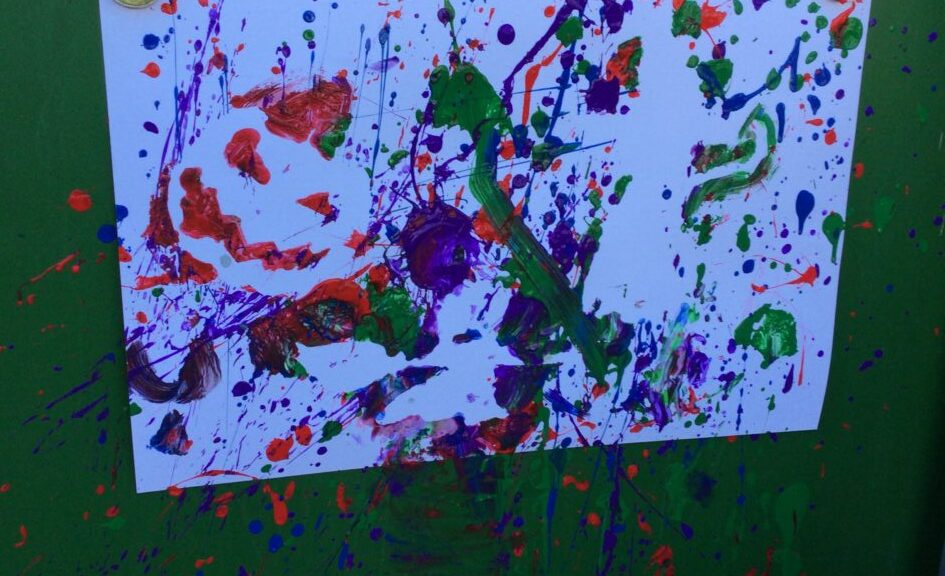
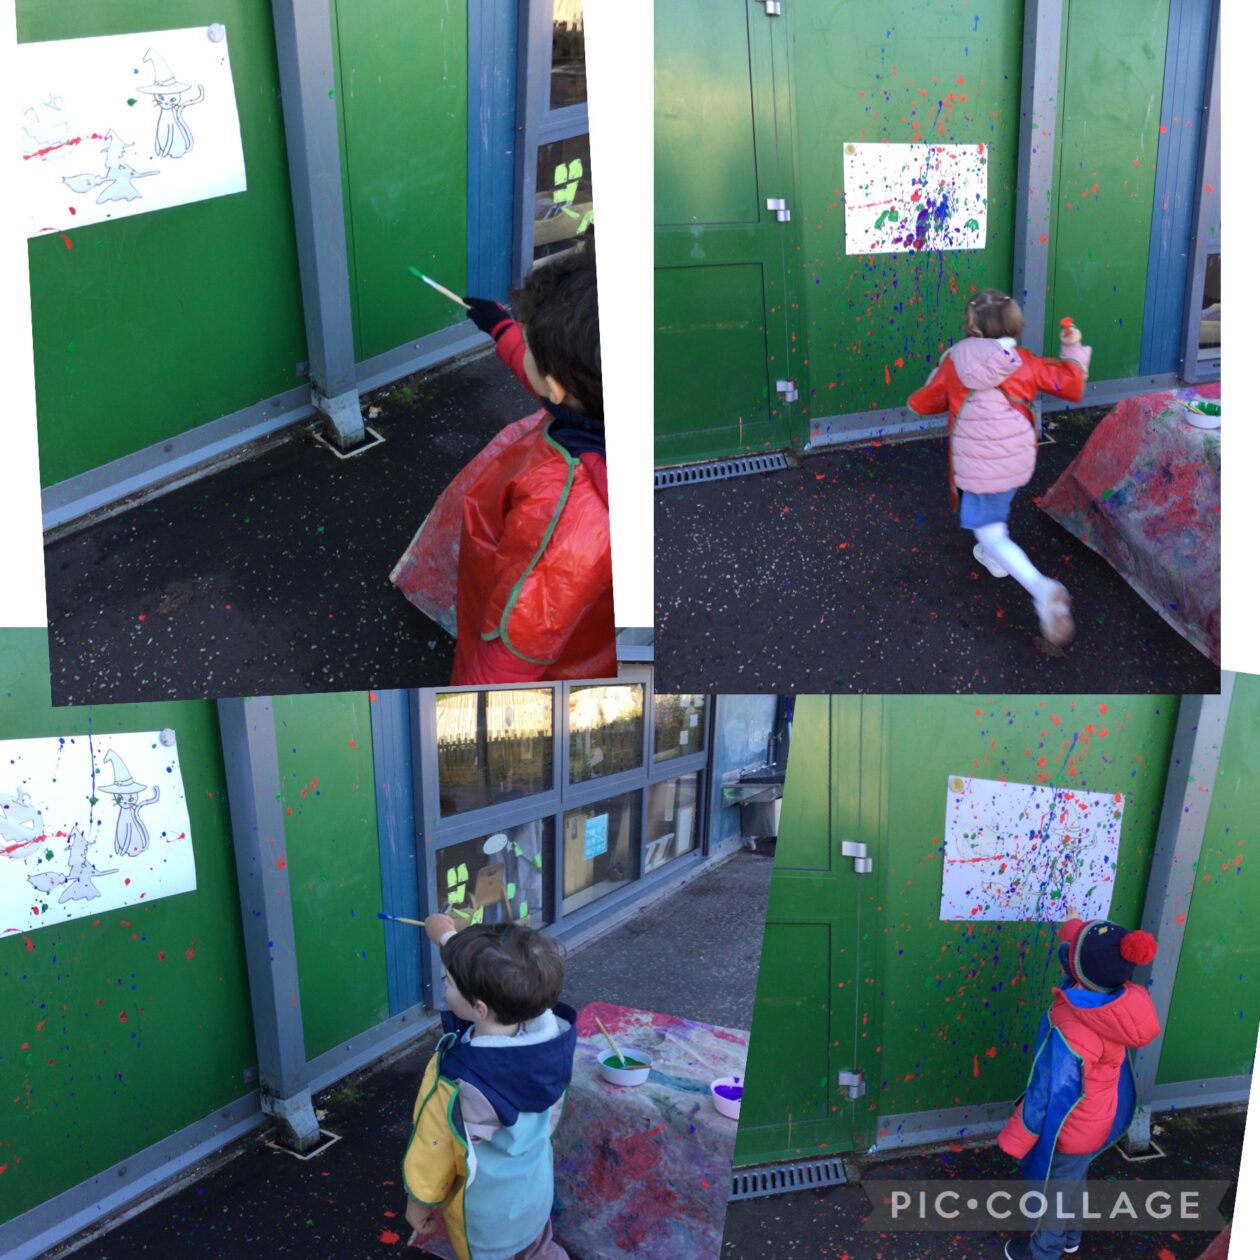
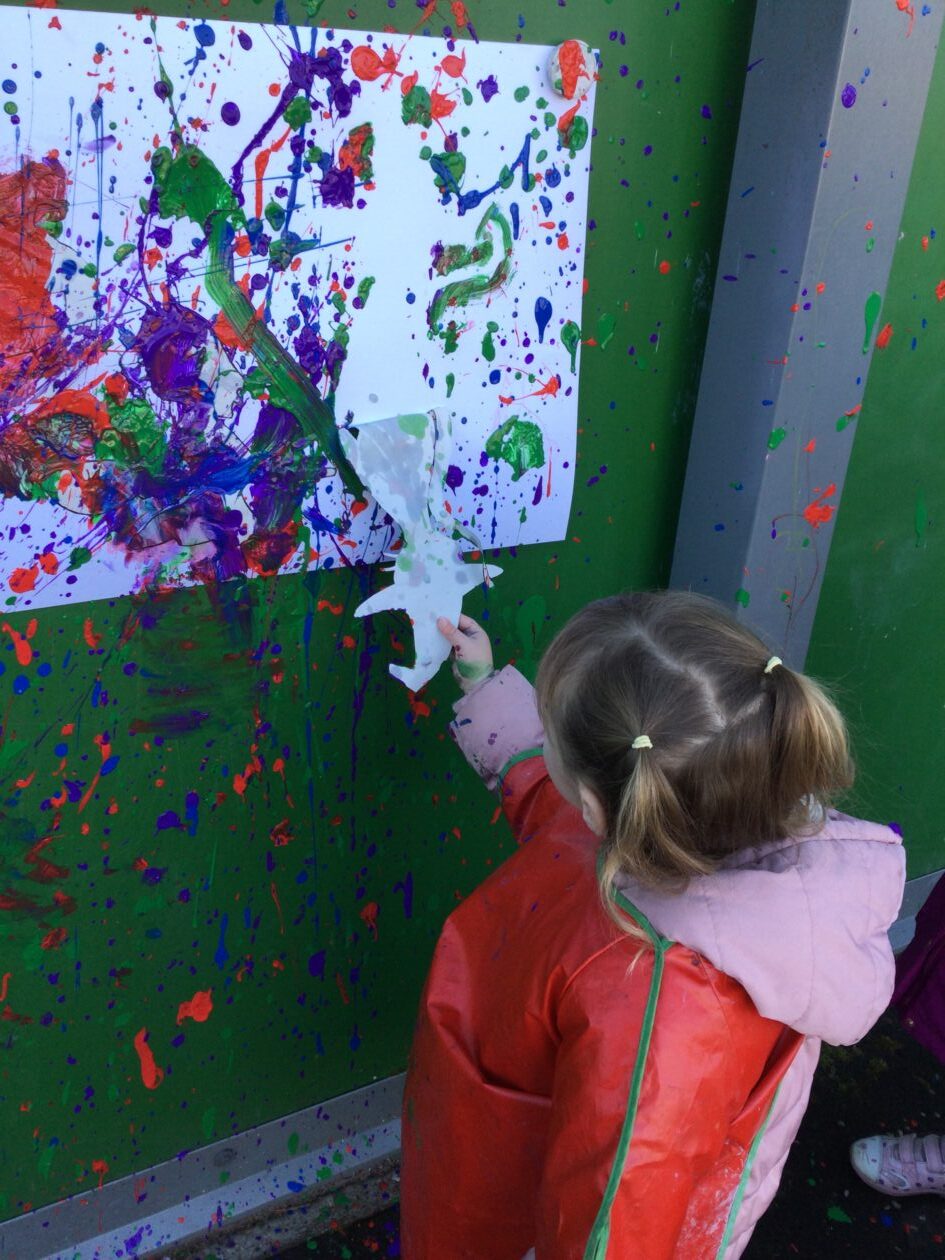
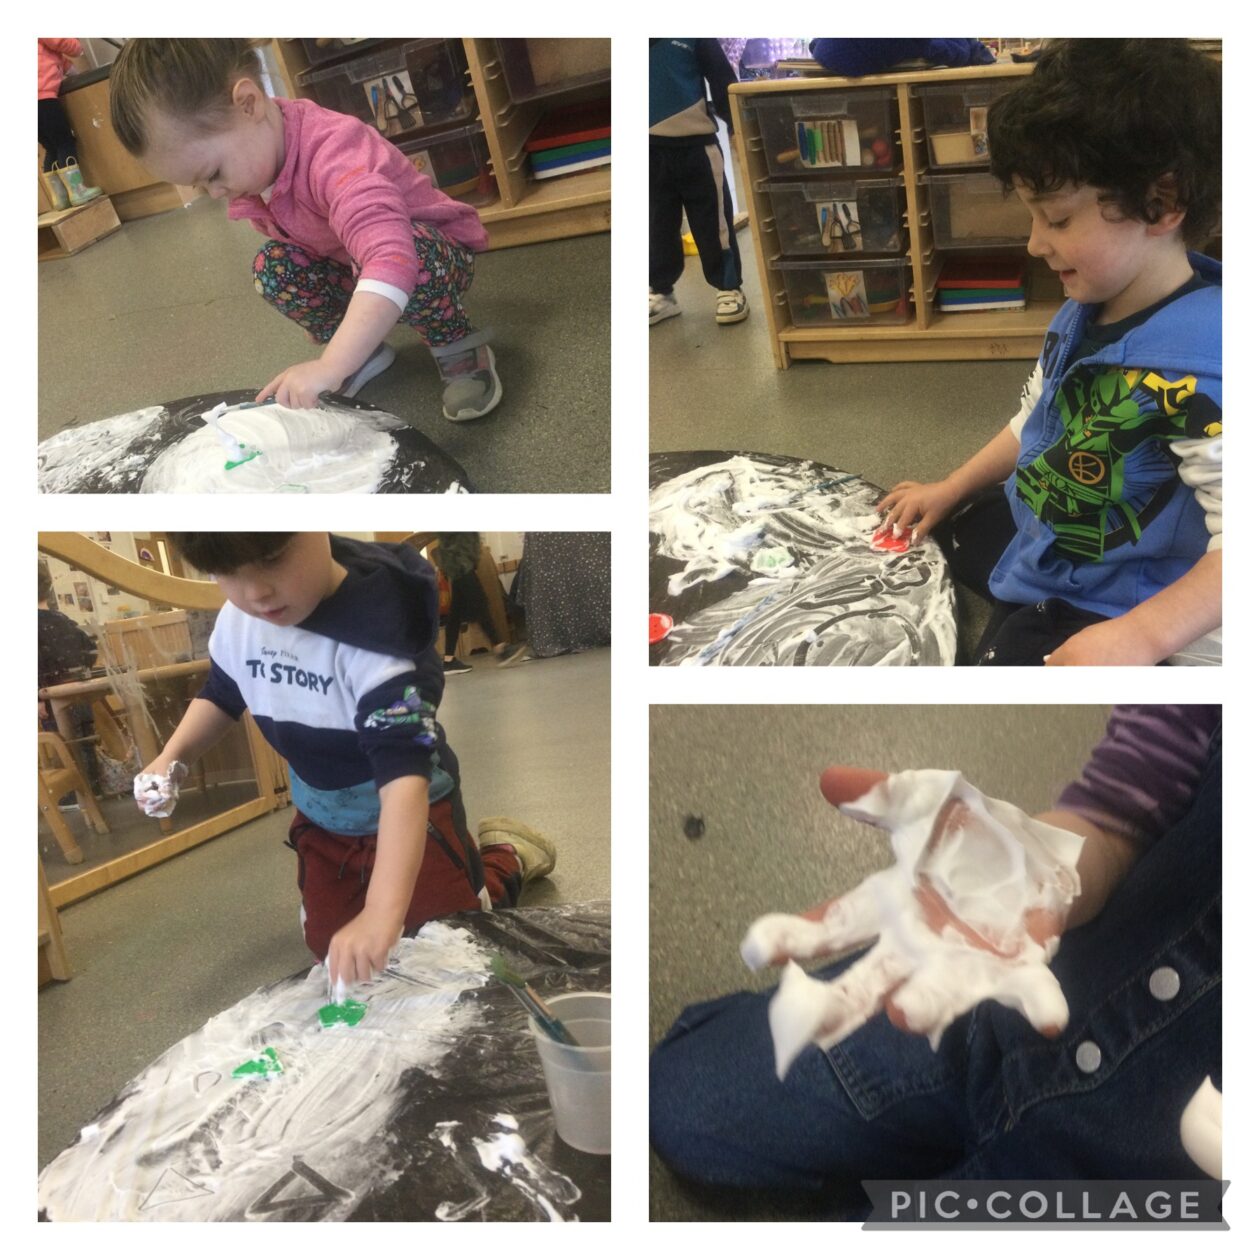
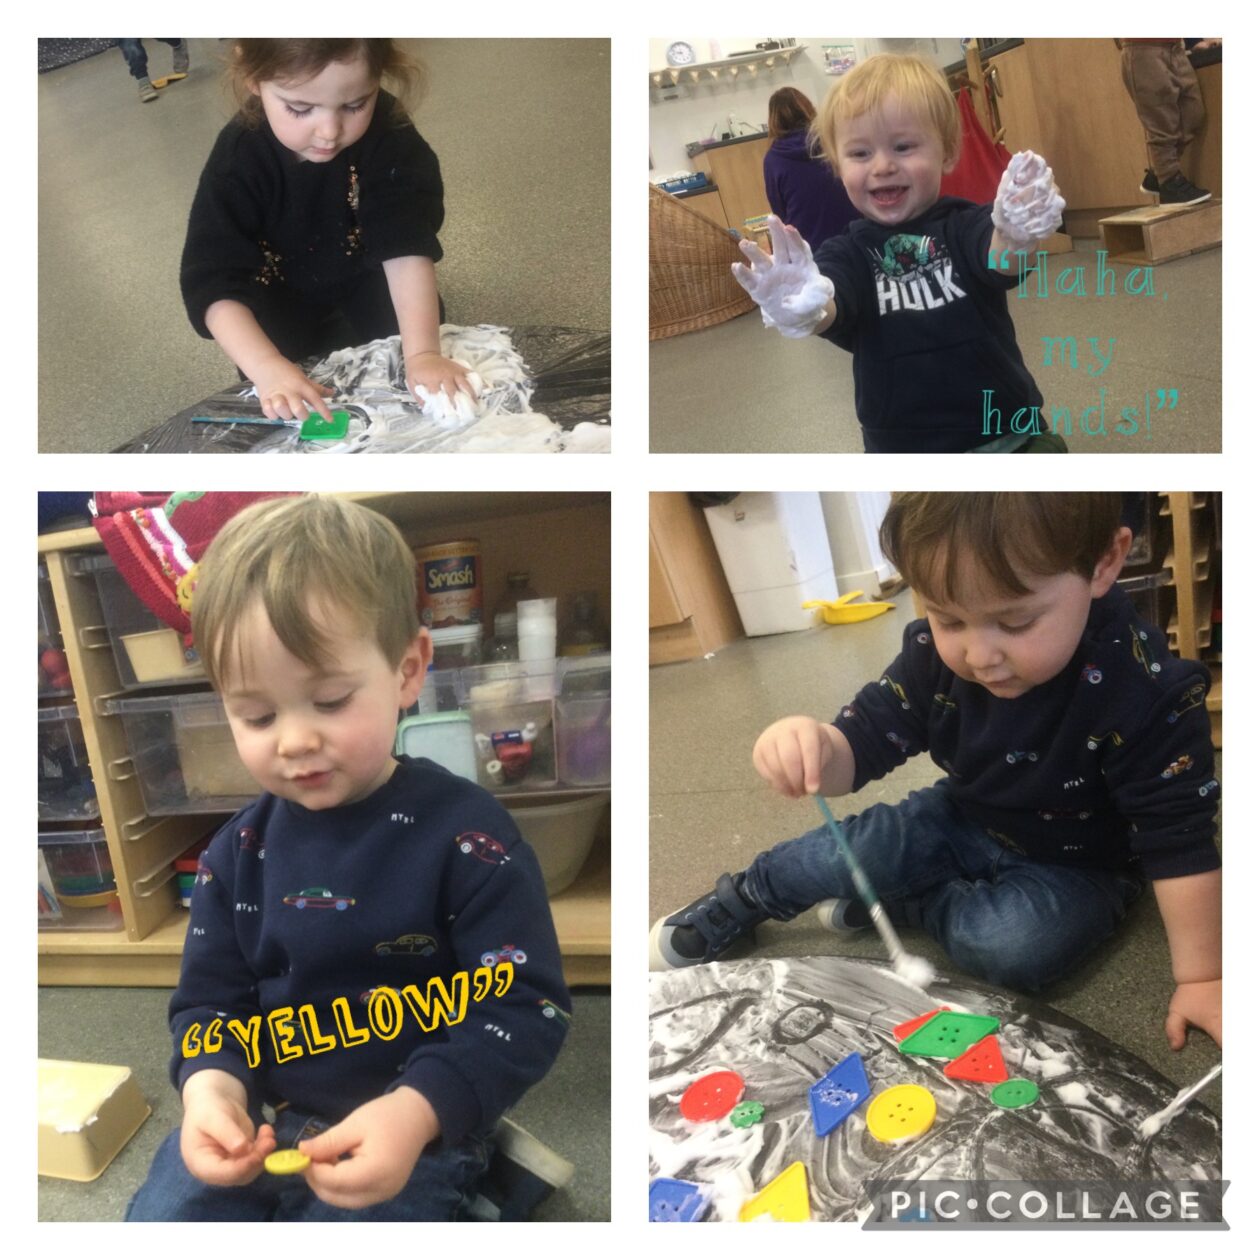
At the car wash 🧼🫧🚙🫧


Our children have been showing an interest in washing the cars in the water tray. We set up a tray to drive the cars through the mud. The children had great fun running their car’s though the shaving foam, exploring the different track marks their car made before dipping it into the water to wash with soap and sponges. We discussed if anyone had been though a car wash and decided to watch a short video of a car going though one.

After some of the children helped to make a car wash for the cars to drive though. Marking some lines on the wash cloth, the children were  encouraged to cut along the lines. Then we stapled it onto the wooden frame.

“look at my track marks”


“My cars so dirty I need to give it a wash”

With the use of the sponges and soap dispensers, the children are developing all their muscle and co ordinations in their hand. The soap dispenser was tricky to use at first, but after a quick demonstration,  they soon got the hang of it!

All are cars a sparkly clean, but I’m sure it won’t be long before they get all muddy again. 💦

Article 31 – I have the right to relax and play

Shaping shaving foam

Within the sensory area we have been experimenting with mark making using a variety of resources. Today we chose shaving foam and have been using it to create shapes in different ways.

This has involved painting the shapes with the foam, drawing with fingers and paint brushes and even printing the shapes in our hands.

“I’m painting a triangle.”
”I can make a circle, a square, a triangle and an oval.”
“A circle, he’s a curly one.”
“I made a diamond on my hand.”

For some of our younger children, they enjoyed the feel of the foam, naming the colours and learning the names of the shapes. It is super, messy fun whatever age you are!

Article 13- You have the right to find out things and share what you think with others by talking, drawing and writing.


Cornflour Creations

Throughout the week the children have been getting very excited about Halloween so today we decided to incorporate this in to the sensory area. We put some cornflour on the trays and selected a variety of mark making tools. Then we set about making our creepy creations…


“I’m making triangle eyes.”

“I’m making a spooky pumpkin with one circle eye and one triangle eye.”

“I’m making a spider and he’s coming after you!”


One of the boys experimented with moving the flour with the stick and realised he had made a bat wing! We experimented some more and worked out how to make two wings. He then took his time looking at the bat toy and added more features like a head and feet. Excellent work!


Some of the other children experimented with tracing around the Halloween toys and created some excellent pictures.

“I’m making a spider with only two legs and a pumpkin on his head.”

“My pumpkin has a silly face.”

Fantastic mark making and creativity skills from the children today!

Article 31- Every child has the right to take part in a wide range of cultural and artistic activities.


DIY sensory emotion bags😀

Today the children have been exploring emotions through their very own sensory bags.

We began by having a discussion about what kind of things we could put in our sensory bags while making the jelly mix.

“We could put beans in, they are squidgy”

“and cornflakes, my brother likes cornflakes they feel crunchy”

We collected a variety of different things to put in such as oats, cornflakes, shaving foam,beans, rice ,custard and jelly. The children helped to make up the custard by adding 200 ml of warm water (which we measured using a measuring jug) to the custard powder.

We used ziplock bags and stuck faces on them showing different emotions. The children then added each thing to each of the bags and closed the bag over.

Using their hands to feel and move the contents of each bag they were able to see the different emotions through the bag. They guessed what each one was and how it felt.

“It’s an angry face, it’s crunchy”

“ it’s happy face, it feels gooey”

”what’s that one I don’t know that”

As well as simple emotions we are beginning to look at more complex emotions.

”that is a surprised face, when might you feel surprised”

“ When someone pops a balloon  ”

The children have enjoyed learning about emotions in different ways. During this sensory experience they have been developing their fine motor skills when using their hand muscles and learning some new vocabulary to describe what they feel.

More than just a box………

What is a box? Is it just something to keep things in? Not according to our very clever creative children in the junk modelling area.


We have been so pleased with all your donations for our junk modelling area. We love turning an ordinary box into something completely different, creative and unique.

Today our children picked a box and I asked “what would you like to make?

We worked as a team to cut the box in half so we could share with our friend.

We discussed with our friends what we were designing.

One of our children was using his writing skills to paint their name on their box.

Another child was practicing his speed painting wondering how quickly he could paint the box.

One of our children seen a familiar face on one of the boxes. “Look it’s Bookbug can I paint it?”

Some of our children wanted to add things to their box. Using different boxes to create more detailed models.

Some children used the boxes to cut up and use parts of them to add to their masterpieces.

And of course we had to have a high speed chase in the police cars we made. It was the most fun in our studio room.

So as you can see, a box is not just a box.

Upcycling project

This week the children have been working very hard to start their up cycling project at the tinker table.

They began by  looking for something around the playroom that they could ‘Up cycle’. They found an old storage drawer that had missing handles on the boxes. They collected loose materials such as buttons, pipe cleaners, beads, bottle lids,  small wood chips and twigs to use as new handles for the boxes.


They used skills they had previously learned at the tinker table to join the new handles to the box.

“I can use the hammer and nails to put this wood on”


Once all the new handles were on the children noticed one of the drawers were missing. Using their problem solving skills one of the older children suggested making a sign to let everyone know that the new up cycled storage drawers belong to the tinker table.

The next job on the list is to up cycle our broken wormery, we are looking for longer pieces of wood if anyone has any lying about that they no longer need.

Let’s get painting 🎨

In the studio today we have enjoyed exploring the paint using different utensils.

We have enjoyed stamping  the potato mashers, forks and fish slice’s in the paint and splatting them onto the paper to create different shapes and pattern. As we continued painting we discovered different ways to use the utensil to get different effects with the paint.

The children are gaining confidence in exploring and experimenting with different resources using the tools to develop increased control of fine hand movements.

The children take ownership of their painting by writing their name on their pictures.

Here is some of the art we created

Article 13 – You have the right to find out things and say what you think, through making art, speaking and writing unless it breaks the rights of others