The Events Organiser Plugin is very powerful with lots of options.
Here is how to get started to use it to add a calendar of events to your site.
Activate the Event Organise Plugin
In your dashboard go to the plugins page and click Activate under the Plugin Listing. See Plugins for more information
Create Some Events
Once you have activated the plugin you wil have a new Events section on your dashboard where you can create and edit events. Events are a special type of post which can have extra information ( date, time and location).
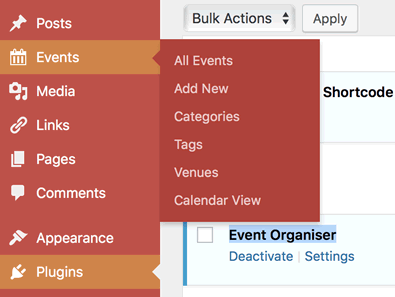
You can create a new event by clicking Add New in the Events menu or by clicking + New link in the blog admin bar and choosing Event.
An event needs a title and there are new fields for date, time and location.
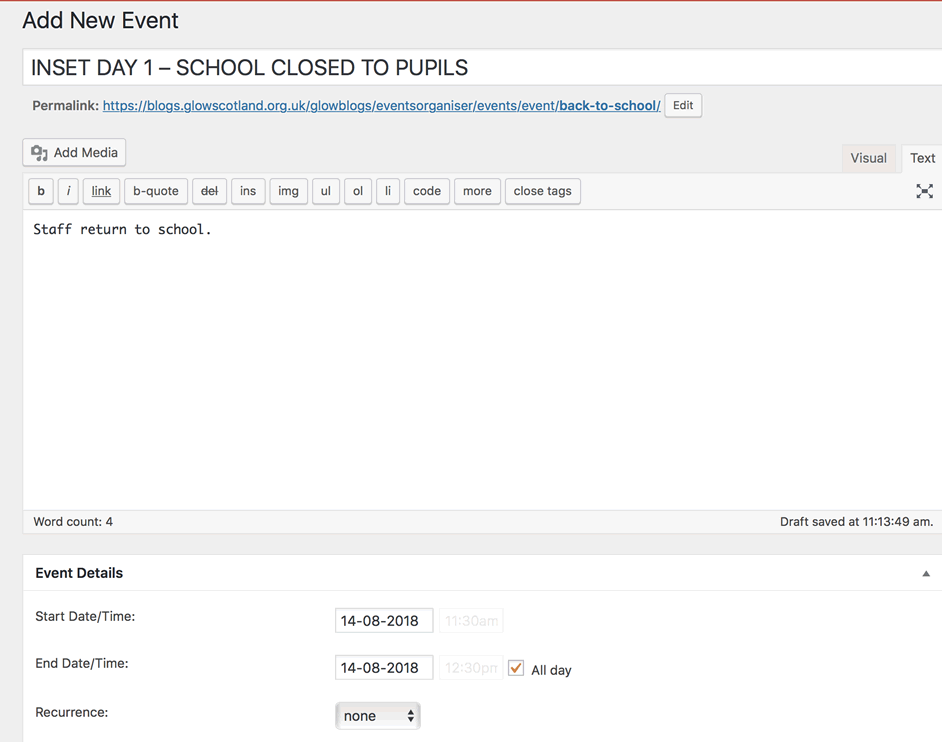
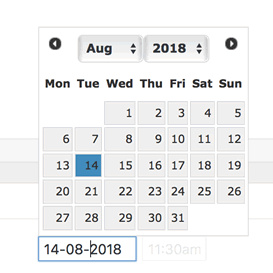
Make sure you add a start & end date, a calendar pops up when you click the field.
Adding a calendar
You can insert a calendar on a page by using a shortcode.
Type
[eo_fullcalendar]
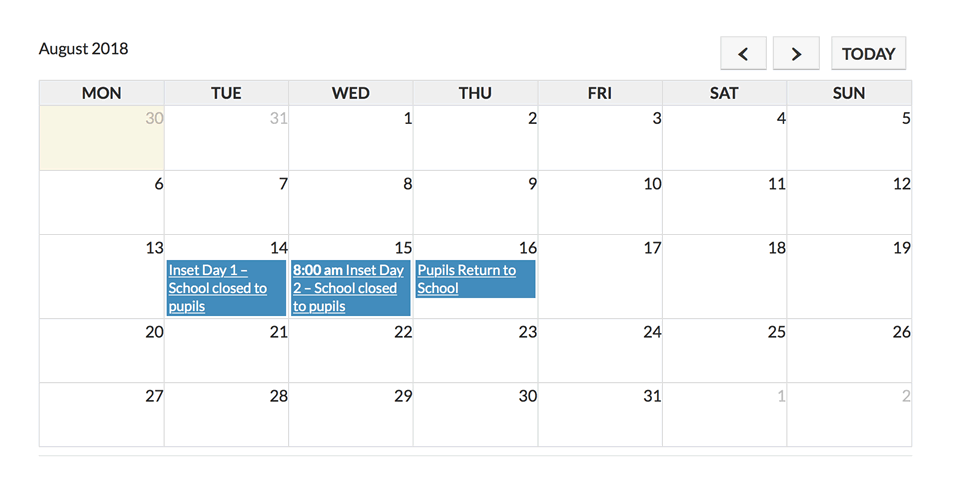
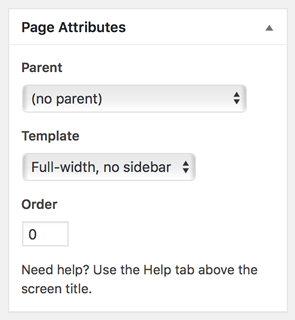
You might want to use a full page template to show your calendar if your blog supports that:
This only scratches the surface of the Events Organiser plugin. It has a lot more power and features.
We have an example blog showing just some of the plugin’s features: Events Organiser – Examples: these are not real events
The plugin has an extensive site of its own giving a lot more information: « Event Organiser Docs. NB, some of the documentation refers to as pro version that is not installed on Glow Blogs.