Block – Classic Editors more information
At the moment, January 2025, the Block editor is turned on by default. You can set the blog to use the classic editor instead or set it up to have one or other as the default with the choice to switch. More details on the blocks page.
Brief instructions to using the classic editor and the blocks editor follow.
Blocks Editor
Menus can be used to organise the navigation of your site.
Navigation menus on sites help visitors find and access different sections or pages quickly. They provide structure, improve visitor experience, and guide through through content in a logical way. Menus can make information discoverable without extensive searching.
Along with post and pages, menus are one of the most important aspects of larger sites.
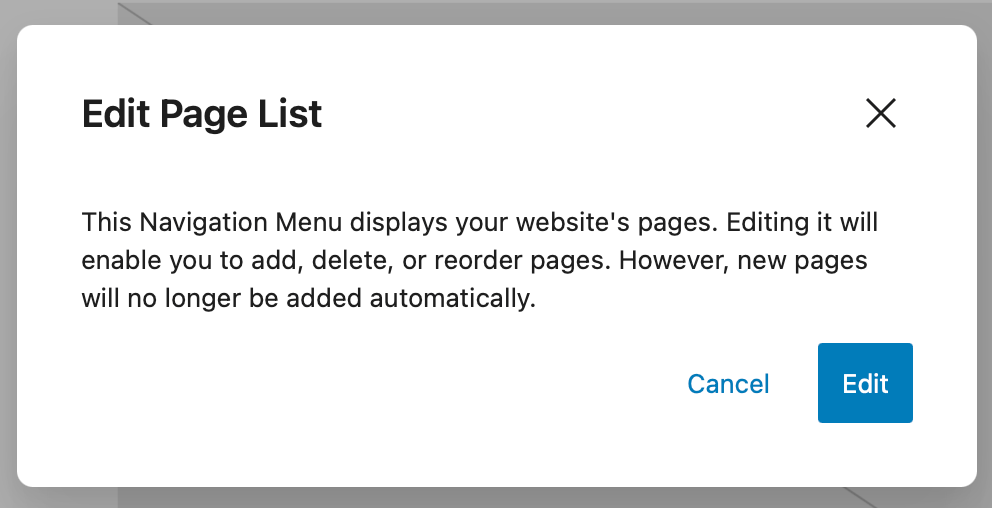
With a newly created site the Navigation Block has a page list sub block. This just lists all of the pages. Once you edit this, it is converted to a series on link blocks. New pages will not be added.
This video covers the simplest way to edit menus in a new site with a block theme. In the scenario we have created a site and some pages. The Video also covers making a home page and having posts appear on a news page.
Two Ways to Edit Menus
In Block Themes there are two ways to edit menus:
- In the dashboard via Appearance-> Design-> Navigation. This is the simplest and most straightforward way when making a new site, illustrated by the video above and the firsts section below.
- In the Site Editor, this is useful for changing; where the menu appears; the mobile/menu-icon behaviour; and applying styles. It is also where you can import a menu if you switched from a previous theme or create a new menu if you need more than one. You need to use the Site Editor to add pages (Currently, 22 Sep 2026, this will change when Glow Blogs update WordPress).
1. In the Dashboard
You can access this via the Dashboard -> Appearance -> Editor. Here we show you how to edit the menus in the Dashboard for a new site with the Twenty Twenty-Three Theme.
The site has be created and several pages added. These are automatically added to the menu in the order they are created. We can change the order and organisation of the menus.
We acess the editor via the Dashboard. In the Design Screen we choose Navigation
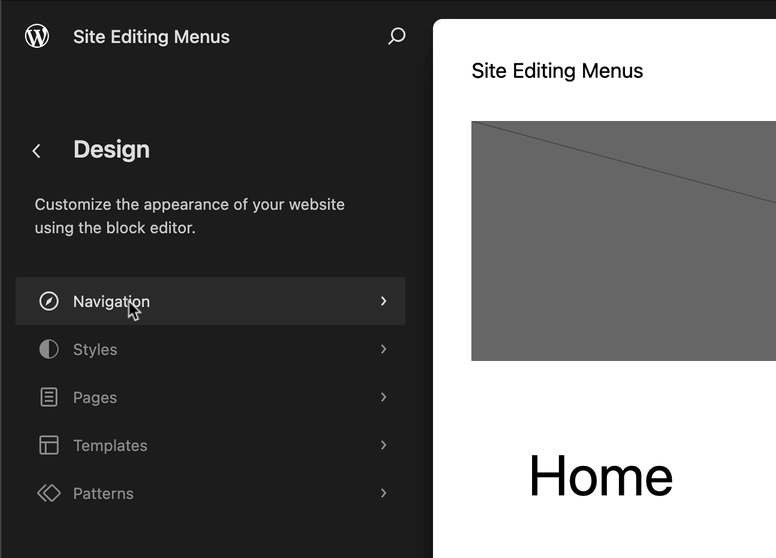
This takes us to the navigation editor.
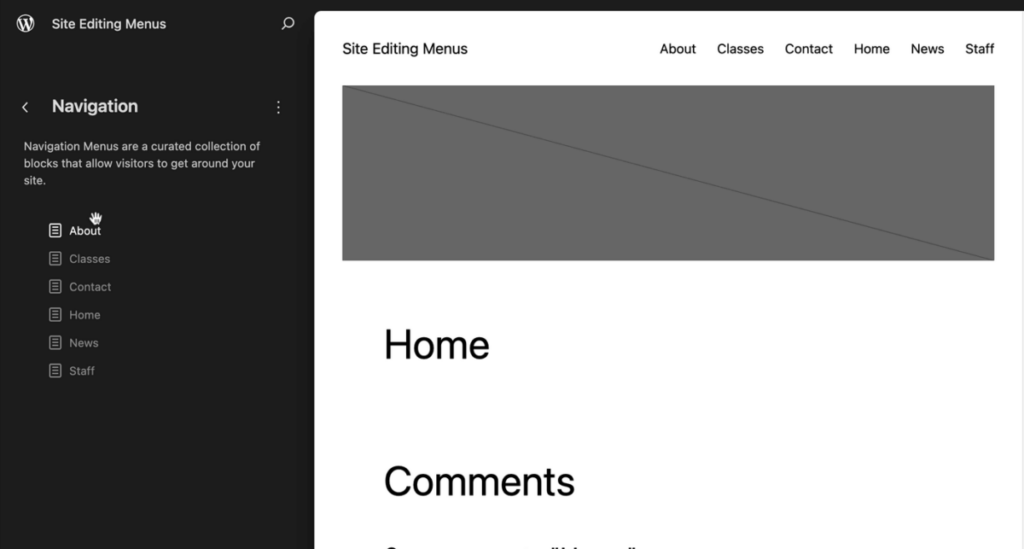
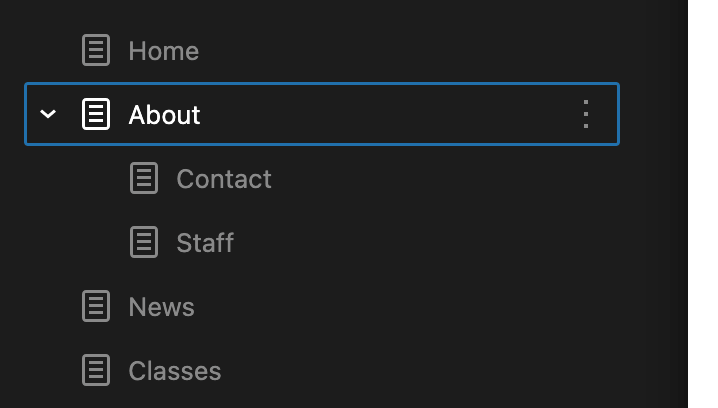
You can drag and drop the items in the menu to reorganise them. The first time you do so you will be warned that if you edit the menu new pages will not be added automatically.
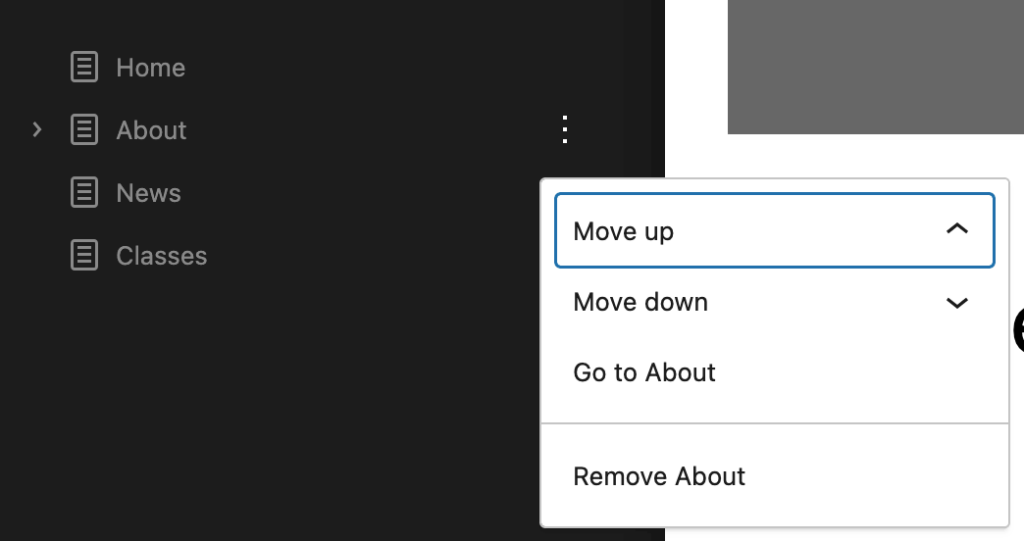
The ellipsis on each item give you an alternative way to move the items and a way to delete them.
If you drag an item onto another item it will become a sub-menu.
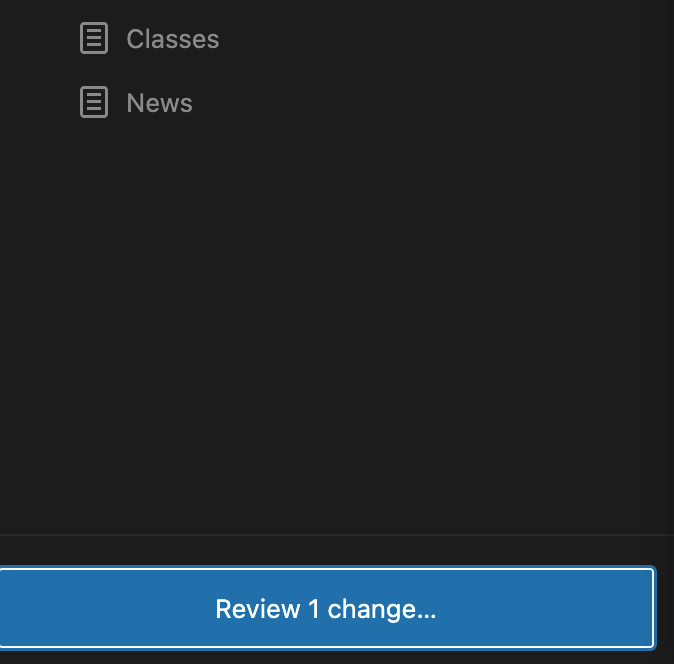
After you make any changes you need to Review these changes:
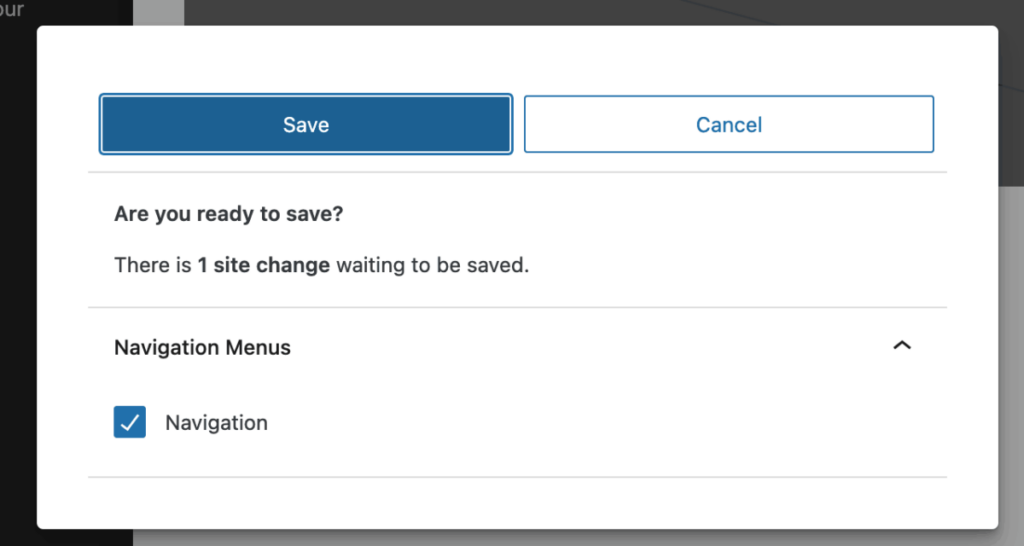
And save them:
2. In the Site Editor
coming soon (22 Sep 2026)