Link lists or blog rolls can be used to add lists of links to your blog sidebar.
You can uses this to provide links for all sorts of purposes. You can categorise links and use these categories to display different groups of your links in different places.
- Adding a list of links to you blog is a two step process.
You create links in your dashboard in the Links area. - You display the links using a Widget which is set up on the Appearance-> Widgets section of the dashboard.
Adding Links 1
After logging onto your blog in the Dashboard go to the Links section.
To add a new link click Add New [2]
Add New Link
This takes you to the Add links screen. You need at least a Name[1] and a Web Address[2] . It is best to copy paste links rather than add them from memory!
In the screenshot we have added description[3] and a Category[4]
to save your link click Add Link[5] This will save the link and empty the fields ready for adding another link.
Editing and Organising links
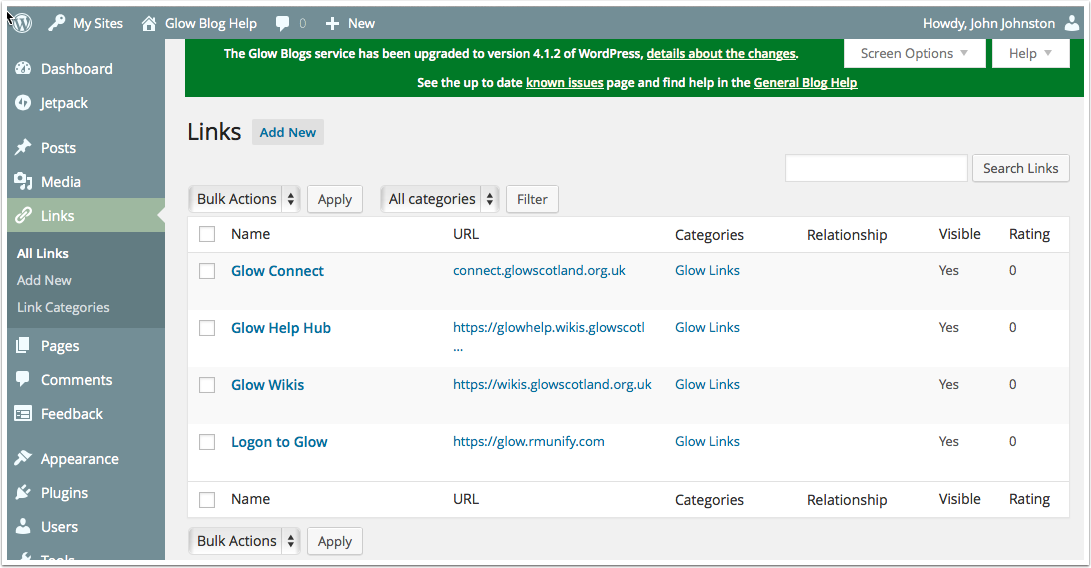
The main Links page on your dashboard will give you access to edit the links, organise them etc.
Adding a Links Widget
After you have added some links you still need to add a Widget and configure it.
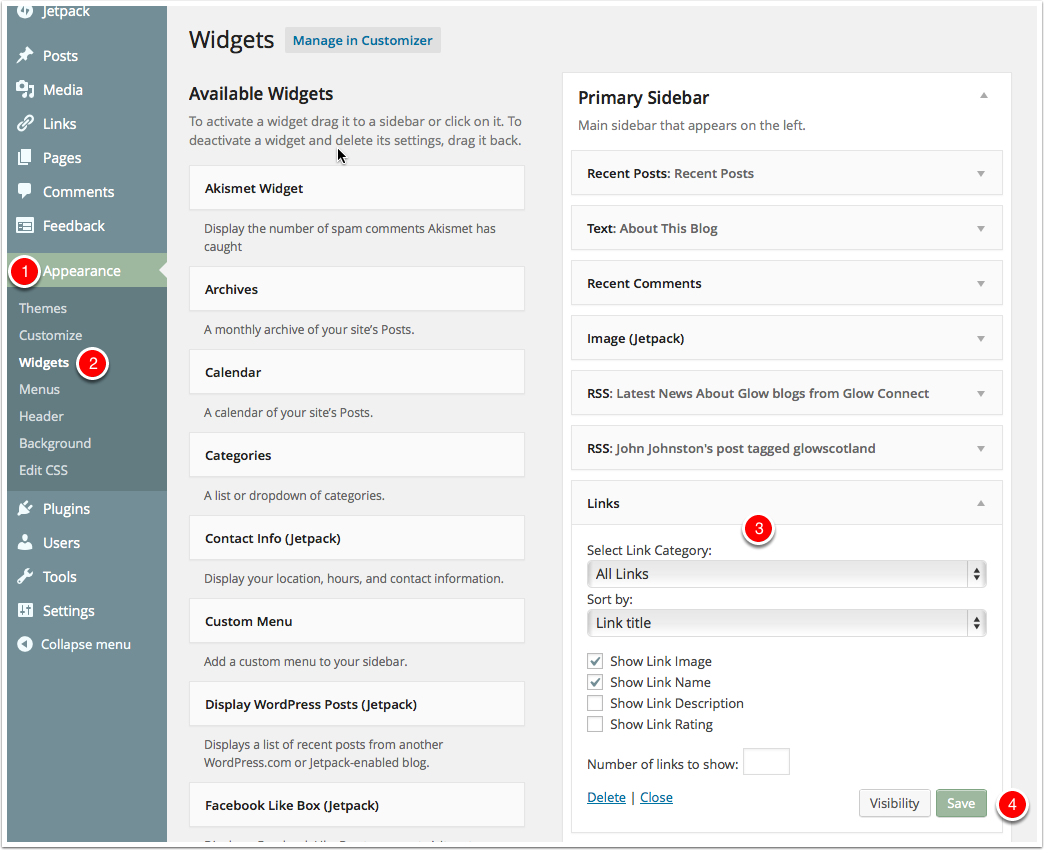
In the Dashboard go to Appearance [1] -> Widgets[2] .
Drag the Links Widget into a Widget Area.
You can then configure how the Widget will appear: Showing All links or a particular Category, sorting the links etc [3]
Remember to Save the Widget.
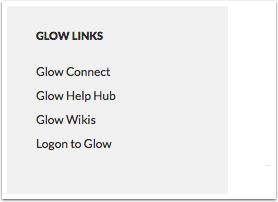
The Links will apear on your blog widget area
After saving you should see the widget on the blog sidebar.


