Tag Archives: #finemotorskills

Number Stones

Over the past week we have been developing a range of skills at our play area. From counting to recognising numbers, shapes and patterns, Gross motor skills and writing stories we have experienced it all. The children have been so creative.

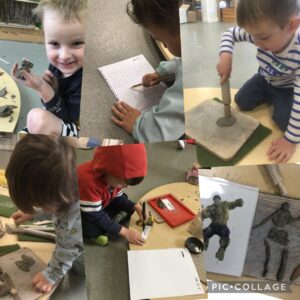
I observed the children playing a game at the clay table, they were drawing pictures in the clay with different clay tools and asking their friends to guess what they had made. One child wrote the number 4 in clay.

“Guess what I’m drawing it has a shell on it” – A snail

“I draw happy face”

“I did number 4, cause  I’m 4”

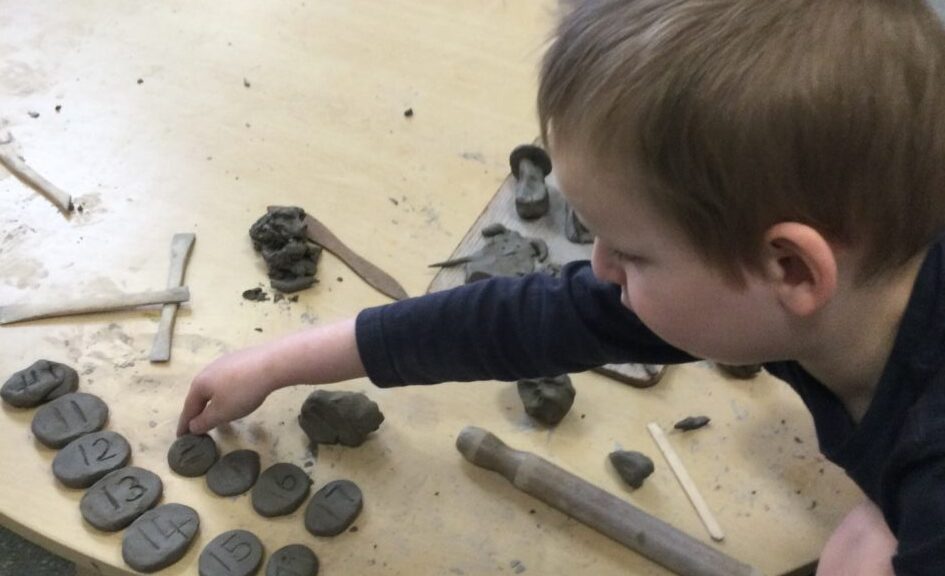
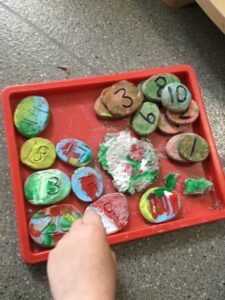
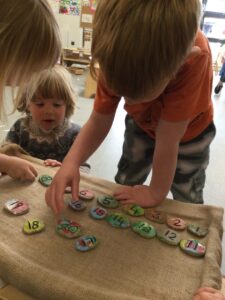
This lead us on to writing numbers in the clay, we made number stones and decided to paint them lots of different colours. When the paint was dry we brushed over them with Pva glue and left them to dry. Finally using a black marker to make numbers stand out.


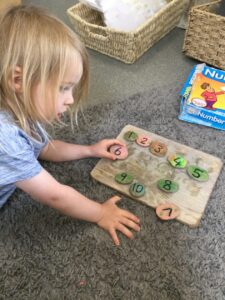
The children have used these number stones to lead their own learning. We have used our counting skills and number recognition to rearrange the numbers in order from 1-10.
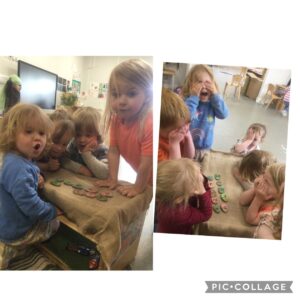
They have played lots of different games with the number stones, one game involves the children laying the numbers out in order and closing their eyes 👀  I take one number stone away and they have to guess what number is missing. To make it more challenging we mixed the numbers up and before removing one.

“It’s number 4” Next we added in numbers 10-20 to add fun challenge to their learning.


“I’m doing it upside down and the wrong way round 😂”

Let make muffins!

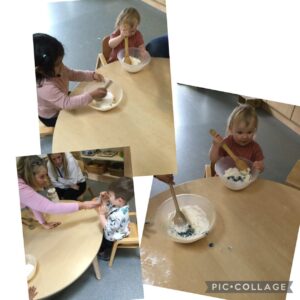
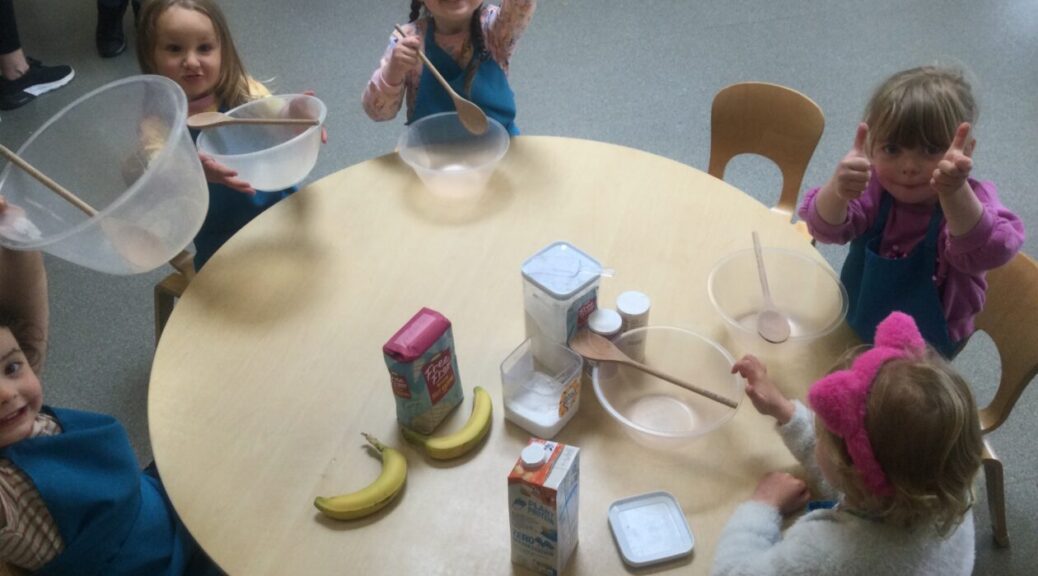
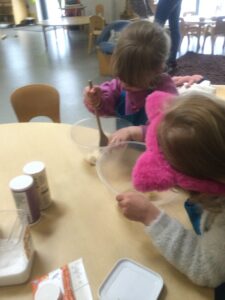
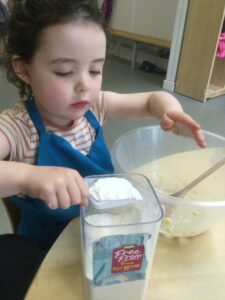
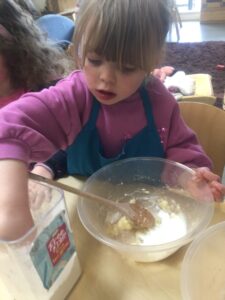
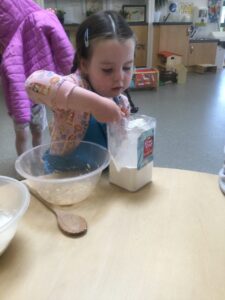
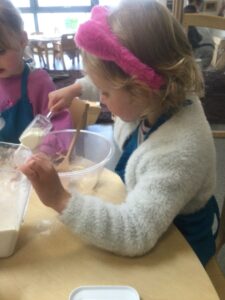
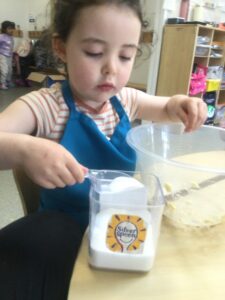
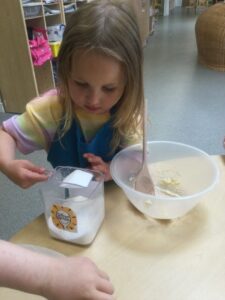
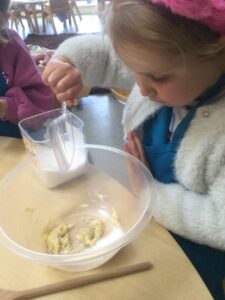
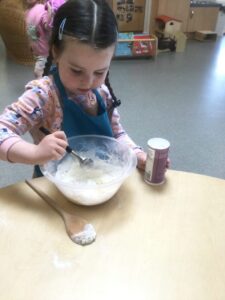
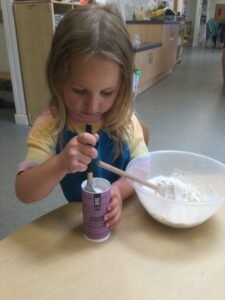
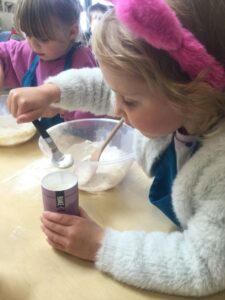
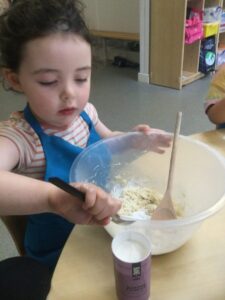
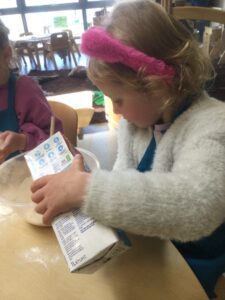
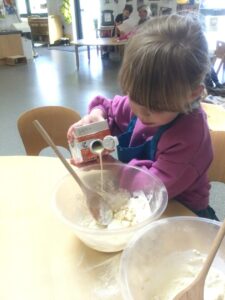
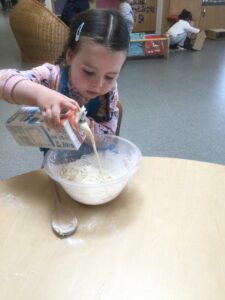
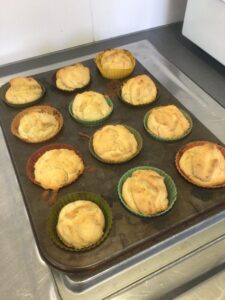
Today at the baking table, a small group of children were busy making banana muffins. Having made them most weeks, they have developed the skills to bake them independently. Today, they took full control of the activity and made the muffins with minimal support.

First, the group gathered their bowls, spoons, and ingredients. Then, they washed their hands and put on aprons, ready to begin.

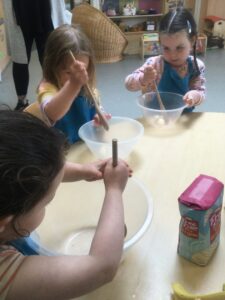
I asked what they needed first, and they promptly replied that they needed to mash the bananas. They peeled and placed a piece of banana in each bowl and began to mash it with a spoon.

Next, they said, “We need 2 scoops of flour.” Taking turns, they measured out 2 scoops each and added them to the bowls.

The next ingredient was “1 scoop of sugar.” Once again, they took turns measuring out 1 scoop each and placing it in the bowls.

I then asked, “What do you think we need next?” They replied, “Baking powder, 1 little spoon.” Passing the baking powder around the table, they added it independently.

The final ingredient was soya milk. Using their judgment, they added the milk a little at a time, mixing it in until they were happy with the consistency.

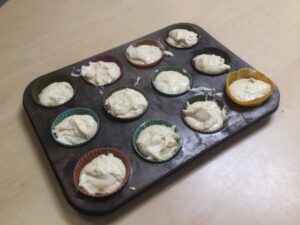
Once the batter was well-mixed, they started spooning it into the cake cases, demonstrating good hand-eye coordination. When all the cases were filled, they were ready for the oven.

Twenty minutes in the oven and voilà—delicious banana muffins


What’s cooking in the Cart Mill Kitchen

This week in the snack area, we’ve been exploring foods from around the world, sparked by the children noticing that the fruit we eat comes from different countries. Our focus this week was on making pitta bread and hummus, a delicious snack enjoyed in many Middle Eastern countries. We looked online to find a recipe we could follow. Let’s find out how we made them. 😃

Step 1: Making the Pitta Bread

First, we used scales to measure the ingredients, Weighing out 350g of gluten-free flour, we added it to a bowl. Next we used a jug to measure out 300ml of natural yogurt, adding it to the bowl along with a pinch of salt and 2 tsp of baking powder. We mixed them all together with a wooden spoon to create a simple dough.

We then used a rolling pin to roll out the dough into small circles, ready to cook. Doing this helped develop fine motor skills and hand-eye coordination. Once cooked, the pitta breads were ready to taste at snack time.

Step 2: Making the Hummus

We combined chickpeas, garlic, lemon juice, and tahini in a blender, taking turns to measure out the quantities needed.


Next we turned on the blender mixing them until we achieved a smooth paste. At first we noticed that the consistency was a little thick. Using our problem solving skills one the children suggested adding water. We added a little water at a time till it was perfect to try with our freshly baked pitta breads. The process expanded the children’s vocabulary and helped them follow multi-step instructions.

Take a look at some of the fabulous comments bellow.

“It’s mixing together”

“It’s evolving”

“I think it will be smooth”

“It’s mixing really fast”

The children enjoyed both the process and the delicious results, learning about foods from around the world and exploring new cooking techniques. 

I wonder what we could make next week? If you have any suggestions please leave them in the comment box below. 😃

Article 1
Everyone under 18 has all these rights

Article 28
You have the right to education.


Pikachu clay models

The children wanted to make something different with the clay, but they were unsure of what. So last week we sat down together and discussed some ideas, I asked the children questions to get them to really think about their interests and how we could incorporate these in to our clay area.

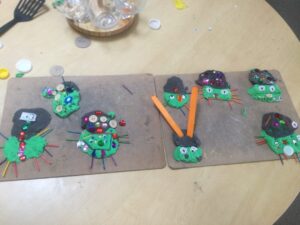
Pokémon seemed to be a common theme so we used the iPad to search the internet for some Pokémon ideas. We came across a clay Pokémon figure, it was perfect! The children helped pick out some other clay model pictures including unicorns, garden gnomes, and even Elsa from Frozen . I printed these out and laminated them, leaving them on the table to inspire some ideas.

The children began to make their own models, squeezing, rolling, and manipulating the clay to their desired shape. They soon realised looking at the pictures that our clay was grey and the pictures used coloured clay, how would they make their own models colourful? They worked together using their problem solving skills to come up with some ideas. “I know, we could get paint!” “and paintbrushes and paint them and that’s how they will be colours”.


Once their models were finished we left them to dry out over the weekend, ready for painting this morning.

There was lots of great ideas.


“A bowl of soup with spoon”

“Pikachu”

“I made a snail”


They put their finished models on the shelf to let the paint dry, we can’t wait to see the end result.


Homemade Cart Mill Crumble!

In the bustling kitchen of Cart Mill, our young chefs have been busy making their very own apple crumble from scratch.  Working together they have transformed simple ingredients into a mouth watering dessert. Let’s dive into what they did today.

Ingredients:

  • Fresh, crisp apples
  • Gluten-free flour
  • Butter (Homemade of course)

Cooking Steps:

Peeling and Chopping Apples: With careful guidance and a trusty peeler, the children skilfully removed the apple skins supported by an adult to ensure every apple was perfectly peeled. Once peeled the apples were diced into tiny pieces ready to be cooked till nice and soft.

Making Homemade Butter: The kitchen was full of excitement as the children embarked on a butter-making adventure. Filling a container with double cream, and a few marbles they were ready to begin.  Woking together they shook the contents for a very very long time, but their persistence paid off. When we opened the container what did we find….BUTTER!

“It takes a very very long time”

“look its butter”

“Butter comes from cows”

“You make butter with milk”

Creating the Crumbly Crumble: With homemade butter in hand and flour at the ready, the children blended the two ingredients together. Displaying excellent fine motor skills they rubbed until a crumbly concoction emerged. It will be a perfect topping!

Layering and Topping: As the final step, the children layered the cooked apples into a dish. Adding  generous sprinkles of the crumble mixture on top they were complete and smelling delicious!

Now, with their apple crumbles assembled they are ready to take home for baking until golden and bubbling. We wrote our names on the lid so we could identify them at home time.  Well done team!

At Cart Mill, cooking is all about fun and teamwork! Making apple crumble together not only filled their tummies but also explored new skills.  Cheers to their cooking adventure!

………………………………………………………………………………

Article 1
Everyone under 18 has all these rights

Article 28
You have the right to education
Article 29
You have the right to education which tries to
develop your personality and abilities as much as
possible and encourages you to respect other
people’s rights and values and to respect the
environment

Some marvellous Monday fun for our little scientists 😍


Today some of the children wanted to do the sticky ice experiment for today’s experiment. We used some ice and then put some thread in the centre of the ice cube. Then we sprinkled salt onto it waited a few minutes and just like magic the thread had stuck to the ice cube enough for us to lift the cube up using the thread. I explained to the children that salt lowers the freezing point of water making the ice easier to melt. After sprinkling the salt around the thread the melted water is affected by the surrounding low temperature and freezes again so the thread and ice are frozen together.

The next experiment the children asked to do was the blow up the balloon without blowing experiment. Firstly we had to measure out 100mls of water into a beaker. We then added two spoons of baking soda and poured the mixture into a bottle. We then carefully used the funnel to fill our balloon with two spoons of citric acid put the balloon on the lip of the bottle and poured the citric acid from the balloon into the bottle.

To the children’s delight the balloon started to slowly inflate. I explained that the reason for this is baking soda is an alkaline substance that reacts with acidic citric acid to produce a large amount carbon dioxide gas the more carbon dioxide produced the more the balloon inflates. The children followed my instructions and measured the ingredients out accurately  they quickly realised that the more baking soda and citric acid they used the bigger their balloons got.


Our last experiment of the day was to see if oil and coconut milk which we added food colouring to would mix the children quickly seen that it doesn’t. This is because the molecular structure is very different as is their density so that when the milk is dropped into the oil it forms small droplets.
Well done everyone, you made predictions about what you thought would happen next, studied cause and effect and answered my questions about what actually happened during the experiment. You truly are the best scientists.

Creative little minds 💡

This week in the clay area, there have been lots of creative little minds busy at work!

The children have had lots of learning opportunities while exploring the clay, and have shared lots of imaginative ideas with their peers 💡

Some of the children liked using the tools to create little intricate flowers 🌺


some children enjoyed creating shapes and patterns with various equipment…

Other children even designed little small world creations too 👩🏼‍🎨

“it’s a little island for the ninja turtles. I used shells so the water can go through under the island”

“let’s make a little tunnel for the cars “

While clay has many benefits to children’s fine motor skills, it also engages many social skills through sharing ideas, solving problems or even encouraging each other through conversation as they play and learn.

It has been so thought provoking and interesting to see how many fantastic ideas the children have shared, and how each child’s experience of clay has been unique and individual to their little personalities. Keep up the good work everybody 😁👍

Being Festive with Loose Parts

In the discovery room the children have been provided with resources to explore some Christmas themed loose parts play.

Using loose parts such as blocks, fabric, or natural materials encourages open-ended exploration and creativity. This unstructured play fosters problem-solving skills, spatial awareness, and enhances fine motor skills. It promotes imaginative thinking, as children can manipulate these parts in countless ways.

Some children showcased their creativity by crafting unique Christmas tree designs using triangles and an assortment of loose parts.

Using large blocks, some children explored concepts of size, sparking discussions as they navigated the process of filling the Christmas tree design on the floor. This hands-on activity prompted them to problem-solve, choosing which bricks to use and determining what would fit seamlessly into their creation.


Holidays are coming 🌲

Yesterday in the studio the children explored marbling ink. They selected different colours to create their own unique art.


Adding the marbling ink to the water and swirling it around to make cool patterns, the children added their paper to the water and we all counted to 10.  After 10 we lifted the paper out and looked at patterns that had transferred onto the paper.

“ Wow! That’s so cool , my colours pink and yellow are on the paper now”

“ Can I make a Christmas card on mine”

“ Me too can I make one?”

We put our pictures over to the drying rack and left them to dry over night.


Today the children collected different things to create their Christmas cards.

Jewels, sequins, pom-poms etc were glued on to create lovely Christmas cards, the children cut out their marbling ink pictures and added to red card.


The children practiced their writing skills as they wrote out their cards. Some for Santa, aunties, uncles, mums,dads, brothers and sisters.

We hope everyone  has a lovely Christmas and a Happy New Year🎅 🌲


Article 29 – I have the right to an education which develops my personality, respect for others rights and the environment.

Article 12 – I have the right to be listened to

Pinecone Christmas Decorations!

Today in the Garden, the children have been creating their own Christmas decorations for the outdoor tree!

We had lots of pine cones so we decided to use some glue and some sparkly sand to create our very own Christmas baubles…

First we used the PVA glue and glue spreaders to make our pine cones all sticky!

Then we used some special Christmas sparkle to brighten up our pine cones and make them into our baubles for the tree.

”Shake shake shake so it comes out the top”

”It looks like snow on it”

Then we had to use our concentration and our fine motor skills to tie the ribbon around the tree so that our decorations would hang for everyone to see!

”Look at mine! I did it myself, I have a green ribbon on mine too”

Wouldn’t you agree that the children done a wonderful job of their decorations…have a look at our fabulous tree in our garden!

Throughout this experience, the children have been developing their creativity skills, imagination and their ability to work with different materials to create a piece of artwork.

Article 29: I have the right to an education which develops my personality, respect for others and the environment

Article 31: I have the right to an education