Tag Archives: fine motor skills

Marvellous Monday fun šŸ‘»šŸŽƒ

As itā€™s Halloween next week we have a few themed learning experiences around the nursery. The children asked for a Halloween story and they chose Room on the Broom. ā€œ Itā€™s my favourite storyā€ ā€œ I wish I could fly on a broom in the sky.ā€œ ā€œI like the dog best in this story.ā€

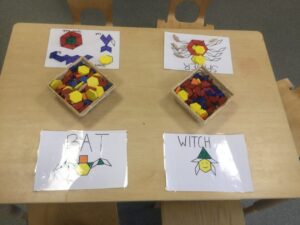
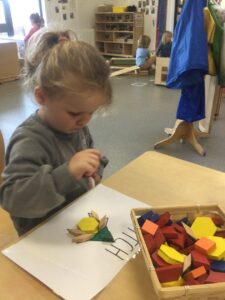
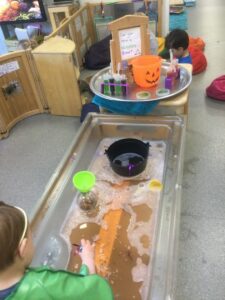
The children used shapes to make spooky patterns Ā and enjoyed mixing potions to use for magic spells. ā€œ Itā€™s fancy orange water I, wonder if the water will change to green If I put a green potion into itā€


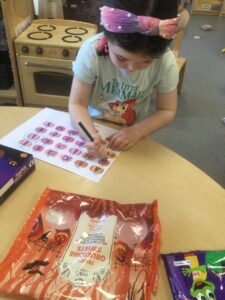
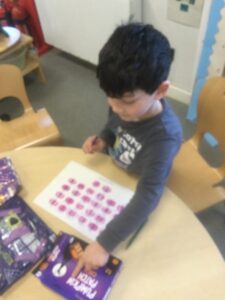
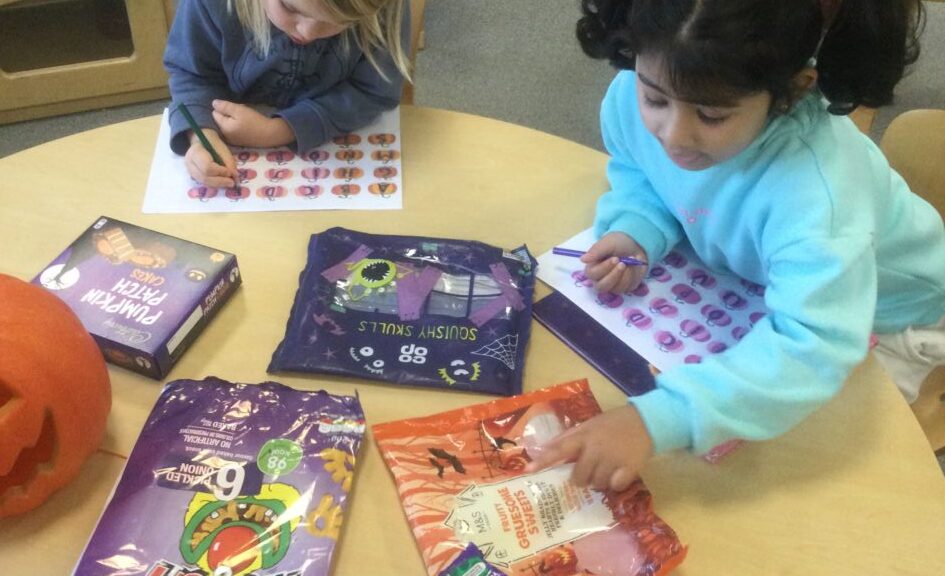
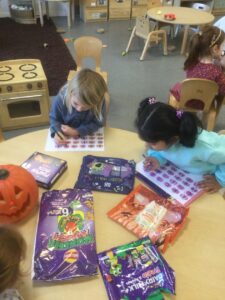
We made up a letter hunt game using familiar Halloween packaging. Ā The children looked for a letter on the packaging then were encouraged to sound it out and mark it off their pumpkin worksheet.

ā€œI can see a v thatā€™s my Mums name begins withā€ ā€œpumpkin starts with a pā€

ā€œMonster begins with an m look I have found it on my sheetā€ ā€œ I have found lots of letters ā€œ ā€œ S for sweets, mmmmmm I do like sweets!ā€

Maybe you could think of some more fun Halloween Ā activities we could do?

Building a Zoo

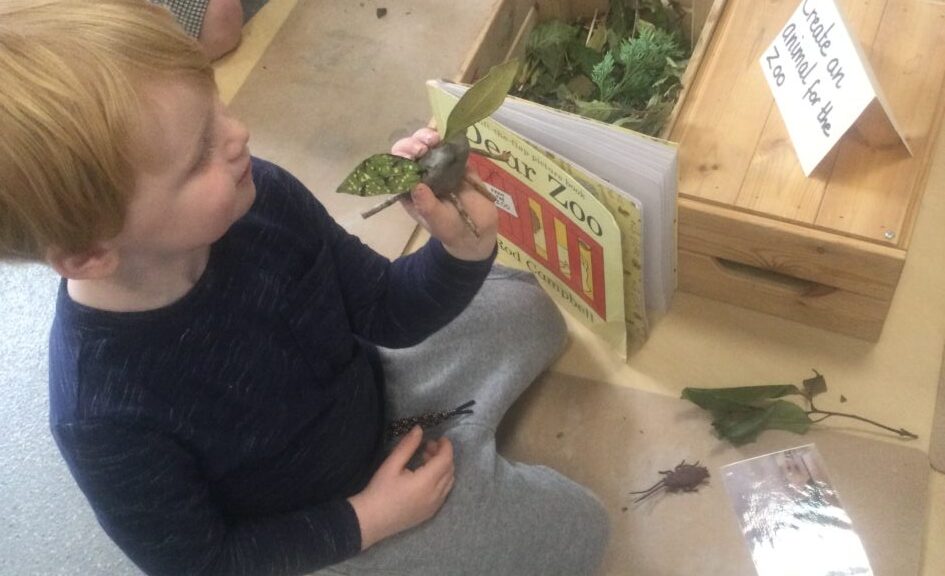
In the clay area we have been exploring different animals shapes and sizes while creating our own animals.

Will reading Dear Zoo we talking about the different features of the animals. We noticed some had long necks, big ears, 4 legs or even no legs.

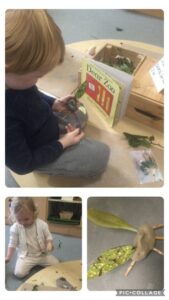
We introduce some animal shape models for the children to explore. The children had fun experimenting with different sized leafā€™s and sticks and were able to create there own unique animal.

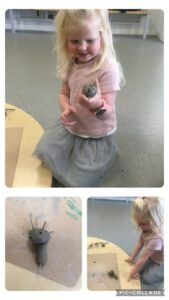
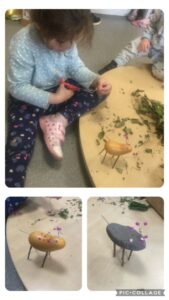
Once they were able to select their own leafs and sticks to create their chosen animal. The next step was to model the clay and transfer the sticks and leafs to create their very own animal to take home.

Here are some of the children’s creations along with their comments while making them.


ā€œIā€™m making a giraffe this is its long neckā€


ā€œIts a horseā€

ā€œThese little flower are for the eyesā€

ā€œHe need a tail Iā€™m going to cut it smallerā€


ā€œI’m making a rabbitā€

ā€Itā€™s got big earsā€


A peek at whatā€™s been happening in our Cart Mill garden this week šŸ˜

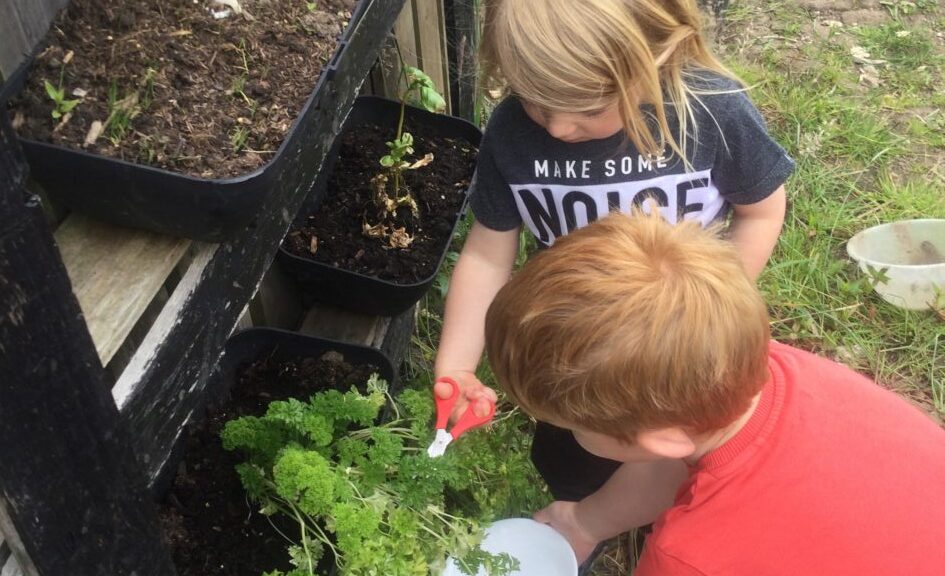
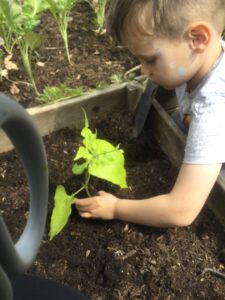
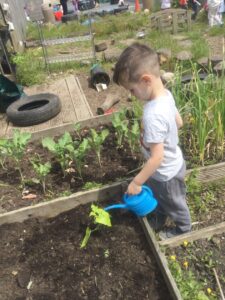
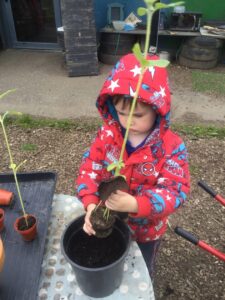
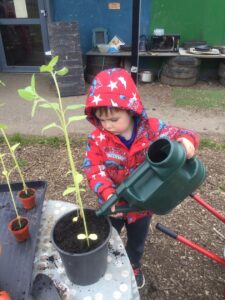
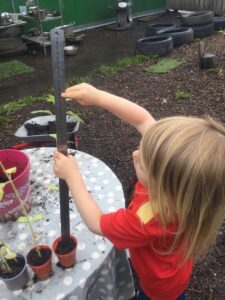
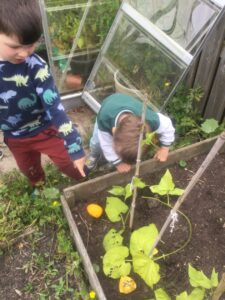
Whilst helping to water the plants in the greenhouse the children noticed that some of the plants were getting tall. Ā We decided to repot the peas and the sunflowers and put them outside.

ā€œ Iā€™m helping the peas to grow by watering themā€

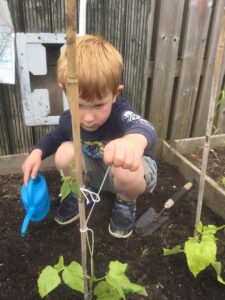
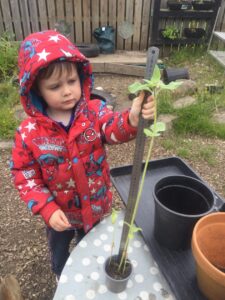
ā€œ I donā€™t want the peas to fall down with the wind so Iā€™m tying a cane onto the pea plant, but I might need some help to tie a knotā€

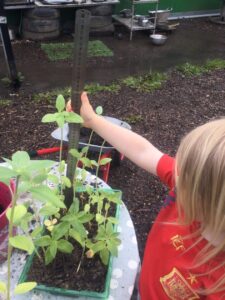
The children noticed that the sunflowers were all different heights and Ā asked to measure them. ā€œThat oneā€™s really tall itā€™s bigger than all the restā€


ā€œThatā€™s two number 4s 44 ā€œ

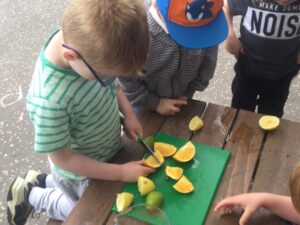
After a few days our pea plants had some nasty looking holes in their leaves the children quickly realised that slugs were the culprit. They researched human slug traps online and found out that slugs love citrus fruit so we promptly cut some orange up and arranged them around the peas.

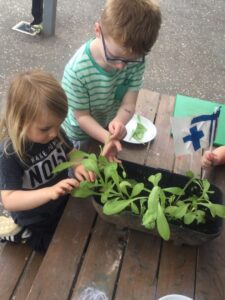
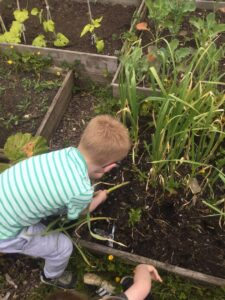
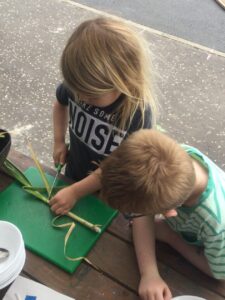
The children seen that the spring onions had also grown and looked ready to pull out. The salad leaves in the greenhouse were around the same stage and looked ready to sample to. The children thought they could make a nice salad with the leaves spring onion and we could add some parsley from our herb garden. Ā We set about making our salad cutting chopping washing and we even managed to make a little dressing using orange juice a squeeze of lemon and lime.


ā€œ Itā€™s really hard to pull the spring onions outā€

ā€ I donā€™t think these leaves will taste niceā€ ā€œ they smell yuckyā€

ā€œ I like the taste of the parsley and the onions but not the lettuce ā€œ The lettuce was the least popular ingredient of our salad. We canā€™t wait to try our peppers and tomatoes when they are ripe. Do you grow any fruit and vegetables in your garden? Do you have any suggestions to what other tasty things Ā we could grow in our garden? probably not salad šŸ˜‚

Article 28 Every child has the right to an education


Colour Mixing Playdough.

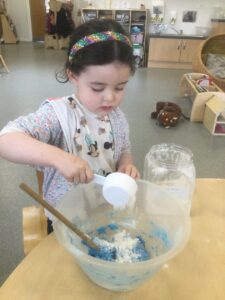
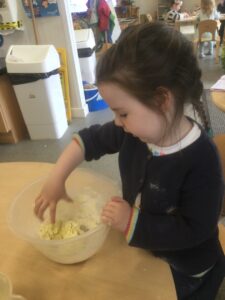
We have been learning how to make playdough all by ourselves. The playdough area is a self-serve area designed to promote the independent skills of all our children.

We have been selecting our ingredients and we are learning about the different quantities of these ingredients that we will we need for our recipe. (Following on from the new government guidelines we have been using heat treated gluten free flour in our recipe).
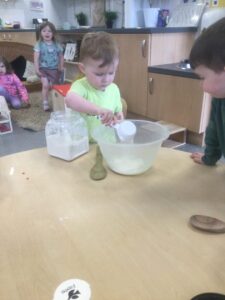
All our children aged 2-5 have the opportunity to make their own playdough and enjoy doing so independently.
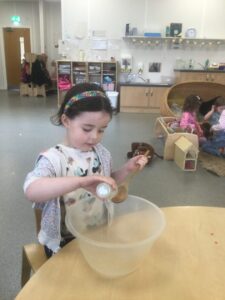
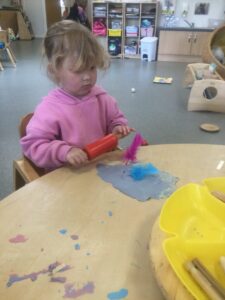
This week in our Playdough area we have been exploring and experimenting with colour mixing.
First we made our playdough, by each collecting the bowl, spoon and ingredients we needed. We each choose a primary colour to make our playdough to start with. We had red, yellow and blue.
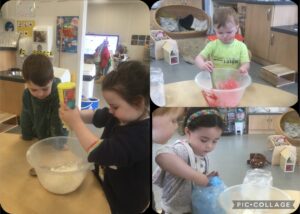
We were able to see if our playdough was ready, by testing if it was too dry and needed more water or too wet and needed more flour.
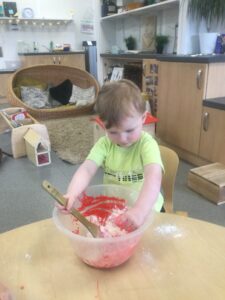

ā€œmore waterā€


ā€œToo sticky, Ā need more flourā€

ā€itā€™s readyā€

Once our playdough was perfect we set up our playdough station and invited our friends to come and join us.
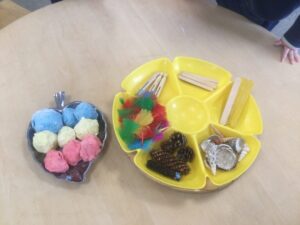
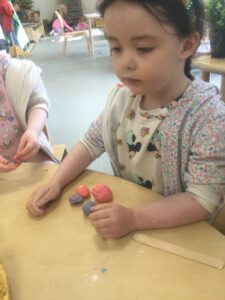
We each took a pinch of two or more colours and mixed them together to see what colours we could make.
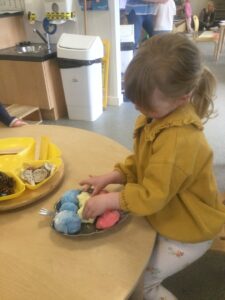
We used our gross motor skills as we rolled the playdough together to mix up the colours.
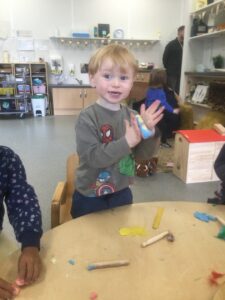
We were amazed at the colours we were able to make.
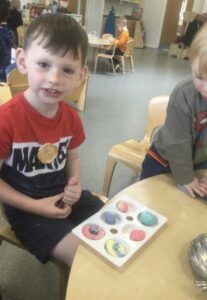
ā€œIā€™ve made so manyā€

ā€œIā€™ve made pink and purple and orangeā€

We discovered that we got green by mixing red and yellow. Purple by mixing the red and blue. And a pinky orange if we mixed red and yellow. We even ended up with a rainbow playdough mix.
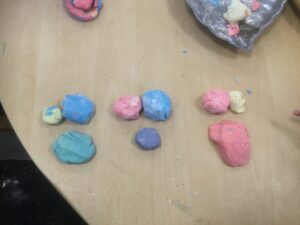
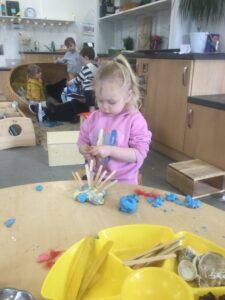
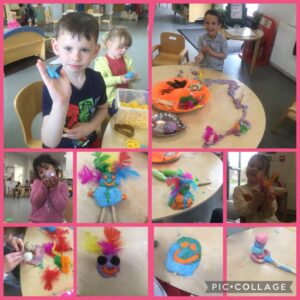
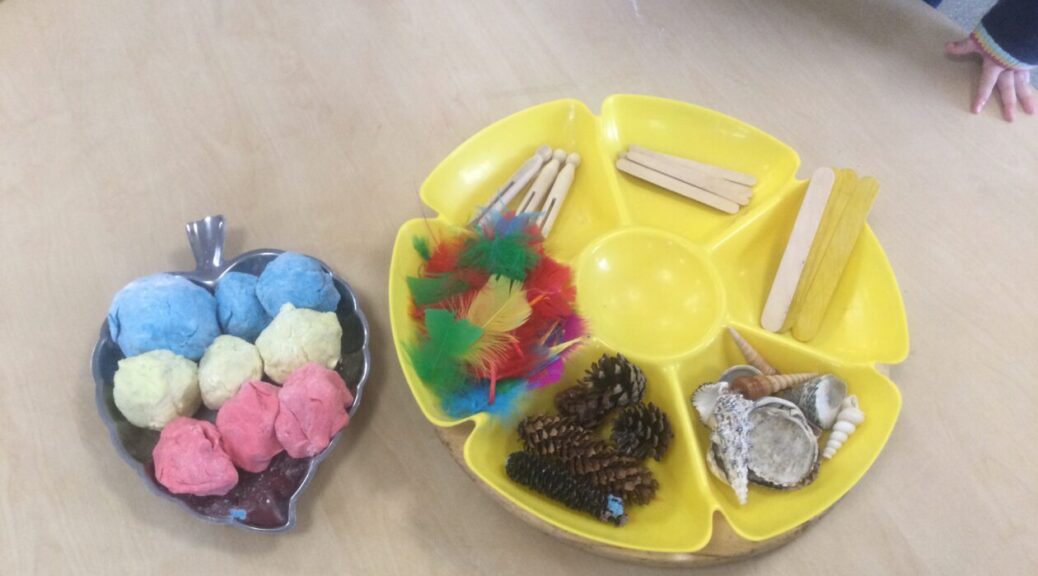
Once we made all our new colours we got to work creating playdough masterpieces using the loose parts.
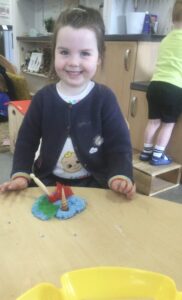
ā€œI made a unicornā€

ā€œA birthday cake, blow out your candlesā€

We also used a variety of different tools to help us mould our playdough such as scissors
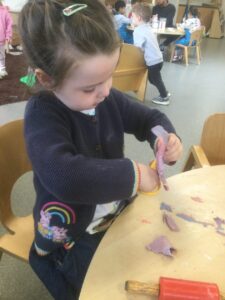
rolling pins
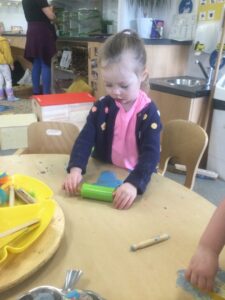
and even used the loose parts to make patterns
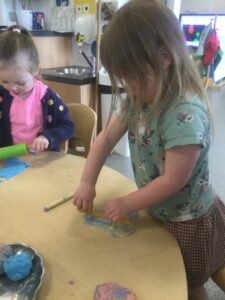
We have been so busy at our playdough station. I wonder what we will make tomorrow.
Here is some of our playdough creations so farā€¦.

Article 29 – I have the right to an education which develops my personality.
 

Building Bridges

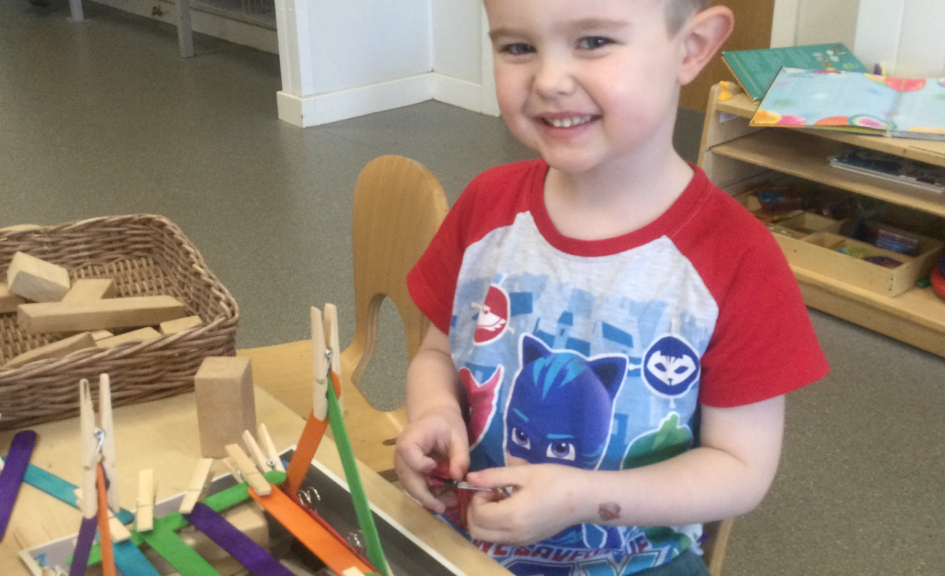
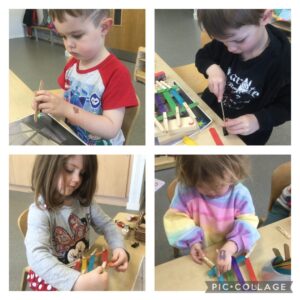
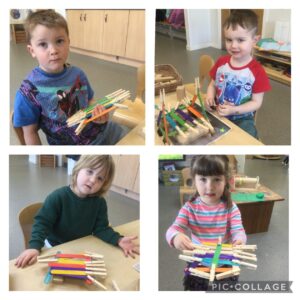
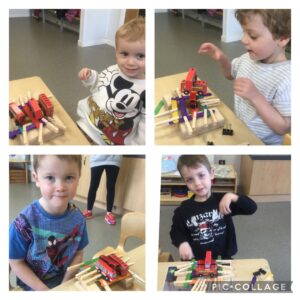
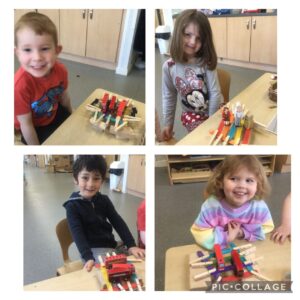
This week we decided we would use small blocks and loose parts to build our bridges.

The children began exploring the different materials providedĀ  and using their fine motor skill and hand and eye coordinationĀ  to connect the pieces together.

ā€œ this is too heavy, itā€™s going to fall.ā€

ā€œThis is really hardā€

ā€œMine is a bit wobblyā€

The children used problem solving skills while exploring a variety of ways to ensure the creations did not fall apart. The children shared their thoughts and ideas with each other.

ā€œ I think the clips are too big and they bendā€

ā€œ glue would be goodā€

ā€mine are staying togetherā€

ā€I like the pegs the bestā€

While building the children were discussing what they were creating and continued to share their thoughts and ideas.Ā  They used mathematical language to describe their creations and had great concentration skills.

ā€œMine is strong and longā€

ā€œI am building a bridge which Ā is going going to be so longā€

ā€œI am going to build a big one for carsā€

ā€mine is for cars tooā€

We then decided we would check how strong our bridges were. and chose a car or person to put on it.


ā€œ I have 3 cars onā€

ā€I have 3 peopleā€

ā€I have 3 cars and 8 peopleā€

The children were delighted at how strong their bridges were and that they were able to hold cars, figures or both.

Marvellous Monday experiments šŸ„°

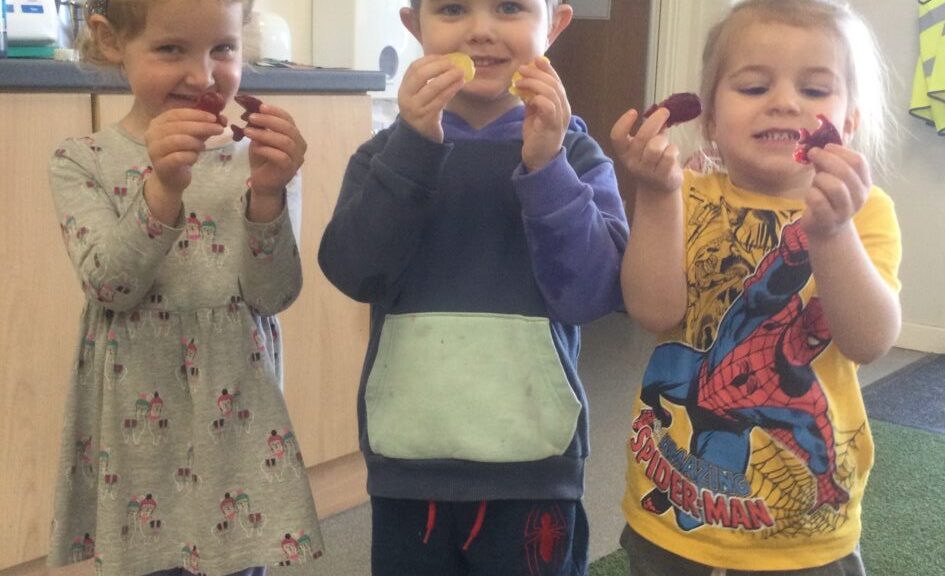
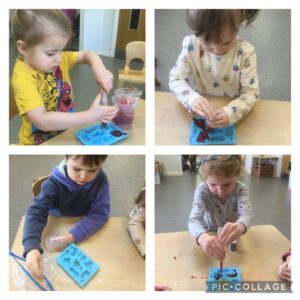
Today some of our little scientists decided they would like to do a soap experiment.


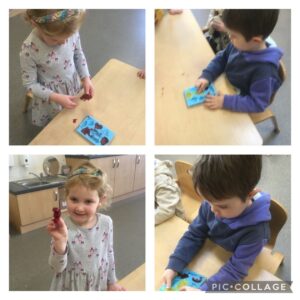
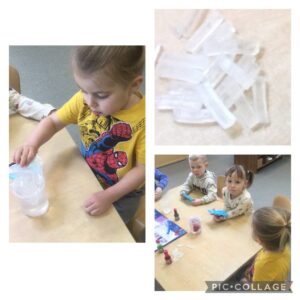
We started off with our soap moulds, a plastic bag, a beaker, transparent soap base, food colouring and of course some scent. The children thought the soap base looked like crystals and noticed it was colourless with no smell Ā ā€œ We talked about what the main function of soap is, the children know it is used for cleaning and how they use it – ā€œI wash all my germs off at night with soap, so Iā€™m cleanā€
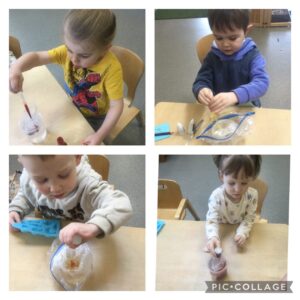
Next we opened up the bag and placed the transparent soap base into it. The children chose what colour and scent to put into their soap. Some wanted the peach scent in it ā€œMmm I like fruity smellsā€ I explained that all hand soap startsĀ the same and then the scents and colours are added. We popped the bag with the soap scent and colour into the hot water. The children were excited to see the soap base melt and combine with the scent and colouring. ā€œLook itā€™s gone slimey itā€™s meltedā€
The children were able to follow a set of instructions and used our pipettes to Ā fill their chosen mould.

ā€œ

What shape would you pick – we had lots of choices: I want a dolphin soap for my bathā€ ā€œ No I think penguins are the best sea animal so I want that soapā€ The children are excited to take their soaps home and try them out. I wonder if the soap will make the bath water smell like šŸ‘ ?

At the car wash šŸ§¼šŸ«§šŸš™šŸ«§

Ā 

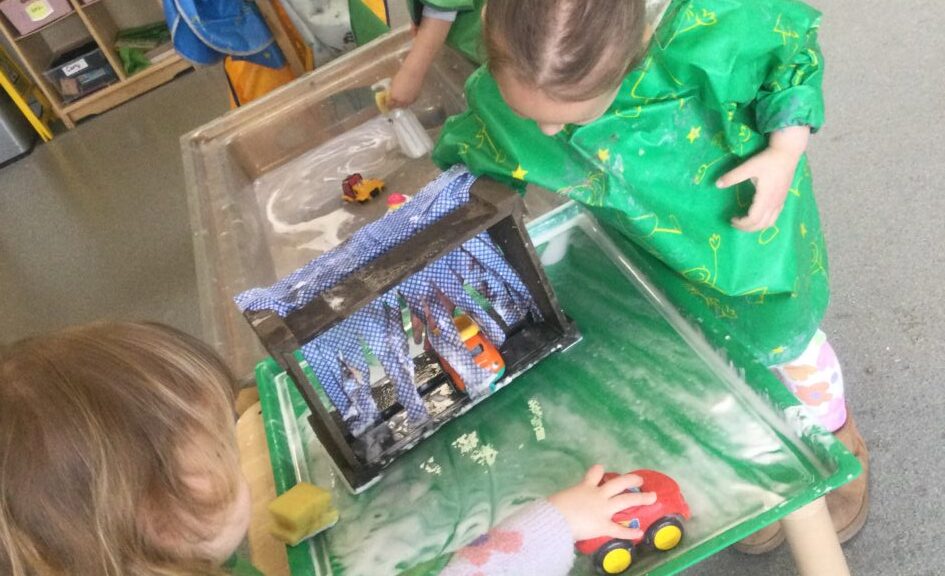
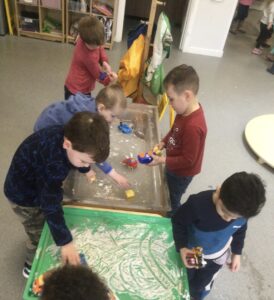
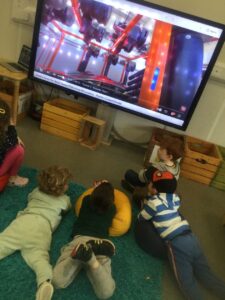
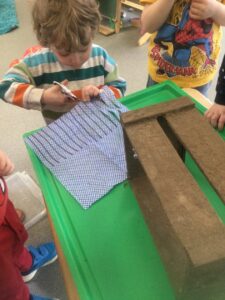
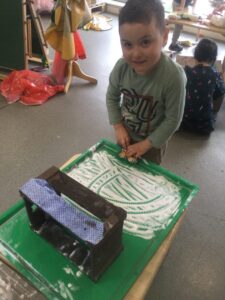
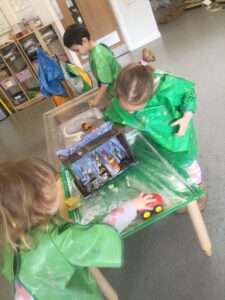
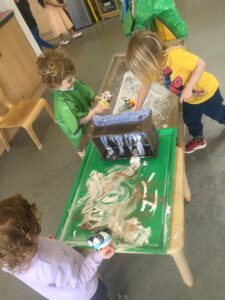
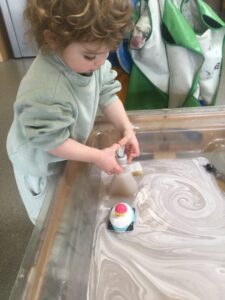
Our children have been showing an interest in washing the cars in the water tray. We set up a tray to drive the cars through the mud. The children had great fun running their carā€™s though the shaving foam, exploring the different track marks their car made before dipping it into the water to wash with soap and sponges. We discussed if anyone had been though a car wash and decided to watch a short video of a car going though one.

After some of the children helped to make a car wash for the cars to drive though. Marking some lines on the wash cloth, the children were Ā encouraged to cut along the lines. Then we stapled it onto the wooden frame.

ā€œlook at my track marksā€

Ā 

ā€œMy cars so dirty I need to give it a washā€

With the use of the sponges and soap dispensers, the children are developing all their muscle and co ordinations in their hand. The soap dispenser was tricky to use at first, but after a quick demonstration,Ā  they soon got the hang of it!

All are cars a sparkly clean, but Iā€™m sure it wonā€™t be long before they get all muddy again. šŸ’¦

Article 31 – I have the right to relax and play

Today in the discovery room we were Little scientistā€™s šŸ§‘šŸ¼ā€šŸ”¬

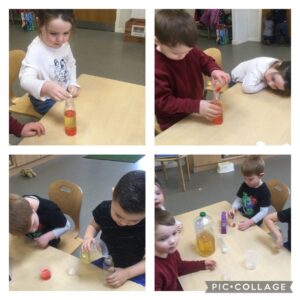
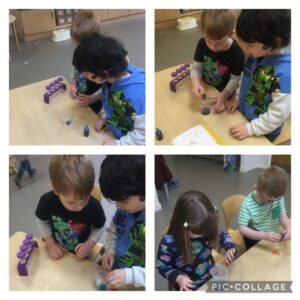
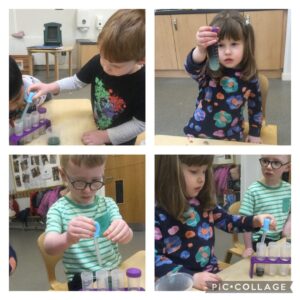
Today the children chose to do two different science experiments. The first one was called The underwater volcano experiment. For the first experience we used water, food colouring oil and an effervescent tablet. The children were able to follow my step by step instructions and used their critical thinking and problem solving skills to guess what was going to happen in the experiment. We measured out the exact amounts off water and oil using our measuring beakers and counted five drops of food colouring into the measuring beaker.

I explained how the effervescent tablet produced a large amount of carbon dioxide when it met the water the carbon dioxide then takes the coloured water out of the oil and water layer and creates an explosion.

ā€That’s cool, itā€™s gone bubblyā€ ā€œ The oil and the water havenā€™t mixedā€ ā€œI wonder what will happen when I shake it, oh the bubbles go awayā€

The second experiment we did was called sugar water rainbows. It didnā€™t go quite to plan as we didnā€™t really have a rainbow at the end though the children still enjoyed doing it and we can always try it again.

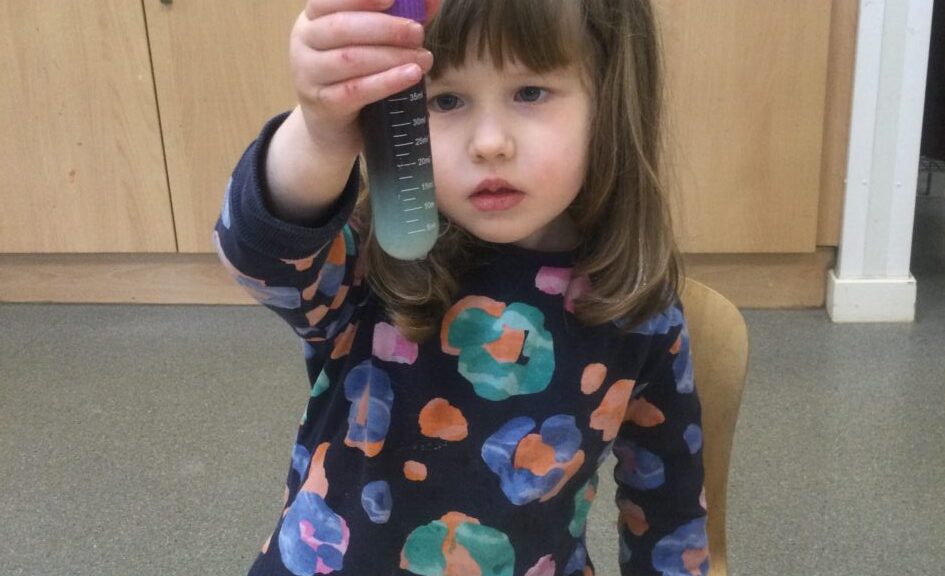
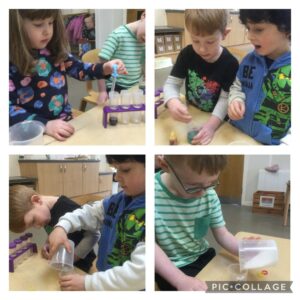
For this experiment we used sugar, water and food colouring again the children measured out their ingredients, the idea behind this experiment is to learn a little about different densities the colours that have more sugar in them will sink to the bottom of the beaker.


ā€œ Iā€™m measuring 40 ml of sugar into my cupā€

ā€ I have only to put 10ml of sugar in mineā€

ā€œ Iā€™m squirting in one drop of colouring, I want red, I like using the dropperā€

ā€œ I need blue for mine itā€™s my favourite colour, I have blue in my hoodieā€

ā€œlook the sugar has sank to the bottom, itā€™s blue at the topā€

Great team work everyone.

I wonder what experiments we will choose to do next maybe colour mixing? If anyone has any other suggestions, we would love to hear them!

Cornflour Creations

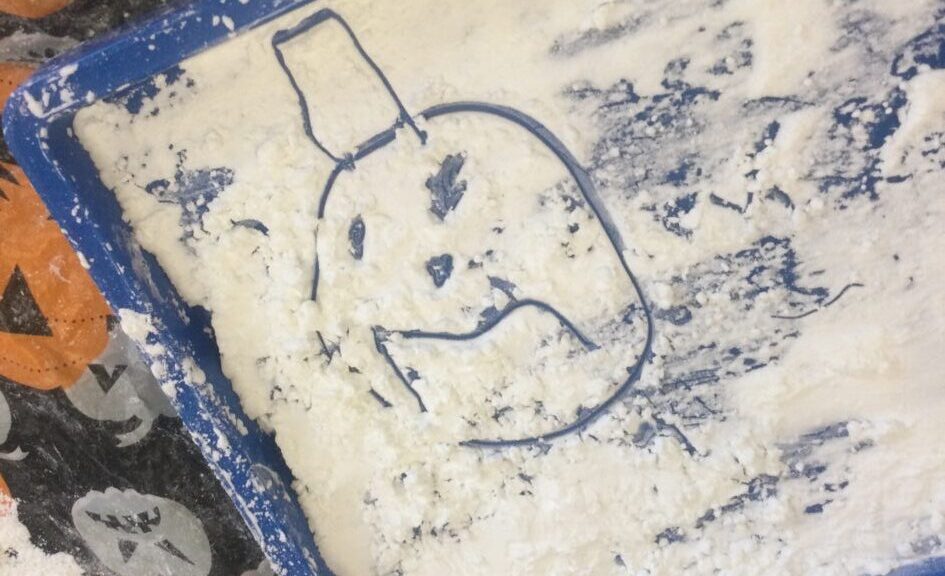
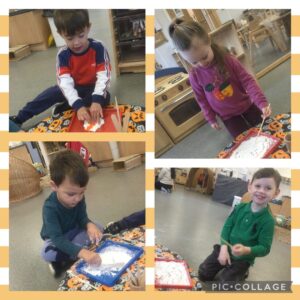
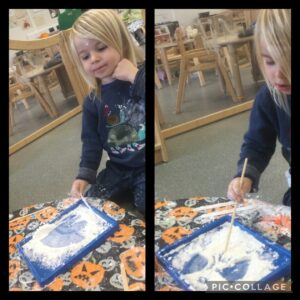
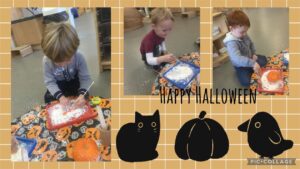
Throughout the week the children have been getting very excited about Halloween so today we decided to incorporate this in to the sensory area. We put some cornflour on the trays and selected a variety of mark making tools. Then we set about making our creepy creationsā€¦


ā€œIā€™m making triangle eyes.ā€

ā€œIā€™m making a spooky pumpkin with one circle eye and one triangle eye.ā€

ā€œIā€™m making a spider and heā€™s coming after you!ā€


One of the boys experimented with moving the flour with the stick and realised he had made a bat wing! We experimented some more and worked out how to make two wings. He then took his time looking at the bat toy and added more features like a head and feet. Excellent work!


Some of the other children experimented with tracing around the Halloween toys and created some excellent pictures.

ā€œIā€™m making a spider with only two legs and a pumpkin on his head.ā€

ā€œMy pumpkin has a silly face.ā€

Fantastic mark making and creativity skills from the children today!

Article 31- Every child has the right to take part in a wide range of cultural and artistic activities.


Marvellous Models

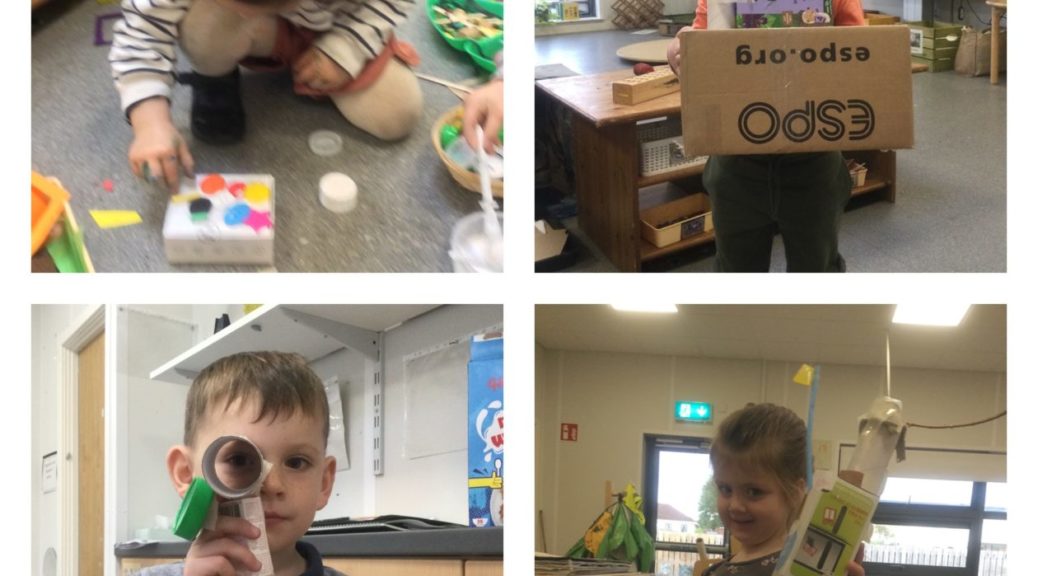
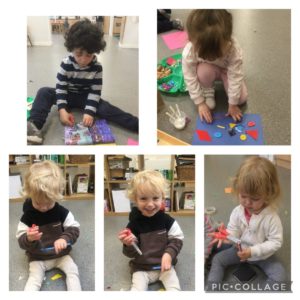
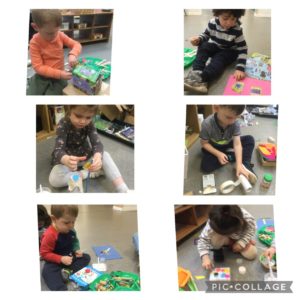
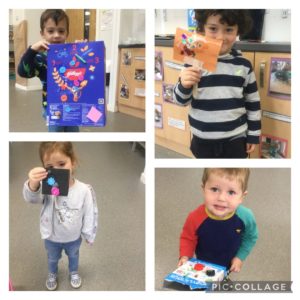
Today in the studio the children have chosen a variety of the junk modelling materials or paper to create their own pictures and models.Ā  They talked about the different sizes and shapes they were choosing discussing with one another what their ideas were and their Imaginationā€™s were running wild.

ā€œI have 2 rectangle boxesā€

I have a circleā€

ā€œMine is going to be a big castleā€

ā€ I need a small box and a circle for mine.

The children then got to work using their fine motor skills and hand and eye co-ordination.while cutting various materials they could add to their creations.

ā€œI am cutting a big bitā€

ā€œTiny oneā€

ā€œI am doing big and small bitsā€

The children then began to use the glue, masking tape and cellotape to add various mareials to their creations.

ā€œ I like the cellotapeā€

ā€œ it just falls off with the glueā€

ā€ā€ ā€œmy flag is going to be bigā€

They used some problem solving skills as they decided the best way for it to stick together.

The children had great concentration skills and fabulous imaginations and were very proud of their own pictures and models.

ā€œJewellery boxā€

ā€œMy big castleā€

ā€œPicture for mumā€

ā€œLook at my telescopeā€