Tag Archives: creative

Project Picasso 🧑‍🎨

After the success of learning about the art styles of Jackson Pollock we looked at another artist who uses “ faces” as part of their art work. We discovered “Picasso”. He used different shapes and designs to create his art work.

We learned about Picasso, first by looking at how he used vibrant colours to design each part of the face. The faces were a bit funny everything was in different places! But we learned this was called “abstract art”.

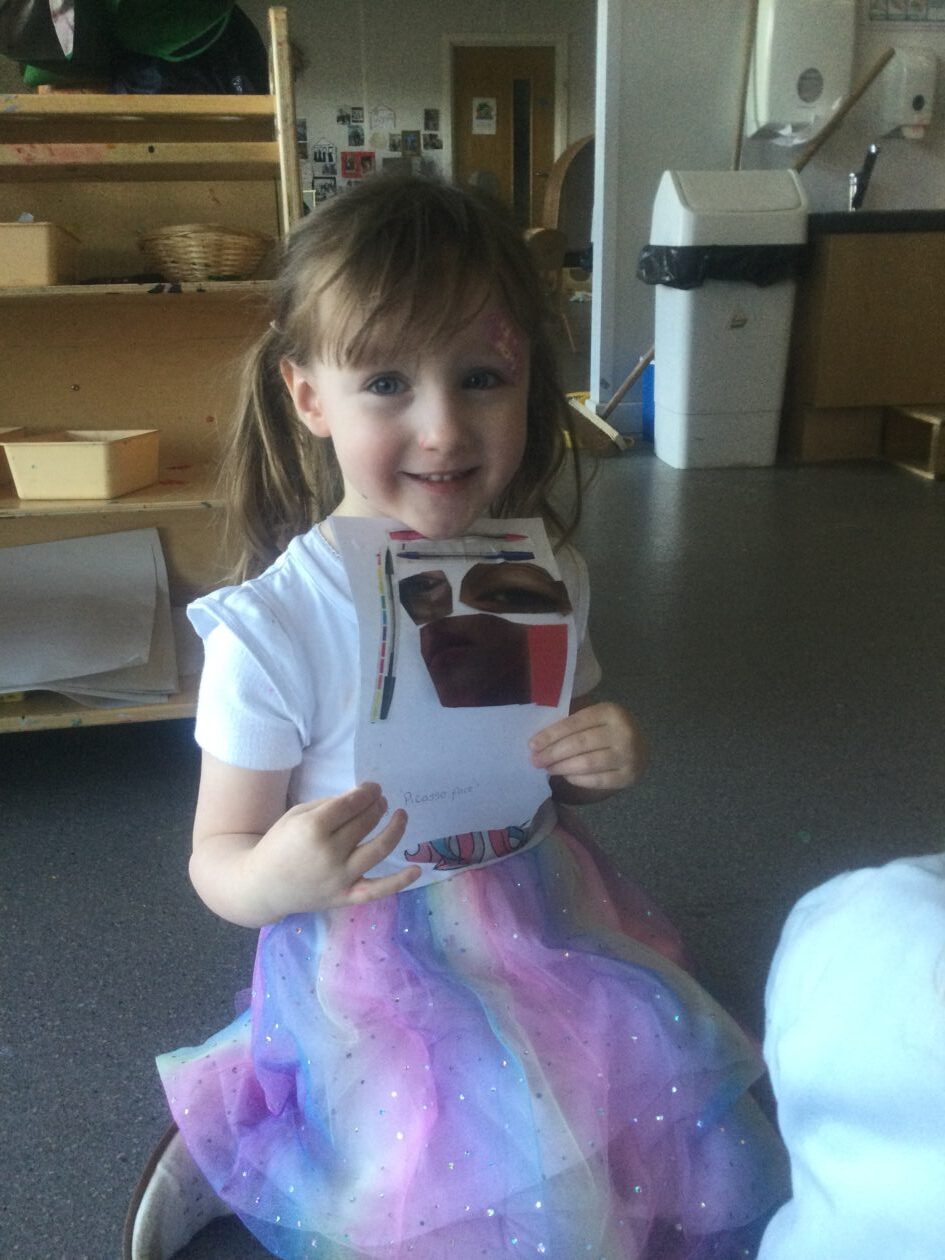
Next we tried to see if we could make a “Picasso face” using faces we cut up from magazines. To se if we could create an abstract face.

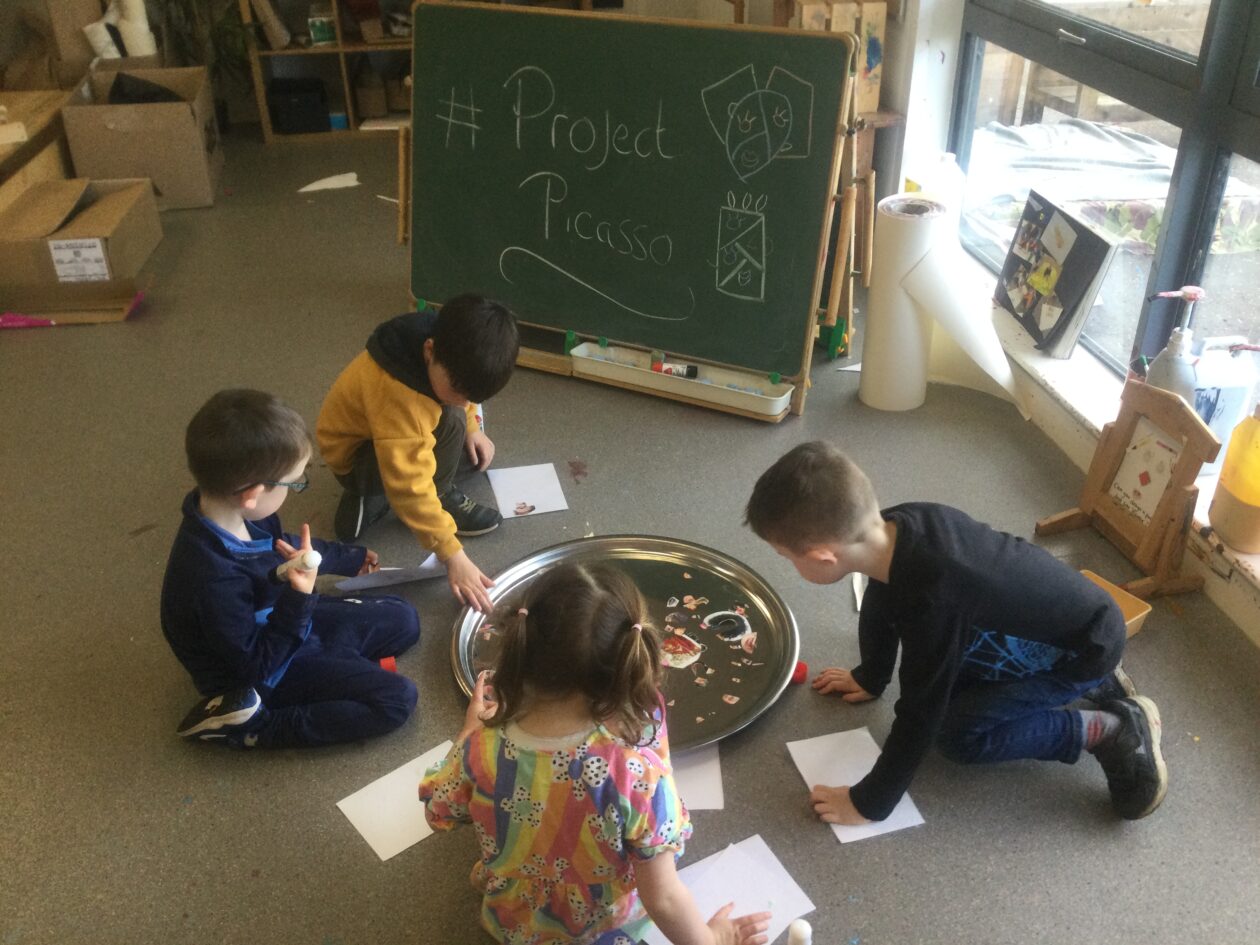
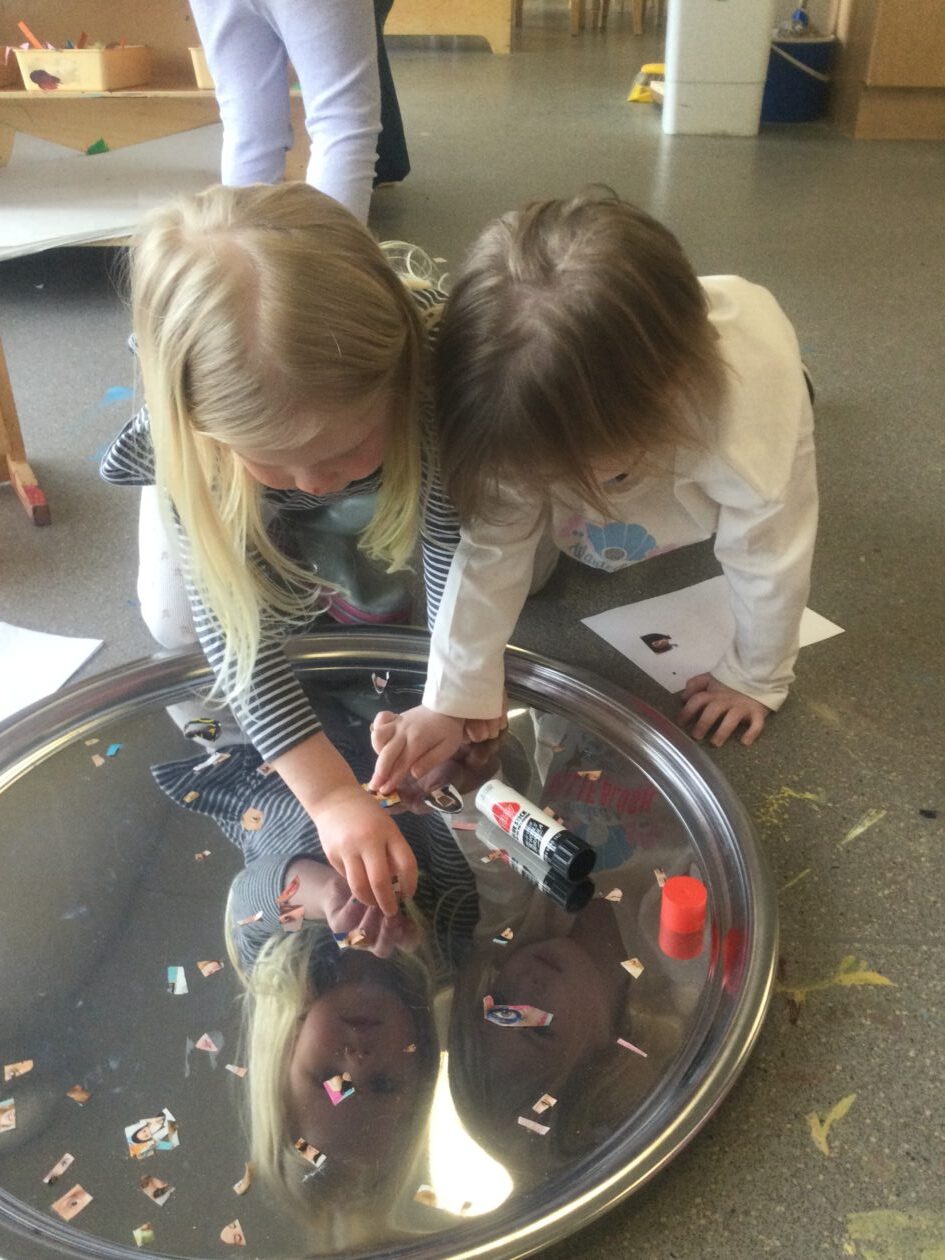
It was fun selecting different parts of the face to piece together and seeing how it looked at the end. Very Picasso inspired.

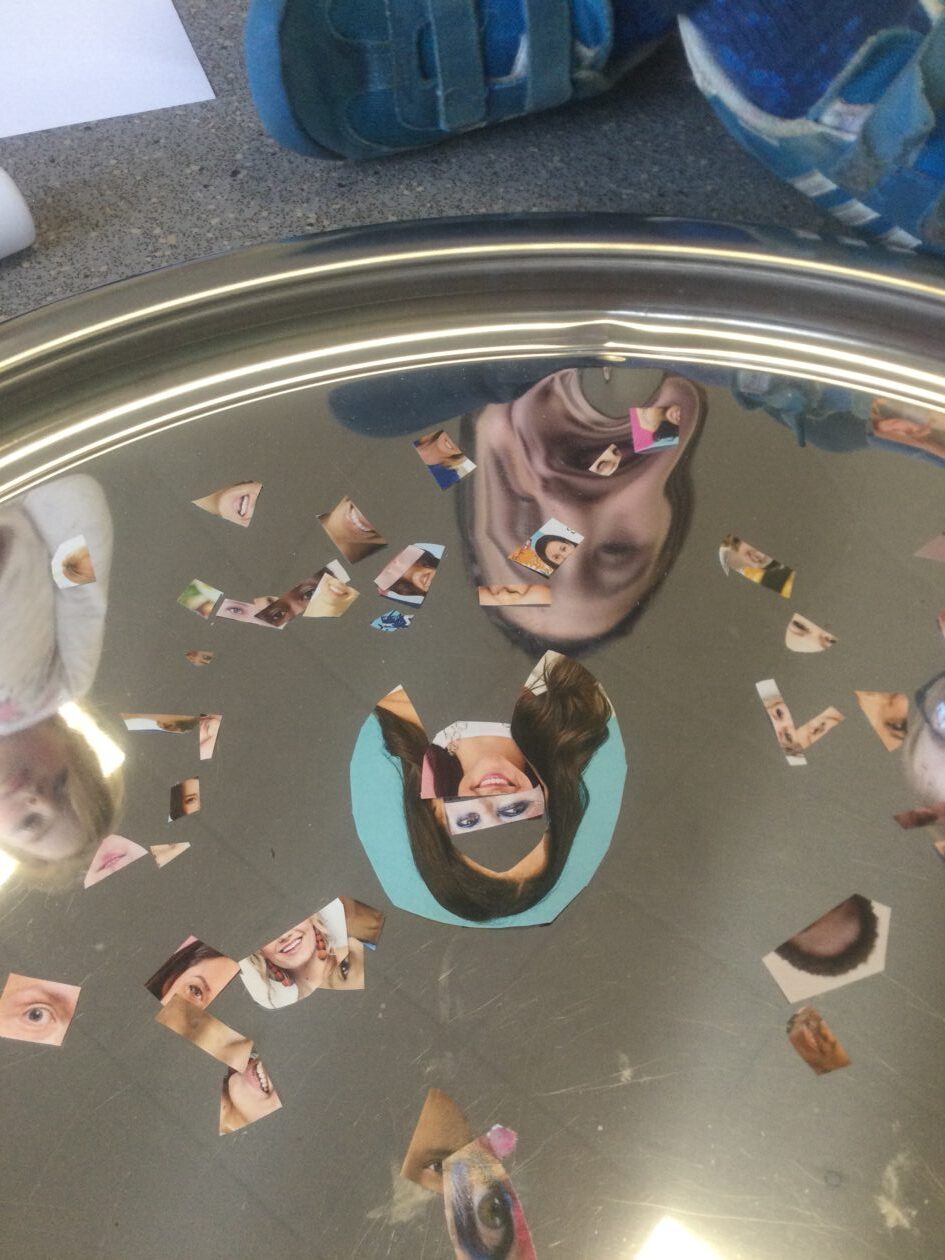
To challenge the thinking of some of our older children we added pictures of other types of objects to see if they could make a Picasso face with things that aren’t facial features.  Some of our children thought using pictures of pens as hair was a great idea!

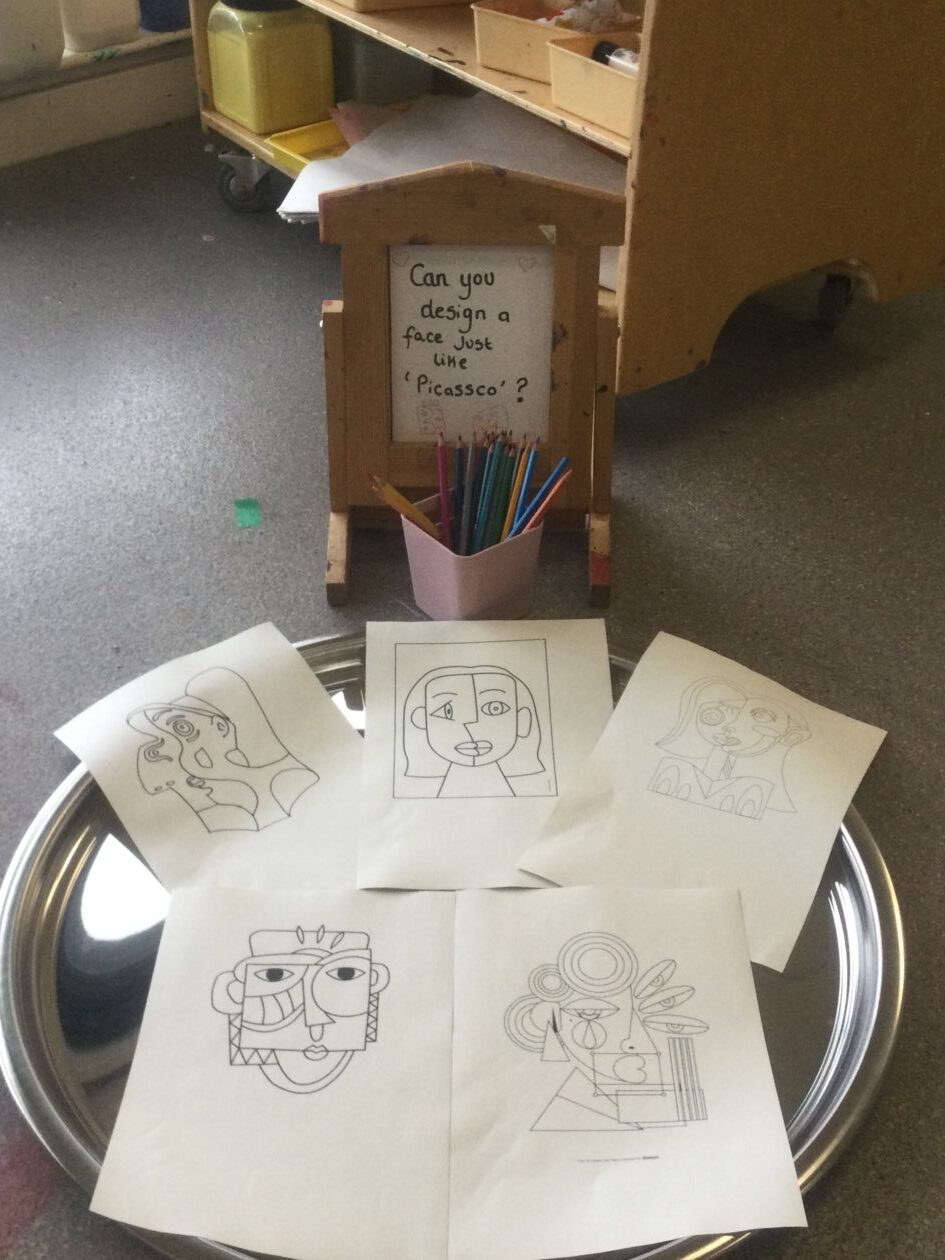
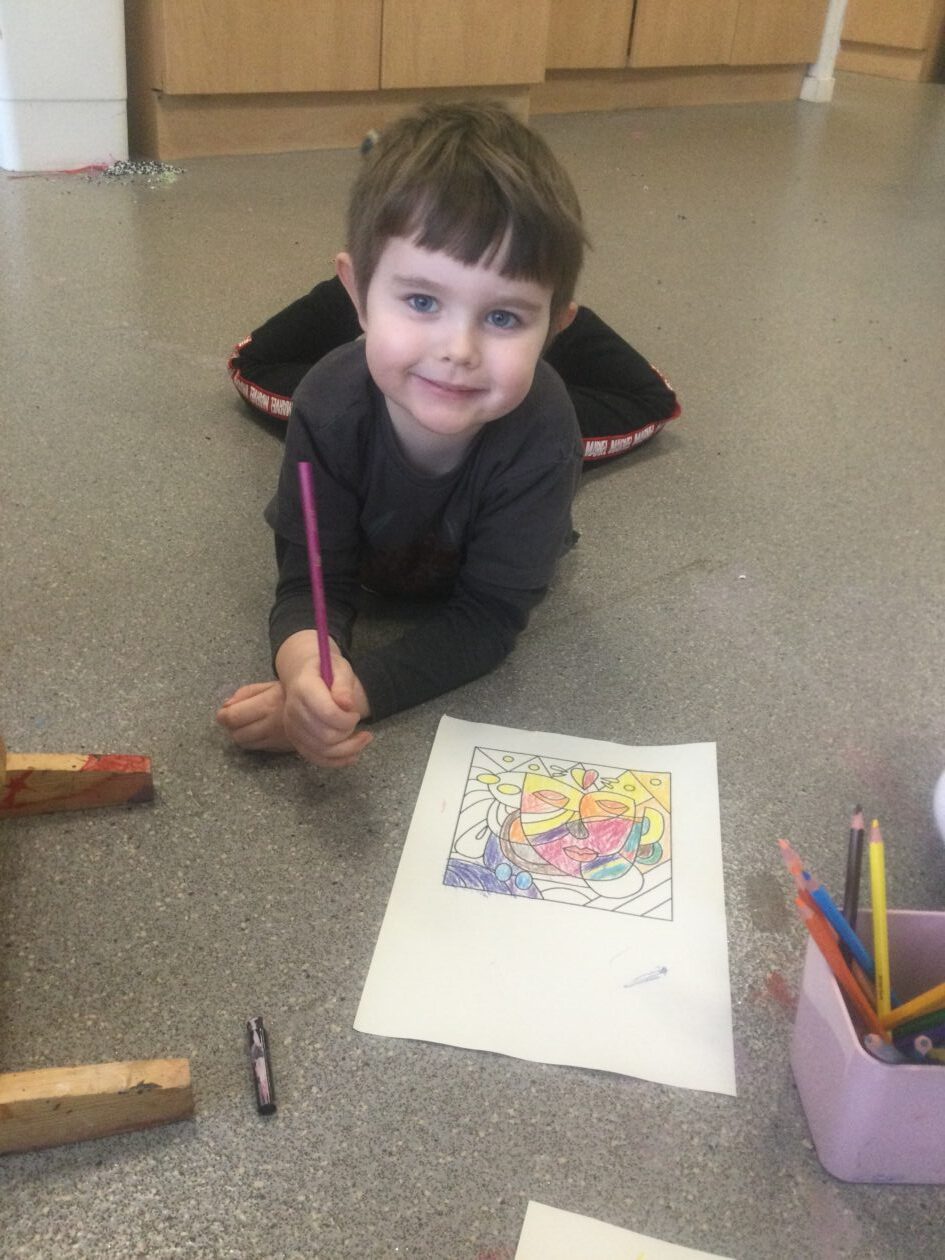
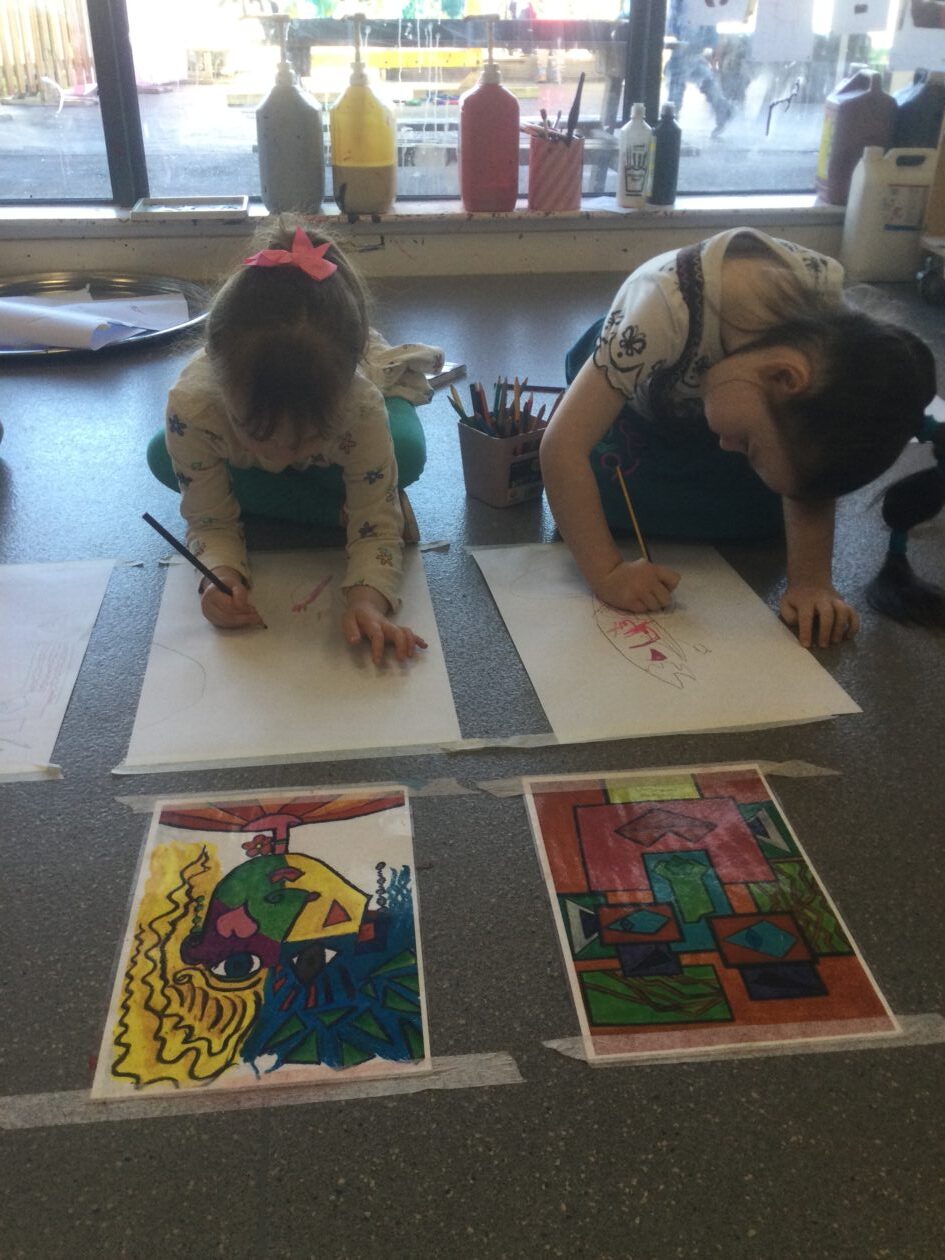
The next step on our Project Picasso learning journey was to see if we could draw our very own “Picasso face” using coloured pencils.

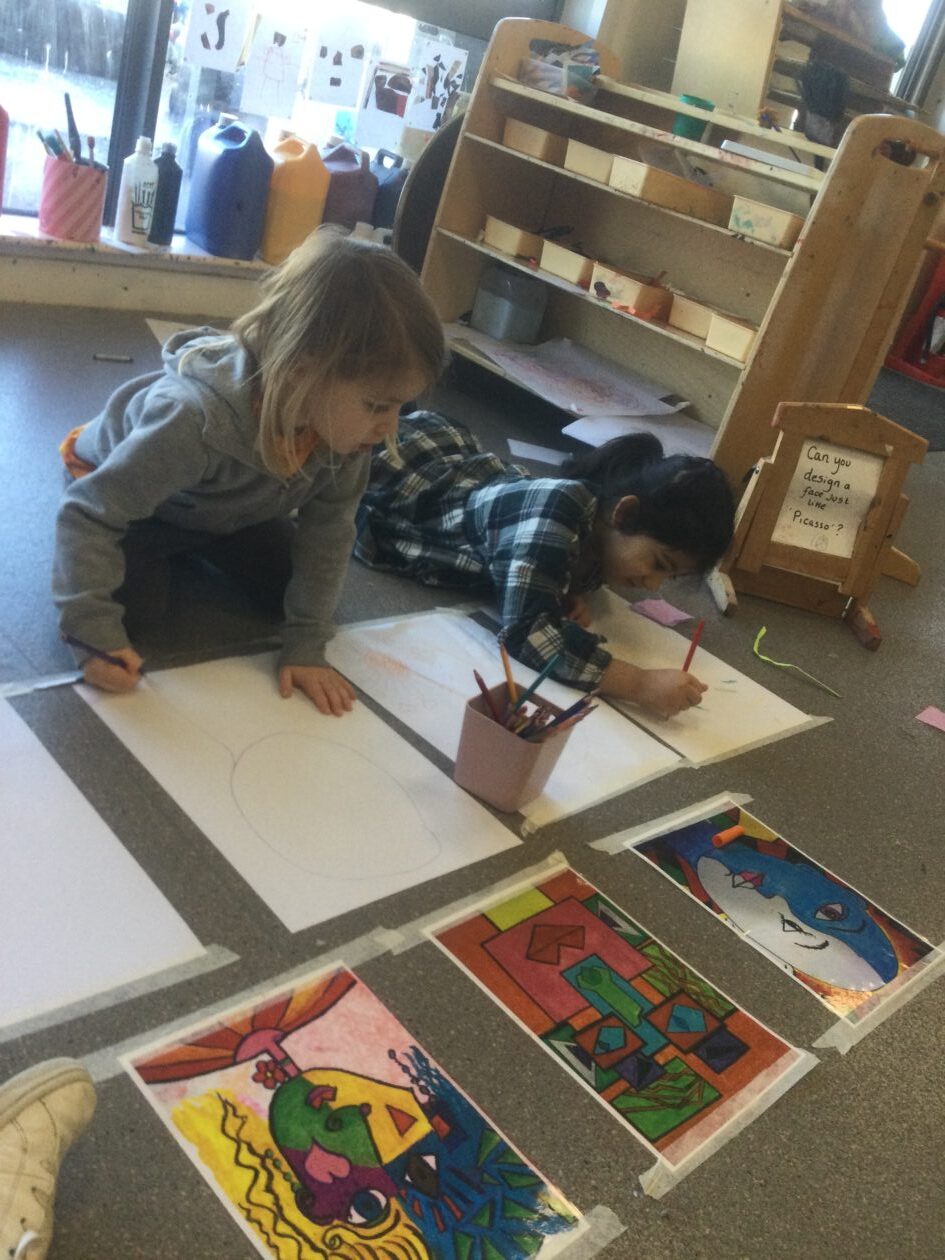
We used some Picasso prints as inspiration and let our creative minds design our own interpretation of Picassos work.

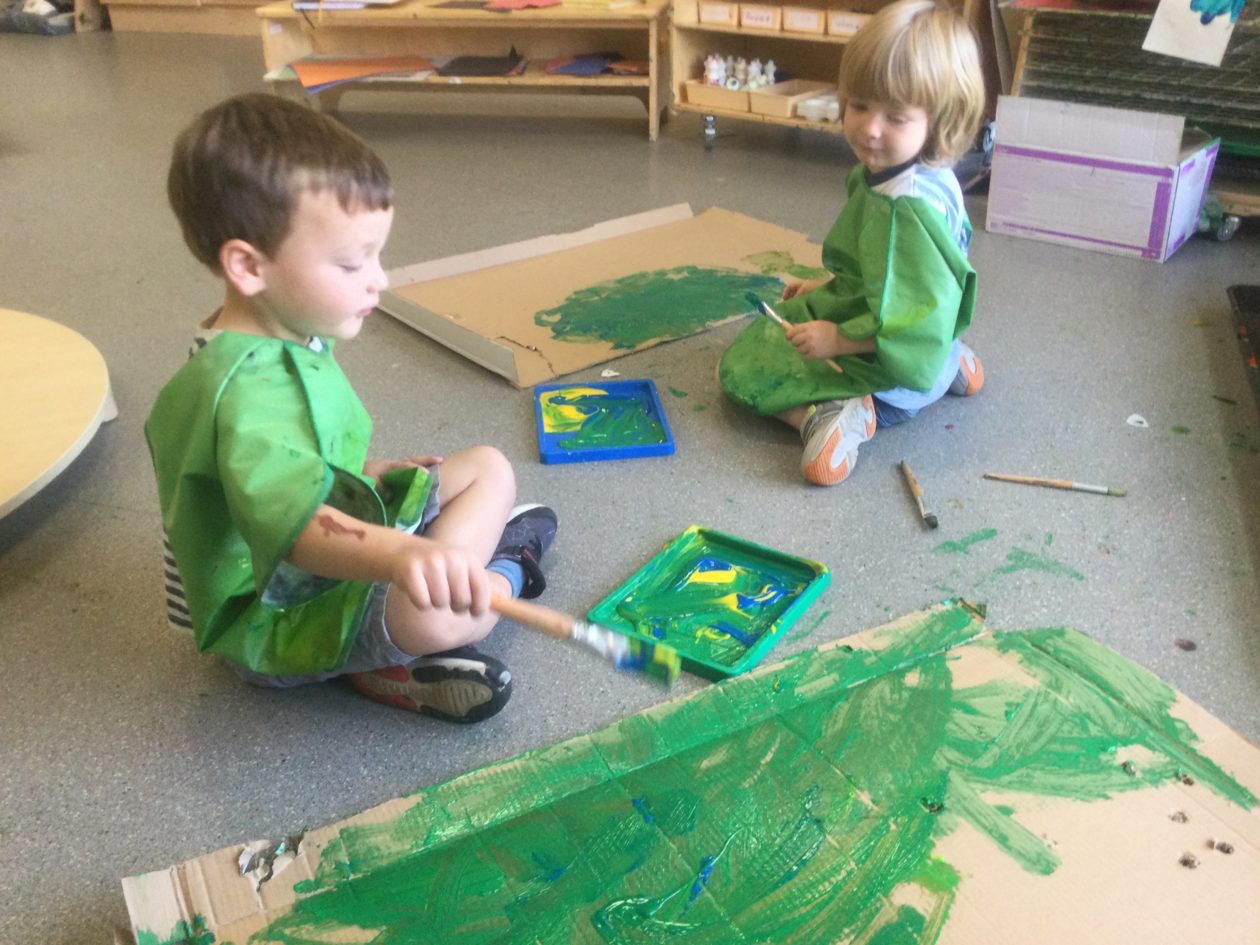
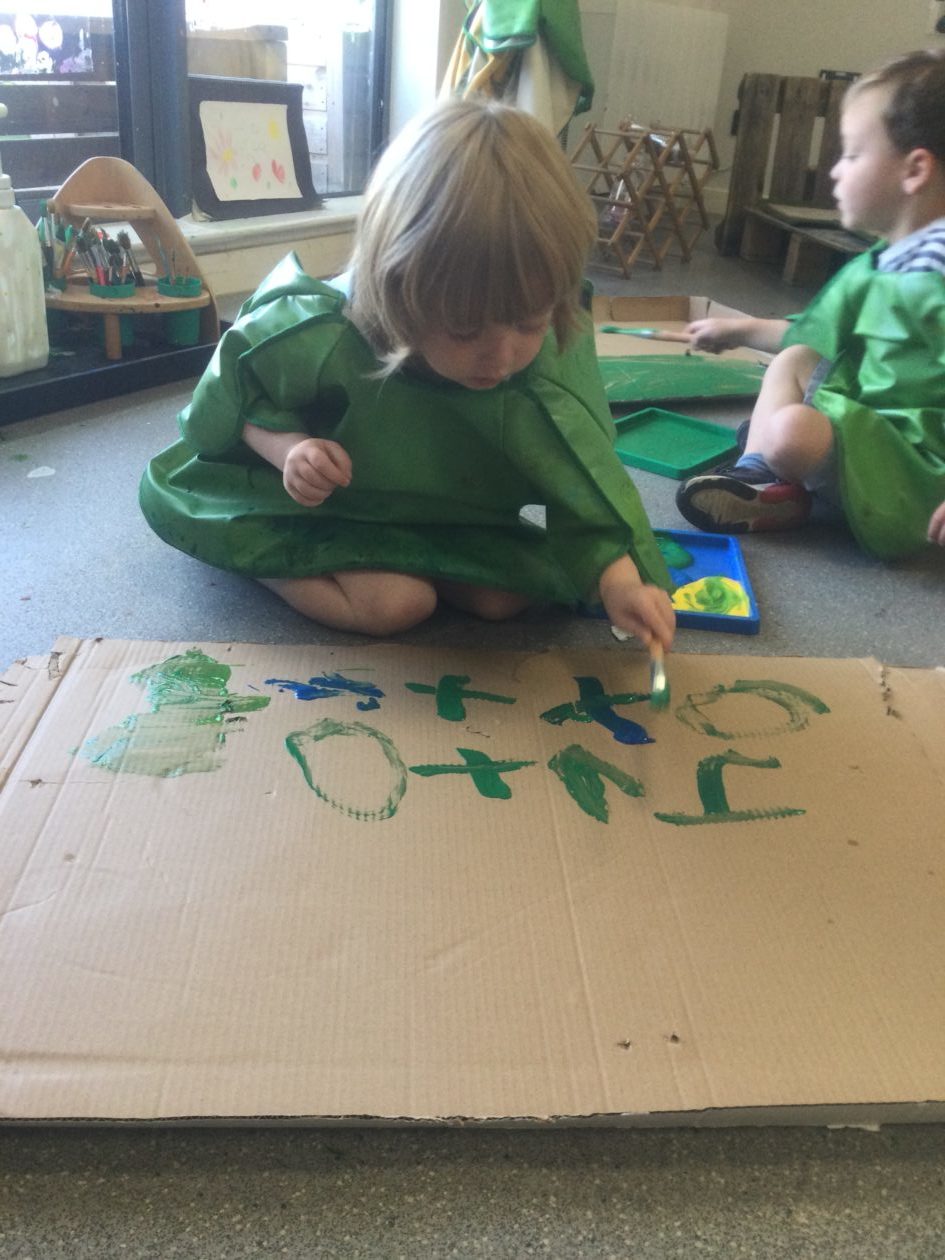
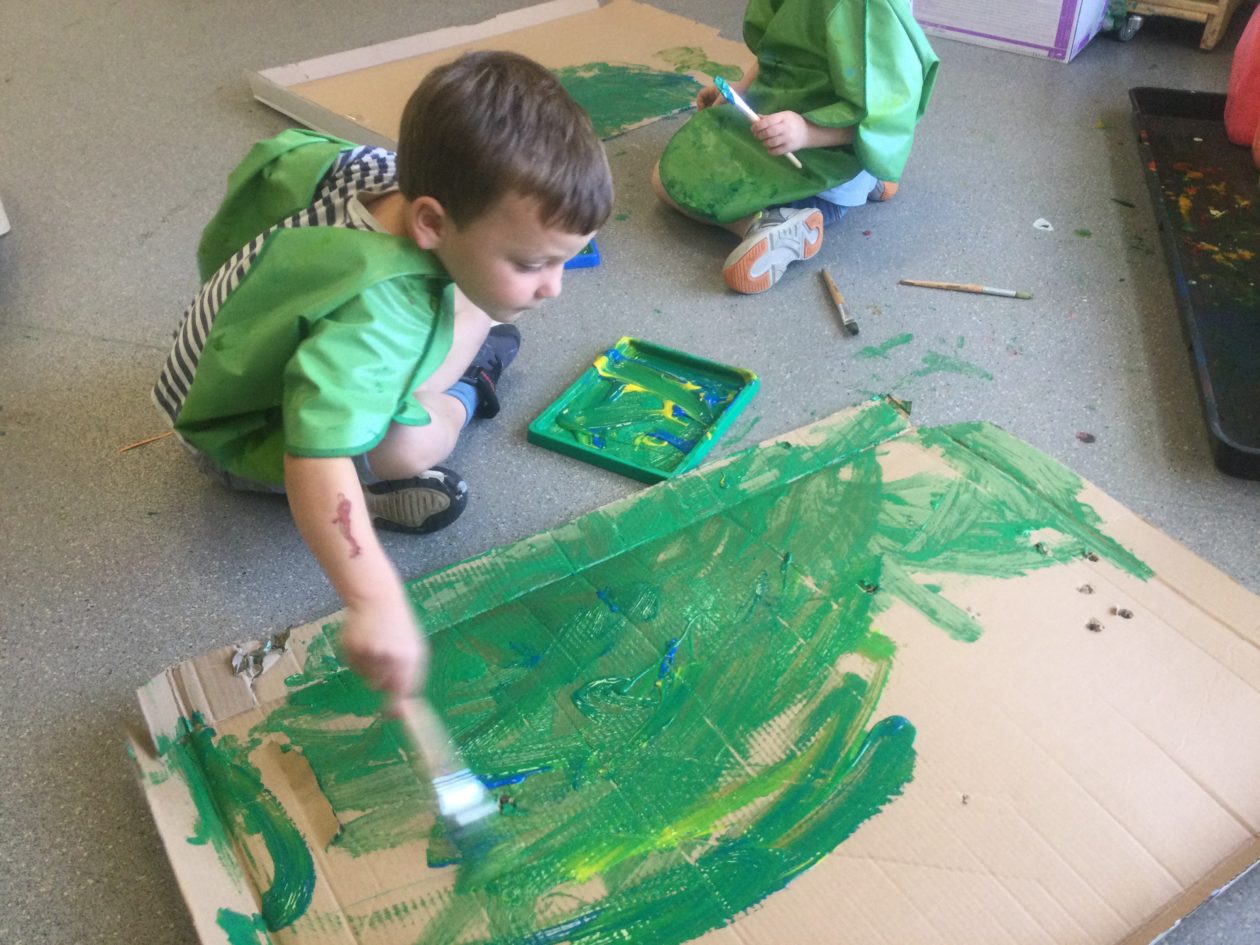
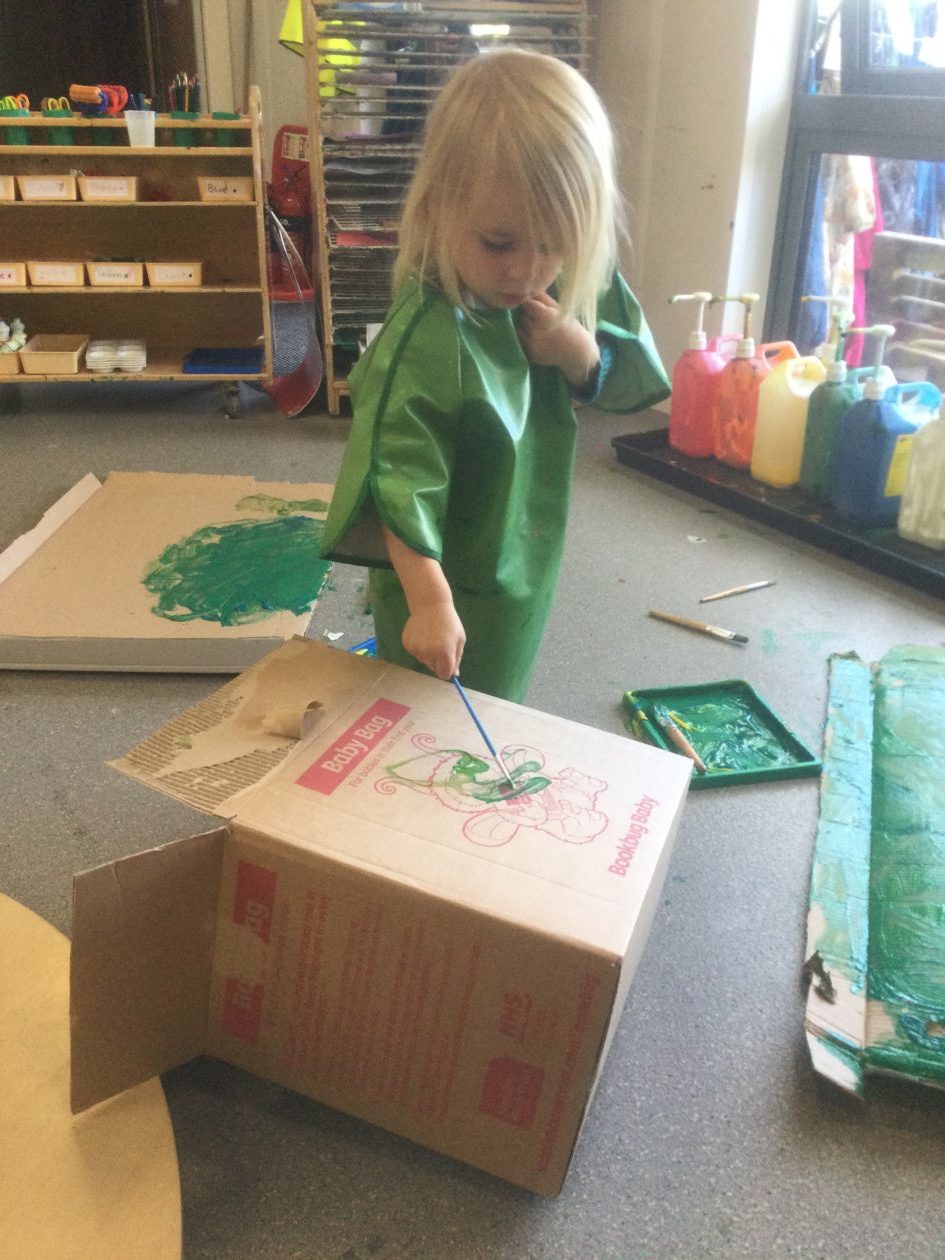
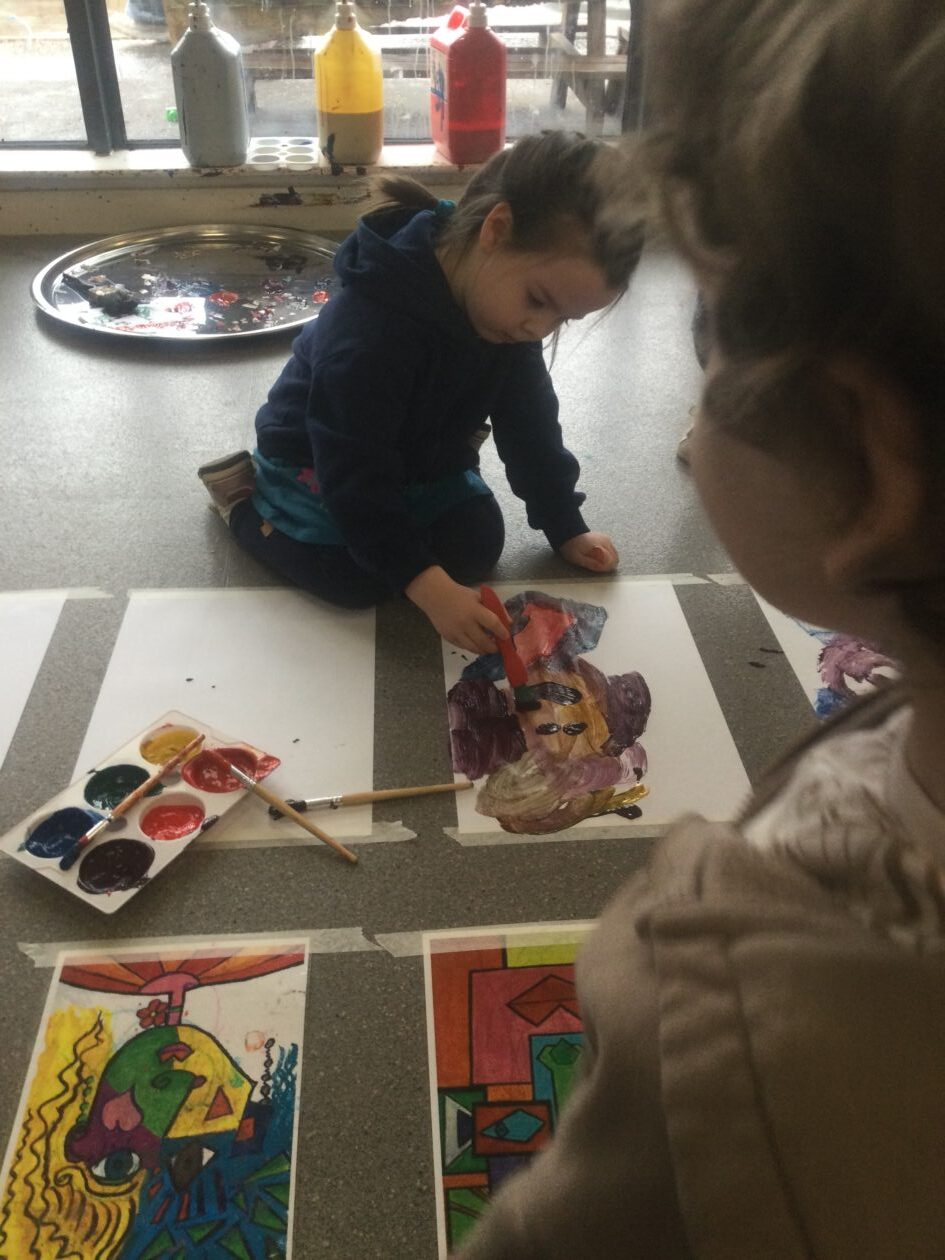
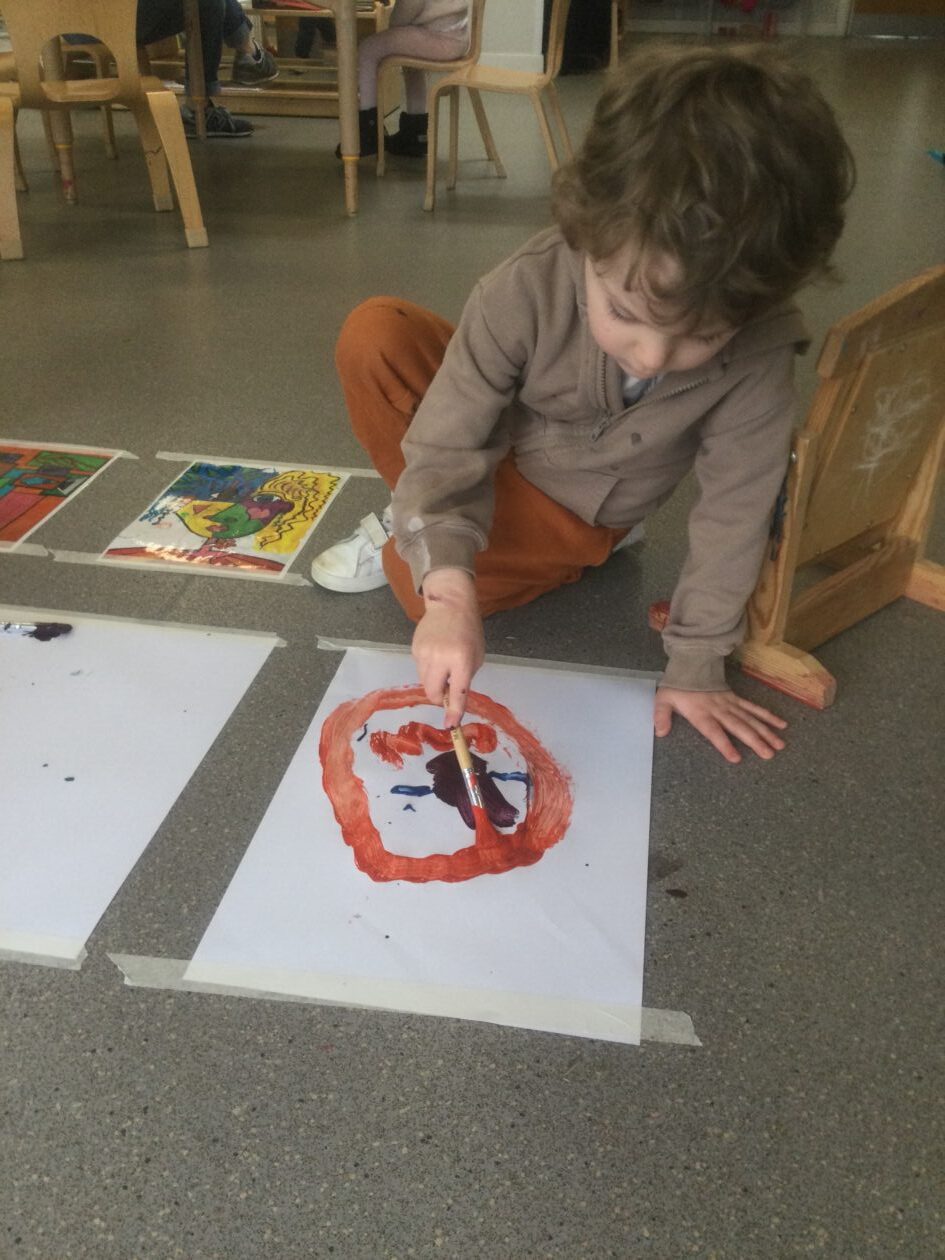
The last stop of our Project Picasso was painting (the best part) we used our colour mixing skills to create our very own abstract face in the style of Picasso using our creative design skills.

We have been such successful learners in our art area, leaning about the art styles of famous artists. We might have the future “Picasso” here at Cart Mill.

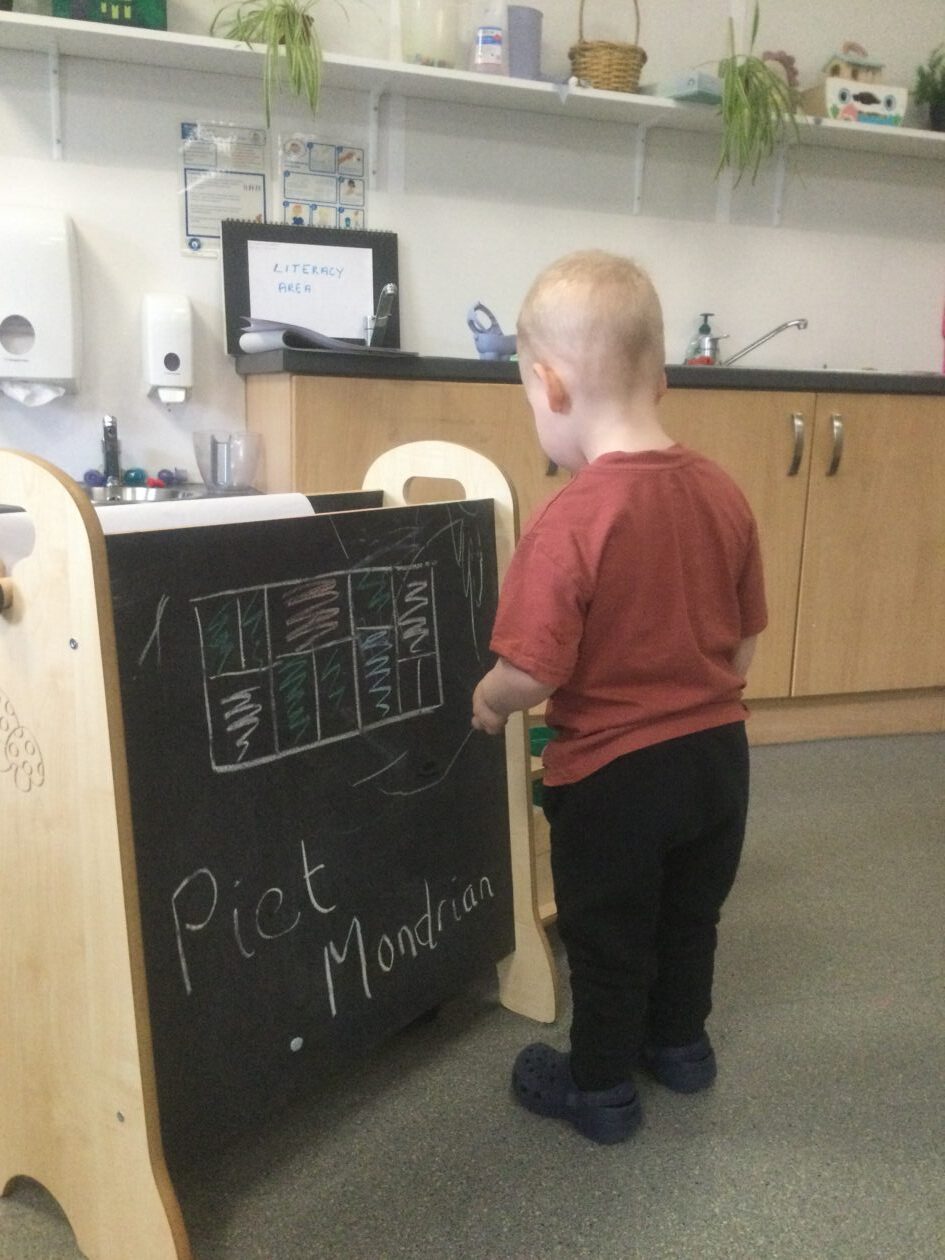
As Picasso used lots of vibrant colours we found another artist who used vibrant colours and grids to create his art…. “Piet Mondrian”. This is the next artist we will be leaving about in our art areas both inside and sharing our learning out into the large outdoor art area. I am very excited to see how it turns out.

Slime recipe

I’m sure you are all aware that the children have been making slime. We have been learning the recipe and would love to share it with you so maybe you could try it at home.


In the mornings the children have been disagreeing about what to make at our malleable area. Some want to make play dough and others want to make slime. So we came up with a  way to vote to make it fair for everyone.  Everyone who wants to will vote by putting a tally mark in the box using the pictures to help. The box with the majority wins for the day.

“4 people want to make slime already”

“Only 1 choose playdough”

“Slime won”


They start by independently collecting all the equipment and ingredients  needed.

~ First step is to fill the jug with water

~ Add one cup of Pva glue to the bowl

~ Add equal parts water to the bowl

~Add 1 level tsp of Bicarbonate of soda

~Food colouring of your choice (optional)

~Add small amounts of contact lense solution (Asda one seems to work best) at a time.

~Mix until all ingredients combine and start to pull away from the bowl

~Knead until it not sticky. (This part is messy, the best way to get it off your hands is to roll the palm of your hand on a flat surface, it will gather and become stretchy like rubber rather than sticky.
The children learn so much from such a simple experience. Their fine motor skills are developing as they use their hand muscles to squeeze, roll and stretch the slime in different ways.

They are expanding their vocabulary as they describe the slime, what colour it is, what it feels like etc.

They are following instructions/recipes, measuring ingredients, colours, shapes…

…The list goes on.

“This is the best day ever”

X marks the Spots

This week in the creative area we have been exploring patterns. We have been using different utensils to create these patterns. Today we used different circular resources from our junk modelling area. We used tubes, corks and lids dipped in paint to make our spotty prints.

We noticed the paper was in the shape of an X. “X marks the spots.”

Meanwhile In our Junk modelling area we were gifted a large box.

We didn’t know what we could do with it. Could we fit inside?

Yes we could it was so big! If X marks the spot maybe we could make a pirate ship! We soon got to work. We used our technology skills to look for ideas for our ship on the iPad.
We decided we needed a pirate flag. We worked together to problem solve how to attach it to our ship.

Once we had secured it with tape and ribbon, we got to work making the windows and shape of the boat.

We used our safety skills to cut the box with scissors.

We needed to paint it next. It was such a huge box it took lots of us to paint it.

One of our children spotted that we can’t have a pirate ship without a steering wheel!

We used paper straws to make “the jaggy bits the pirate captain holds to drive the boat.” We tried lots of different ways to attach the wheel so we could still turn it. Luckily we tried pipe cleaners and it worked!

It was time to set sail on the seas to hunt for pirate treasure! At the writing table, we had the fantastic idea of creating a telescope for our adventures!

At group time today we found a book in the story area about pirates and decided tomorrow we will make a treasure map to give us directions to the treasure.

Our learning experience and ideas went on a journey and crossed all over the nursery today using different areas to add to our initial idea.

We can’t wait to see how our treasure maps turnout and if x really did mark the spot!

Building a Zoo

In the clay area we have been exploring different animals shapes and sizes while creating our own animals.

Will reading Dear Zoo we talking about the different features of the animals. We noticed some had long necks, big ears, 4 legs or even no legs.

We introduce some animal shape models for the children to explore. The children had fun experimenting with different sized leaf’s and sticks and were able to create there own unique animal.

Once they were able to select their own leafs and sticks to create their chosen animal. The next step was to model the clay and transfer the sticks and leafs to create their very own animal to take home.

Here are some of the children’s creations along with their comments while making them.


“I’m making a giraffe this is its long neck”


“Its a horse”

“These little flower are for the eyes”

“He need a tail I’m going to cut it smaller”


“I’m making a rabbit”

”It’s got big ears”


Colour Mixing Playdough.

We have been learning how to make playdough all by ourselves. The playdough area is a self-serve area designed to promote the independent skills of all our children.

We have been selecting our ingredients and we are learning about the different quantities of these ingredients that we will we need for our recipe. (Following on from the new government guidelines we have been using heat treated gluten free flour in our recipe).

All our children aged 2-5 have the opportunity to make their own playdough and enjoy doing so independently.

This week in our Playdough area we have been exploring and experimenting with colour mixing.
First we made our playdough, by each collecting the bowl, spoon and ingredients we needed. We each choose a primary colour to make our playdough to start with. We had red, yellow and blue.

We were able to see if our playdough was ready, by testing if it was too dry and needed more water or too wet and needed more flour.


“more water”


“Too sticky,  need more flour”

”it’s ready”

Once our playdough was perfect we set up our playdough station and invited our friends to come and join us.

We each took a pinch of two or more colours and mixed them together to see what colours we could make.

We used our gross motor skills as we rolled the playdough together to mix up the colours.

We were amazed at the colours we were able to make.

“I’ve made so many”

“I’ve made pink and purple and orange”

We discovered that we got green by mixing red and yellow. Purple by mixing the red and blue. And a pinky orange if we mixed red and yellow. We even ended up with a rainbow playdough mix.

Once we made all our new colours we got to work creating playdough masterpieces using the loose parts.

“I made a unicorn”

“A birthday cake, blow out your candles”

We also used a variety of different tools to help us mould our playdough such as scissors

rolling pins

and even used the loose parts to make patterns

We have been so busy at our playdough station. I wonder what we will make tomorrow.
Here is some of our playdough creations so far….

Article 29 – I have the right to an education which develops my personality.


Being Festive with Loose Parts

In the discovery room the children have been provided with resources to explore some Christmas themed loose parts play.

Using loose parts such as blocks, fabric, or natural materials encourages open-ended exploration and creativity. This unstructured play fosters problem-solving skills, spatial awareness, and enhances fine motor skills. It promotes imaginative thinking, as children can manipulate these parts in countless ways.

Some children showcased their creativity by crafting unique Christmas tree designs using triangles and an assortment of loose parts.

Using large blocks, some children explored concepts of size, sparking discussions as they navigated the process of filling the Christmas tree design on the floor. This hands-on activity prompted them to problem-solve, choosing which bricks to use and determining what would fit seamlessly into their creation.


Refreshing the rules

Today in the discovery room the children were keen to open up the tinker table and use the tools, but before we could do that we had to do something very important.

The children gathered round and noticed the safety goggles under the bench. They tried them on and even collected hard hats from the block area . We discussed the rules of the tinker table and the purpose of our PPE for our new children and remind our returning children.

“ We need to wear safety goggles to stop things going in our eyes”

“ The helmet stops our head getting hurt”


Next we explored the tools. I asked if the children knew what their names were and if they knew what their job was.

“I have a hammer, i can use the hammer to make something with the wood”

We had a look at the different shapes and sizes of all the tools.

“That one is pointy and that one is small”

“what’s this called?” “ I know that one is pliers”

The children had a great discussion on all the tools and told each other the names and what they do. We had a look at the plan book that other children had made, they drew what they planned to make and then selected the correct materials to make it.

This inspired the children to think of their own ideas of things they would like  to make.

Our memories are now refreshed of the rules and are ready to start being creative. When we are finished at the tinker table we put our closed sign ( that the children made) up so that they know that the area is closed.

More than just a box………

What is a box? Is it just something to keep things in? Not according to our very clever creative children in the junk modelling area.


We have been so pleased with all your donations for our junk modelling area. We love turning an ordinary box into something completely different, creative and unique.

Today our children picked a box and I asked “what would you like to make?

We worked as a team to cut the box in half so we could share with our friend.

We discussed with our friends what we were designing.

One of our children was using his writing skills to paint their name on their box.

Another child was practicing his speed painting wondering how quickly he could paint the box.

One of our children seen a familiar face on one of the boxes. “Look it’s Bookbug can I paint it?”

Some of our children wanted to add things to their box. Using different boxes to create more detailed models.

Some children used the boxes to cut up and use parts of them to add to their masterpieces.

And of course we had to have a high speed chase in the police cars we made. It was the most fun in our studio room.

So as you can see, a box is not just a box.

What can we create with clay?

Today in the clay area, the children enjoyed taking part in various model making, exploring different techniques to mould and design and also being kind and sharing with one another.

At cart mill we value the opportunities we have to make friends and be part of group experiences sharing our ideas and thoughts with one another.


We have been sharing and co operating with our peers and recognising how we can communicate with others in different situations.

The children then demonstrated how to use different techniques for moulding and creating in the clay area.


The children were able to create and develop using a variety of techniques in making things by hammering, rolling and cutting using different tools and materials.

The children then created their own models by using their curiosity and imagination to select different loose parts such as pebbles and sea shells.

”I made snails”

”My shells look like unicorns horns”

Will the glove fit🧤🪡🧵

In the studio this week one of our children drew around her hands onto paper, then she cut them out and decorated them. This sparked an idea “I want to make some gloves”

Using her problem solving skills she decided the paper would just rip if we tried to put it on her hands but she could use her paper hands to draw around and use some material. All of a sudden, she had a template!

“I want to sew my gloves for school, will I have a enough time before I go?

Once she selected and measured her material she had to make sure it was big enough for the size of her hand.
Mastering fine motor skills and the hand grip required to hold  and thread the needle, she got to work sewing. Well done!

We found a pair of gloves to help us problem solve how we were going to create our gloves. We discovered that the hands that we drew around didn’t match. They have to be symmetrical to be able to make the glove. We began sewing the glove onto the other material to cut around it after.

With a a little of help holding the fabric our super glove designer was able to sew all the way around the fingers. After a lot of hard work and concentration we tried the glove on to see if the glove fits.
The glove fits 🤩 Amazing Work!

“I need to make another glove because 2 gloves make a pair”

Sewing helps children understand the creative process, develop fine motor skills, improve their concentration, and learn how to work with their hands. This can help them become more independent and self-motivated.

Article 29 – You have the right to education which tries to develop your personality and abilities as much as possible and encourages you to respect other peoples rights and values and to respect the environment.