Profile Basics
Profiles are a view of a set of posts from your e-portfolio blog.
Creating a Profile
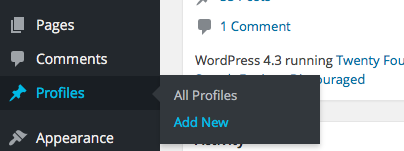
In the Dashboard got to Profiles -> Add New
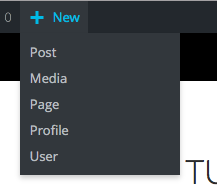
On if you are on the front of your blog choose profile from the New menu on the Admin bar:
Editing a Profile
The Add new profile page will let you do the following:
- Name the Profile
- Add your school name and class.
- Add a badge image (for school badge for example) and a Profile image.
- Order the Profile sections and adjust their content.
- Save a Draft Profile
- Preview a Profile
- Publish a Profile.
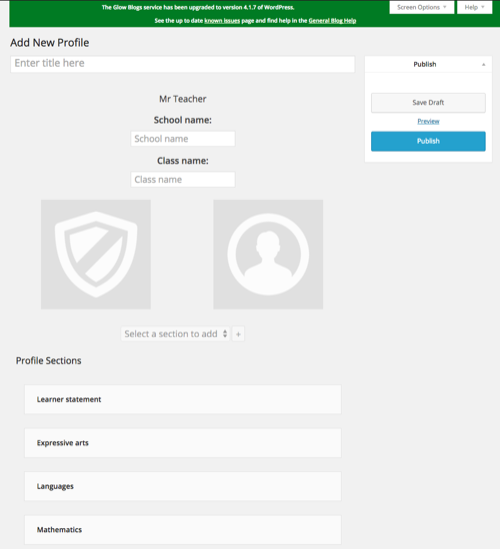
On creating a new Profile the profile sections that have posts with the relevent Profile Tags will be added to the profile.
Profile sections can be rearranged by drag and drop.

When you hover over a profile section the cursor changes to a ‘move‘ cursor and a disclosure arrow appears.
Profile sections can be removed: Expand the section and click remove selection.
The content of profiles sections can be edited.
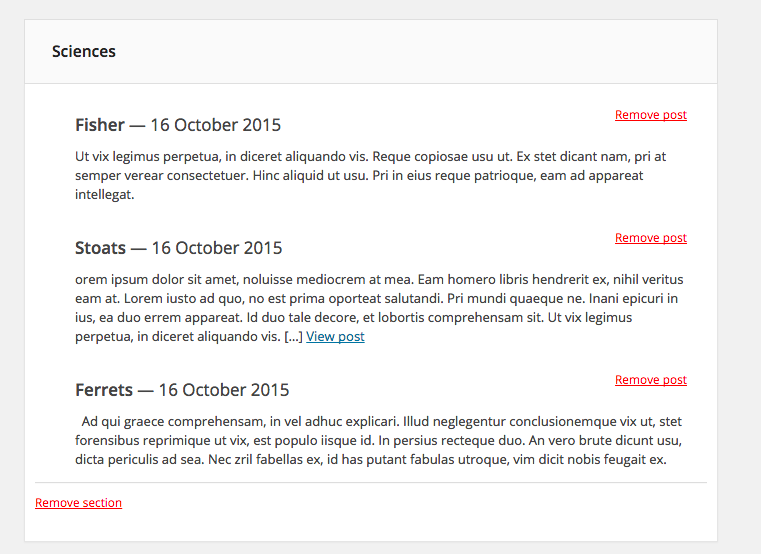
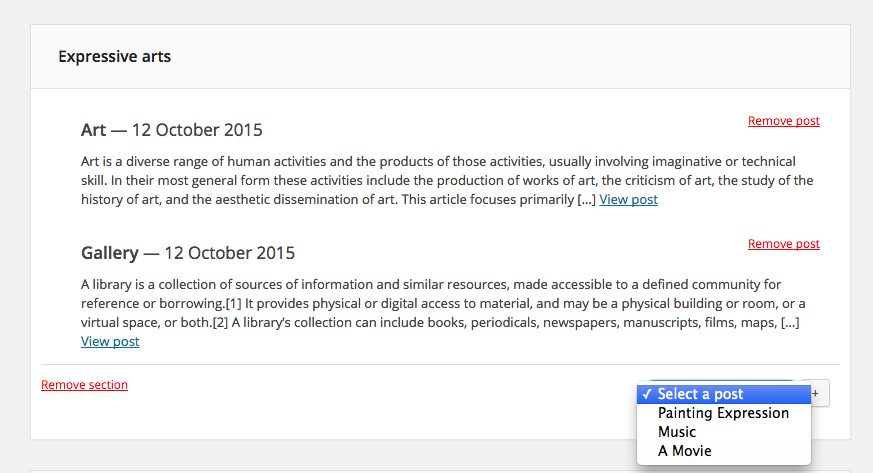
By default the profile section will show the last 3 posts with the appropriate profile tag. These can be removed. Once removed you can add other post with that tag with the pop-up at the bottom of the section..
Profile can be saved as Drafts or Published.
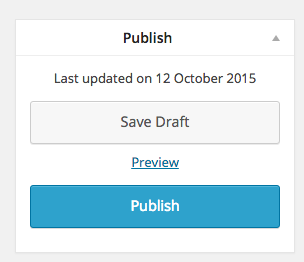
Once published Profiles cannot be edited, although a clone can be made and that clone edited.
If a profile has been saved as a Draft you can preview the profile.
Clicking the Publish button will show a confirmation Dialog :
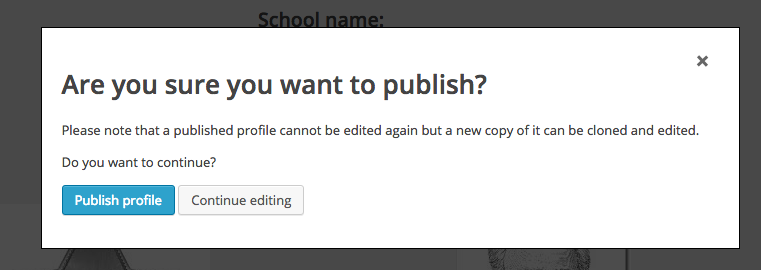
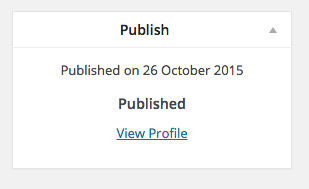
Once the profile is published the profile metabox is updated:
You can Click view profile to view, print or export the profile to PDF.

