Classic Editor
Video: Images on Blogging Bootcamp covers adding images, galleries and featured images.
You might want to know: How much space do I have on my Blog.
Create a post
- In the dashboard click Add New to create a new post.
- Give your post a title.
- Place the I-bar in the body field where you want the image. (This could be between text)
- Click the Add Media button.
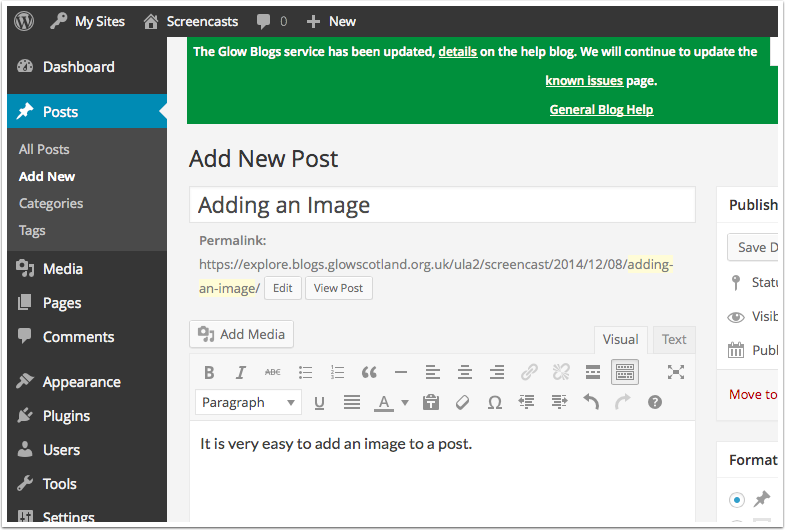
Select the image
A ‘lighbox’ window open up
Click Select Files (or drag on some images)
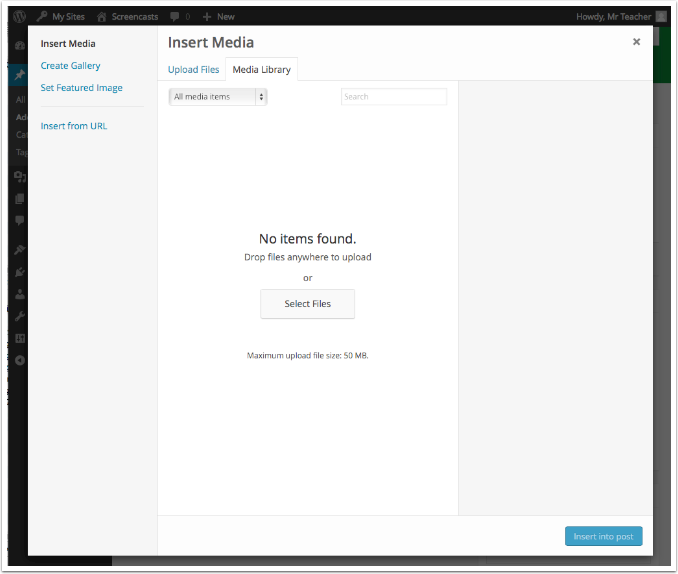
Select file(s) to upload
In the file dialog that opens
- Choose an image
-
Click Choose (or Open depending on browser)
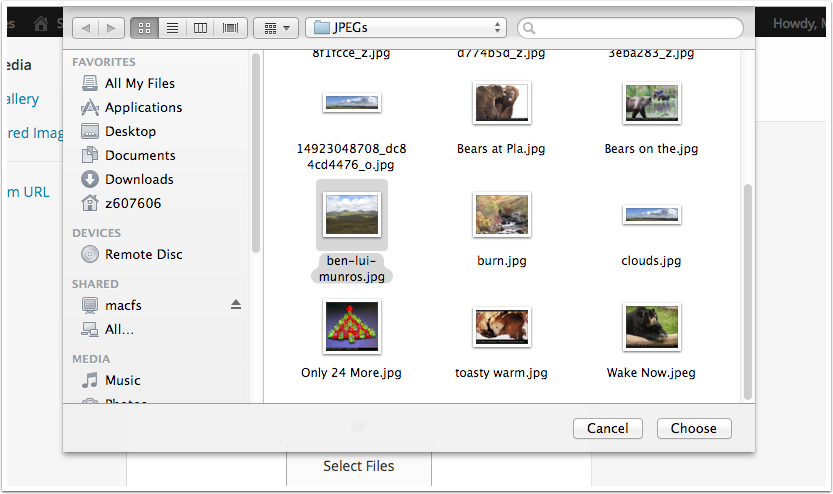
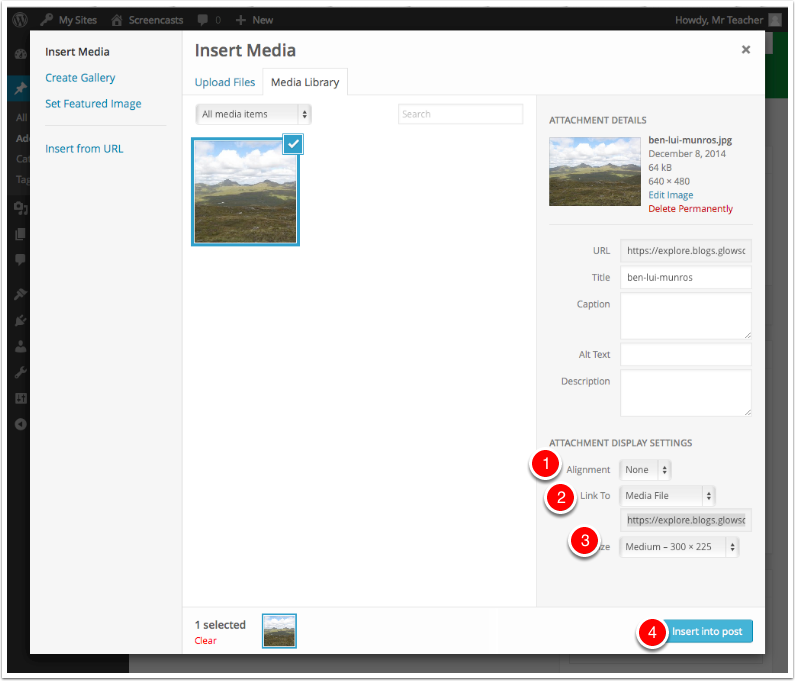
Image settings
The uploaded images will be selected (the tick). You can change the alignment [1], the link for visitors clicking on the image [2] and the size of the image [3], before clicking insert [4].
If you are using the lightbox plugin to show larger versions of the image without leaving the page set Link To to Media File.
Finish the post
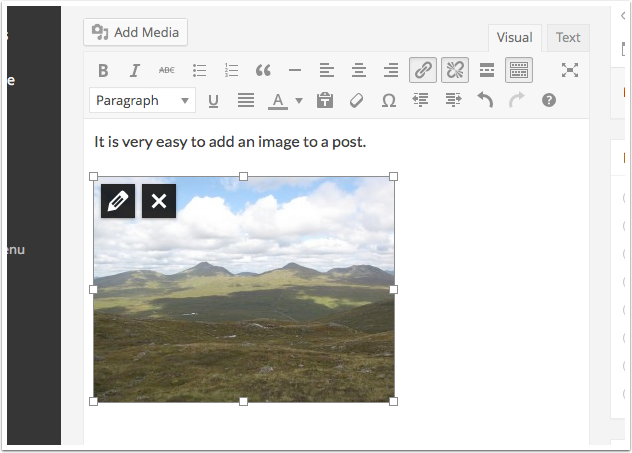
The image is inserted into the post editor. You can click on the image, as in the screenshot to see the x to delete or the pencil to edit the image settings.
You can finish the post and publish it in the usual way.


Why is my image clipped?
When I upload the file the full image is shown. When it appears on the blog page it is clipped.
Hi,
There are a couple of possibilities. If you are posting the image as a Featured Image themes sometime crop the image to fit their layout. If you are posting in the body of a post, it may be you have set Thumbnail in the choices which will crop the photo square. Hard to say if it is either of these things without seeing the image on your site. I’ll drop you an email to get more details.