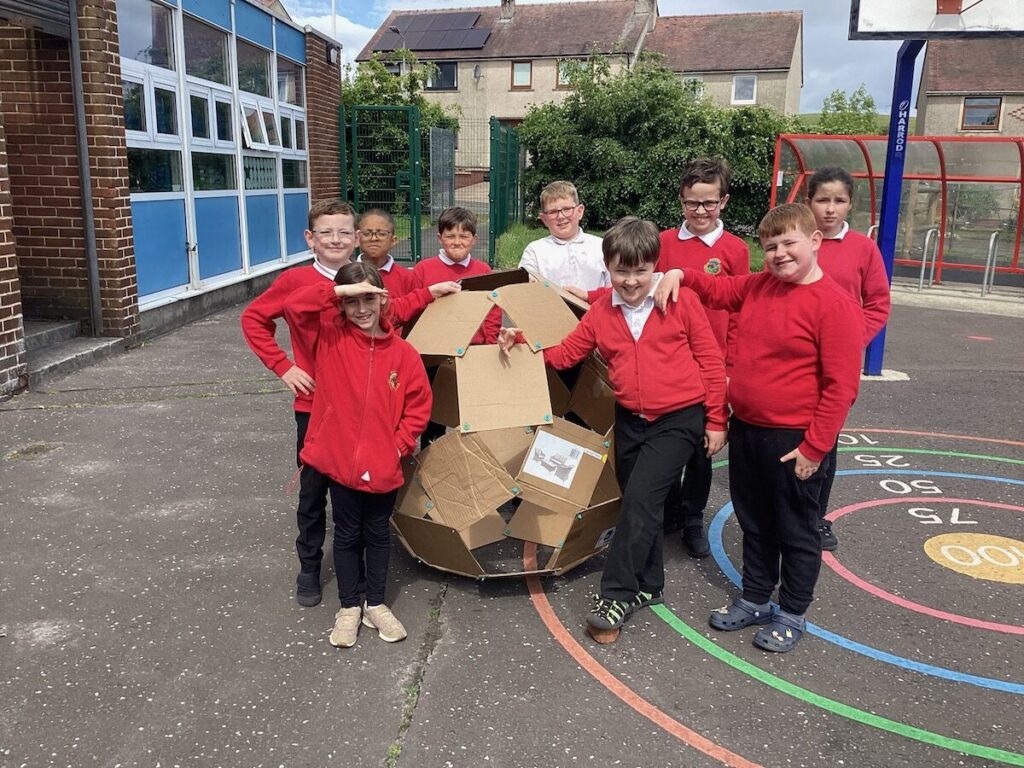
The biggies used their practical skills, communication, working together and a little maths to make a large windball.
It was quite tricky to follow the apttern and get the ball into shape, but as you can see the bigges did a great job.

The Oldest Class in Banton Primary
The biggies used their practical skills, communication, working together and a little maths to make a large windball.
It was quite tricky to follow the apttern and get the ball into shape, but as you can see the bigges did a great job.


For the last few weeks the Biggies have been spending their time in the MakerSpace tackling a Christmas Challenge.
We started off by making plans:
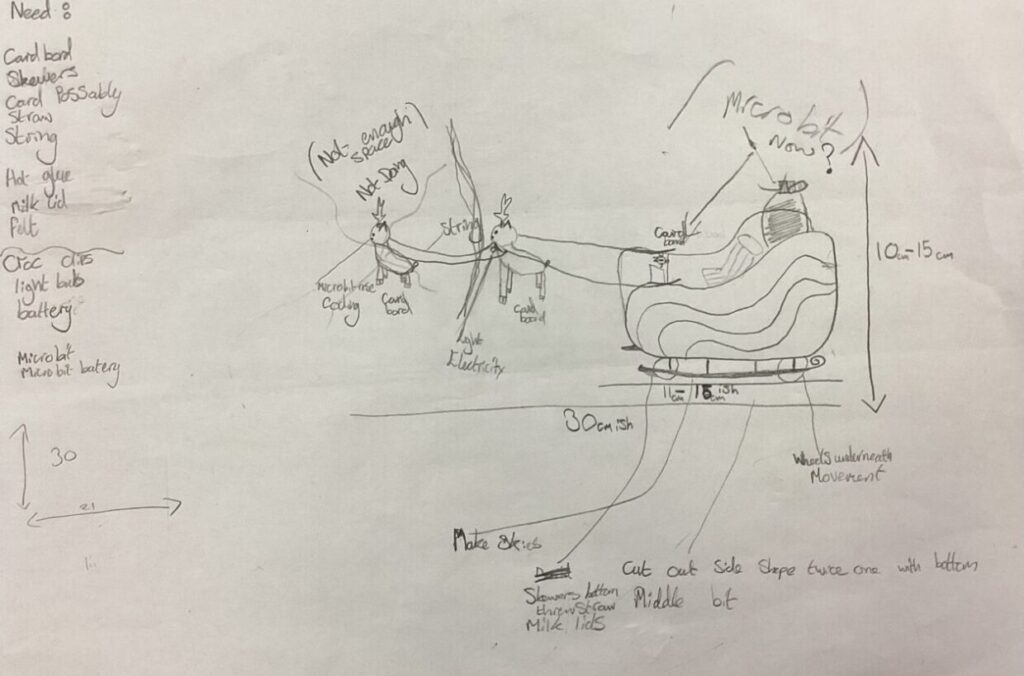
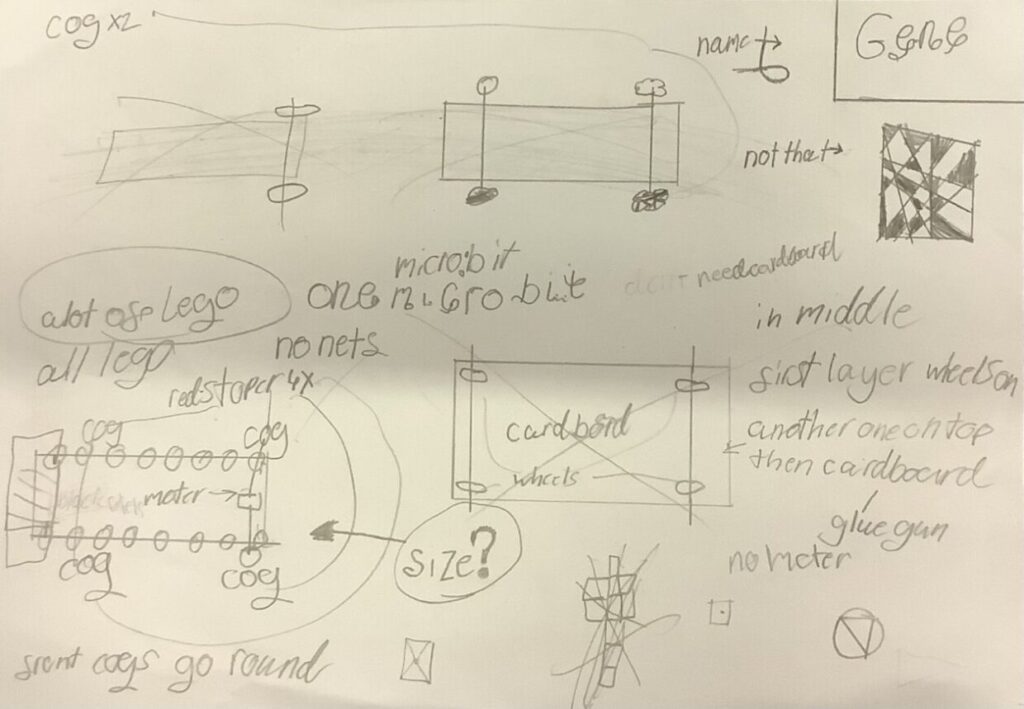
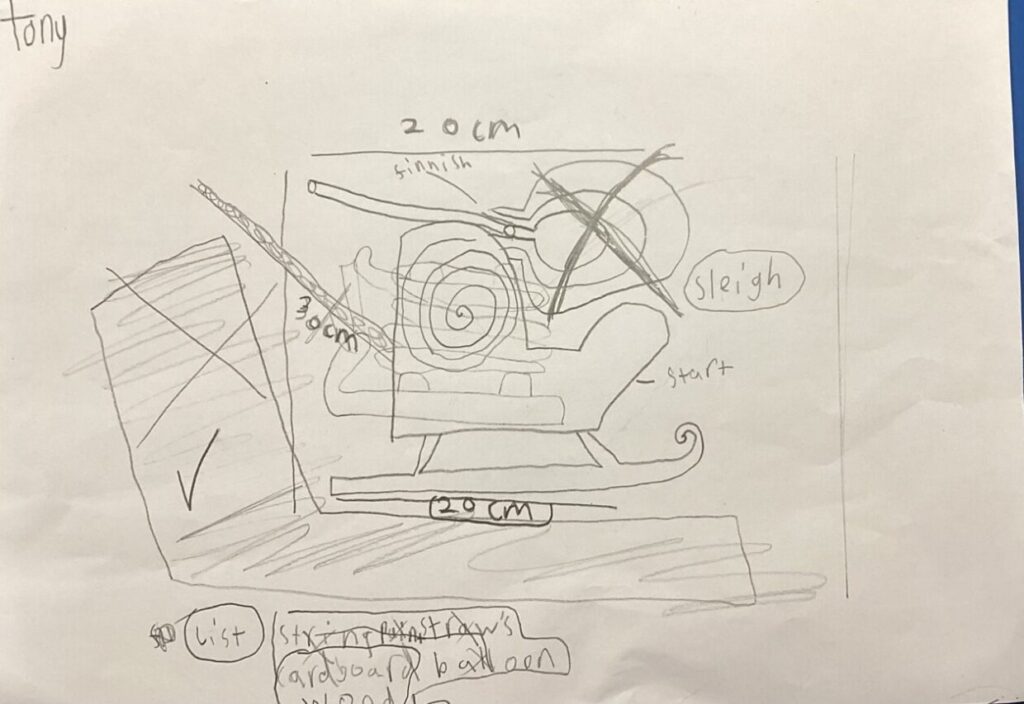
We talked a bit about the skills needed for carrying out or plans and the design cycle.
He results show not only our pupils imagination but a range of skills.
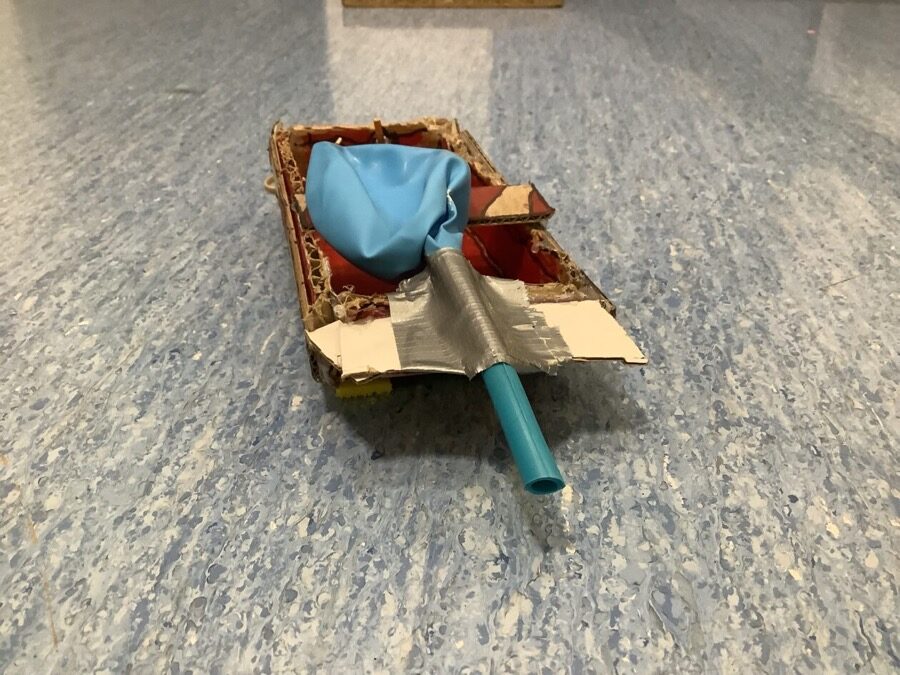
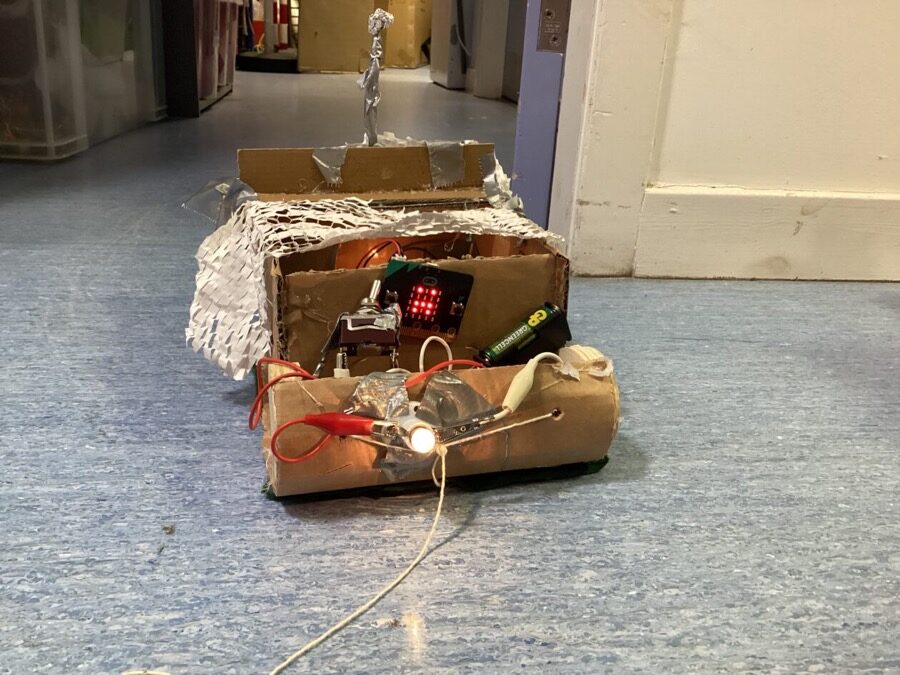
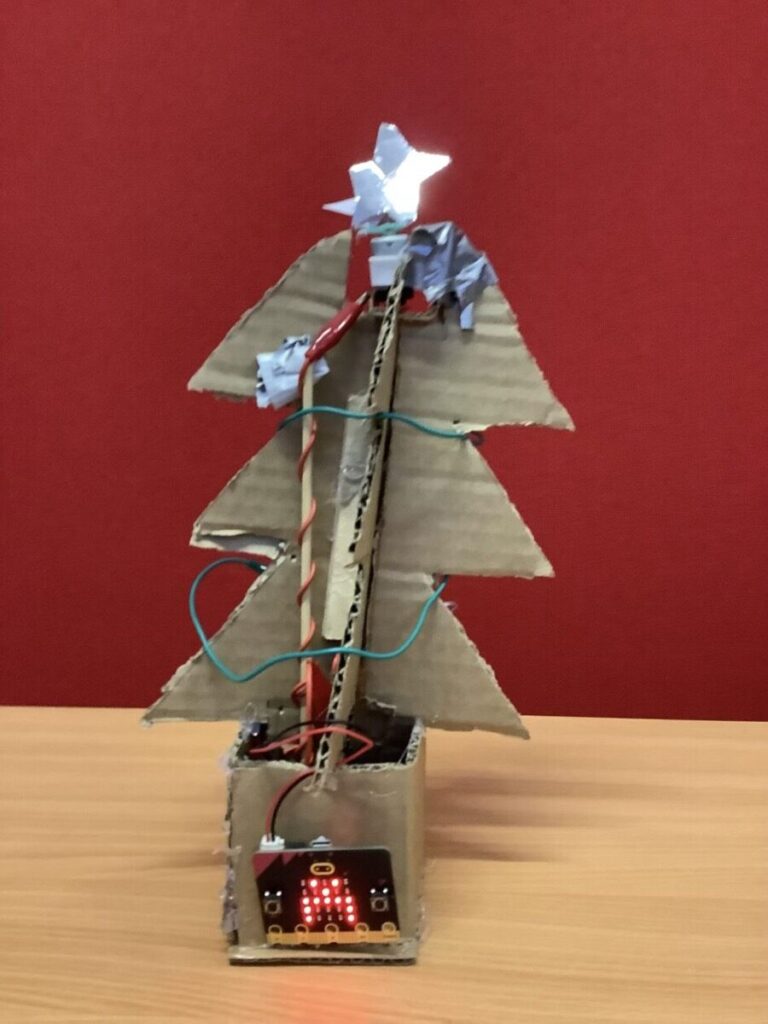
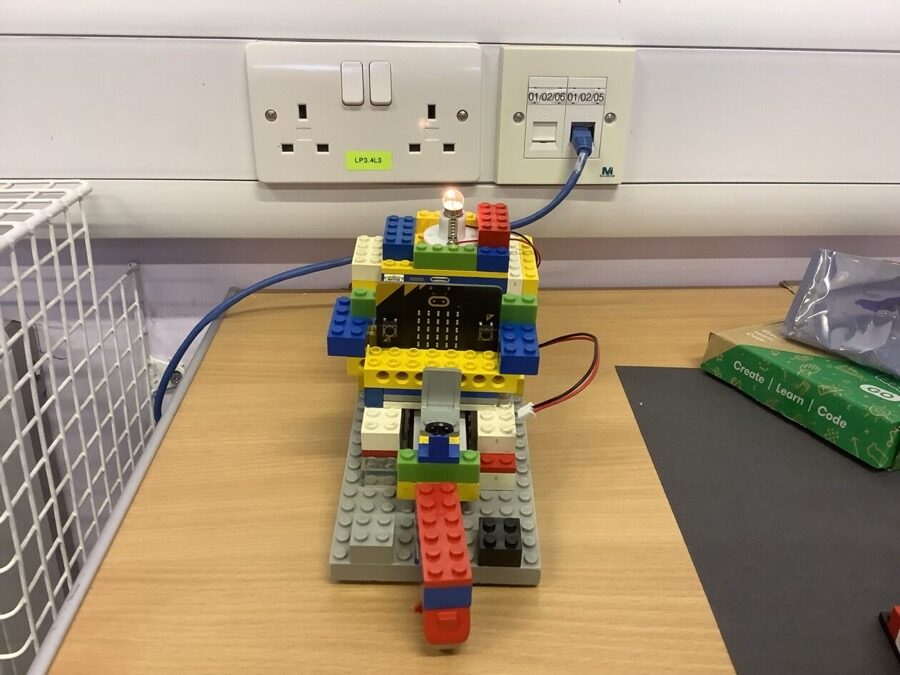
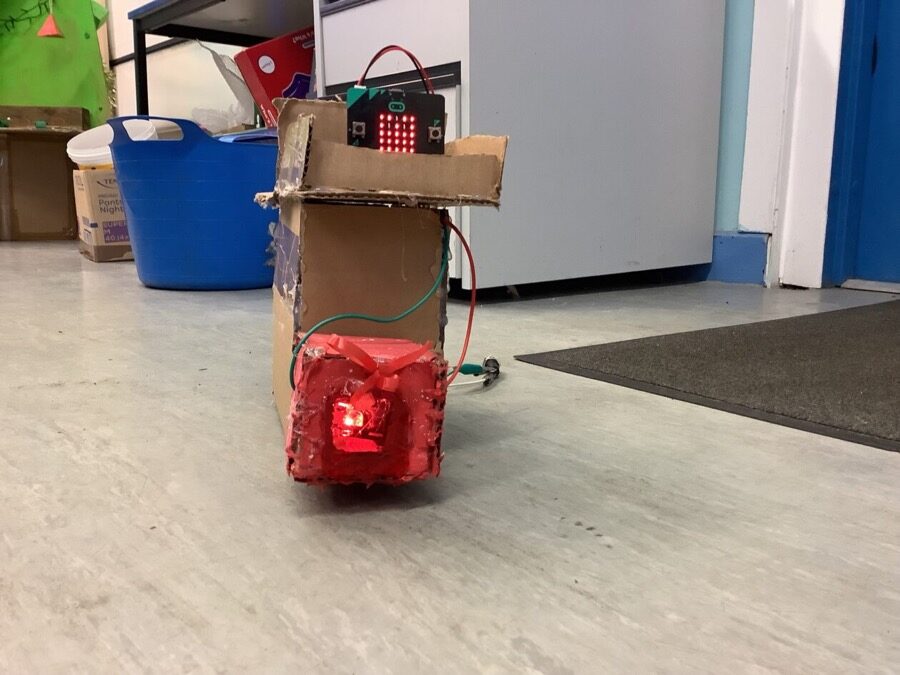
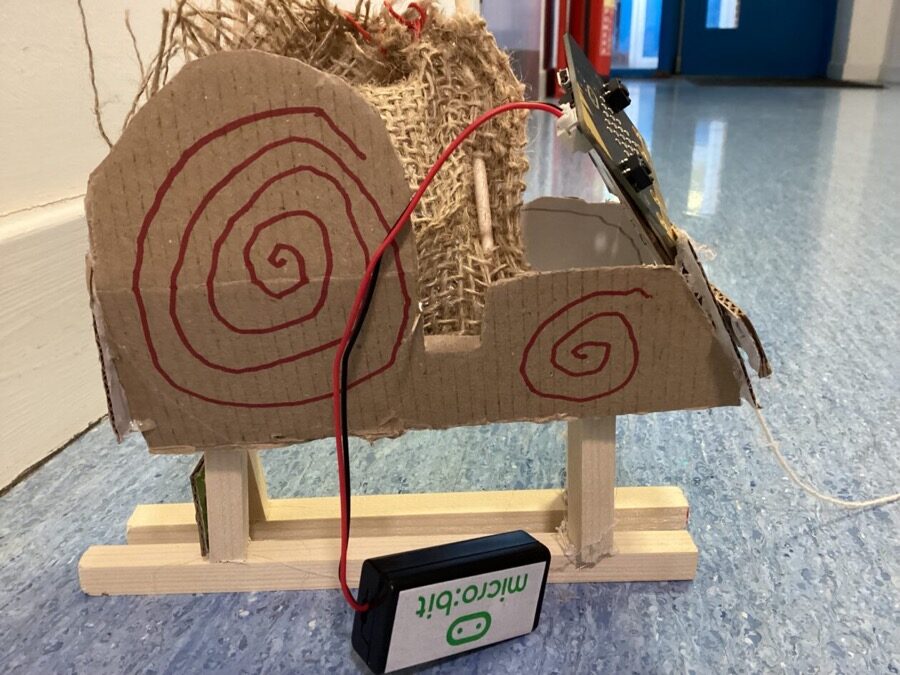
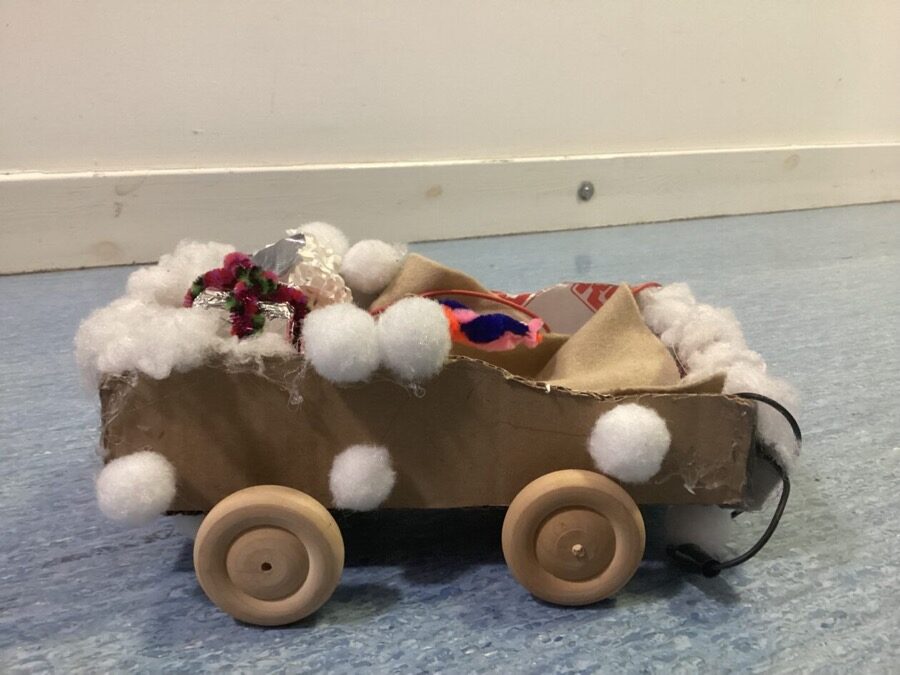
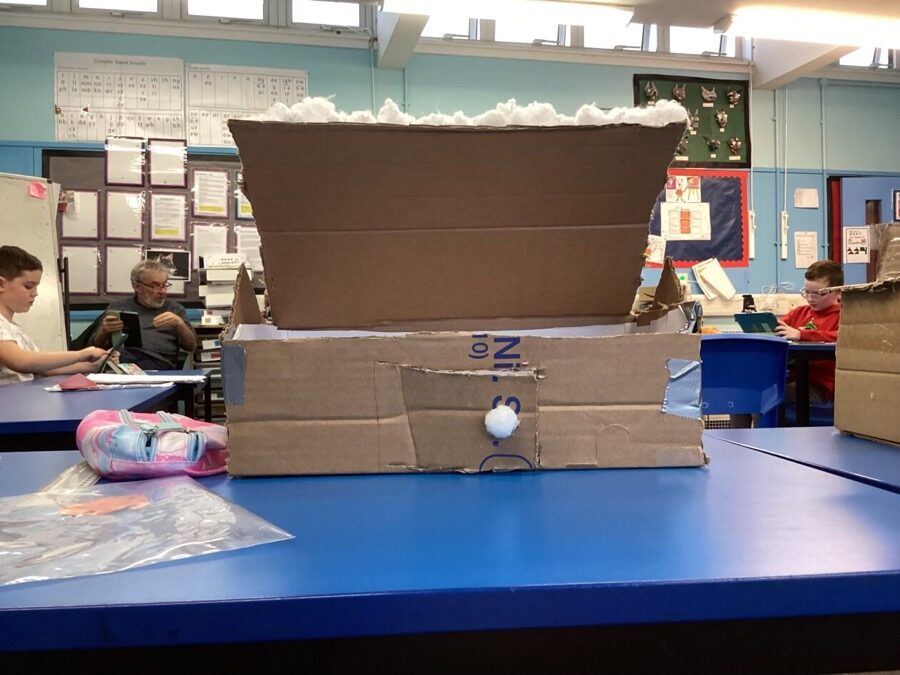
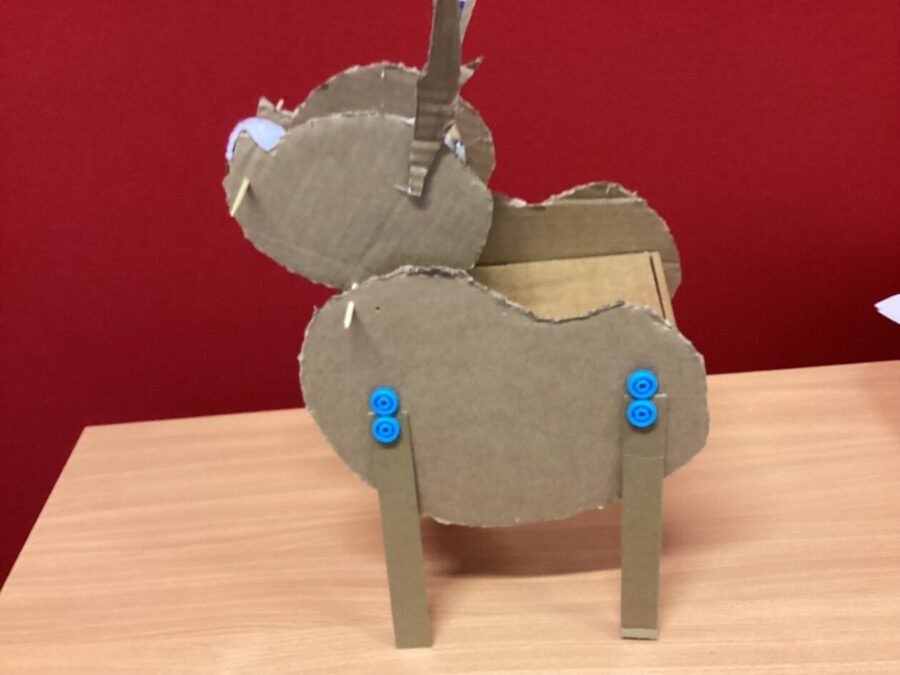
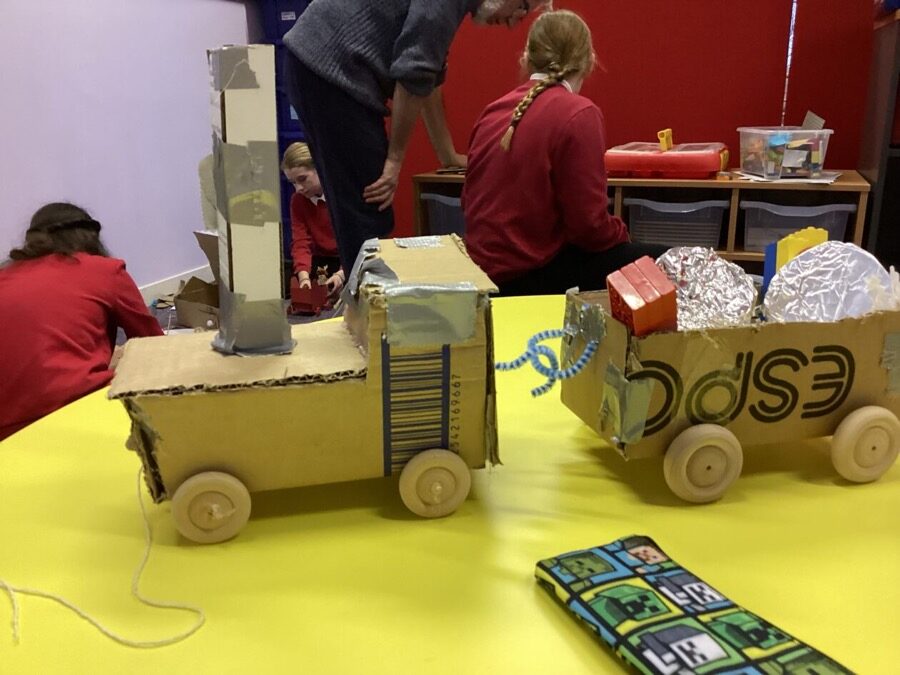
For the last few weeks we made some Christmas models in the Makerspace. We could make anything we wanted, as long as it is Christmas themed. I decided to make a Christmas tree! I was the only one who made a Christmas tree.
There was a lot of problems we had. Here are some of the problems I had:
- The motor didn’t work
- The tree was moving when the motor was on
- The motor was falling of a bit
Here are the solutions I had for the problems
Robert
- Check and re-wire the electronics
- Add some weights to the tree
- Tape it on a bit
I made a train with a carriage carrying presents. I thinked about connecting both the locomotive and the carriage together. So I used pipe cleaners to hook them together. The final product was a success. I liked how I added presents to the carriage.
Problems & Solutions
I used wood to make the presents but they were too tiny so I used Lego to make the presents. I wrapped some wooden circles in tin foil to make some presents.
Xander
I used lots of my skills but I used five main skills. 1. I used planning and organising because I had a plan on what to do. 2. I used ICT for my micro:bit. 3. Numeracy for measuring things. 4. Problem solving for my short and tall stuff. 5. Creative thinking to add details.
Tony
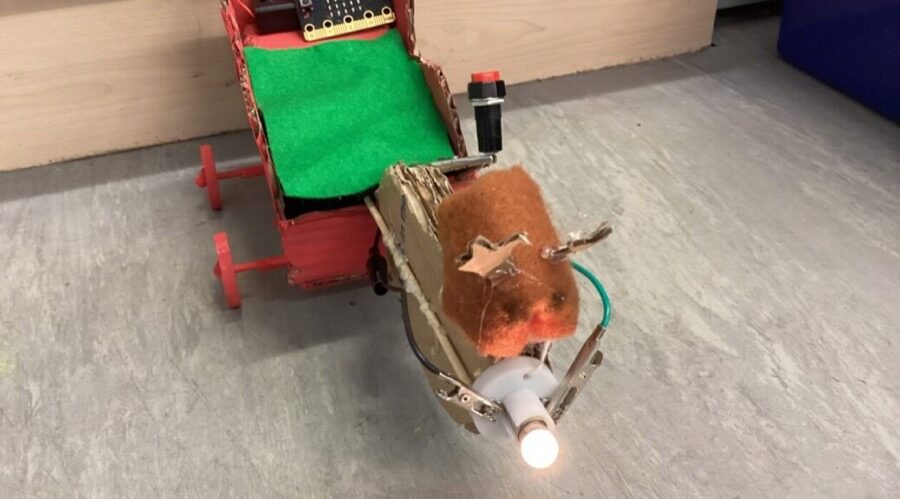
For the maker space Christmas challenge I made a sleigh pulled by a rain deer. It had a light collar and a micro bit in the sleigh. It also moved. We had to make it max 30cm wide, long and tall.
A few problems I had were I didn’t have enough space to make two reindeer like on my plan so I had to move the micro bit to my sleigh. Another problem I had was that my reindeer was to heavy causing my sleigh to tip forwards so I had to pup my rubber in the back until I got the wires and batteries in which held it down.
Some skills I used were planning and organising, ICT, creative thinking and practical skills.
Juliet
First I made a net. Then I hot glued the net together to make a square then I made a roll for the front. Then I added 2 light bulbs and with then I wrote Santas express on it. Lastly I added an spoiler and an antenna and that was me finished
I used my practical skills and my ICT. My problem was the clips would not connect to the light bulb. My idea totally changed at one point because my original plan was a slay that you pull Back against an elastic band.
Noah



While the Primary 7s are away at Ardvulan for the week enjoying the outdoors the rest of the Biggies have been improving their STEM skills.
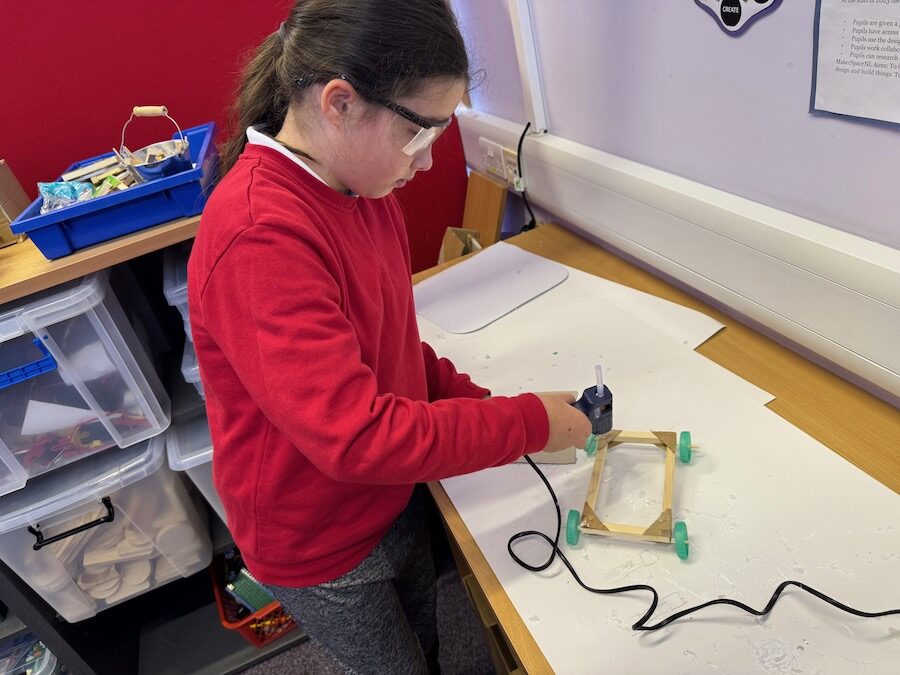
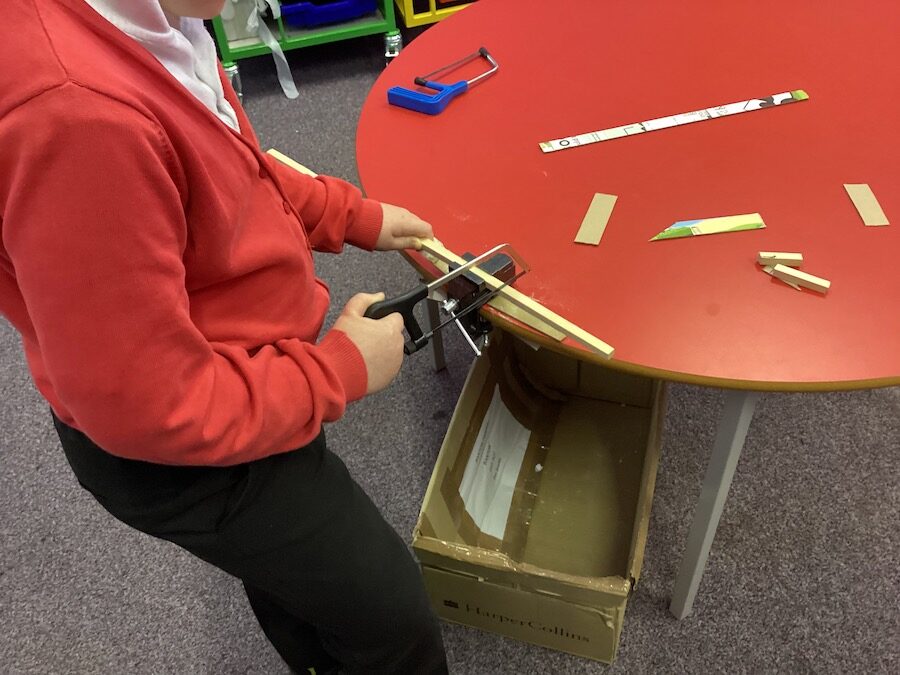
We were working on keeping safe while using saws and hot glue guns. And on the test and improve part of the design cycle.
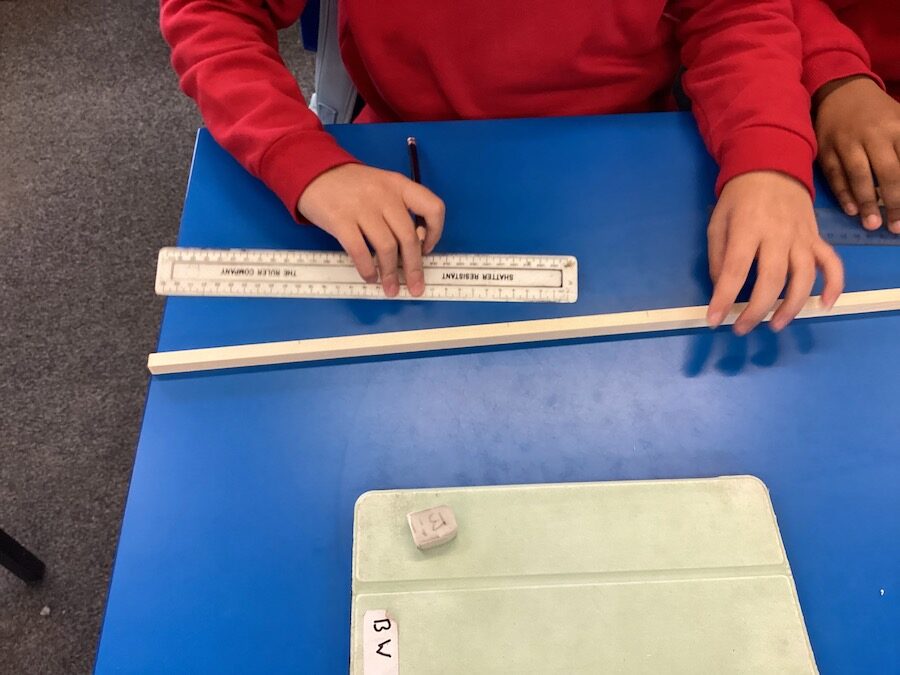
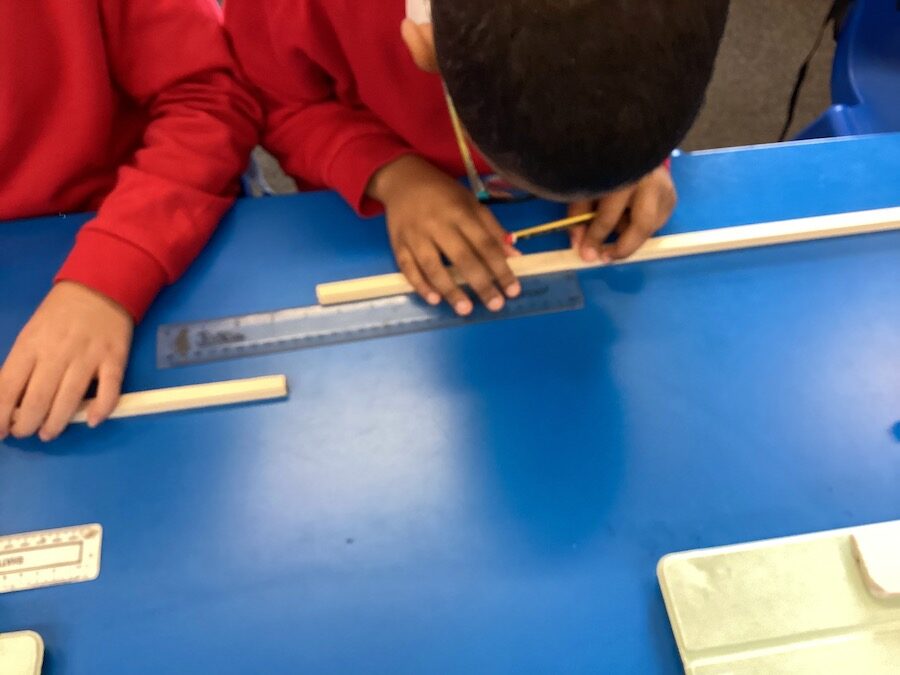
The First round consisted of creating wooden frames with wheels. We then attached a balloon and straw to provide some air power. As well ask keeping safe we practised our measuring, and learn how to use a vice and saw to cut wood. THe hot glue was used to hold the frames together with right-angled (more maths) reinforcements.
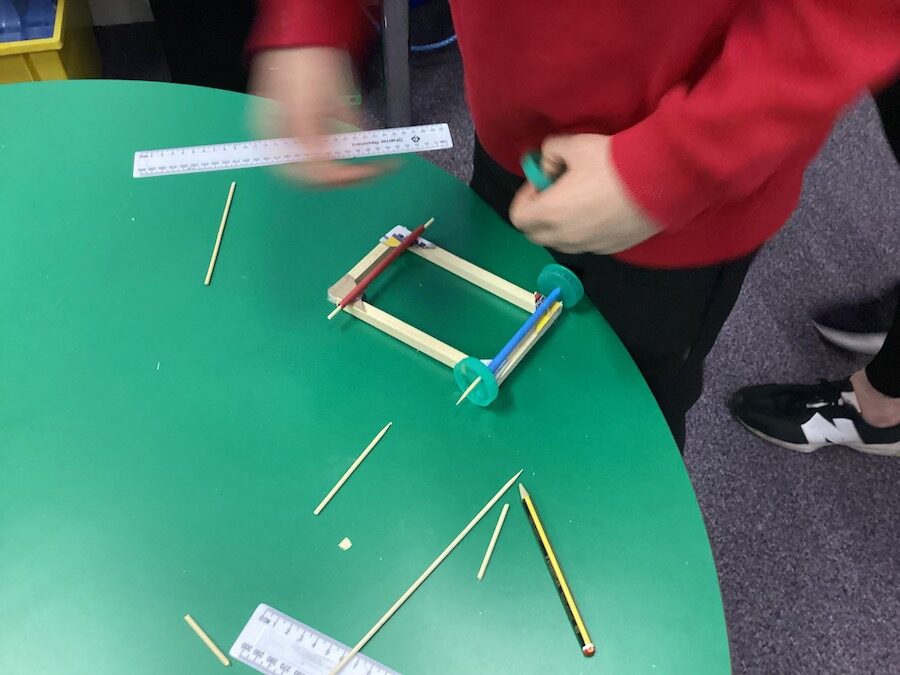
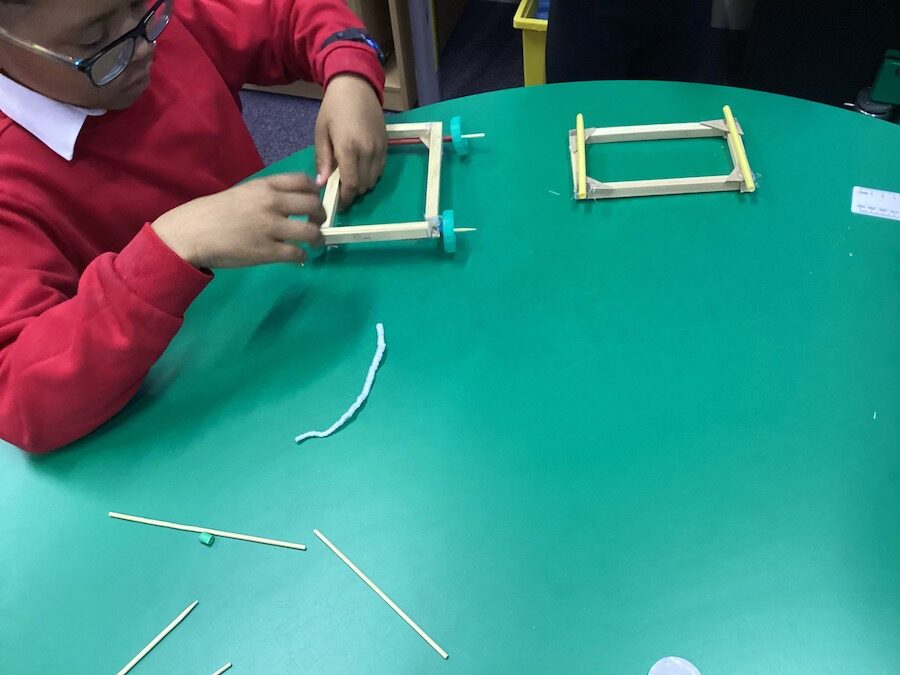
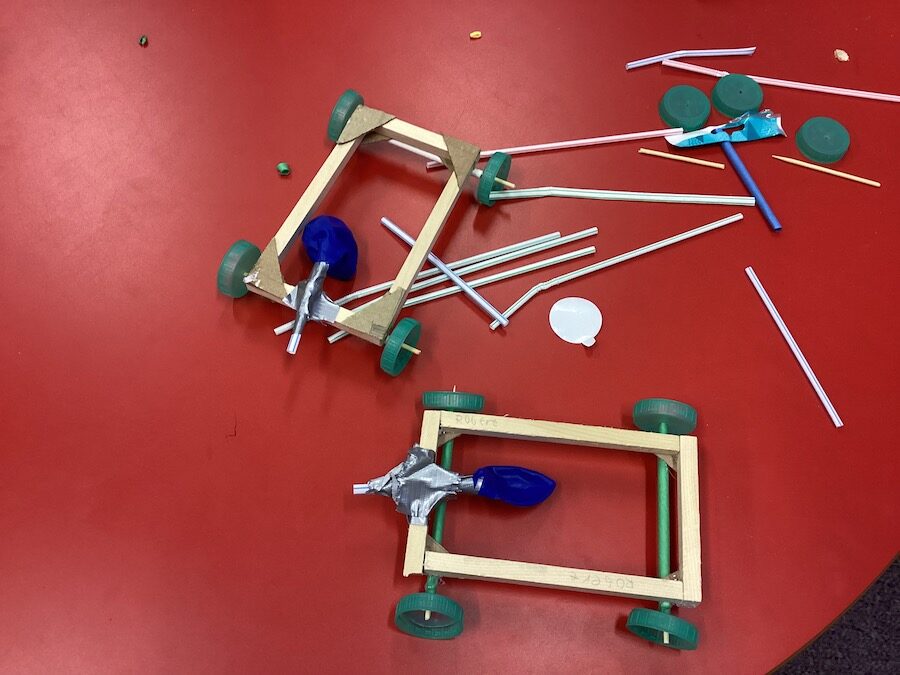
After we ran the cars along the corridor we though about how to improve our designs. One idea was to provide a platform for the balloon to stop it getting stuck in the frame. We also adapted the way we connected the balloons to straws to get less leaking.
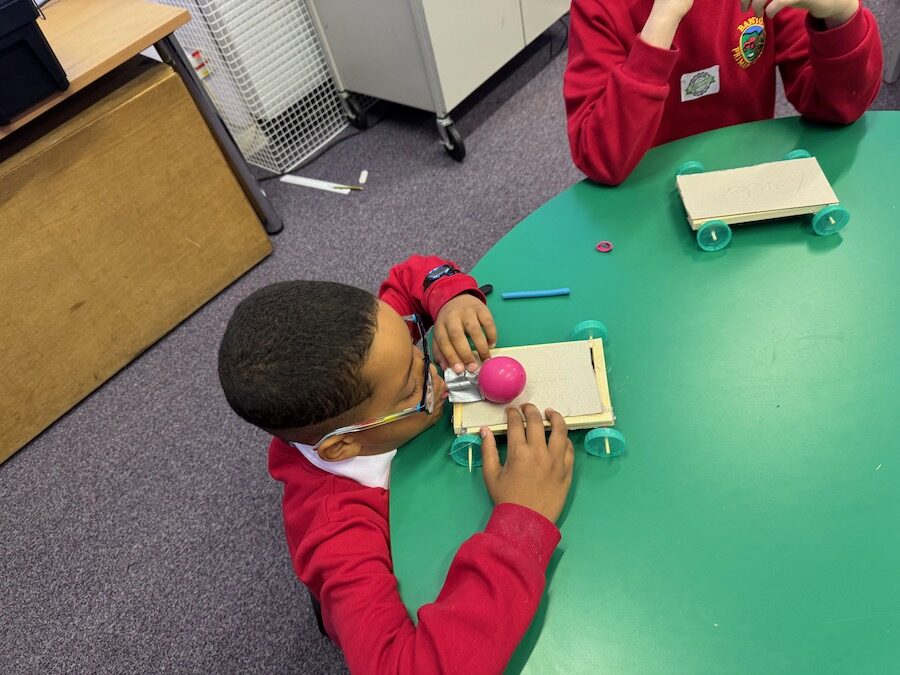
Finally we had a bit of fun in the gym hall testing out the cars to see whose would go the furtherest.
Back in the classroom we identified the learning that had taken place and skills we had improved.
We used wood , cardboard, balloons, duct tape, wood sticks, milk lids, card and straws. We used the as the base of the car and the wheels.
Billie
Our class made some balloon powered cars. They are very cool and can almost go all the way across the hall! They aren’t very durable and not good at going straight though. The things we learned when making these are: how to use saws and hot glue guns, a bit of measuring and how to make a balloon car.
Robert
The p 5/6/7 made balloon powered cars. We built them then went for a race. The building process was hard though. We built them with cardboard, wood, milk lids, tape, straws, a balloon and a skewer. We used tool that were saws, vice, hot glue guns and snipper as all as I can remember. Also our classroom tools that were pencil, rubber, ruler and scissors.
Gene
We used the 2 10cm and 2 15cm lines of wood that we cut, and used hot glue guns to glue all of it together. One it was glued together we used some paper straws, bottle caps and sticks. We put the wheels through the stick and the paper straw on top of the sticks. Then after we put a balloon on the car with a reusable straw. We then used duck tape to close it off so no leaks could happen.
Jason
First we had to measure the wood into different sizes. Then we had to make right angles and hot glue them all together. After we got a straw and milk lid and put a hole through and attached it on. Then we cut a straw and put the straw through and taped it on.
Noah
How to make it:
- First get a 50cm long wooden stick.
- Then grab your pencil and draw 2 lines among 15cm.
- Then draw 2 lines among 10cm.
- Get your saw and cut where the lines are.
- Use hot glue to put the sticks into a rectangle shape.
- Use a piece of card and use hot glue to stick it on top of your car.
- Grab your hot glue gun and flip over the car to stick 2 paper straws onto the bottom of your car.
- Use skewers and put them through the paper straws.
- Put bottle caps on the skewers to act like wheels.
- Stretch a balloon and use scissors to cut the bottom off the balloon.
- Put a drinking straw through the balloon.
- Then wrap tape in the middle. If it doesn’t work wrap another one on.
- Finally put tape on the middle (Don’t wrap) then stick it onto the car and play around.
There you have it! Now you have a cool car at home! WARNING! Don’t put near cats or other sharp things
Xander
After the race finished we went back in the makerSpace and talked about what we had to improved, and the next day we improved them.
(Thursday) on Thursday we improved our cars by putting in a piece of cardboard to stop the balloon from getting caught and bursting, we also used a different type of balloon and cut the top off of it, and we also used a different type of straw which was easier to use. After we improved are balloon we had a different race and stuff like that. The winner was Calum, but I think I did quite good because I was 2nd, the only reason I lost was because my wheels were squinty
Chloe
The Biggies spent the afternoon exploring levers by making some in our MakerSpace. They started work on some interesting and creative designs to incorporate these. We will work on that next Tuesday. For now here is a wee video of the progress so far.
We had our first session in the MakerSpace this week. We had to follow some instructions to make a Scissor Action Extender Monster.
After making their monsters the Biggies then made some short green screen movies using their monsters, you can see them at the end of this video:
Although the monsters seem simple and the videos were very short we learn or practises a lot of skills:


We rather raced to finish our term 4 MakerSpace project. The class did brilliantly especially with adapting and refining their models as they went on. We could have really done with a little more time, but this reflects the real world.
For our last day of term we had another cardboard creativity challenge.
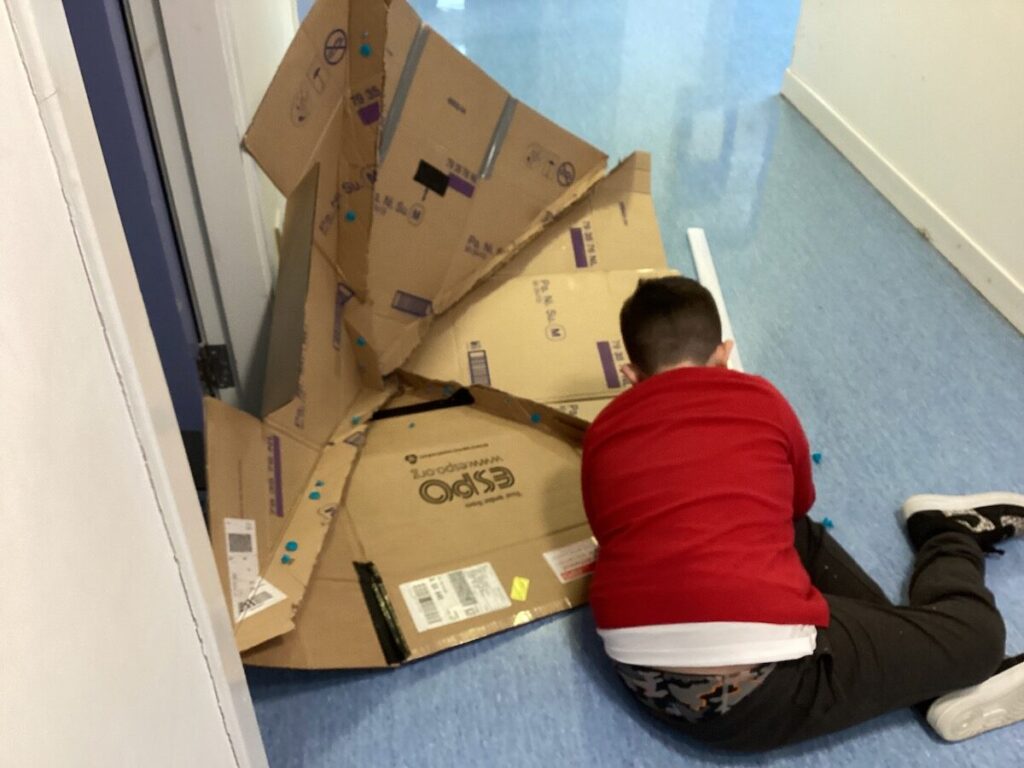
We had looked at some of the work of architect Frank Gehry, and some new cardboard engineering methods. The Challenge was to make a model building, less than 40cm x 40cm x 40cm. Some were inspired by Mr Gehry some seemed to come from the pupils own imagination.
A video from the start of the process.
And after some progress was made:
Along with some of the planning sheets.
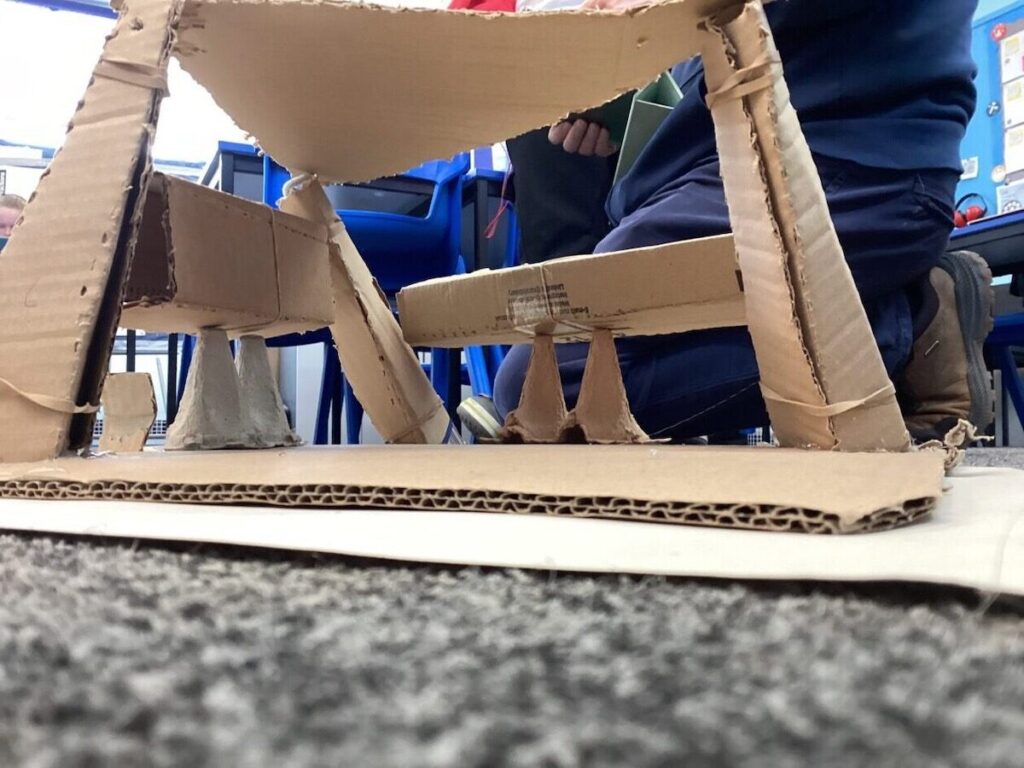
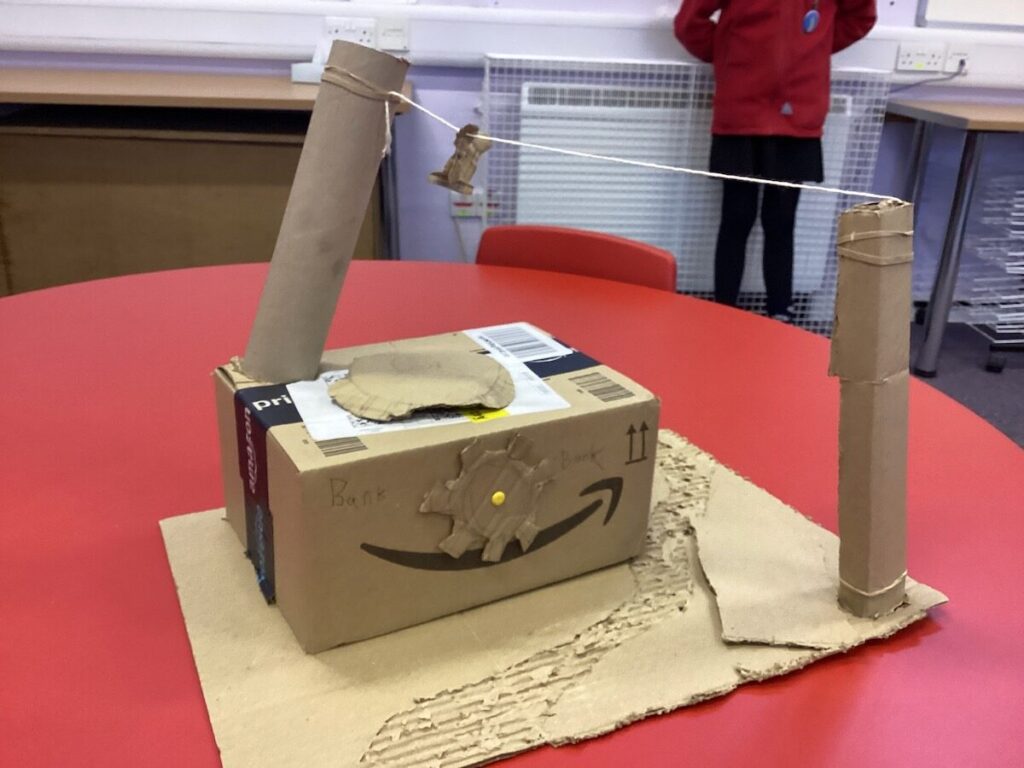
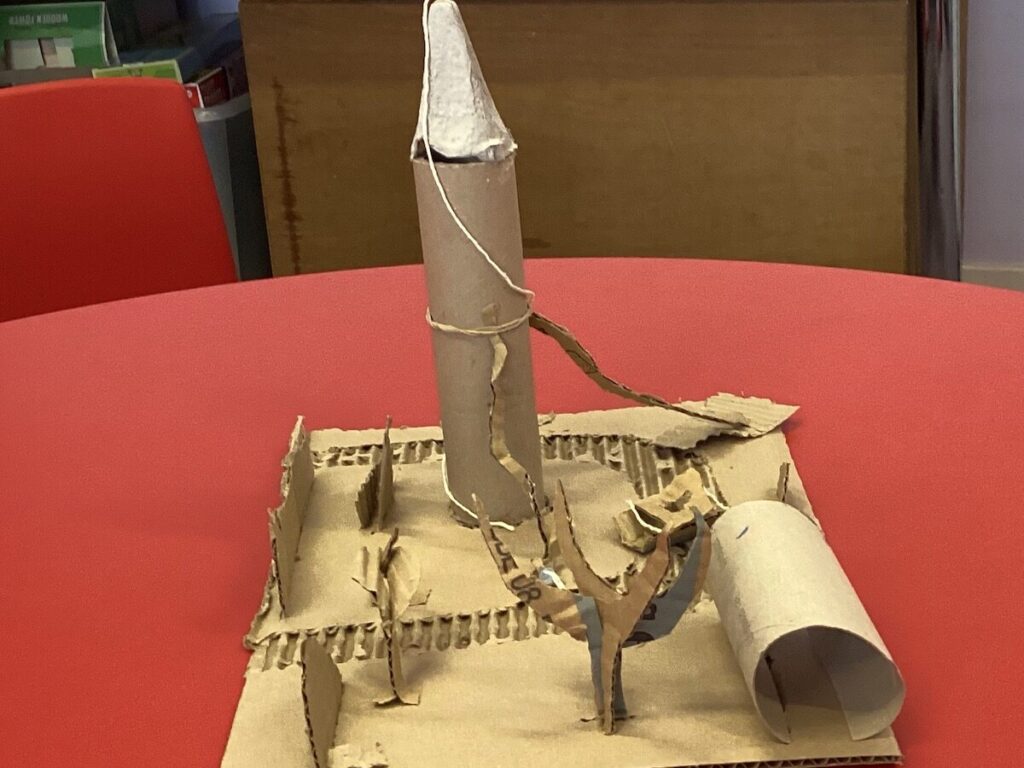
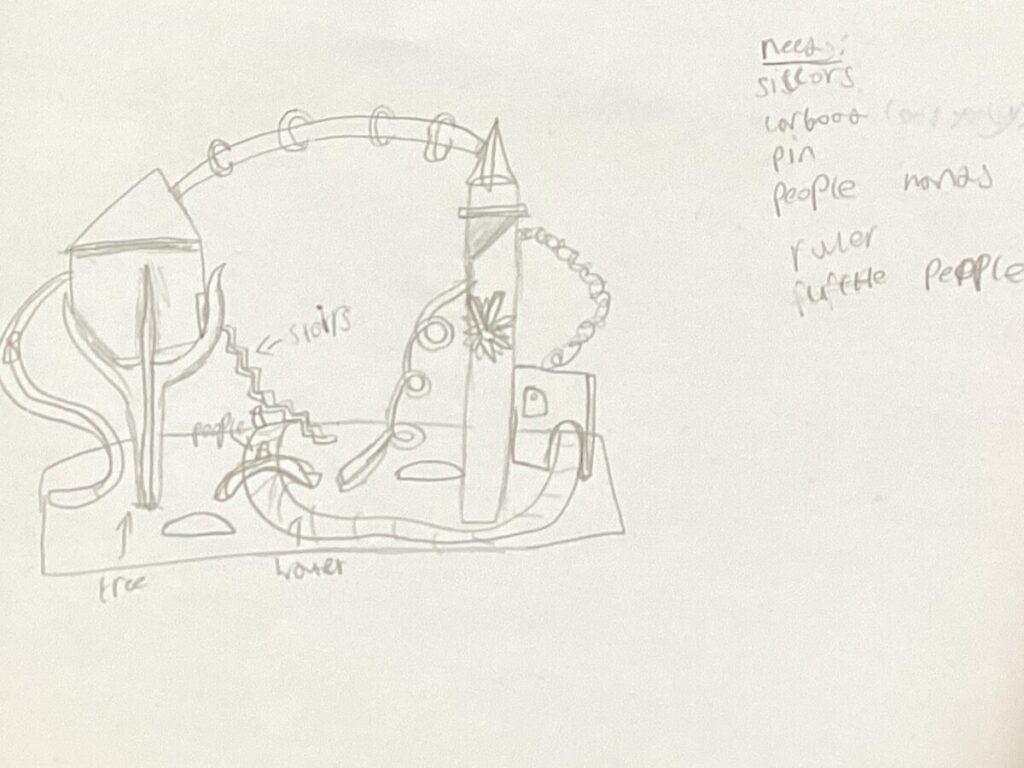
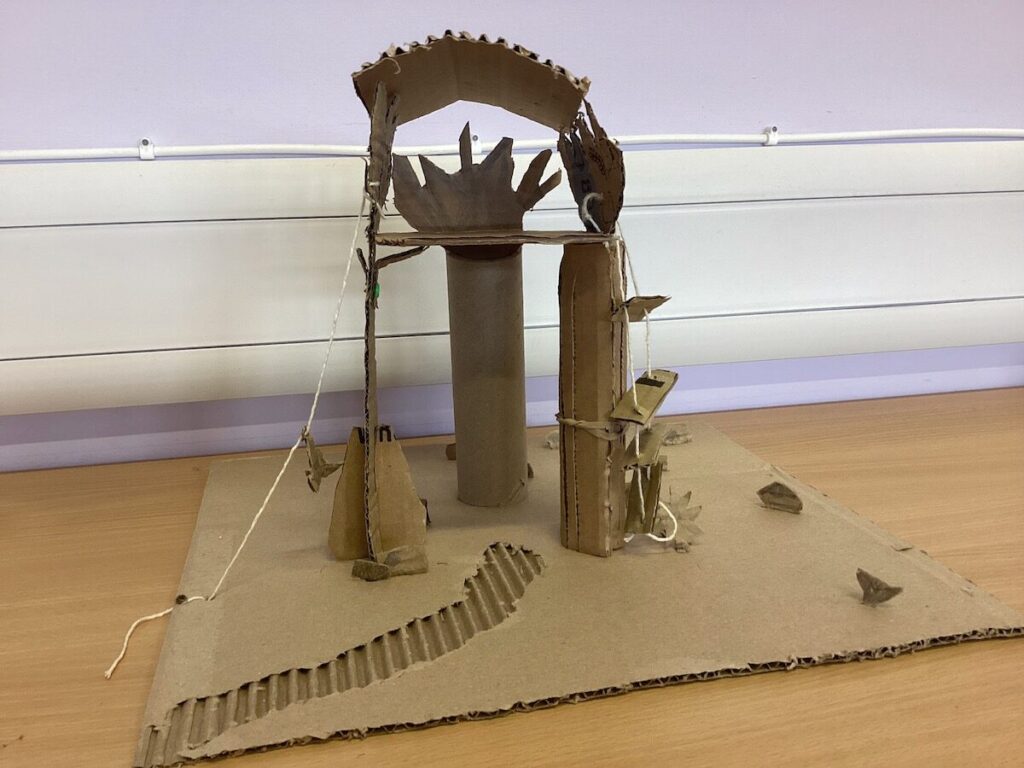
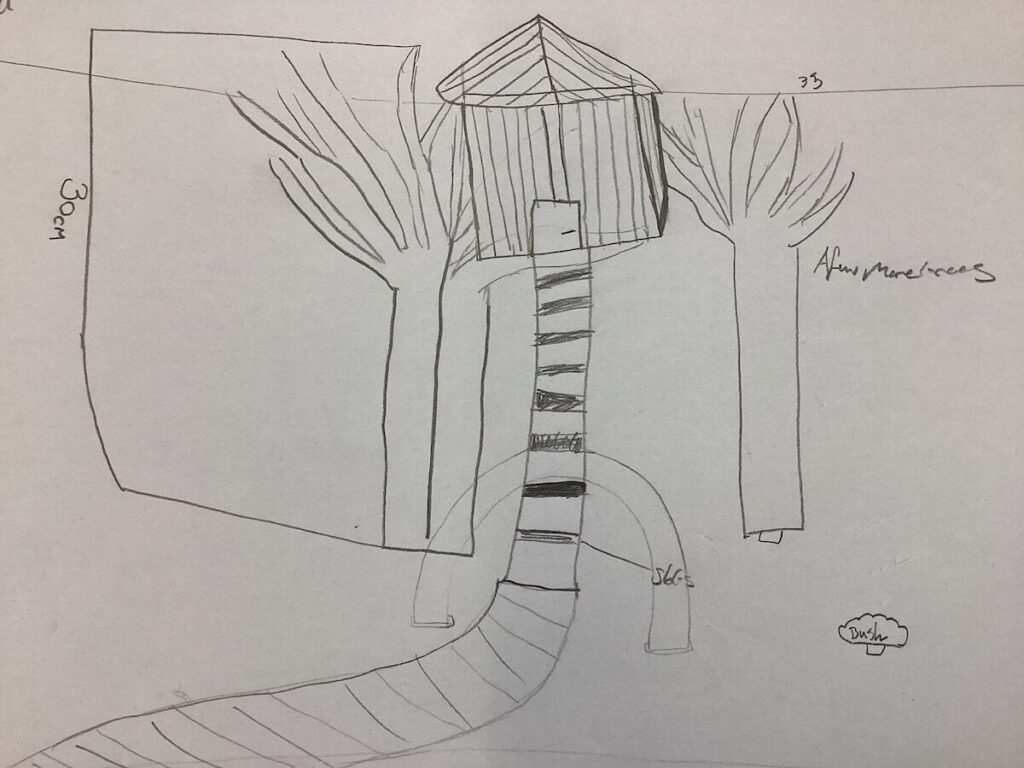
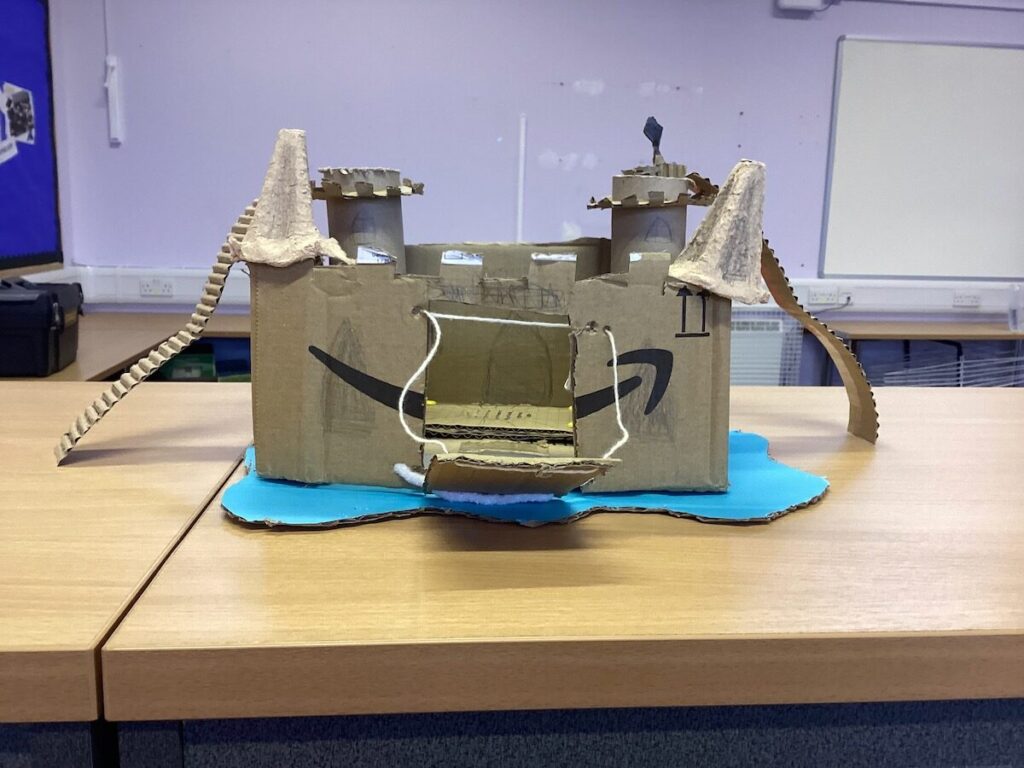
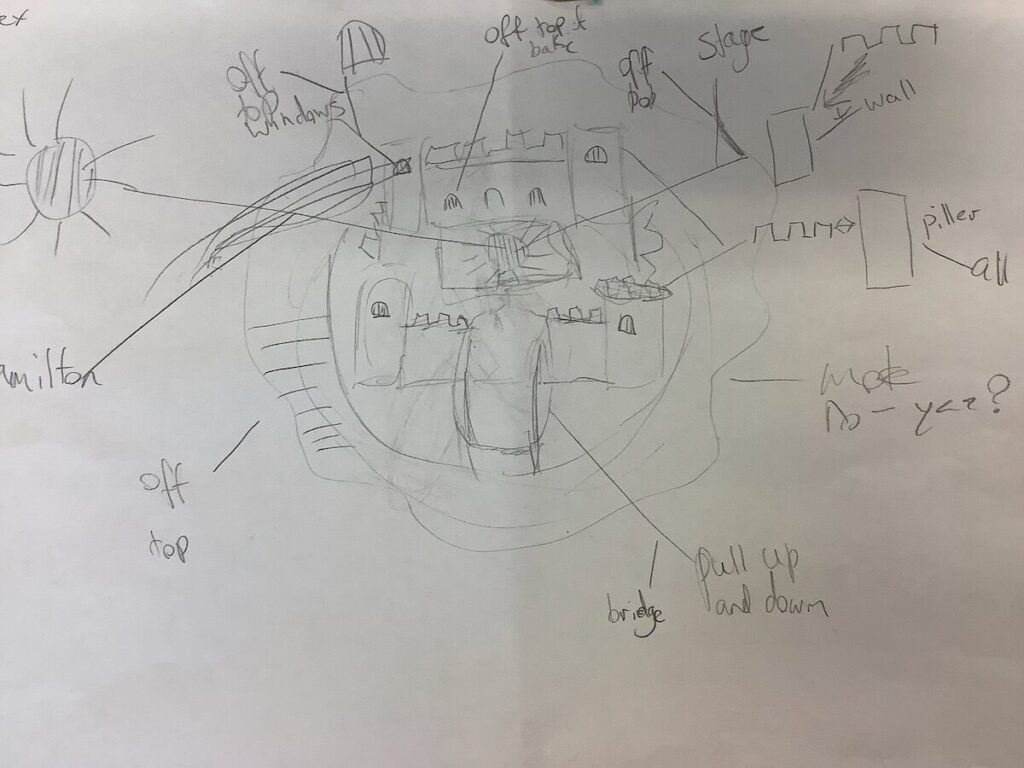
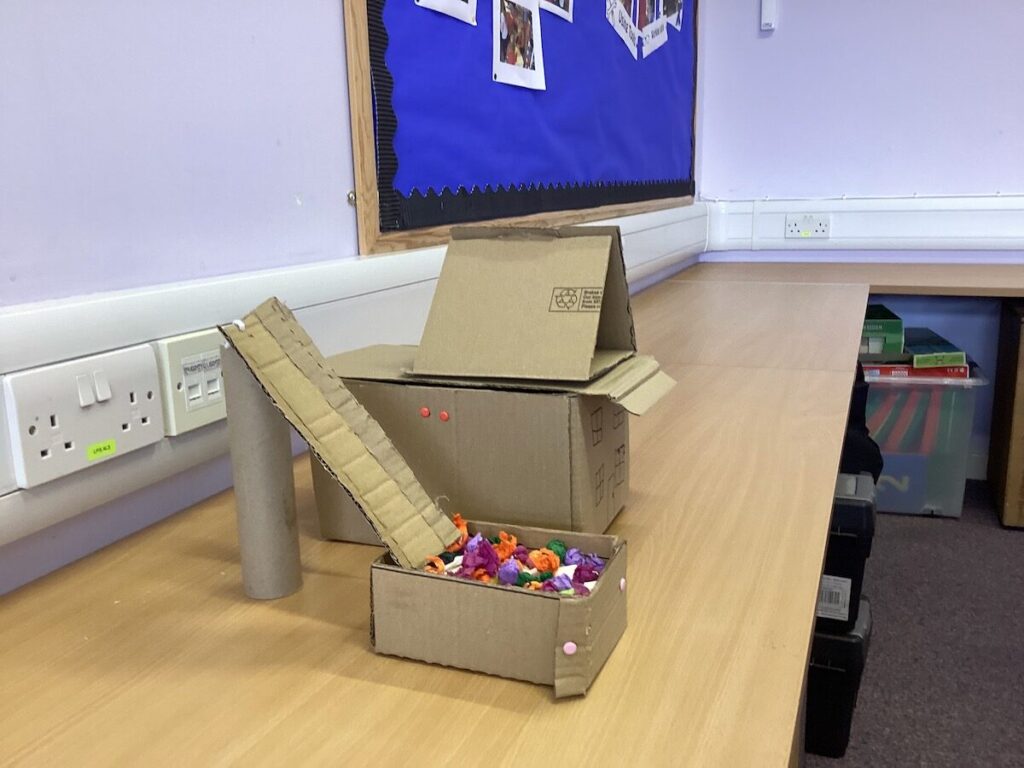
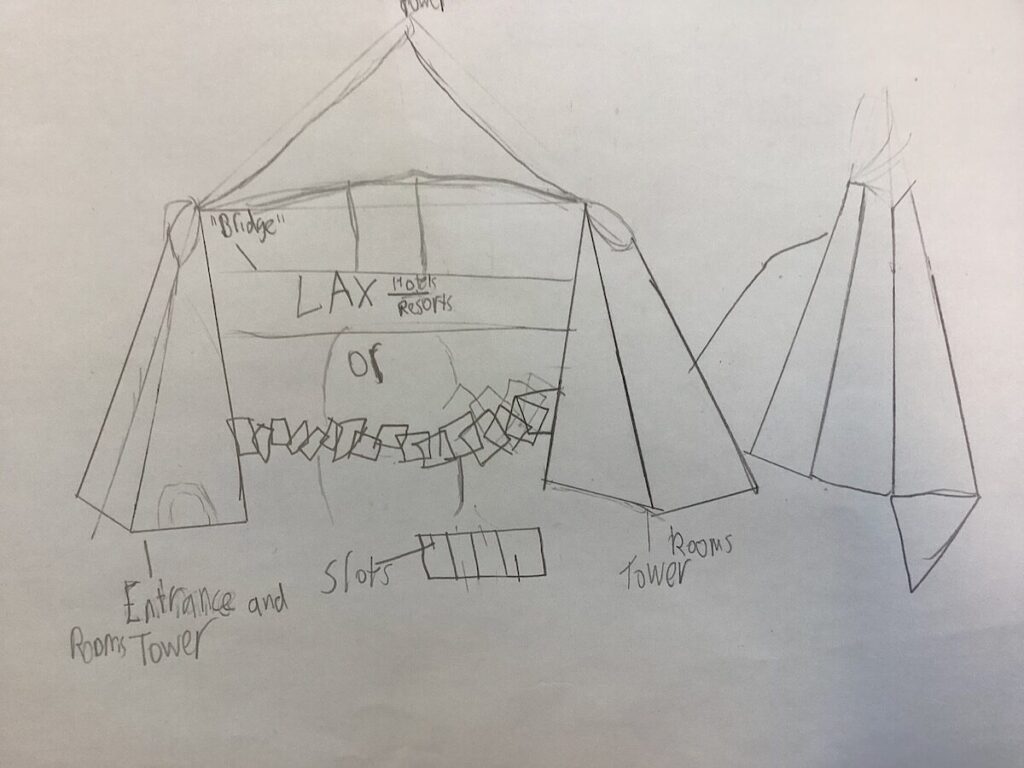
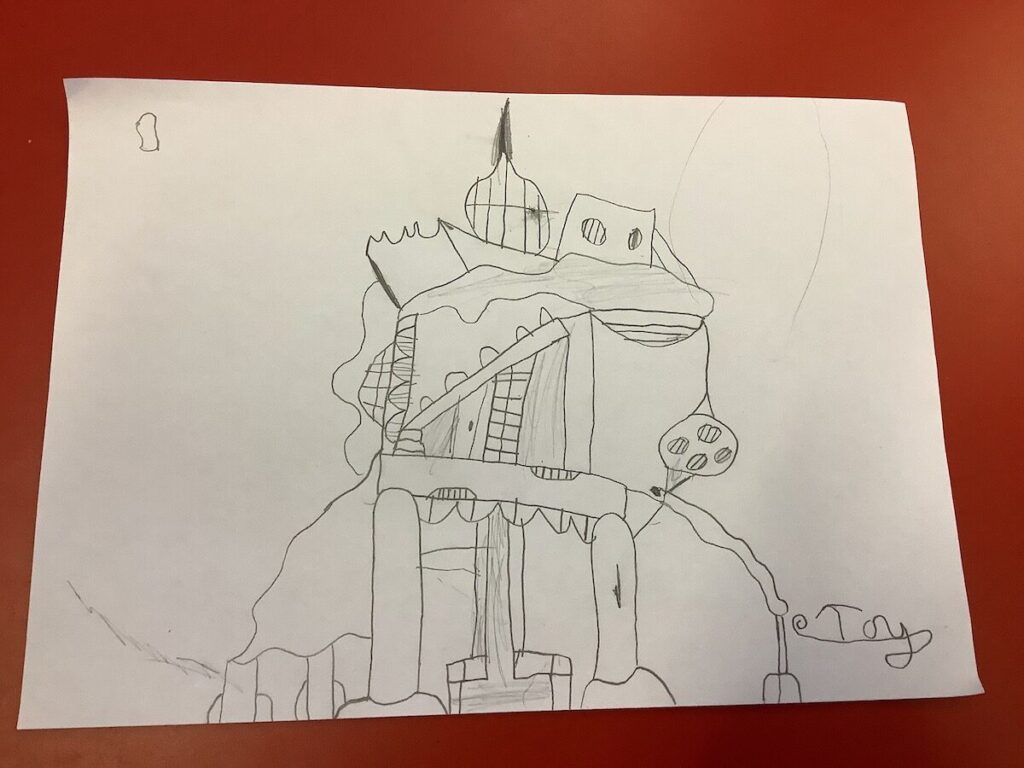
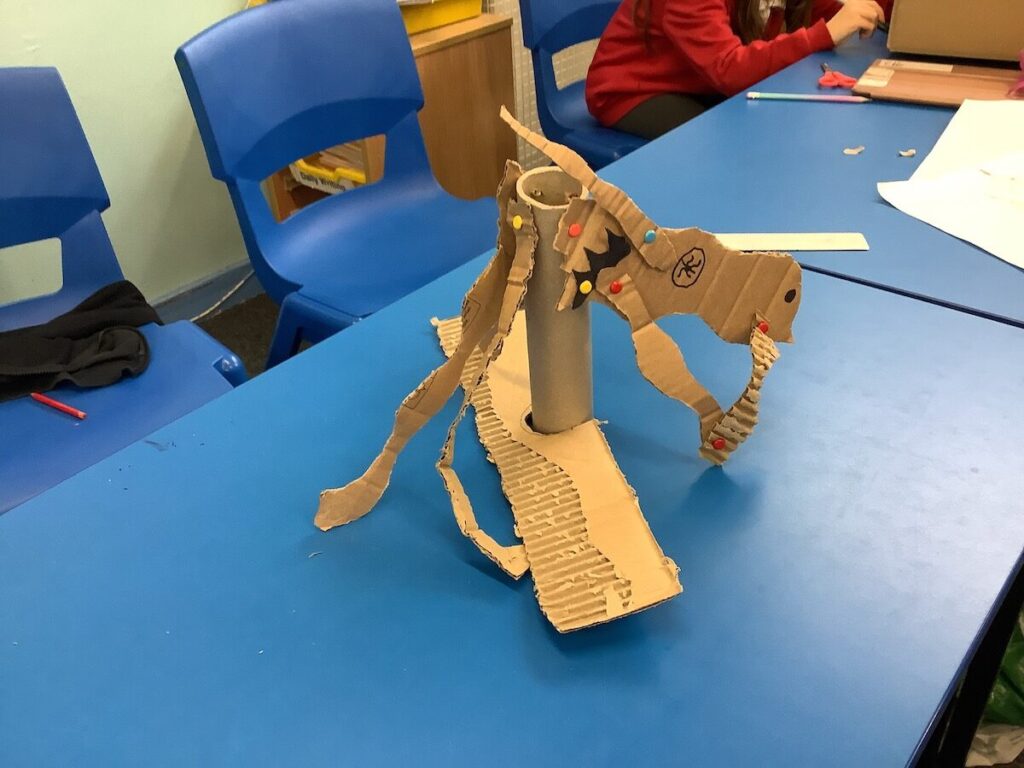
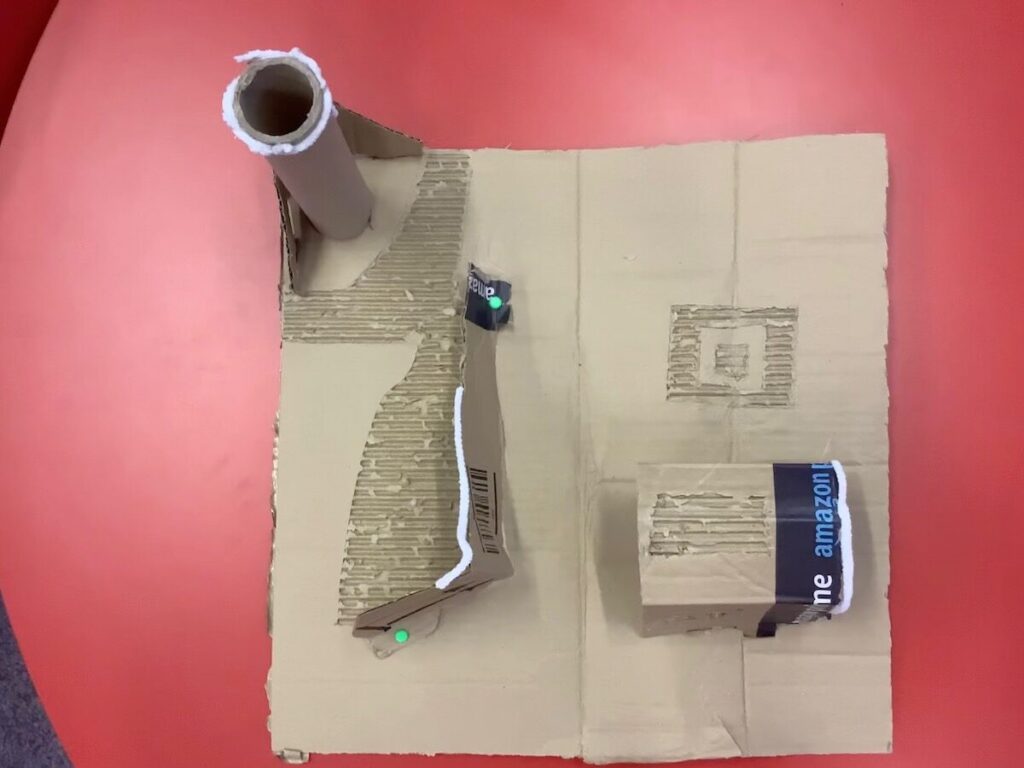
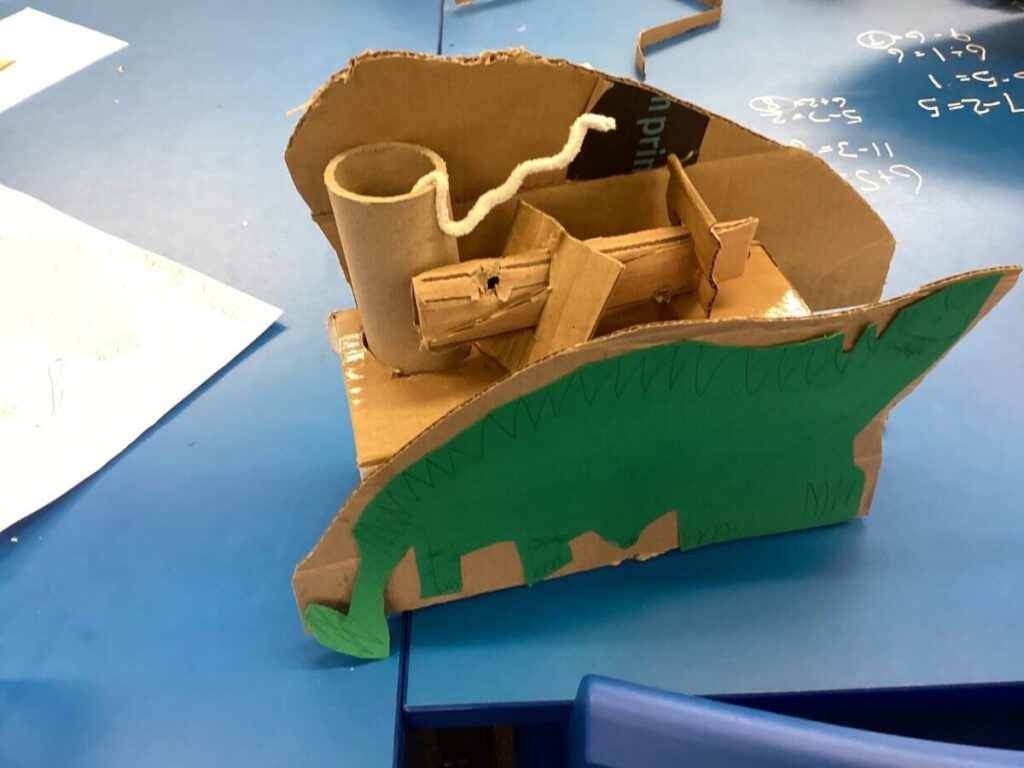
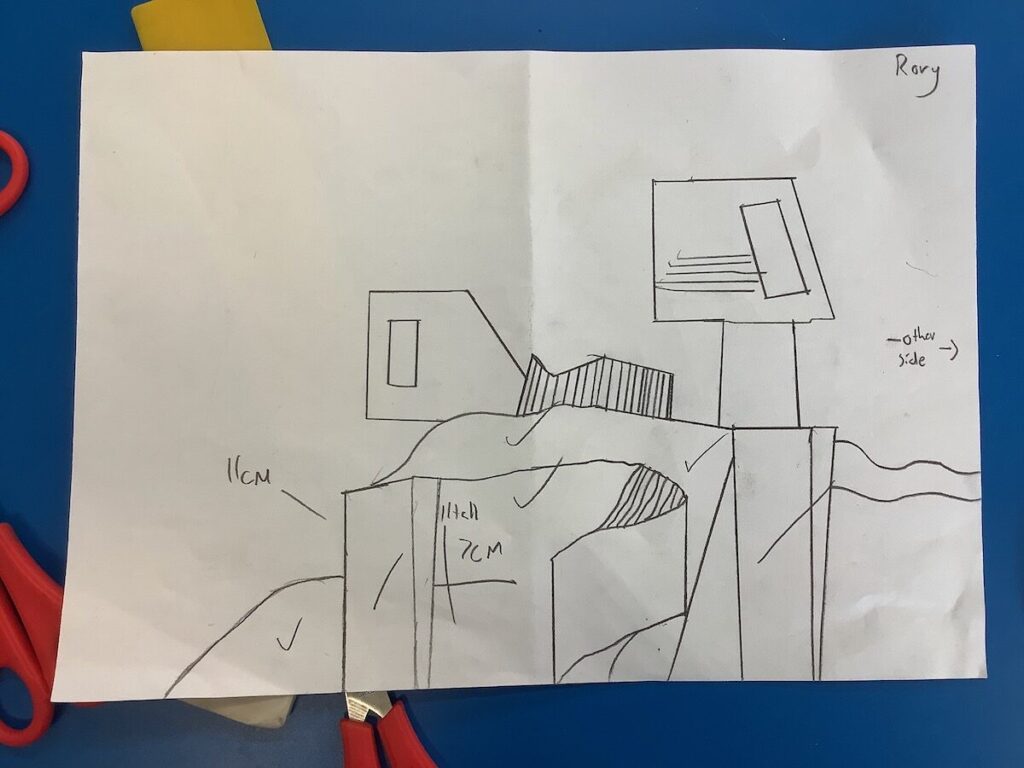
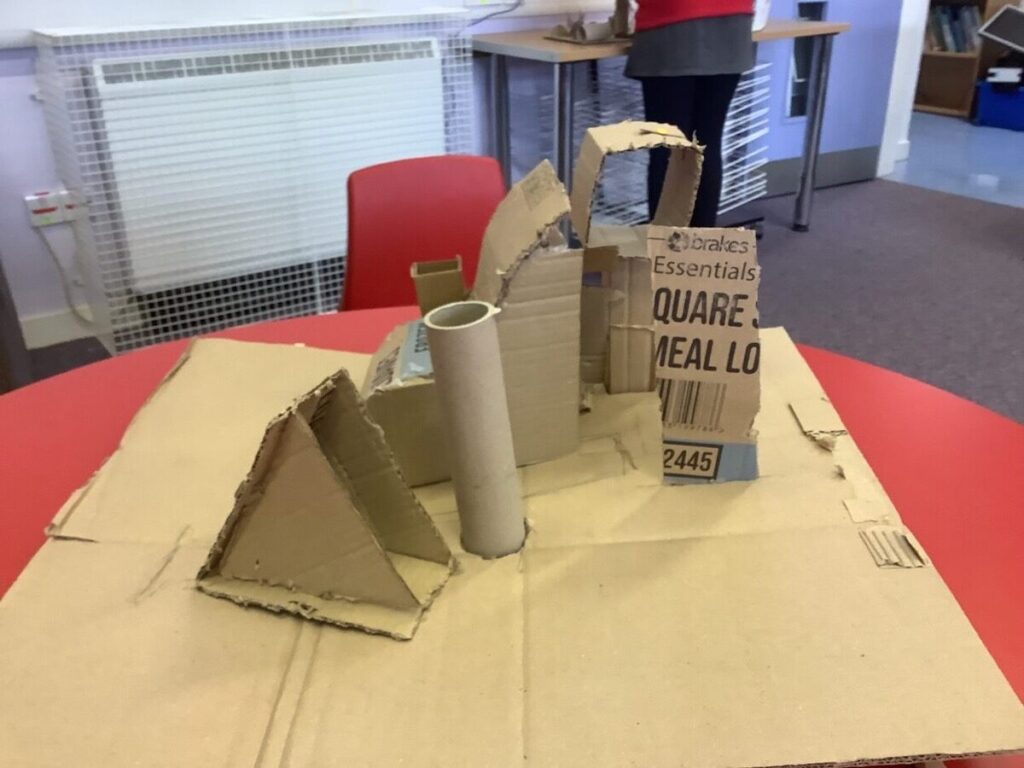
The children showed an amazing amount of creativity. They are also now great at solving problems and not giving up.


We have finally finished our rather epic Makerspace project.
We started at the start of term, researching famous buildings. The class them picked a building ( a lot of Big Bens) and got into pairs, trios or decided to work by them selves. They them produced a design and planed how they were going to make their models.
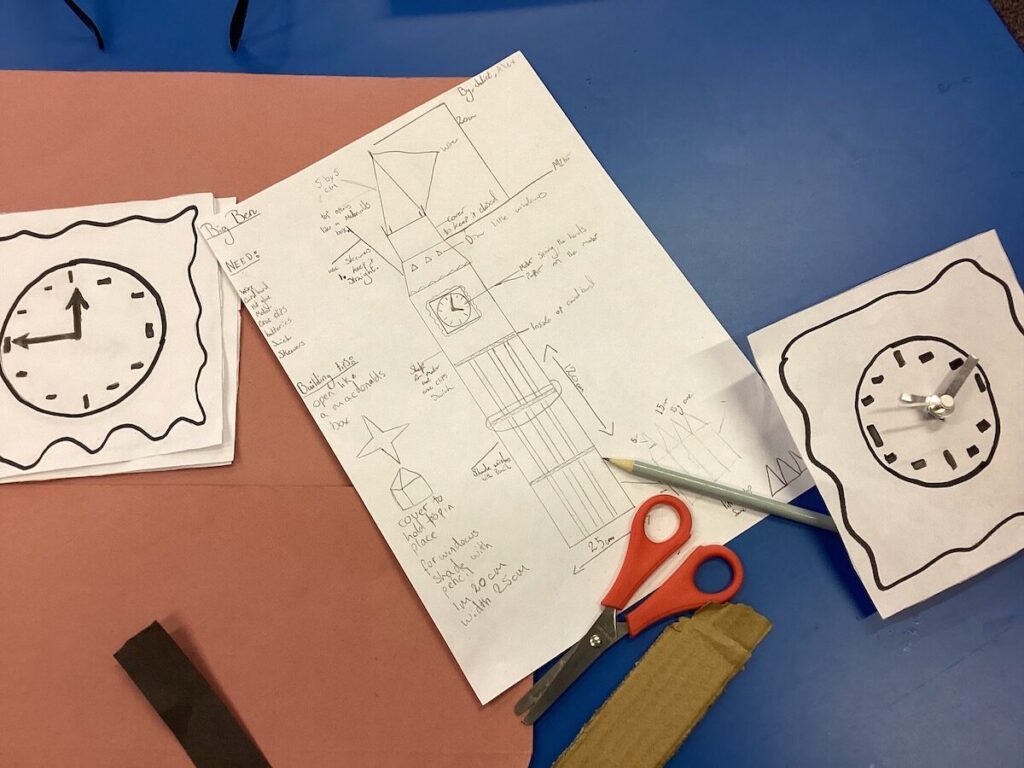
We then had quite a few sessions of building, making, breaking & problem solving. We made some amazing models and learn a lot.
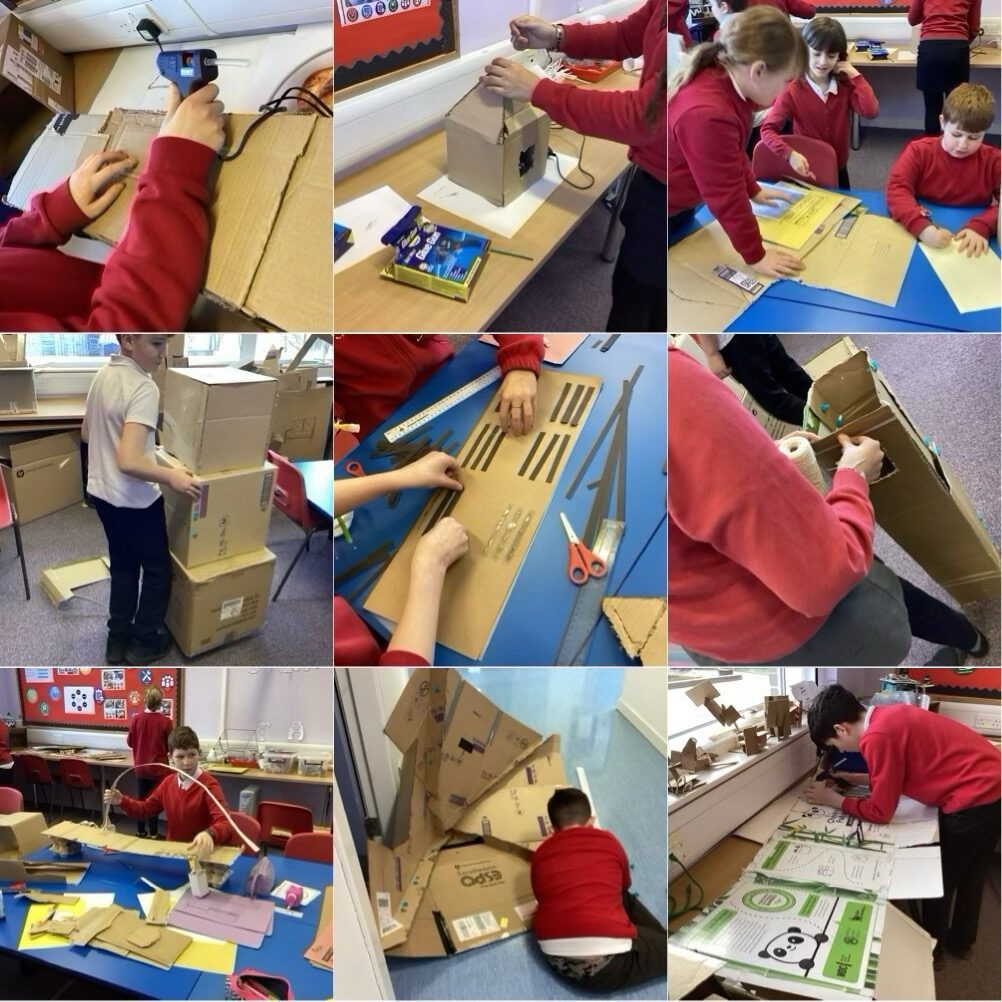
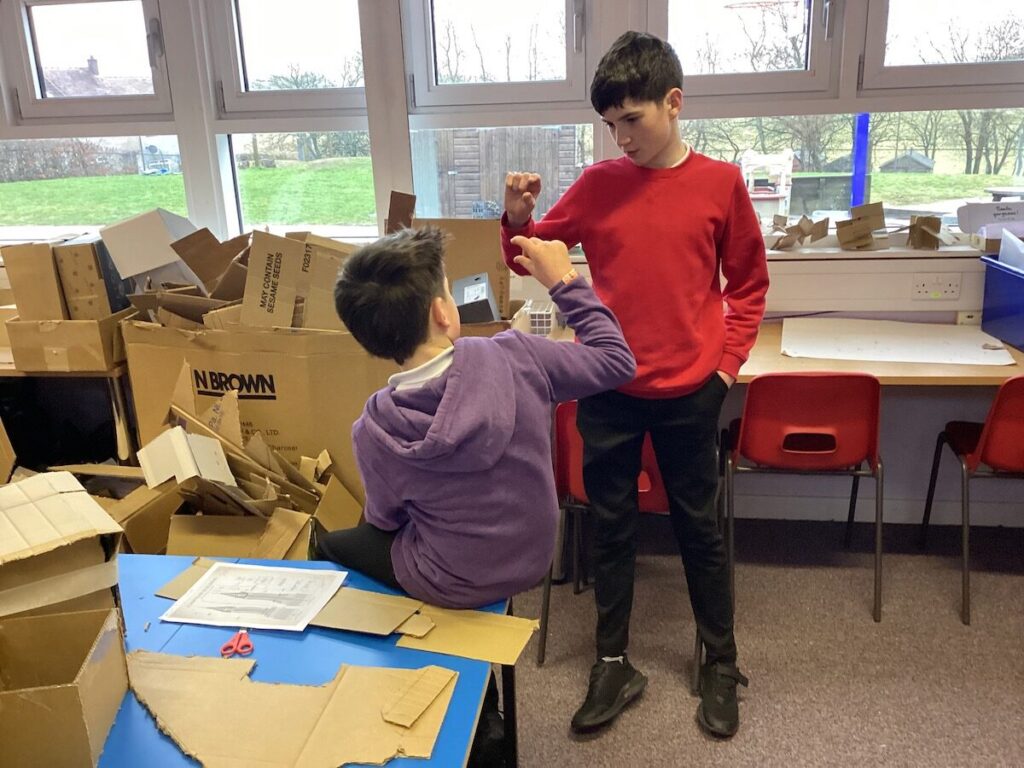
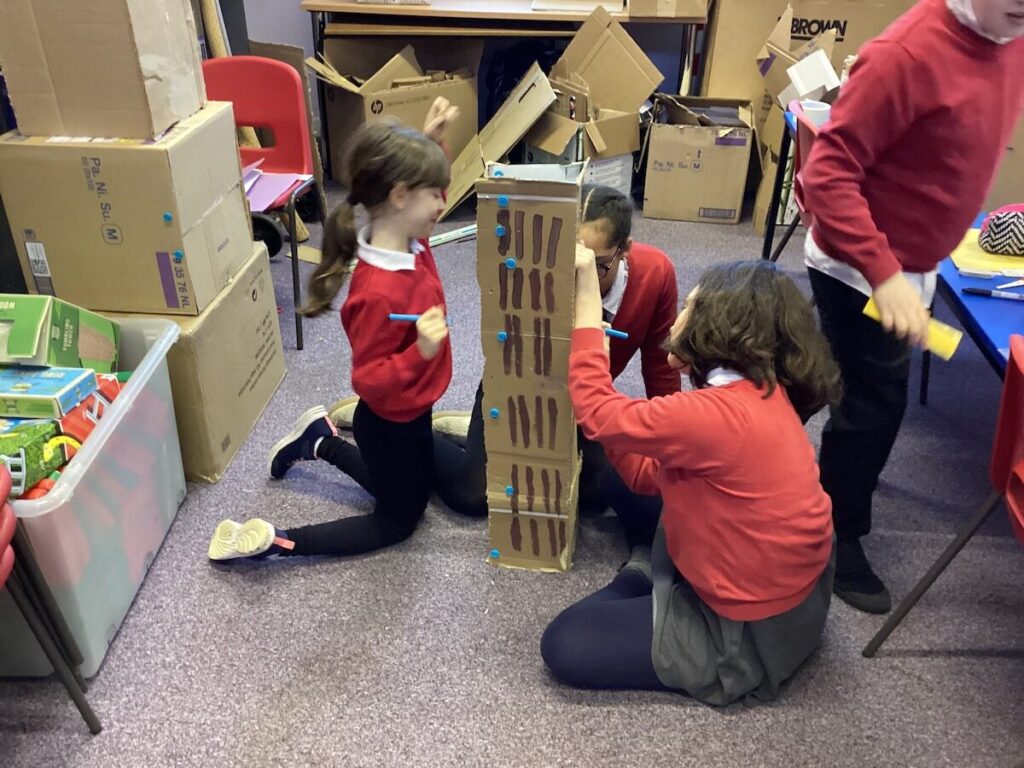
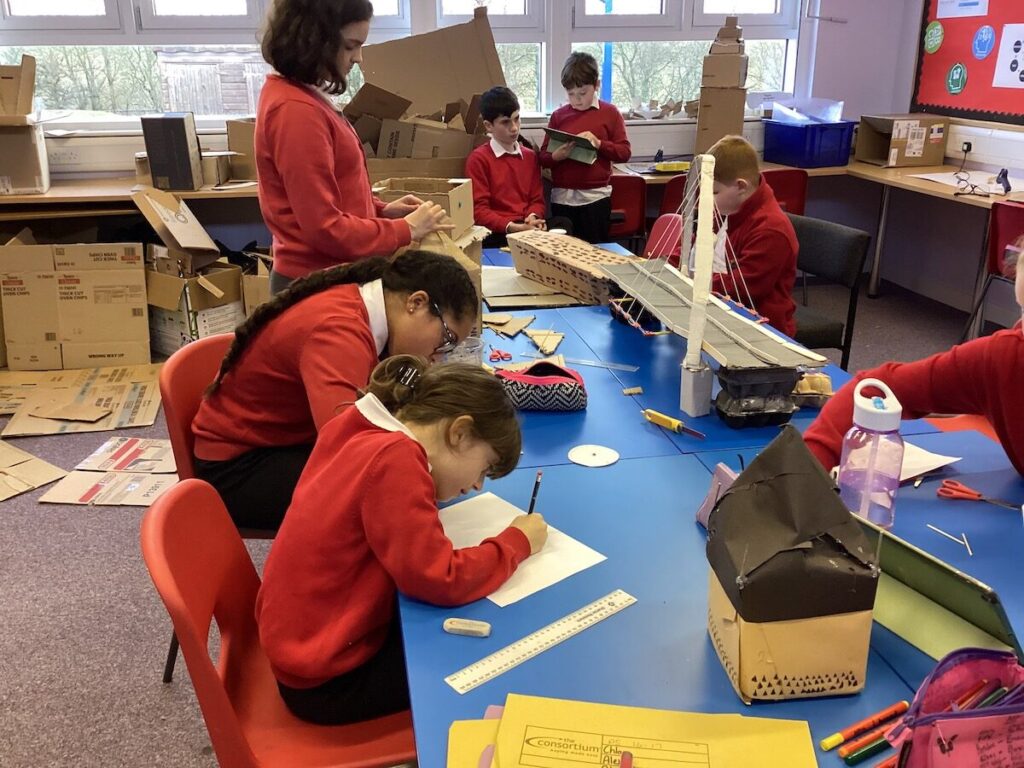
Earlier this week we invited the rest of the school to view our work and to be inspired to make their own models. We had a fun afternoon.
Today we used the models again on our open classroom morning the parents who attended seemed very impressed.
We also used out ICT & design skills to create posters about the building we were working on. I think the class did a great job of laying out their information & images, we concentrated on alignment, attribution & readability:
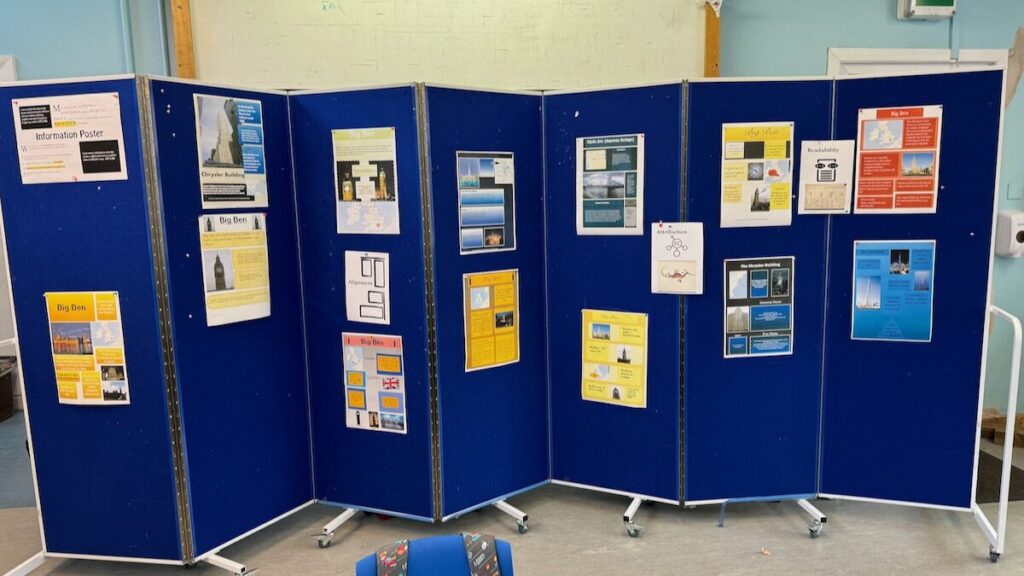
I asked the pupils three questions, here are their answers
Alexia
- The most important thing I learned was to fix the mistakes and always try again and work in a team.
- I enjoyed the most painting the building and design the top for Big Ben. I also enjoyed making the clock.
- I would make the top I tiny bit different like the design.
I learned that it was the tallest building in the world and it had the fastest speed of elevator. I enjoyed how it was supposed to made out of lots of tubes. I would make the elevator move.
Xander
Lexi
- I learned how to fix mistakes when something was not the right size
- I really enjoyed painting the building
- Ii would change the top a little different in colour
The most important thing I learned was that if you run into a problem you can always find a way to fix it. What I enjoyed the most was working with Faith and Alex because it was really fun and we didn’t blame each other for mistakes. What I would do differently next time is instead of the toppers and bells do a bit of the Palace of Westminster.
Juliet
1.Durning the making of our Big Ben we learned quite a lot but the most important thing I think I learned wasn’t any of the skills, I think it was that it doesn’t matter who you work with and it doesn’t matter if it goes your way, it’s about the fun and great times you had together that count.
Olivia Rose
- Whilst making Big Ben my favourite part was listening to my partners ideas and using them in different ways or giving them more ideas that improved their first one.
- Next time I would maybe think about the design and give other techniques and suggestions a try, I would maybe make a different building and scale it better.
I think the most important thing I’ve learned while making our buildings in the makerspace is getting better at scaling and measuring. I really enjoyed making the centre part of the building because there was a lot of measuring and cutting involved. If I could do something differently I would not make a frame for the bottom part.
Rory
I learned a lot about making and fixing different thing and solving problems. I did enjoy seeing it being finished and looking good. If I could do anything different I would of made the knex more secure.
Harry
The most important thing I have learned was measuring
Alex
I enjoyed working with different people that I wouldn’t normally work with
I wouldn’t do anything different
I learned that not every thing you should quit so you keep going and that was a good thing to learn so I learned that I enjoyed making the base because I really enjoyed measuring and checking to see if the length and the width is the correct amount I would make more details and try to make my own clock that moves
Tony
I most enjoyed when I had to work out all of the measurements of everything and I enjoyed working out the problems that I had and I learned how to do all of these things and I also learned how to scale thing like these buildings down.
Blair
I learned problem solving and I enjoyed making the building and cutting stuff out the thing that I would do different is working with others.
Jamie
Chloe
- The most important thing that I learned is that if you’ve done something wrong you don’t have to have a temper tantrum you try it again.
- I Enjoyed working with my friends and making the net.
- Instead of making a 3D bell we made a paper bell.
Nathaniel
- Working with as a team is fun and useful.
- I enjoyed painting
- Don’t use frames (unless it’s heavy enough).
The class are making good progress working on their Famous Building models. Some really creative solutions and problem solving.
When making the centre part of the building, we stumbled across a problem with the folds, I used the makedo tool to make folds where I wanted them to be but in the piece of cardboard I was using had folds where I didn’t want them to be. So I used parts of skewers to hot glue over the folds and that fixed the problem.
Rory
In the MakerSpace, Alexia, Chloe and I made a paper bell to go inside our Big Ben, Alexia had designed the bell and once we had made the roof we thought it would be a good idea to use a skewer to attach the bell, once we had tried it didn’t work, the skewer was too obvious and it didn’t work when we put the roof on, to fix the problem we used string instead. We also had the problem of the roof covering the hole for the clock, we decided to vaguely cut a hole in the roof to fit the clock and it worked.
Olivia
My problem was that the flaps were not strong enough to fix the problem we got sticks and stuck them on the the flaps to fix them.
Alex
I had a problem with how the supports for the cardboard strip that does over the bridge would be held. The problem was that I didn’t know how to put a piece that would work good to hold the cardboard. I solved this by using a egg box bit if cardboard.
Harry
I needed to put tape in the inside of my top of the Big Ben to make it easier to hot glue.
Lexi
Yesterday we had a cardboard construction challenge as a MakerSpace warm up.
The challenge was to make something out of pieces of cardboard. The target was to make the tallest or most artistic creation. The limitation was only pieces of cardboard could be used and the biggest size you could use was 10cm.
No Glue, No Tape: Just Cardboard
We had a lot of fun, some successes, and some problems. All the pupils kept working until the end. The results were varied!
Some of the class aimed for height, some for art, some worked to their own criteria (Alex managed a miniature).


