Tag Archives: science

Batty About Bats!

by Mrs Burnett

November has provided so many opportunities for quality conversations with the children and helped nurture a love of inquiry and investigation.

After the excitement of Halloween, the children were talking about scary things they had associated with having been out guising. Vampires and bats were a recurring theme, which some children seemed genuinely worried about, so we explored a little about bats to dispel the myths about them being scary.

“They drink your blood.”

“Bats are scary…but not Batman. I like him.”

“I don’t like them, they frighten me.”

Investigation

We talked about how we could find out more information on bats and discovered we could ask people to see what they know, we could look up books in the nursery and we could look on the computer to help us.

“Let’s look on the computer.”
“My daddy knows a lot about stuff, I could ask him”

We considered what we wanted to know about bats, which included what they eat… particularly do they drink people’s blood at Halloween, but also where they live, where they sleep and what do baby bats look like?

Children naturally have inquiring minds and researching together further develops an interest in discovery. It also reinforces that it is ok not to know something because we can all learn something new.

“He is like a little mouse.” “Awwww, it’s so cute.”
“It has a funny squashy face!” “They eat midges….yuck!”

We discovered that bats are not so scary after all…even vampire bats because “they don’t live in Scotland.” The children particularly liked the pictures of the Natterer’s Bat which they nicknamed “the laughing bat”  because “he is smiling” in the photos. We learned that many of the species of bat we have in Scotland are tiny and most weigh less than a £1 coin, which felt very light when we held the coin in our hands. We even found out what bat poop looks like!

Development

We learned online that you can make your own bat box .

“It’s a bit like a bird house.”

Some of the children drew pictures of the bat they wanted to make a house for and even drew a design for a bat box.

With the help of a social enterprise that specialises in recycling wood, we sourced a bat box that the children helped assemble using the tool bench. One of the children even tested it out for size using a dinosaur!

“I want to make a house for the laughing bat.”

Our bat box is ready for the spring when the bats come out of hibernation and everyone now agrees that bats are not scary any more.


Virtual Nature Schools

by Miss Chrystal 

We have recently introduced the Virtual Nature School program within our centre. This term, we have been using natural resources to develop speech and language skills through a range of activities, all led by the children’s interests. 

The children have developed their communication skills through a variety of different water and mud play experiences.  This has enabled the children to explore new vocabulary,  talk about their ideas and think about how things change within the natural environment.

Water

The children have been exploring the different ways  that we can experiment with water and colour change. We  made our own clouds and rain using shaving foam and food colouring.

“The blue is sinking to the bottom!”

The children became confident at using a range of resources such as pipettes and paintbrushes. They were able to describe the change of state when the ice melted and also describe the colour changes that took place in the water.  

“The yellow one is turning green!”
The tissues are rainbow coloured now!”

We also explored different pictures of water experiences and the children discussed of what they associate each picture with:

“I see water at the park.” “ I go swimming.”  “When it is raining, I can jump in puddles.”

Mud

The second element we explored was mud. The children led their own learning within this block with staff observing the children’s play. We were fortunate that it rained so we put on our wellies and waterproofs and went to play in the mud. 

“Look, muddy puddles! I am jumping so high to make a huge splash!”

The children were engrossed in their play. They used their imaginations and they were confident to express their ideas and interests. They created their own mud paint as well as using paper to create muddy footprints from their wellies.  

“I need more mud so it goes darker!”

The children developed their confidence by talking and exploring a variety of vocabulary when asked to describe the texture of the mud.

“It is squelchy!”

“The rain has made it all gooey and sticky!”

Magnets

The children in the Orchard bubble have been exploring magnets and how they work.  They used horseshoe magnets to find out what was magnetic in the nursery garden.

A basket of items made from different materials was sorted into magnetic and non-magnetic items.  The children were very interested to find out that not all metals are magnetic and a magnet will only attract certain metals such as iron or steel.

The children investigated if a magnet would still attract a metal paper clip if it was covered over by different materials.

The children used their senses to help understand that when two magnets are near each other they either repel or attract each other.

We looked at an information book about magnets to learn that a magnet is strongest at its two ends and found out that they are called the north pole and the south pole. 

The children were also interested to learn from the information book that earth is a giant magnet and we can use a compass to find where the magnetic north is. 

Playdough and loose parts play

The orchard bubble have been busy! 

The orchard bubble has shown a great interest in making playdough over the last few weeks. The children have taken responsibility for their own learning by coming up with different ideas of how they want to create their playdough from colours and texture.  “I want blue.”


“I want pink.”


The children had shown an interest in loose parts and wanted to include this in their playdough experience. By incorporating loose parts with playdough the children are developing their fine motor skills. They use a variety of movements such as pressing, rolling and stretching. This will help to strengthen the muscles in their hand which in turn will help them with their writing skills.


“I want to use leaves.”       


 “Oooohhh feathers.”


The children showed ownership over their creations and seemed to enjoy the fact that they could start again when one model was finished. They did show interest in taking them home so our next steps will be trying to create models with loose parts and clay. 


“Can we take them home?”

Superb Science

Over the past few weeks we have been carrying out a number of different experiments using water and food colouring. Using our observation skills we are beginning to recognise simple cause and effect. We have been developing our ability to ask relevant questions and making predictions about what will happen next.

We used different concentrations of food colouring to see  what flower would change colour first.


“How fast will it go?” 


“Is mine going to change colour?”


We also made our own lava lamps!


“Look at my bubbles, my bubbles are moving.”


We made a rainbow water walk.


“The colour is getting sucked up like a straw.”


“They have mixed together.”


Runner Beans

The children have been very interested to learn about planting and growing runner bean seeds for our new family centre.  By placing a runner bean seed in a zip lock bag with some wet cotton wool and sticking this on to the window, the children were able to observe the seeds germinate as the roots and shoots started to grow. 

“I can see the roots going down and the shoots going up.”

“They are going to be so tall.”

“The roots are getting really long now.”

After about 10 days the children filled some small plant pots with soil and carefully planted a seedling in each one and then watered them all.


“I will give them some water.  They need water so they can grow.”

The children took responsibility for checking that the soil in the pots was not too dry and made sure each plant had enough water to help it grow.

“The beans need a little drink of water.  I touched the soil with my finger and it felt dry.”

To prepare for planting the runner beans outdoors a handheld drill was used to drill drainage holes in planters, the planters were filled with soil and canes were added to provide support.

“I’m turning the handle round and round.  I can see little bits of plastic at the bottom.”


To help carefully remove the plant from the pot without damaging it, the children learned about gently rolling and squeezing the pot with their fingers and hands.  They were very interested to see how the roots had grown inside the pot.

“Look at all the roots.  There are so many.”

When the children had finished planting all the runner bean plants they chose a sunny spot to put them in the garden and gave them a big drink of water. 

“The beans are really tall.  They have lots of leaves.”

Further information about growing runner beans can be found on the following website:  https://www.gardenersworld.com/how-to/grow-plants/how-to-grow-runner-beans/

Remote Learning – Growing Carrot Tops

You will need

  • Carrot top (2-3 cm from stem)
  • Shallow dish
  • Cotton wool
  • Water
  • Sunny windowsill

How to grow a carrot top 

Cut the top from a carrot. You’ll need about 2.5 cm.

Simply add a layer of cotton balls or newspaper  to your small dish. Add a little water over the cotton balls and place the dish in a sunny location. Do not let them dry out.

It will take a few days to see the carrot top begin to grow. Once the new plants have rooted well, you can plant them in soil. The new plants should show growth pretty quickly and your lucky little gardeners will be delighted with their reward.

Learning involved

  • What do plants need to grow
  • How root vegetables grow
  • Observational skills

What other root vegetables could you grow in this way?

Find some more on the CBeebies website by clicking the links below.

https://www.bbc.co.uk/cbeebies/makes/dotf-vegetable-scraps

https://www.bbc.co.uk/cbeebies/grownups/7-tips-for-gardening-with-children

Mrs Husbands tried to grow a red pepper instead of a root vegetable. She planted it on the 20th April and it took until 28th May before she could see a shoot!

A Red Pepper
The seeds are attached to the stalk.


The pepper stalk was planted in compost and kept in a warm place.


Can you see the tiny green shoot?


Let us know how you get on  @GlenwoodFC  #Glenwoodlearningathome

Remote Learning – Minibeasts

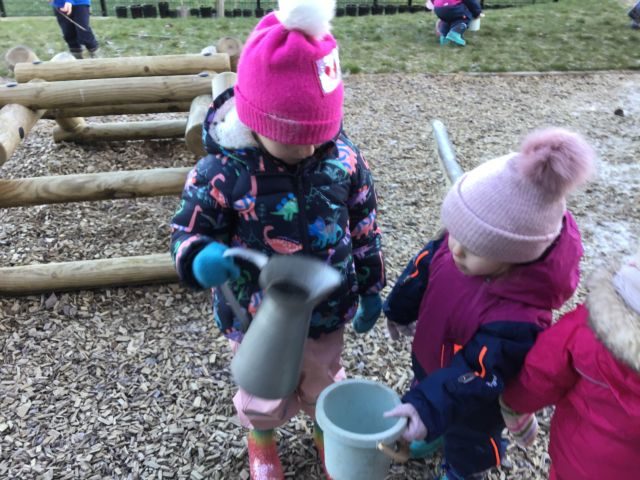
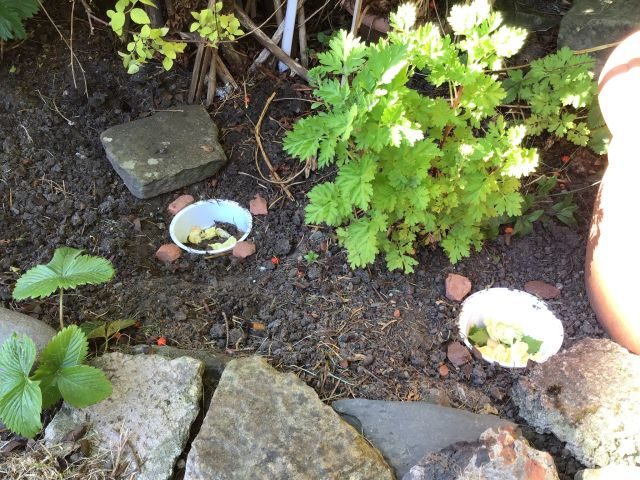
Children love exploring what they can find hidden under or in objects.  Why not involve them in a minibeast hunt in the garden?  This supports their curiosity by inviting them to look under stones or plant pots, to dig in the garden or to search other garden areas to discover minibeasts and where they can be found.

Finding the best places to search for minibeasts provides children with a problem solving experience as well as risk assessing the areas to keep safe.  For example, care will need to be taken with possible hazards such as overhanging branches, uneven ground or slippery surfaces.

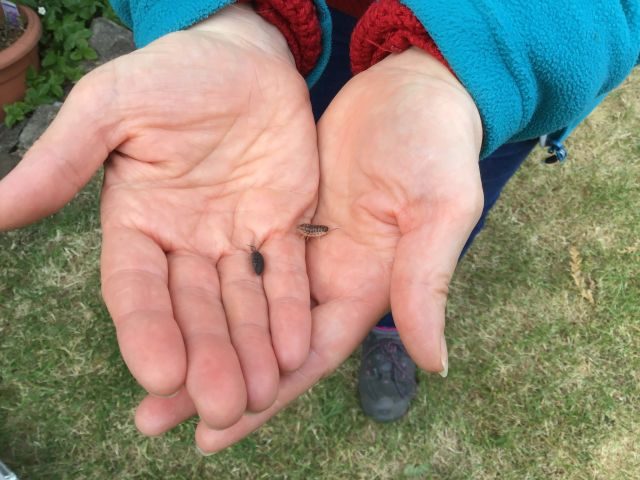
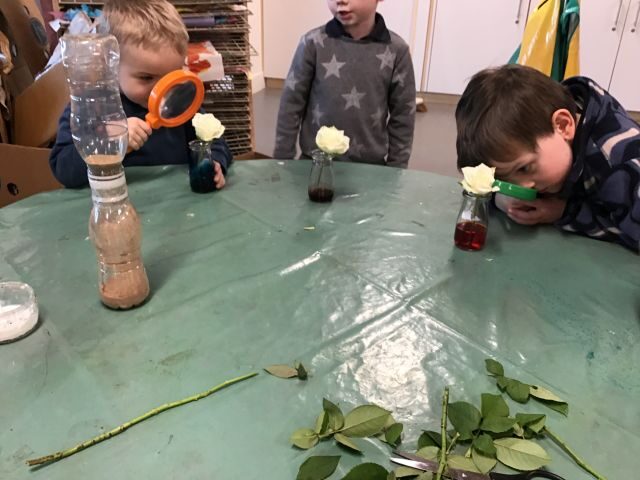
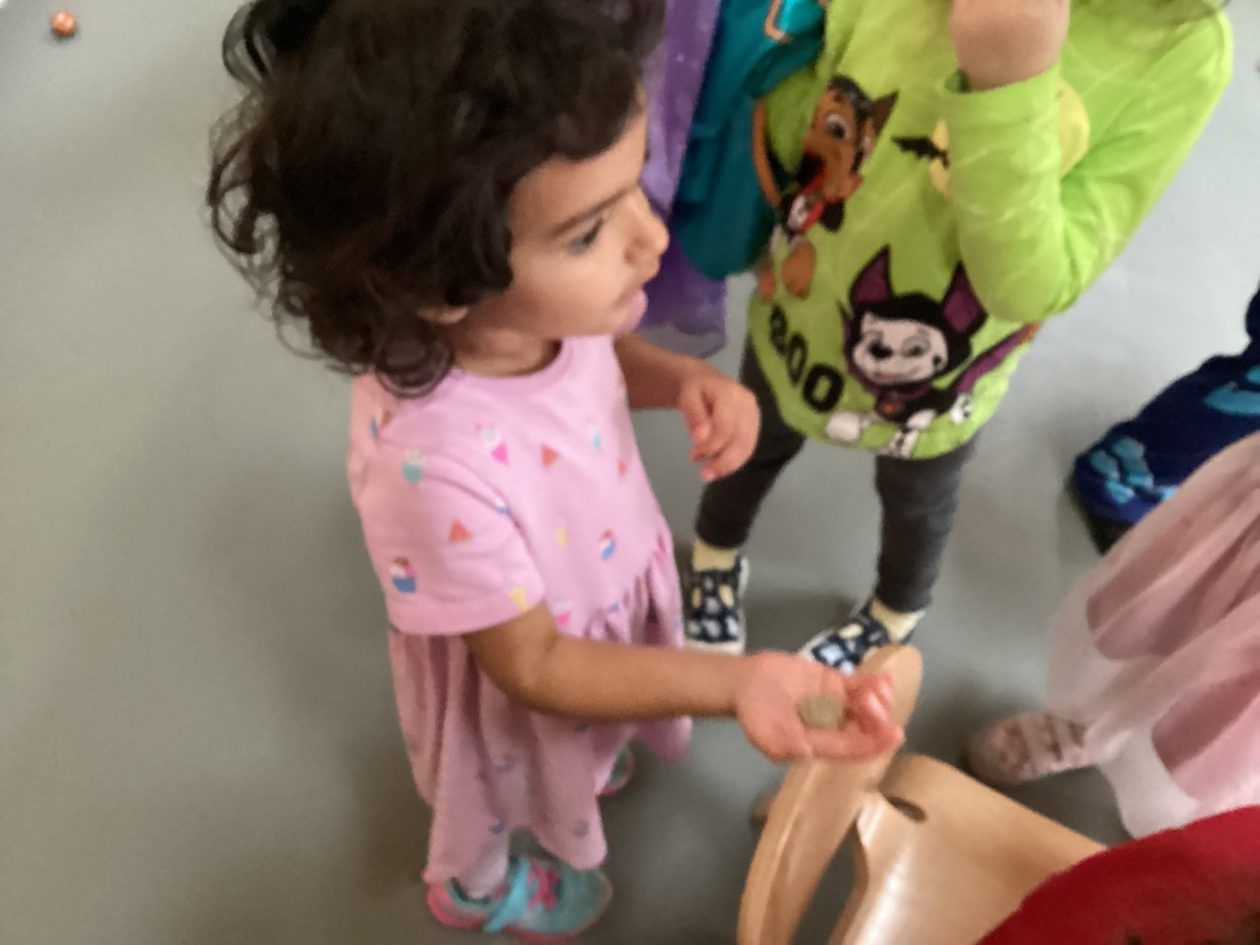
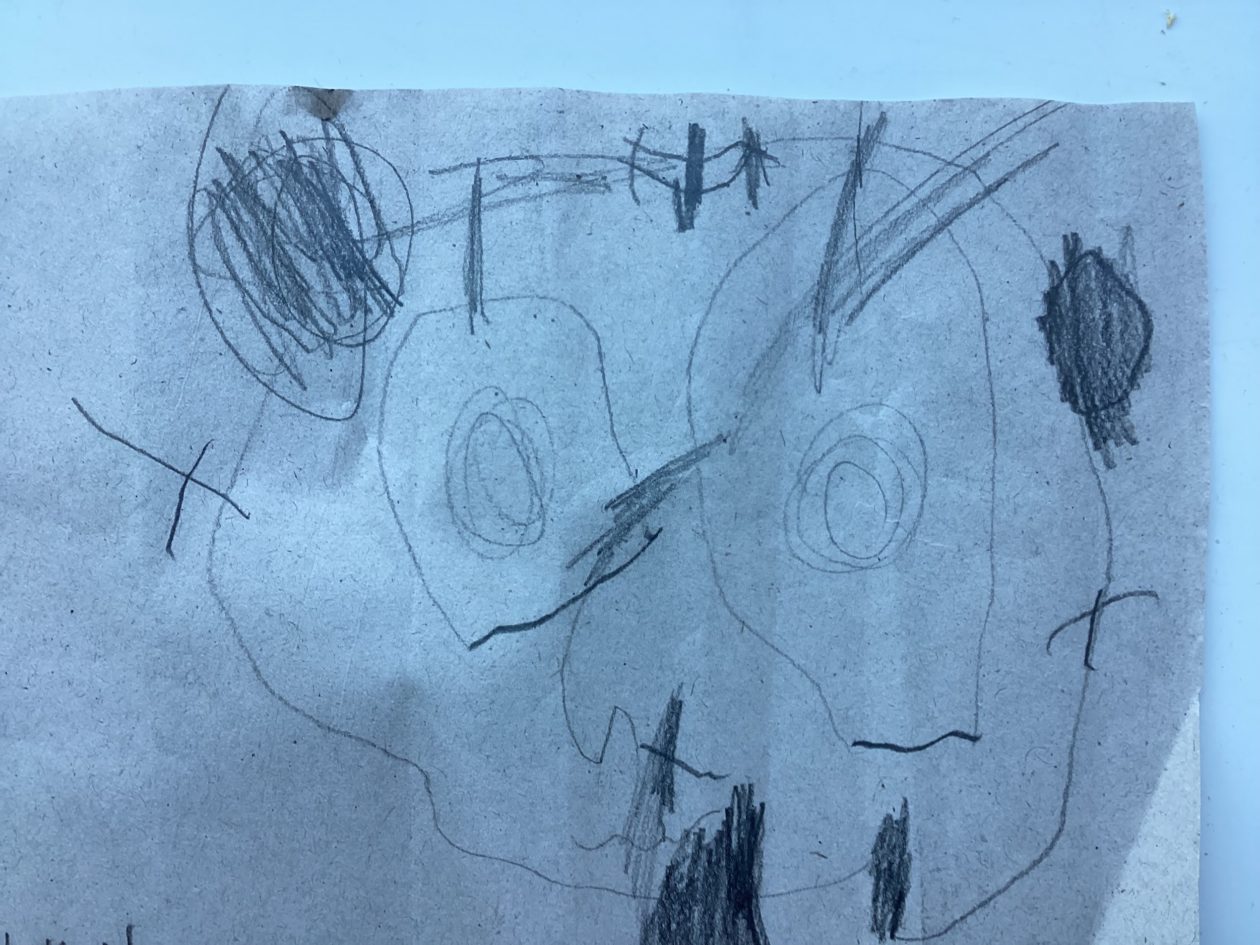
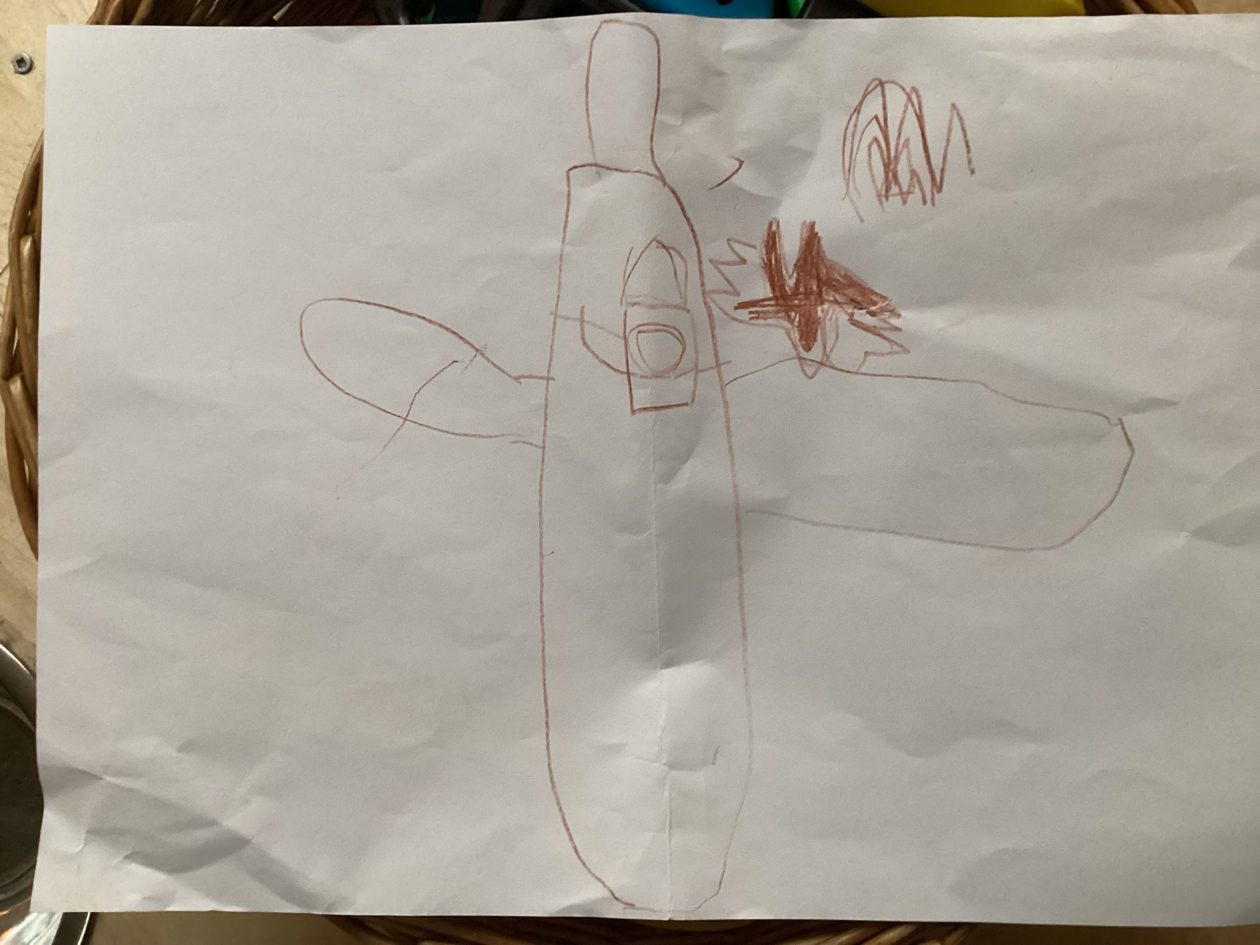
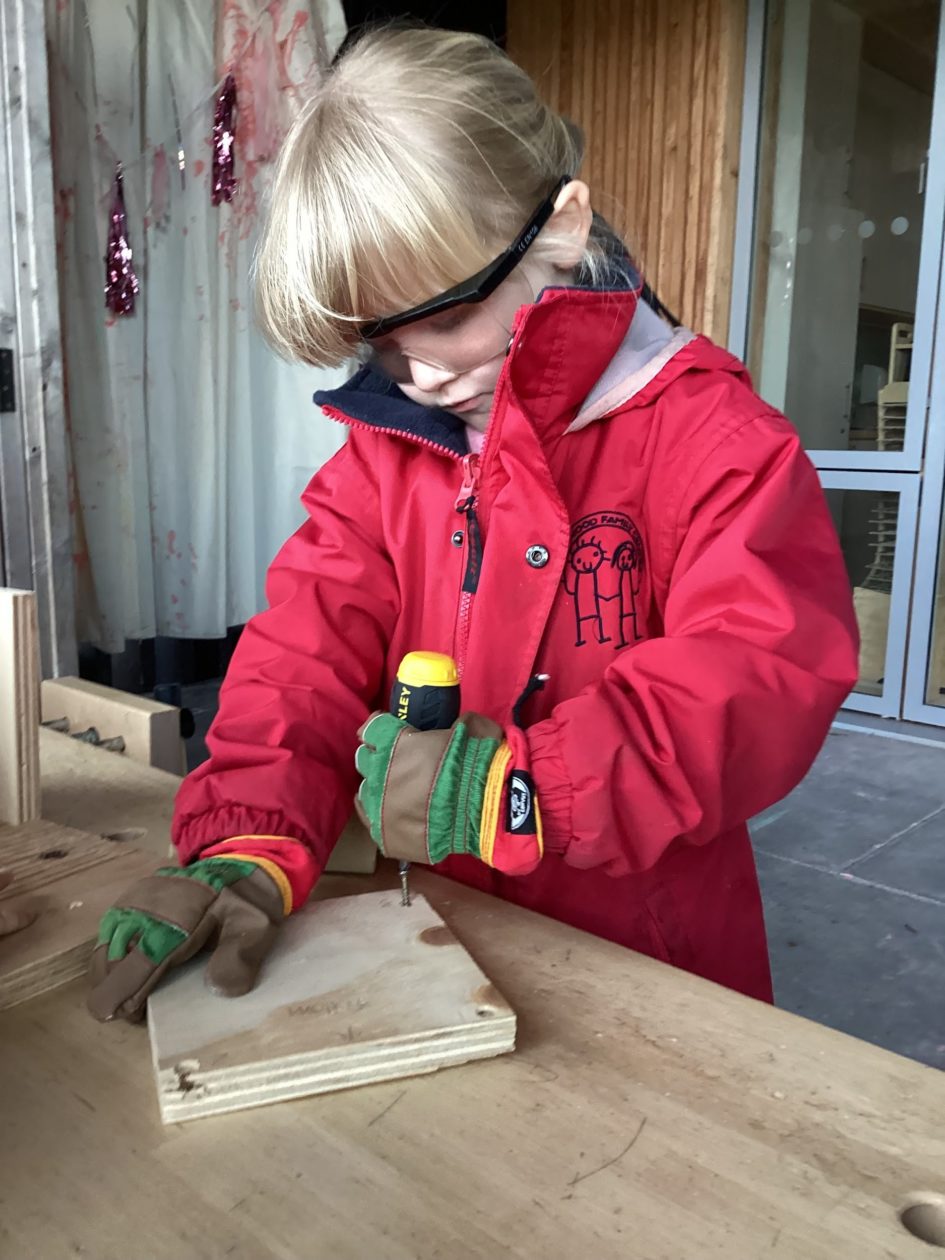
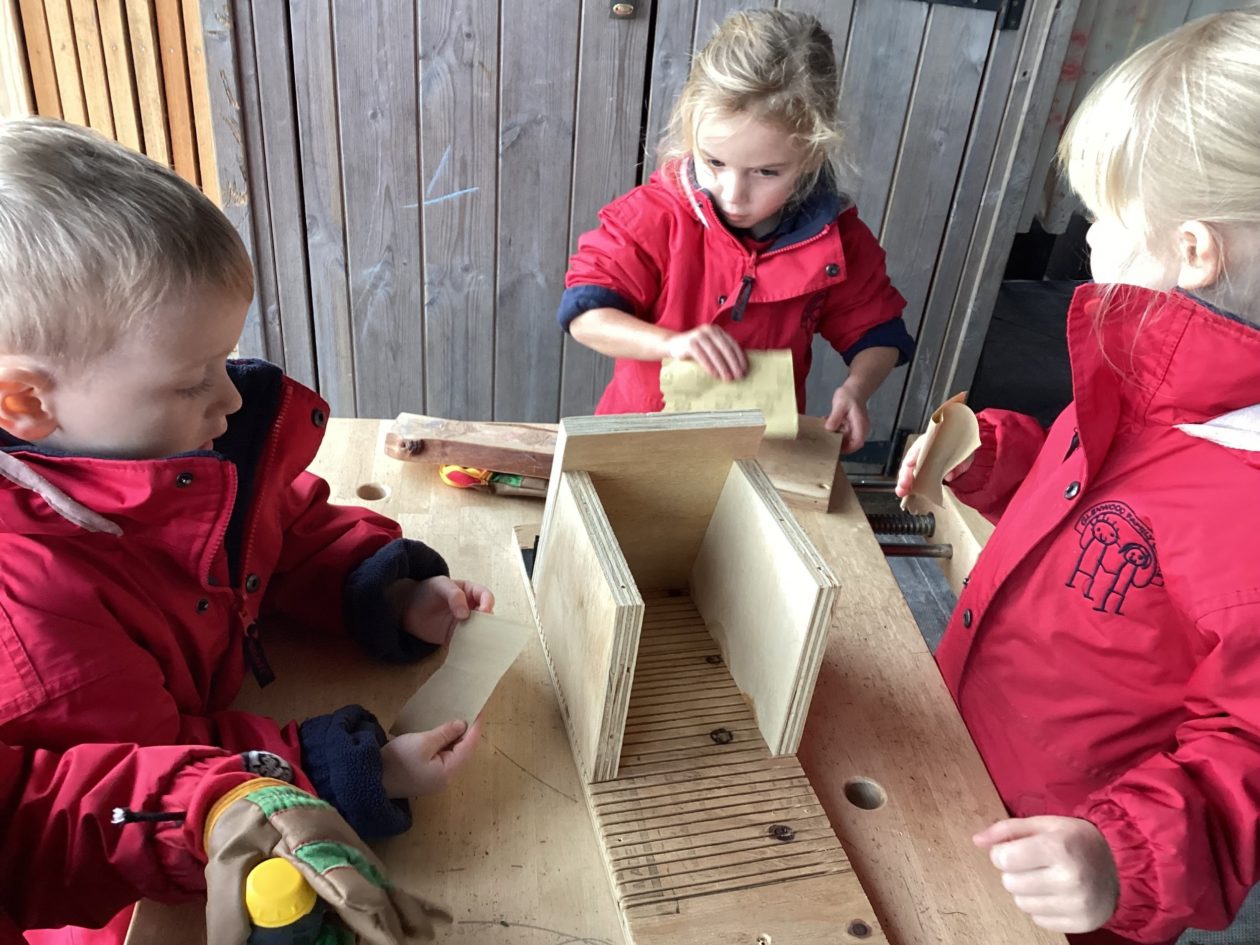
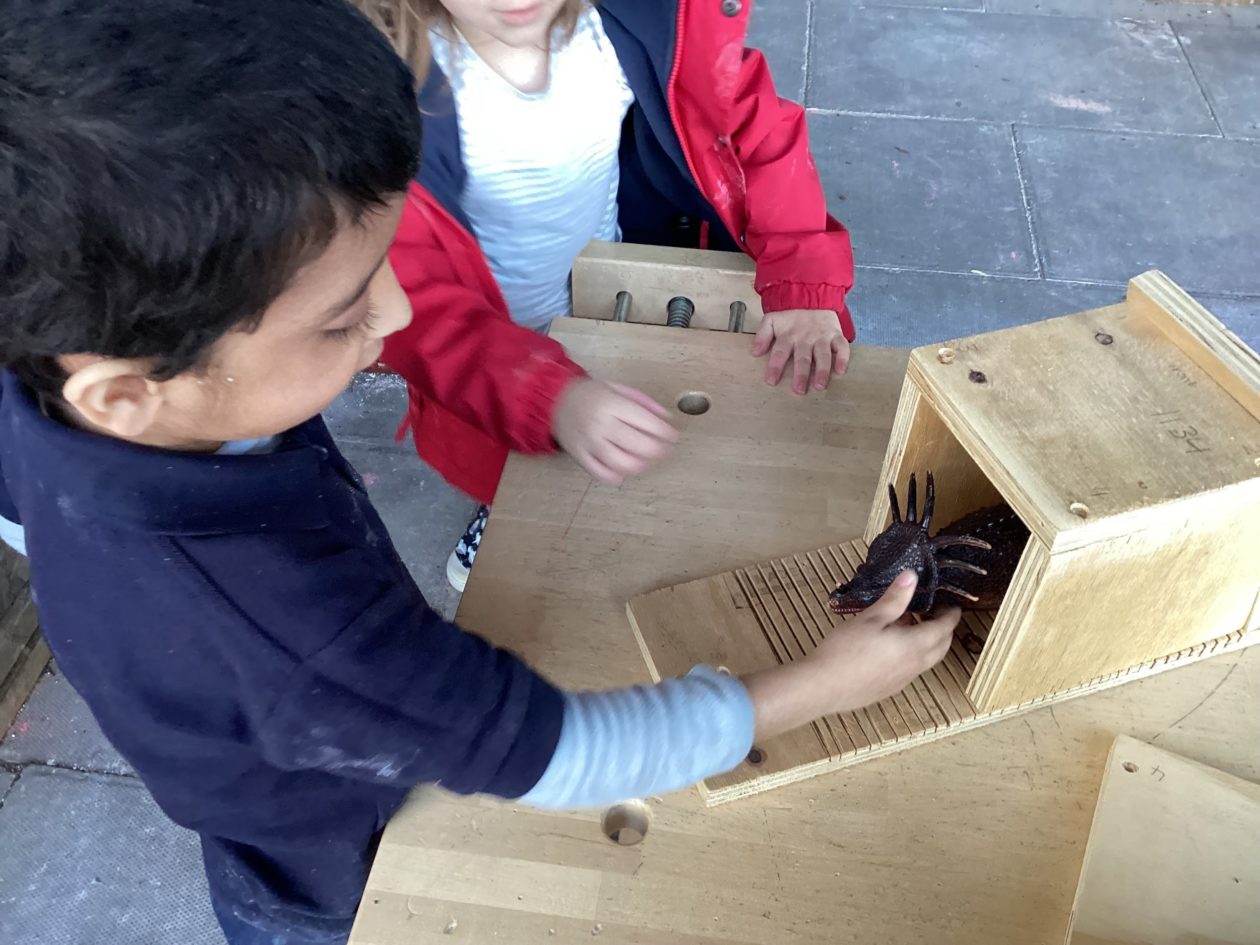
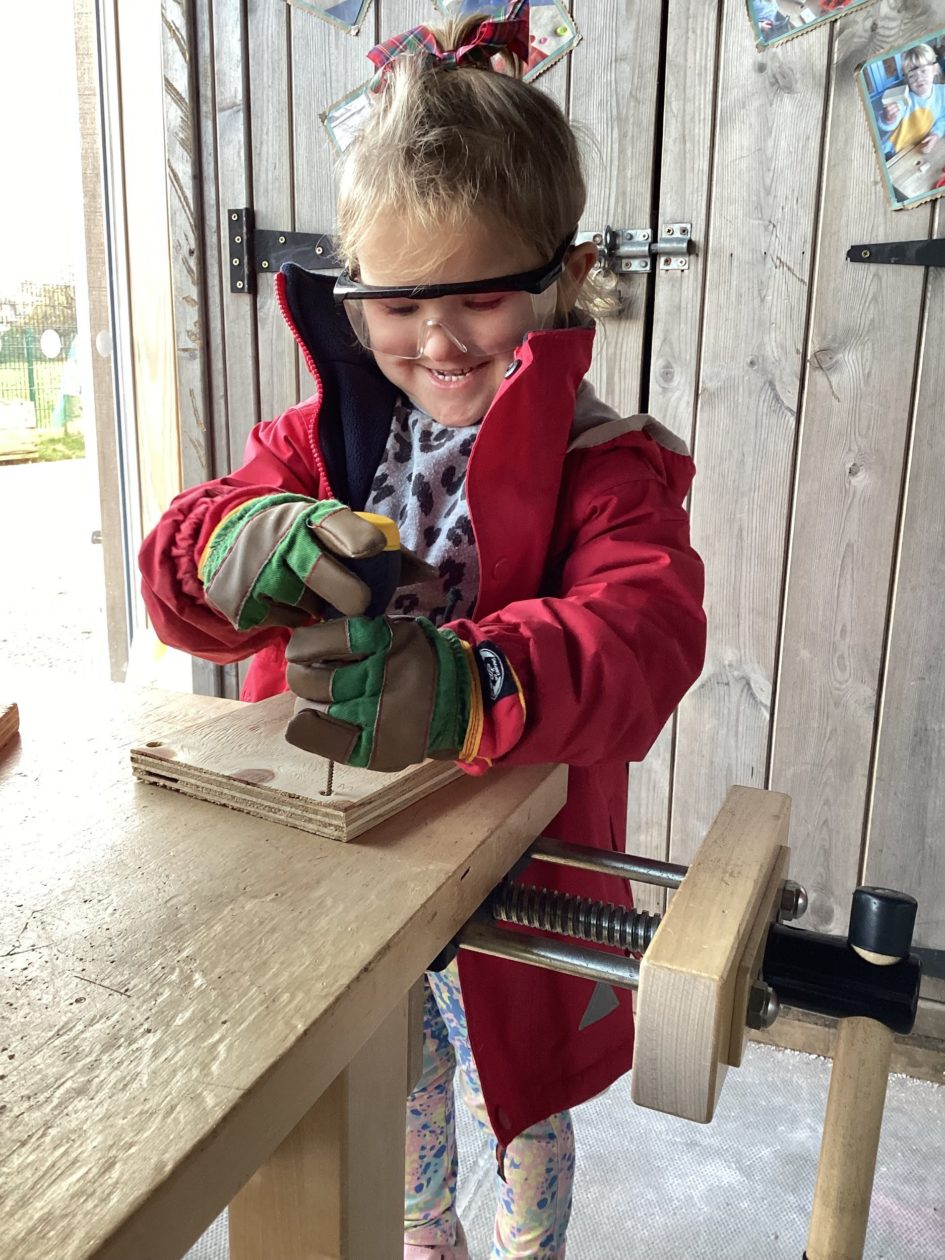
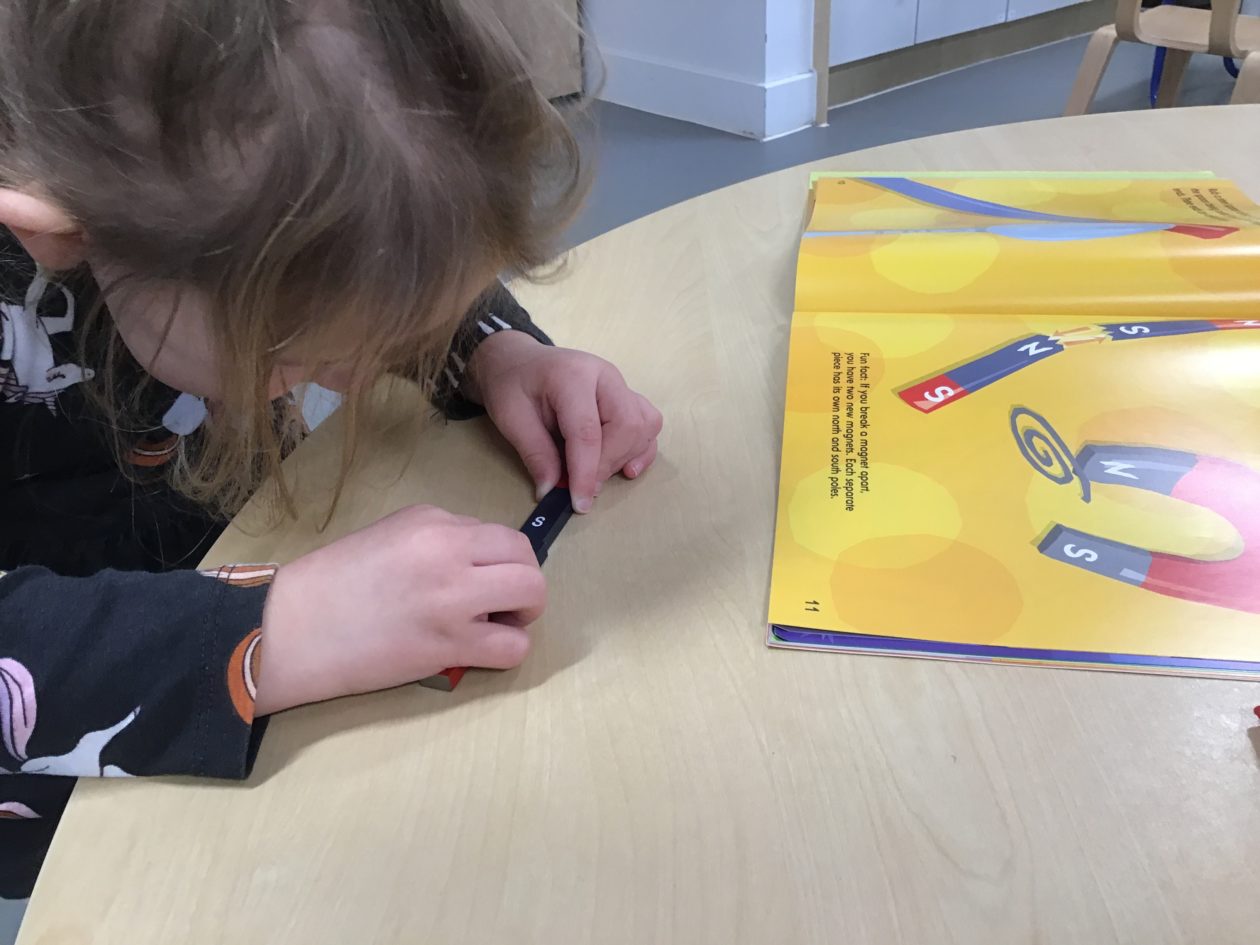
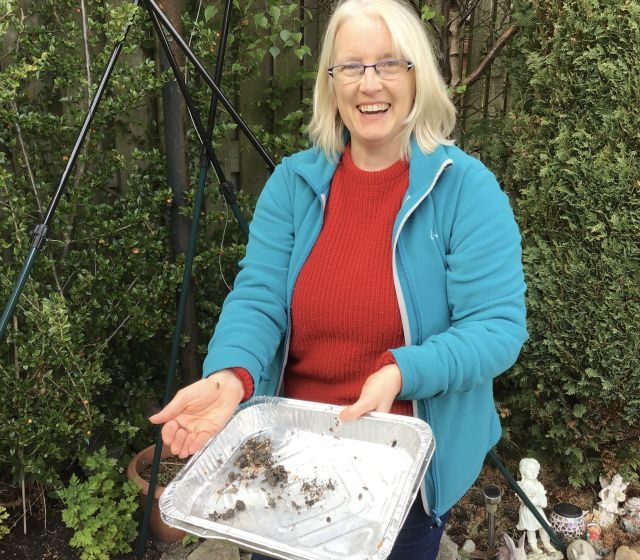
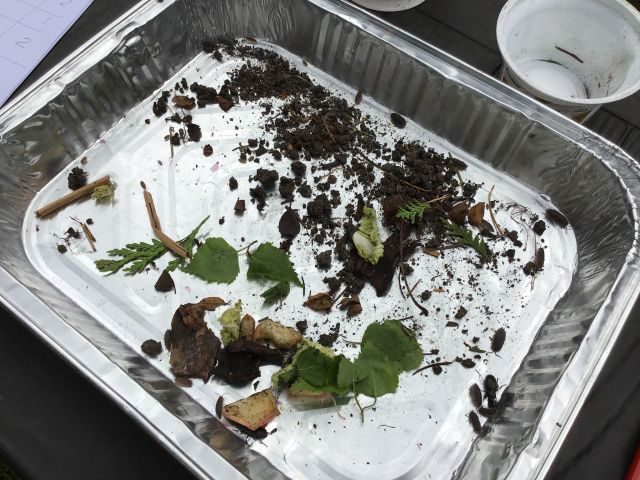
Some children love to pick up minibeasts, holding them in their hands.  Providing a container or small spade may allow some children the opportunity to scoop up a minibeast to have a closer look if they prefer not to touch them. Using a magnifying glass is also a great way to look at them in close detail.  Your child might enjoy drawing or painting a picture of the minibeasts they find, or perhaps like to take some photographs or make a model.

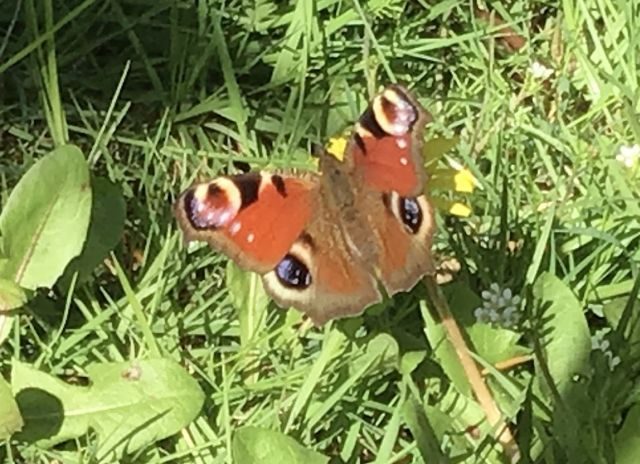
As children play and investigate the world around them you may hear them developing their numeracy skills as they count the number of legs on the minibeasts or the number of each minibeast they find.  They will be excited to share news of their discoveries and recognise colours while talking about the characteristics of each minibeast.

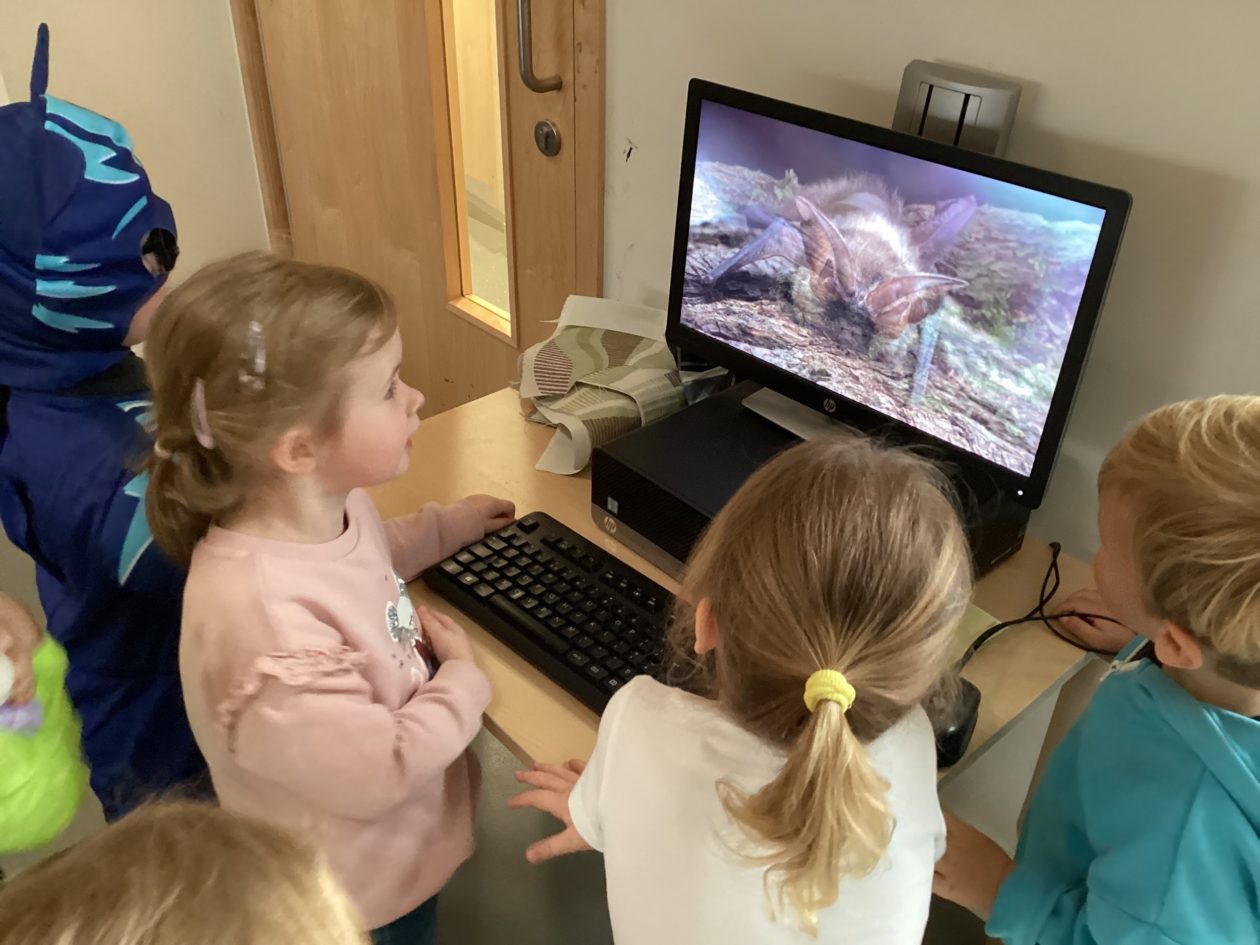
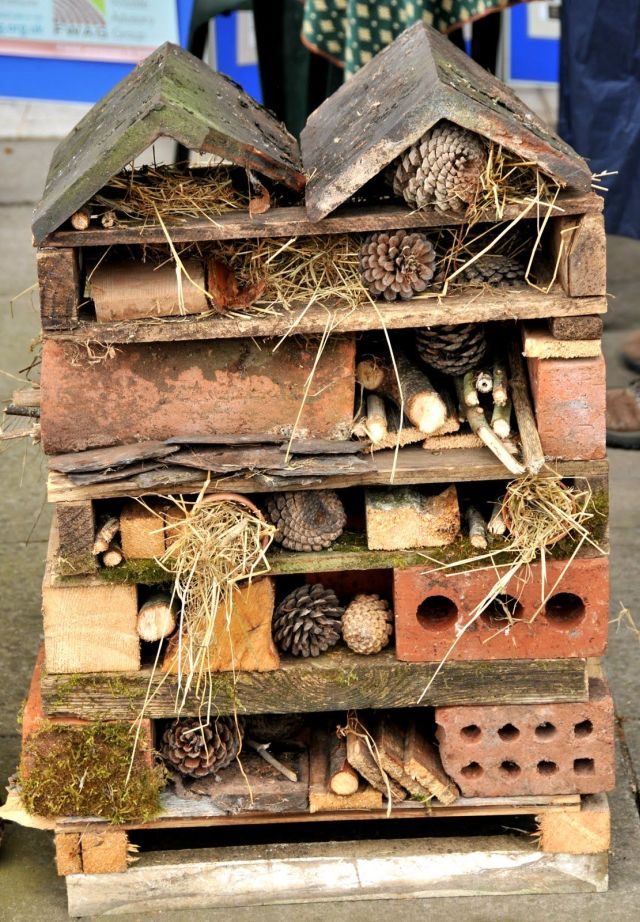
Searching for minibeasts in the natural outdoor environment also provides a great opportunity for children to learn about habitats and what creatures need to survive.  It also provides an opportunity to ask open-ended questions to encourage children to chat and further investigate minibeasts:

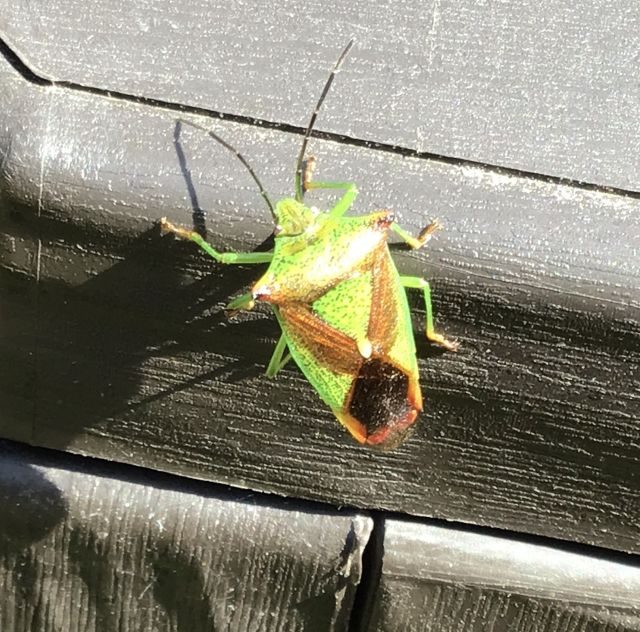
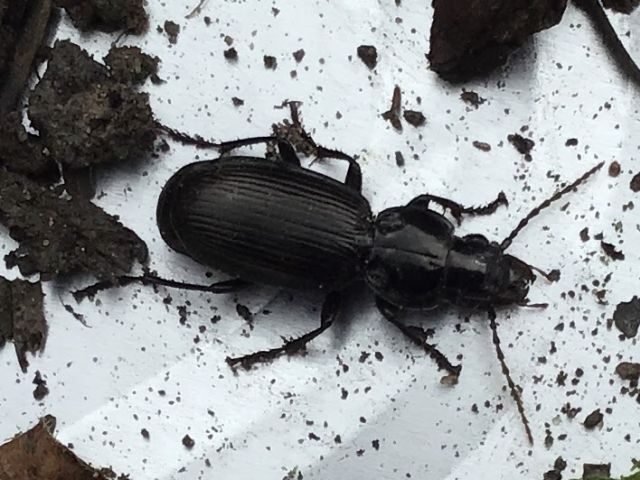
‘Where do you think that beetle might live?’

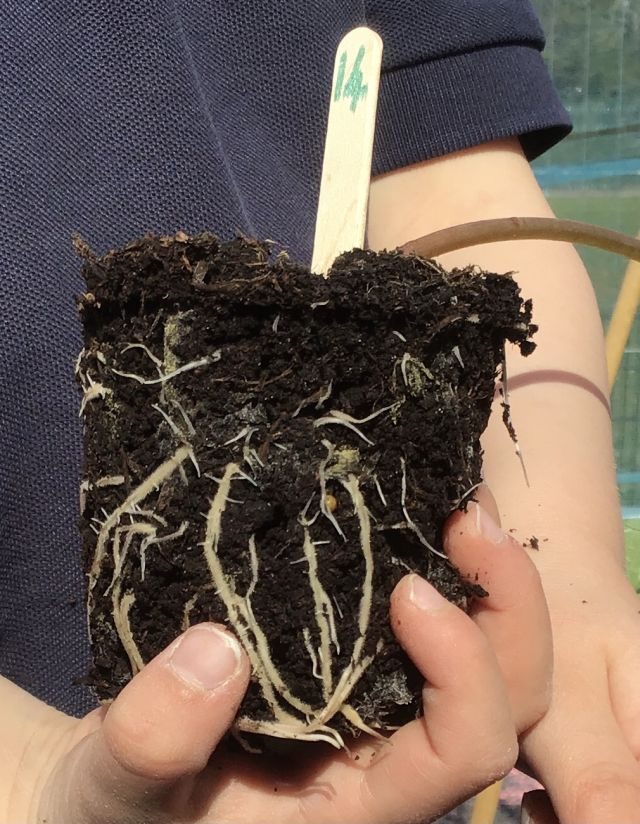
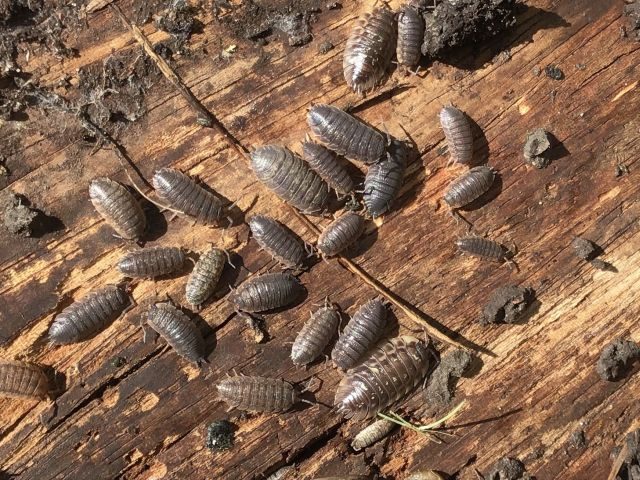
‘I wonder why we found these woodlice hiding under the piece of wood.’

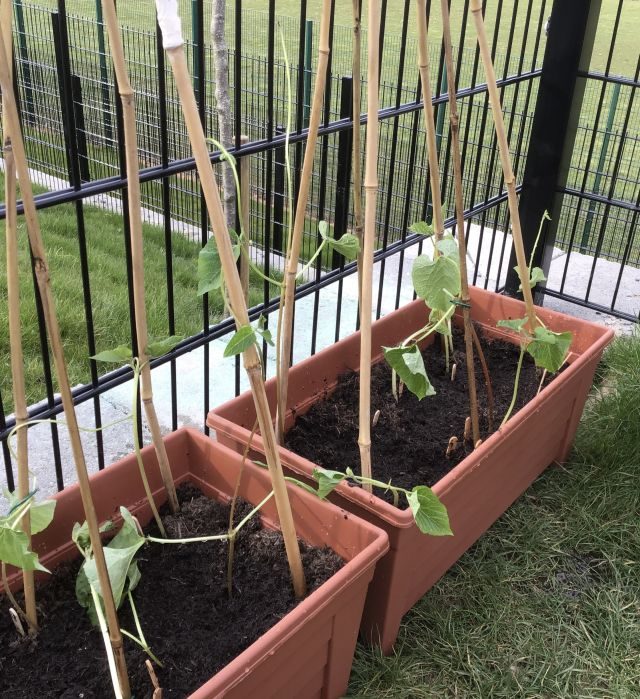
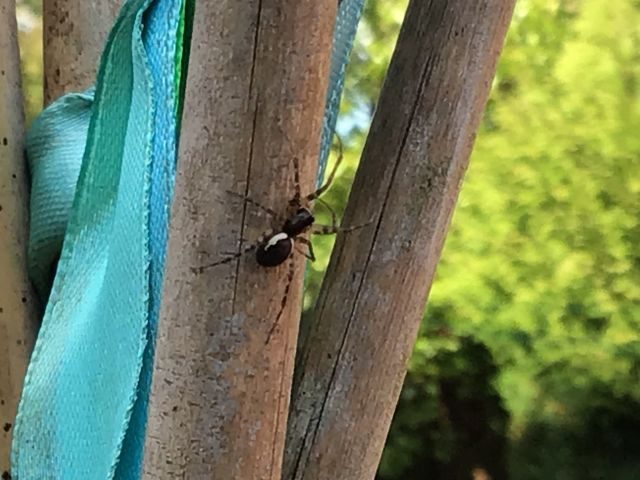
‘Why do you think this spider is climbing on the cane?’

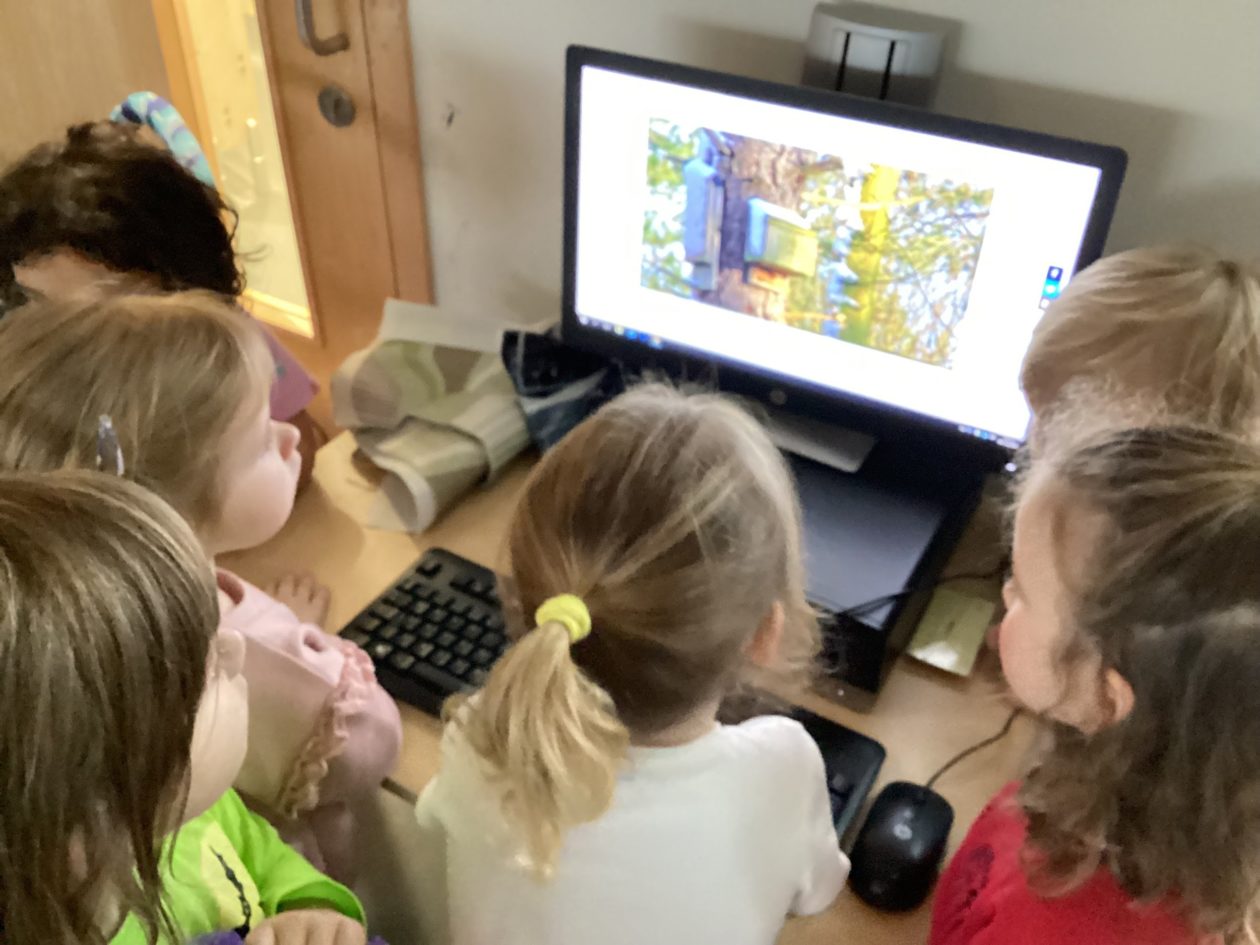
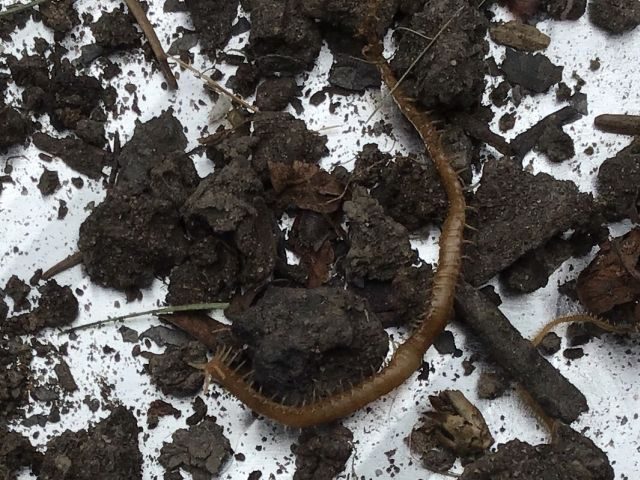
‘I don’t recognise this minibeast.  How are we going to find out what it is called?’

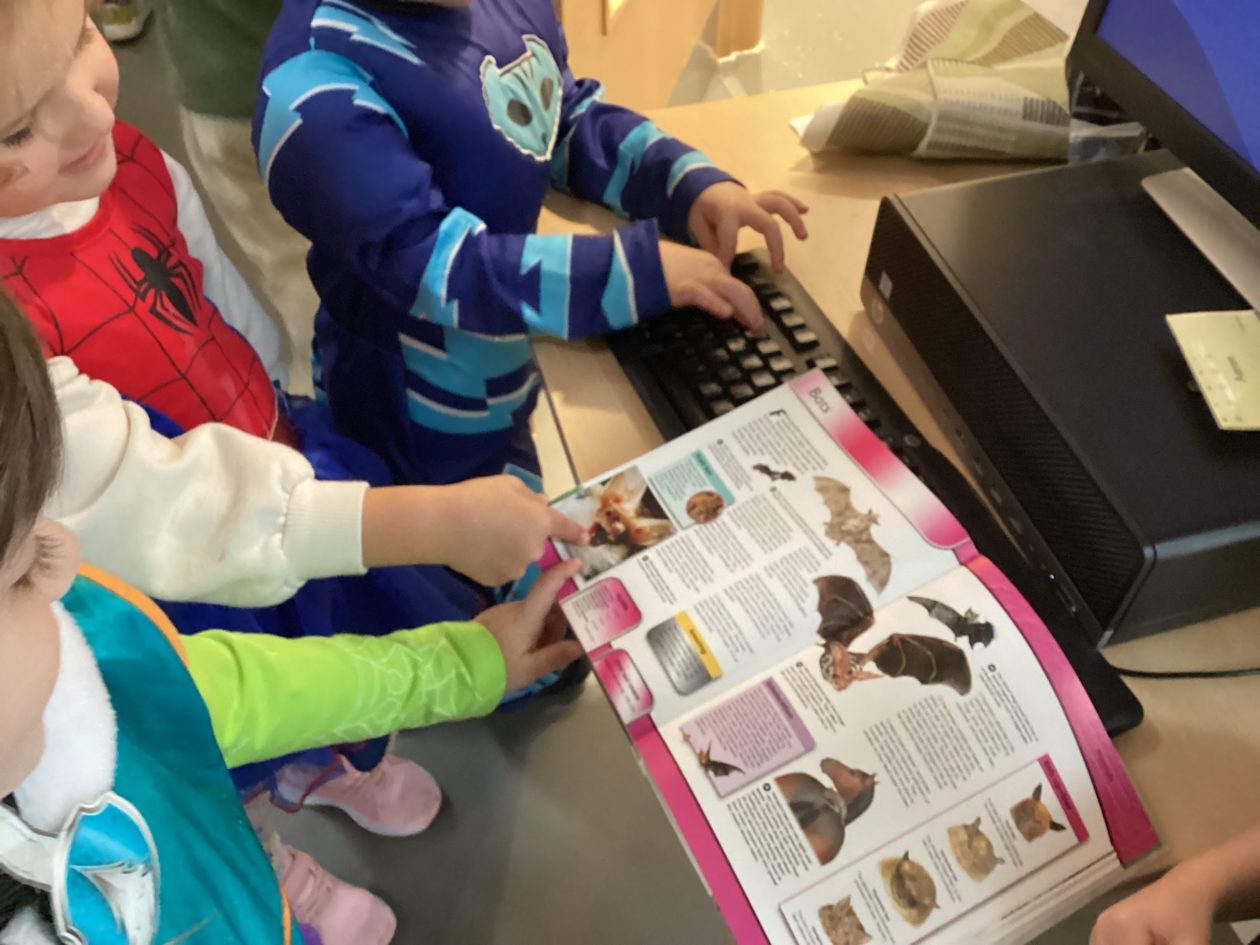
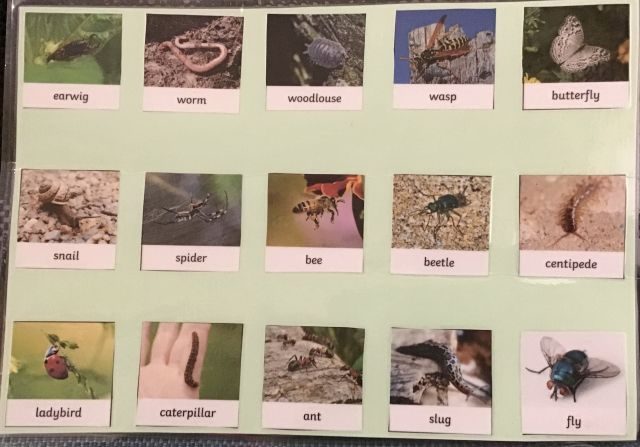
Using a minibeast chart can be a fun way to identify and tick off the ones you find. You could make your own chart or here’s one you could use:

https://www.woodlandtrust.org.uk/blog/2019/04/minibeast-hunt/

Use the minibeasts you find to make comparisons and predictions:

‘Which is the longest/shortest worm?’

‘Which minibeast has the most/least legs?’

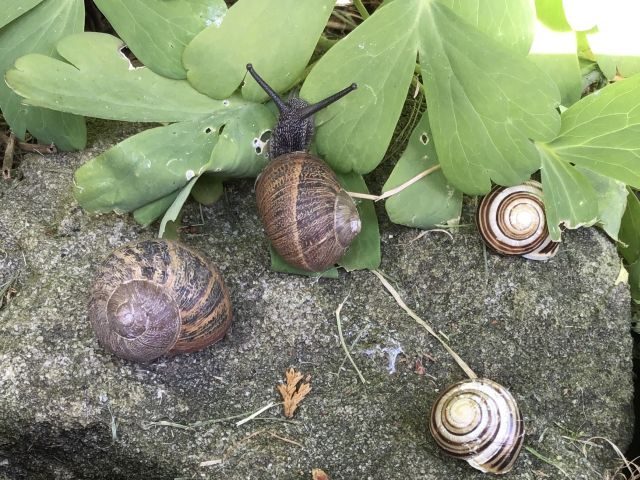
‘Which snail do you think will move fastest?’

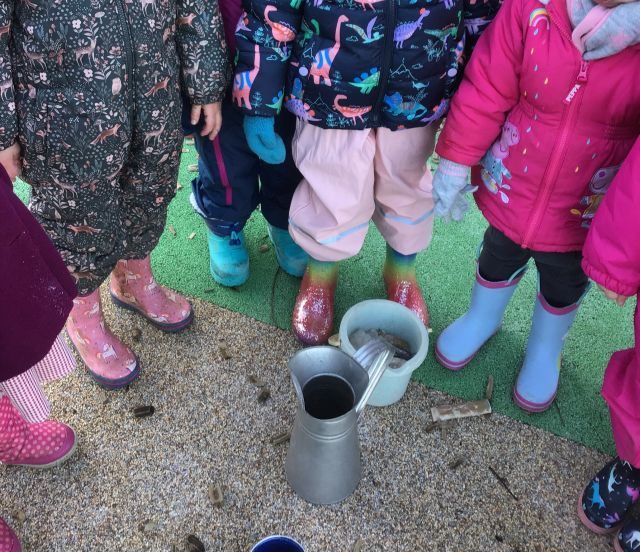
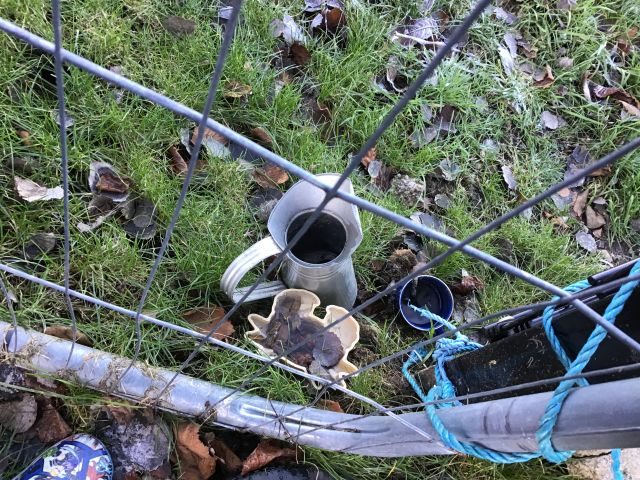
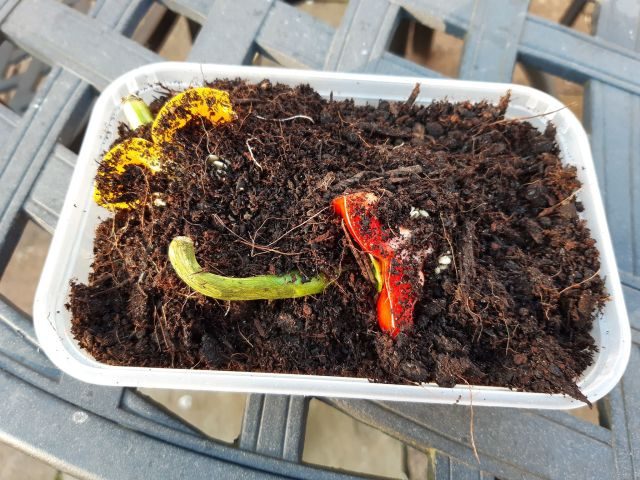
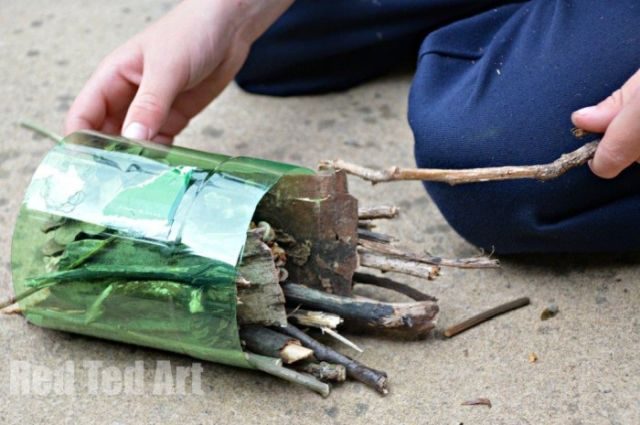
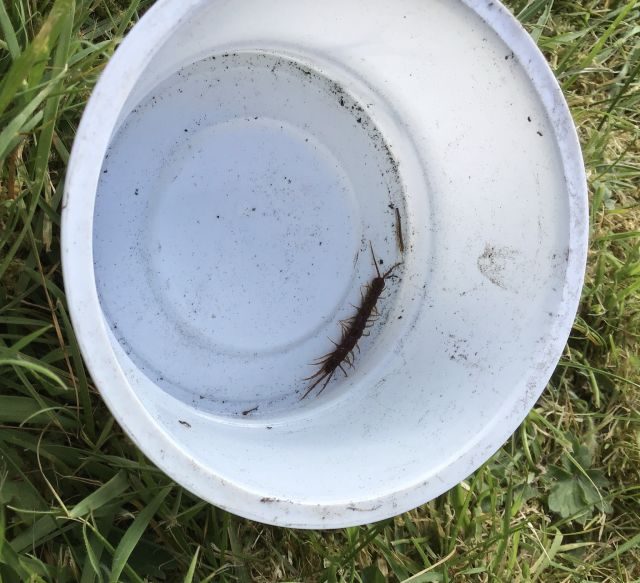
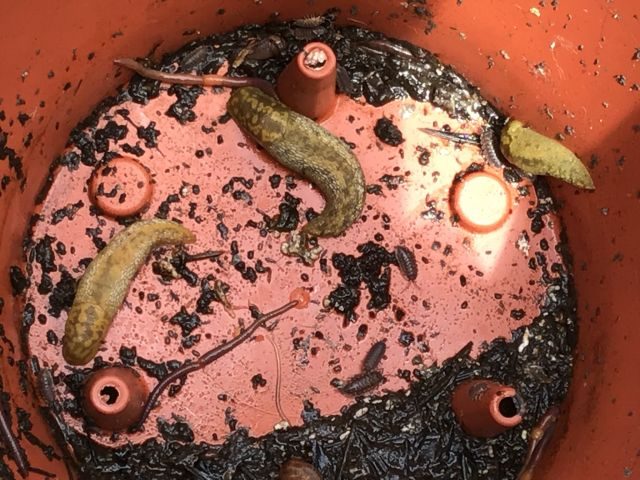
Another fun way of finding minibeasts in your garden is to make a pitfall trap.  Minibeasts that are moving on the ground nearby will fall in and you can check the next day to see what has been trapped.  Further information and instructions about pitfall traps can be found by clicking on this link.

Remember that minibeasts are very small and need to be handled carefully.  If you do pick them up, always put them back where you found them.  Don’t forget to wash your hands when you are finished.

Hope you have had fun trying out these minibeast ideas.  Please remember to share your child’s learning by tweeting @GlenwoodFC  #Glenwoodlearningathome


Remote Learning – Rainbow Science

Have you enjoyed looking at all the rainbows in the windows near where you live?

Did you know that real rainbows are a trick of the light? The white light of the sun is split up into a whole spectrum of colours by the water in the raindrops.

Have a go at making your own rainbow – you will need: a small glass of water, some white paper and a sunny day.


Then hold your glass above the paper – you may need to move it about until you can see a rainbow.


Can you see all the different colours?

How about making a rainbow you can keep using a scientific technique called chromatography?

You will need: kitchen towel, felt tip pens, scissors, paper clips, string, water.


First cut out a rainbow shape and use the felt tips to colour the ends. Mrs Husbands used the colours of the spectrum – red, orange, yellow, green, blue and purple.

Use the string and paper clips to hang your rainbow so that it just touches the water.

Watch what happens next…

Can you get your rainbow all the way to the top?

Remember to Tweet your rainbows @GlenwoodFC  #Glenwoodlearningathome

Here are some of the rainbows that the adults from Glenwood have put in their windows…

Mrs McGregor
Mrs Ross
Mrs Shields
Mrs Wilson
Mrs Clark

Remote Learning – Shadow Puppets

Puppets can make a book come to life. They are also a great tool for teaching rhyme in early literacy development. Acting out a story with puppets captures children’s attention to help them focus on the story. Children can invent and perform their own plays giving the puppet a character voice. It can talk or sing high, sing low, sing loud, sing soft. Get your puppet helper to lead the singing with a favourite song or rhyme.
Mrs Silvester has been having fun at home making shadow puppets and putting on a shadow puppet play.
She used a piece of paper to create shadows with her phone’s flashlight.
Next she used a bed sheet with a light source.
Can guess and match objects to their silhouettes?
 Find out how to make your own shadow puppet theatre with the CBeebies Let’s Go Club here:  Let’s Go Club
You can get some more tips on putting on a puppet show here:  https://www.bbc.co.uk/cbeebies/watch/lets-go-club-putting-on-a-puppet-show
Remember to Tweet  @GlenwoodFC  #Glenwoodlearningathome

Remote Learning – Become a Scientist

Children are naturally scientists – their curiosity helps them to understand the world around them. The children at Glenwood love to do their own experiments – developing their skills of scientific inquiry and creativity as they work.

They ask questions and make predictions, follow instructions and make observations, developing skills for learning, life and work.

Here are a few simple experiments and investigations you can try at home…

Click on the link to find out how to Make a Bubble Snake 

Here is a reminder of the bubble mix recipe:

1/2 cup of washing up liquid, 1 1/2 cups water & 2 teaspoons of sugar

You could use straws or other tubes to blow bubbles (or anything else with holes…)

Make a Paper Aeroplane (follow the link for instructions)

Which is the best design for flying fast?

Which goes the furthest?

Why don’t you have a competition with your whole family?

Create a Volcanic Eruption

This is a favourite at Glenwood – it can get messy so you might like to do it outside!

First make your volcano – you could use an empty plastic bottle or yoghurt pot and some sand or mud.

Next put some bicarbonate of soda in the volcano (along with some ketchup or food colouring  or paint to make the lava red)

Finally pour in some vinegar and watch the eruption!

Lego Boat Challenge

Can you make a boat that floats using Lego?


How many pennies can it hold before it sinks?


Another challenge for the whole family to get involved with!

Build a Bug Hotel

You could create a home for minibeasts in your garden – it can be big and fancy like the one on the RSPB website but a simple one using recycled materials will also attract wildlife.

Don’t forget there are some other science experiments  in your Ideas for Home Booklet March 2020

Please Tweet some photos @GlenwoodFC  #Glenwoodlearningathome