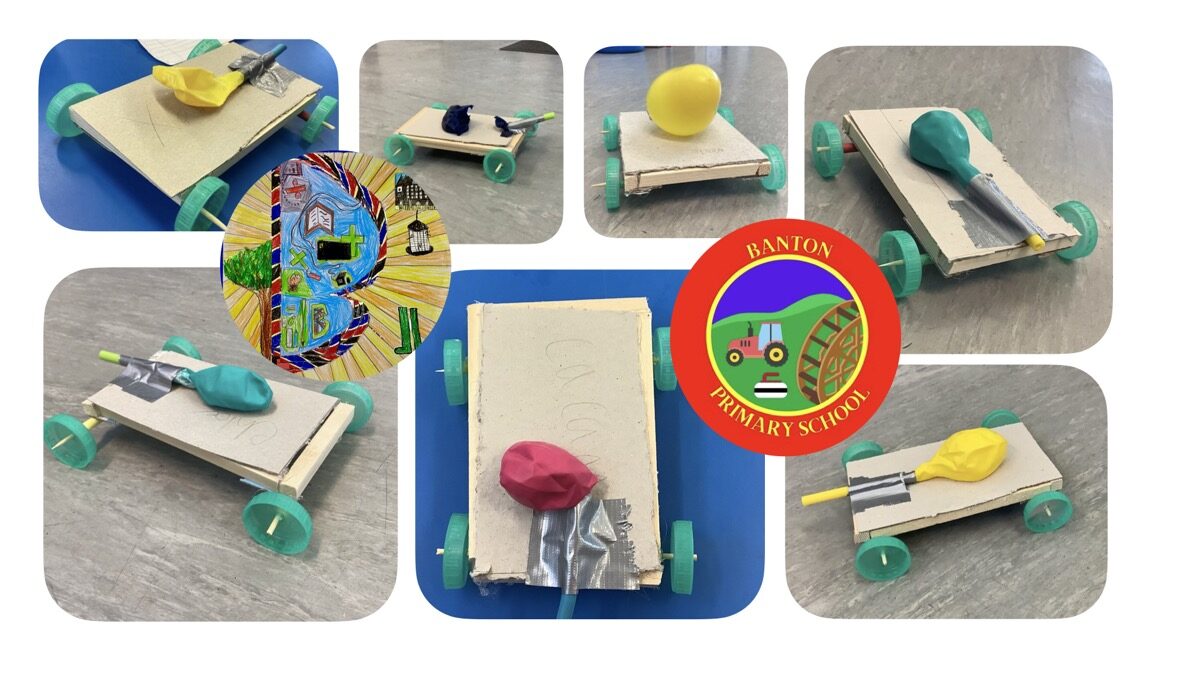
While the Primary 7s are away at Ardvulan for the week enjoying the outdoors the rest of the Biggies have been improving their STEM skills.
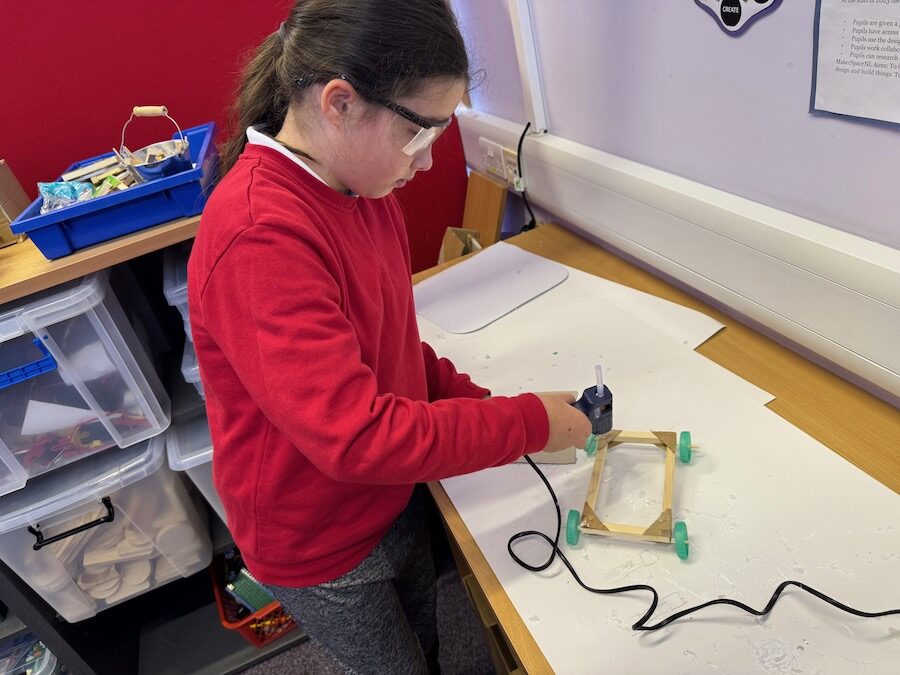
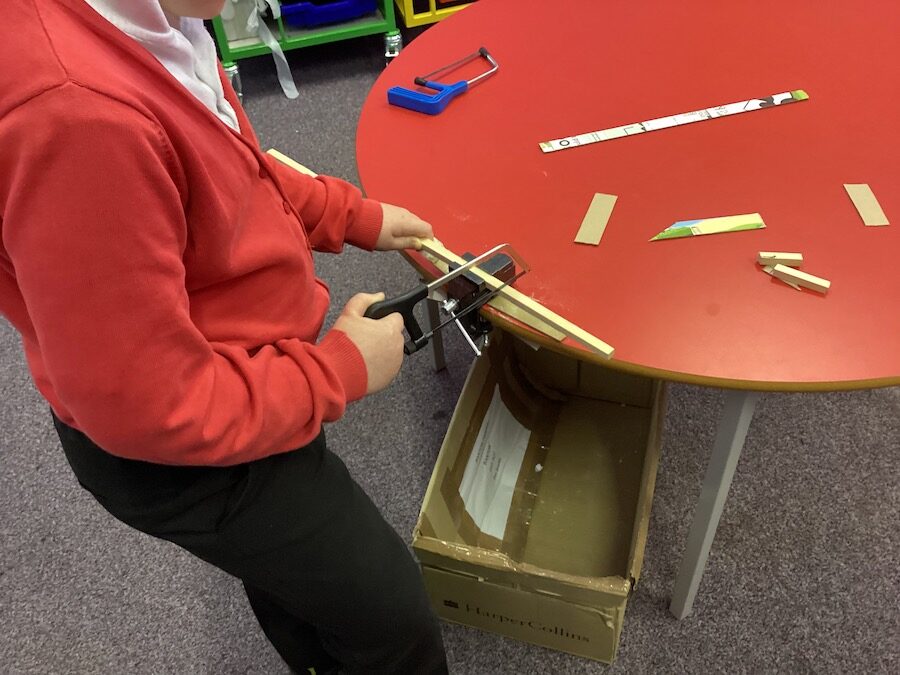
We were working on keeping safe while using saws and hot glue guns. And on the test and improve part of the design cycle.
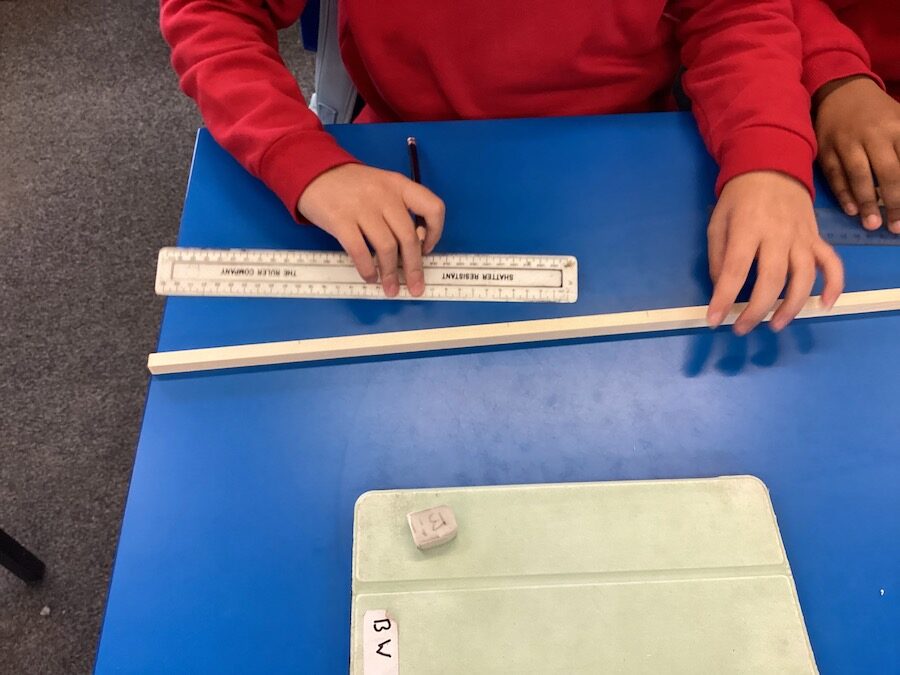
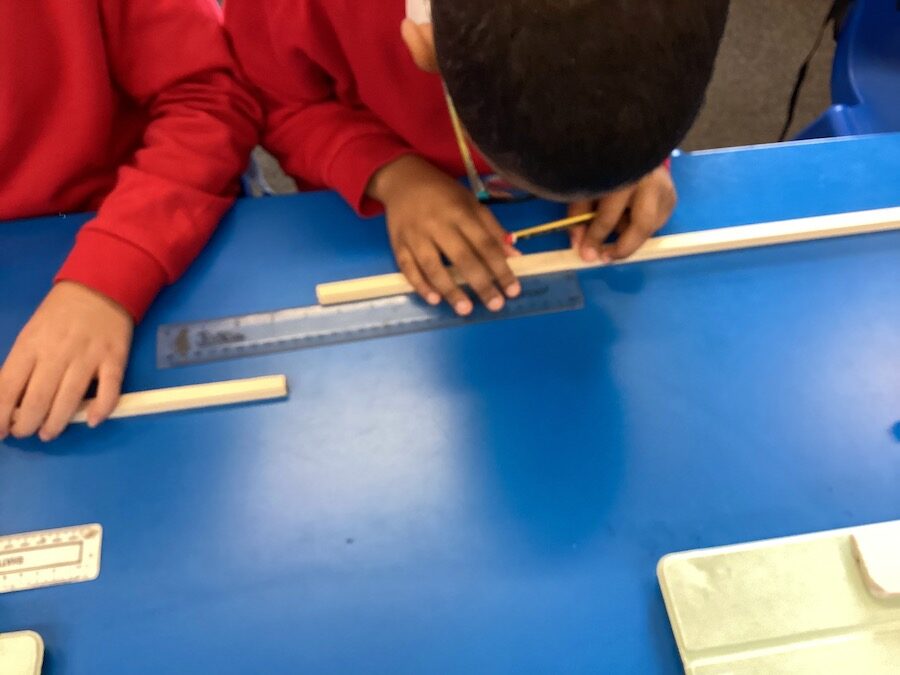
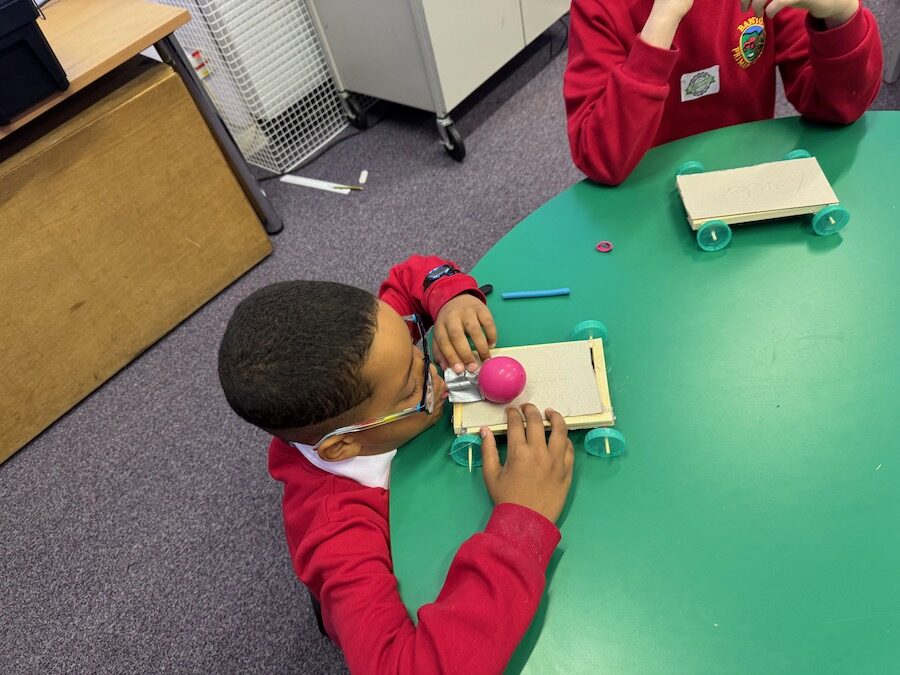
The First round consisted of creating wooden frames with wheels. We then attached a balloon and straw to provide some air power. As well ask keeping safe we practised our measuring, and learn how to use a vice and saw to cut wood. THe hot glue was used to hold the frames together with right-angled (more maths) reinforcements.
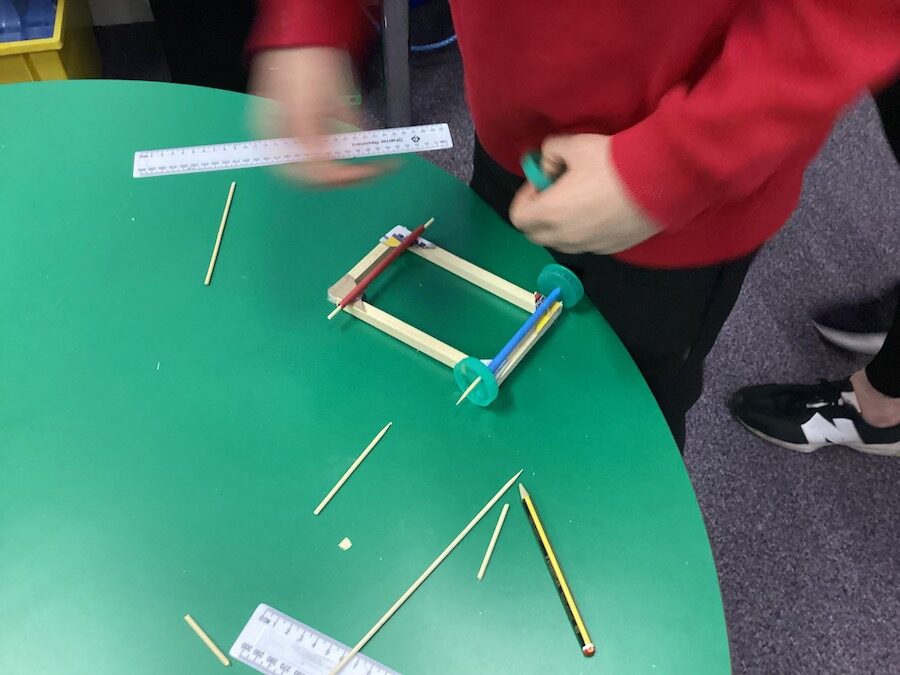
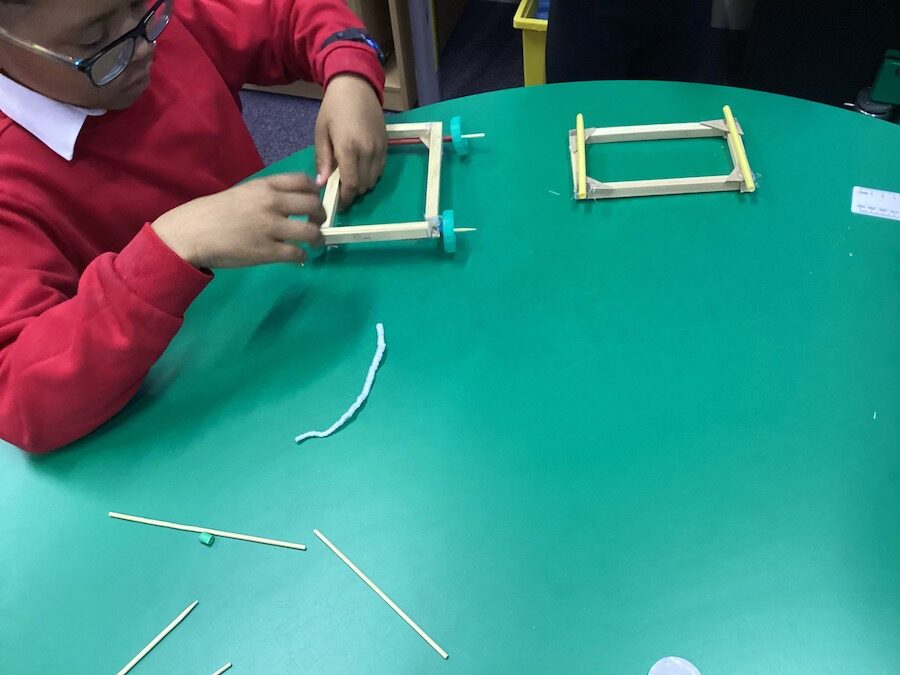
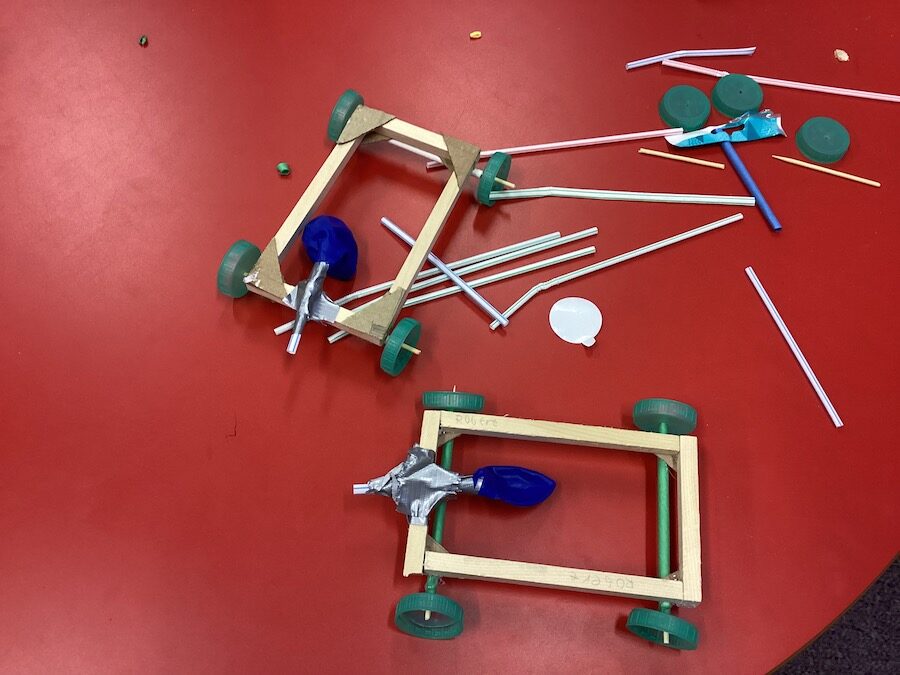
After we ran the cars along the corridor we though about how to improve our designs. One idea was to provide a platform for the balloon to stop it getting stuck in the frame. We also adapted the way we connected the balloons to straws to get less leaking.
Finally we had a bit of fun in the gym hall testing out the cars to see whose would go the furtherest.
Back in the classroom we identified the learning that had taken place and skills we had improved.
Pupil Voice
We used wood , cardboard, balloons, duct tape, wood sticks, milk lids, card and straws. We used the as the base of the car and the wheels.
Billie
Our class made some balloon powered cars. They are very cool and can almost go all the way across the hall! They aren’t very durable and not good at going straight though. The things we learned when making these are: how to use saws and hot glue guns, a bit of measuring and how to make a balloon car.
Robert
The p 5/6/7 made balloon powered cars. We built them then went for a race. The building process was hard though. We built them with cardboard, wood, milk lids, tape, straws, a balloon and a skewer. We used tool that were saws, vice, hot glue guns and snipper as all as I can remember. Also our classroom tools that were pencil, rubber, ruler and scissors.
Gene
We used the 2 10cm and 2 15cm lines of wood that we cut, and used hot glue guns to glue all of it together. One it was glued together we used some paper straws, bottle caps and sticks. We put the wheels through the stick and the paper straw on top of the sticks. Then after we put a balloon on the car with a reusable straw. We then used duck tape to close it off so no leaks could happen.
Jason
First we had to measure the wood into different sizes. Then we had to make right angles and hot glue them all together. After we got a straw and milk lid and put a hole through and attached it on. Then we cut a straw and put the straw through and taped it on.
Noah
How to make it:
- First get a 50cm long wooden stick.
- Then grab your pencil and draw 2 lines among 15cm.
- Then draw 2 lines among 10cm.
- Get your saw and cut where the lines are.
- Use hot glue to put the sticks into a rectangle shape.
- Use a piece of card and use hot glue to stick it on top of your car.
- Grab your hot glue gun and flip over the car to stick 2 paper straws onto the bottom of your car.
- Use skewers and put them through the paper straws.
- Put bottle caps on the skewers to act like wheels.
- Stretch a balloon and use scissors to cut the bottom off the balloon.
- Put a drinking straw through the balloon.
- Then wrap tape in the middle. If it doesn’t work wrap another one on.
- Finally put tape on the middle (Don’t wrap) then stick it onto the car and play around.
There you have it! Now you have a cool car at home! WARNING! Don’t put near cats or other sharp things
Xander
After the race finished we went back in the makerSpace and talked about what we had to improved, and the next day we improved them.
(Thursday) on Thursday we improved our cars by putting in a piece of cardboard to stop the balloon from getting caught and bursting, we also used a different type of balloon and cut the top off of it, and we also used a different type of straw which was easier to use. After we improved are balloon we had a different race and stuff like that. The winner was Calum, but I think I did quite good because I was 2nd, the only reason I lost was because my wheels were squinty
Chloe

