Author Archives: Mr Bennett

Pattern and texture – Art

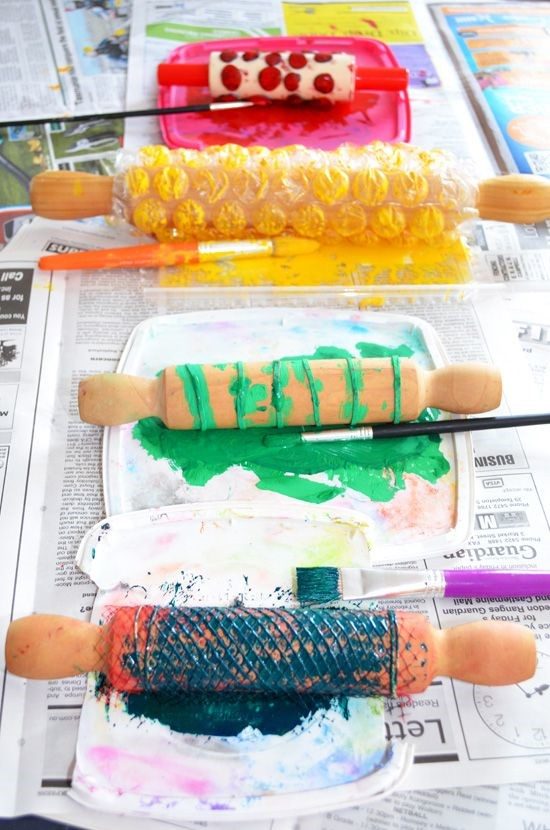
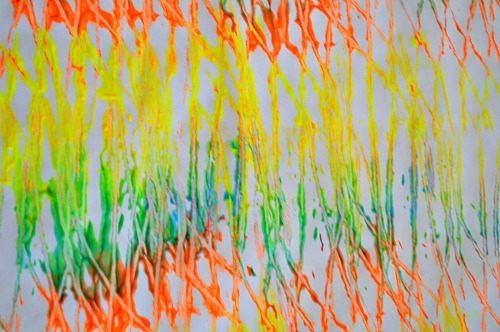
Using a rolling pin, is a quick and easy way to achieve repeated patterns and textures. There are several different effects you can achieve by using different materials.

Materials needed: Rolling pins, string, bubble wrap, netting, paints.

Method: Wrap string, bubble wrap and netting over the surface of a rolling pin. This will give different textures when you roll. The string, you can wrapping it around different ways to achieve varying results. Also use pieces of string to keep the bubble wrap and netting in place.

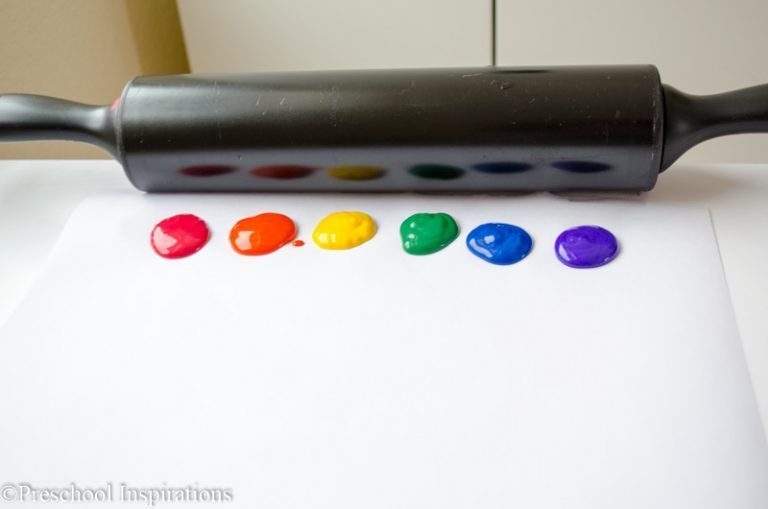
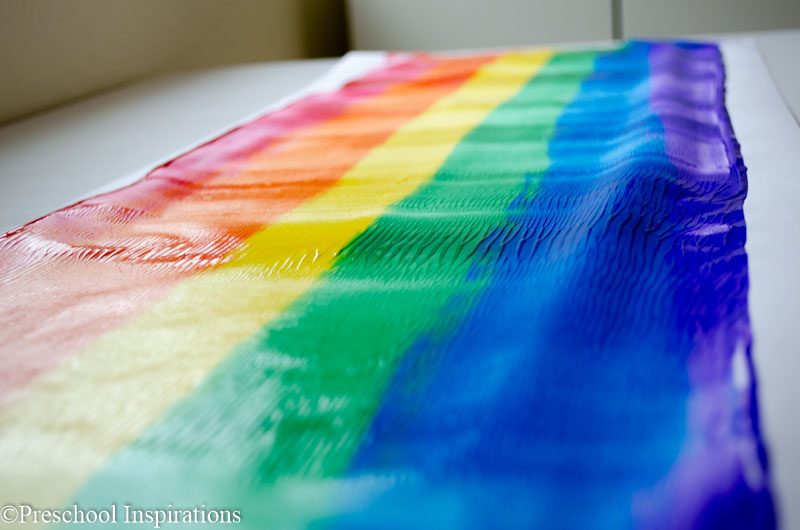
You can also create a picture of a rainbow:

Enjoy!

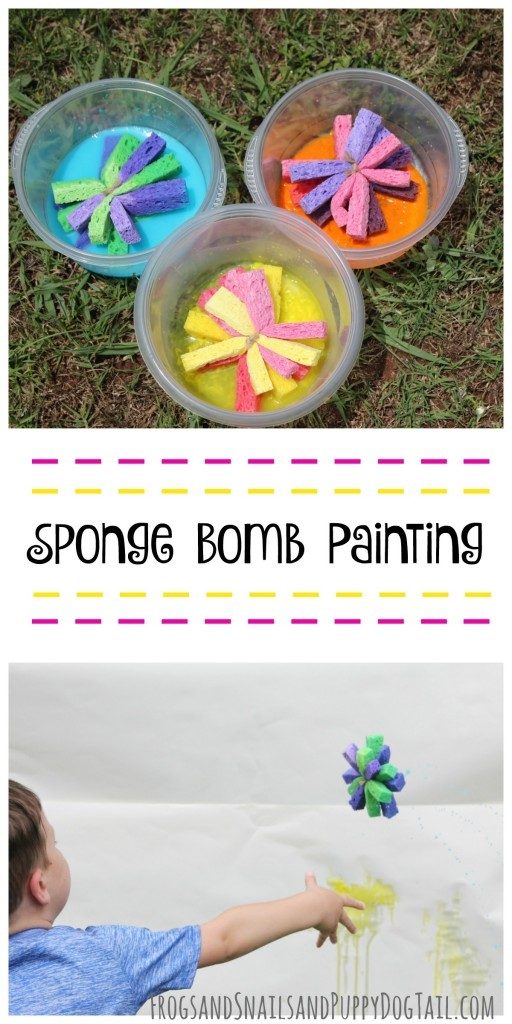
Sponge bomb painting – Art

With the sun shining today here is an activity that can be done outdoors!

Materials needed: sponges, string, scissors, poster paint, large sheet of paper

Method:

 Take each sponge and cut into 4 strips.  Try to make them the same size.  Take the 4 strips and added 4 more strips on top. Then cut a piece of string to tie it with and tie as tightly as possible, cutting away excess string. Dip sponge bombs into paint and have fun throwing at the paper. Messy but fun! You could also do this with water instead and throw the sponges against a wall or fence.

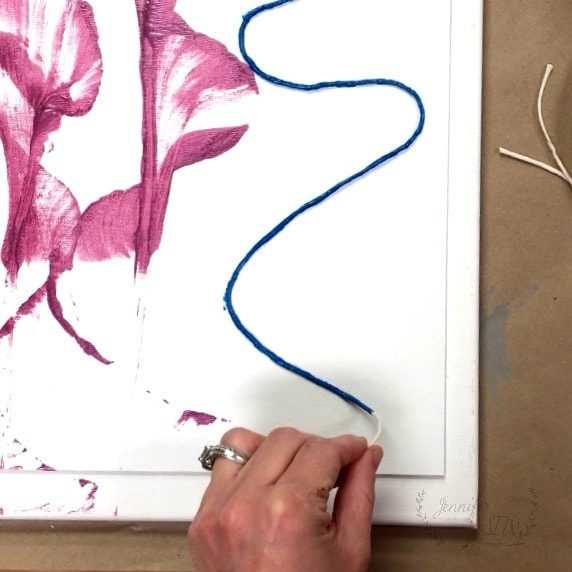
String painting – Art

Materials needed: string/wool, poster paints, paper

Method:

 Dip a length of string/wool into some poster paint, keeping one end paint free. Take the string/wool and place it on your paper, either in a particular way or just as it natural wants to lie. Then give the clean end of the string/wool to the pupil and also them to pull it towards them, removing it from the paper. You can repeat this process using different colours, building up multiple layers.

World Record Attempt – The world’s largest online Art lesson! Today at 4pm!!!

Good afternoon!  I have just this minute heard about a World Record attempt for the World’s largest online art lesson! The only thing is it is happening today at 4.00pm so don’t have much time to register. It is free and wouldn’t it be amazing to say you were part of a World Record attempt?! Deans Community High school in Livingston is promoting the event. You can find out more and register using this link: http://www.deanscommunityhighschool.com/article/58687/Sign-Up-for-the-Chance-to-be-Part-of-a-World-Record-Breaking-Art-Class

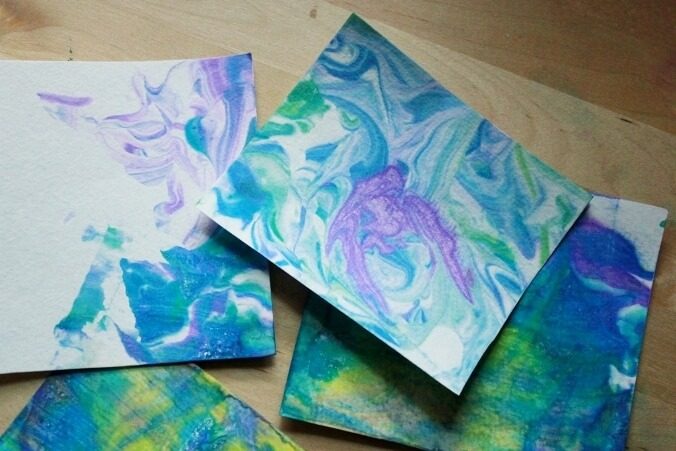
Art – Shaving foam marbling

Materials needed: a tray, dish or similar container, shaving foam, food colouring, toothpick, wooden skewer or pencil, paper or card and a piece of thick card or cloth ‘scraper’.

Method:

Start by squirting out some shaving foam onto your dish. You only need a thin layer, and this will act as your base. Then drop on some food colouring. You can add as many different colours as you like. Use a toothpick, wooden skewer or pencil to swirl the food colouring through the shaving foam to create a design you like. Then press a piece of paper or card on to the shaving foam, smoothing the paper/card a little so that all the surface is in contact with the foam. It only needs to touch for a second or two for the food colouring to transfer. Carefully peel back the paper/card and place it face-up on the table. You can repeat the process again and again, adding more food colouring if you want to. Once your marbling surface becomes too full of colours simply rinse off all the colour and foam and begin the process again.

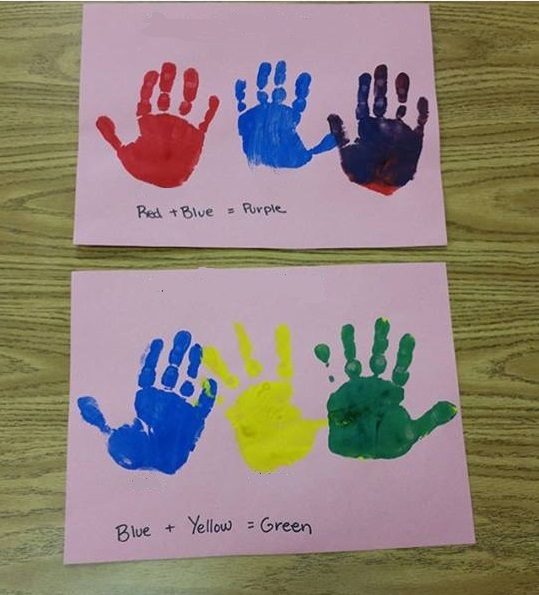
Art – colour mixing

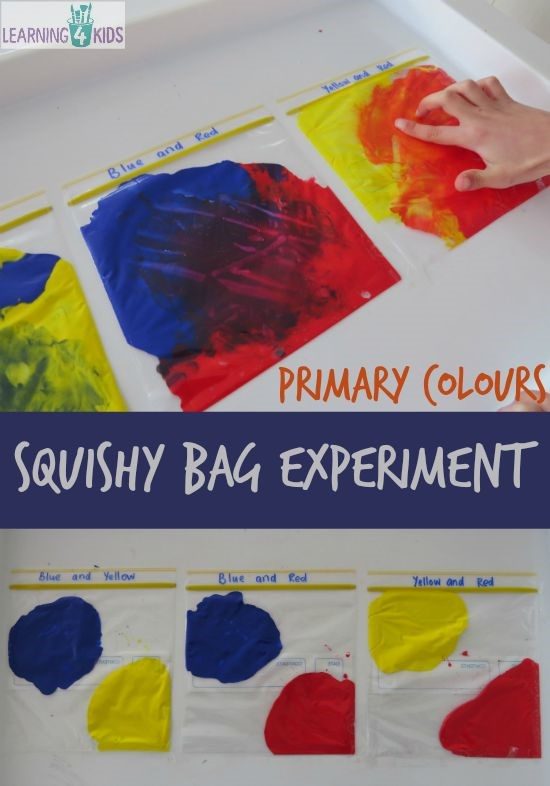
Can you use the Primary colours of red blue and yellow to make more colours? Try using some paint and create hand prints to show the colour mixing.

Here is another fun activity you can try that also involves colour mixing:

Materials needed: zip lock food bags, poster paints, tape

Method:

Place different colour combinations of the primary colours into a zip lock bag. Seal and tape to a flat surface. The pupils can then have fun squishing it all together to make a secondary colour.


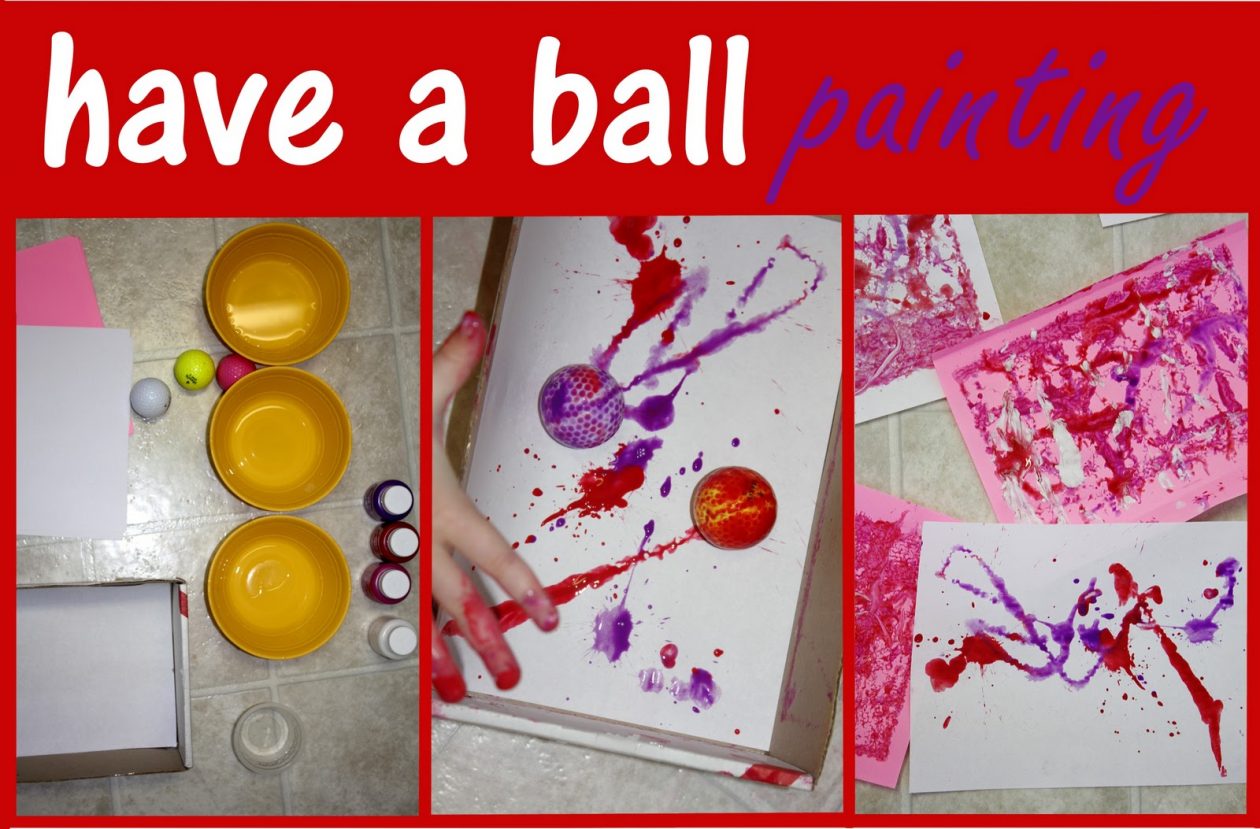
Have a ball! Painting!

As today is Sports Day at Pinewood I thought it may be fun to create artwork that encourages you to play and be active.

Materials needed: various balls, poster paints, paper

Method:

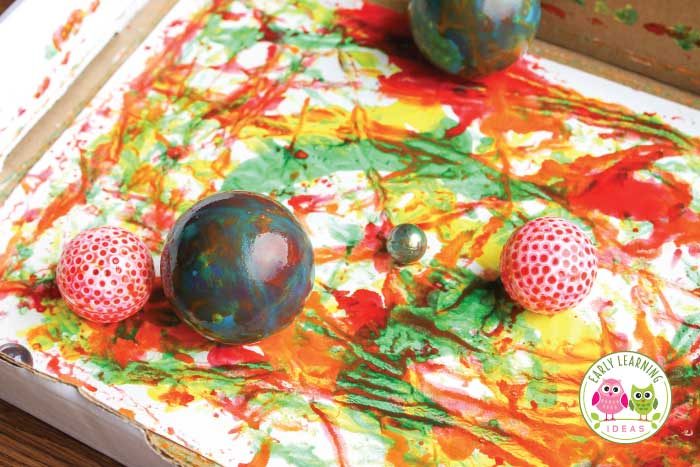
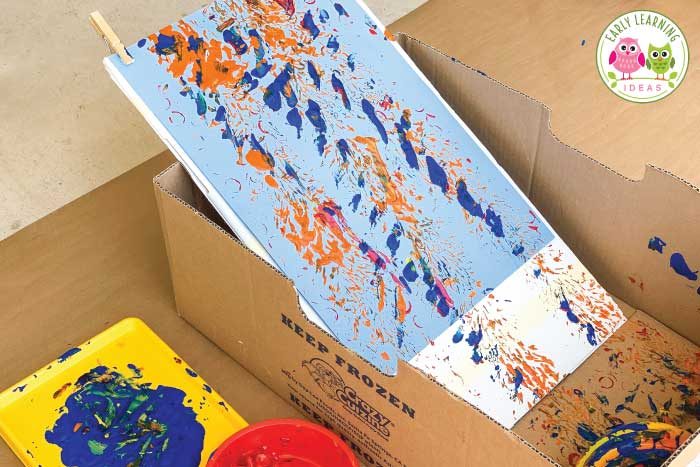
For this activity you could use a tennis ball, golf ball, marbles etc. Roll the ball(s) in paint and then have fun rolling over a piece of a paper. Try and go in different directions. An idea is to make a ramp going into a box. Attached a piece of paper and roll the balls down the ramp. This might be a tidier option!

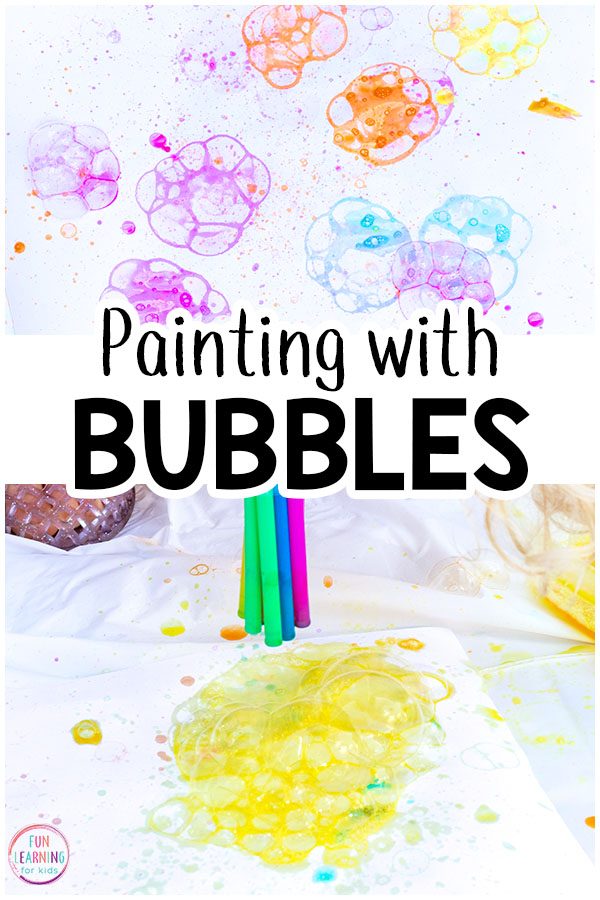
Bubble painting – Art

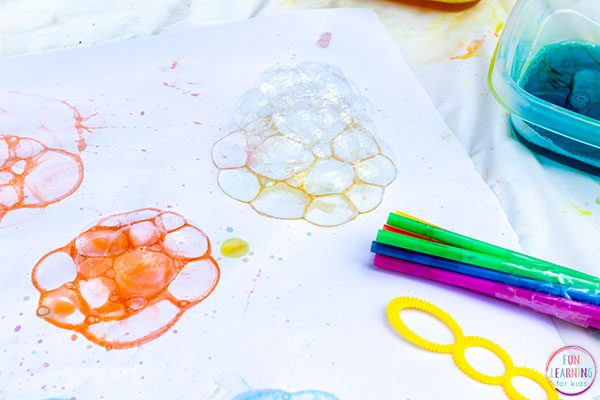
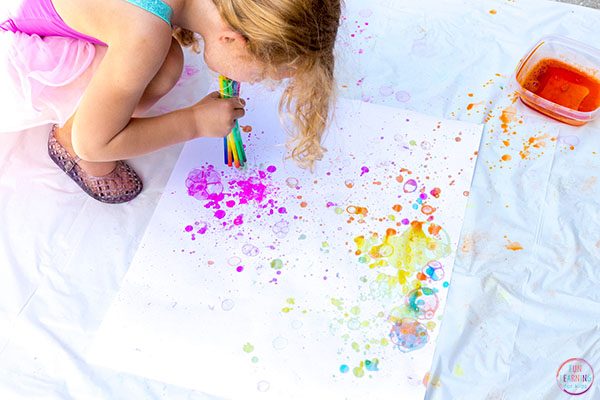
Materials needed: Bubble solution, food colouring, straws and tape, paper.

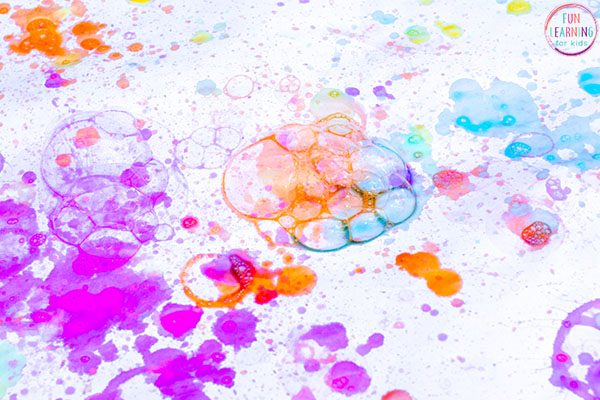
Method: Place some bubble solution in a bowl and add some food colouring. If you do not have bubble solution you can make your own with some washing up liquid and water. Get some straws and tape them together. Dip one end of the straws in the mixture and blow through the other end of the straw to create bubbles. Try to aim the bubbles at the piece of paper! I recommend using a large sheet of paper if possible. If you have blowers that come with the bubble mixtures then you can use them also. Once the bubbles have burst on the surface of the paper you will be left with a lovey effect.


Waterlilies – Art

I hope you enjoyed yesterday’s post about the Artist, Claude Monet. Today we are going to try creating another picture based on his artwork. Claude Monet is probably best known for his paintings of waterlilies. See if you can have a go at painting your very own waterlily pond.

You will need: a sponge, some paint and a paintbrush.

begin by dipping your sponge into some blue paint, then pull the sponge from the top of the page all the way down the page making large vertical streaks. Keep doing until the entire page is covered.

Add some streaks of green and white paint on top of your blue background. The green is for the lily pads and the white is for the light reflecting on the surface of the water.

Next add some dabs of paint for the flowers. You can use any colours you wish. This can be done either with a paintbrush or with your fingers. You may wish to place a second colour in the middle of your first colour.

Once completed leave to dry and marvel at your creation!


Claude Monet – Art

Have you ever wanted to capture a moment? To make a picture that shows not just how something looks, but also how it makes you feel? Meet the man who did just that!

Claude Monet was a famous French Artist who was fascinated with colour and how the light changes throughout the day and at different times of the year. He loved to paint outside and enjoyed spending time in his garden. Can you have a go at creating one of his famous paintings? The painting is called ‘ A bridge over a pond of waterlilies.’

For this craft, you’ll need some masking tape to make your bridge shape. You can cut your tape in half to get thinner strips. You want to form the shape of the bridge using your masking tape.

Continue building your bridge using small sections of tape for the slats. Try to add five or six of them across the bridge at equal intervals.

Time to finger paint! If possible use a rainbow of colours to dip your fingers in, then dab your finger multiple times to start filling in the page.

Try to overlap your fingerprints to blend the different colours together.

Continue to fill in your canvas with finger print until the whole page is covered. Don’t worry about painting over the tape. As long as it’s securely fixed to your paper the paint will not seep through. Once you have covered the whole sheet of paper, leave it dry. As tempting as it is to peel off the masking tape, allow it to dry first.

Once dry, carefully remove the masking tape to reveal your masterpiece!