Look at our fabulous earthquake proofed models!

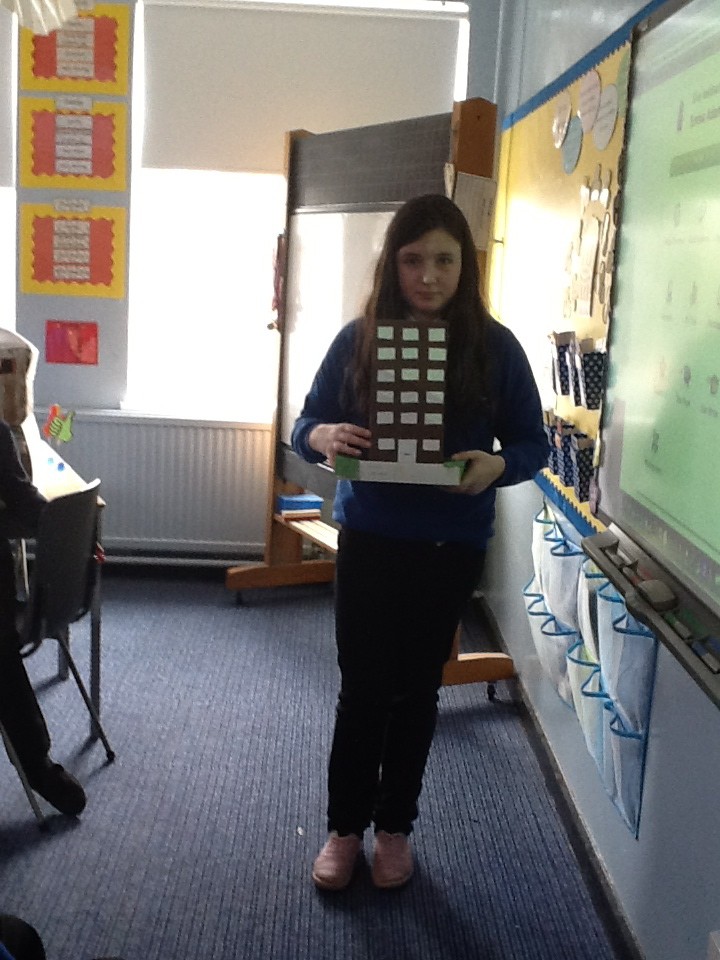
We have been very busy researching how buildings are earthquake proofed. We also made models to show what some types of earthquake proofing looks like. Have a read at what we have learned.
Ross – I learned that an isolation base can be supportive during an earthquake.
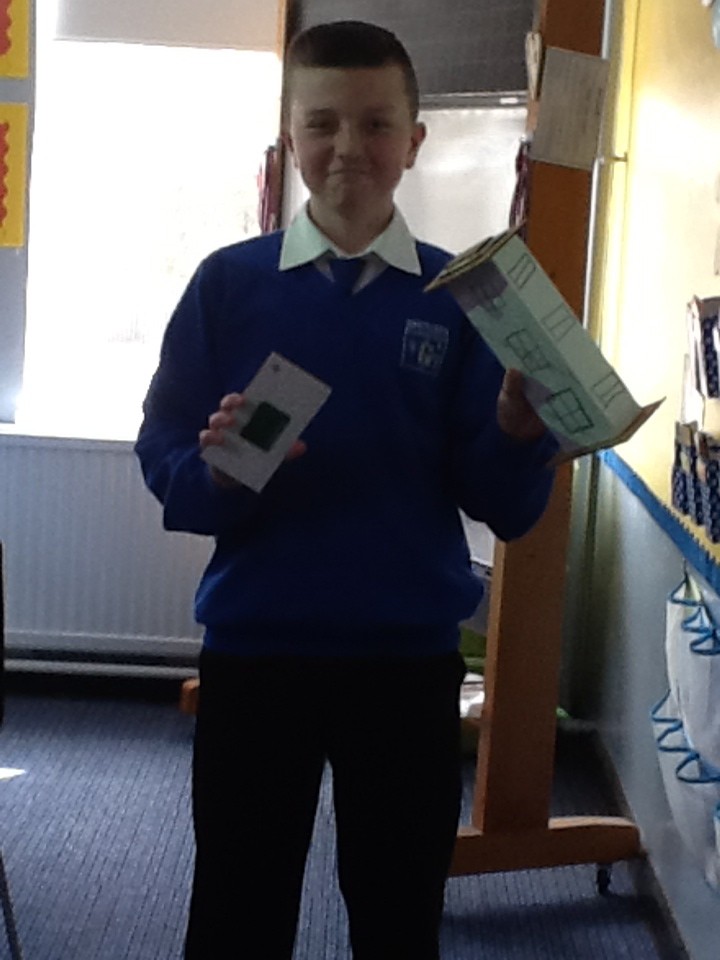
Kieran – I learned that earthquakes can be measured by special scales. My model had support beams to help the structure wobble but not fall over.
Connor – I learned that earthquake proofing means that the building does not get damaged during an earthquake.
Amy – On my earthquake proofed model I used base isolators which are little poles that stick into the ground to stop the building from shaking.
Josh – To earthquake proof my building I used isolations and springs.
Cameron – I learned that the taller the building is the more flexibility it has. My building showed stilts digging into the ground to keep it secure.
Luke – My model showed stilts to hold it and relieve the pressure and it had extra support to hold it to the ground.
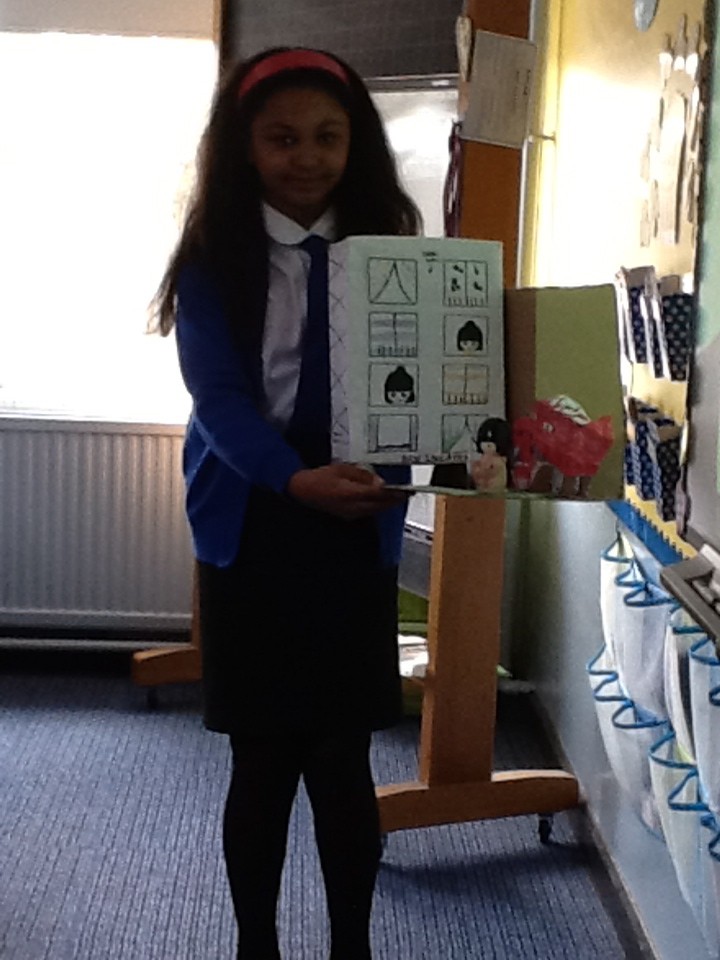
Jessica – I enjoyed making my model. I learned about how the buildings are lightweight and how the base isolation takes in most of the energy.
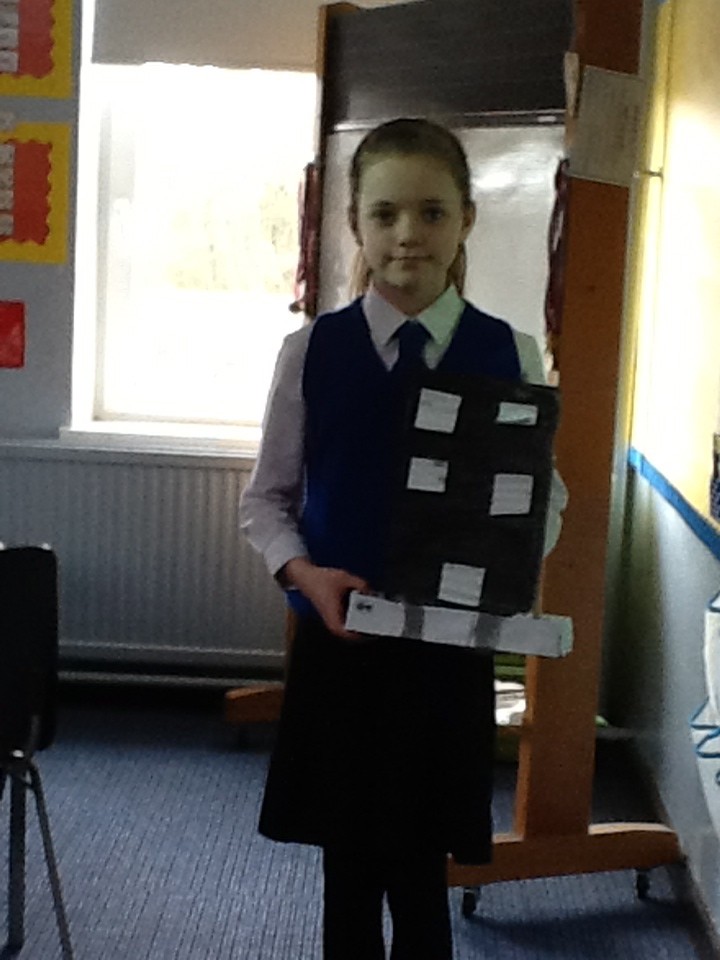
Abi – My model had shutters over the windows to stop the glass shattering during an earthquake.
Eve – To earthquake proof my building I used pipe cleaners to act as springs.
Aaron – My model showed earthquake proofing because it had the base dampner that absorbed all of the energy.
Skye – My model had base isolation which takes in all of the energy from the earthquake.
Amber – My model show the shock absorbers, weight on the roof, easy road access and window shutters.
Abbi – My model had base isolation so that it would wobble with the ground.
Ellie – In my model I used circular tubes to show the base isolation and to support it all.
Emma – I learned that by earthquake proofing a building it helps it not to fall down as easily. On my model I used bouncy balls as shock absorbers.
Joshua – My model showed springs and cross bracing. The springs were to allow the building to move and the cross bracing was to hold the walls in place. It also had a core to absorb some energy.
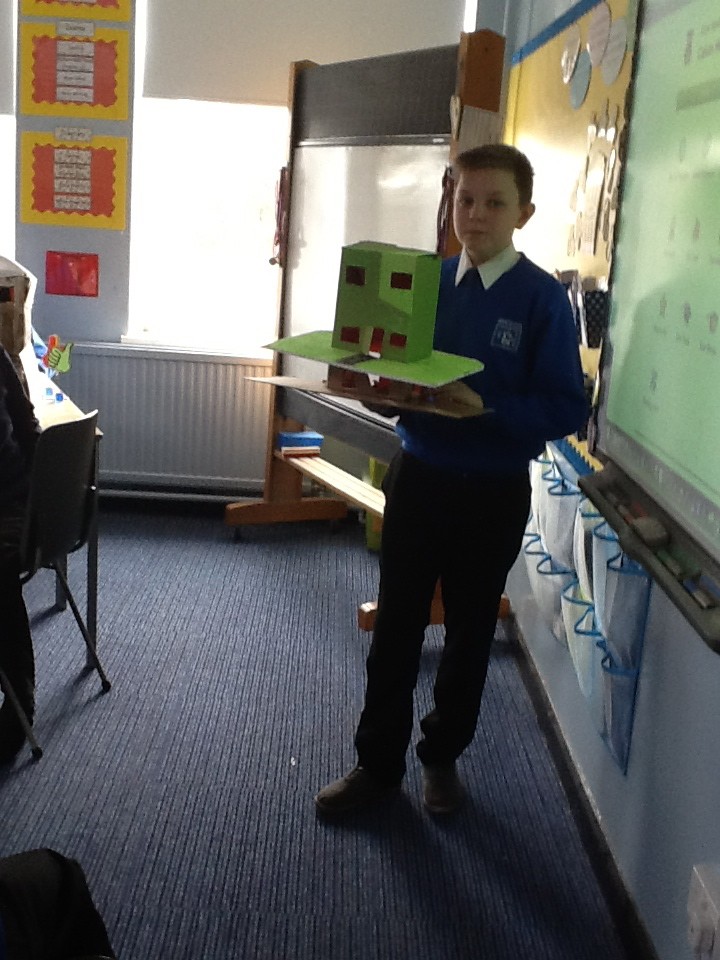
Calum – My model showed the stilts underground to absorb some of the shock.
Matthew – I learned that lots of different techniques can be used for earthquake proofing. My model showed the bracing that helped keep the building stable.
Mitchell – My model had things for the building to stand on so it would not touch the ground and wobble during an earthquake.
Primary 7b are very excited to start blogging about all of the exciting things we are doing in class. Keep checking back to find out what we have been up to.
Welcome to blogs.glowscotland.org.uk – North Lanarkshire. This is your first post. Edit or delete it, then start blogging!

Glow Blogs uses cookies to enhance your experience on our service. By using this service or closing this message you consent to our use of those cookies. Please read our Cookie Policy.