Digital scavenger hunts can be a great way to familiarise learners with using technology for learning. Find out how to make your own or download our premade templates!
What is it?
We are all familiar with the concept of a scavenger hunt. A scavenger hunt is a game in which the organiser creates a list of specific items, which the players (working in groups or as individuals) explore their environment attempting to tick all of the items off the list.
Doing a scavenger hunt digitally has the benefit of both saving time and money on printing as well as allowing learners to develop some basic digital skills. It also creates an easily shareable record of player’s attempts.
How does it work?
A simple digitised scavenger hunt might be creating the item list, sharing it with players and using Markup tools to tick off items. But we can easily elevate this to include basic photography in a way that is easy for even our littlest of learners by using Keynote.
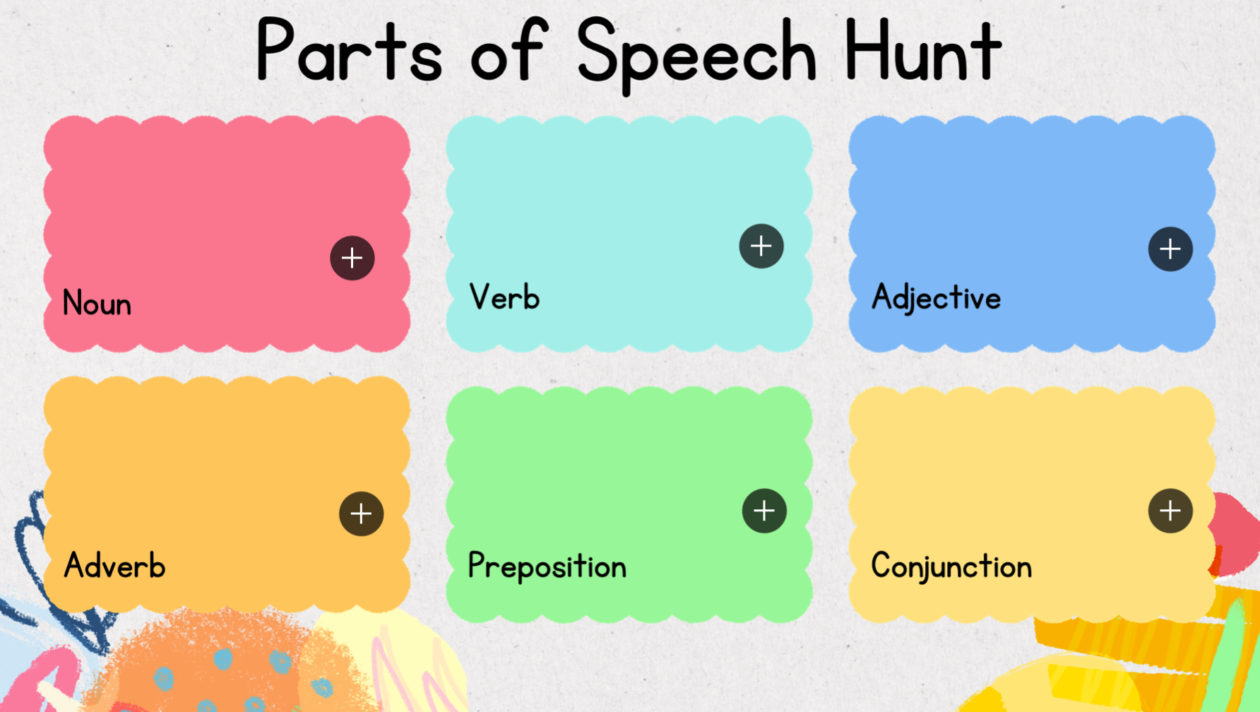
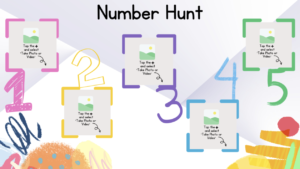
A Keynote scavenger hunt might look something like this:


To use it, learners simply have to tap on the + button at the bottom left of each image and select ‘Take photo or video’, this will open the camera and they can snap their item and press ‘Use photo’ in the bottom right hand side. This will automatically add their photo or video in the correct place. The GIF below shows how simple this is:

If you want to try one of these DigiLearnFalk premade scavenger hunts you can download the Keynote deck here. If you need help downloading you can see our How to Download to Your iPad page.
How do I make my own?
There are many ways to make digital scavenger hunts in Keynote. The ones above are made using two key elements. Firstly, a flat background image (in this case made in Canva) – you can make your background from various elements but adding a premade flat image reduces the number of moveable/editable parts which makes it easier for young learners to use. The second element is placeholder images placed where you want the learner’s photographs to go.
Here are the steps to adding your flat background image:
- Begin create a new Keynote project by pressing the + on the projects page.
- Select ‘Choose a theme’ and select ‘Basic White’.
- Tap on each text box and select ‘Delete’ on the options ribbon so you are left with a blank slide.
- Press the Media button (which looks like a little photograph) and choose ‘Photo or video’ to open your camera roll. Select your flat image by tapping on it.
- It should insert as full size, you can use the blue dots in the corners to resize your image by dragging.
Once you have your background in place you can add your placeholder images. Here are the steps to adding these:
- Press the Media button (which looks like a little photograph) and choose ‘Photo or video’ to open your camera roll. Select your placeholder image by tapping on it.
- Drag your placeholder into position.
- You can use the blue corner dots to resize your image.
- You can crop your placeholder image by pressing the paintbrush button, selecting ‘Image’ along the top and choosing ‘Edit Mask’.
- Once your placeholder is positioned press the paintbrush button and under ‘Image’ select ‘Set as Placeholder’. This adds the little plus to the bottom right hand corner which allows learners to simply and quickly replace the placeholder with their own photograph.
You can now share your Keynote to pupil devices via Airdrop or by uploading the Keynote file to your chosen Virtual Learning Environment (as long as it supports Keynote file uploads).
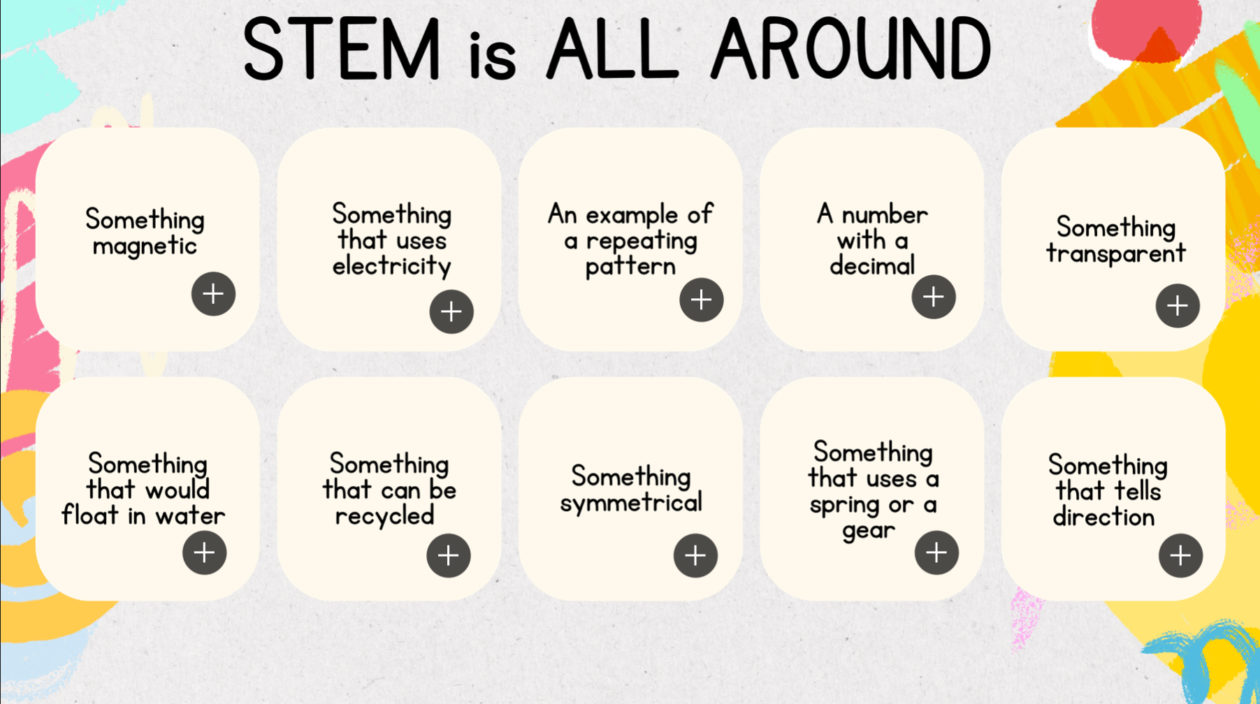
What about older children and young people?
Digital scavenger hunts in Keynote are great for any age group. They can be used for fun to link in with calendar days or school events or they can be used to revist, revise or help consolidate learning within specific subject areas. There are a few examples of this below (you can download these examples as a Keynote deck here).