Extra Sidebar Widgets – Twitter Timeline

Update 2023: Due to updated to Twitter’s API you can no longer use the twitter widget to embed your timeline. This is due to changed made by Twitter (now X)

You can see the results of leaving a timeline widget  on the left side of this page.

You can still embed an individual tweet.

  1. Turn on Jetpack Plugin: Dashboard->Plugins
  2. Activate the Extra Sidebar Widgets: Dashboards-> Jetpack->Settings
  3. In the Widget Area of your Dashboard add the twitter timeline widget.
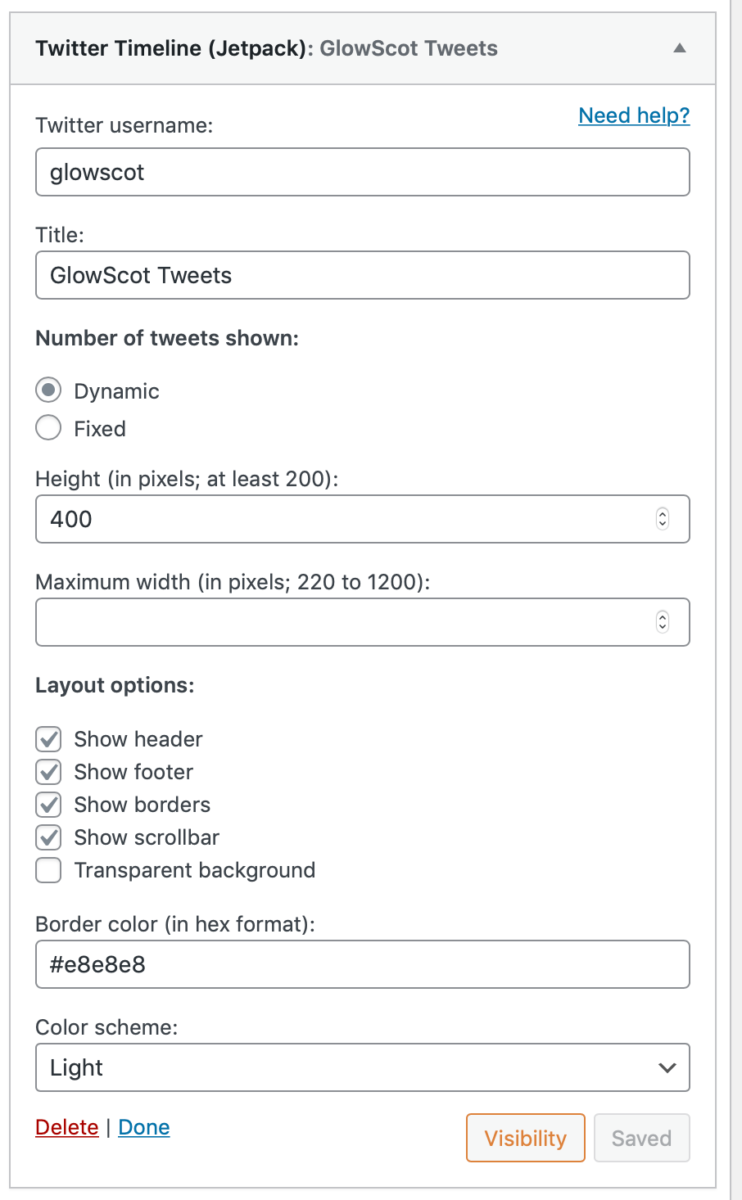
  4. Add your twitter username to the widget and that is it.

Twitter Widget Settings

On this post we use the Widget Visibility jetpack feature only to show the twitter timerline widget for @glowscot’s tweets. You will only see it on this post in single post view.


Extra Sidebar Widgets – Image

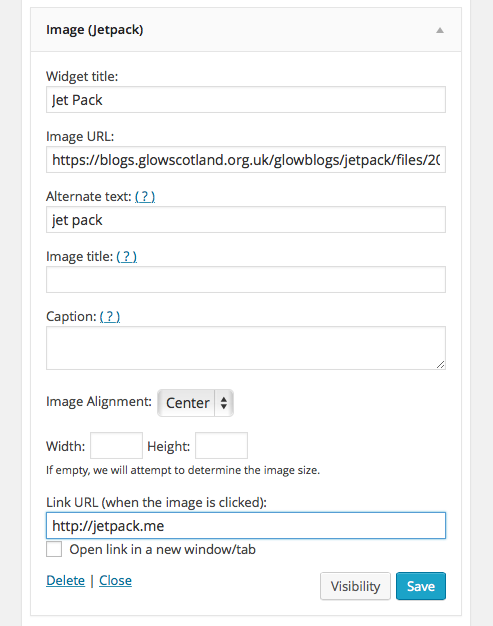
This widget allows you to easily add images to your sidebar.

You can see one on the sidebar of this post.

On this post we use the Widget Visibility jetpack feature only to show this on posts categorised ‘image’. You will only see it on this post in single post view.

Here is a screenshot of the widget editor. You need to know the url of an image to use or to upload one to your media libaray.

Image Widget
Image Widget


Extra Sidebar Widgets – RSS Links

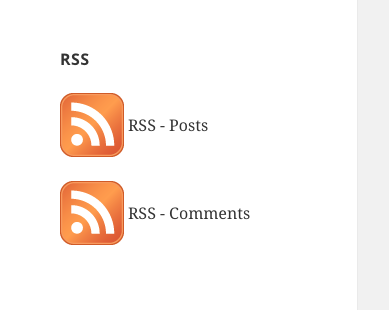
This widget adds RSS links for your posts and or comments.

This will allow visitors to subscribe to updated for you blog in an RSS Reader or to your podcast in a podcatcher, iTunes for example.

You can see a working example on the sidebar of this blog and a screenshot below.


RSS Links Screenshot

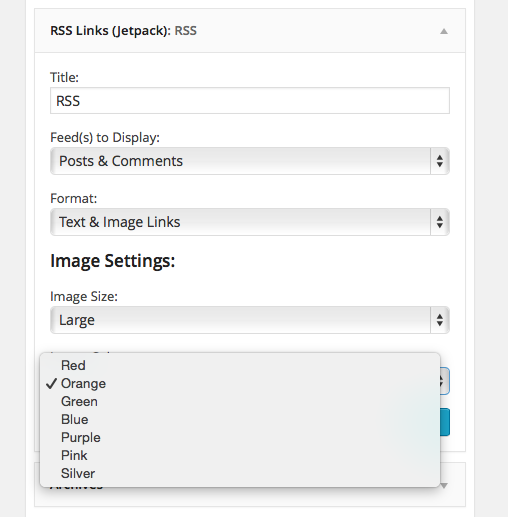
You can customise the appearance of the links in the Widget section of your dashboard:

Edit RSS Widget

Extra Sidebar Widgets – Facebook Page

Display a Facebook Page Box to connect visitors to your Facebook Page.

On this post we use the Widget Visibility jetpack feature only to show this on posts categorised ‘Contact Info’. You will only see it on this post in single post view.

This widget is currently not working 13 May 2023

Extra Sidebar Widgets – Contact Info

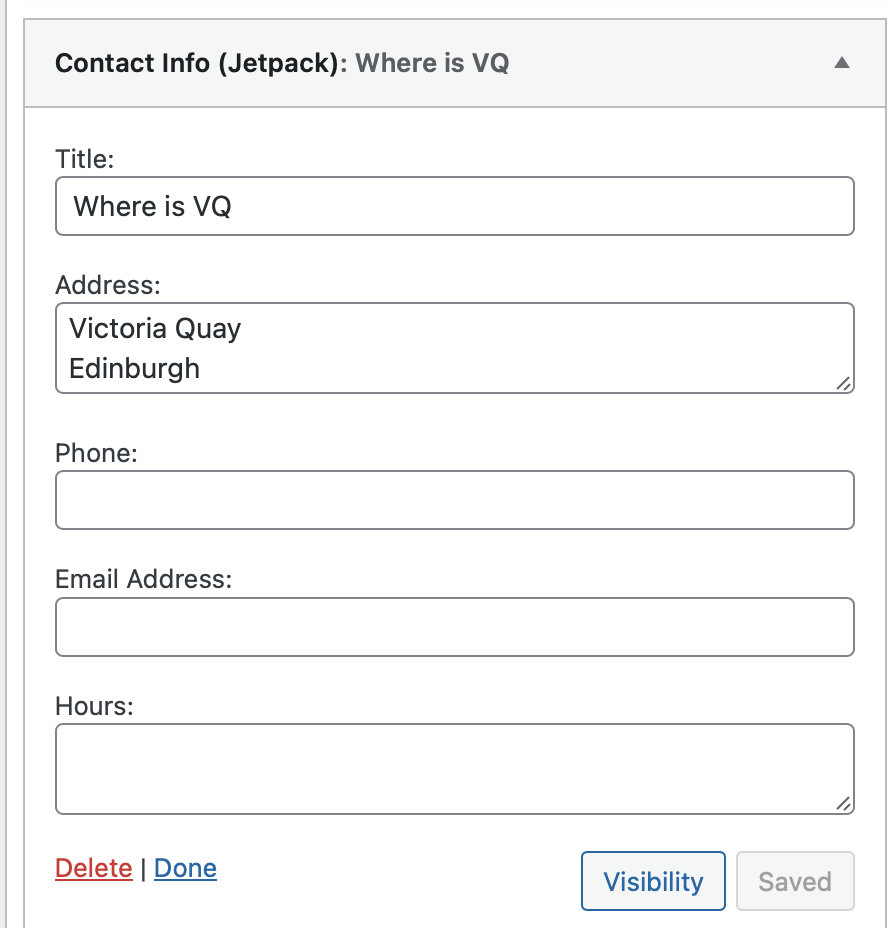
Contact Info allows you to add this to your sidebar. We called the example ‘Where is VQ‘, we could have added phone numbers and hours.

  1. Activate the Jetpack Plugin if you have not already done so: Dashboard->Plugins
  2. Activate the Extra Sidebar Widgets: Dashboards-> Jetpack->Settings
  3. In th Widget Area of the Dashboard drag the Contact Info widget onto a widget area. Edit the details.

Screenshot of contact info widget in the editor

On this post we use the Widget Visibility jetpack feature only to show this on posts categorised ‘Contact Info’. You will only see it on this post in single post view.

Custom CSS

Custom CSS adds a sub menu to the Appearance menu in the Dashboard sidebar.

There you can add custom styles which will change the appearance of your blog.

To use the CSS module:

Activate the Jetpack Plugin (Dashboard-> Plugins)
Activate the CSS module in the Dashboard->Jetpack section

Edit the CSS in Dashboard-> Appearance -> Edit CSS

For example on this blog I’ve changed the colour of the Headers with:
.entry-title{color:#0080FF}

So all of the post titles should be blue unless you are on mobile.

You can find out more about CSS:
CSS | MDN

It might be a good idea to remember that the theme developers know a lot about design and CSS before changing things too much.

Here is a wee snippet to get rid of auto hyphens in the TwentyFourteen theme:

.entry-content,
.entry-summary,
.page-content,
.nav-links,
.comment-content,
.widget
 {
   -webkit-hyphens: none;
   -moz-hyphens:    none;
   -ms-hyphens:     none;
   hyphens:         none;
}

If you add that to the custom css there will be  no automatically hyphenating your text.


and this code makes the menu on this blog transparent:

.menu-item-type-custom,.menu-item-object-category {
background: #000;
opacity: .7;
}

menu-item-type-custom,.menu-item-object-category a {
opacity: 1;
font-weight: bold;
}

menu-item-type-custom,.menu-item-object-category a:hover {
color: yellow;
opacity: 1;
font-weight: bold;
}

This snippet will change the menu and post titles from ALL caps to title case on TwentyFourteen.


 .site-navigation, .entry-title, .entry-header a {
text-transform: capitalize;
}

.site-navigation a {
text-transform: capitalize;
}
Contact Form

To add a contact form you need to have activated the Contact Form module in Jetpack, then just click on the Add Contact Form Button, remember to set an email to receive the information.

You can get all sorts of information through the form, not just Contact.

Edit_Post_‹_Jetpack_—_WordPressAn example form, the form is set to email me. The feedback is also collated in Dashboard-> Feedback and you can download it as a CSV file from there.

Choose a colour


Carousel

Turing on the Carousel makes galleries into slide shows, click on an image.

To use:

  1. Activate the Jetpack plugin
  2. Turn on the Carousel Module in the Jetpack settings.
  3. In a post, Create a Gallery, visitors clicking on images will see them as a slideshow.

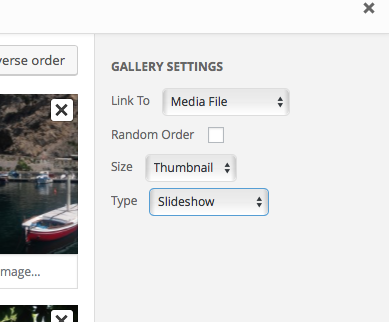
Or you can choose slideshow when creating a gallery:

This slideshow requires JavaScript.

 
Screen Shot 2016-08-22 at 19.29.04

Report a Glow concern
Cookie policy  Privacy policy