Here is today’s Daily Doodle
Here is today’s Daily Doodle
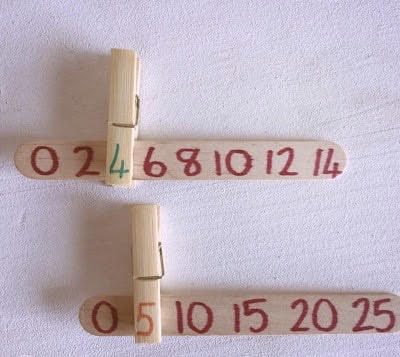
Get your wee ones to peg on the missing number in this simple but
fun counting exercise.
What you need:
• Craft sticks or paper or anything you’re happy to write on and be able to add a peg
• Felt pens
• Clothes pegs
What to do:
1. Start by drawing numbers one to ten on
a craft stick or paper making sure to miss out and
leave space for one of the numbers each
time.
2. Take the clothes pegs and draw the
numbers from one to ten on the outside
of the part that usually attaches to the
clothes.
3. Lay everything out for your wee ones and see if
they can fill in the blanks by attaching the
clothes pegs to the right part of the craft
stick.
4. Perfect for their number recognition and you also
get them to work on their fine motor
skills while you’re at it.
Bookbug is celebrating everything Scots this week – with braw songs and rhymes and an awfy funny story featuring a cheeky, bonny baby!
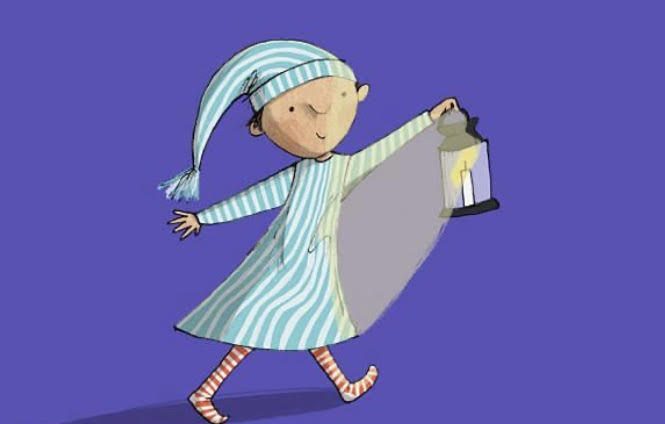
https://www.scottishbooktrust.com/articles/online-bookbug-session-scots-for-tots
Mud is an adaptable and under rated material, it’s cheap and easy to find! It is used for a huge variety of purposes, such as building, beauty and medicinal purposes, making pots and art work.
Mud Sculptures
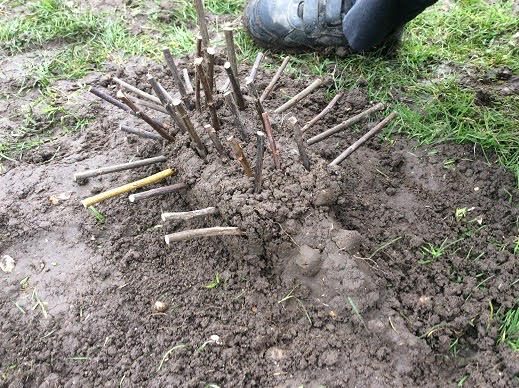
Create your own sculpture and embellish this with anything that comes to hand such as sticks, stones, bits of broken pottery, snail shells or anything else you might find in your garden or out on a walk.
Building Material

Create your very own building material by mixing grass or straw with mud then build your own structures using sticks and twigs before plastering the mud between your sticks to hold your structure together, a bit like the material you would have found between the timbers of timber framed houses.
Mud Artwork
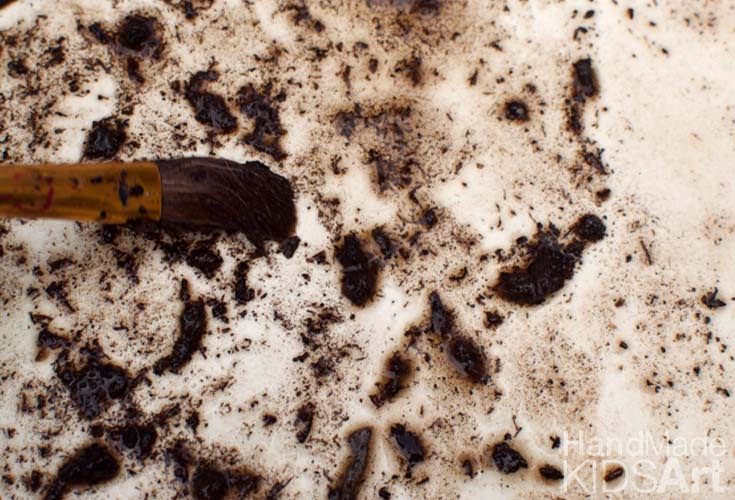
Using sticks or forks draw some pictures or designs in the mud. Add leaves or petals to add some colour. Or simply paint a picture with the mud using a stick or paintbrush.
Hand prints

Place your wee hand in wet mud. You can place a ring made of paper or place a ring of stones or sticks around your print to allow it to dry.
Rock Art
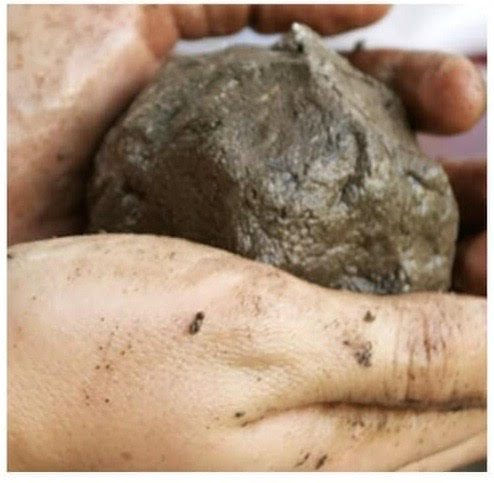
Smooth a rock or stone with wet/damp mud and watch the cracks appear as it dries out.
Here is today’s Daily Doodle
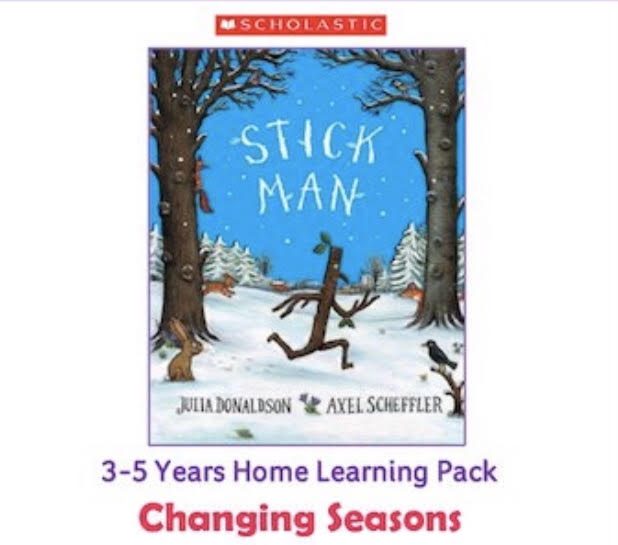
Is your child a fan of Julia Donaldson and Axel Scheffler’s wonderful picture books? You can download a range of home learning activity packs to complete as your read the books! Click on the link below.
Who hasn’t explored the wonders of two cups and a piece
of string? Technology, creativity, speaking and listening –
this activity has it all and is great fun too!


What you need:
• Cleaned out plastic cups
• Rope or string
• Metal marbles (if you have)
• Magnets
• Paint
What to do:
1. It all starts with the decorating. If you don’t have marbles and magnets, decorate how you wish. Give each
child a plastic cup, a magnet and a marble.
2. Then show them how they can dip the
marble in various pots of paint and use
the magnet to move the marble around
the inside of the cup. Let them make
their own paint choices and patterns and
you’ll have some highly concentrated
wee faces.
3. Once the plastic cups have dried, make
a hole in two different cups and connect
them with the rope and a couple of
knots.
4. Get your wee ones to explore what happens
when they go far away and speak quietly
into the cups – the noise should travel
down the rope to the little ear at the
other end.
5. Get your wee ones to explore more options
and experiment. Will a glass marble work
in the same way? Will a thinner or thicker
rope work better? You could also do the paint, marble and magnet on a piece of paper.There’s plenty of learning
opportunities in this simple and fun activity!
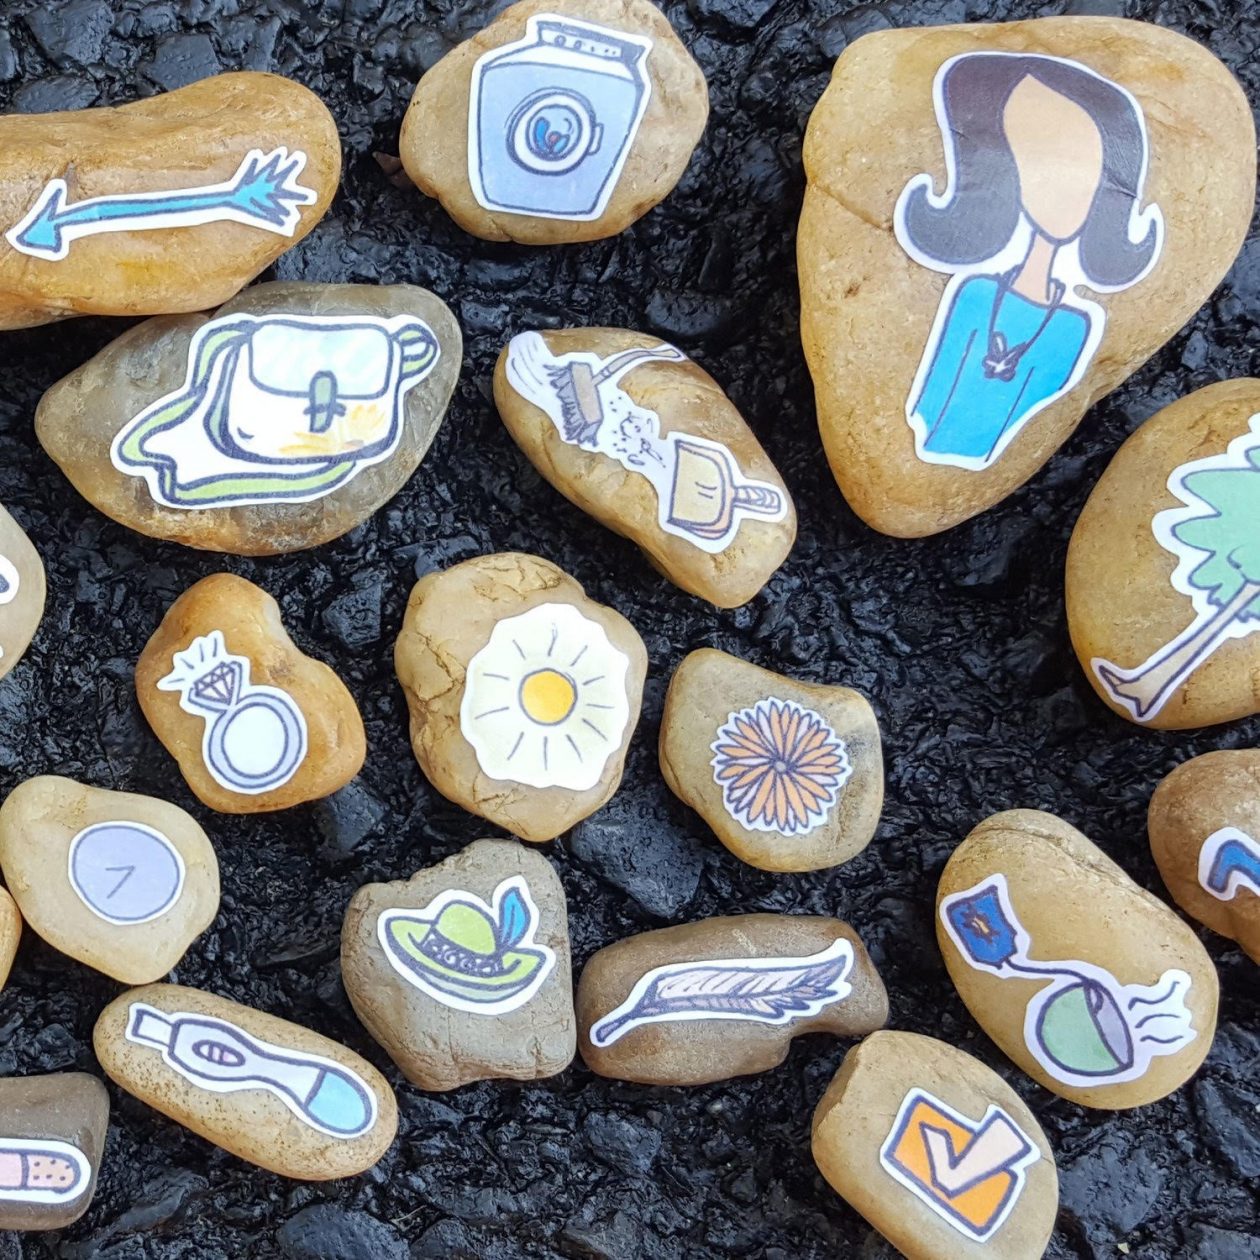
Use paint, pens or stickers to create engaging story stones that act
as a great starting point for imaginative, storytelling play. If you don’t have stickers, you could draw on pieces of paper then stick them on to the stones or cut images out of magazines.
What you need:
What to do:
1. Start by making a few story stones yourself,
by selecting a few large, smooth
stones and paint, draw or put stickers on them.
These could be animals, characters, or
features of an environment like trees or
mountains.
2. Make sure you have plenty of leftover
stones and gather your wee one
to start a story.
3. Use your existing story to build a starting
point to the story, then open it up to your wee one, letting them make the next character.
4. Once the children understand the concept,
use open-ended questions so that
they can help to develop the next part to
the story. Where is the character going?
Who will they meet?
5. Afterwards, you can leave the story
stones out and you may find your wee one
starts to craft their own stories independently.
Did you think LEGO bricks were just for building?
Turns out they make pretty good paint brushes too…

What you need:
• LEGO
• Washable paint
• A paper plate
• Paper
What to do:
1. Start by squirting various colours onto a
paper plate encourage your wee ones
to dip their pieces into the paint.
2. They can stamp, roll or press the
LEGO pieces into the paper, or do whatever
they like to create their masterpieces!
3. Car wheels and different shapes are
particularly great, but any LEGO pieces
should work.
4. The waterproof paint should come off
little fingers very easily, and getting the
paint off is an important part of their
self-care journey.
Here is the Daily Doodle for today.

Glow Blogs uses cookies to enhance your experience on our service. By using this service or closing this message you consent to our use of those cookies. Please read our Cookie Policy.