Category Archives: Sciences

Bouncing Bubbles

These giant bubbles will leave your kids full of wonder
and excitement.

What you need:

  1. 4 Tbsp water
  2. 1 Tbsp washing up liquid
  3. 2 Tbsp sugar
  4. Bubble wand

Add water to a bowl then add washing up liquid. Add the sugar and stir gently until its dissolved. Now your bubble solution is ready!

Homemade wand:

  1. Plastic cup: Punch a hole in the bottom to blow through…
  2. Plastic soft drinks bottle:  Cut the bottom off the bottle and dip…
  3. Pip cleaners: You can create just about any shape you like from a pipe cleaner , just make sure you keep a small section as a handle…
  4. Plastic funnel
  5. Drinking straws


Light and Dark Den

Find a dark corner of your home or make a DIY den  and use torches to let your wee ones explore light and dark, shadows and silhouettes.

What you need:

• A dark corner or DIY fort or den
• Some torches or other lights
• A music player

What to do:

1. To begin, you’ll need a dark corner of your house, or use some blankets and chairs
to create a makeshift fort or den.
2. Let your wee one
experiment with dark and light,
turning the torches on and off. They can
also look at the silhouettes they create
and the shadows their bodies can make.
3. To add a new layer to the activity, take
a music player in with you and see if your wee one is interested in  moving the light and dark shapes in time to the music.

Human Sundial

This simple science experiment utilising the sun and
shadows is the perfect starting point for lots of fantastic
conversations. Get out there and catch the sun…while it’s there!

What you need:

• Chalk
• The Sun!

What to do:

1. The idea of this one is to teach your wee ones
a little something about perspective and
the world around them!

2. Make sure you have a sunny spot with
plenty of space for long shadows and nothing
creating its own shadows on your
spot.

3. On a sunny day, get your wee one
to stand on a certain spot and then have
another member of your family draw their shadow on
the ground in chalk.

4. Later on in the day, try again. How has
the shadow changed? What’s been going
on? It’s a great starting  point for all
sorts of interesting questions and learning
opportunities.


Magic Mud!

Mud is an adaptable and under rated material, it’s cheap and easy to find! It is used for a huge variety of purposes, such as building, beauty and medicinal purposes, making pots and art work.
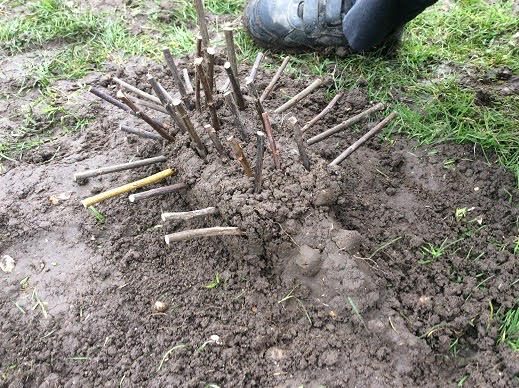
Mud Sculptures

Create your own sculpture and embellish this with anything that comes to hand such as sticks, stones, bits of broken pottery, snail shells or anything else you might find in your garden or out on a walk.

Building Material 

Create your very own building material by mixing grass or straw  with mud then build your own structures using sticks and twigs before plastering the mud between your sticks to hold your structure together, a bit like the material you would have found between the timbers of timber framed houses.
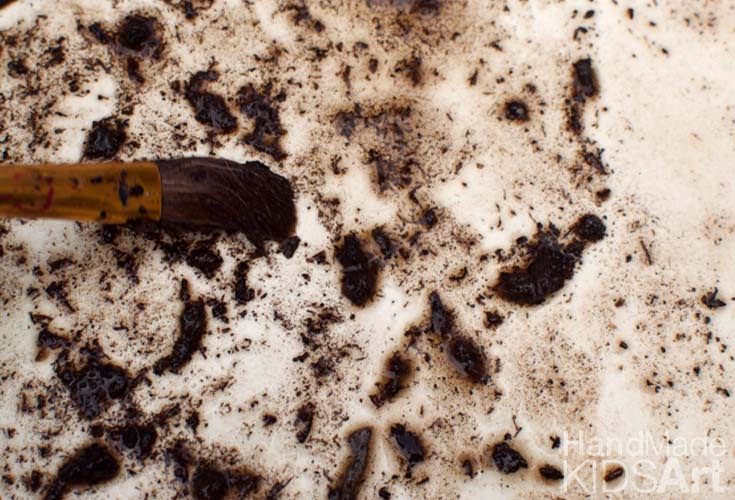
Mud Artwork

Using sticks or forks draw some pictures or designs in the mud. Add leaves or petals to add some colour. Or simply paint a picture with the mud using a stick or paintbrush.

Hand prints

Place your wee hand in wet mud. You can place a ring made of paper or place a ring of stones or sticks around your print to allow it to dry.
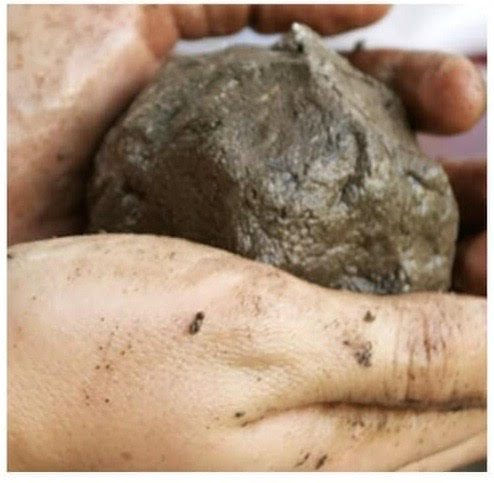
Rock Art

Smooth a rock or stone with wet/damp mud and watch the cracks appear as it dries out.

Let’s Talk!

Who hasn’t explored the wonders of two cups and a piece
of string? Technology, creativity, speaking and listening –
this activity has it all and is great fun too!

What you need:

• Cleaned out plastic cups
• Rope or string
• Metal marbles (if you have)
• Magnets
• Paint

What to do:

1. It all starts with the decorating. If you don’t have marbles and magnets, decorate how you wish. Give each
child a plastic cup, a magnet and a marble.
2. Then show them how they can dip the
marble in various pots of paint and use
the magnet to move the marble around
the inside of the cup. Let them make
their own paint choices and patterns and
you’ll have some highly concentrated
wee faces.
3. Once the plastic cups have dried, make
a hole in two different cups and connect
them with the rope and a couple of
knots.
4. Get your wee ones to explore what happens
when they go far away and speak quietly
into the cups – the noise should travel
down the rope to the little ear at the
other end.
5. Get your wee ones to explore more options
and experiment. Will a glass marble work
in the same way? Will a thinner or thicker
rope work better? You could also do the paint, marble and magnet on a piece of paper.There’s plenty of learning
opportunities in this simple and fun activity!

Splish Splash

This  fun multi-sensory activity  for all ages lets
children explore and learn.

What you need:

• Pots or buckets
• A water tray
• A waterproof mat
• Sponges, water toys  (optional) or natural resources
• Bubbles and food colouring (optional)

What to do:


1. Outdoors – Lay out some pots or buckets
filled with water and an array of toys,
sponges, and other things that can float.
2. Indoors – If you’re taking it indoors,
you’re better to start with a small water
tray to place the toys in and a waterproof
mat to protect the floor.
3. For younger children and babies
you’ll need to supervise them more closely,
but it is the perfect activity for them
to explore different textures.
4. Your babies will love it if you blow bubbles
and let them float on the water or let them splash
about, grab toys and explore this new
environment.
5. For older children, you can set them
some water play challenges. Get them to
craft floating boats, explore floating and
sinking, and get them to try and build a
dam.