

iPad Speech-to-Text
iPad speech-to-text is available any time the keyboard pops up. It can be used across a variety of apps. The first time you use it you will have to allow your device permission to access your microphone.
- Tap within an area that allows typing to bring up the keyboard
- Tap the microphone icon to the left of the spacebar
- Speak and your words will appear typed on the screen
- Press the small keyboard icon below the sound wave to stop the microphone and return to your keyboard

Microsoft Speech-to-Text
Microsoft apps have their own additional speech-to-text function. The first time you use it you will have to allow your device permission to access your microphone.
- Tap within an area that allows typing to bring up the keyboard
- Tap the microphone icon above the right hand side of the keyboard
- Speak and your words will appear typed on the screen
- You can tap the microphone icon again to pause or use the punctuation marks to add punctuation as you speak
Windows Speech-to-Text
Windows devices also have speech-to-text functionality. Remember if you are using a PC you will need a microphone.
- To use voice typing, you’ll need to be connected to the internet, have a working microphone, and have your cursor in a text box
- Once you turn on voice typing, it will start listening automatically – wait for the “Listening…” alert before you start speaking
- To turn on voice typing press the Windows logo key + H
- To turn off voice typing say a voice typing command like “Stop listening” (for a full list of commands see this page from Microsoft)
Chromebook Speech-to-Text
Chromebooks have speech-to-text too! This only works if the spoken language matches the device language. To set up voice commands:
- At the bottom right, select the time or press Alt + Shift + s
- Select Settings then accessibility
- Under ‘Keyboard and text input’, turn on Dictation
- Tap or select where you want to type
- Select Speak (you can also press Search + d)
For a full list of Chromebook commands see this page from Google.
Read Aloud
Read aloud tools allow users to select text and have it read out to them by their device. This is useful for reading but also for the proofreading stage of writing. Using these tools to have their writing read back to learners allows them to check for errors and make sure their writing makes sense.
iPad Speak Selection
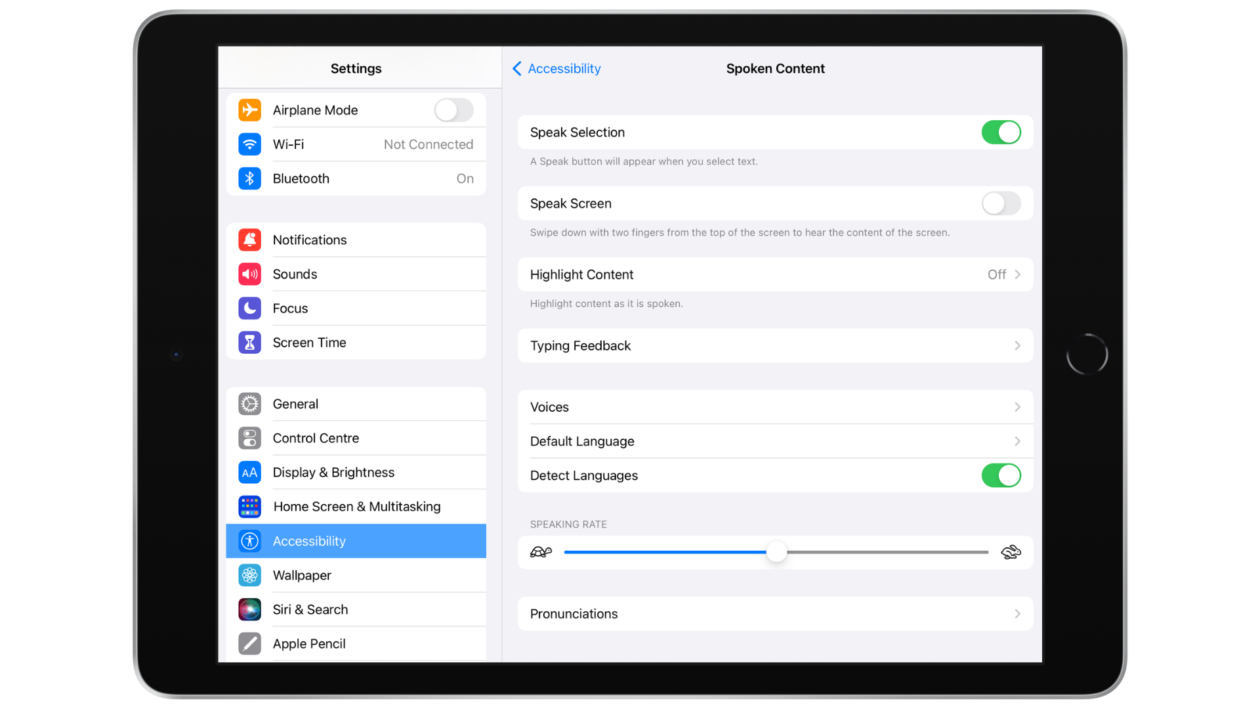
iPad’s Speak Selection function allows for users to have any text which can be highlighted read back to them. You have to turn this on if you want to be able to use it. Please note that these features are designed to work with core apps, some third party apps may not allow these system features to be used.
To turn speak selection on go to: Settings > Accessibility > Spoken Content and toggle Speak Selection on. When it is on it will show green in the button.
 ..
..
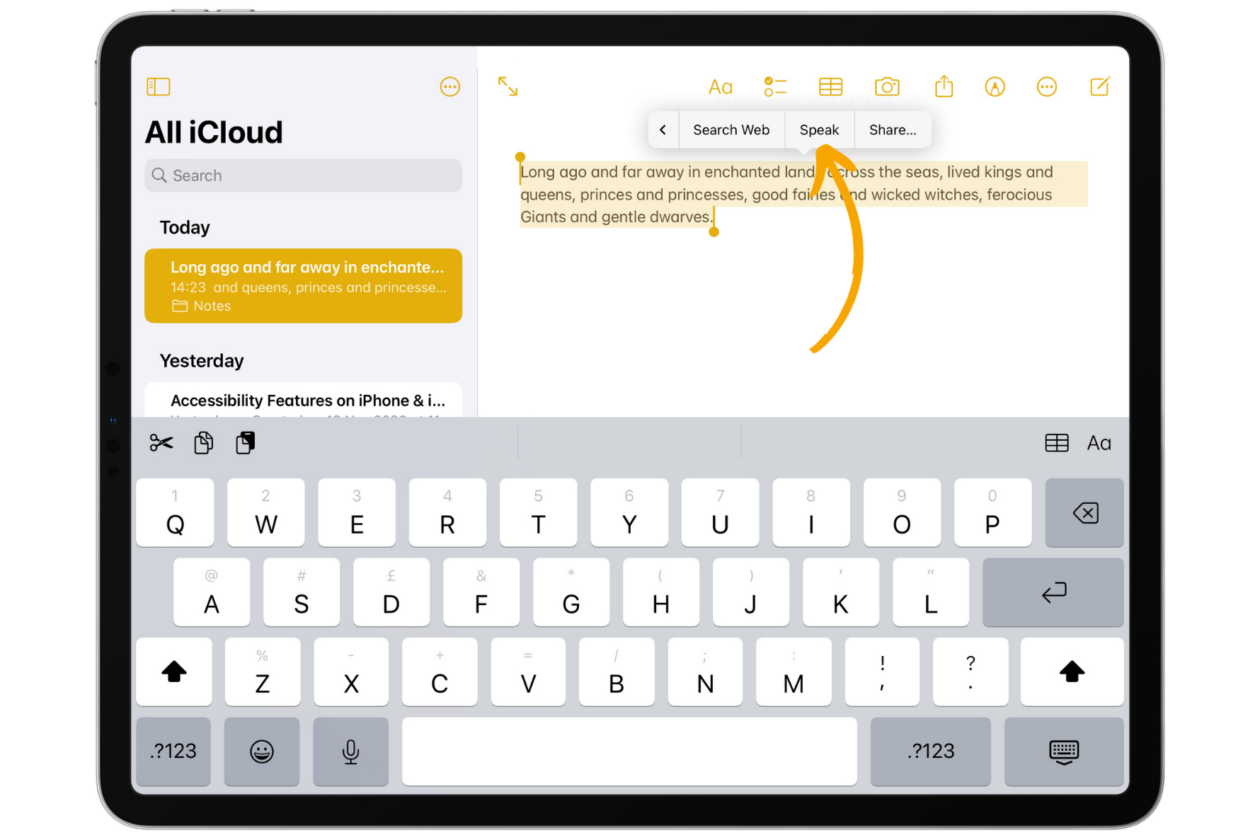
Once you have enabled Speak Selection you can highlight text by double tapping a word and use your finger to drag the highlight cursors on the left and right to extend the highlighted section. When you let go you will see an options ribbon appear, tap ‘Speak’ and your iPad will read the highlighted text to you. You may have to use the arrow at the end of the ribbon to see more options.
.
Read Aloud using Immersive Reader
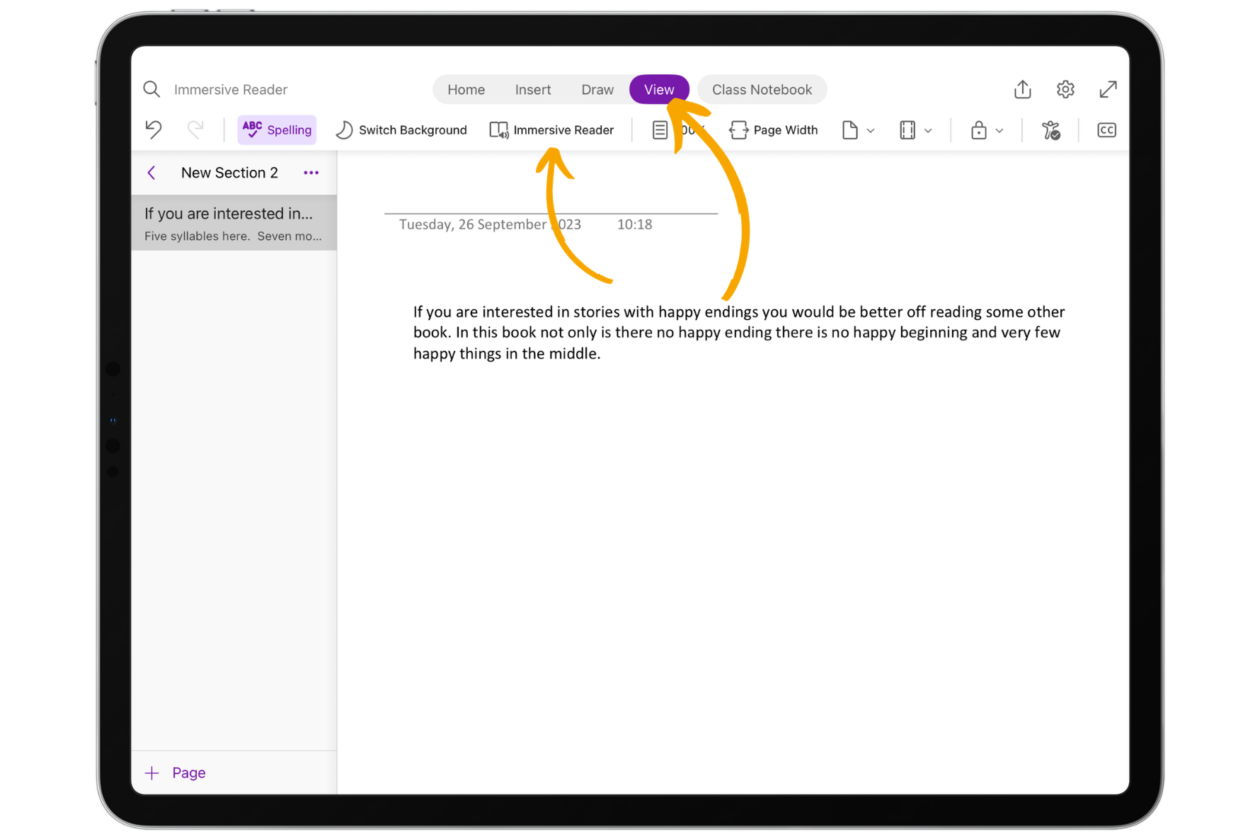
Immersive Reader is a Microsoft feature built into several Microsoft apps for iPad. The best and most comprehensive version of Immersive Reader on iPad is in OneNote. When learners have written pieces in OneNote they can use Immersive Reader to review their work.
To enable Immersive Reader tap on the ‘View’ tab along the top and then select ‘Immersive Reader’. This will launch Immersive Reader.
.
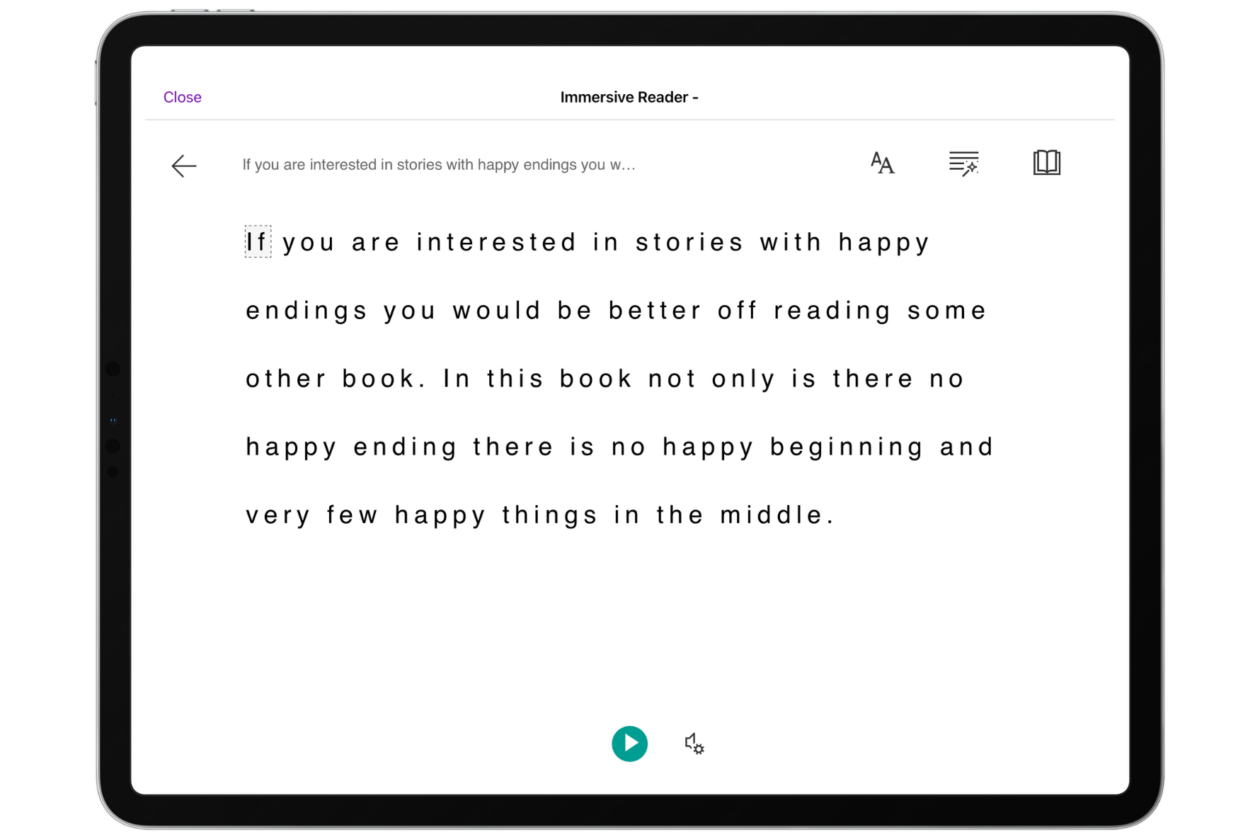
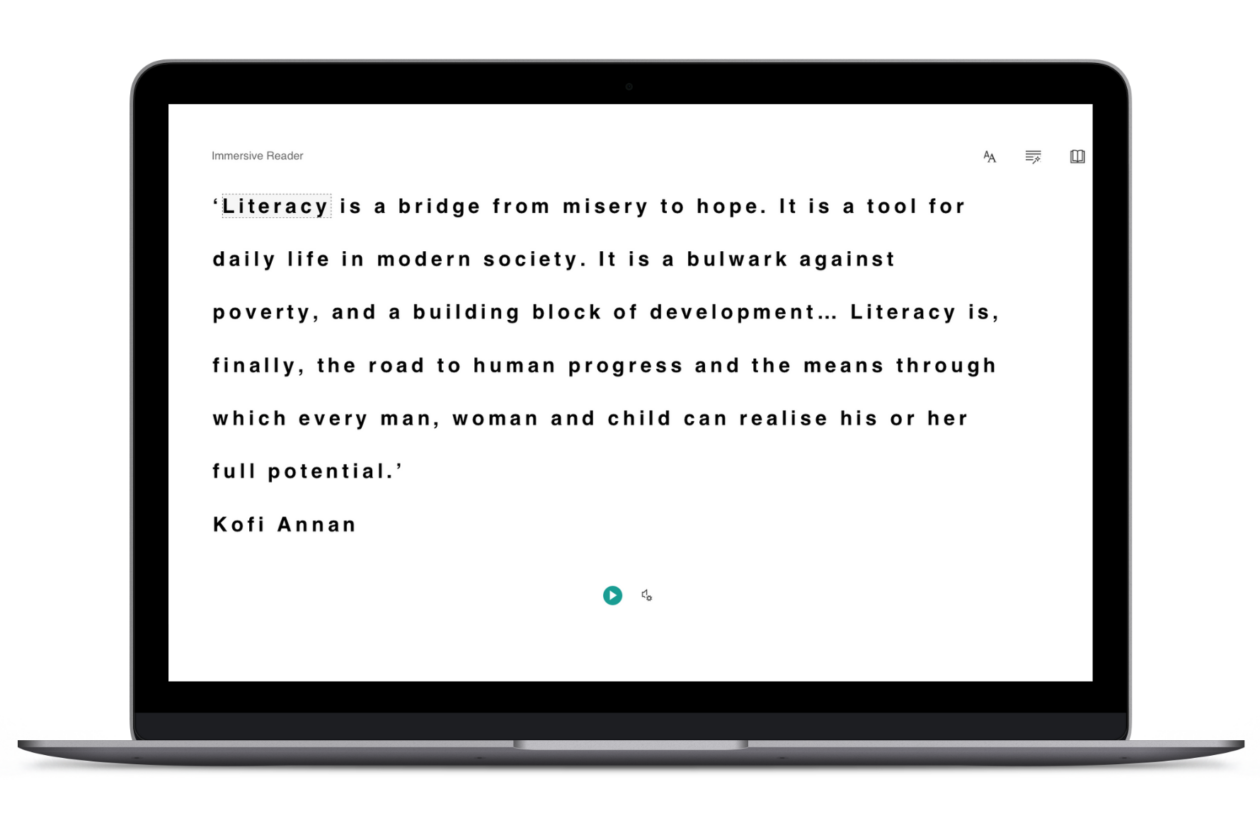
When you open Immersive Reader you can immediately have your text read aloud by pressing the green play button at the bottom of the screen.
.
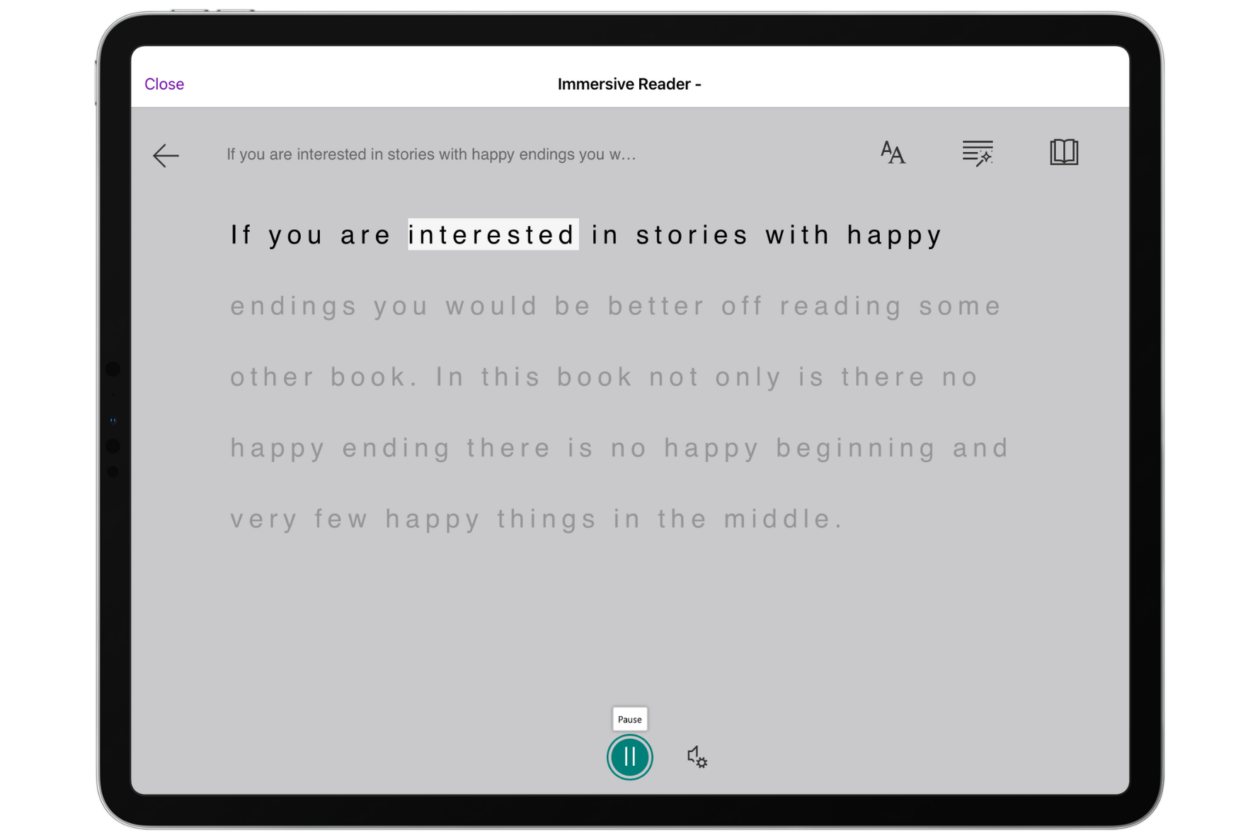
When reading aloud Immersive Reader will highlight words or sentences depending on what you have chosen. You can press the green pause button at the bottom to pause the reading.
.
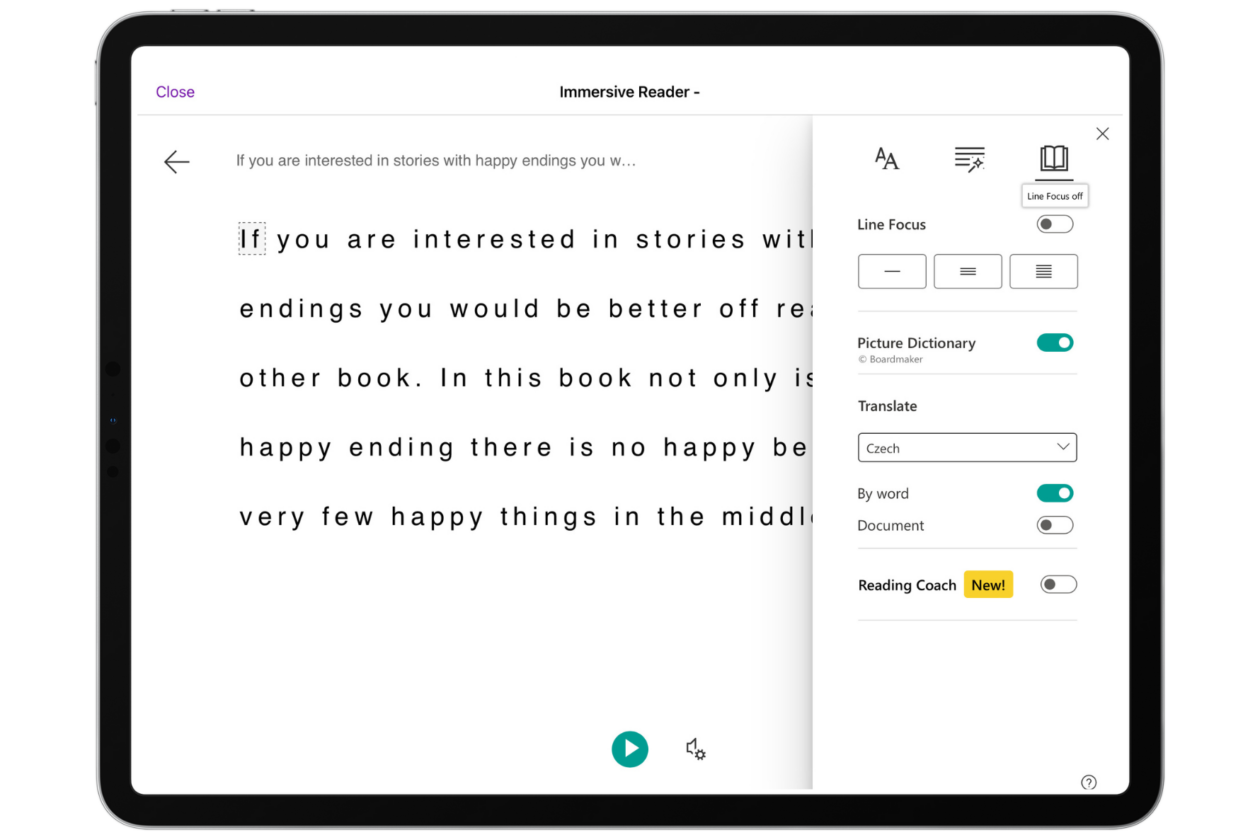
You can use the book icon in the top right to change the line focus, turn on the picture dictionary and choose a translation language.
.
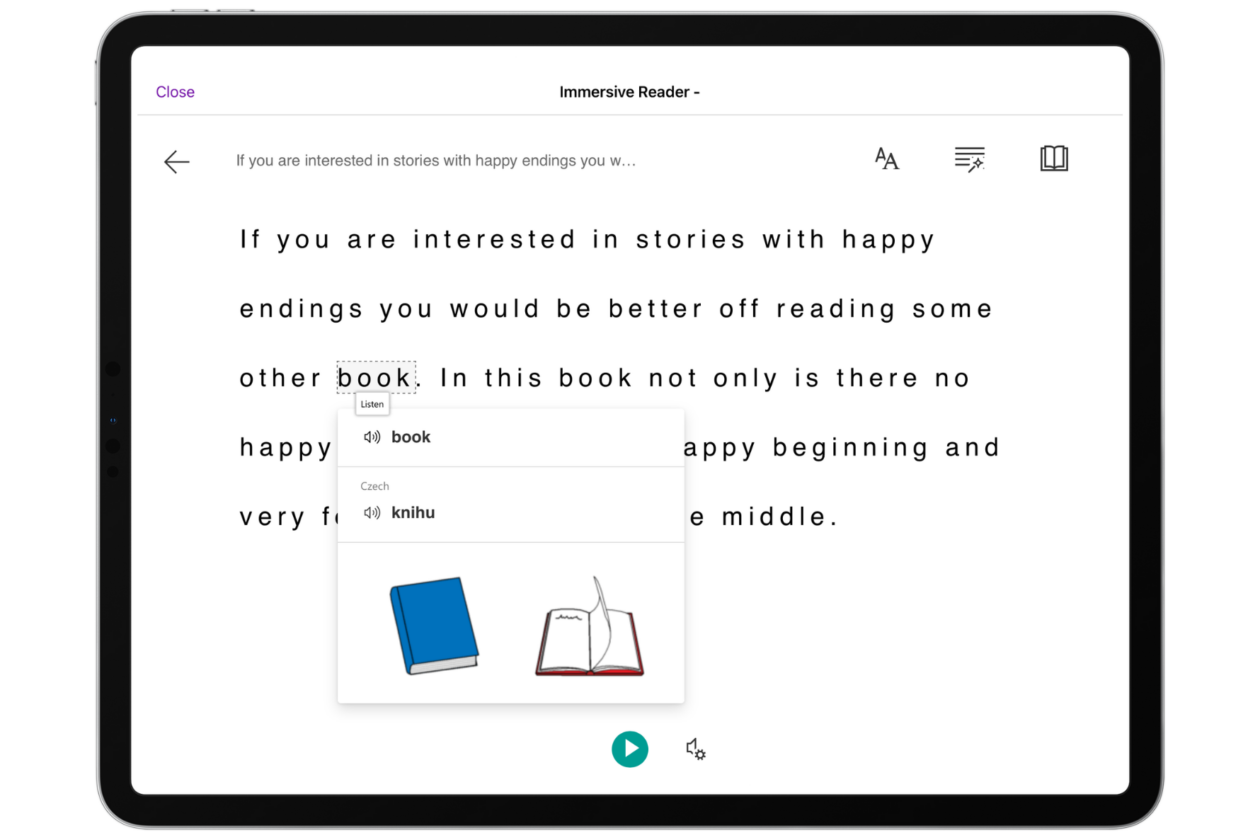
If you enable picture dictionary and translate by word, tapping on individual words will show images and translations (where available). Tapping on the speaker icon to the left of these words will read them aloud in that language.
.
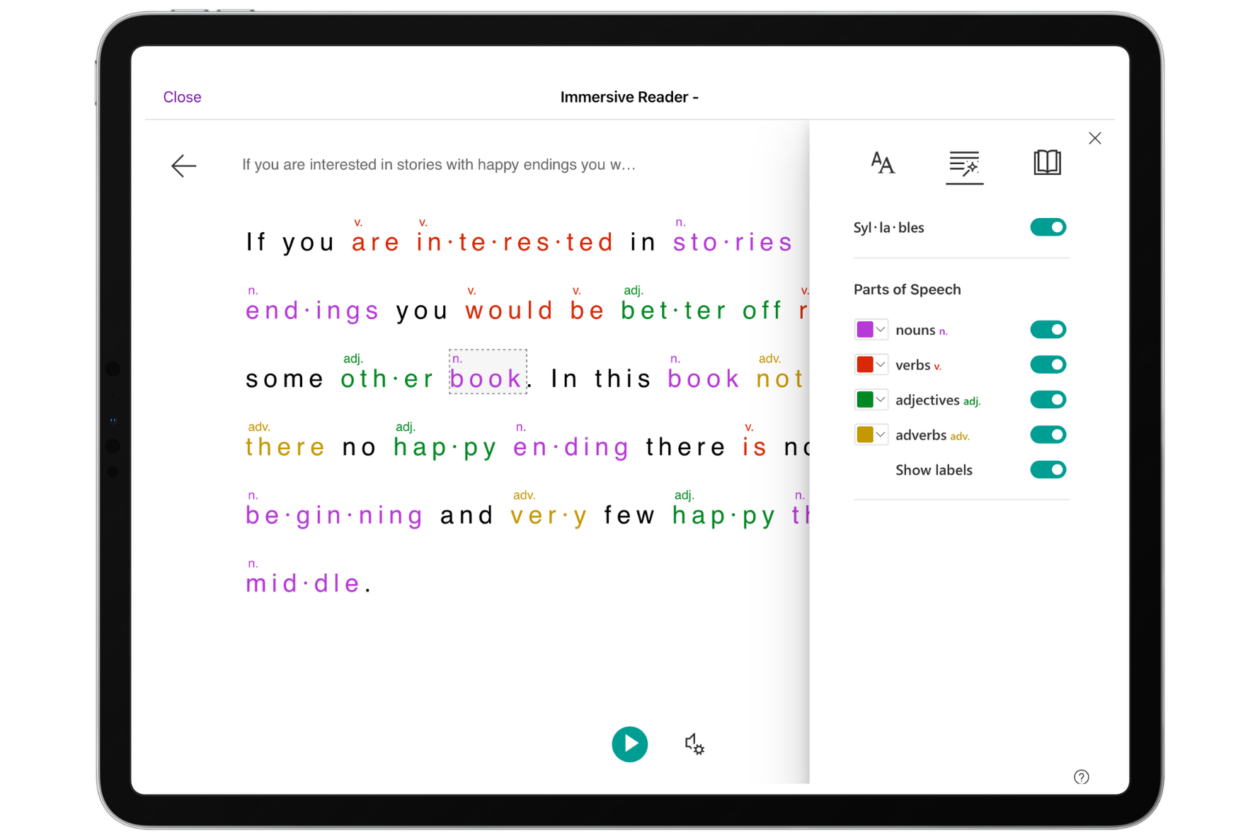
You can use the middle button (the lines with the magic wand) to add syllable markers and turn on colour coding and labels for different parts of speech. This can be really handy when reviewing writing pieces.
.
If you are using any other type of device access to Immersive Reader may depend on the version of the Office apps you have downloaded to your device. Anyone can access the version of Immersive Reader shown here by logging into Glow and using the online versions of Microsoft services.
Book Creator have a free app where learners can make one book without logging in or creating an account. They also have a website version which requires a sign in. You can make books with multimedia content and either share the EPUB version to be read in Books or share a link (web version only) to give your finished book to the school community.
Pages comes as standard on all iPads. Learners can add a range of multimedia to their writing including voice recording, video and GIFs. You can export your finished book as an EPUB and share with others to read in Books. Find out more about Pages here.

Draw and Tell allows learners to make use of drawing tools, stickers and other creative tools to create a picture and then use the built in recording functionality to tell the story of their picture.
Similar to Draw and Tell this superhero themed version, Superhero HD, allows learners to create scenes and then use the in built voice recording functionality to tell the story of their scene.

Chatterpix and Chatterkids allows learners to add a mouth to drawings or photographs and have their drawing speak using the built in voice recorder. This is great for exploring character across a range of reading and writing activities.
Session Recording
Here is a full recording of the session for those who wish to watch it again or who missed it.
