Origami Bookmark
I know that some of you will already know how to make one of these because we have done it at school but others may not, so I am going to go through it step-by-step. You will need a square piece of paper, a glue stick, a white sticky label or white paper, a pair of scissors and a black felt tipped pen.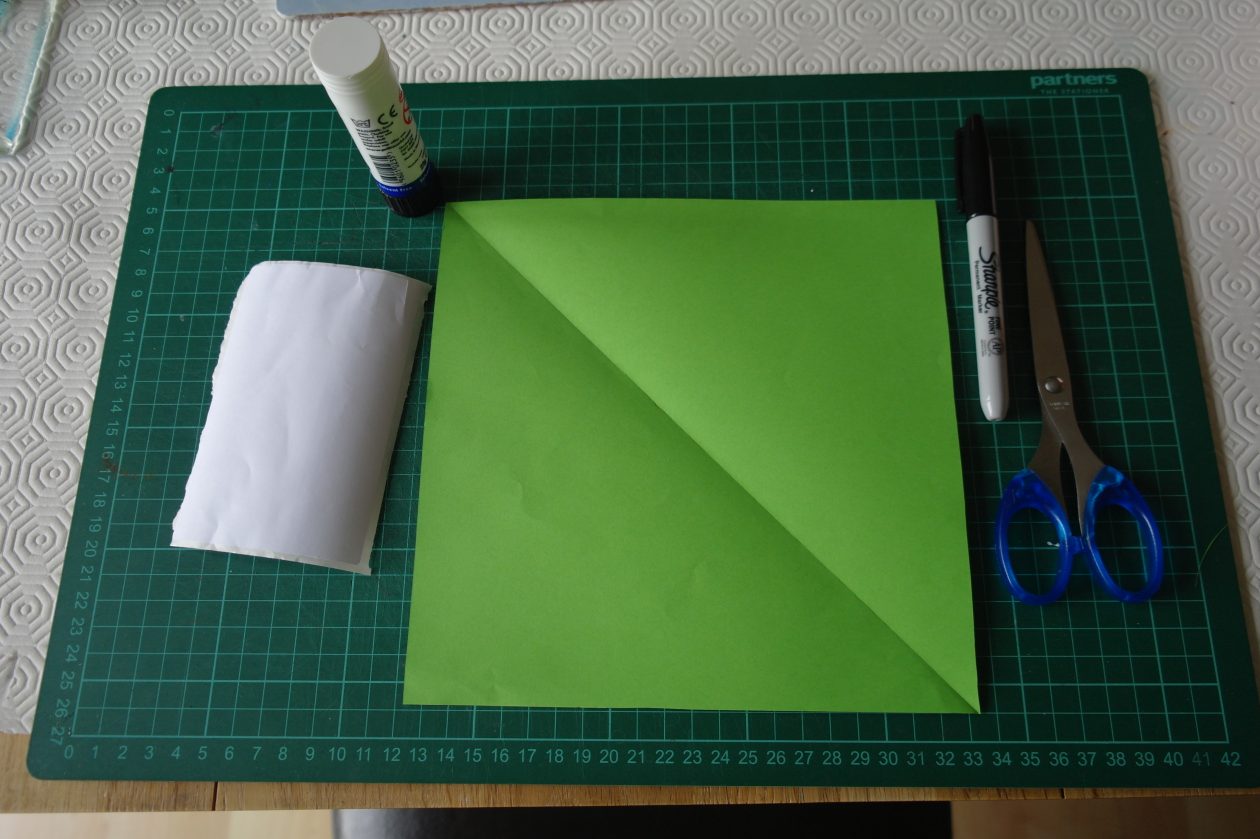
I started with an A5 piece of paper (that’s half of an A4 sheet) and created a square by lining up a vertical edge with a horizontal edge, creating a diagonal fold (as I showed you in my previous origami blog). Fold your square piece of paper diagonally to make a triangle.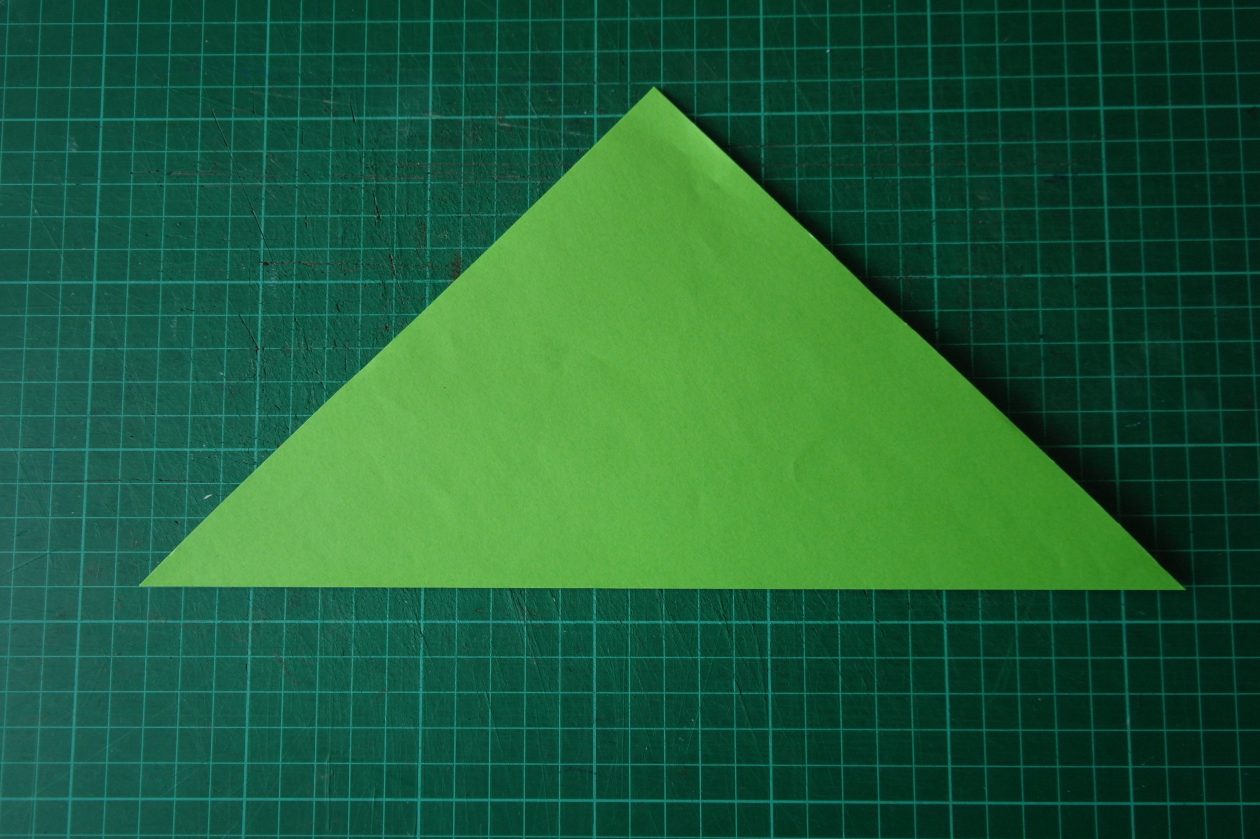
Fold up the bottom right corner of your triangle so that the corner touches the top corner and the edges line up and crease it.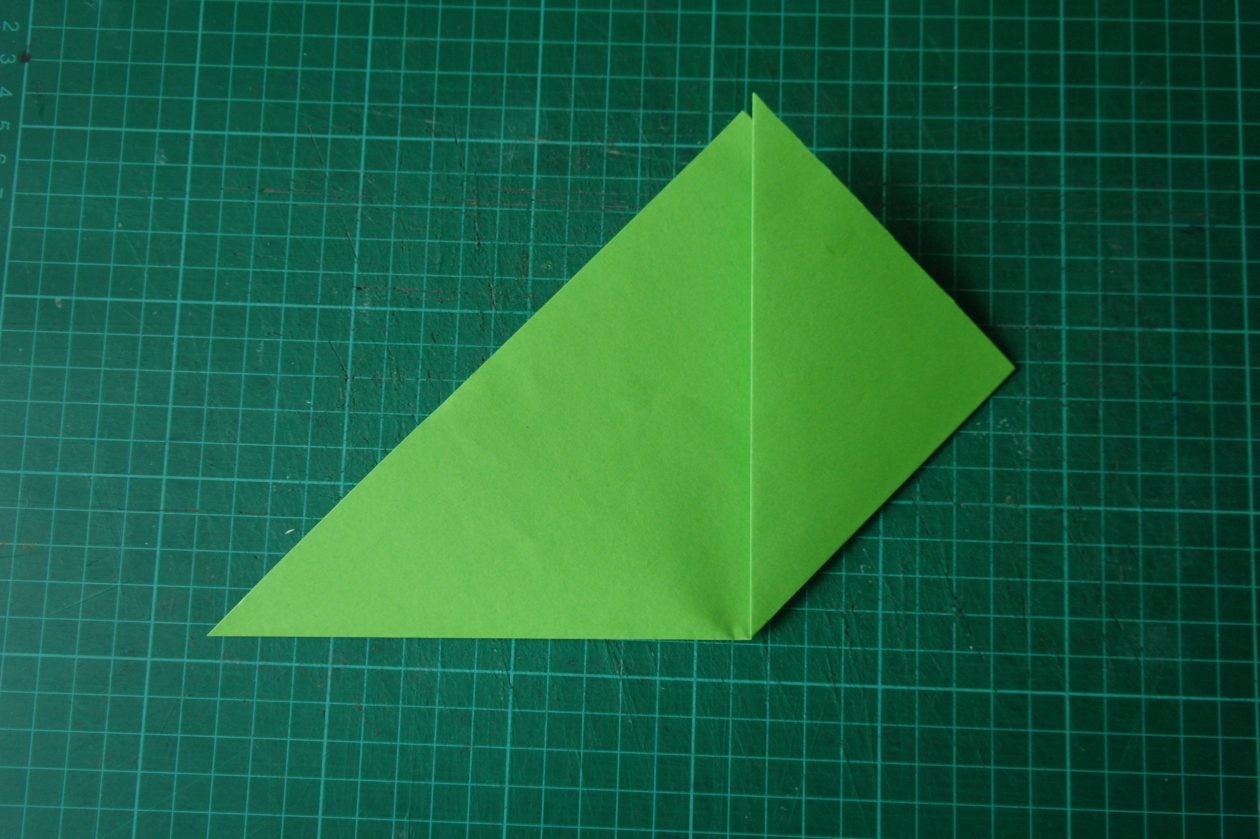
Do the same as above with the bottom left corner of the triangle.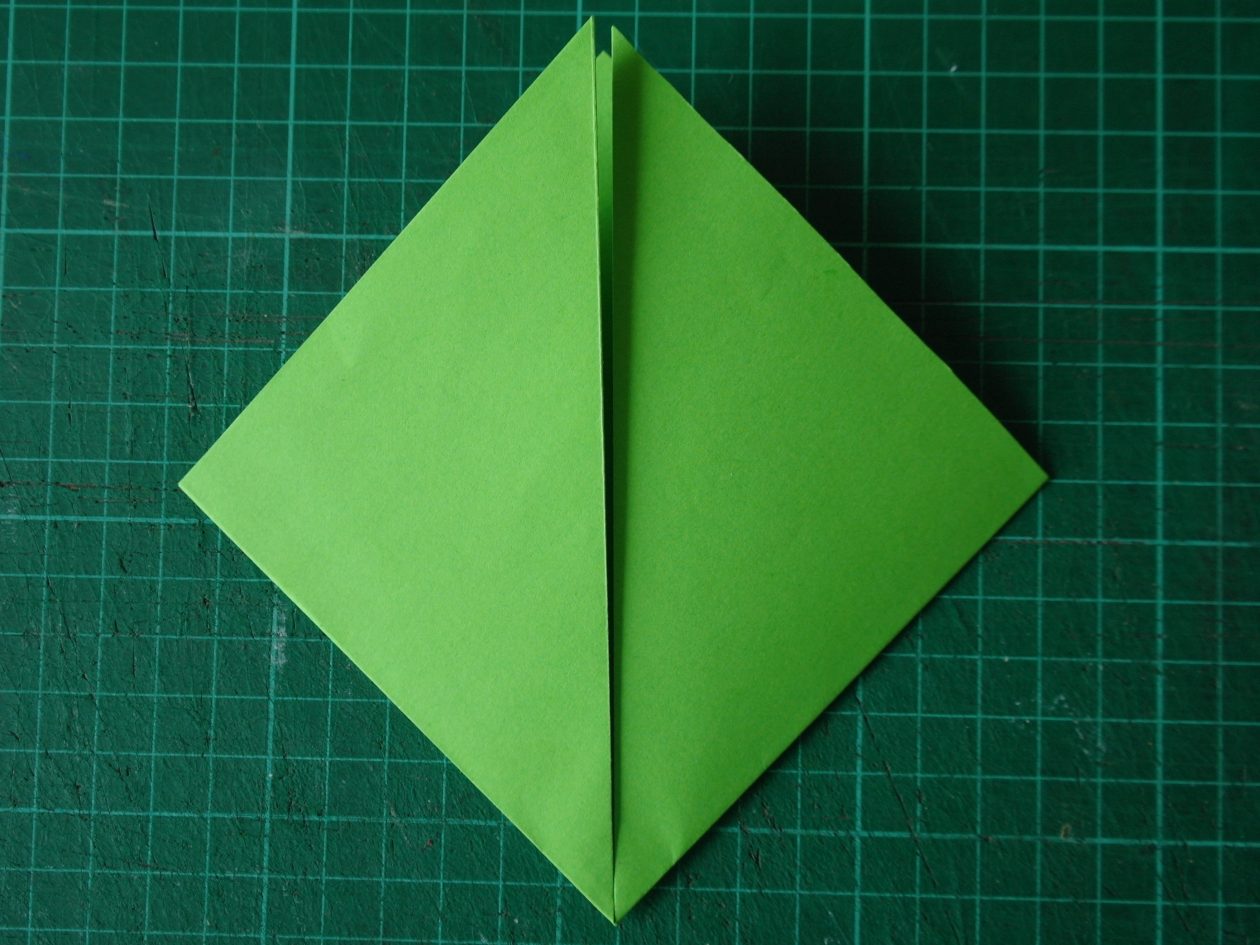
Unfold then fold the top corner of the top layer of the triangle down so that the corner touches the centre of the bottom edge.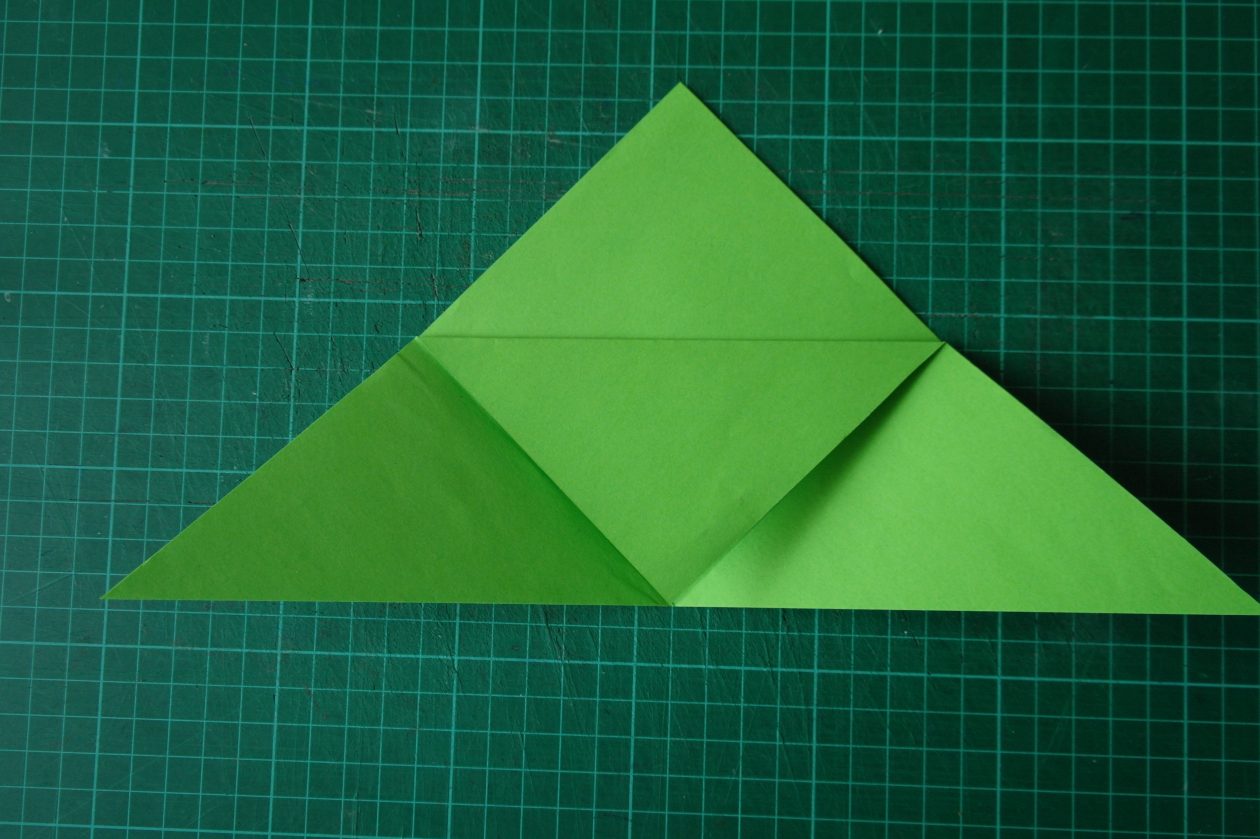
Fold the two bottom corners of the triangle up again and tuck them in behind the fold you have just made and crease (make sure they are tucked all the way in).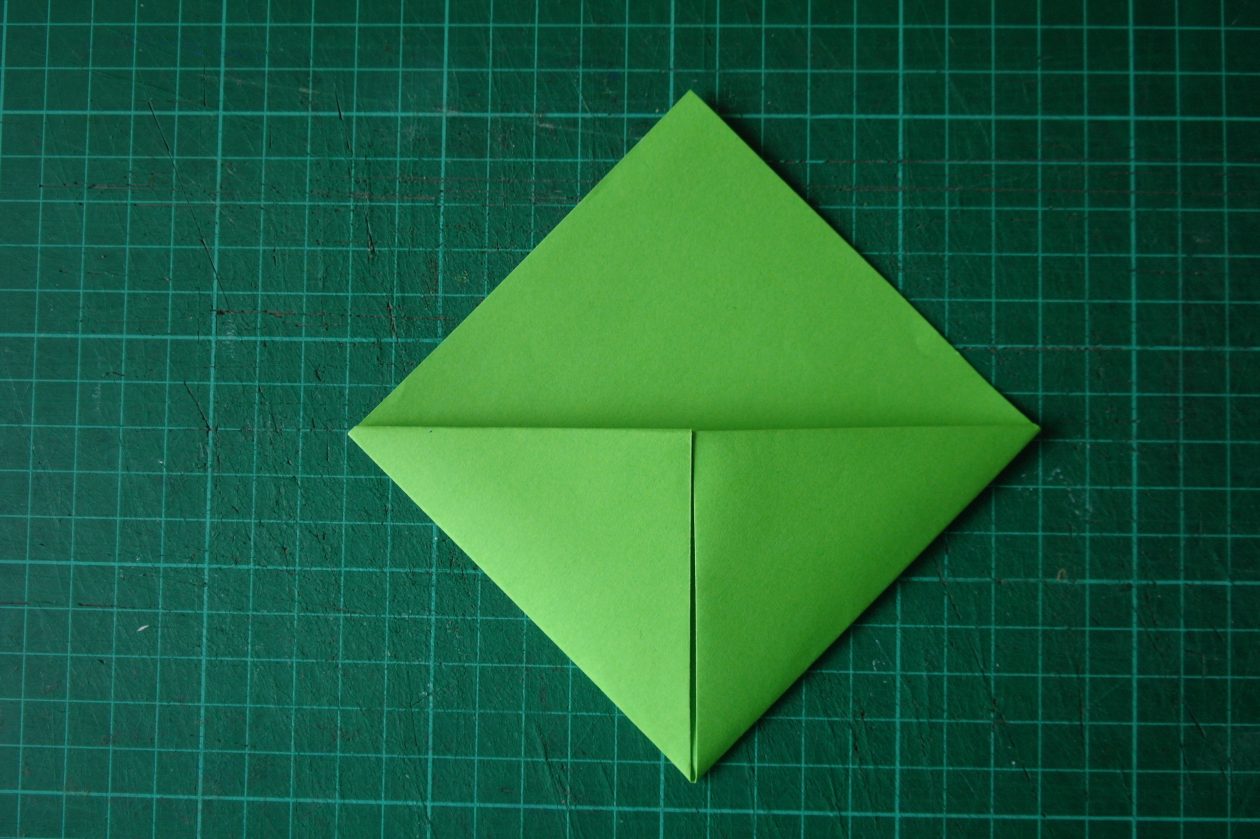
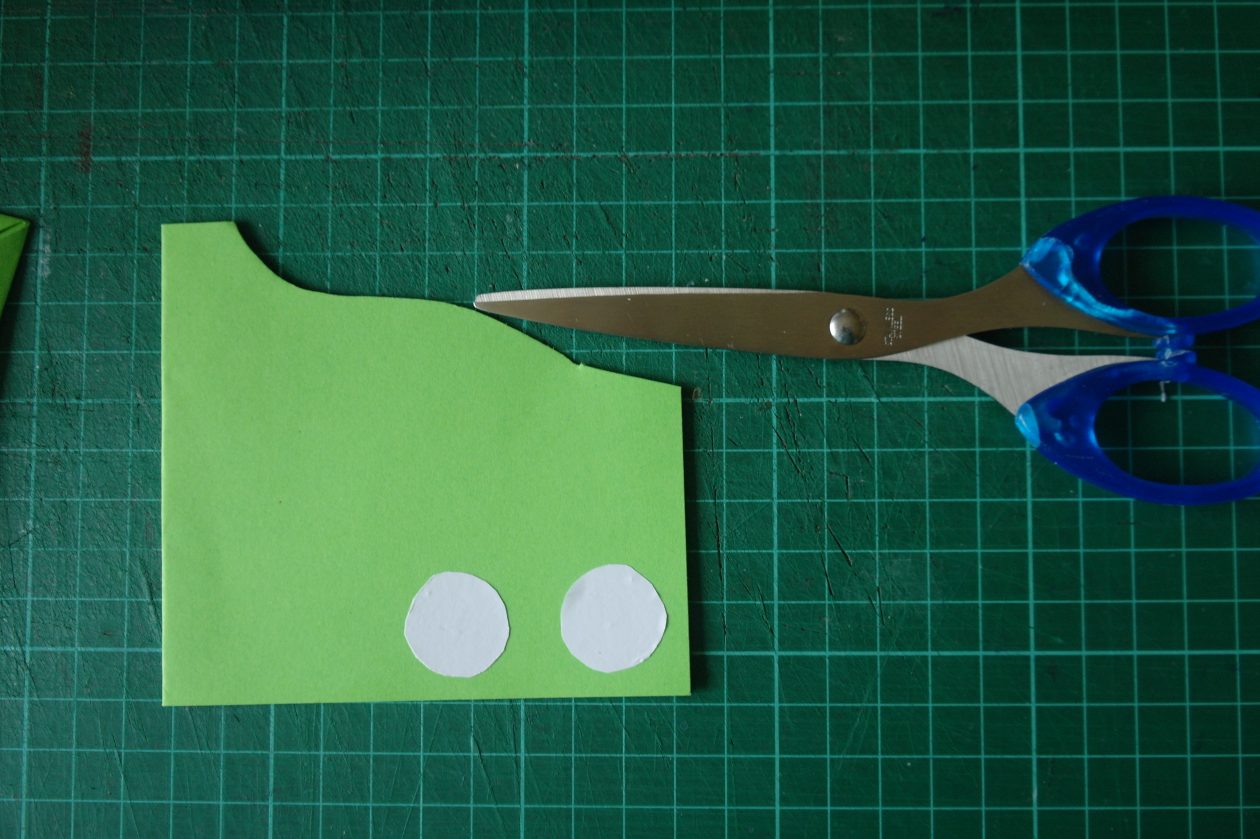
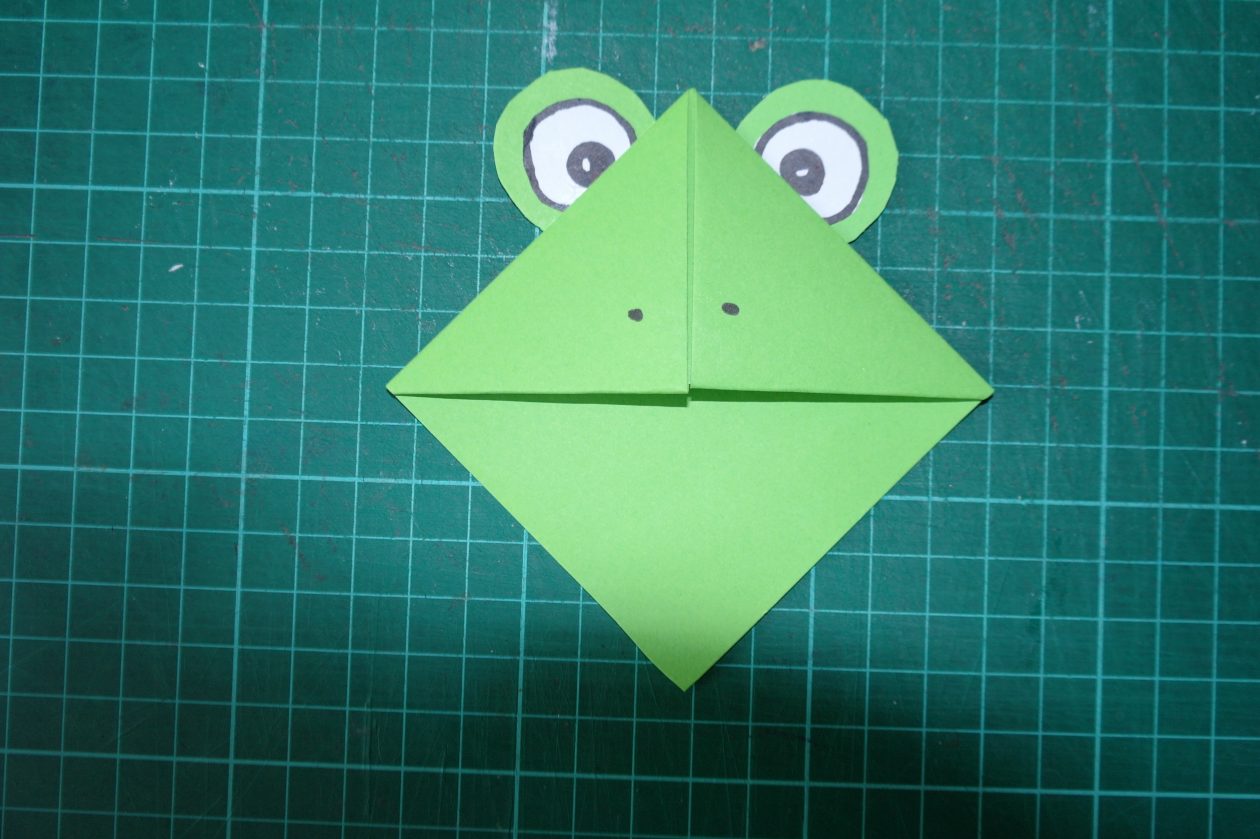
Now you are ready to decorate your bookmark. This example is of a frog I made. I cut out two white circle and stuck them onto some green card.
I cut out around the white circles leaving some green card showing and drew on some eyes with a black felt tipped pen.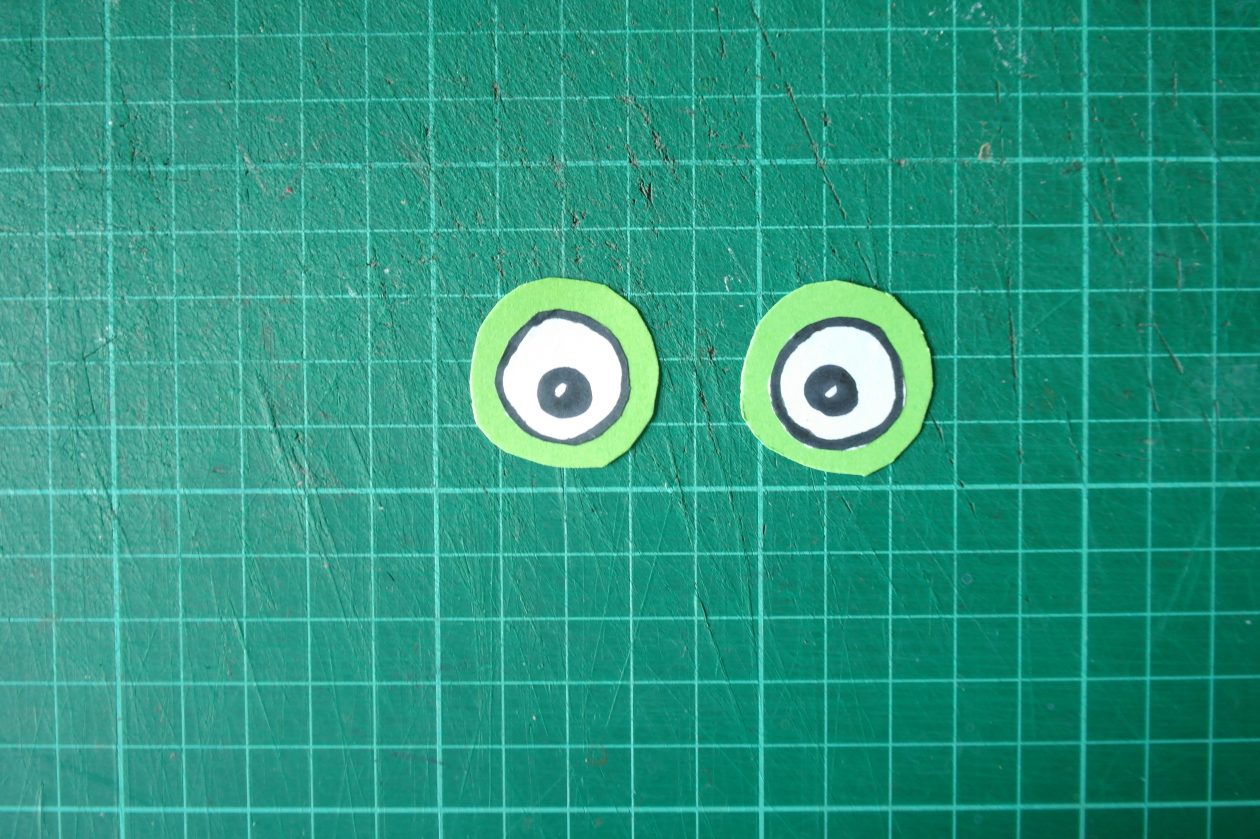
I stuck the edges of the eyes to the back of my bookmark and drew on some nostrils to make the frog’s face.
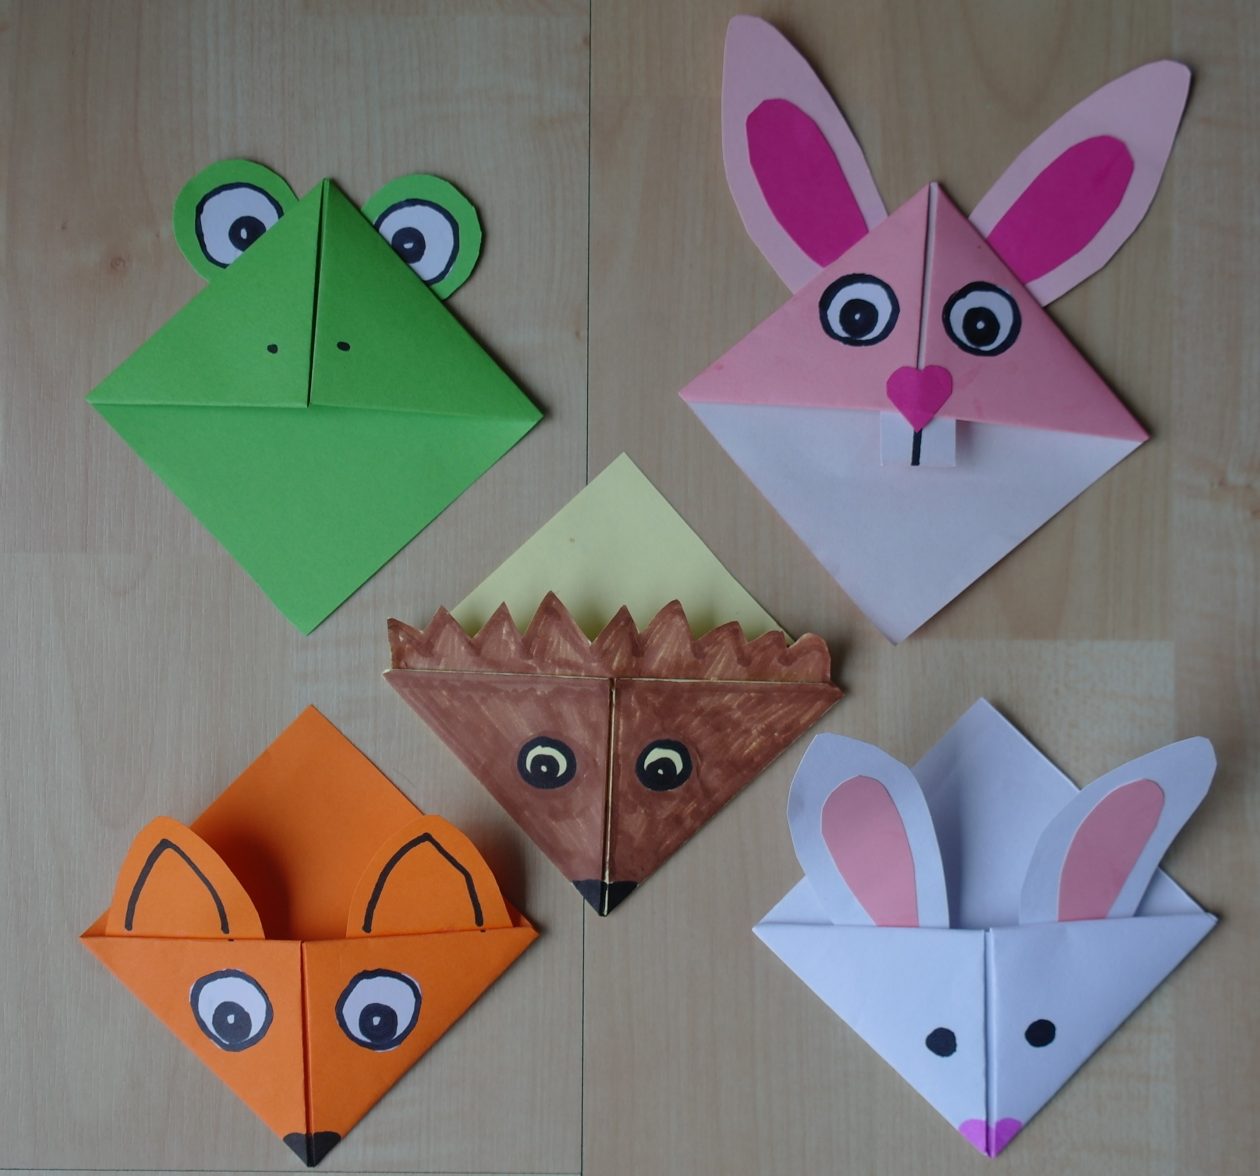
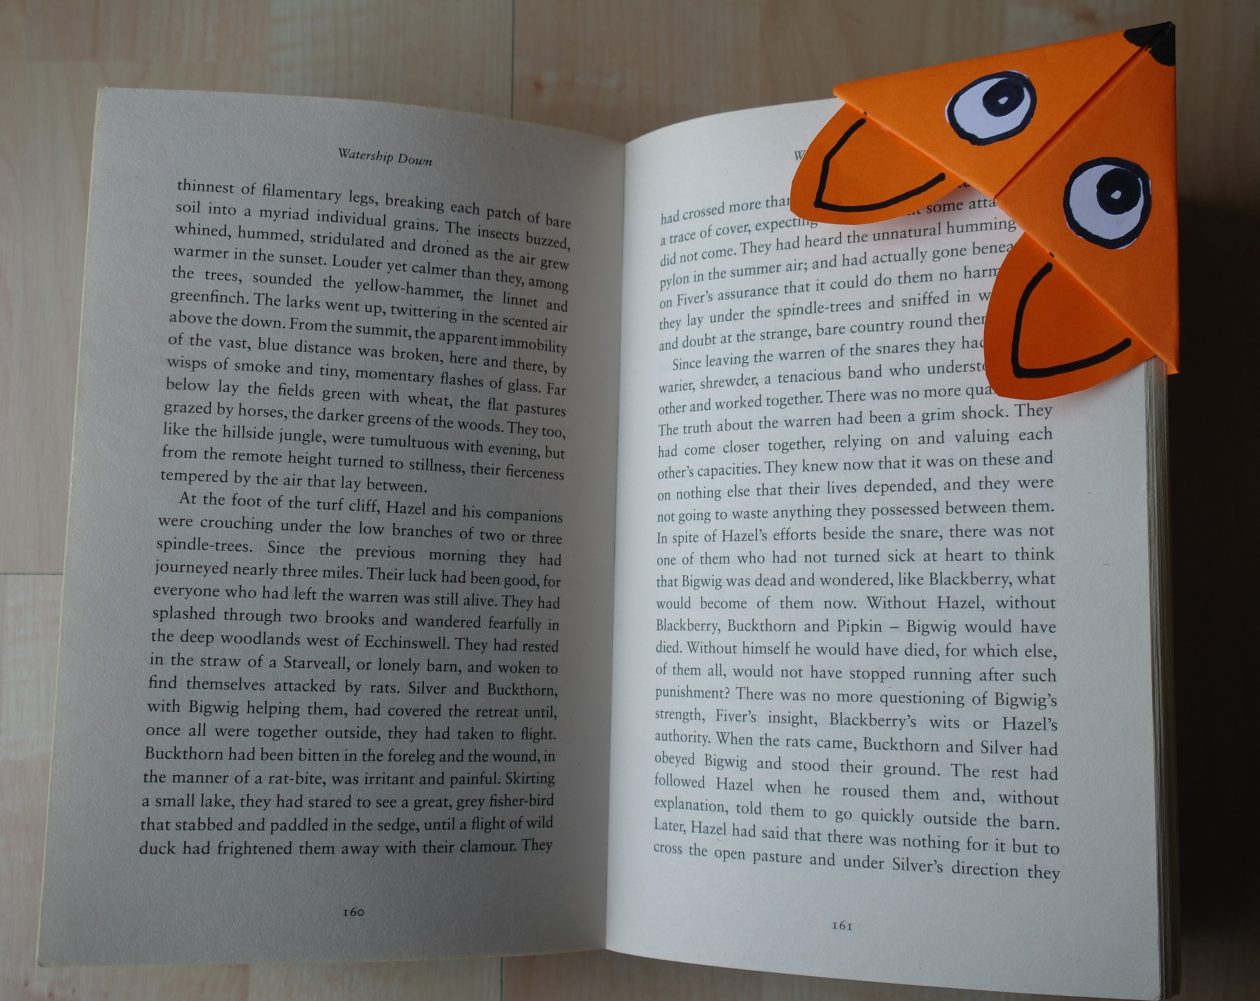
Here are some other examples. I know of one young man who may like the fox and I think another young lady could make a wolf bookmark.