Whittling Whistles
To make a wooden whistle you will need a stick that is seasoned (i.e. completely dry) rather than the green wood that I recommend for other whittling projects. You can use hazel, sycamore, silver birch or any fruit-wood (I used hazel). The stick will need to be 15 – 20 mm in diameter and 100 – 150 mm long.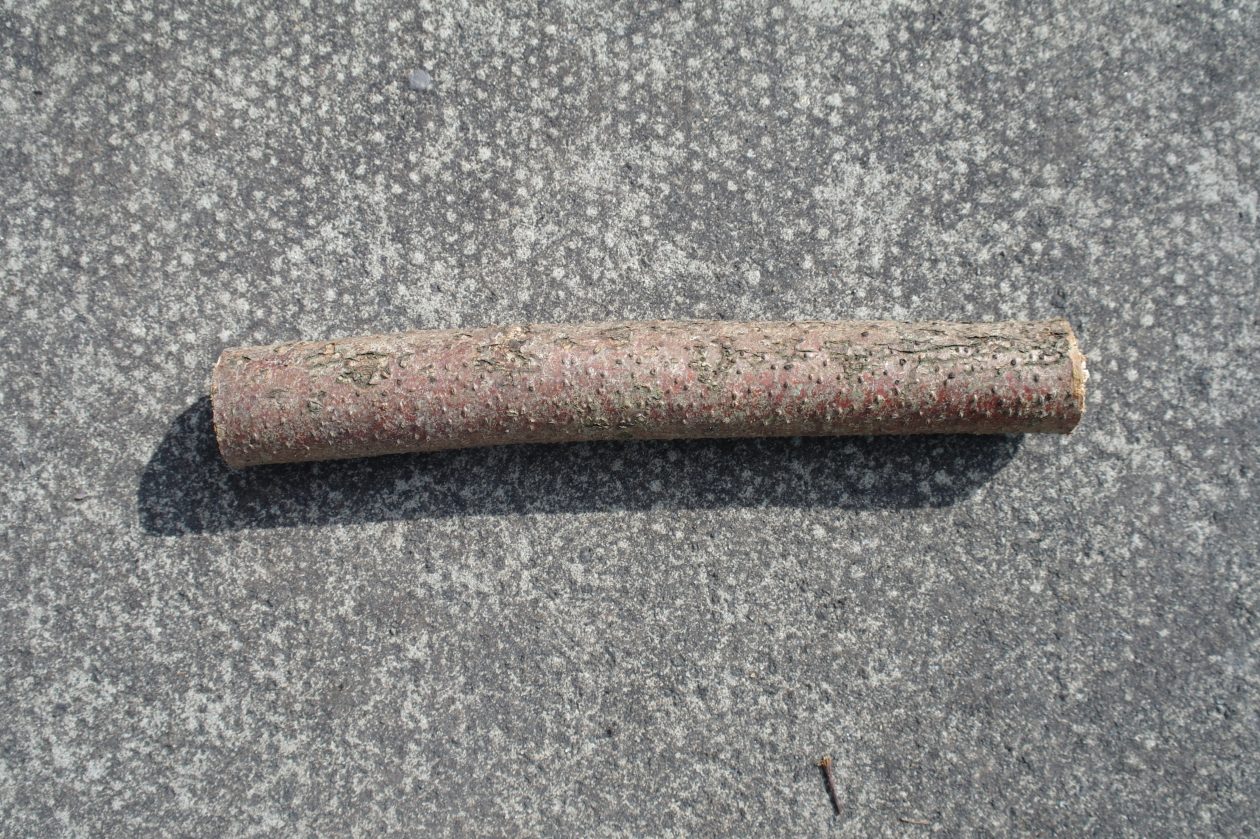
You will also need a work bench or vice and a drill for this project (we have got some hand drills at school but I forgot to bring one home with me so I’m using my electric drill).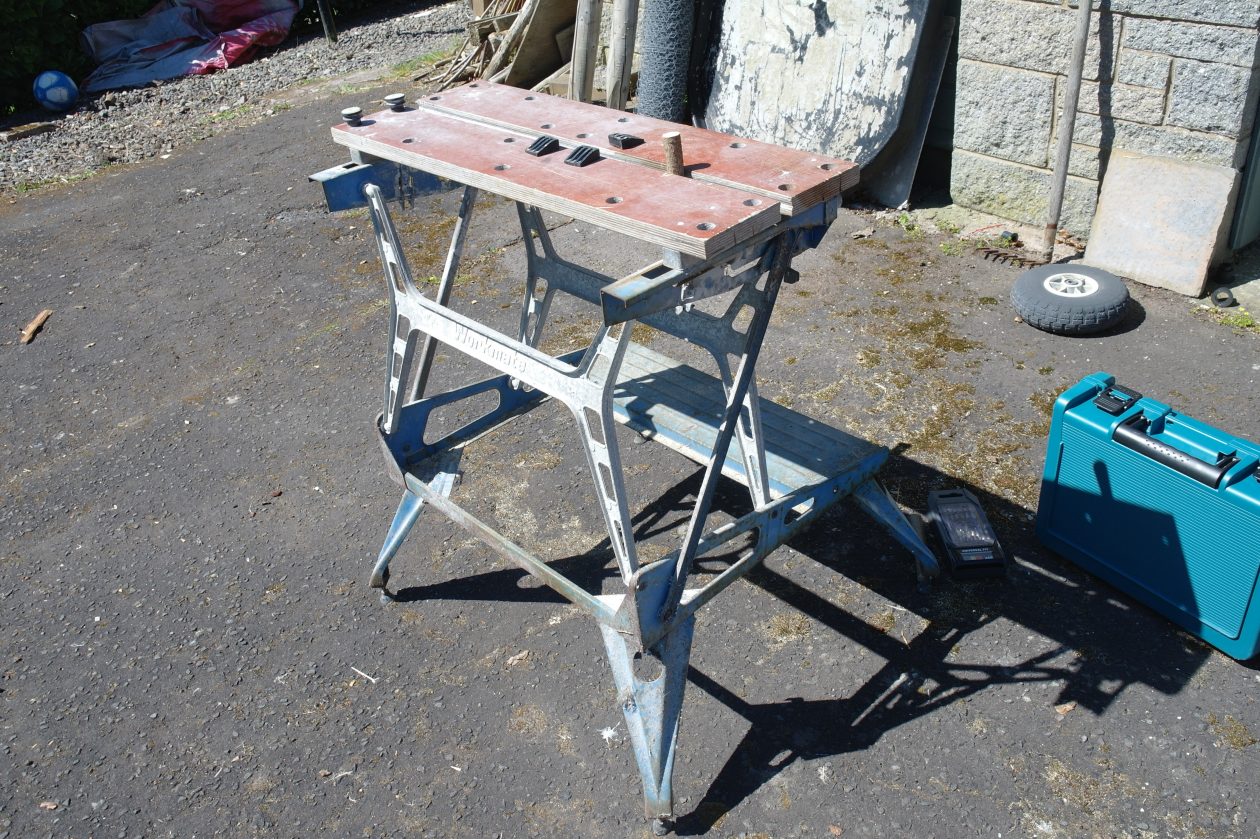
Secure your stick in the work bench or vice and drill a hole at one end using an 8 mm drill bit. Make the hole between 40 and 50 mm deep (I measured this on my drill bit before drilling and used a piece of masking tape to mark how deep I needed to go).
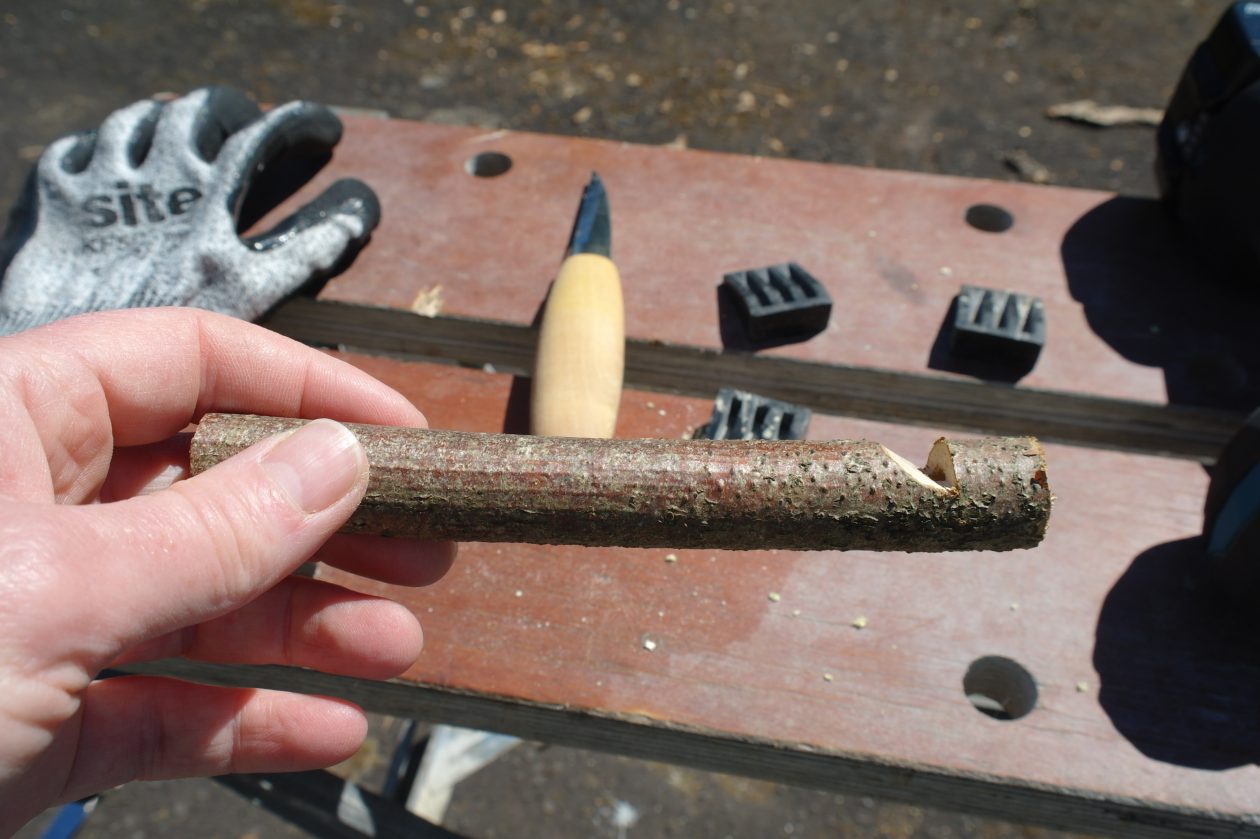
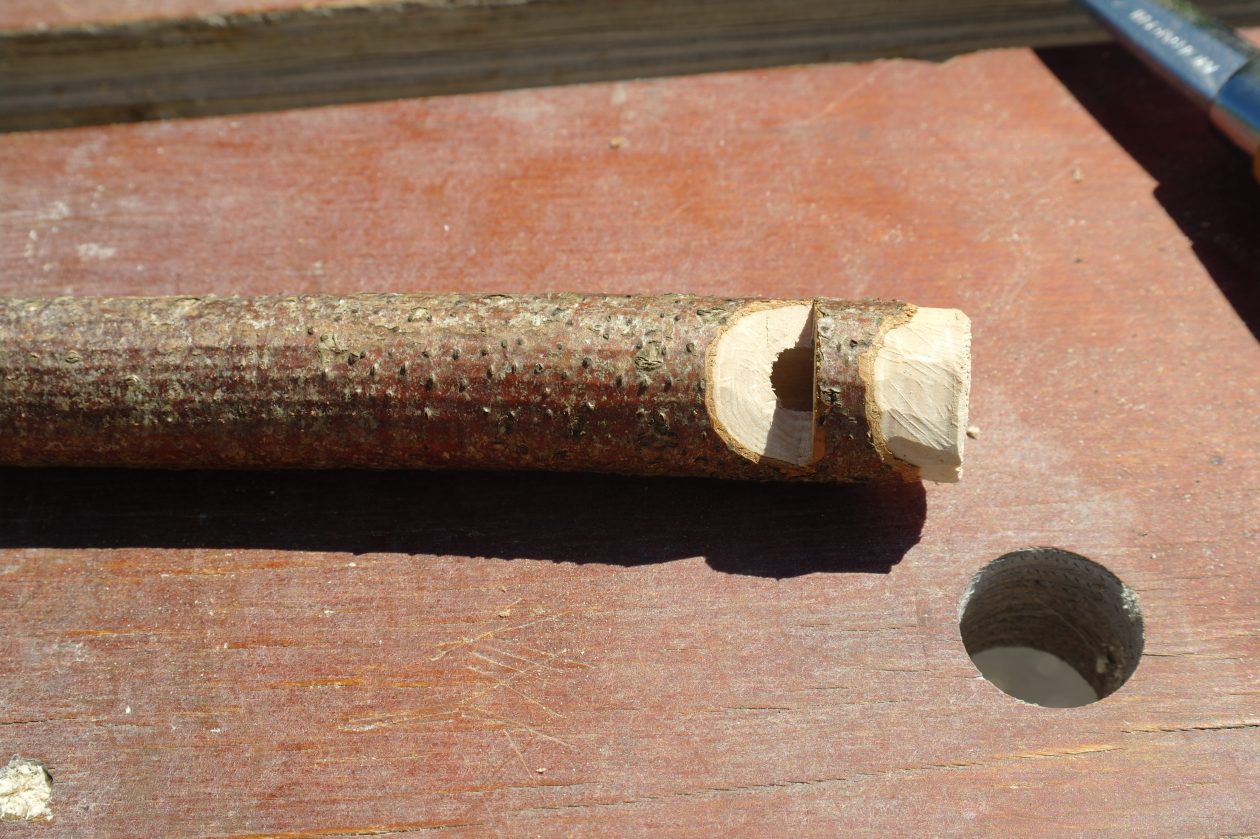
Measure about 15 mm from the drilled end and make a vertical cut across the side of the stick that just cuts into the side of the hole you have drilled. I used a small pruning saw to do this but you can use your knife.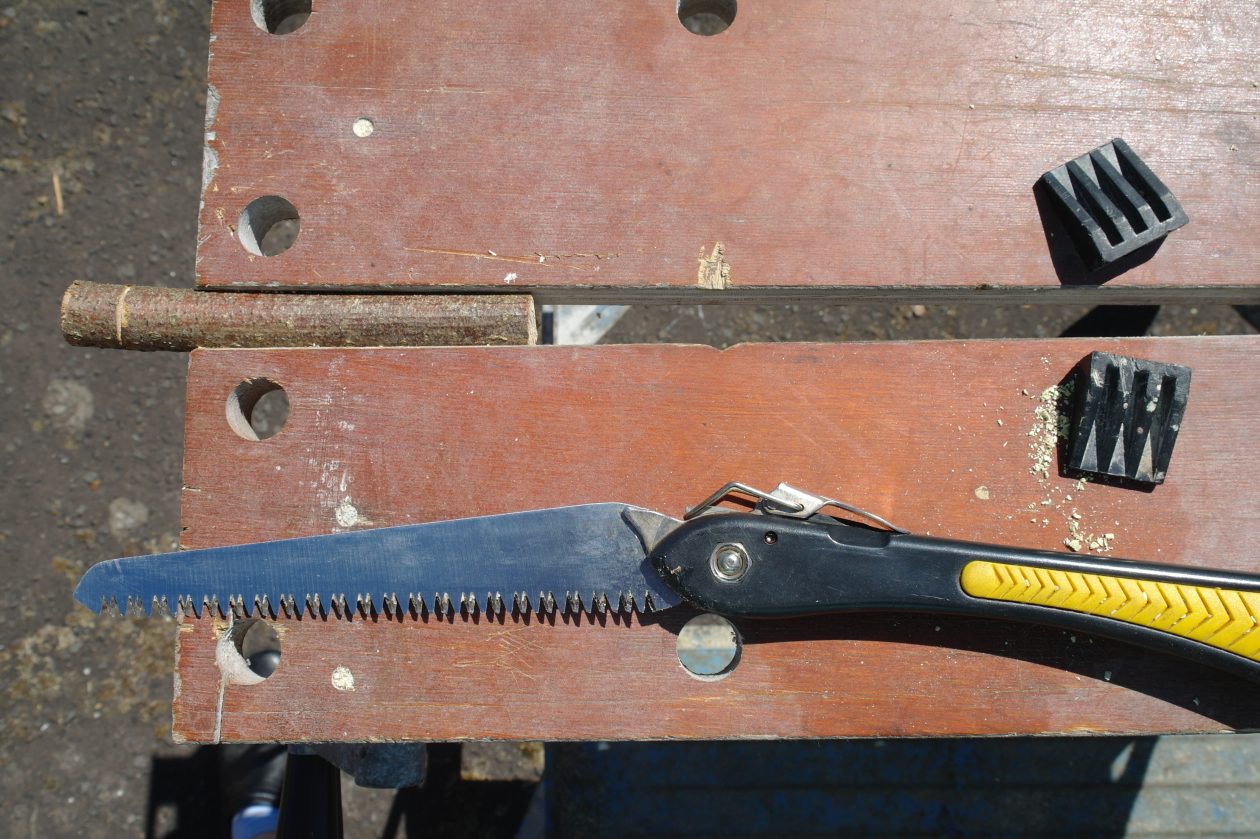
Now make a shallow, sloping wedge cut towards the vertical cut. This second cut should be at around 45 degrees, to create a wedge shape and should break into the hole you drilled. Always wear your cut resistant glove when using the knife.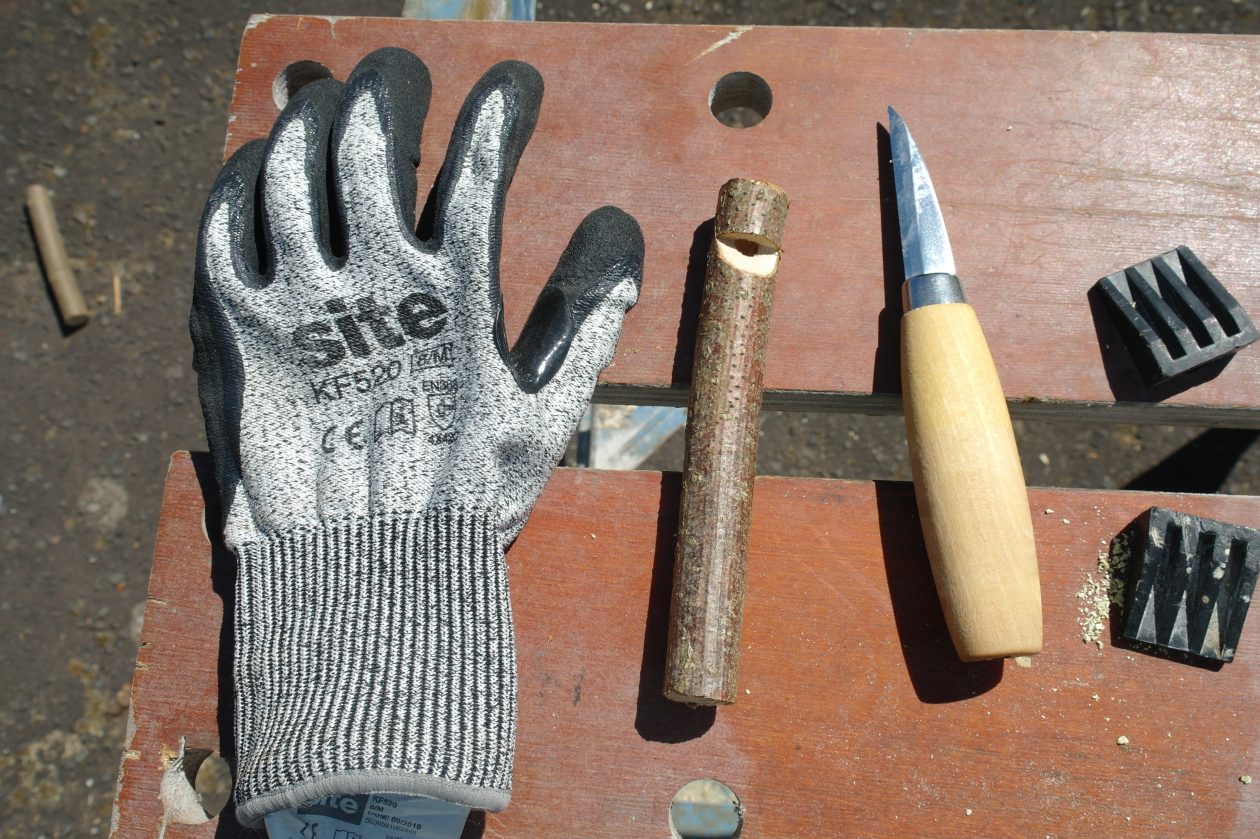
Cut another small stick (I used sycamore this time) and cut it into quarters, down the grain, using a small axe or hatchet (you can use a piece of ready made dowel but I didn’t have any). Use your knife to whittle this sick into a roughly circular rod. Check to see if it is just slightly larger than the hole you have drilled.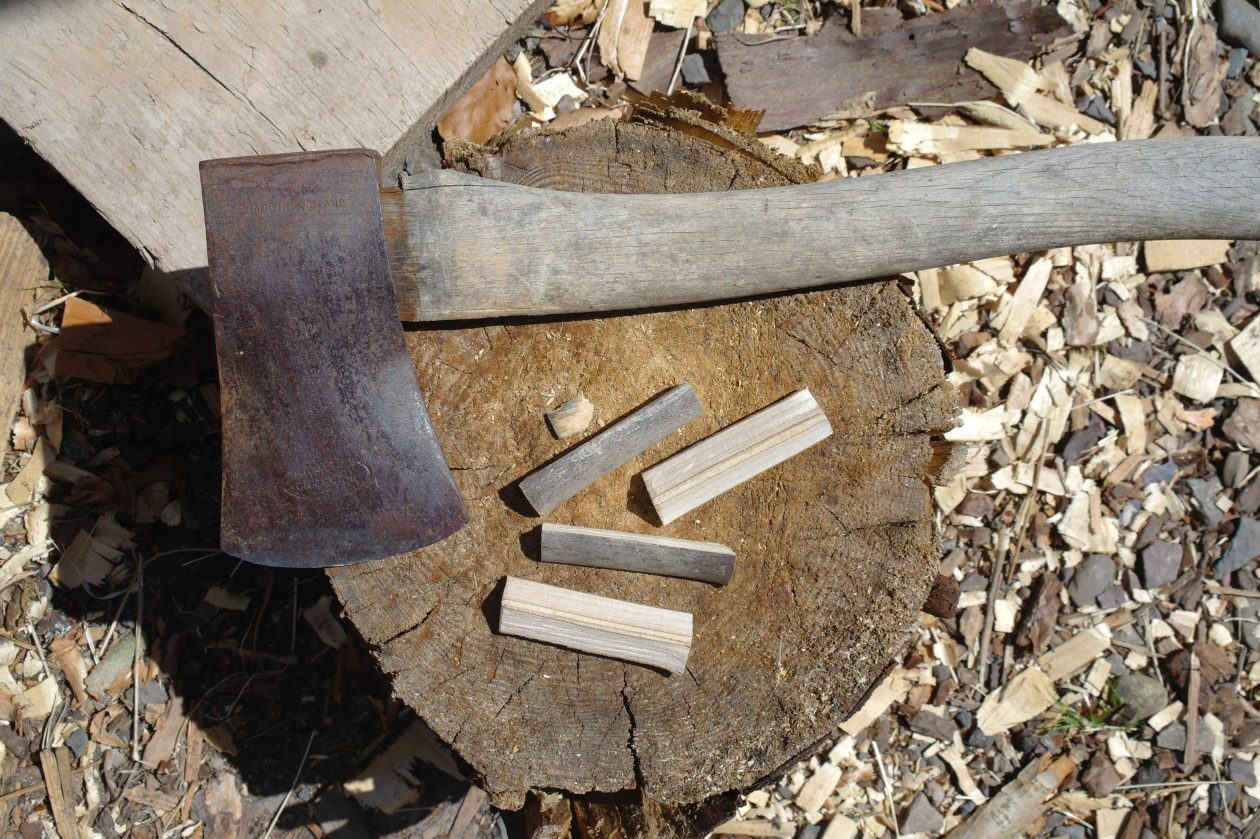

Trim one end of your small rod or dowel to make it square and flatten it off a little at one side. This is called the fipple and determines the tone of your whistle.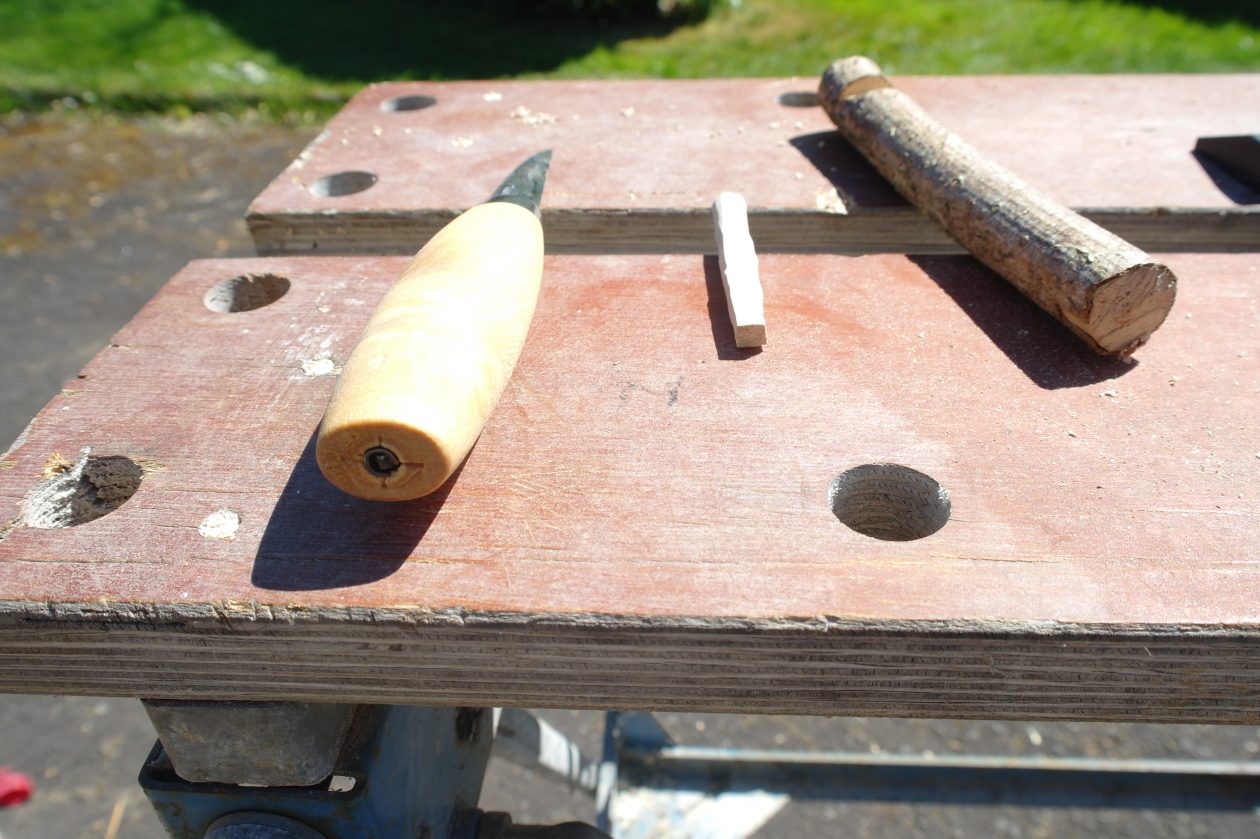
Insert the fipple into the mouthpiece until the square end is level with the vertical cut. It should fit tightly into the hole and there should be a narrow space (the windway) in between the flat side of the fipple and the hole.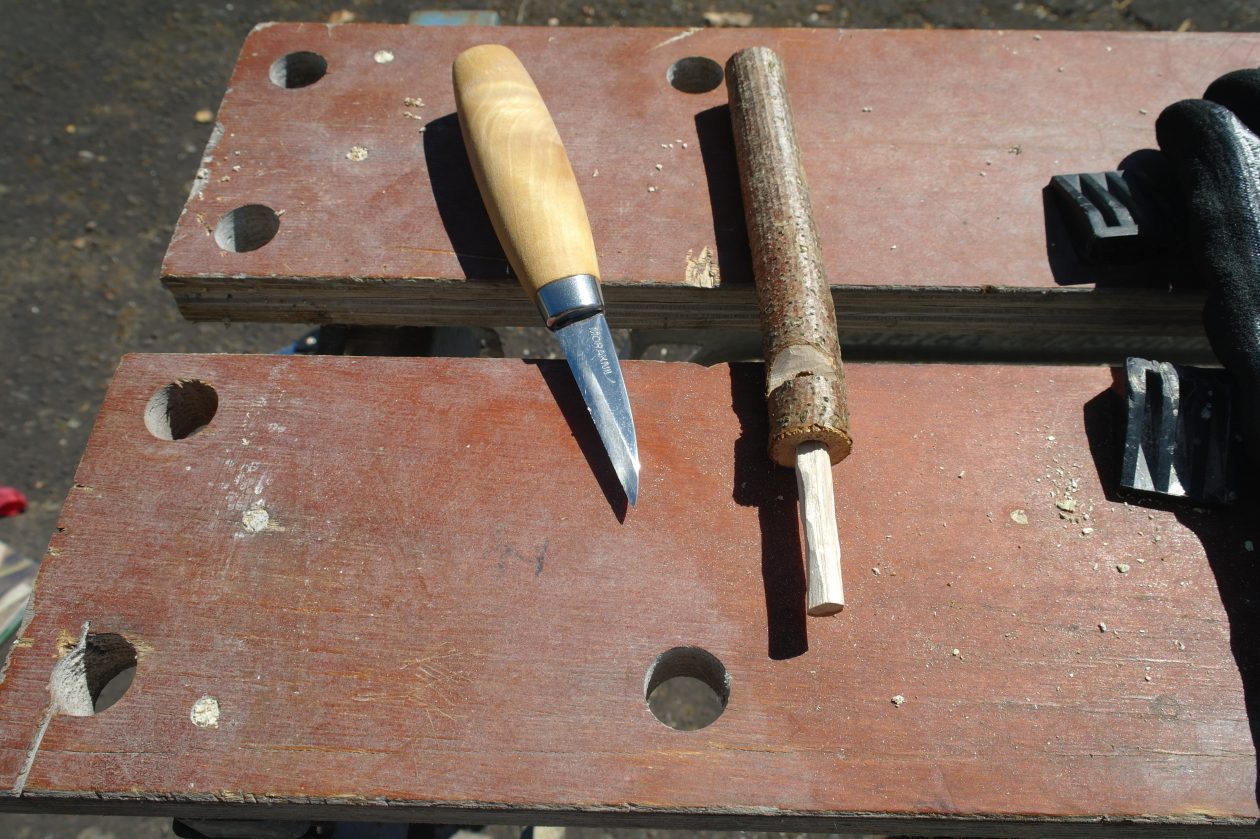
You can now try your whistle, adjusting the fipple until you get the sound you want. You may have to clean up any rough edges around the hole with sandpaper and fiddle about with the fipple before you get it right. Once you are happy with the sound, carefully, trim off the end of the fipple so that it is level with the end of the whistle (I used my saw for this).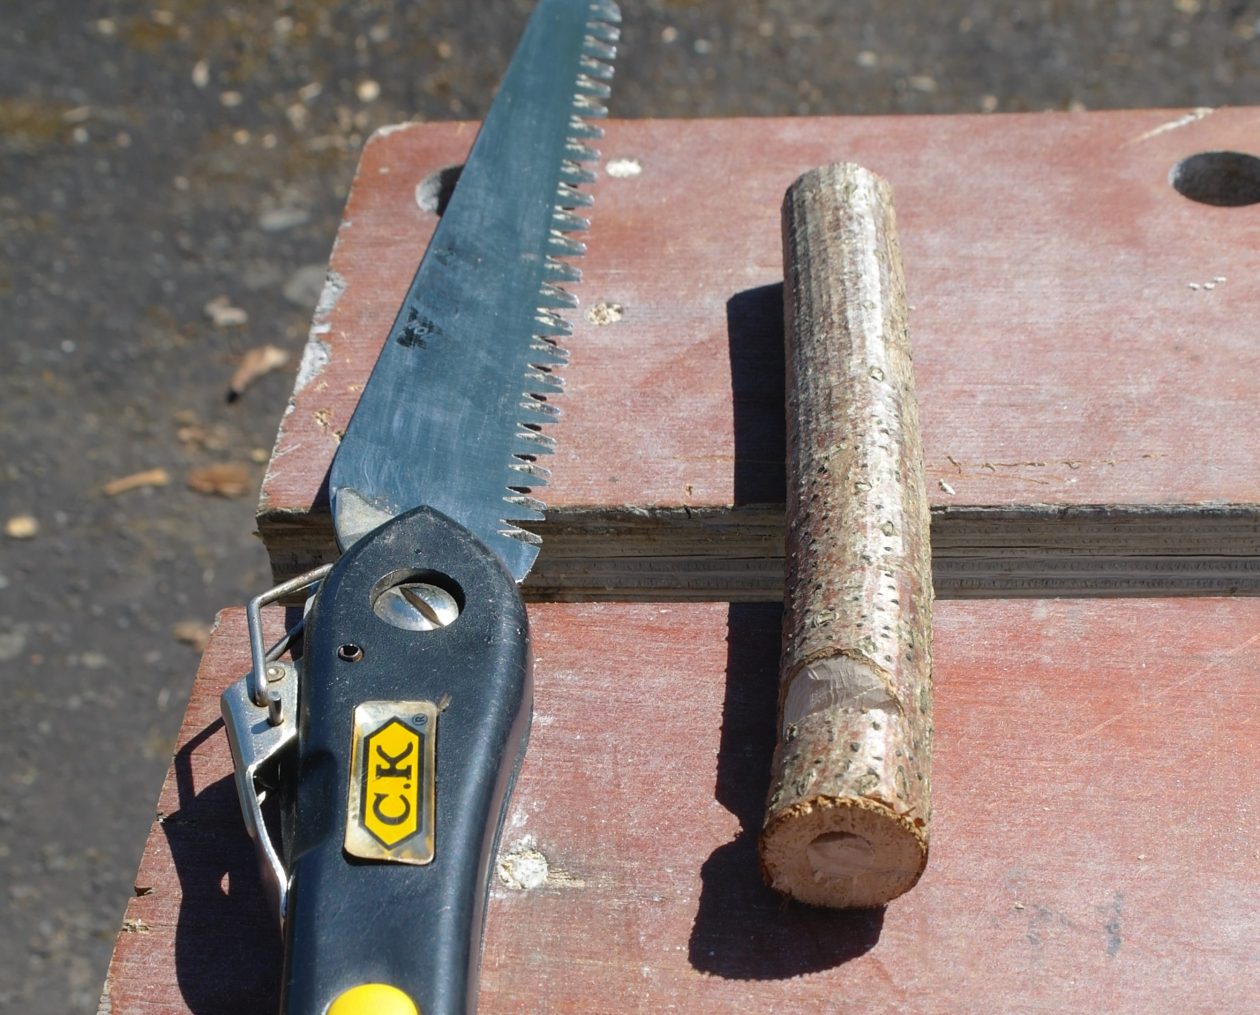
Shape the mouthpiece so that it is comfortable, ensuring that you don’t break into the drilled hole.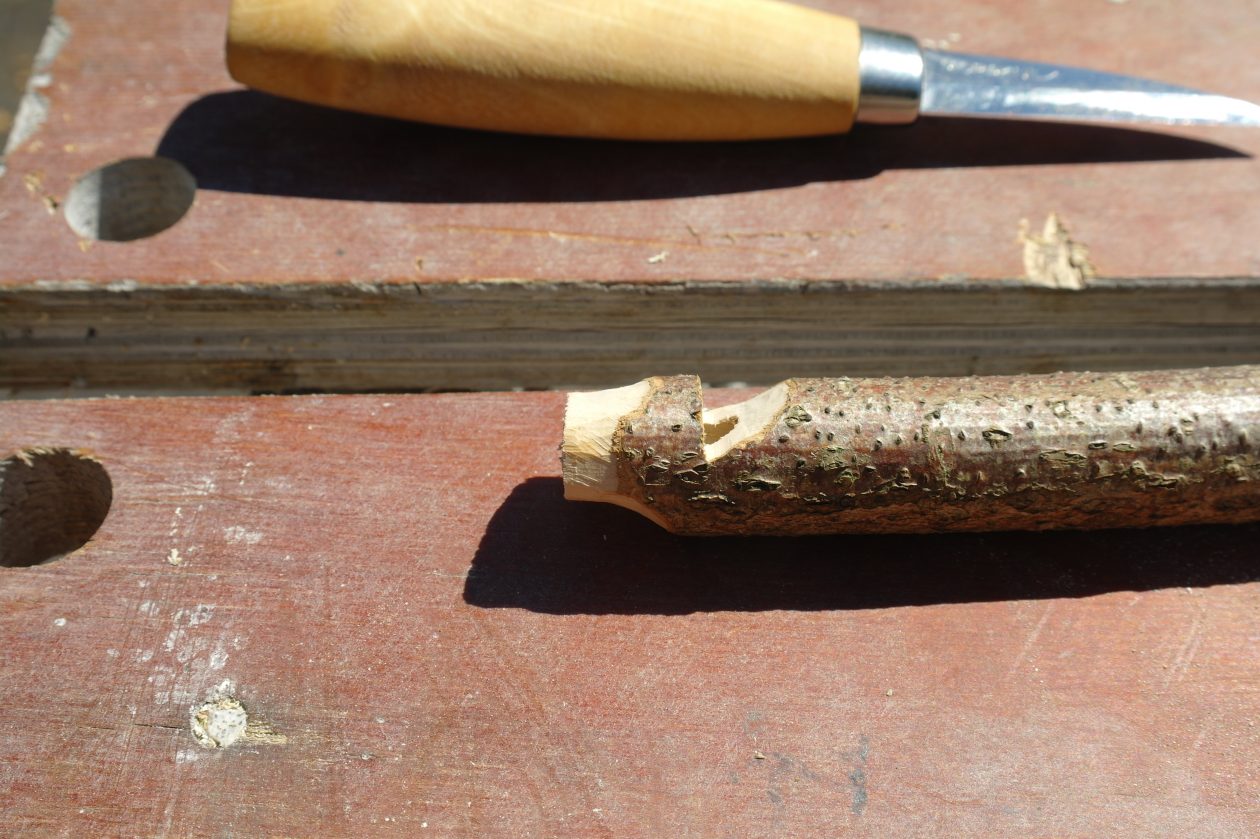
If you like you can cut your whistle to the length you want, trim the end and drill a hole to fit a keyring. Finish with a coat of olive oil or varnish.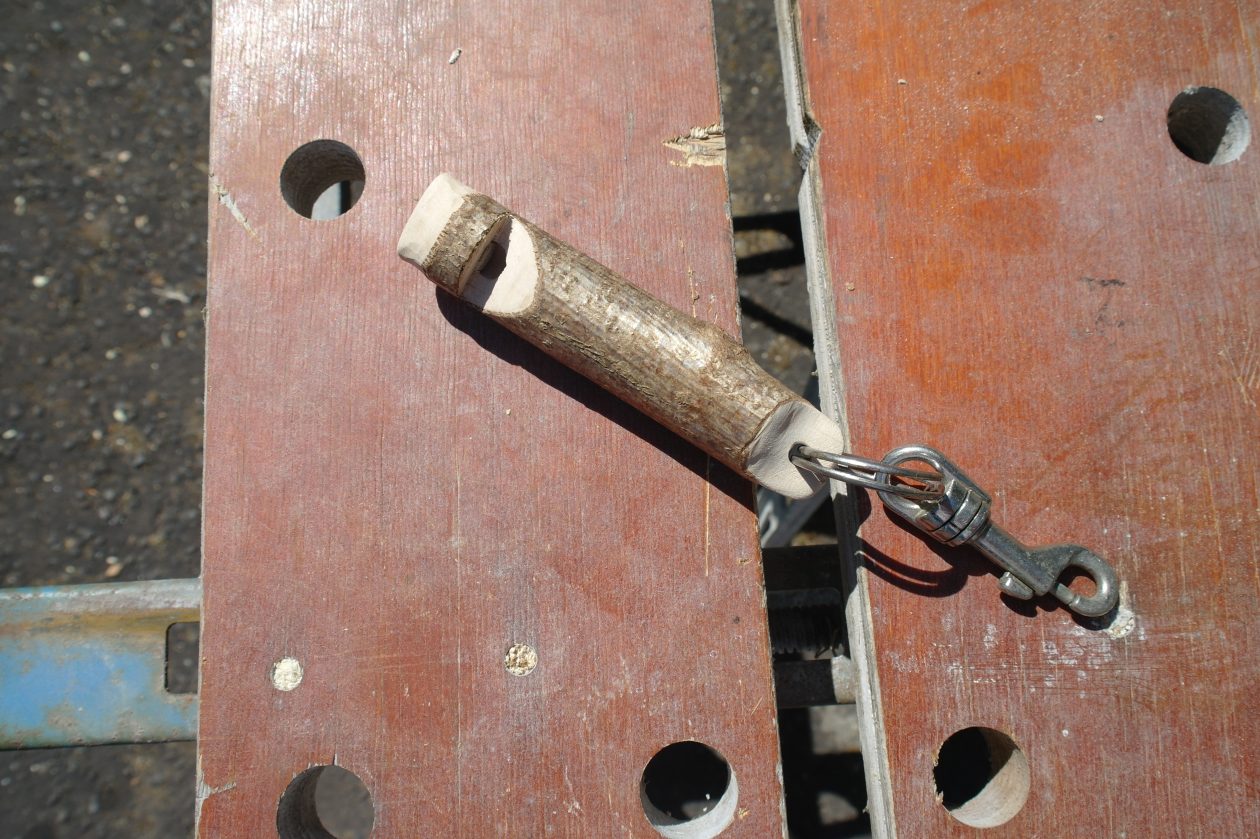

These are great Mrs Madden. When lockdown is over I think you will have enough fabulous art and crafts to open up your own shop!
Thanks Mrs. Jardine – Maybe one day I’ll do that and run courses on how to make them, hee, hee.