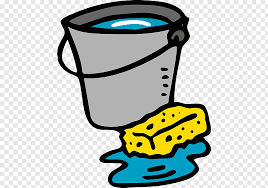
Why not wash your bike or scooter with warm soapy water?
Why not wash your bike or scooter with warm soapy water?
A fun learning activity. Sean Batty is looking for little weather observers to make rain gauges. The rainfall collected will be measured weekly to see how it varies across Scotland.
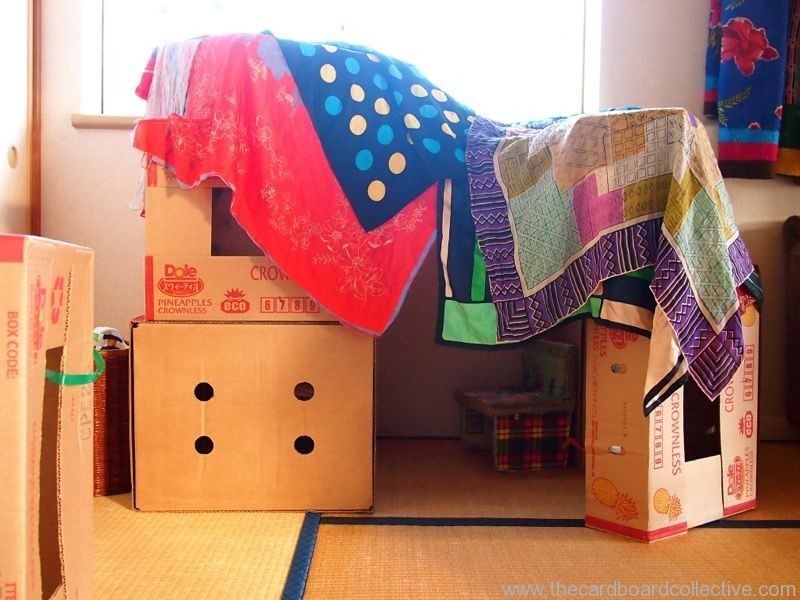
Building dens are very important for children and will help with their learning and creative thinking. It will also help them understand how to plan, evaluate and investigate. Also, it’s just plain old fashioned fun!
Grab a cardboard box, chairs, pillows, old sheets or what about a clothes horse? Anything goes! If you are able to head outside into your garden and grab some big sticks, washing poles and make a tee-pee tent with an old sheet or big leaves.
Glasgow Science Centre will be bringing a bit of science into your home every day at 10am to keep everyone inspired at this time.
Join them on their Facebook, Instagram and Twitter at 10am each day.
, 
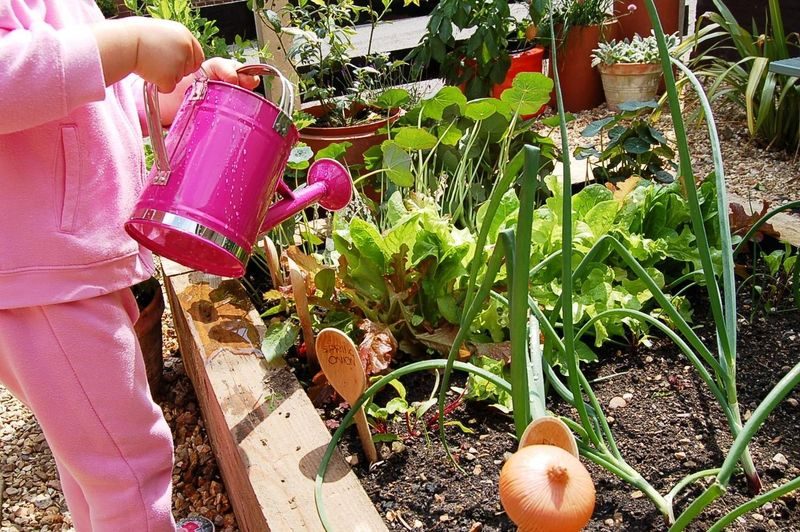
You and your children can explore, investigate, plant seeds and grow a garden.
Easy seeds to grow
Using torches are a great night time activity that your children will love so grab your torches and go…
For even more flashlight fun after dark, throw a dance party. Parents know that sometimes the best kid-energy burner is to simply dance it off. Grab the flashlights and let the kids make their disco ball as they have their dance party. Crank up the tunes and watch the lights shine all around the room. This game is guaranteed to bring lots of giggles and exhaustion to your evening.
This is a fun flashlight game for older children or you can adapt the rules for younger children by making gameplay easier. Everyone needs a flashlight to play or players can be split into teams with each team leader given a flashlight. Hide items around the house or outdoors like a typical scavenger hunt and provide clues along the way. When it’s dark, let the kids use their flashlights to find their treasures.
How low can you go with this flashlight game? Instead of limbo with a pole, play limbo with a flashlight. Lower the flashlight after each round, just like a limbo pole. If your body breaks the beam of the flashlight as you pass underneath, you’re out.
This is a fun one for kids just learning their letters. Buy small foam letters and put them in the spotlight during your flashlight fun. Have the kids look at the wall as you hold up a foam letter in front of the flashlight. The foam letter’s shadow will magically appear on the wall. The first one to name the letter wins the point.
Kids love to watch the flashlight dart around the room. In this game, their goal is to catch the light. Move the light all around the room, including on the ceiling, the walls, and on the floor. At random times, stop the light. The kids are trying to catch the light so when you stop, they’ll all run to the light to try and stomp on it if it’s on the floor or jump for it if it’s on the wall.
If your kids know how to play charades, then they’re just about ready to play a game of shadow charades. It’s the concept of shadow charades meets shadow puppets. A parent can tell each child which shadow charade to act out. When the child’s turn, he or she stands at a wall in the dark with a flashlight. The child tries to make shadow puppets on the wall that reflect the word he or she has been given. Players make their guesses.
Stargazing is a fantastic spring activity to do with your children. While sitting in the dark admiring the constellations can be a great experience to teach them a little about something bigger than themselves and the various constellations. Children love hands on activities which gives them a connection to what they are learning, so they can create their own constellations using simple sewing skills.


A nice way to pass time is to cook or bake together. Many things can be made by using everyday items in your house.
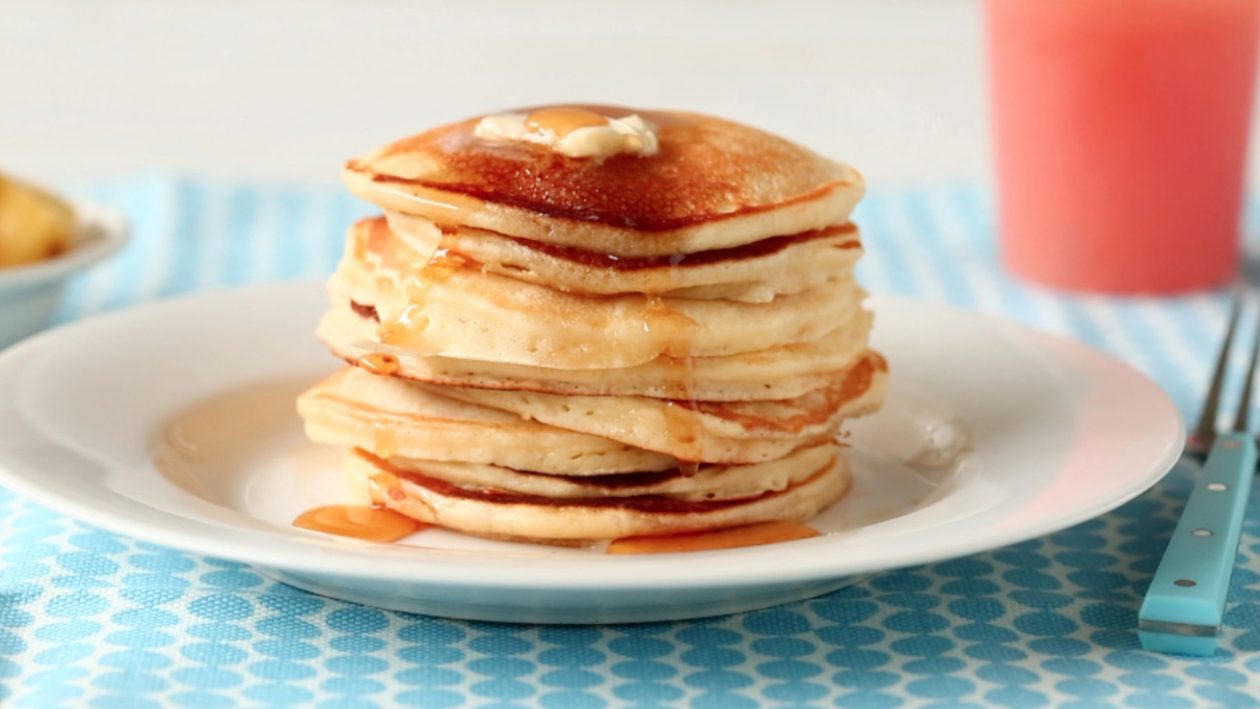
Put the flour and salt into a large bowl, make a well in the centre and pour in the milk and eggs. Give the liquid mixture a quick whisk before incorporating the flour. Continue to whisk until you have a smooth batter.
Now add 1 tbsp vegetable oil and whisk thoroughly.
Take a crêpe pan, or large frying pan, dip some kitchen paper in the oil and carefully wipe the inside of the pan. Heat the pan over a medium heat for 1 minute.
Add just under a ladleful of batter to the pan and immediately start swirling it round the pan to get a nice even layer.
Cook the pancake for 30–40 seconds. Use a palette knife to lift the pancake carefully to look at the underside to check it is golden brown before turning over. Cook the other side for approximately 30–40 seconds and transfer to a serving plate.

Put the flour into a large mixing bowl and add the butter. Add the yeast at one side of the bowl and add the salt at the other, otherwise the salt will kill the yeast. Stir all the ingredients with a spoon to combine.
Add half of the water and turn the mixture round with your fingers. Continue to add water a little at a time, combining well, until you’ve picked up all of the flour from the sides of the bowl. You may not need to add all of the water, or you may need to add a little more – you want a dough that is well combined and soft, but not sticky or soggy. Mix with your fingers to make sure all of the ingredients are combined and use the mixture to clean the inside of the bowl. Keep going until the mixture forms a rough dough.
Use about a teaspoon of oil to lightly grease a clean work surface (using oil instead of flour will keep the texture of the dough consistent). Turn out your dough onto the greased work surface (make sure you have plenty of space).
Fold the far edge of the dough into the middle of the dough, then turn the dough by 45 degrees and repeat. Do this several times until the dough is very lightly coated all over in olive oil.
Now use your hands to knead the dough: push the dough out in one direction with the heel of your hand, then fold it back on itself. Turn the dough by 90 degrees and repeat. Kneading in this way stretches the gluten and makes the dough elastic. Do this for about 4 or 5 minutes until the dough is smooth and stretchy. Work quickly so that the mixture doesn’t stick to your hands – if it does get too sticky you can add a little flour to your hands.
Clean and lightly oil your mixing bowl and put the dough back into it. Cover with a damp tea towel or lightly oiled cling film and set it aside to prove. This gives the yeast time to work: the dough should double in size. This should take around one hour, but will vary depending on the temperature of your room (don’t put the bowl in a hot place or the yeast will work too quickly).
Line a baking tray with baking or silicone paper (not greaseproof).
Once the dough has doubled in size scrape it out of the bowl to shape it. The texture should be bouncy and shiny. Turn it out onto a lightly floured surface and knock it back by kneading it firmly to ‘knock’ out the air. Use your hand to roll the dough up, then turn by 45 degrees and roll it up again. Repeat several times. Gently turn and smooth the dough into a round loaf shape.
Place the loaf onto the lined baking tray, cover with a tea towel or lightly oiled cling film and leave to prove until it’s doubled in size. This will take about an hour, but may be quicker or slower depending on how warm your kitchen is.
Preheat the oven to 220C (200C fan assisted)/425F/Gas 7. Put an old, empty roasting tin into the bottom of the oven.
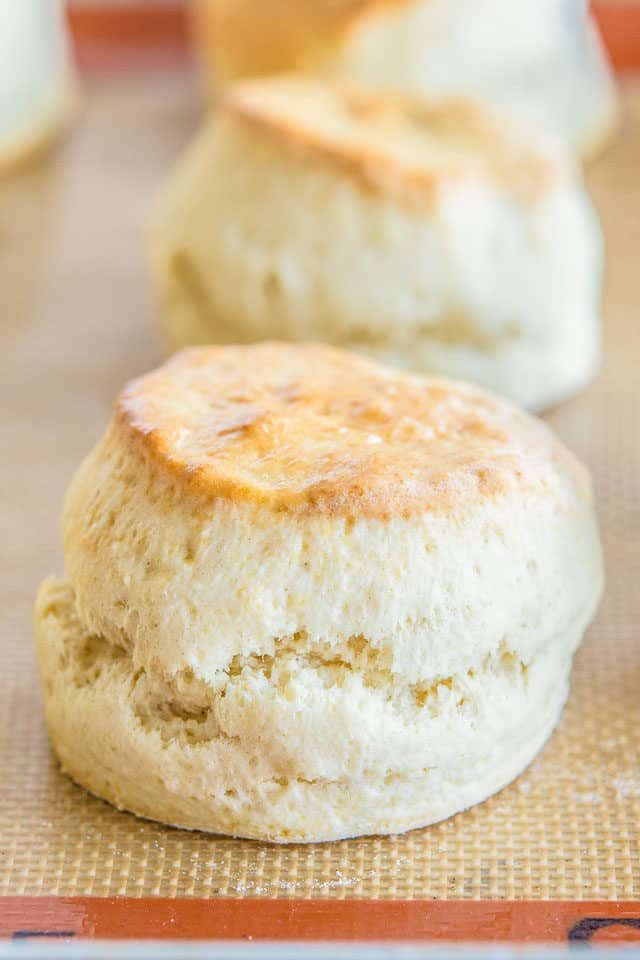
After an hour the loaf should have proved (risen again). Sprinkle some flour on top and very gently rub it in. Use a large, sharp knife to make shallow cuts (about 1cm/½in deep) across the top of the loaf to create a diamond pattern.
Put the loaf (on its baking tray) into the middle of the oven. Pour cold water into the empty roasting tray at the bottom of the oven just before you shut the door – this creates steam which helps the loaf develop a crisp and shiny crust.
Bake the loaf for about 30 minutes.
The loaf is cooked when it’s risen and golden. To check, take it out of the oven and tap it gently underneath – it should sound hollow. Turn onto a wire rack to cool

Glow Blogs uses cookies to enhance your experience on our service. By using this service or closing this message you consent to our use of those cookies. Please read our Cookie Policy.