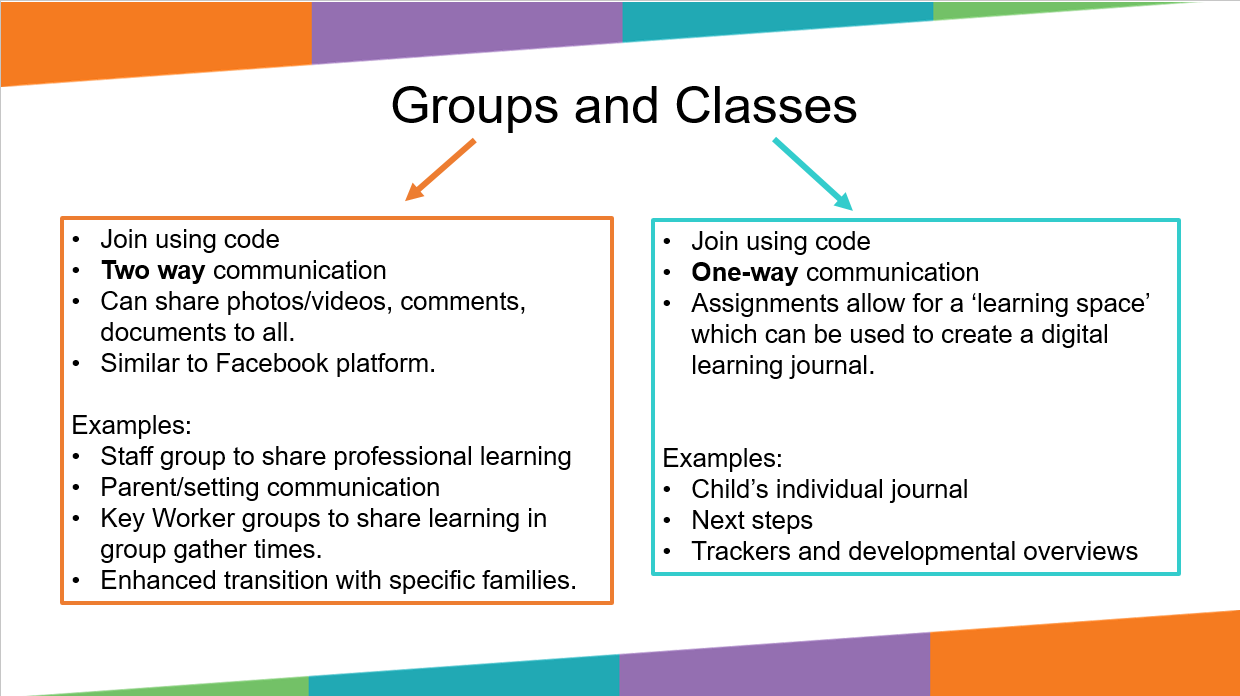
Showbie Groups and Classes:
This video has been produced by Showbie and will guide you through the steps to create a class. Teacher Basics 4. – Creating Classes – YouTube
How shall I organise my digital journals?
The organisation of your digital learning journals should reflect the current practice in your paper journals. If you organise by curricular area then make use of the folder facility to create curricular folders with learning spaces for each term within individual assignments. If your learning journals are holistic and organised chronologically, then create assignments for each term. Guidance for each method can be found below.
Holistic approach – digital learning journals organised by term.
- Create a class and give it a title, e.g. ELC 2022-23. Identifying the session date and class name can help other members of staff identify the class, e.g. senior leaders who might belong to many classes or parents with multiple children in the school. Click to grant parental access. Once the class is created, further class settings can be accessed. Notification settings should be reviewed, to adjust your preferences to receive notifications via email or in app.
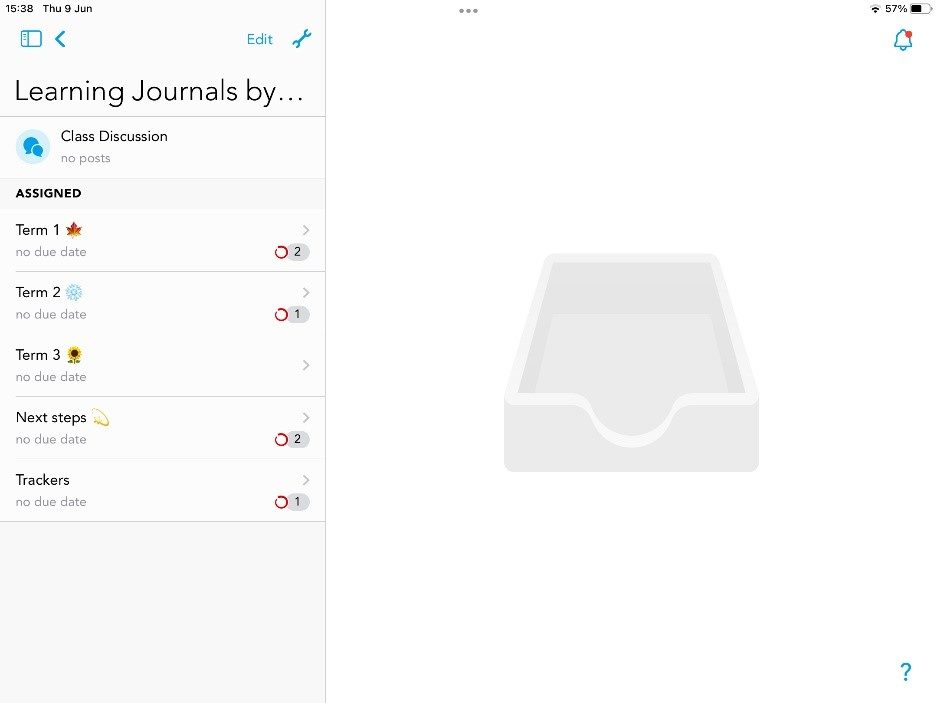
2. Click the icon to add an assignment and entitle it with the term name and emoji. Set the term with no due date or select the final day of that term.
3. Adding students can be done manually by clicking the ‘Get Started’ option; ‘I’m a student’; enter class code; ‘Sign up with Username’; enter details and create your own username and password. Or ‘Get Started’; ‘I’m a student’; enter Class Code; select ‘sign in with Microsoft’ to use a child’s GLOW credentials.
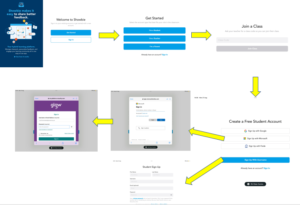
Keep a record of each username and password and use a systematic approach, e.g. Ben Thompson: username = BenT and Password = EastKyloeNursery.
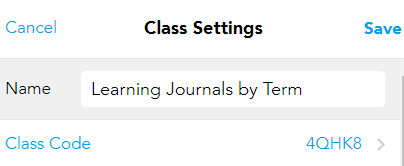
4. Class code can be found by clicking the class icon and clicking settings.
5. Support can also be sought from Showbie who will create student accounts if you send them a spreadsheet of names of students to be added.
Curricular area – digital learning journals organised by subject.
- Create a class and give it a title, e.g. ELC 2023-24. Identifying the session date and class name can help other members of staff identify the class, e.g. senior leaders who might belong to many classes or parents with multiple children in the school. Recording the year is also useful to reflect back when classes are achieved. Click to grant parental access.
- Once the class is created, further class settings can be accessed. Notification settings allow you to adjust your preferences to receive notifications via email or in app.
- Adding students can be done by sending a class list of children’s names to Showbie support. Or it can be done manually by clicking ‘sign up for free’, ‘I’m a student’ and inputting your class code. You will then be prompted to enter a username and password. Keep a record of each child’s username and password and use a systematic approach, e.g. Ben Thompson: username = BenT and Password = BenT1.
- Create assignments by clicking the icon and personalise them by curricular name and colour. You could emoji’s to ensure accessibility for the children.
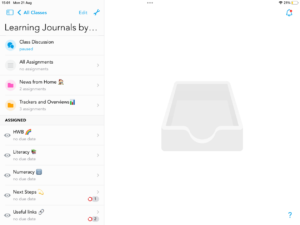
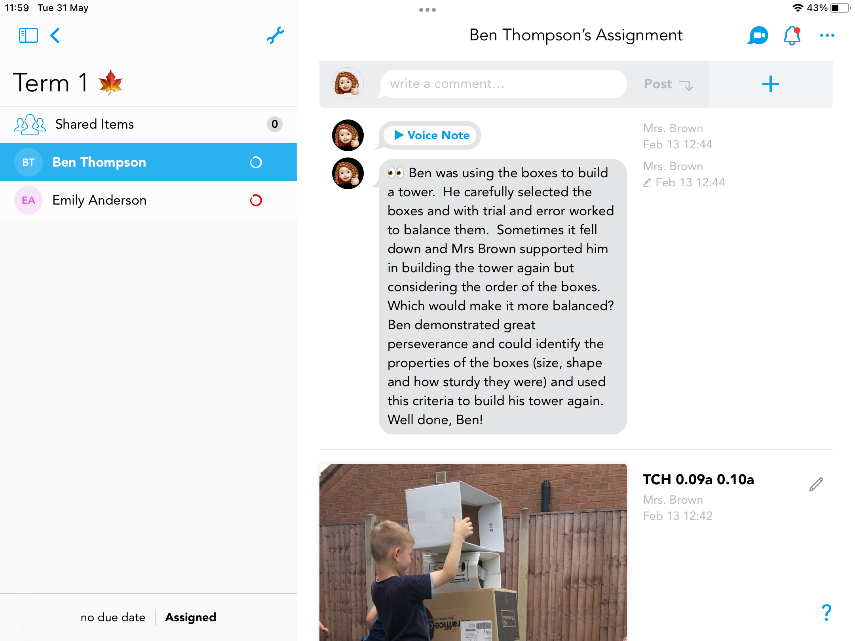
6. By clicking the assignment, you will then see the list of students connected to the class.
7. Tap the child’s name and then tap the blue + to add photographs/video/scanned evidence of learning. Further annotation tools are also available when uploading documents. Please see Showbie- Making Learning Visible for more information on the effective use of these with children.
8. Comments can be added by tapping the ‘write a comment’ section.
9. Shared photographs and comments can be added by tapping the ‘shared items’ tab at the top but as this is an individual child’s learning journal, always consider whether shared items are appropriate and significant for all children. Group photographs could be added this way, to be then followed up with an individual observation for the child entered by tapping their name.
10. Most recent entries can be viewed at the top of the feed.
