
Presenter

- Glow login
- Compatible internet browser*
- Desktop/laptop computer
- Must have microphone
*Important: Live Presentations is supported on Microsoft Edge version 80+, Google Chrome version 72+, Mozilla Firefox version 68+, or Opera version 60+ on Windows or Mac.
Audience
- A device
- Access to the internet*
* Important: Currently Safari is not supported for presenters, but works fine for audience members.
Presenter Setup
The presenter has to take a few steps before they are ready to go live with their presentation. The following steps should get you ready.
Find and open your presentation
- Log in to Glow as usual on a compatible browser on your desktop/laptop (Chrome is the most likely one folks will have access to on school computers).
- Click on the OneDrive tile.
- Find and open your PowerPoint presentation (if it is on a USB or stored on your computer you’ll have to upload it to OneDrive first), this will open in a new tab in your browser which is what you want.
Prepare the settings
4. Click on Slide Show from the menu tabs at the top.
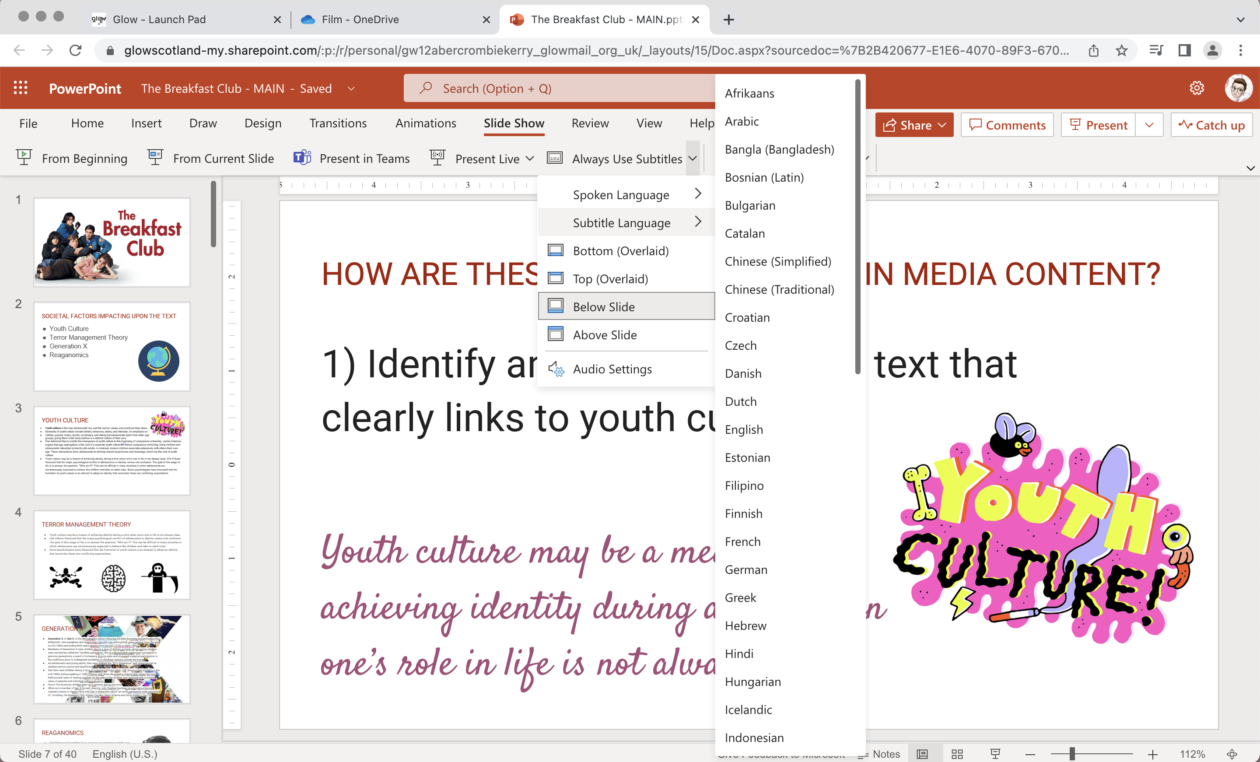
5. Click on the downwards arrow next to ‘Always use subtitles’ and select the spoken language and subtitle language you need. Here you can also change where the subtitles appear on the presentation as well as the microphone options (which is handy to know if using an external microphone).
6. Click the downwards arrow next to ‘Present Live’, here you can set whether only people in your organisation (in our case this means those logged in to Glow) can view the presentation or anyone with the QR code or link can see it.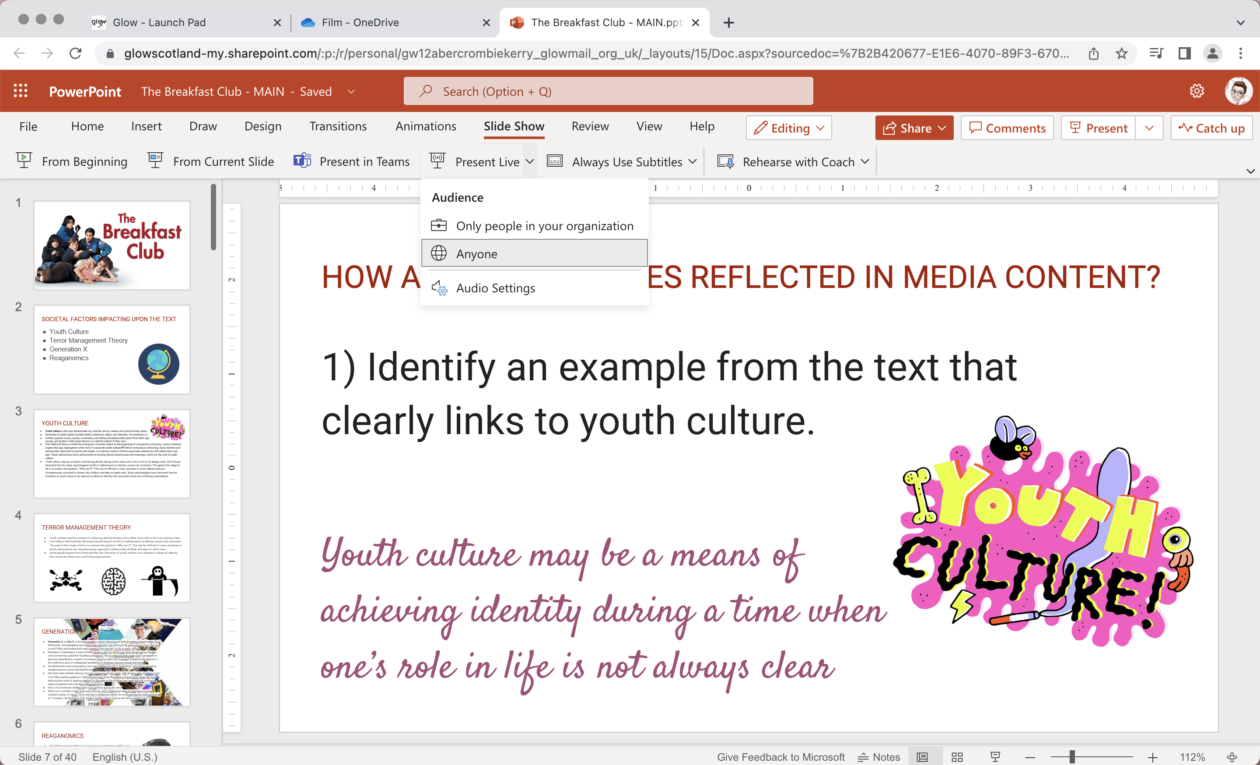
.
7. When you are ready click on ‘Present Live’ and you will be taken to the sharing screen. At this point you are ready to display the screen on your projector and let your audience join by scanning the QR code or typing in the link. The red circle will show you how many people have joined, the red ‘Show Slides’ button in the bottom right will begin the presentation and allow you to move freely through your slides.

.
Audience Joining
Once the presenter is displaying the join screen, audiences can join using their own devices by scanning the QR code or typing the link address into their browser. Audience members can use any browser (including Safari). This works on pupil Connected Falkirk devices.
.
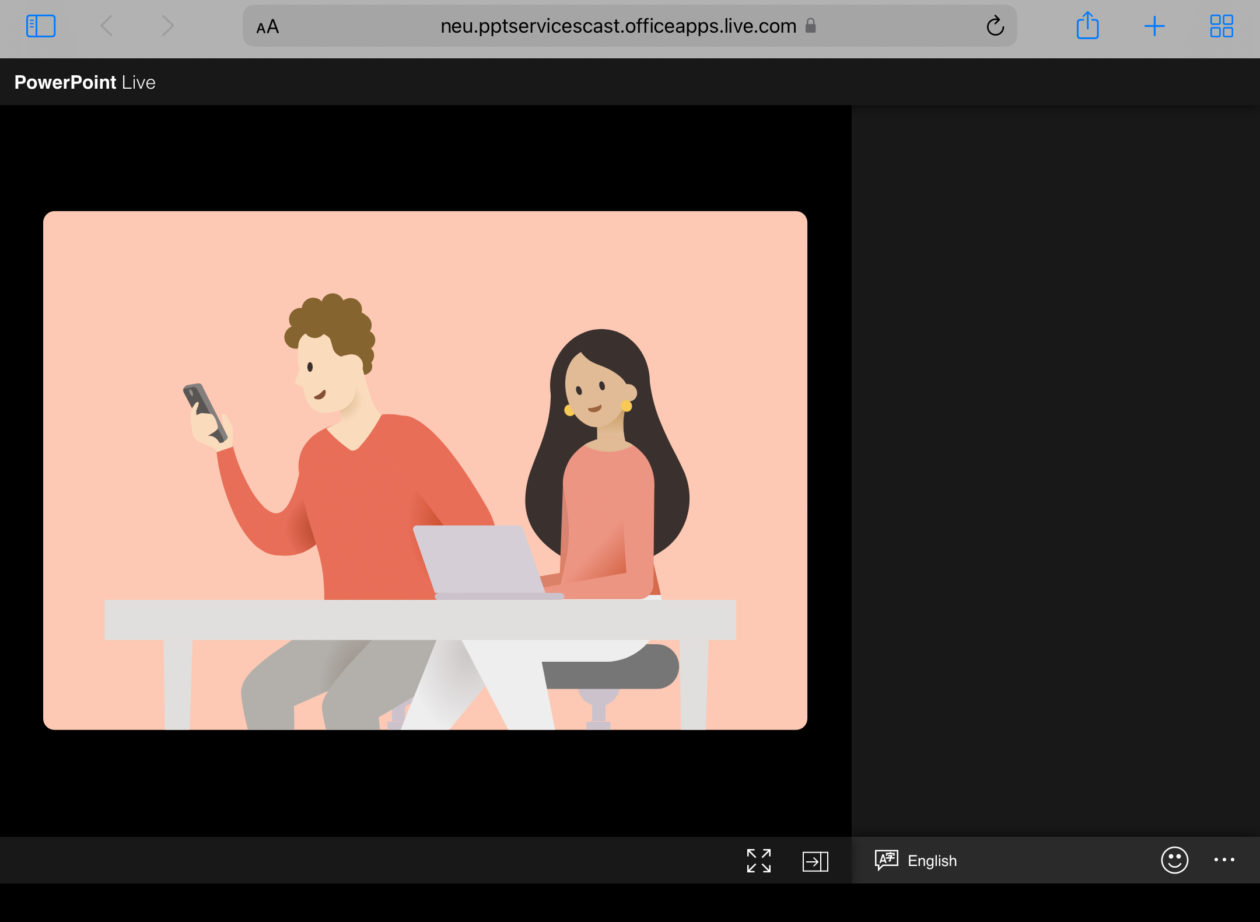
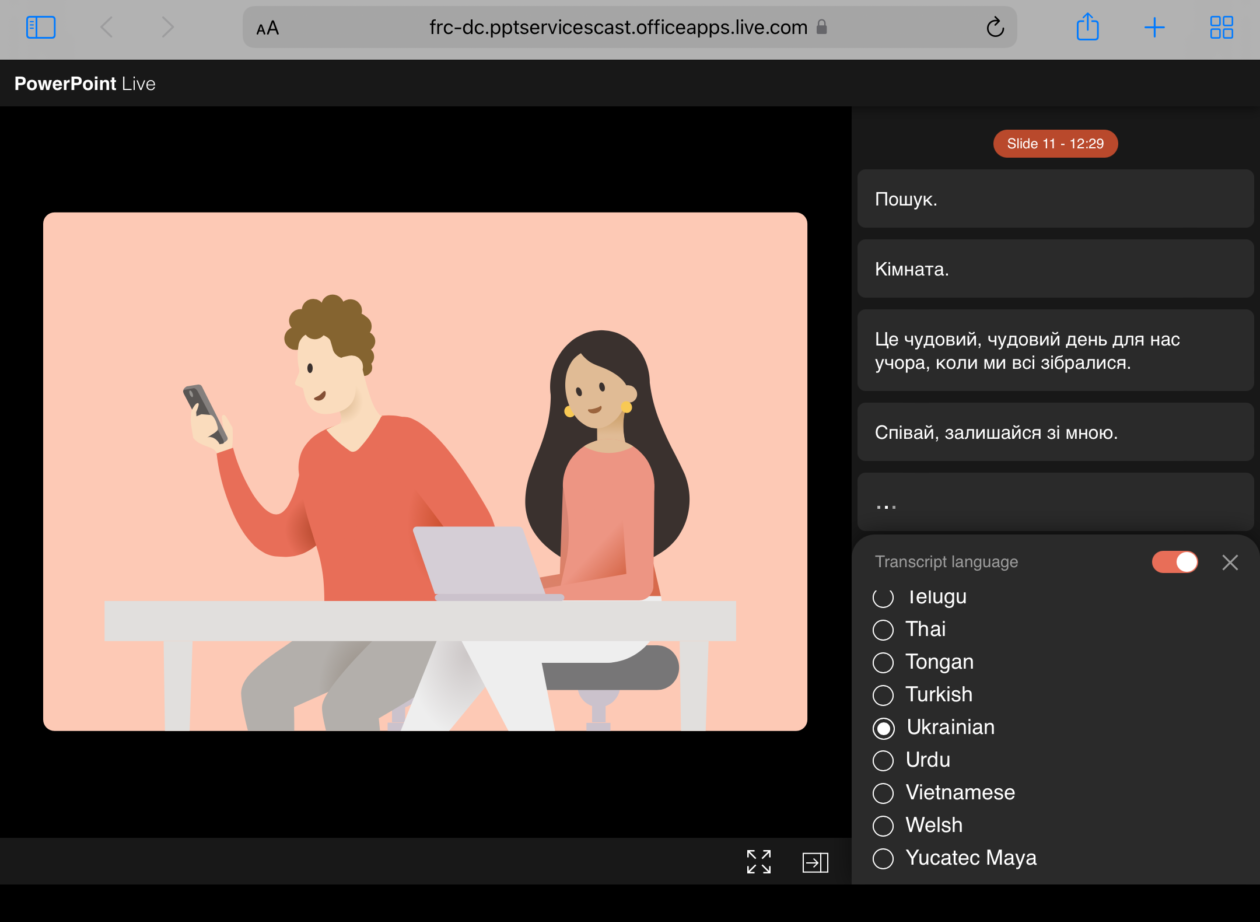
The screen is split into two sections, the left hand side will show the presentation and the right hand side will show live subtitles. Tapping on the language at the bottom of the right hand pane will allow each individual audience member to choose the language for their subtitles. This will change and subtitle language on their device only. When the presenter begins speaking, the subtitles will appear automatically in the right hand pane as you can see below.
.
Presenting
The presenter controls the PowerPoint from their computer as normal with the ability to move between slides. The presenter sets the pace, moving the slides on will also move the slides on the audience devices.
Presenter View

Notice the join code remains at the top for anyone who gets disconnected or joins later. The presenter can take the following actions during the presentation using the icons in the options bar (simply move mouse to make this appear if it disappears). These actions from left to right are:
- Mute their mic, which will pause subtitles
- Move back and forward through slides
- Show all slides in grid view
- Use pens/highlighters to mark up slides
- Hide/Show subtitles on main presentation (does not apply to individual audience members)
- End session, go back to join screen, show reactions toggle
- Pause session to return to computer desktop
Audience View
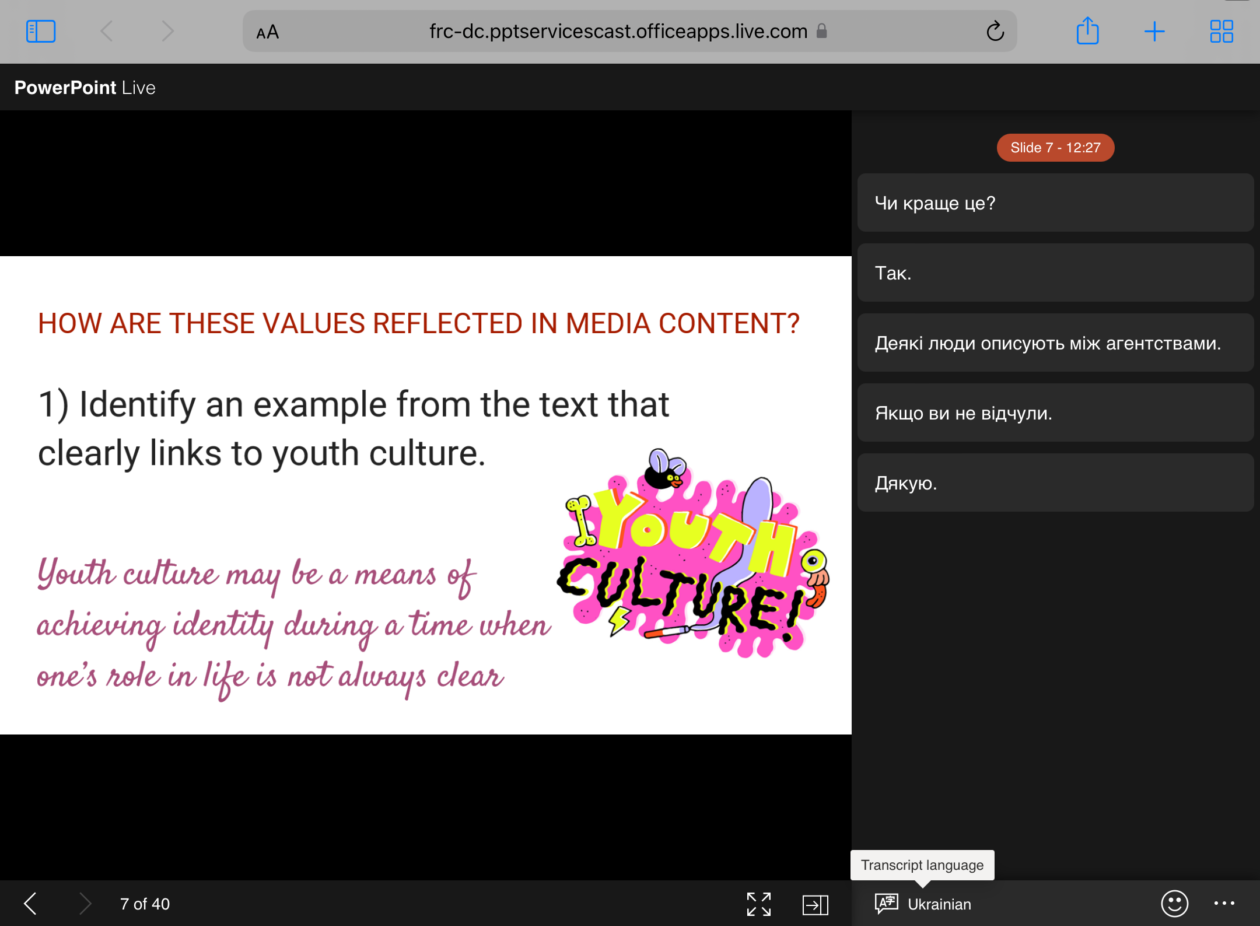
During the presentation audiences member can do the following actions on their own device by using the icons along the bottom:
- Move back through previous slides (but not forward to slides the presenter hasn’t shown yet)
- Make the window full screen
- Hide the captions pane
- Change the transcription language
- Give live reactions to the presentation
Ending a Session
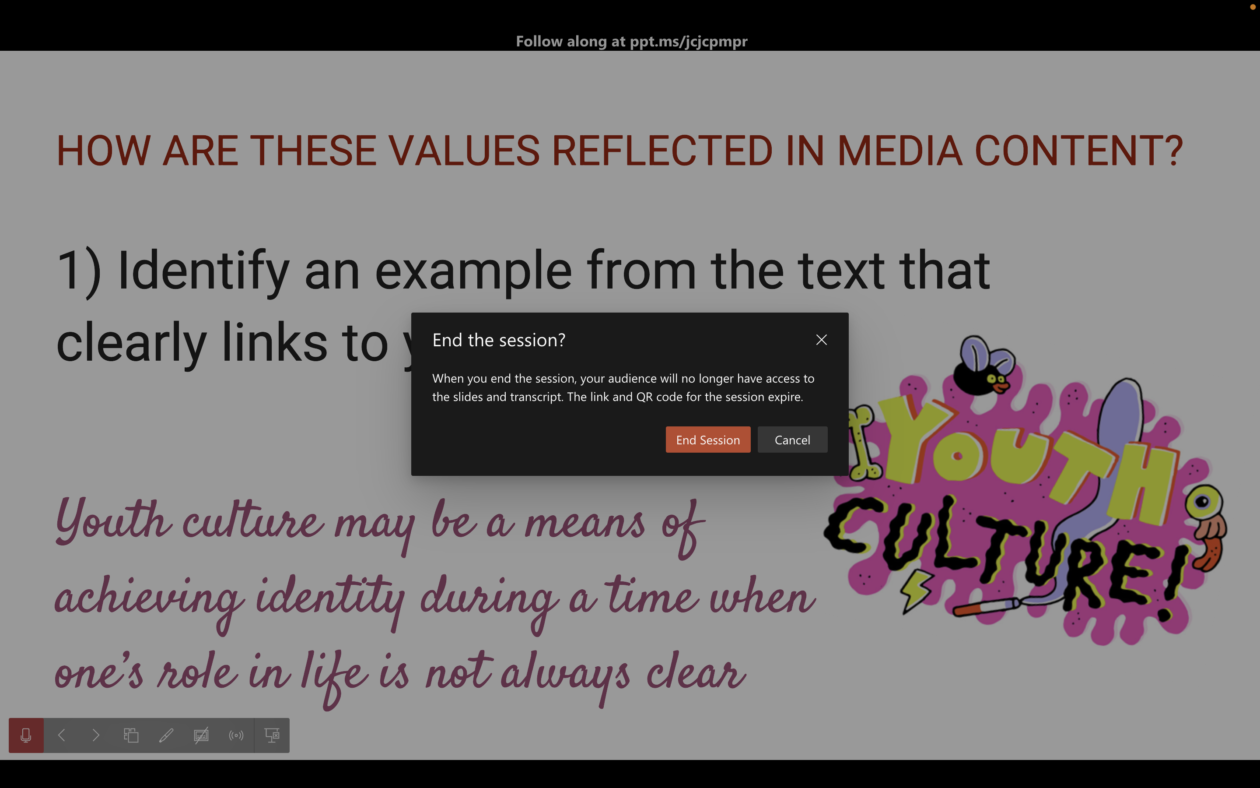
To end the session the presenter simply clicks the ((•)) icon and clicks ‘End Session’. You will receive a warning that audiences will no longer have access to the slide and transcript. Ending the session also forces the link and QR code for the session to expire meaning they are no longer active. The audience will be notified of the sessions end on their device.
.
Important Points to Note
- PowerPoint Live requires a stable internet connection for the duration of the presentation.
- The presenter needs a working microphone.
- You may wish to try this with your own desktop as presenter and Connected Falkirk staff device as audience member to get the hang of the set up and check your computer microphone before you attempt this with children and young people.
