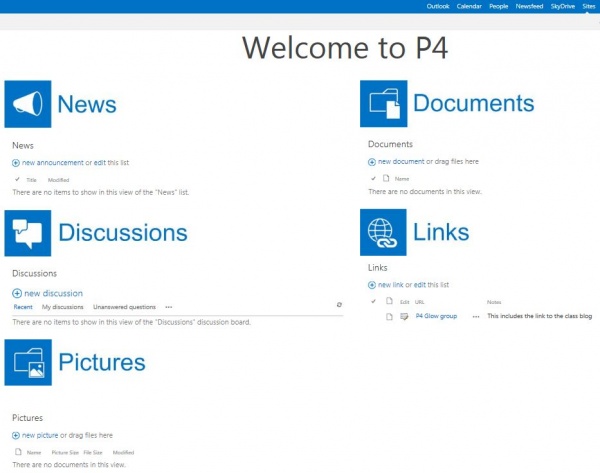
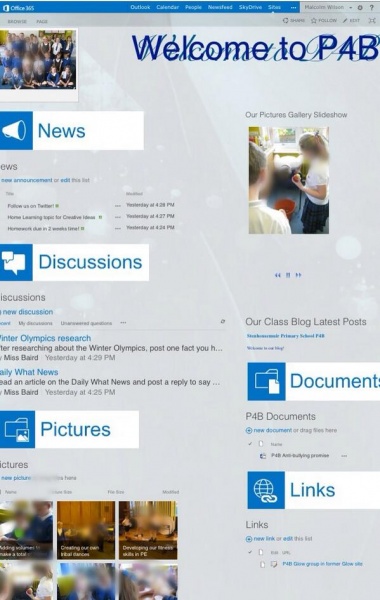
 Malcolm Wilson, ICT Curriculum Development Officer in the Curriculum Support team of the Service and School Improvement, Falkirk Council Education Services, has been working on making the new Glow ready for use by staff and pupils in Falkirk. And some staff and pupils have already begun using the new version of Glow.
What’s in the new version of Glow?
This new version of Glow is based on Microsoft Sharepoint 2013 (which provides a highly configurable environment in which to share and collaborate) and Microsoft Office 365. Office 365 provides each pupil and member of staff with Outlook email (with a massive 50GB of storage and individual messages able to be up to 25MB in size), calendar, Lync video-conferencing (only available to staff), cloud storage (with enormous 1TB per user) and online Word, Powerpoint, Excel and OneNote – all of which can be edited online (with multiple collaborators, if shared with others, able to work on the same document at the same time).
Do you want a class site set up for you?
School sites have been set up for all Falkirk establishments. Now class sites are being set up on request by staff. So if you’d like to have your class site set up for you in this new Glow environment then get in touch with Malcolm Wilson.
How to give your pupils access
 When a class site is requested to be set up the class site will be set up with automatic access for staff, and with the requesting member of staff as main administrator who will receive access requests. Pupils can be provided with the link and click on the prompt to simply request access. The staff member then approves the pupil requests. This gives the staff member the facility to vary the rights of pupils to have reader-only access or editor rights so the pupils can also add content or contribute to discussions – the choice is up to the member of staff depending on the purpose of the class site.
Here’s how a staff member can grant their pupils acces to their class site:
- To accept pupils who have requested access to the Glow site for your class, first go to your class site.
- Then click on the cog in the top-right corner.
- Then site settings – access request and invitations.
- Click on the three little dots beside a pupil name.
- Choose “Your class name Member” access rights (if you wish them to be able to contribute to all parts of your class site) and click approve. If, however, you only wish them to be able to read most content and only contribute to the discussions part of the page then instead choose “your class name Visitors (Read)” from the dropdown. Then click “approve”
How to customise your class site
The class site will also be set up with a layout which the staff member can customise to their needs and preferences –
Here is how a staff member can customise the look and feel of the class Glow site:
- On the class site go to the cog in the top-right
- Click on “change the look”
- Try out whichever you wish (each theme choice also lets you further change the font and the colour scheme). Note that the Oslo or Seattle layout choices determine side or top navigation.
- Select the one you wish and make the change
And now you can start using it with your class – just drag and drop one or multiple documents into document folders, set tasks, and provide feedback.
If you want to get started using this with your class just get in touch with Malcolm Wilson
How do I get usernames and passwords for my pupils?
If you need to give your pupils Glow usernames and passwords for the first time, or to reset passwords if needed, then here’s the steps to follow:
To give pupils their usernames you first log into Glow with your staff account.
- Along the top-left of the tiled apps Launchpad click on “Management Console”
- Down the left-hand menu click on “Groups”
- From the dropdown list choose “Year group, Registration Group or Teaching Group” as appropriate
- Click on the “Actions” button at the right-hand side of the group. Select “change members password”
- In the password boxes enter something like red 1234 (that’s red space 1234 – note that provided you ensure you have ticked the box to prompt a user to change their password on logging in then when the pupil logs in they will then be prompted to created a password of their own choice).
- Take a note of the usernames and share these and the password with the pupils.
Here’s a link to a video showing how to reset passwords for a whole class:
http://connect.glowscotland.org.uk/2014/09/30/changing-passwords-for-a-whole-class/
Here is a link to help guides to managing Glow accounts:
http://connect.glowscotland.org.uk/tag/accessing-glow-rm-unify/
Glow Connect is a dedicated Glow support site which provides examples of how Glow is being used by learners and teachers, as well as guides to undertaking specific tasks, and answers to frequently asked questions:
http://connect.glowscotland.org.uk/
Guides for Falkirk staff on making use of Glow can be found on the Falkirk Glow support site here (Glow username and password is required for access): http://tinyurl.com/l5zmeqw
Microsoft Outlook 365 Email for every pupil
 As part of the new Glow 365 every member of staff and pupil gets a Microsoft Outlook cloud email account. This has 50GB of storage per user and can send attachments up to 25MB per message. To access it just log into Glow and click on the “Outlook” tile.
Email addresses for staff and pupils in school follow the pattern of the user’s Glow username followed by @glow.sch.uk
So, for example, a user with the username gw07smithrobert would have the email address gw07smithrobert@glow.sch.uk
This can be set up to work on a mobile device – for step by step guidance for specific mobile phone or other devices simply first log into Glow, click on the Outlook tile then at the top-right corner click on the cog – options – “Connect your mobile phone or device to your account.” You’ll also get the specific required server details for your account by clicking on “Settings for POP or IMAP access” at the foot of the page once you’ve clicked on the cog, then options.
For


