Category Archives: Fine motor skills

Science Adventures: Space and Planting

The Wonders of Space

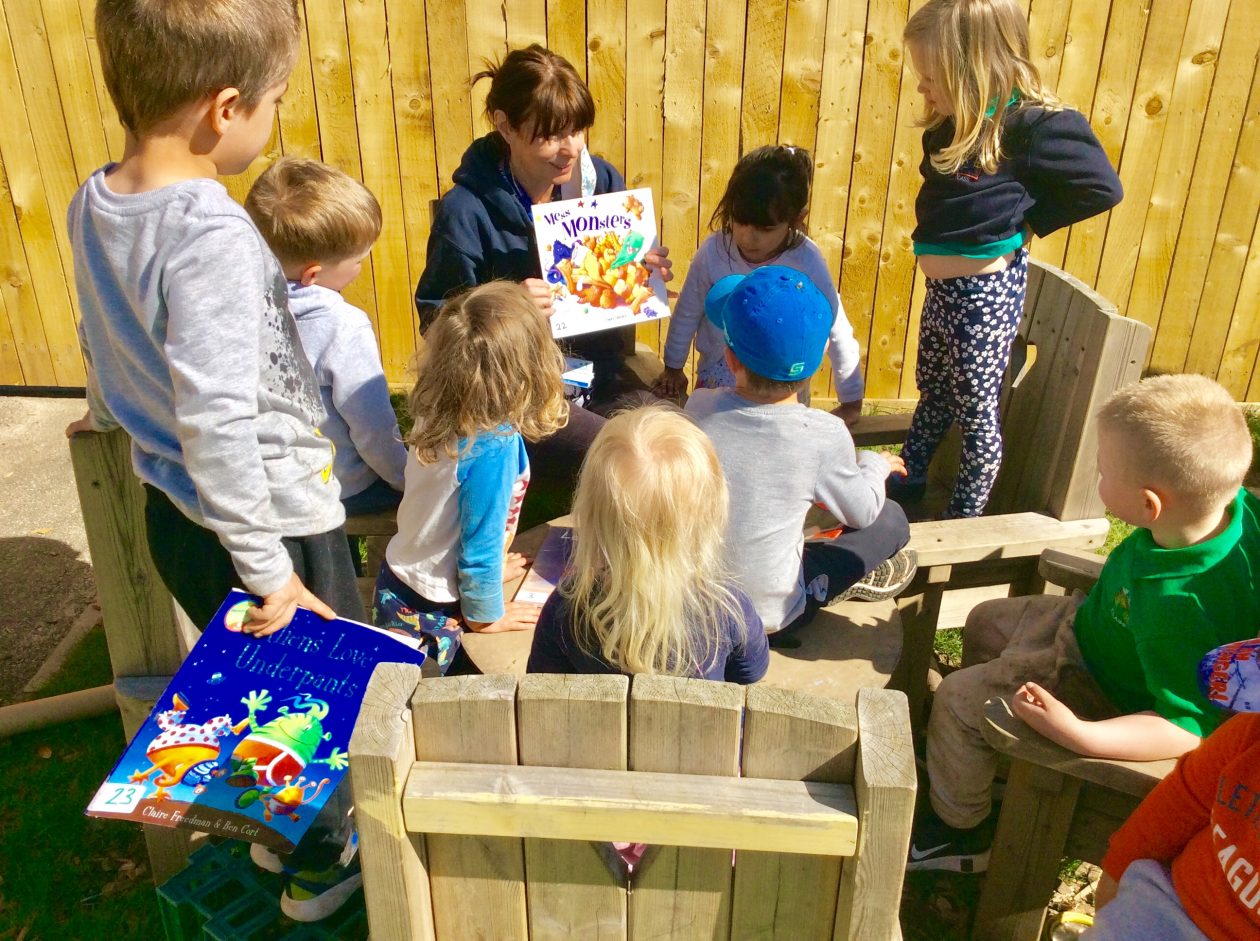
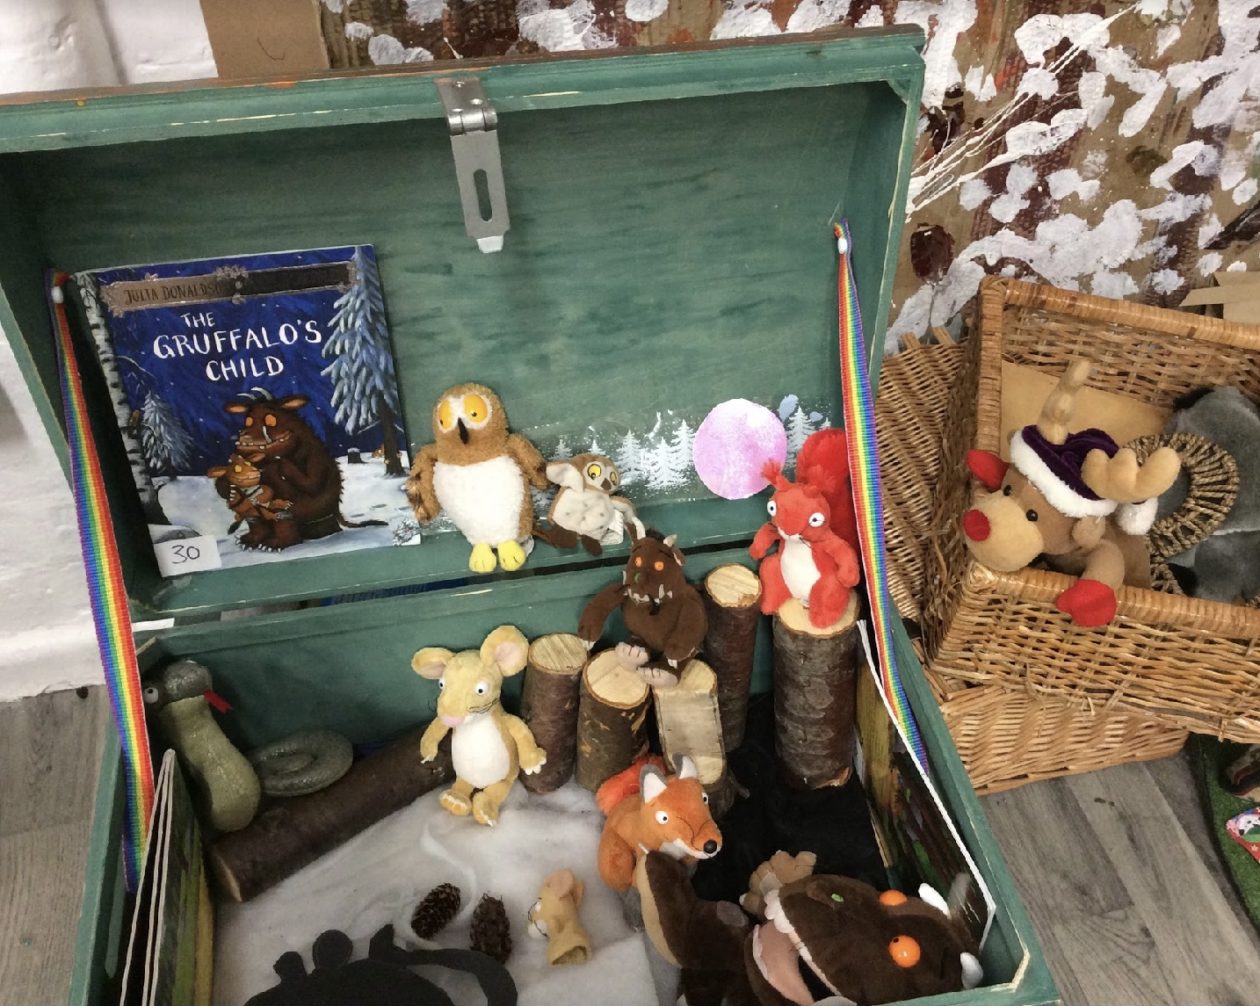
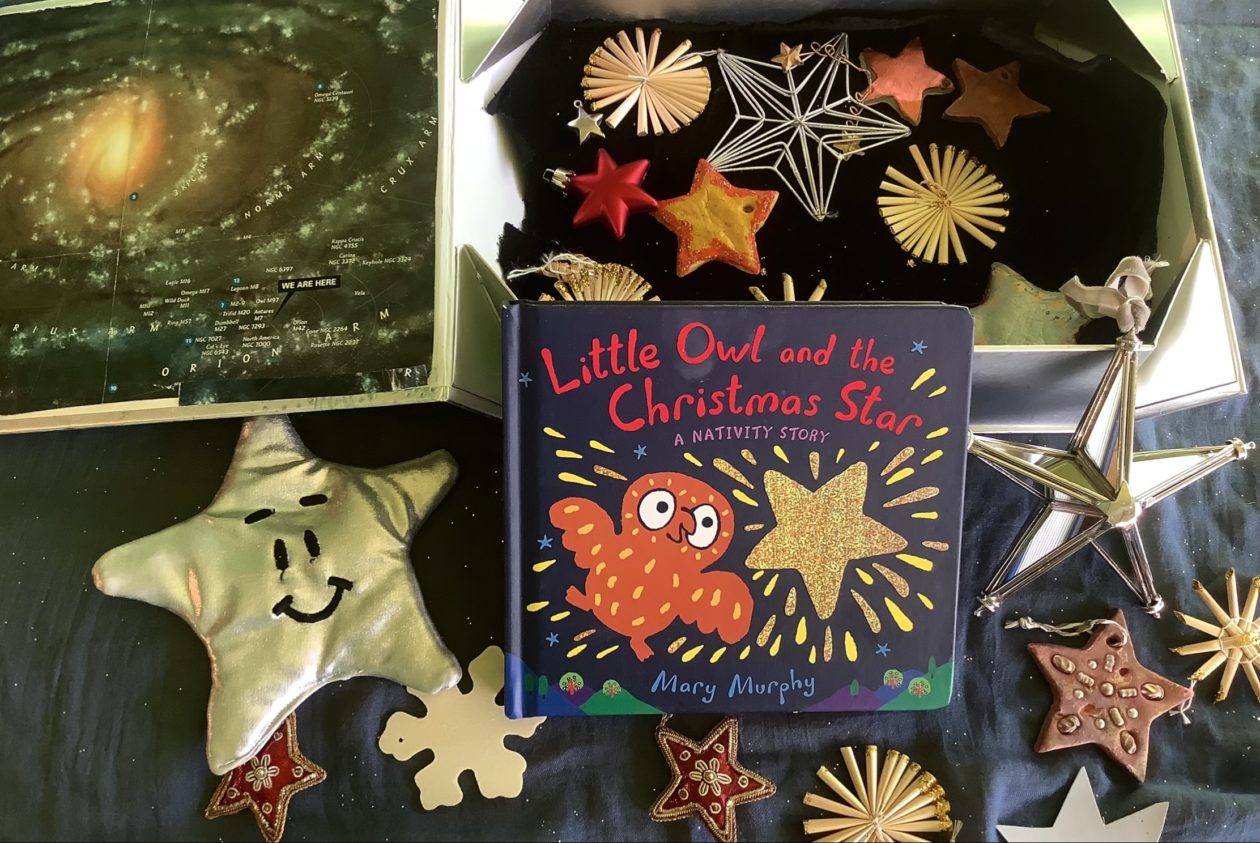
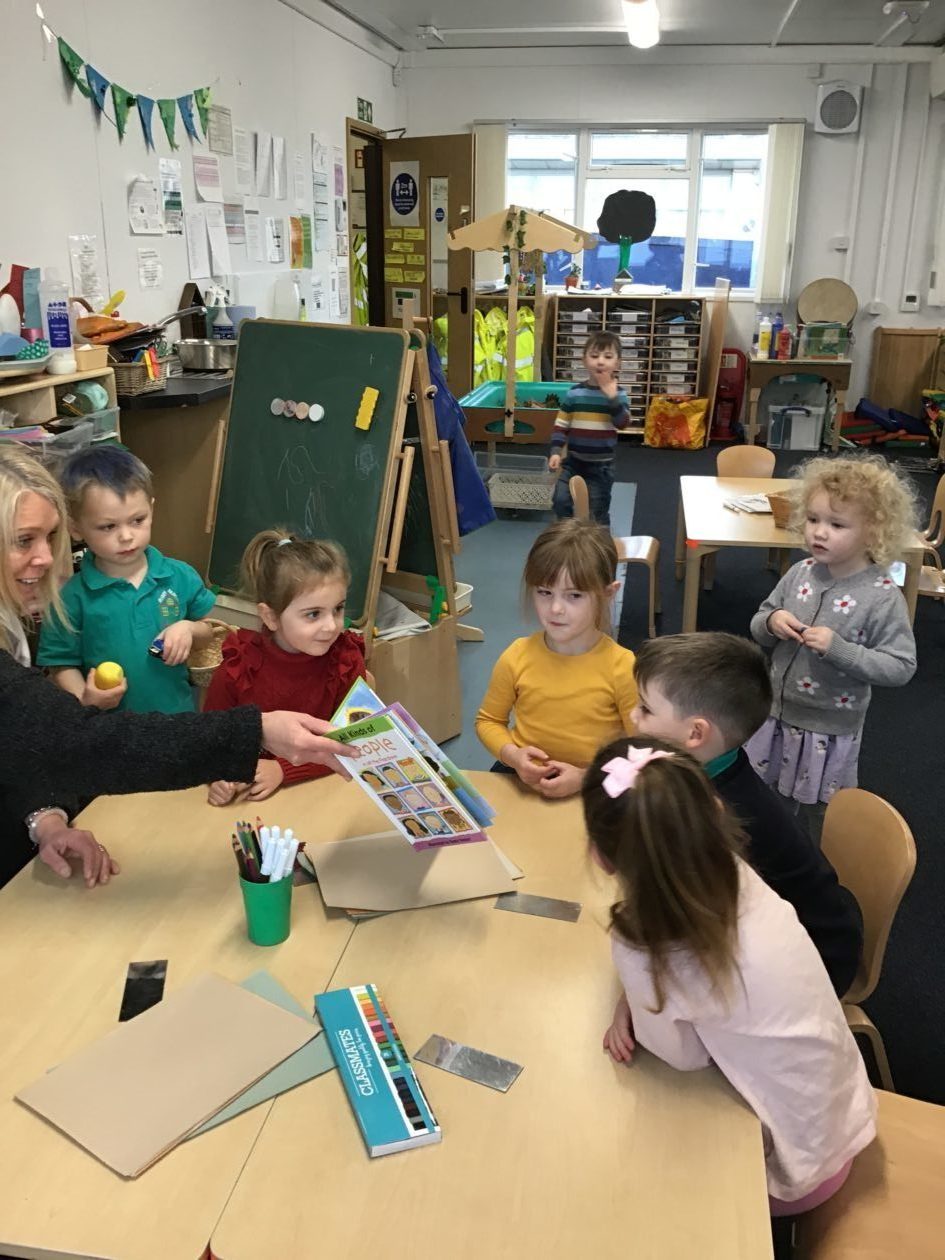
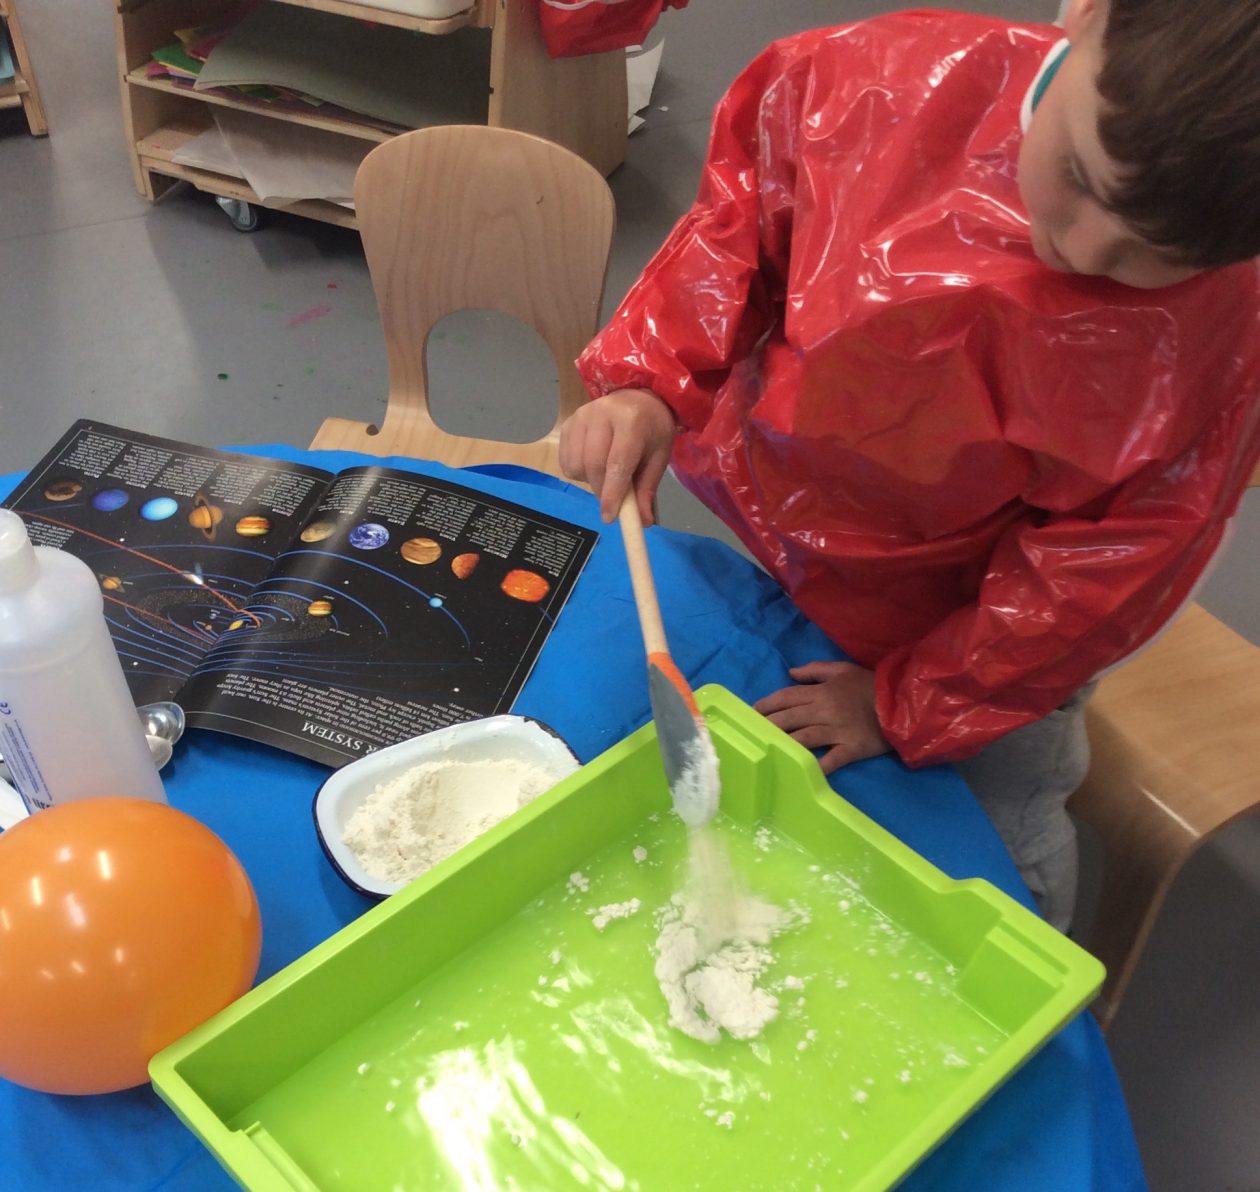
The children in Pink and Yellow groups have recently showed an interest in learning about Space, so they have been designing rockets and reading the story of Little Moon in the Story Box to find out more about planets and black holes…


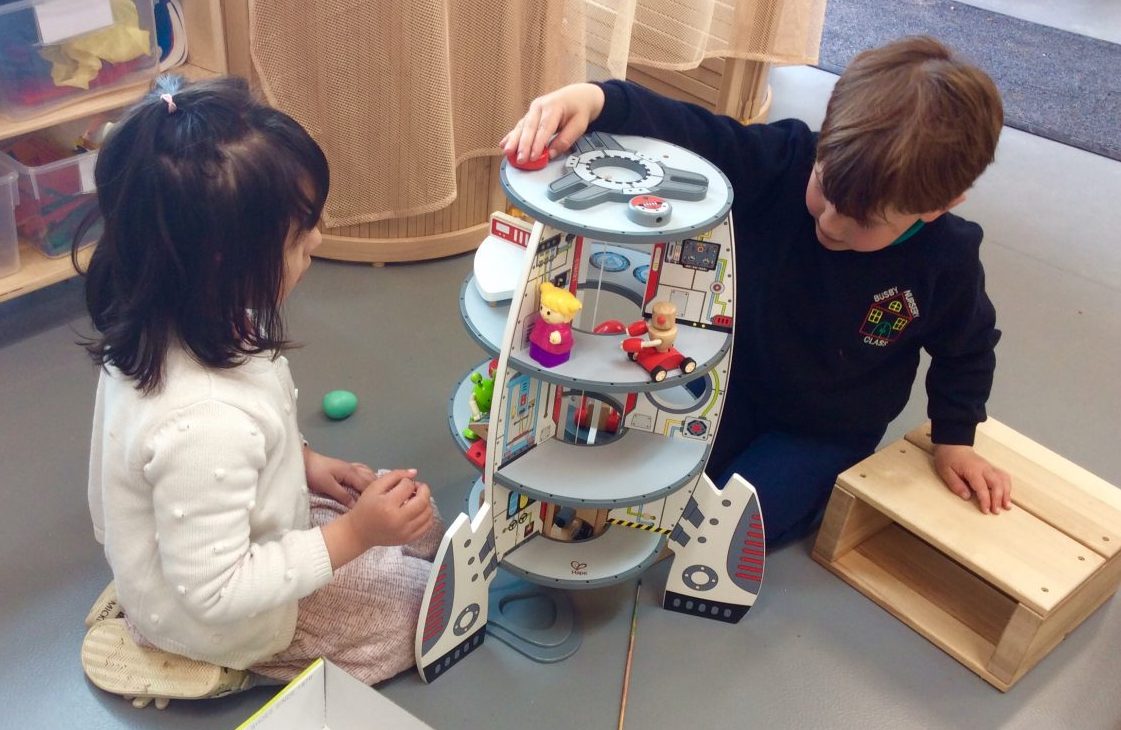
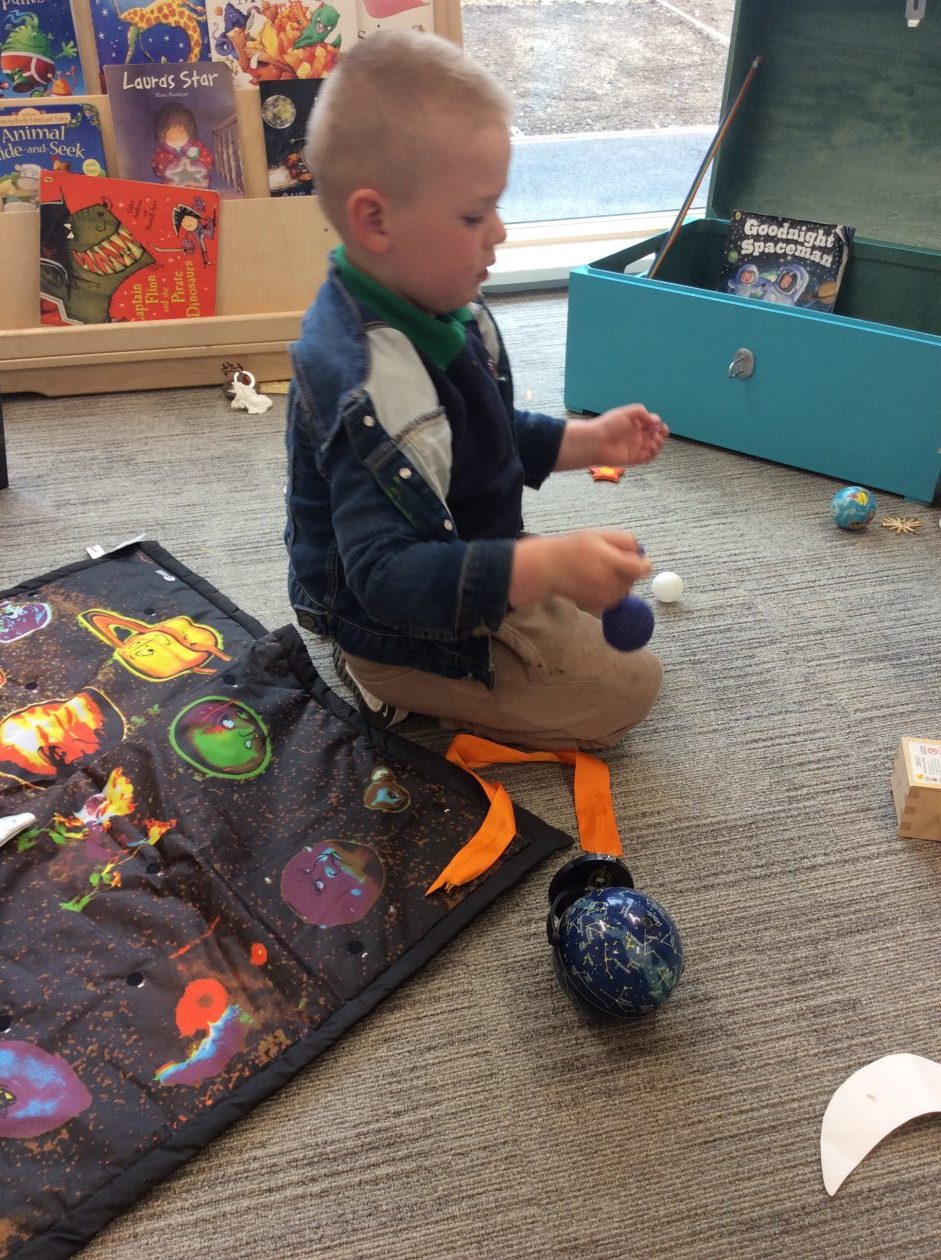
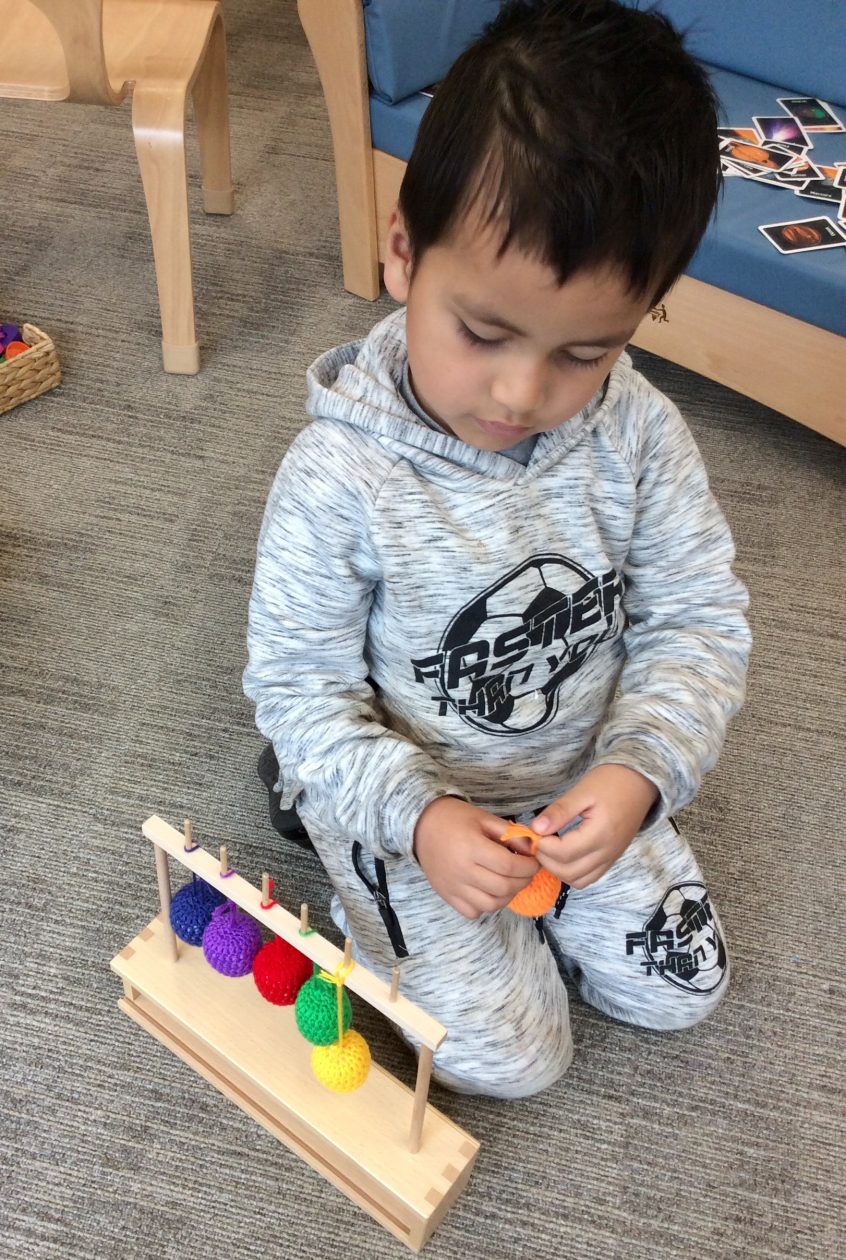
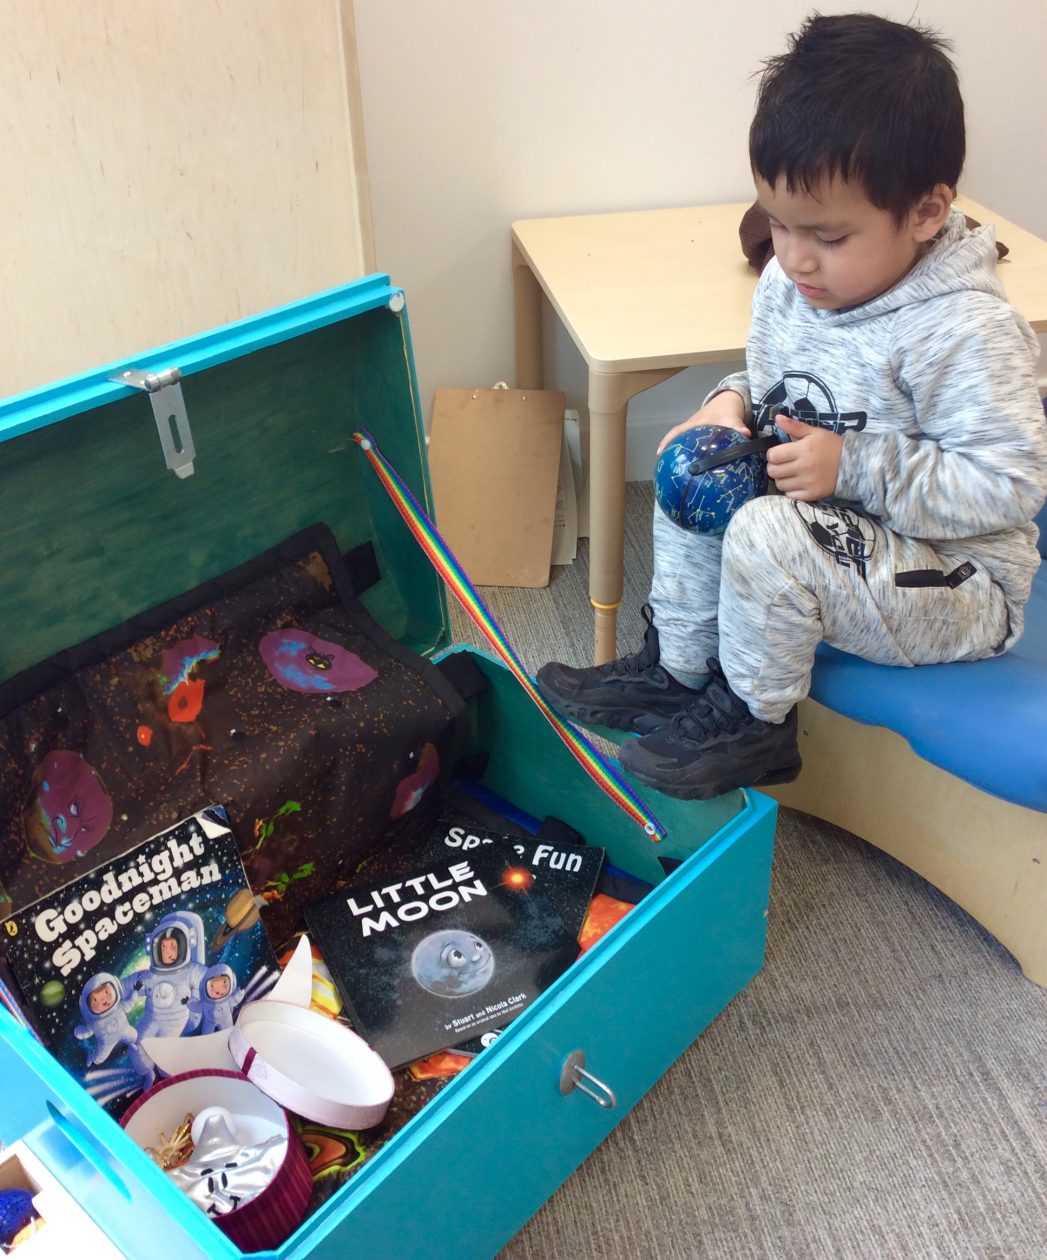
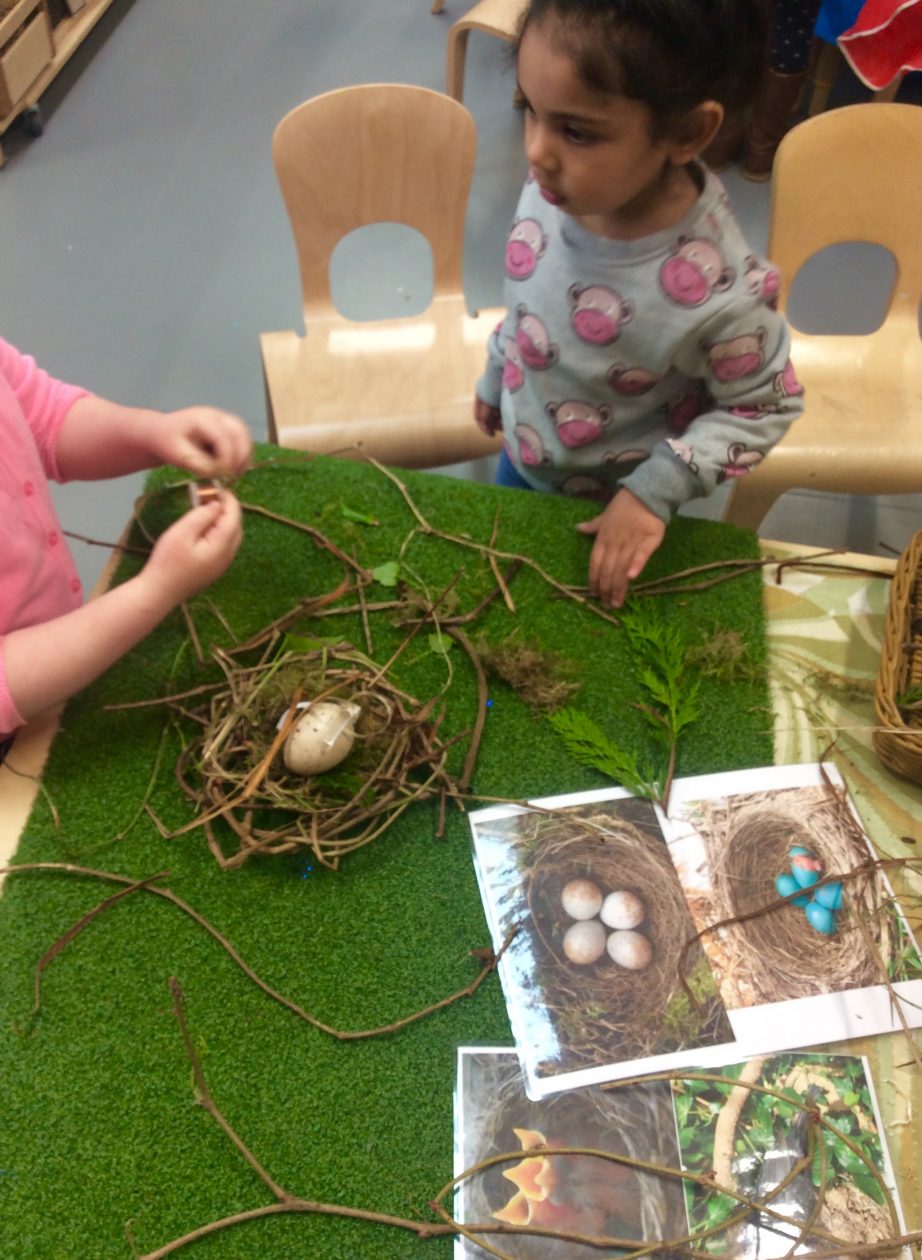
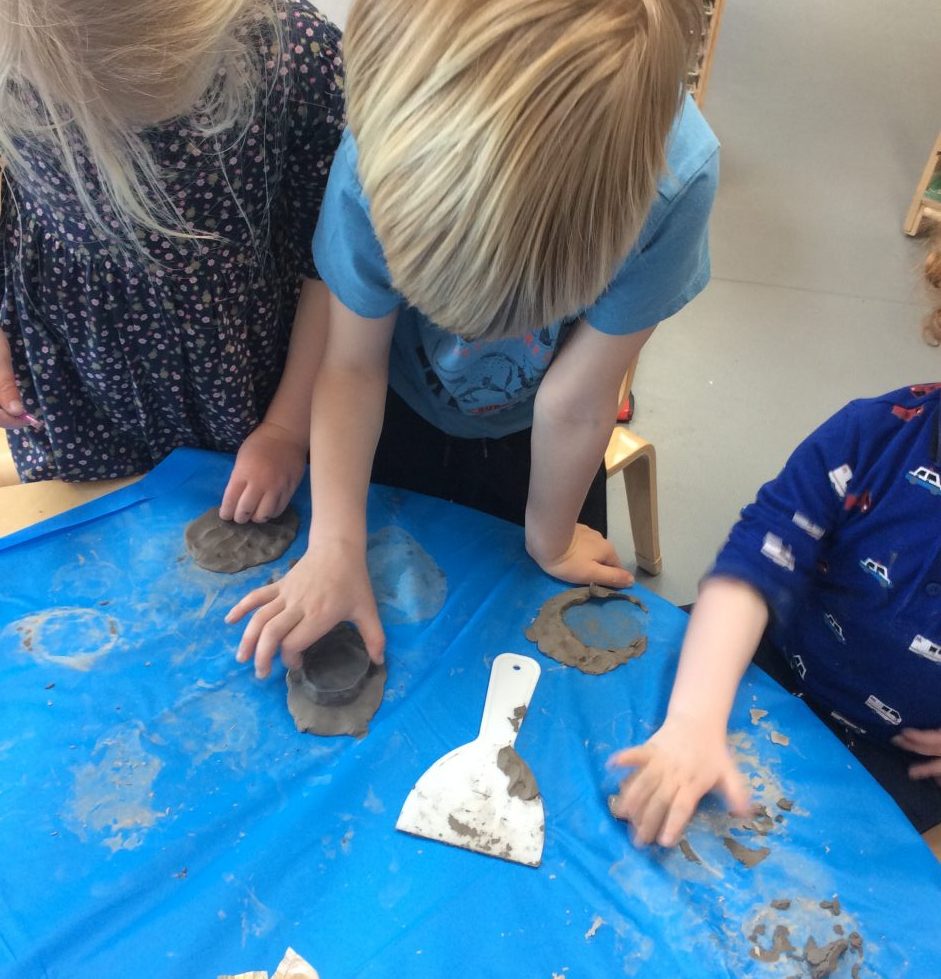
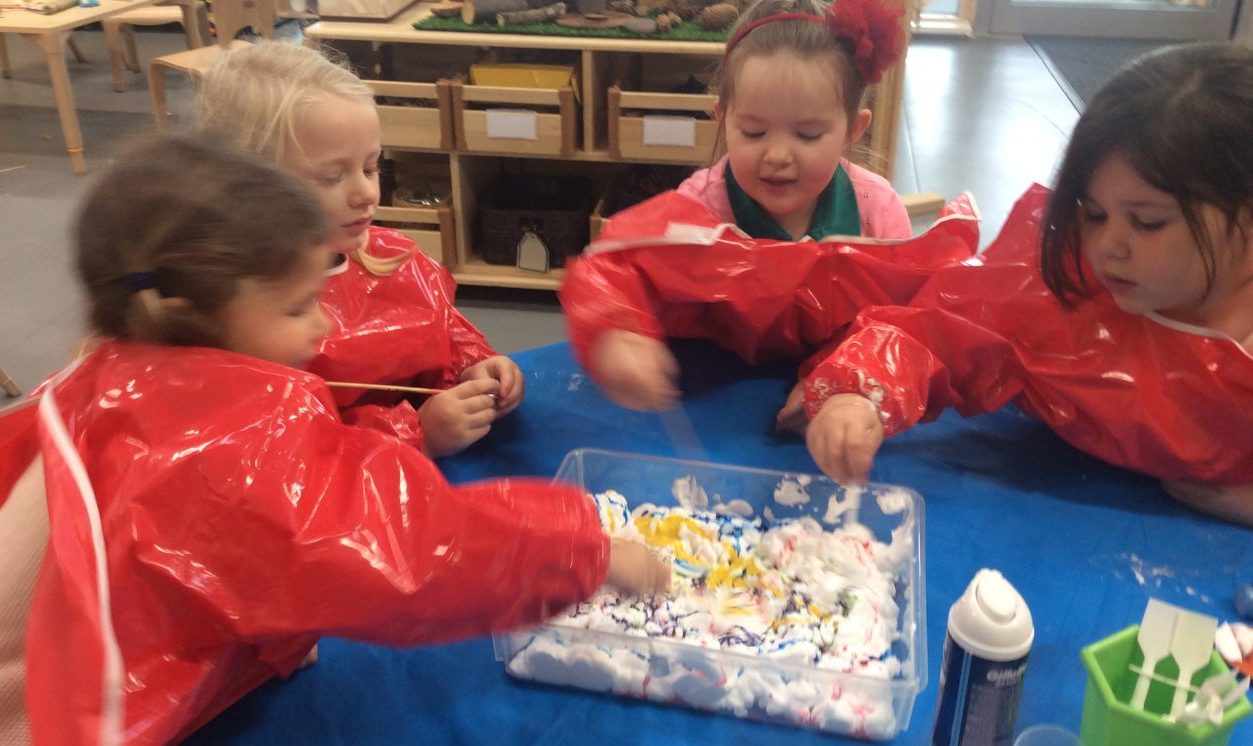
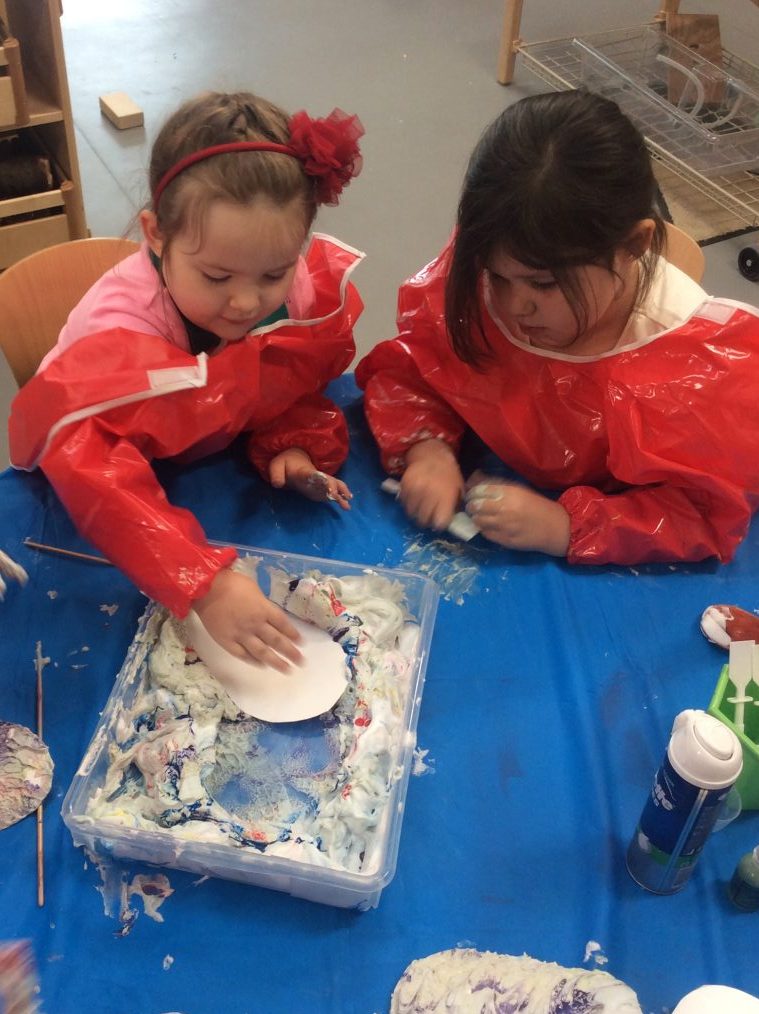
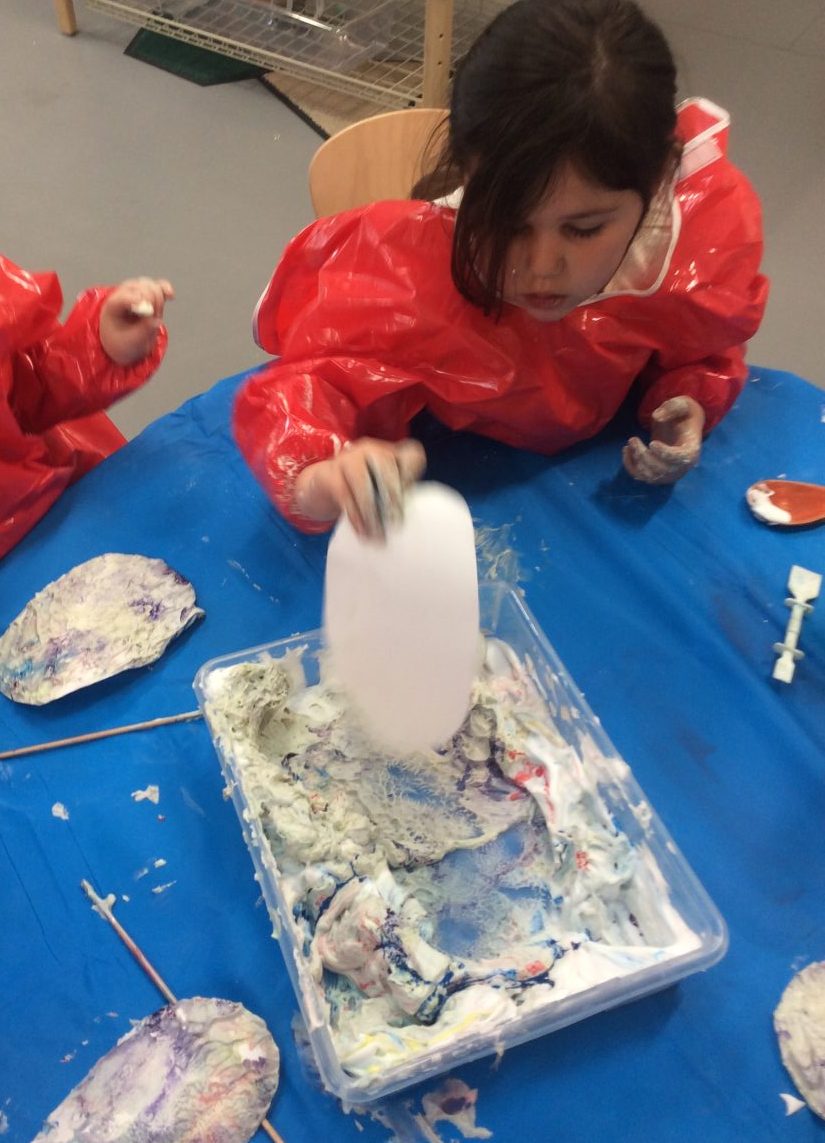
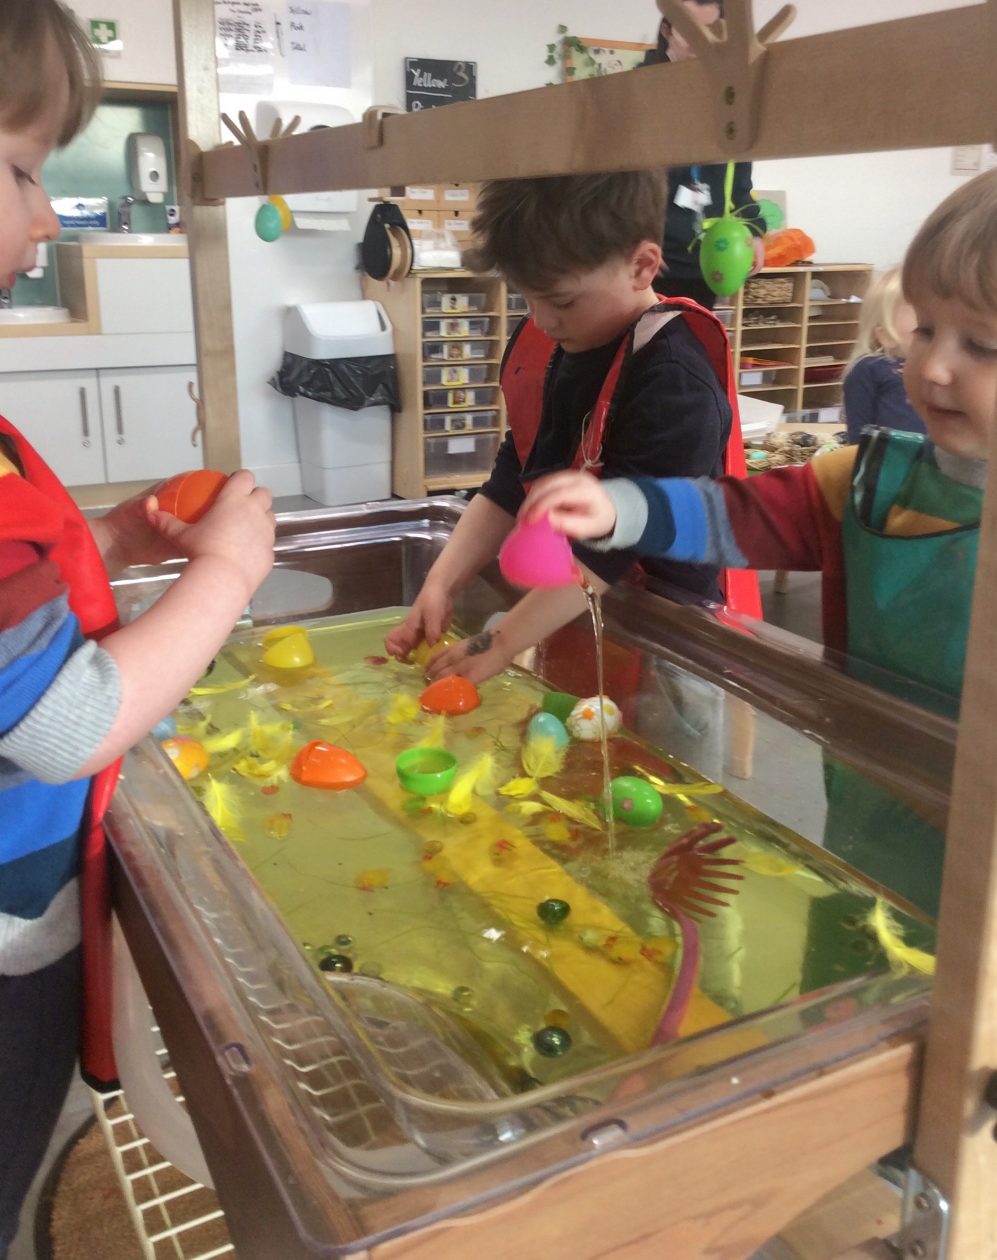
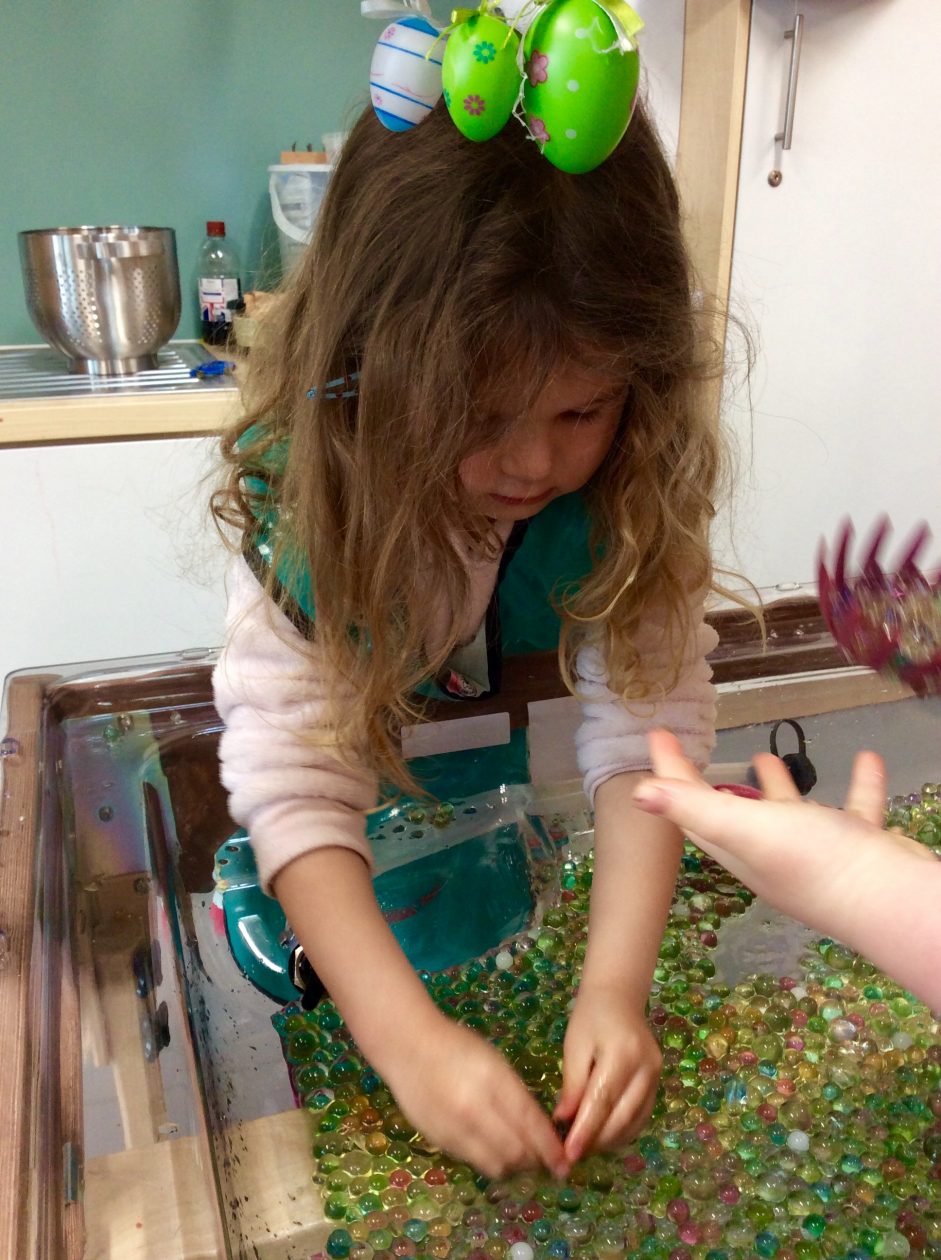
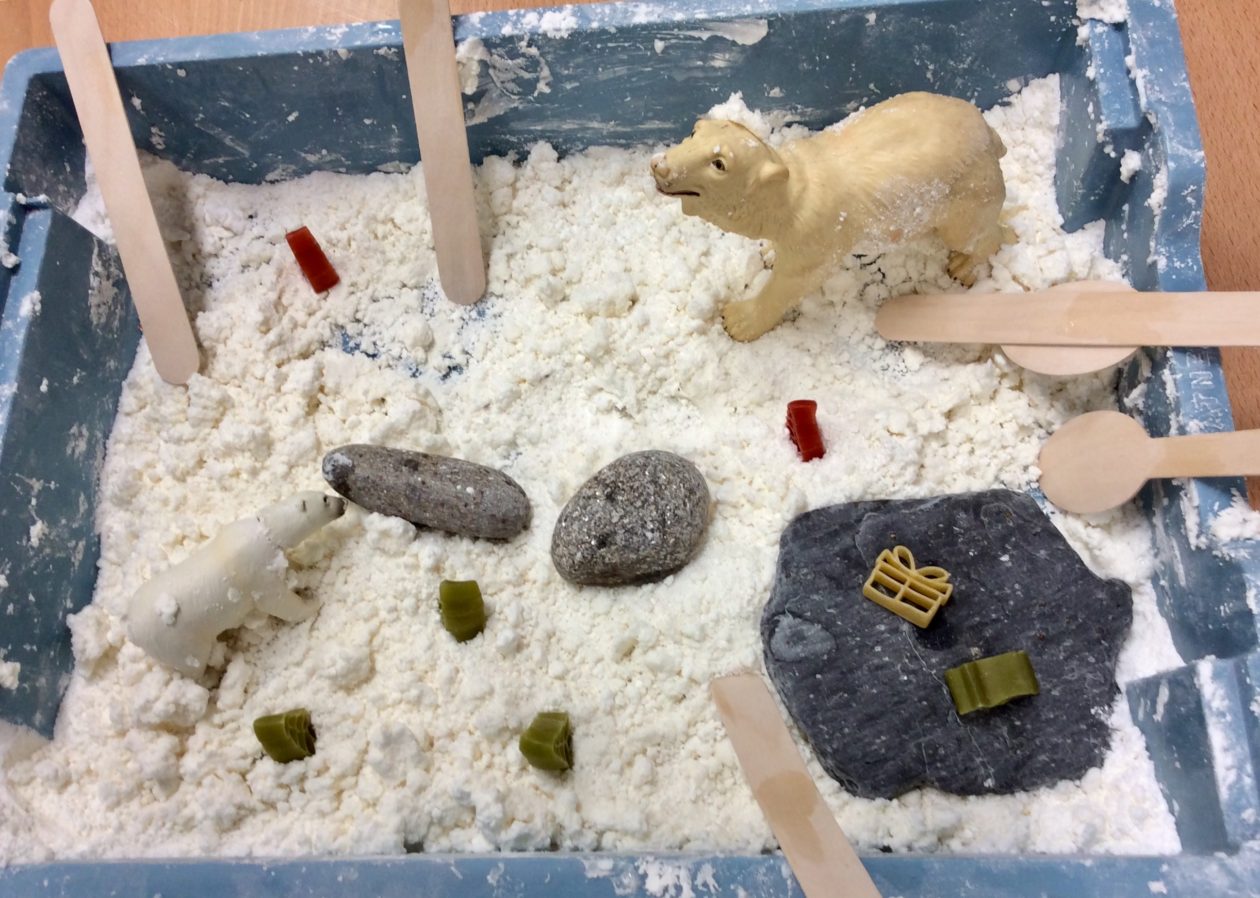
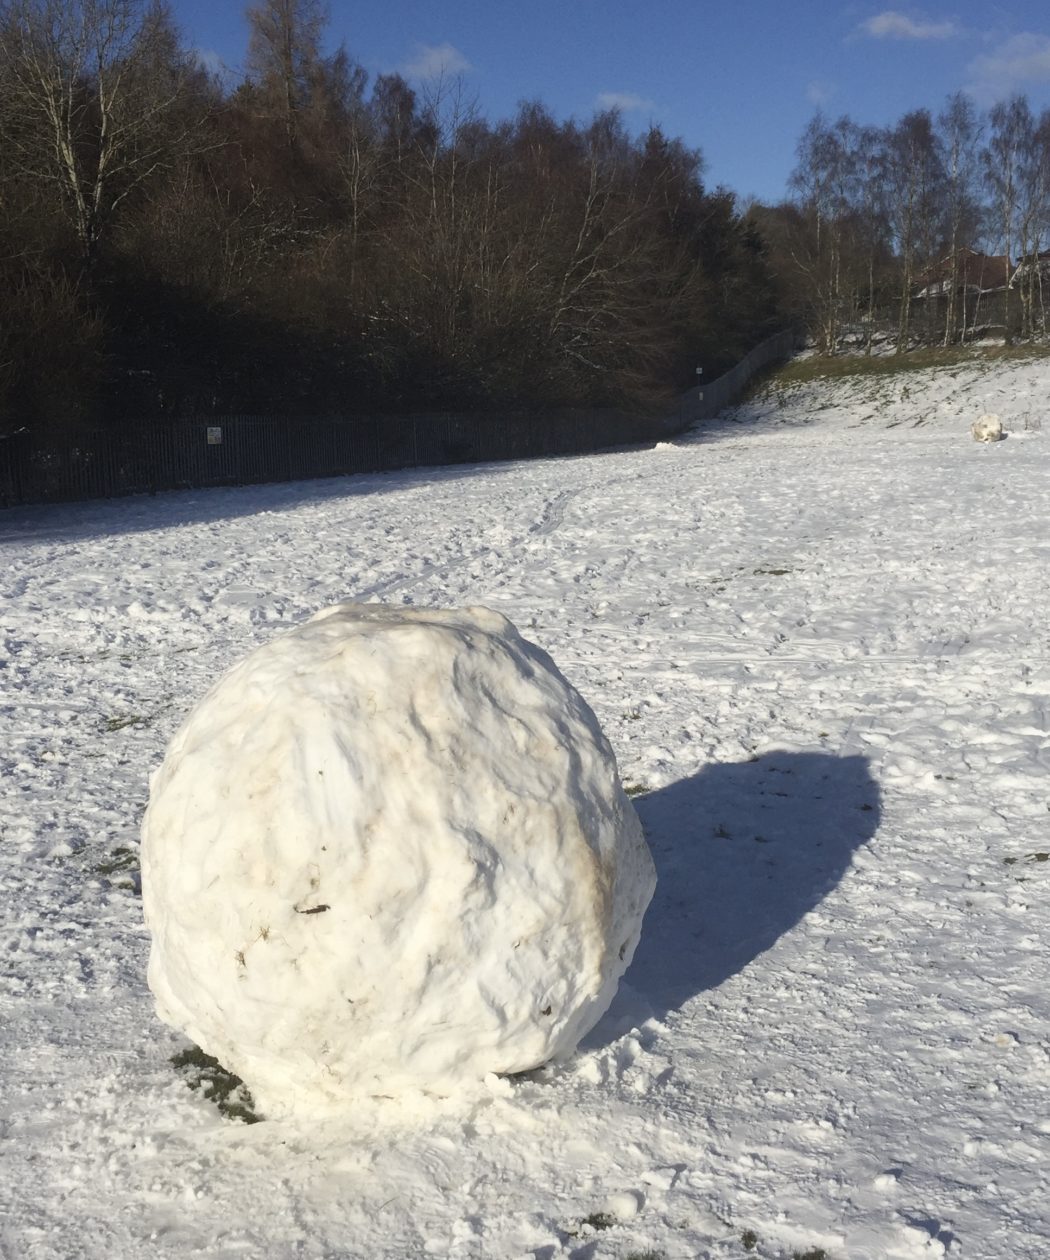
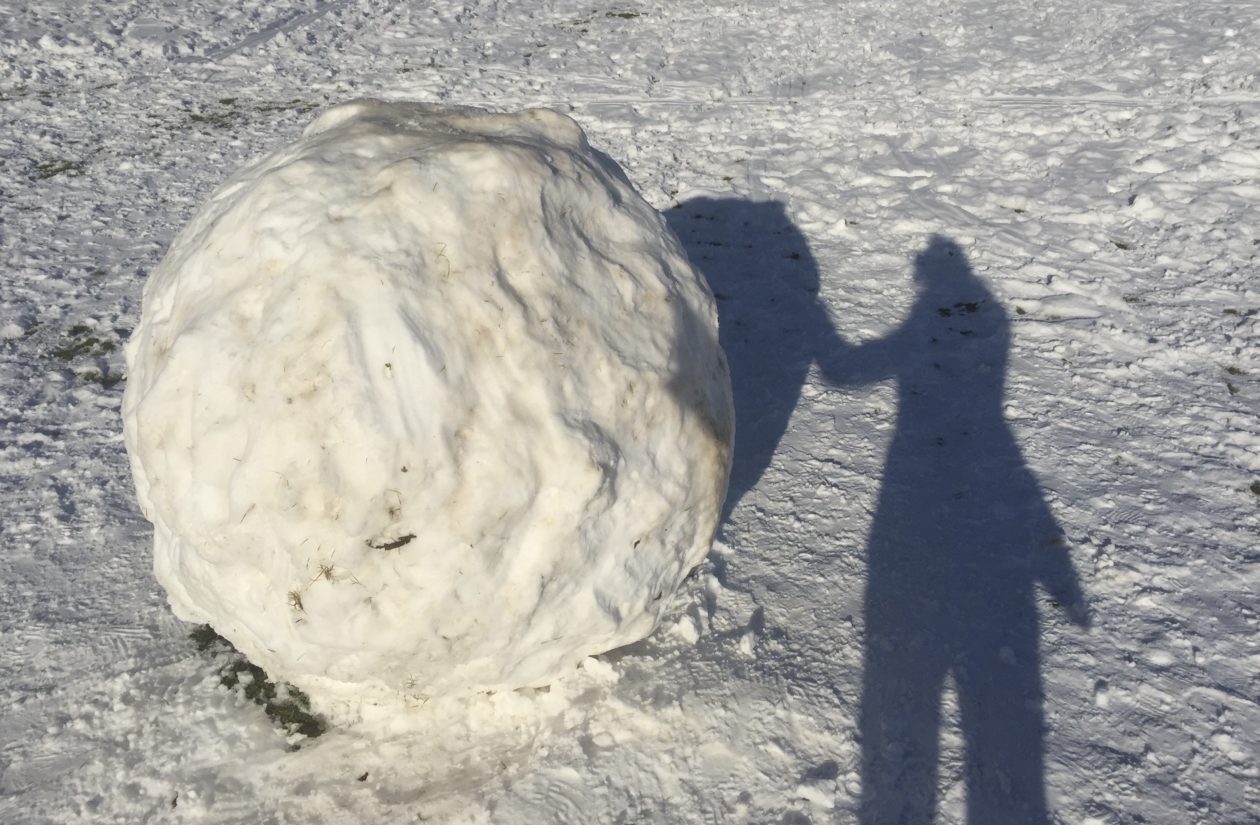
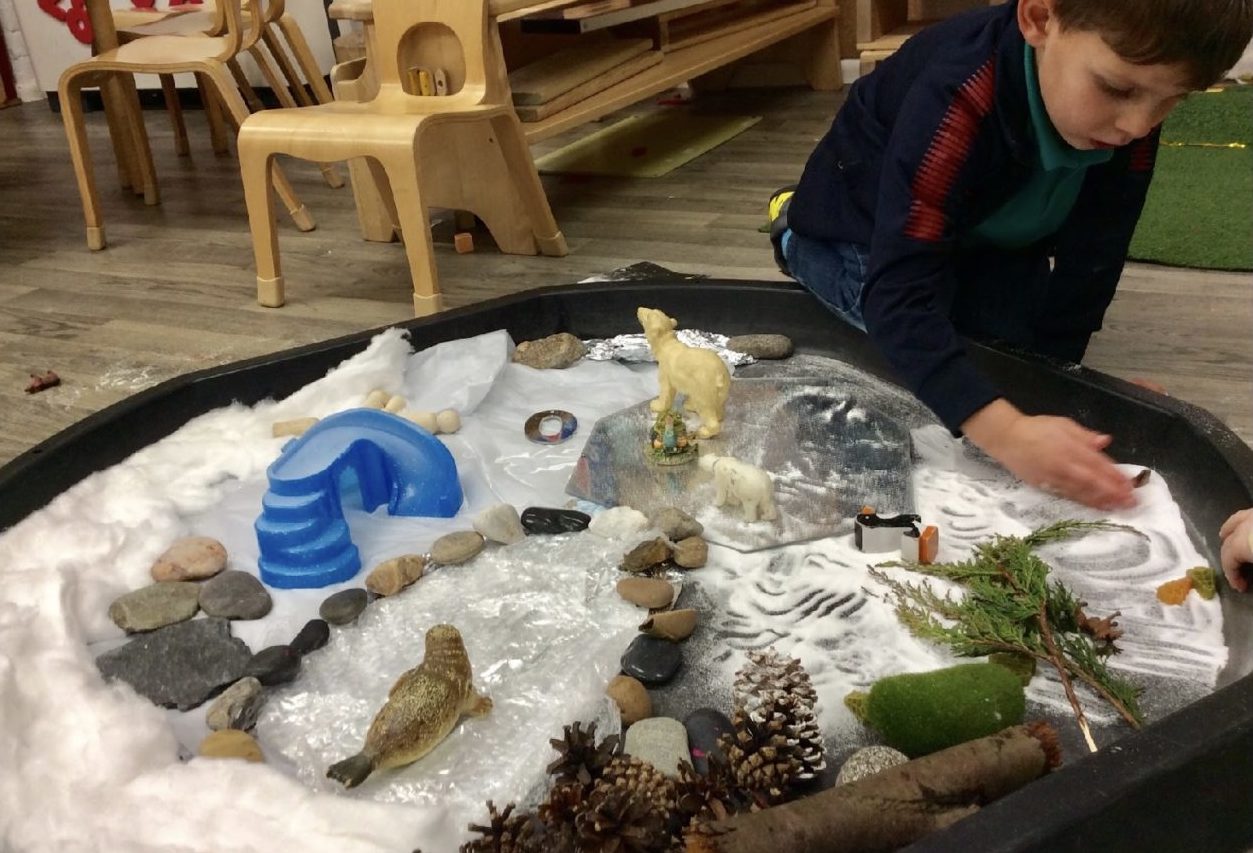
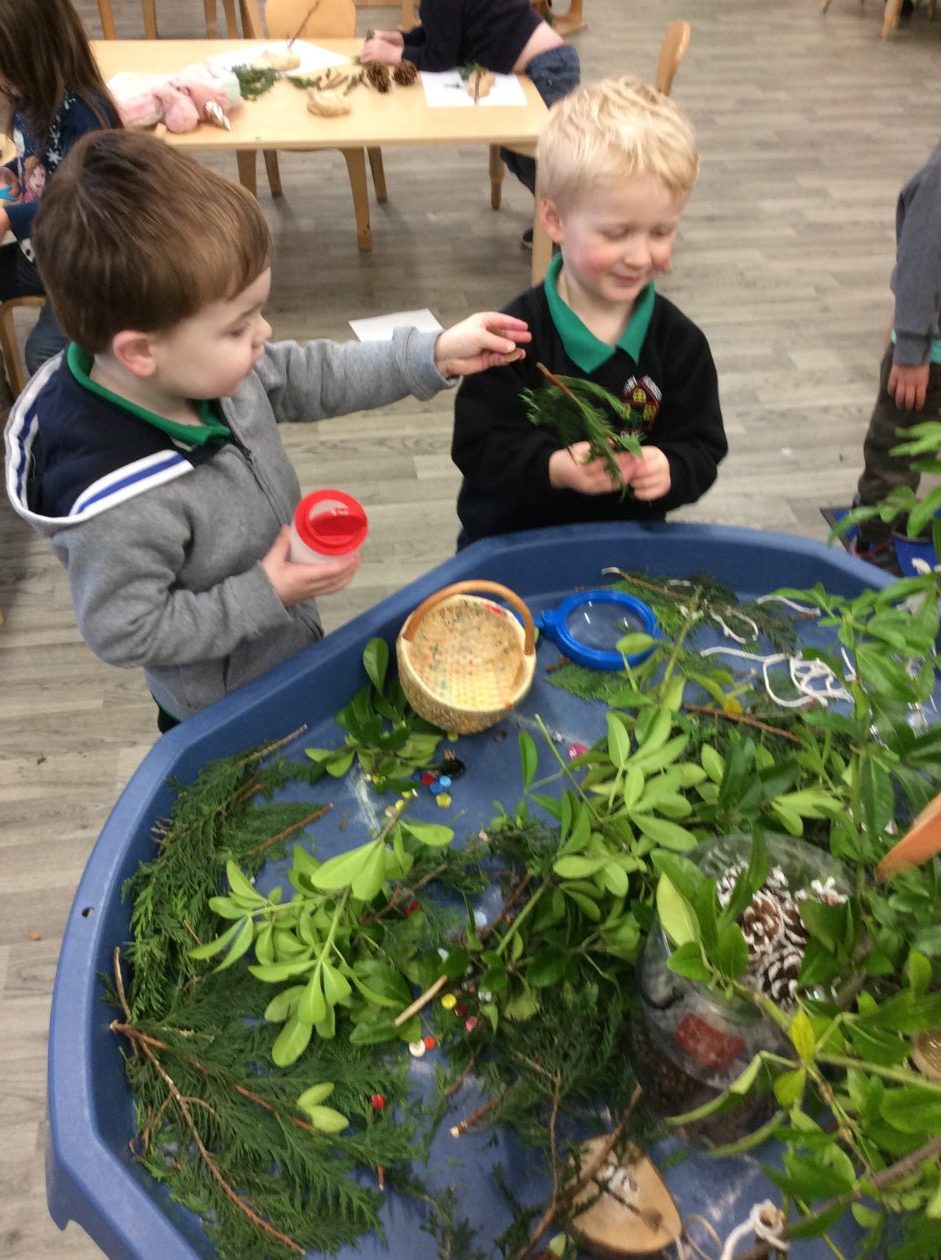
Exploring the Story Box and experimenting with different sphere shapes


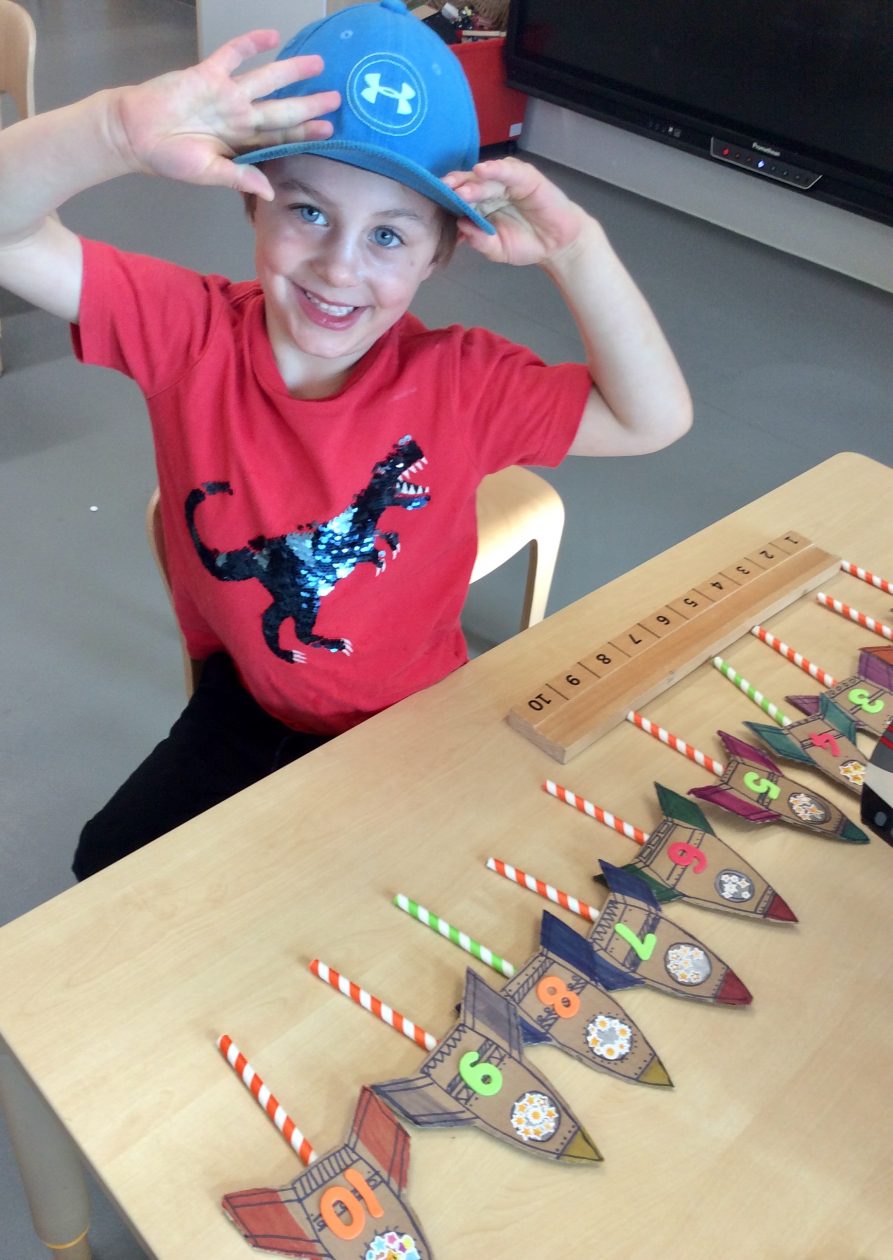
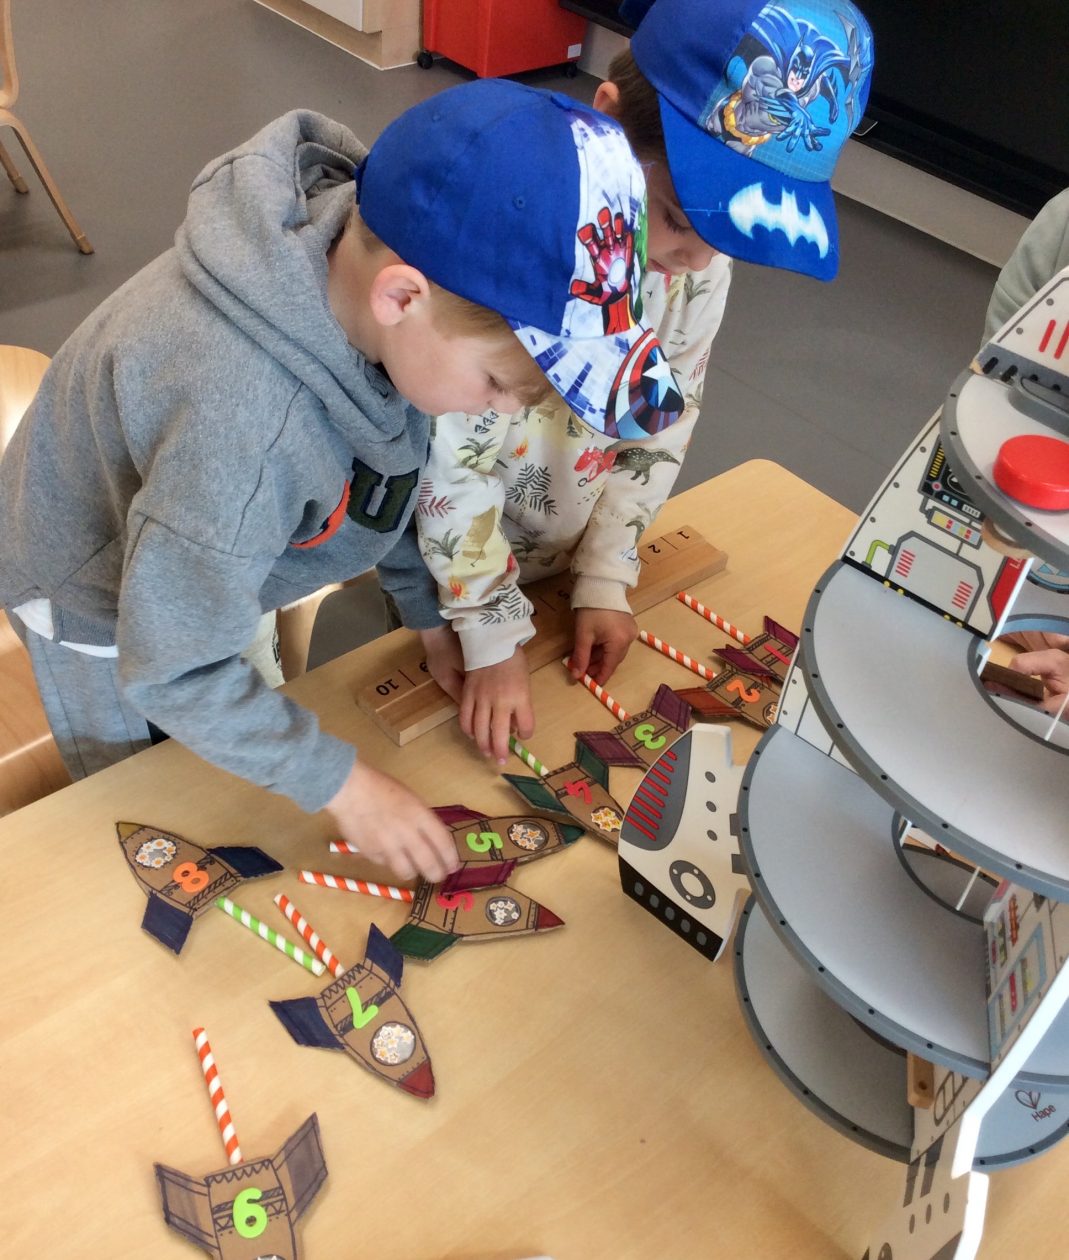
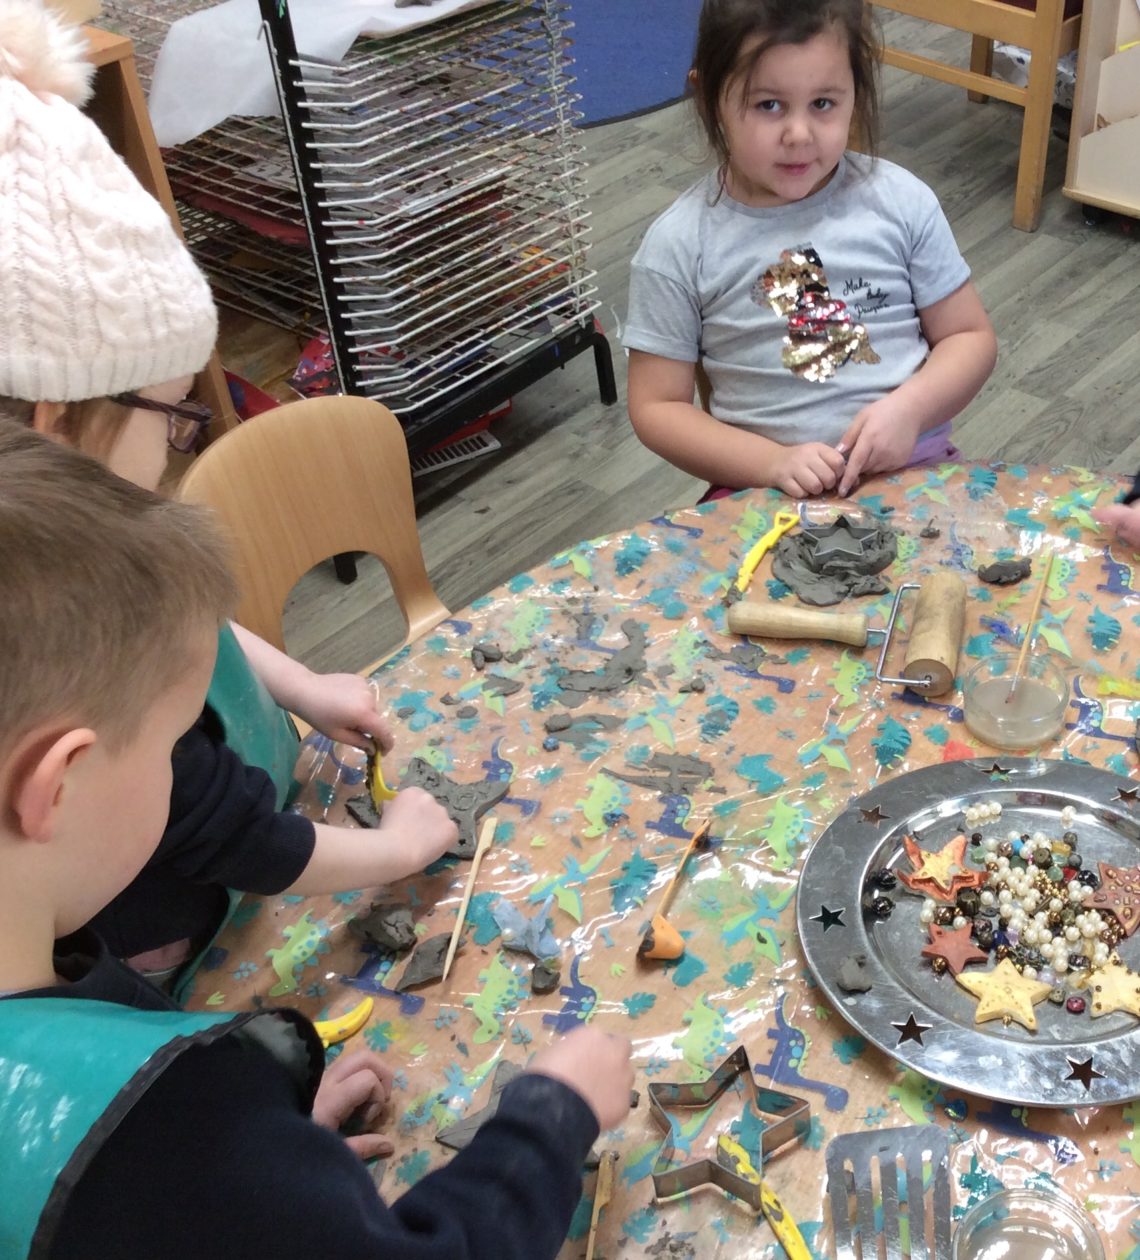
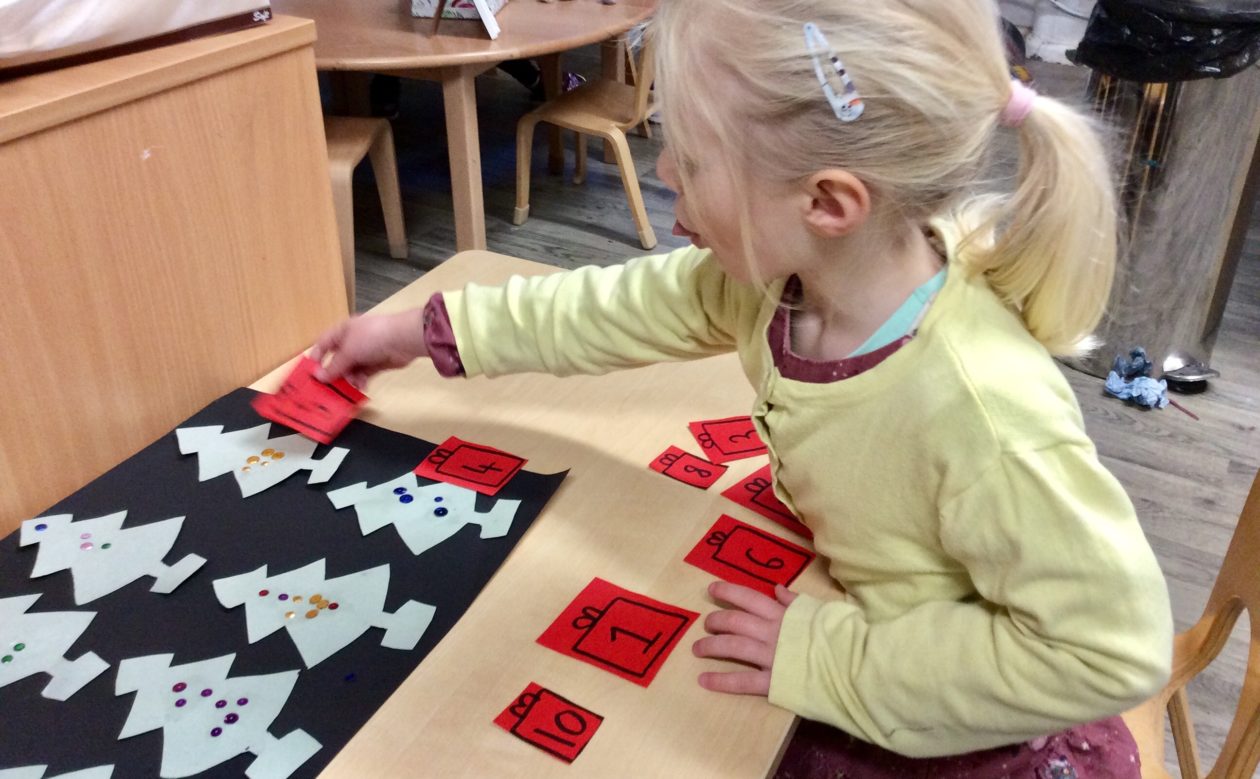
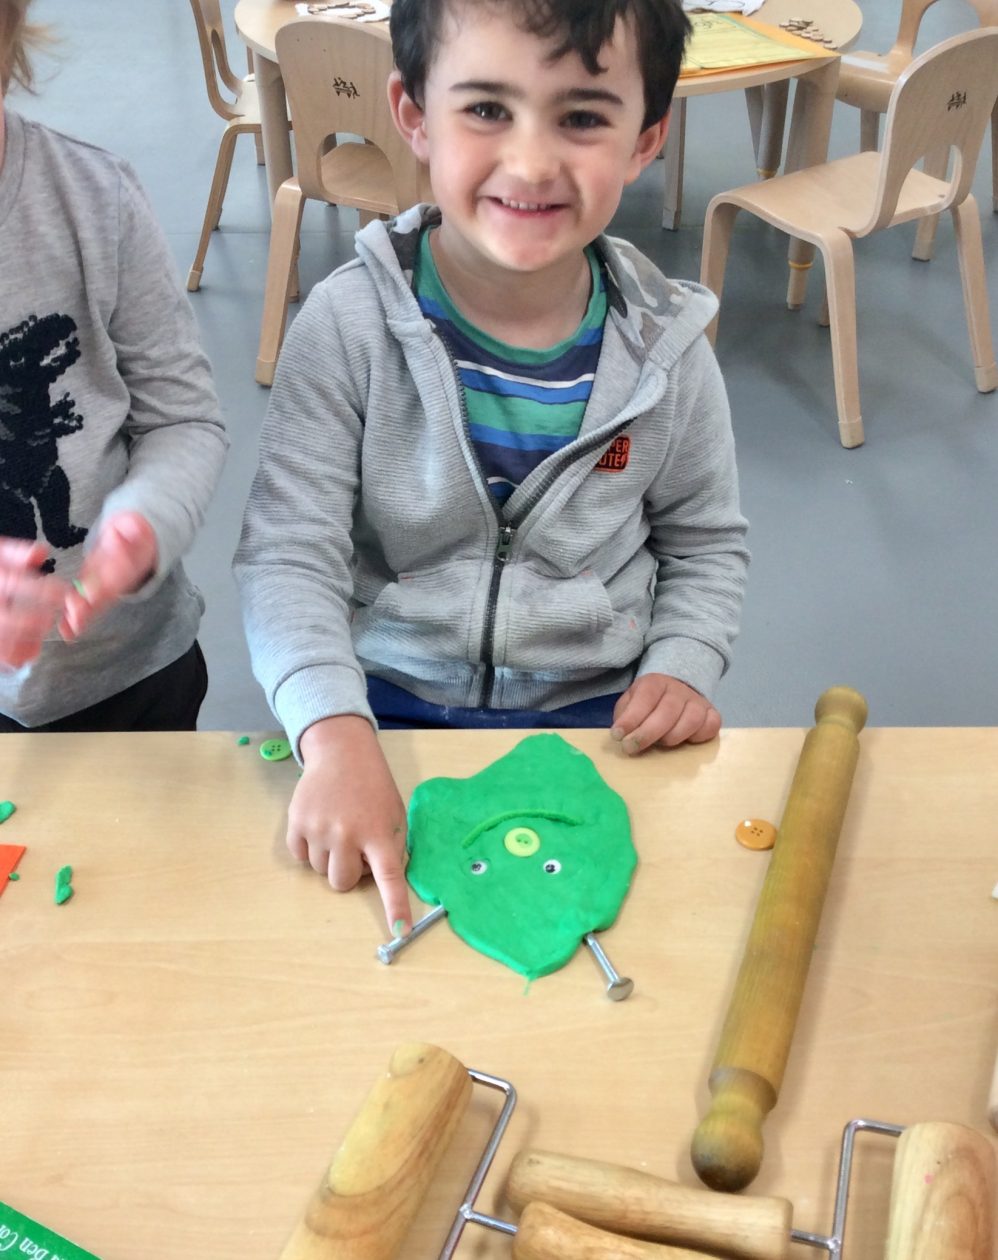
Rocket Number Games and Play Dough Aliens


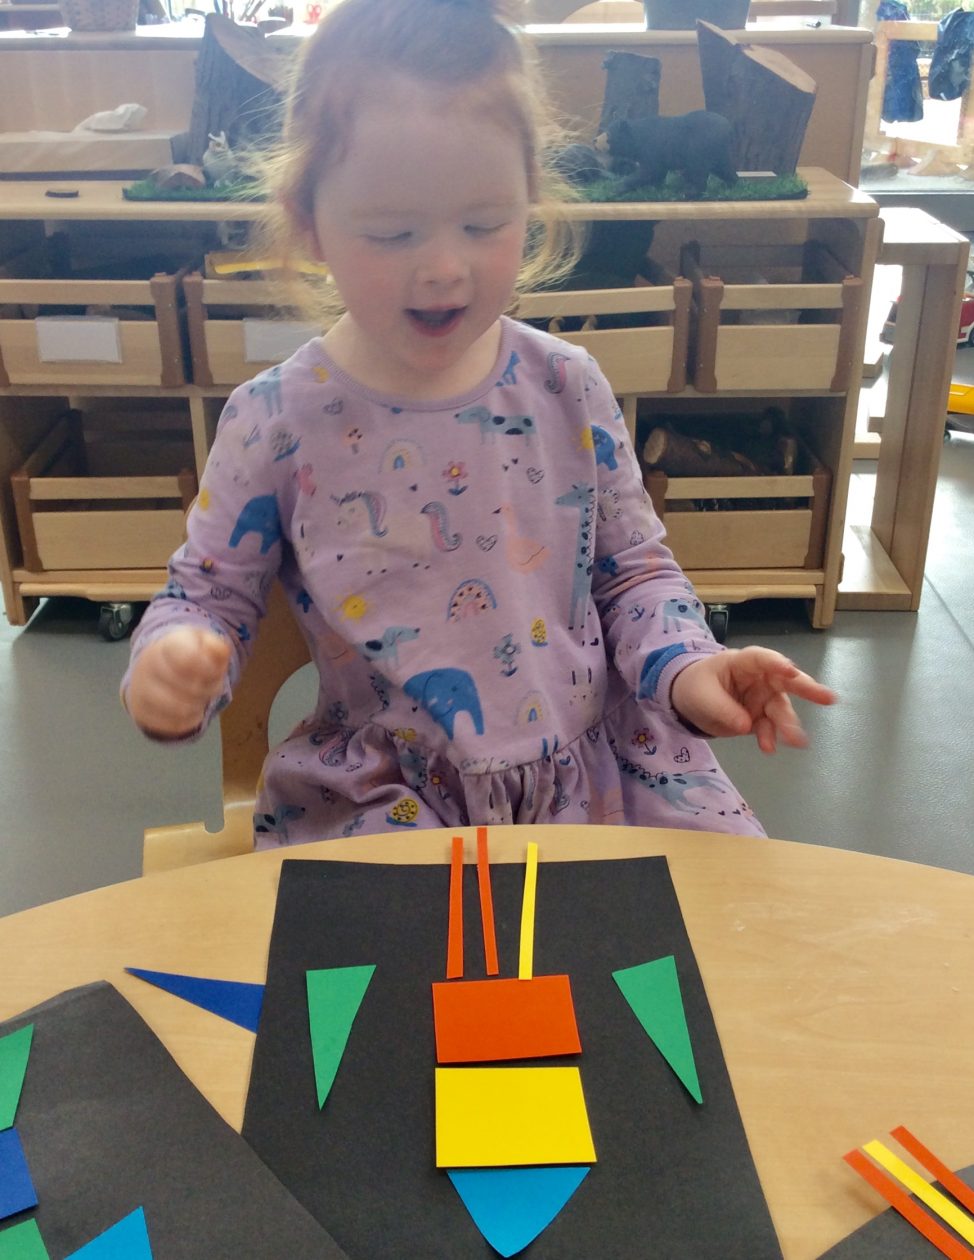
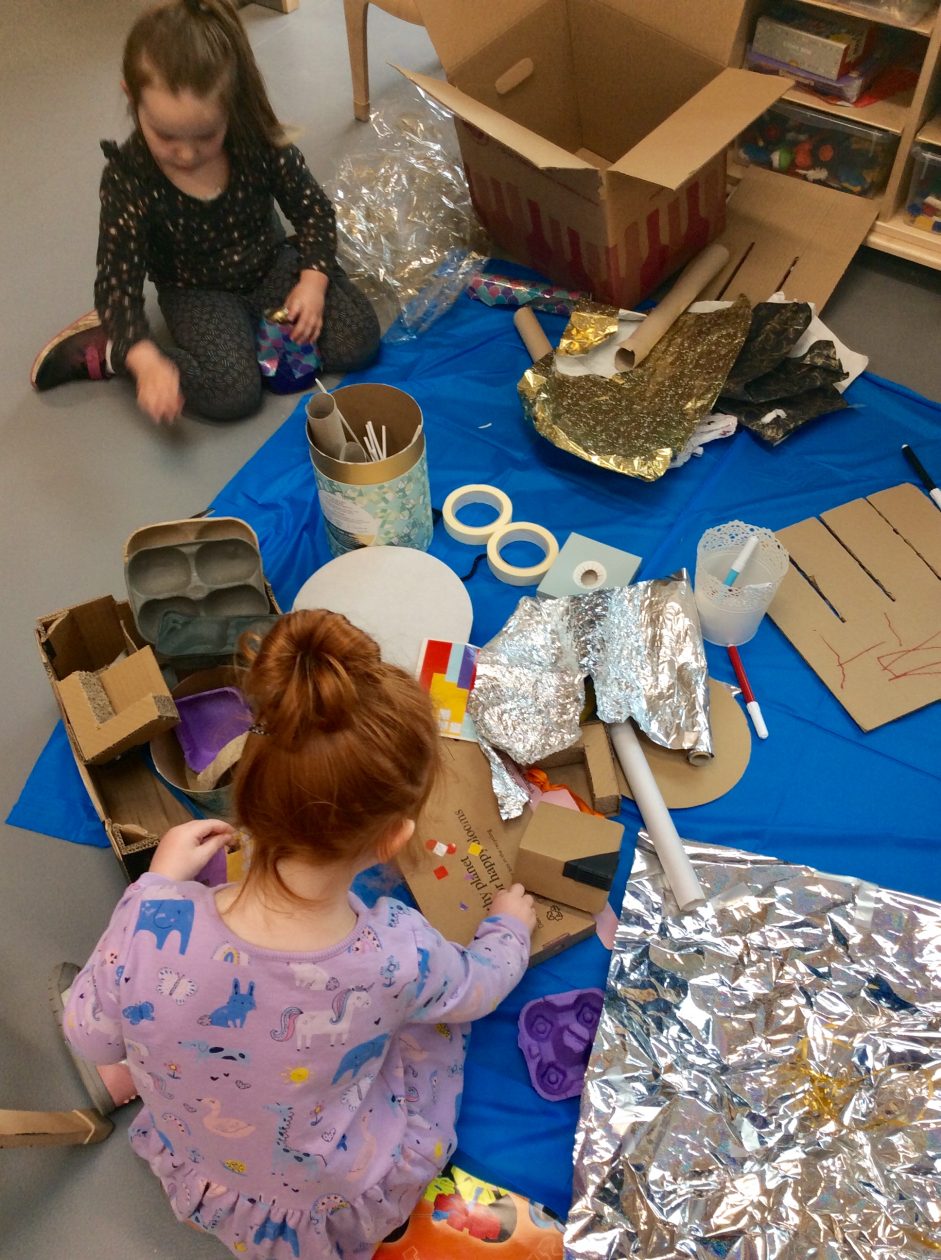
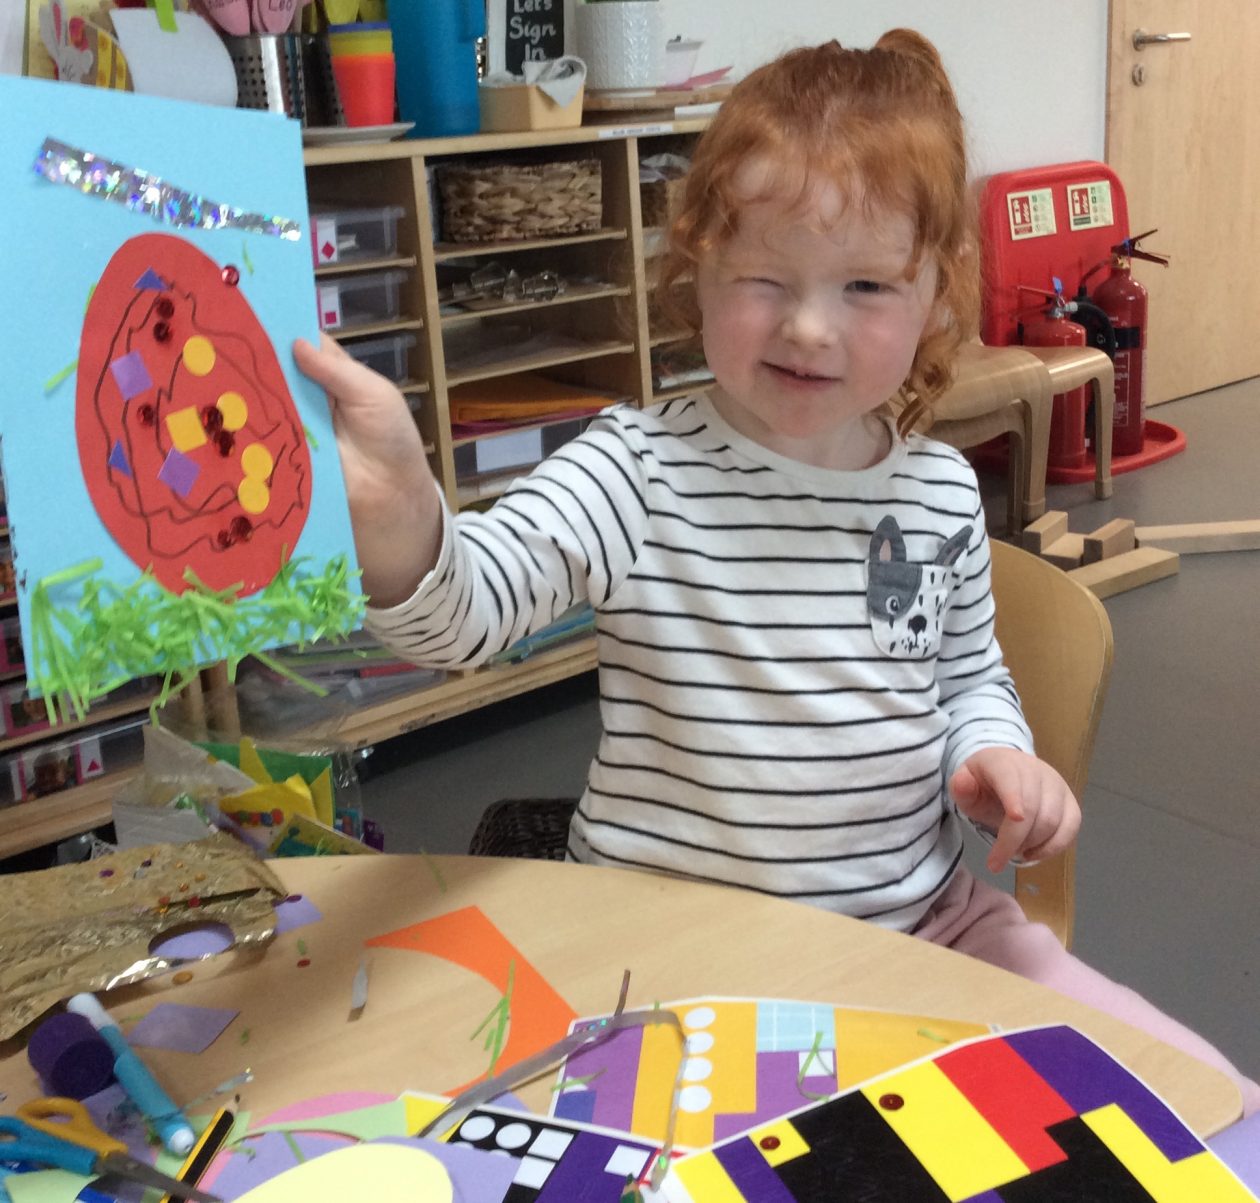
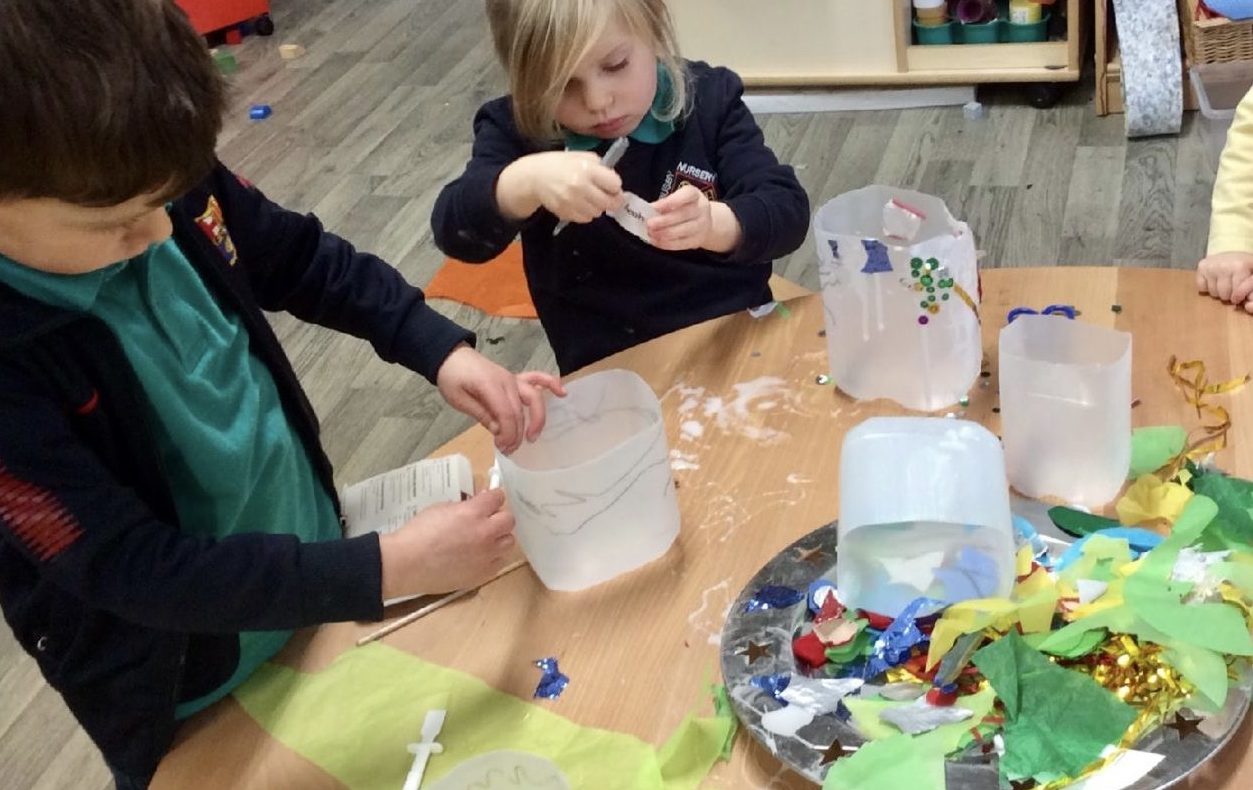
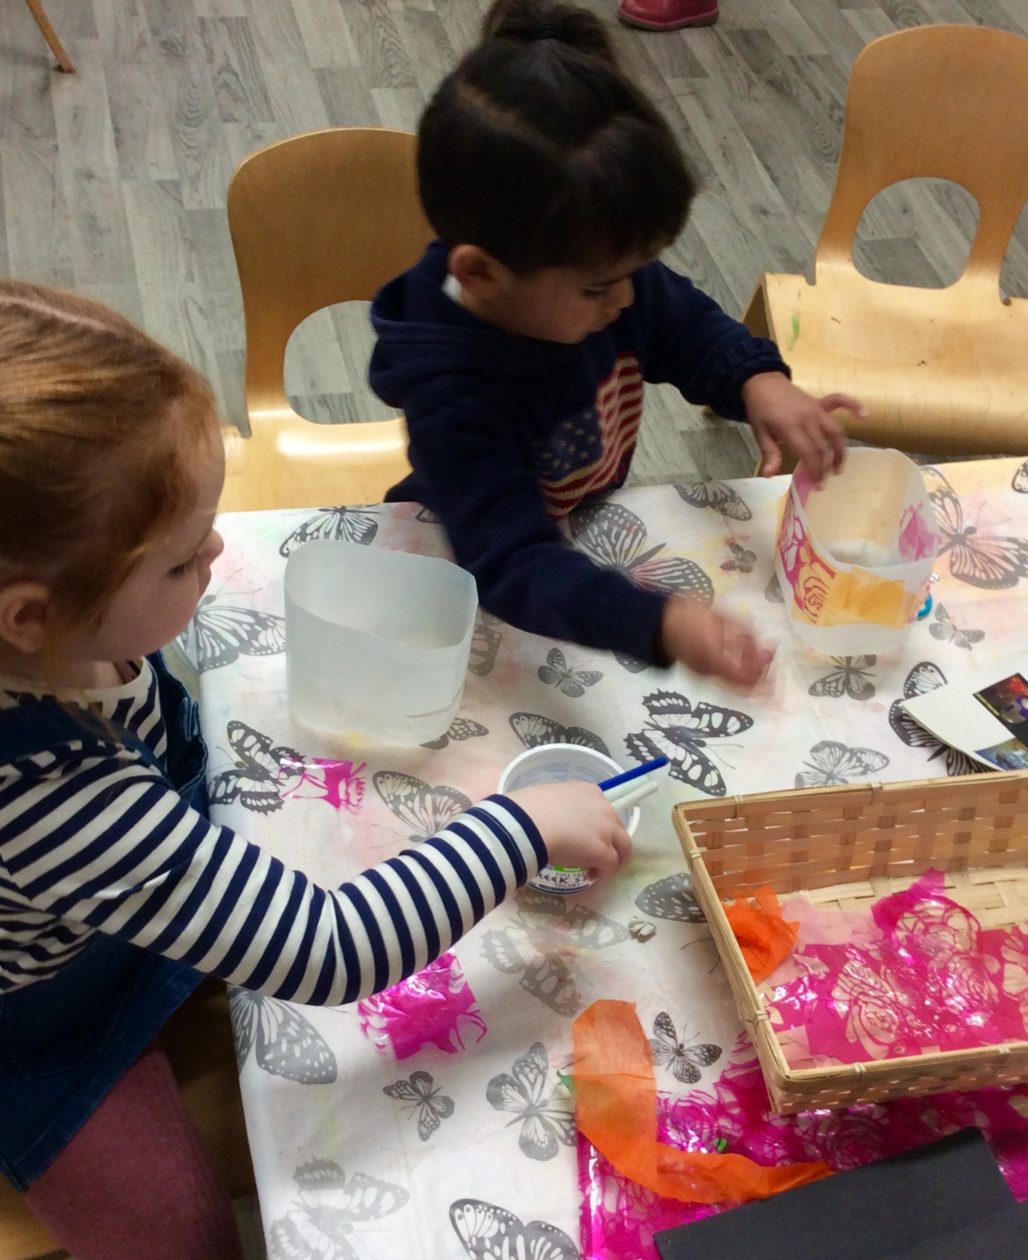
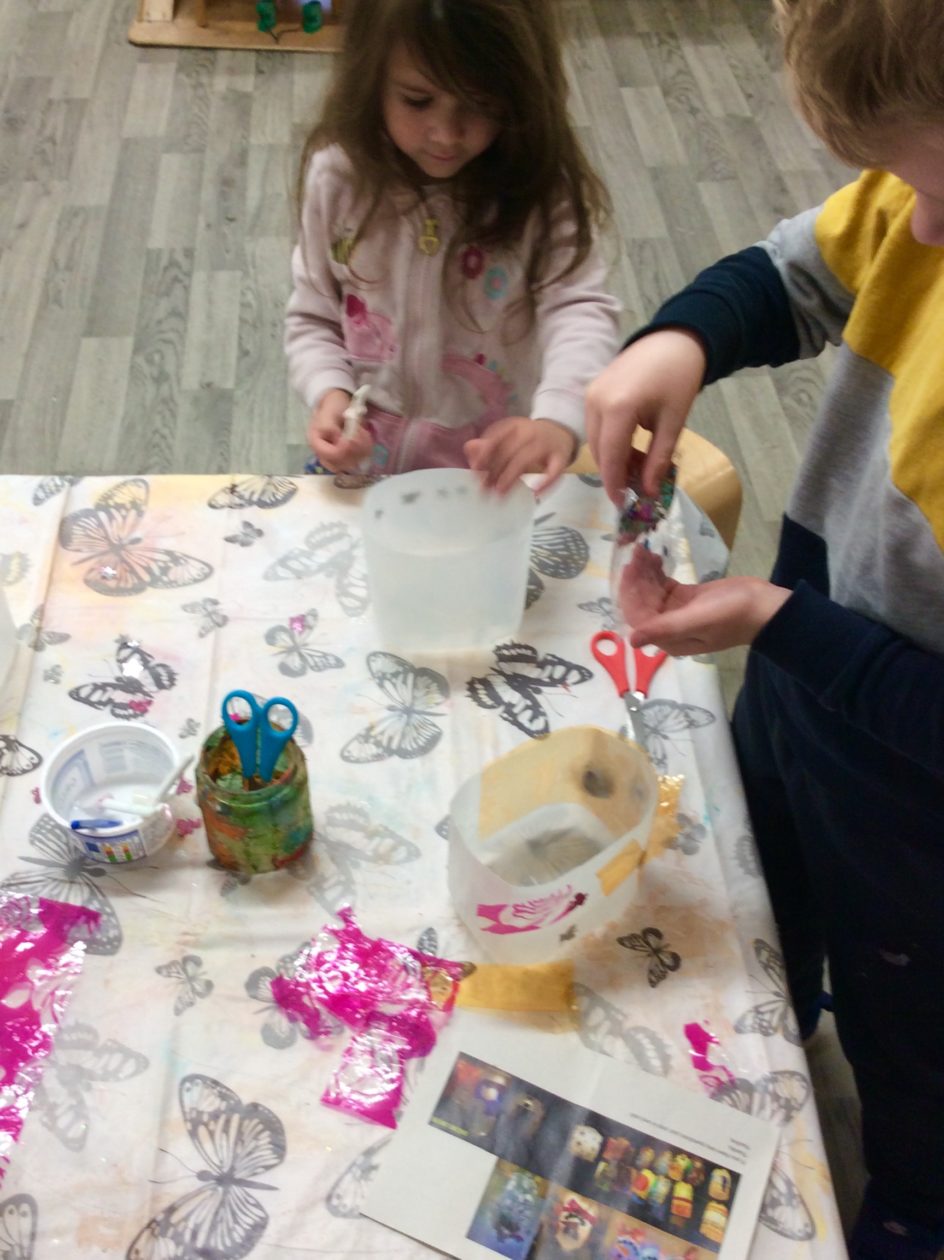
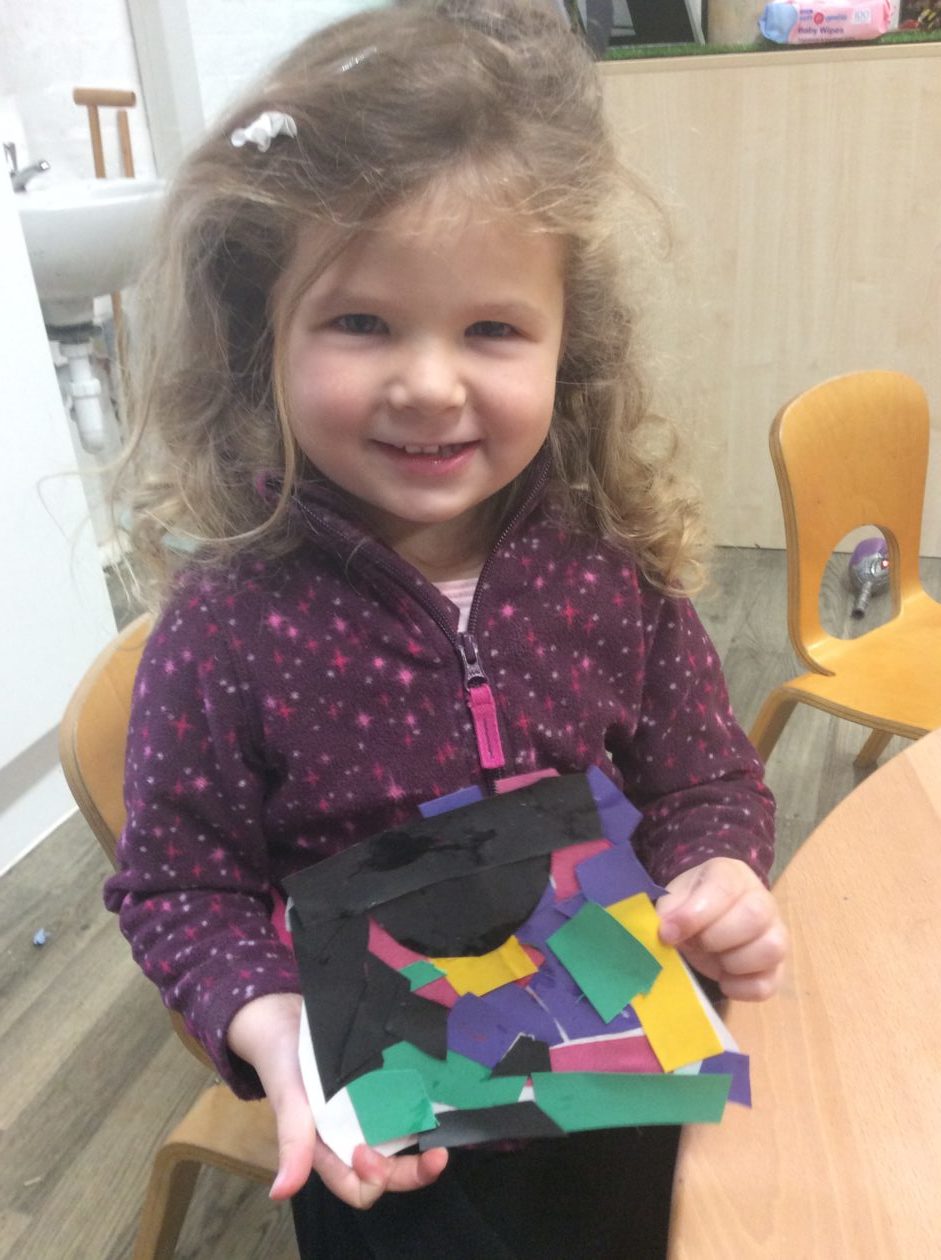
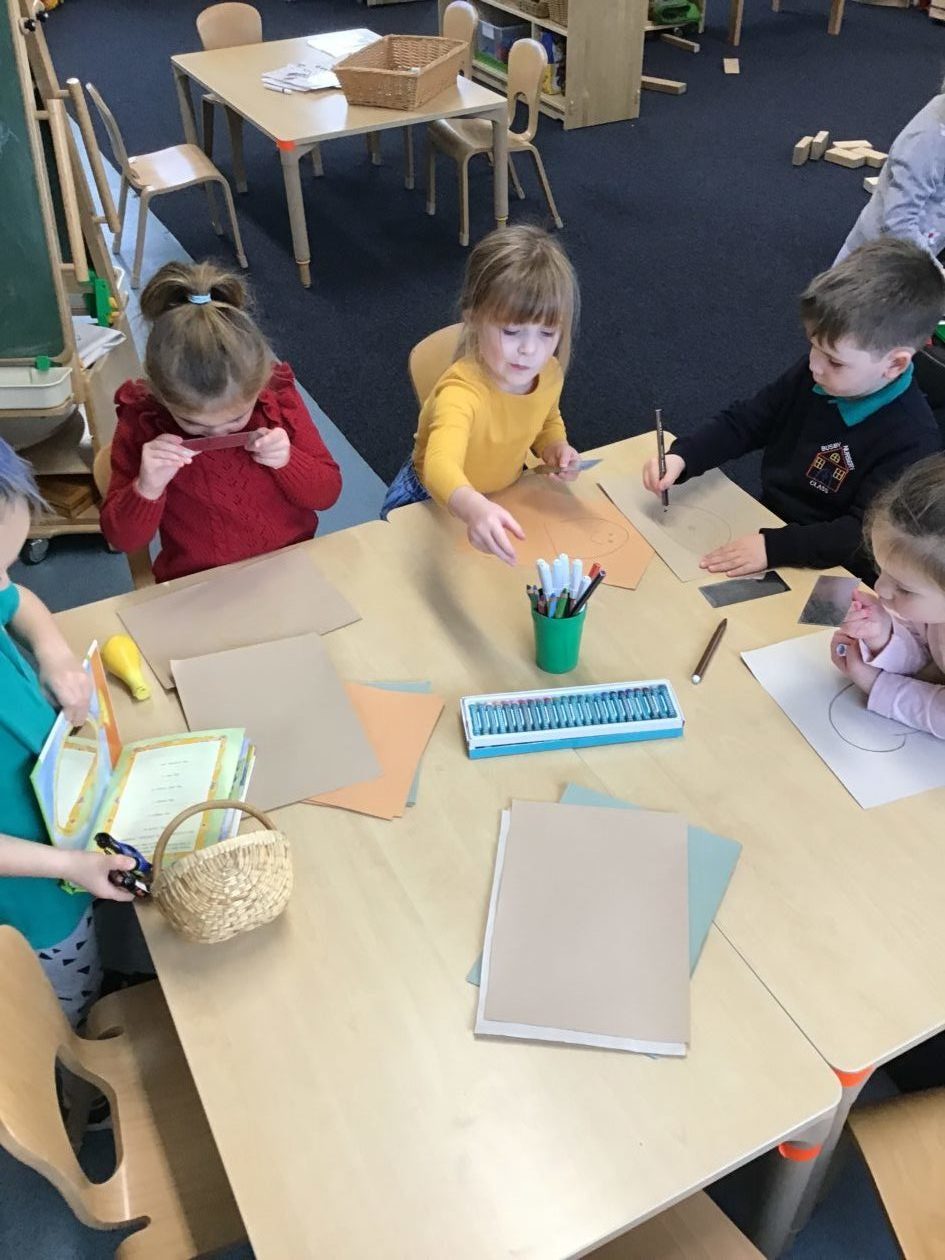
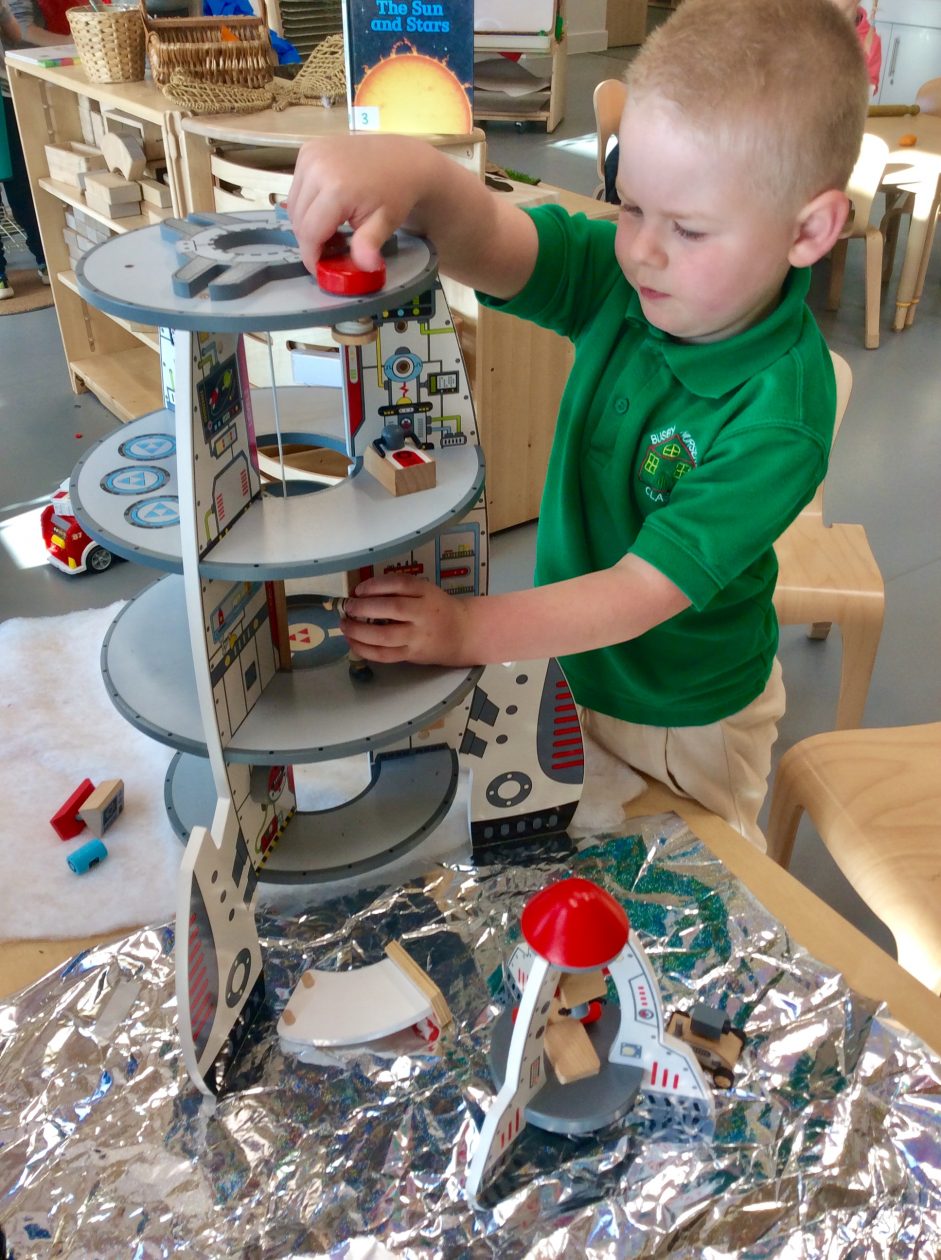
Creating Rocket Designs and Junk Modelling

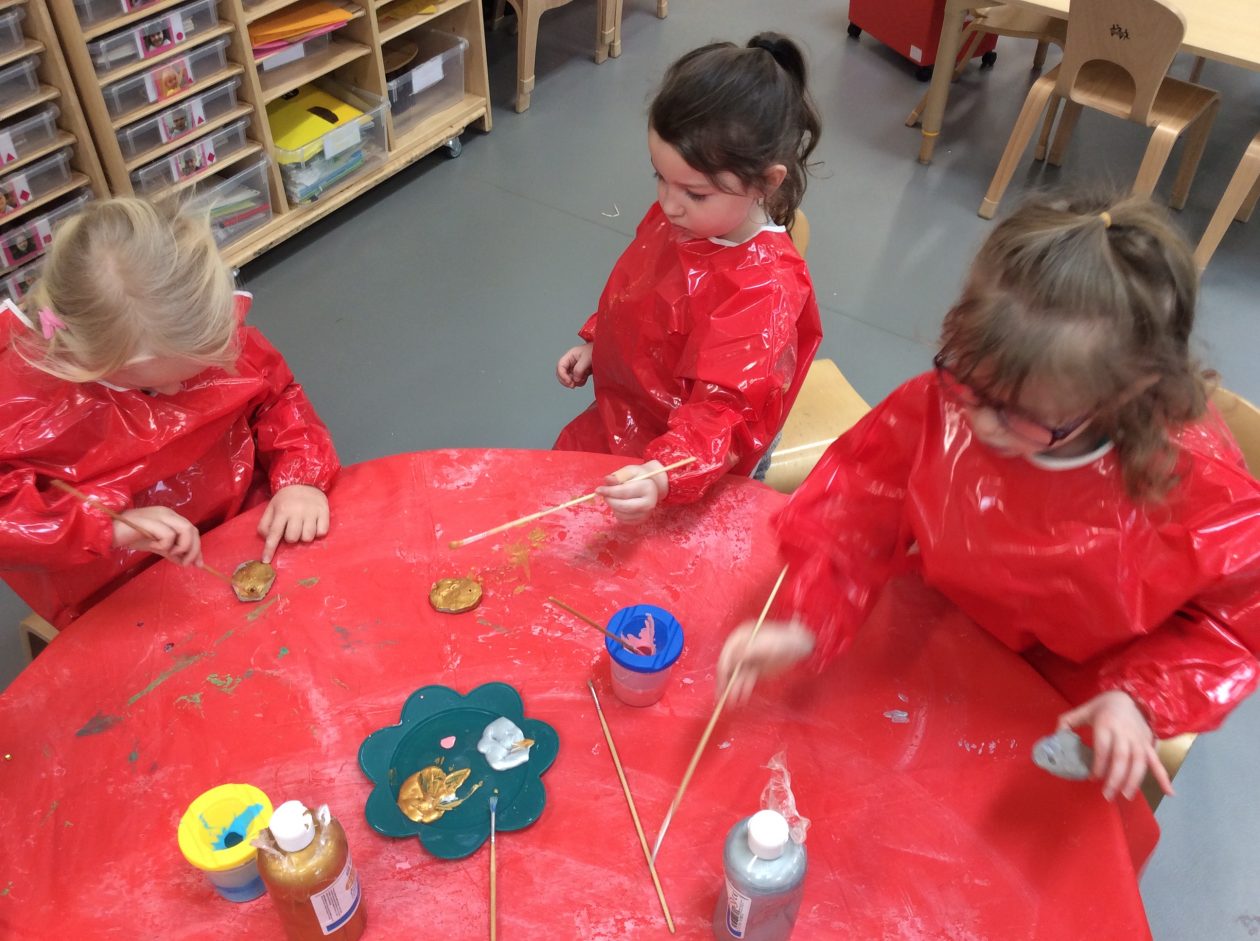
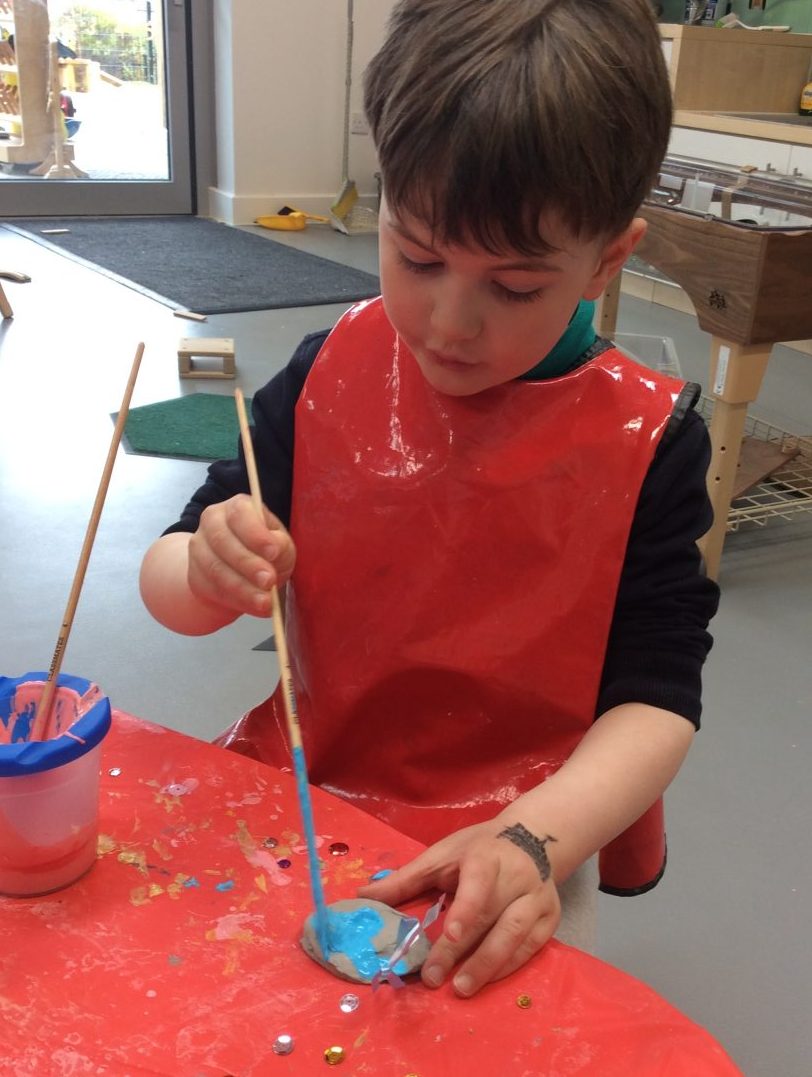
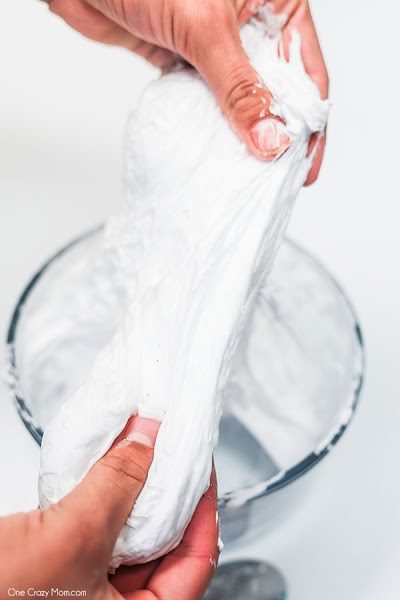
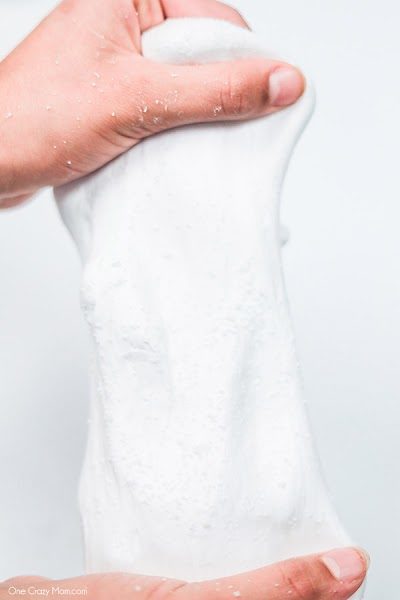
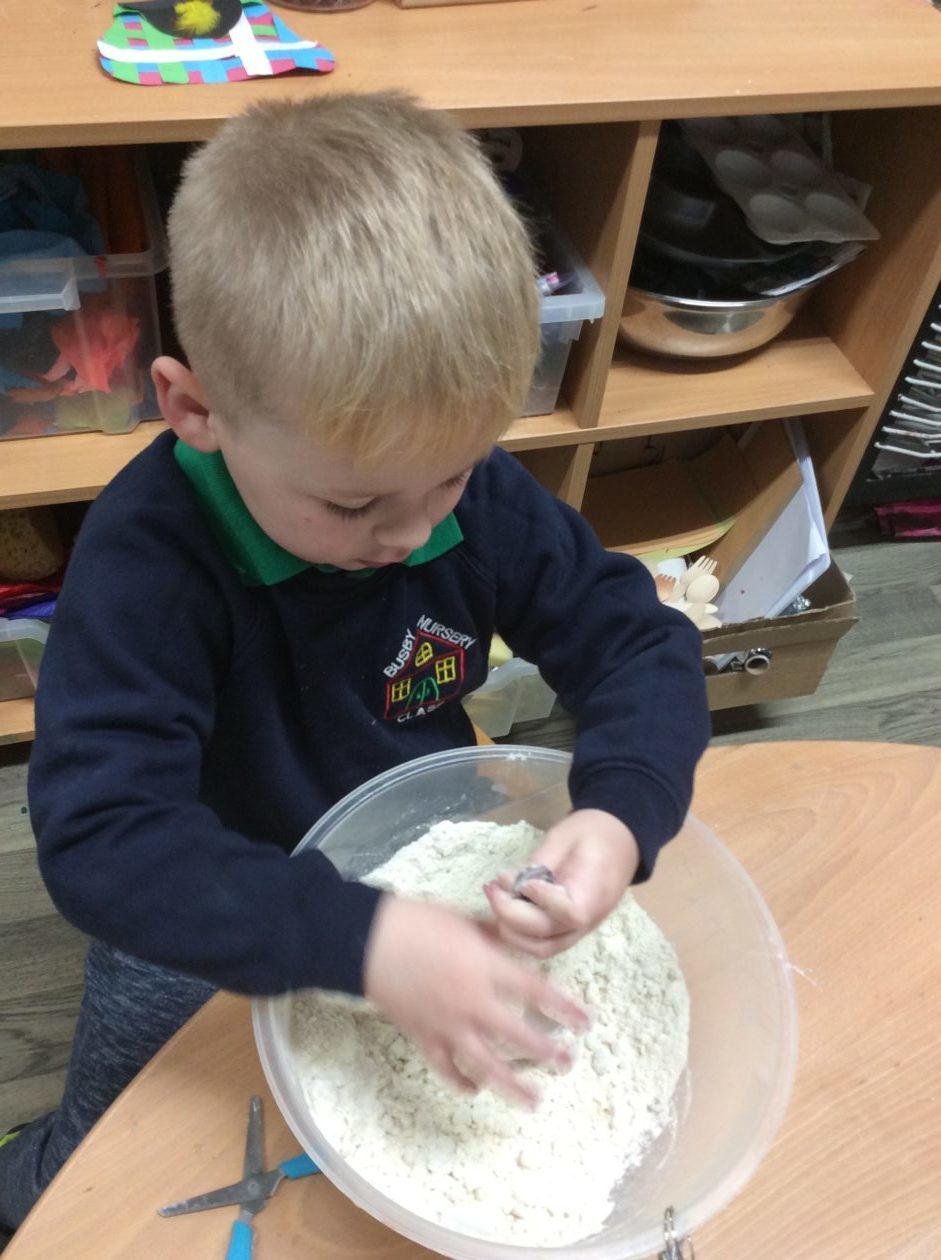
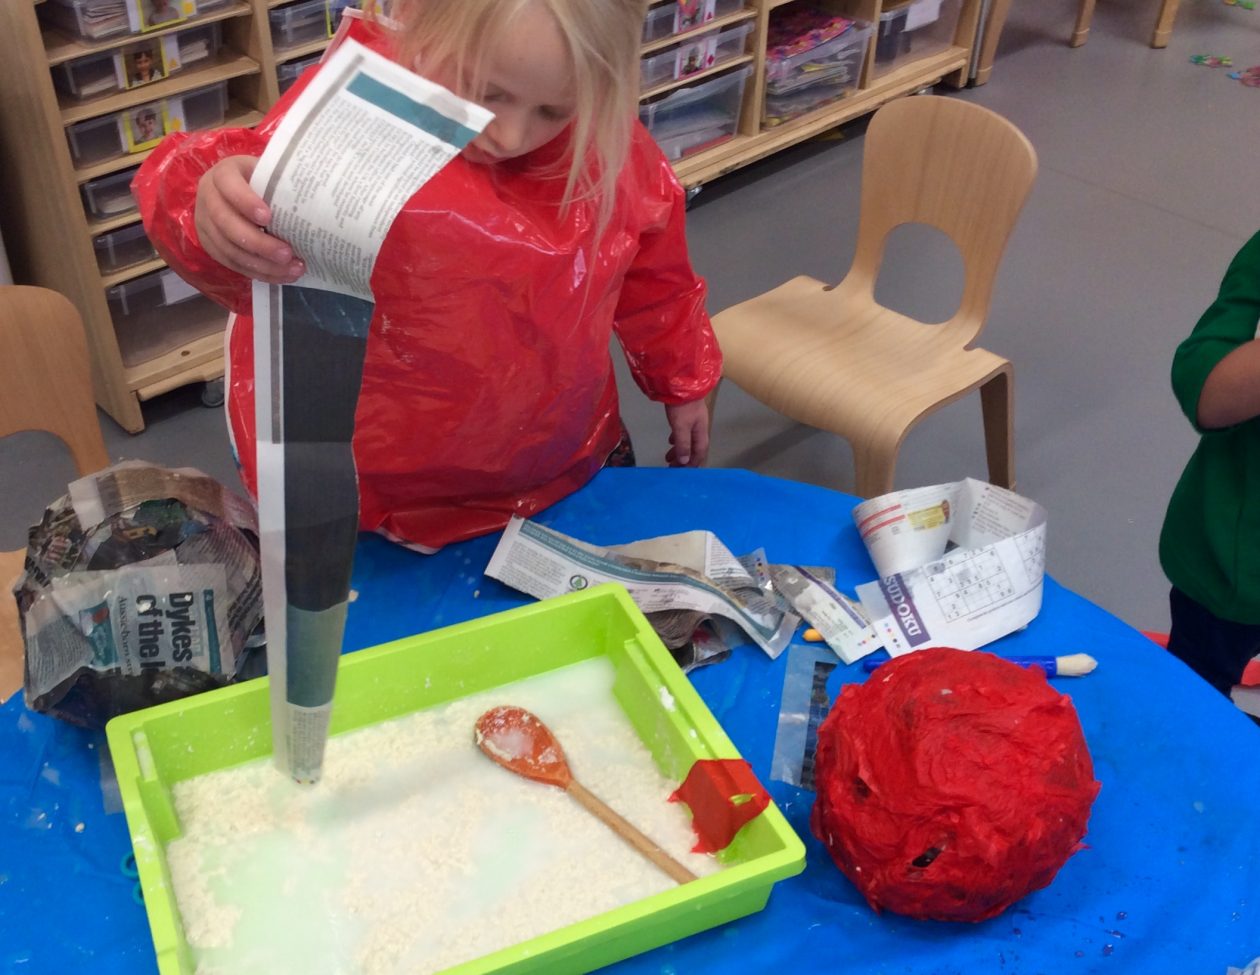
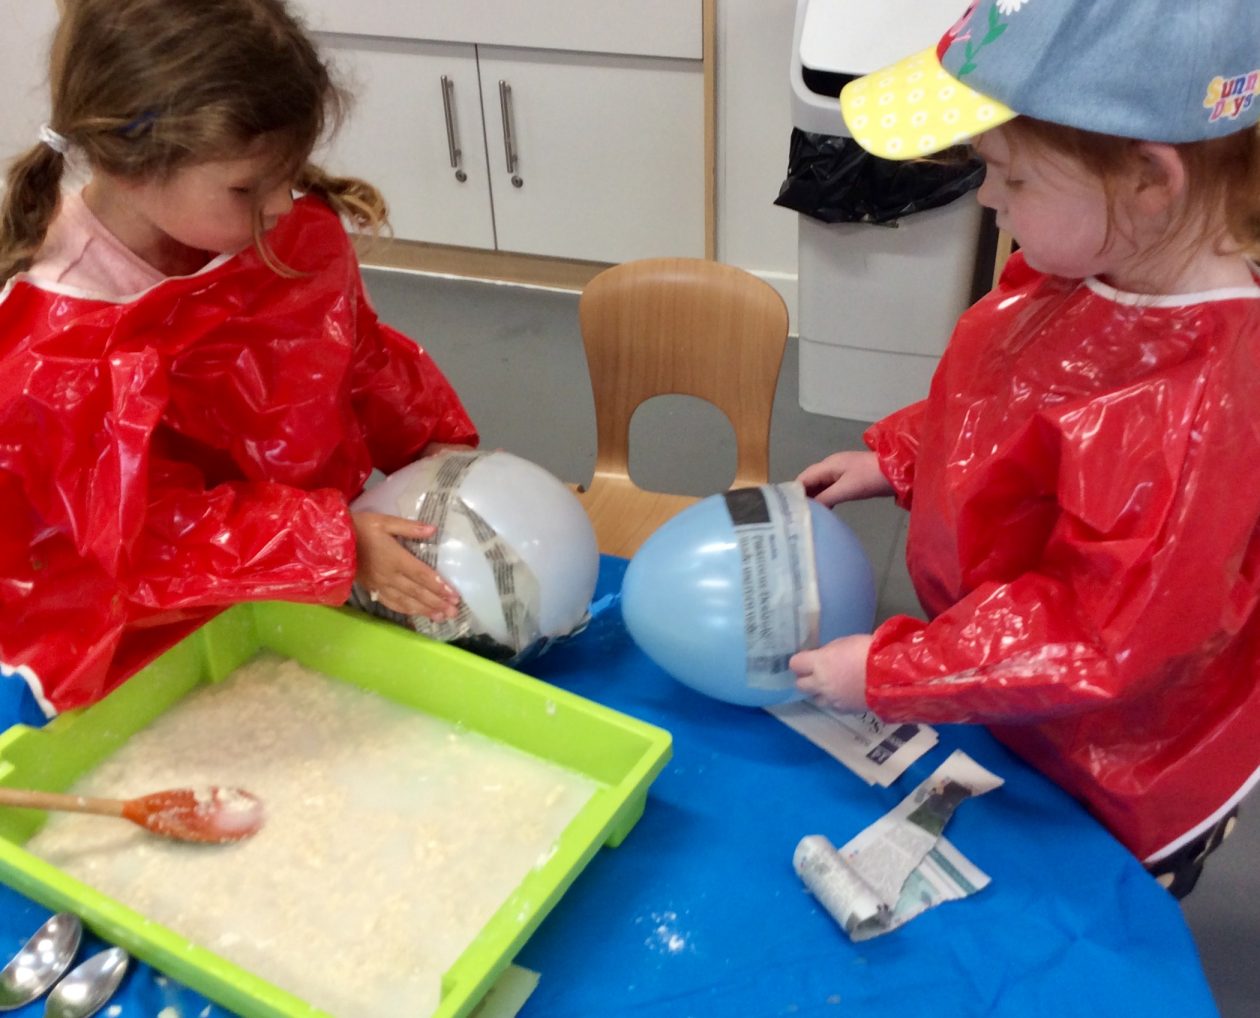
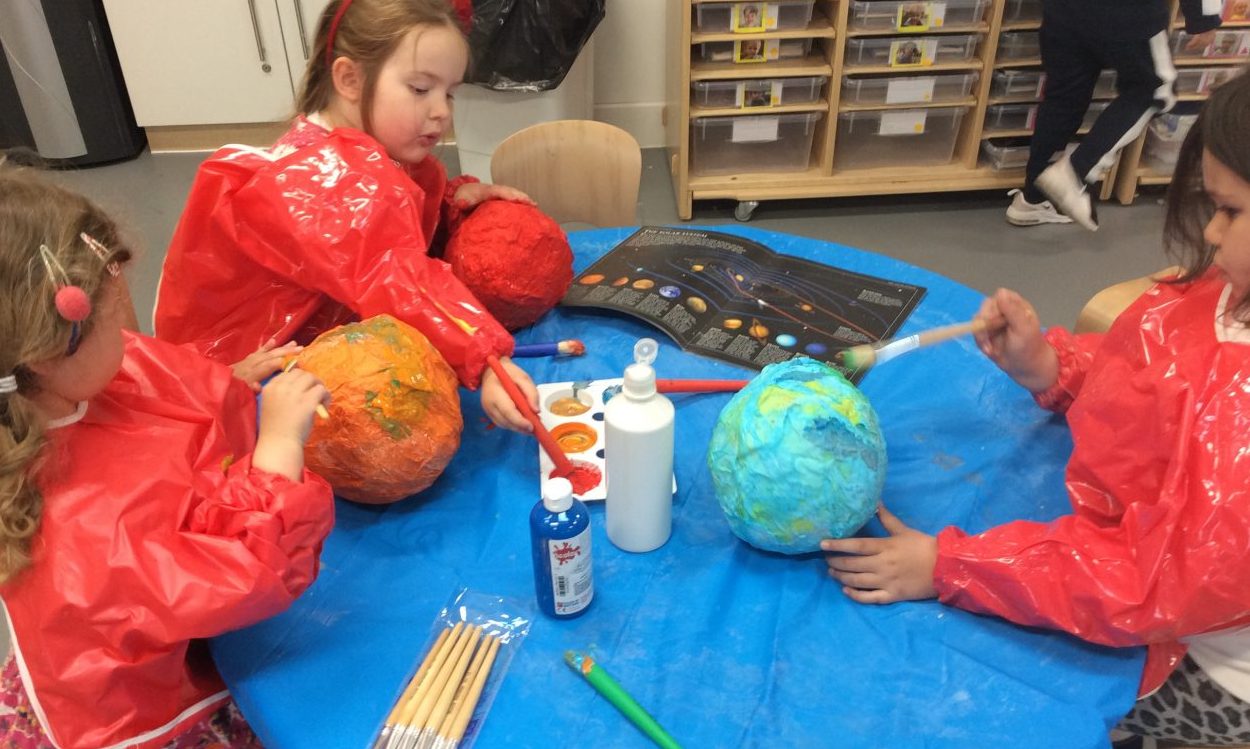
We also tried making some paper mâché planets by mixing up a paste of water and flour, dipping in newspaper strips and tissue paper, then wrapping them around balloons.

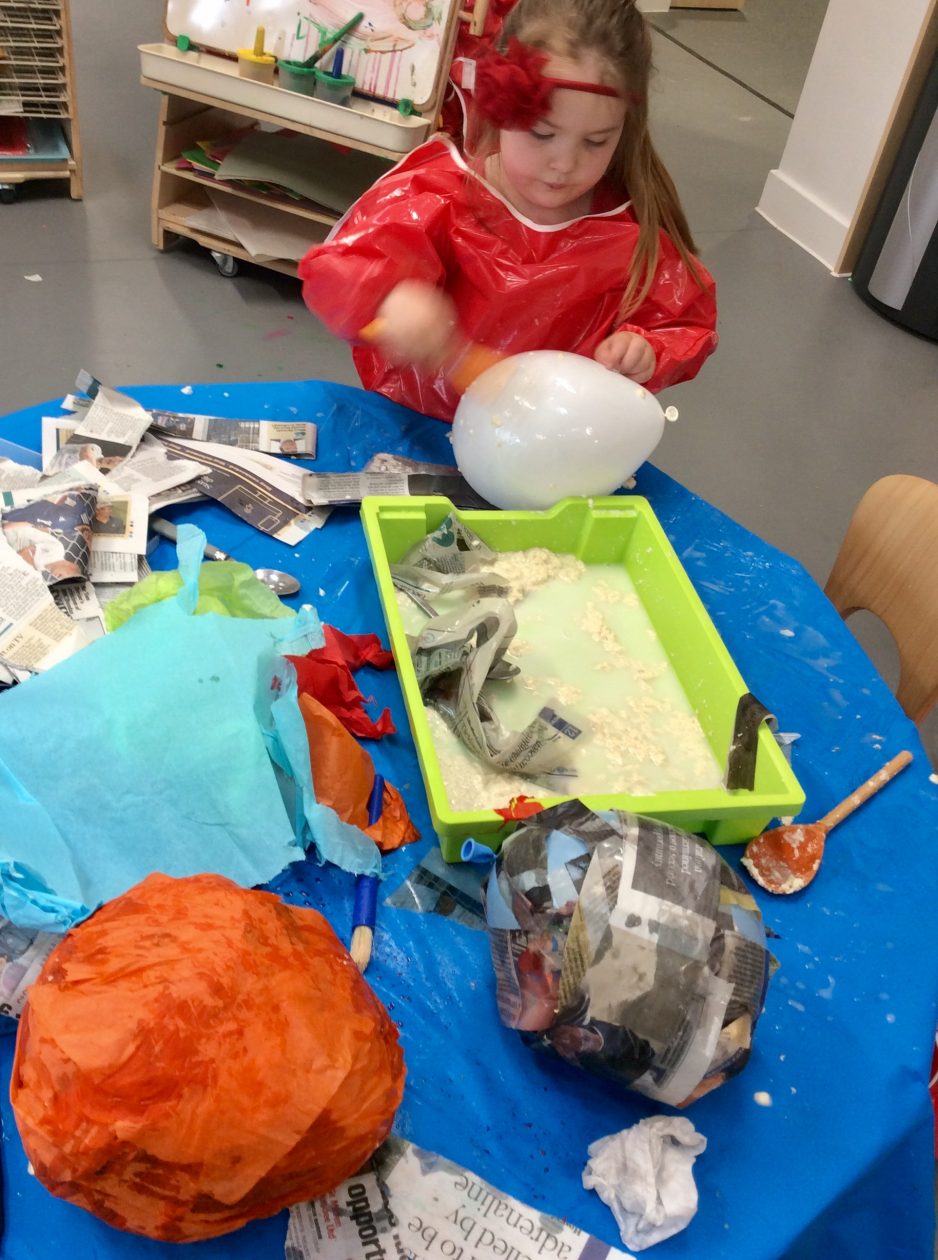
“I think that one looks like our planet – Earth.”
“This one looks like Mars and that one is the sun.”
“Rover is on Mars.”
“Craters are on the moon.”
Earth has “more water” than land.
“That’s a gas giant!”

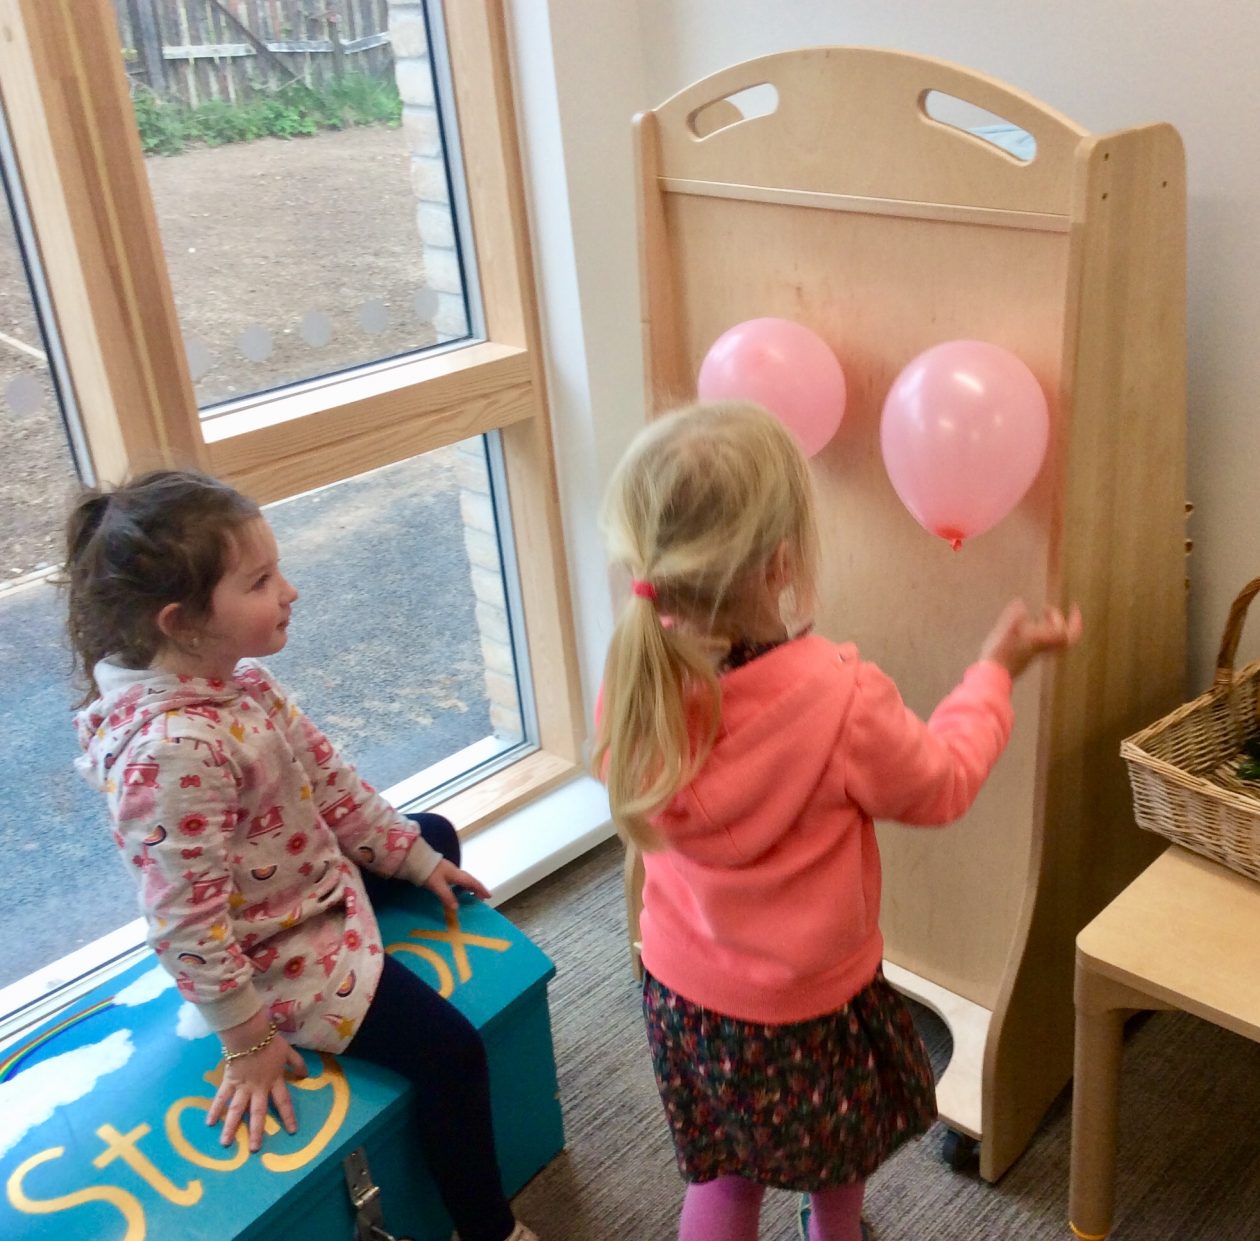
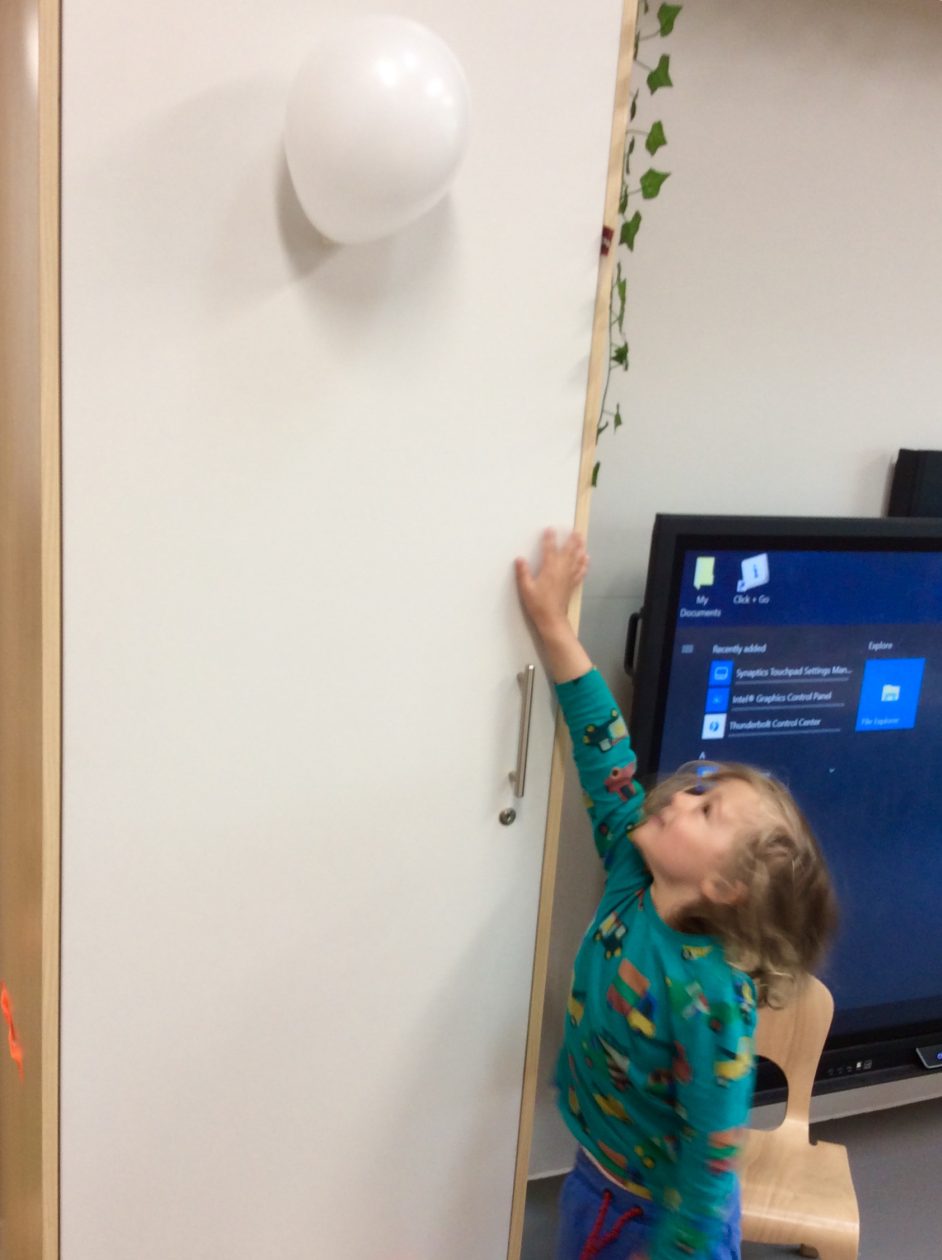
The children also began some other experiments with balloons and discovered static electricity when they found they could rub the balloons and make them stick to the walls.

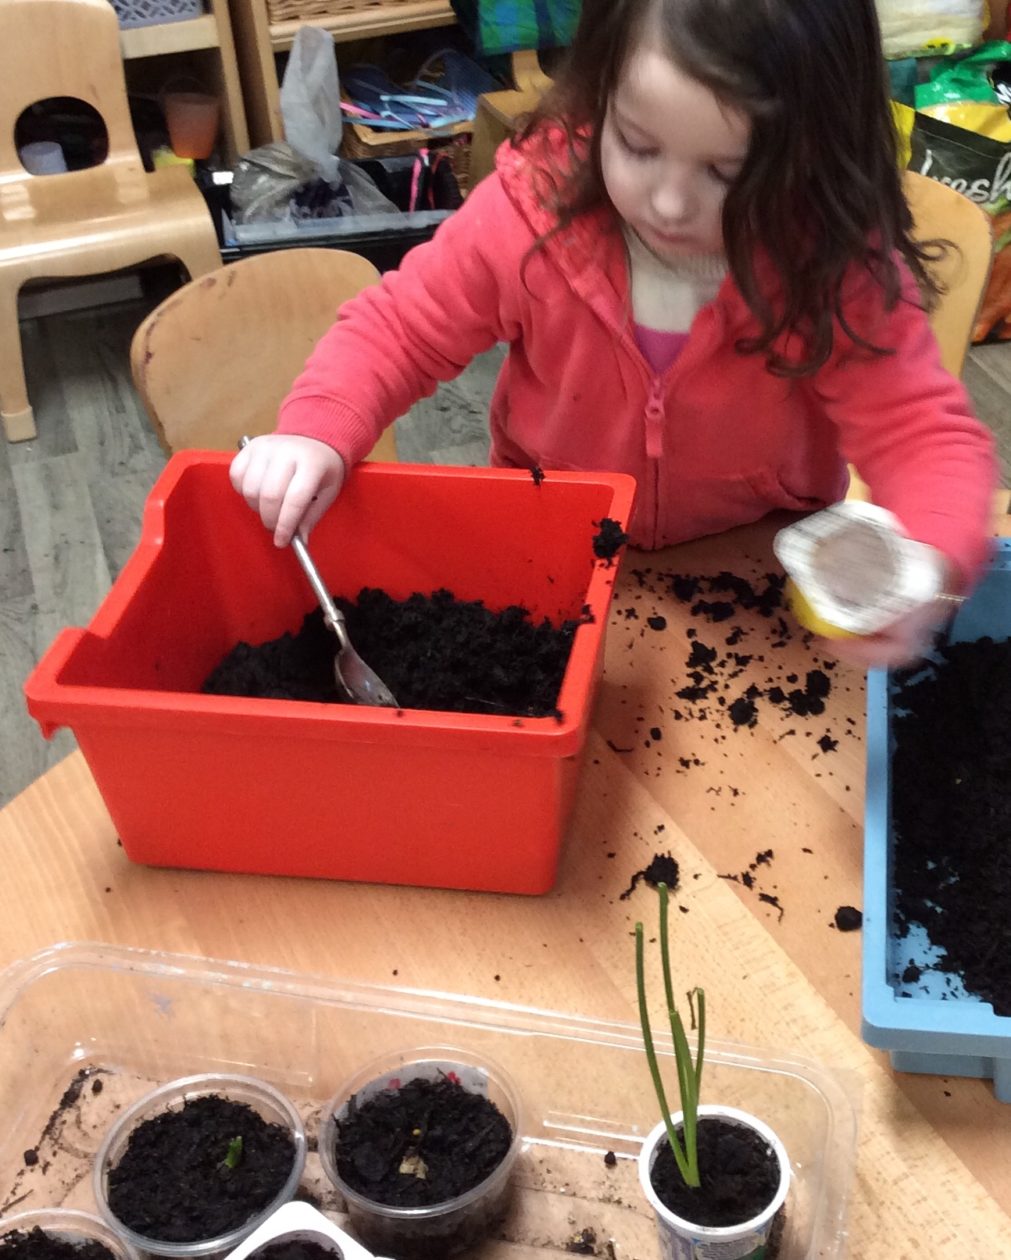
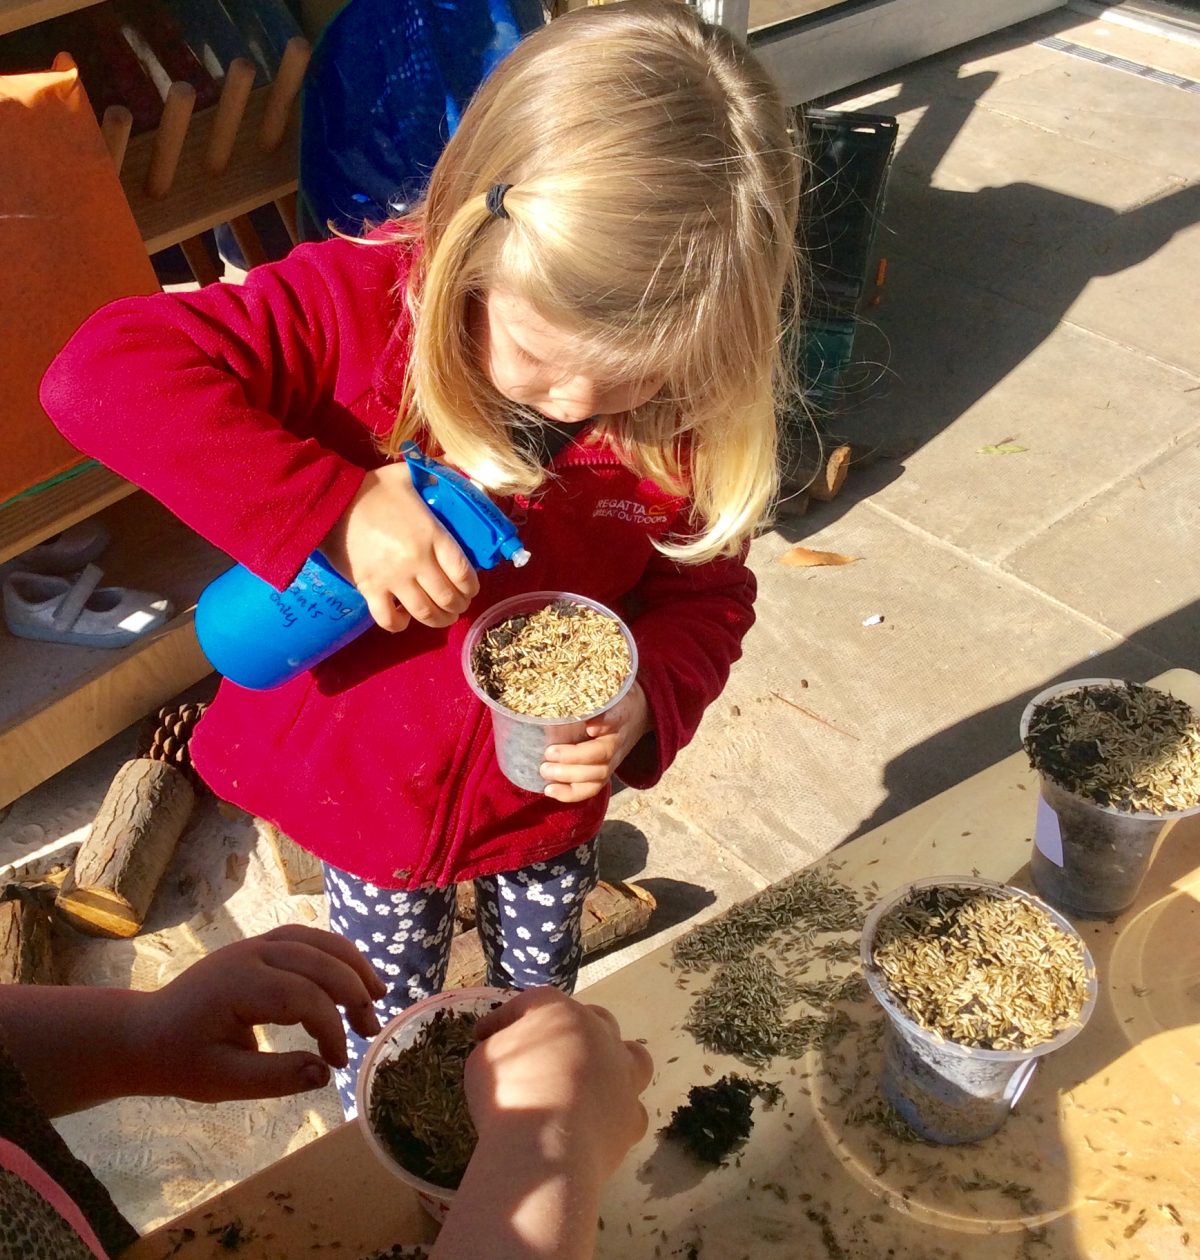
Planting and Growing

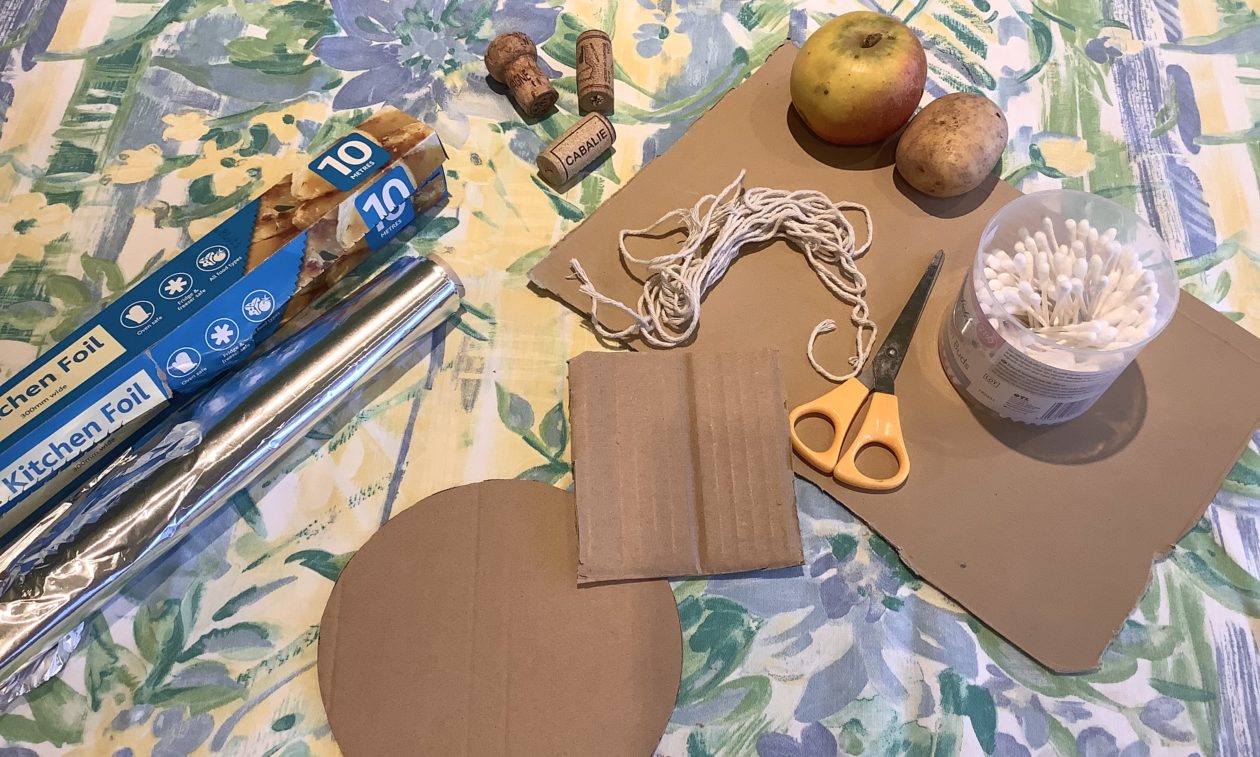
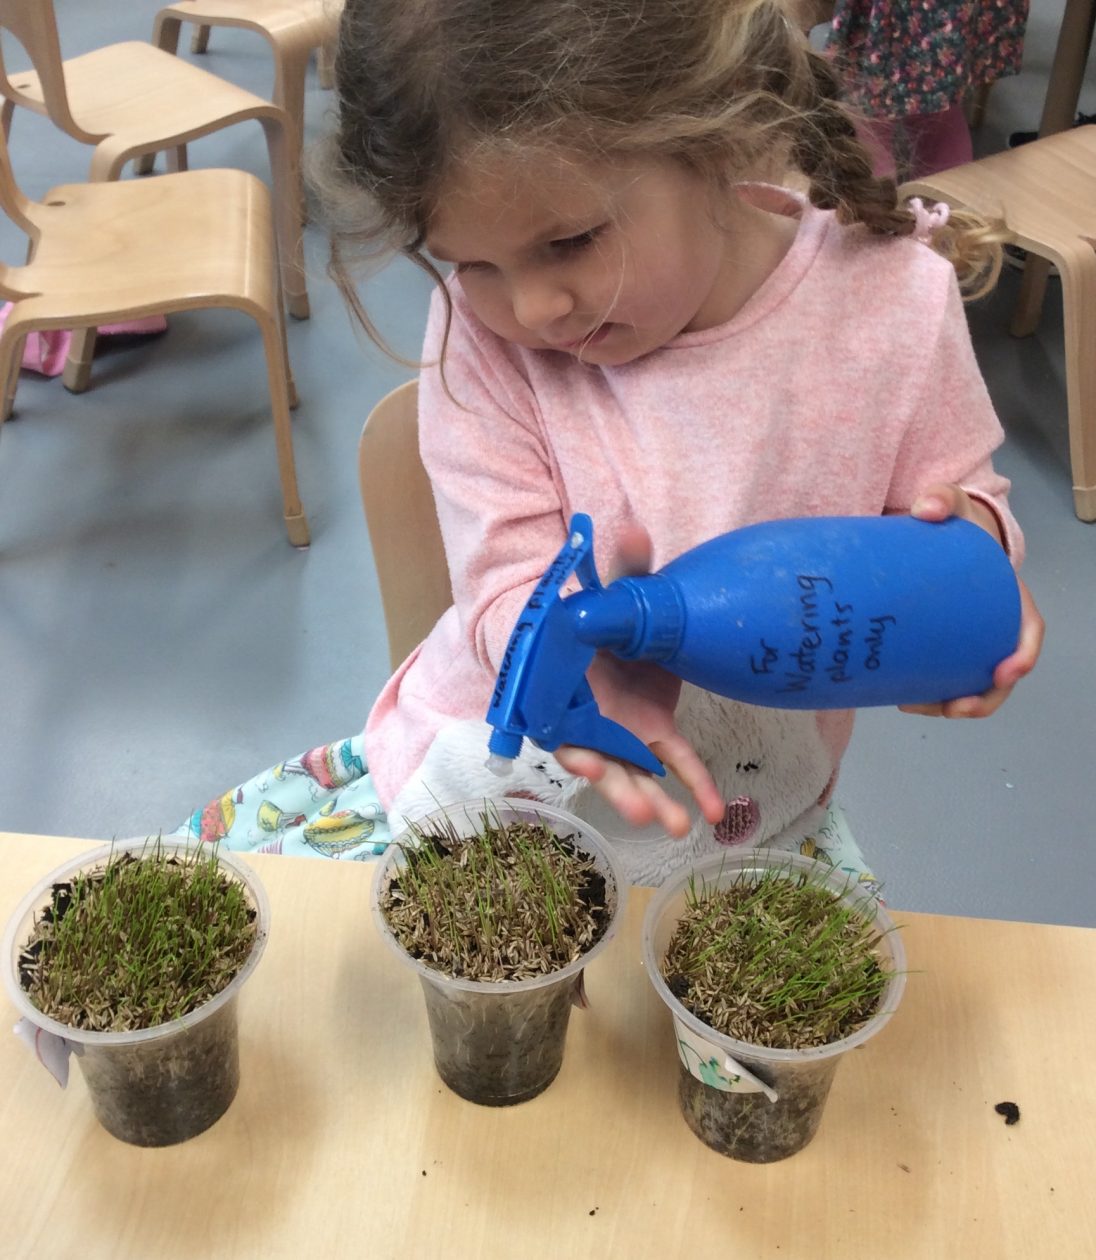
Mrs McInnes has been showing the children how to plant grass seeds to make Grass Heads, and they have been learning what a plant needs to grow.

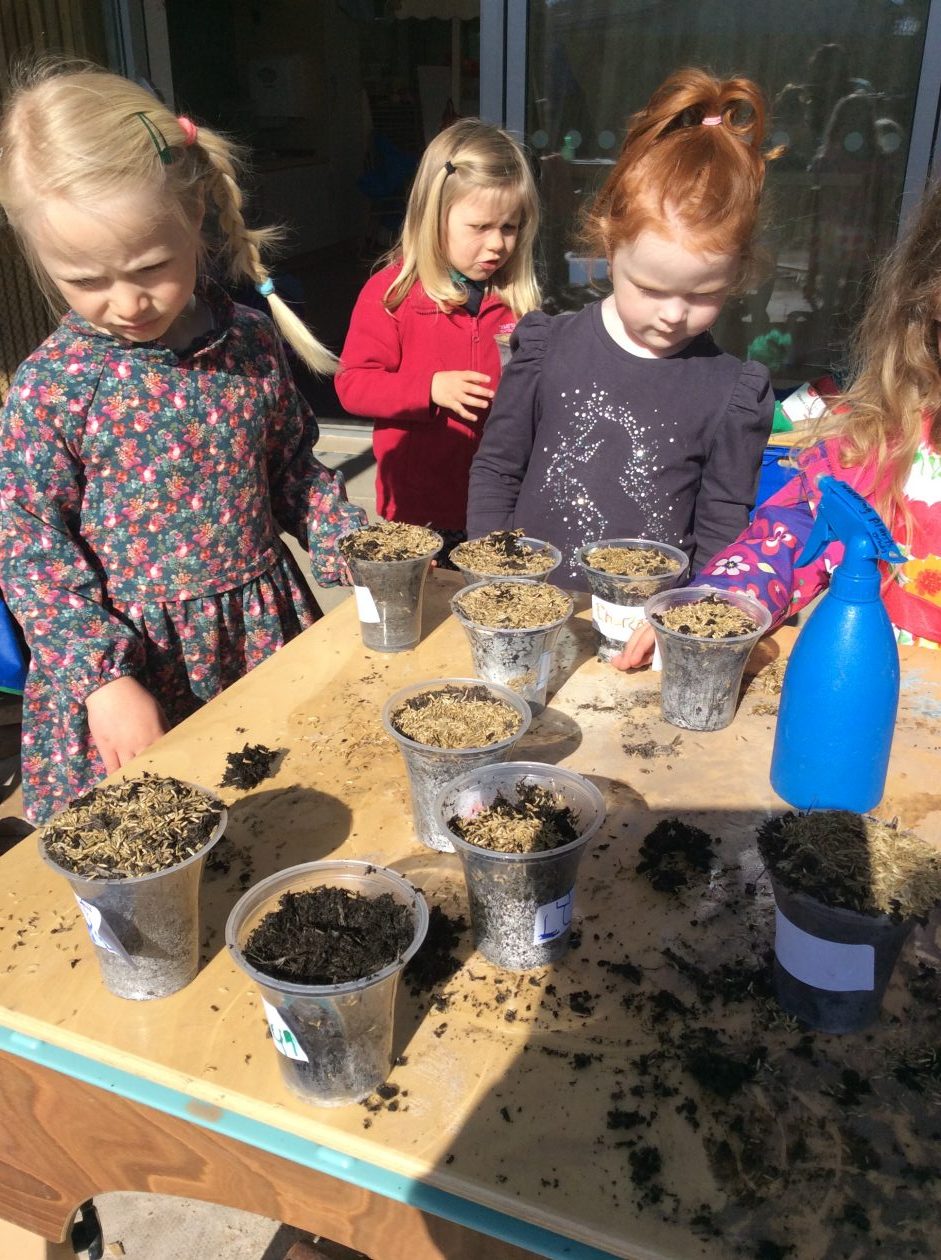
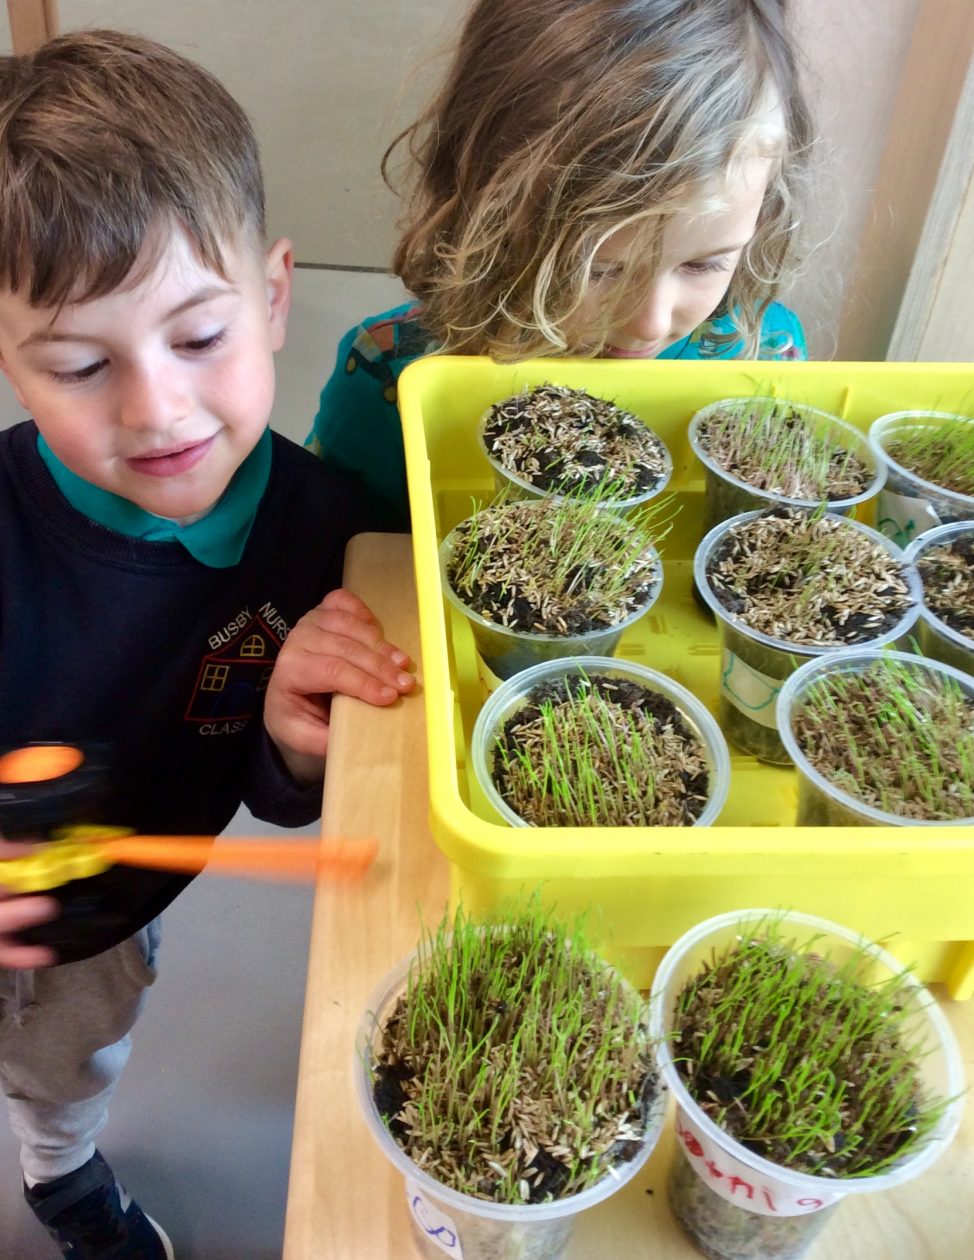
We have been carefully watering the plants for 2 weeks and look how quickly the grassy hair grew!


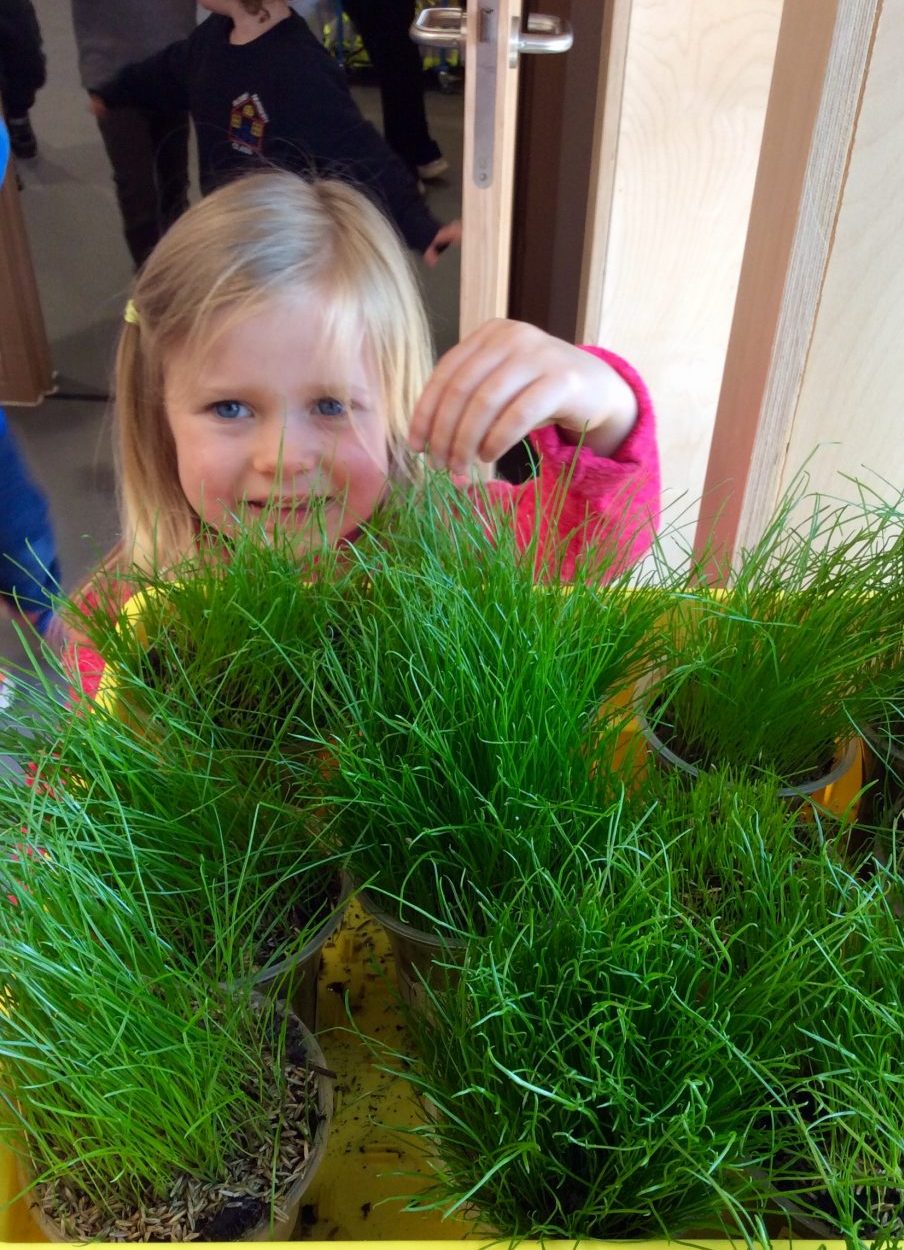
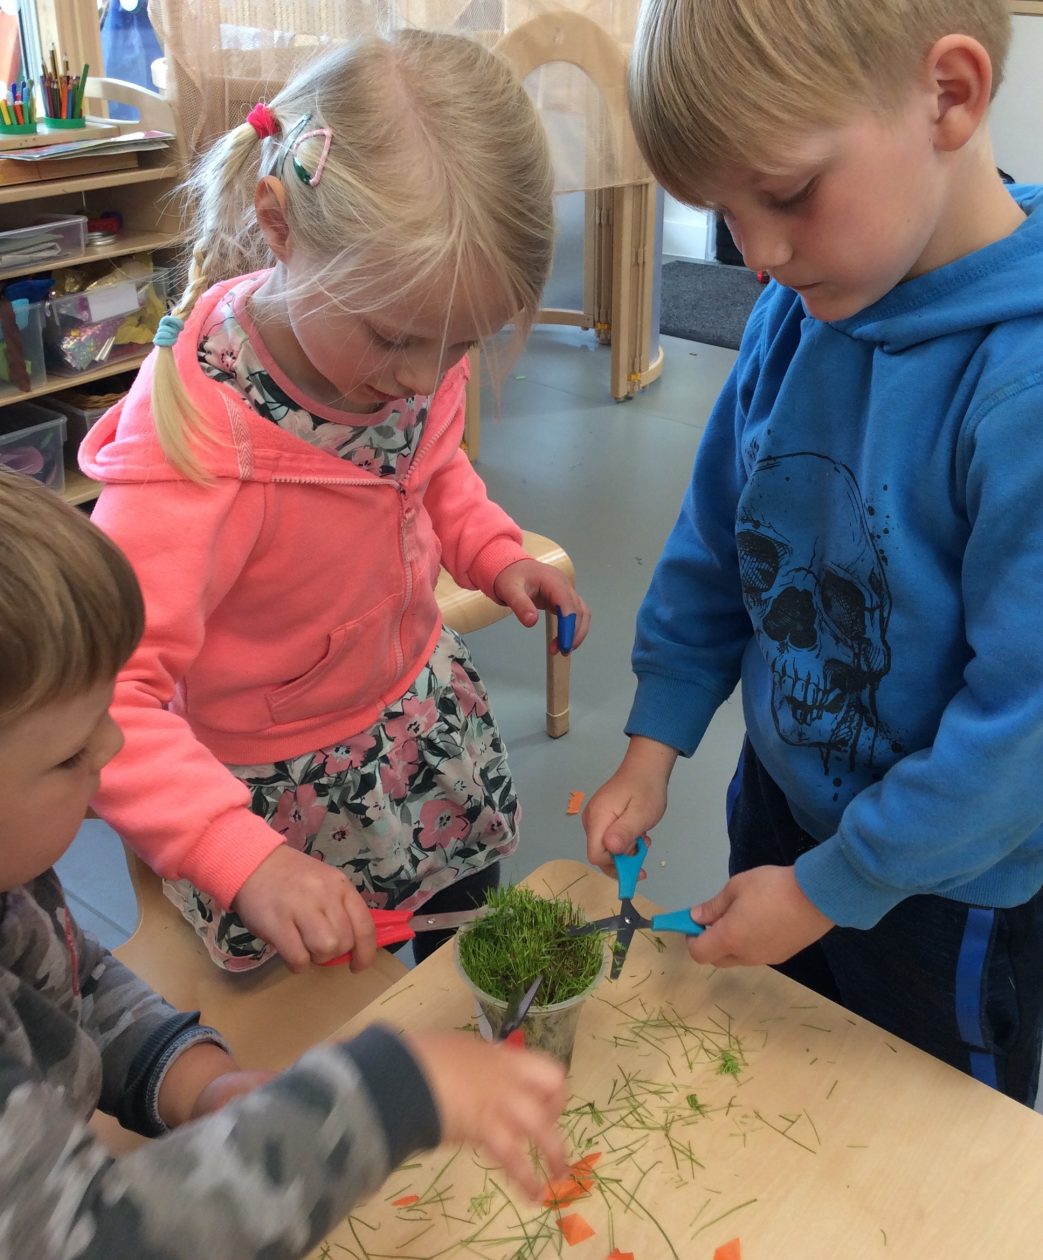
Time for a hair cut!

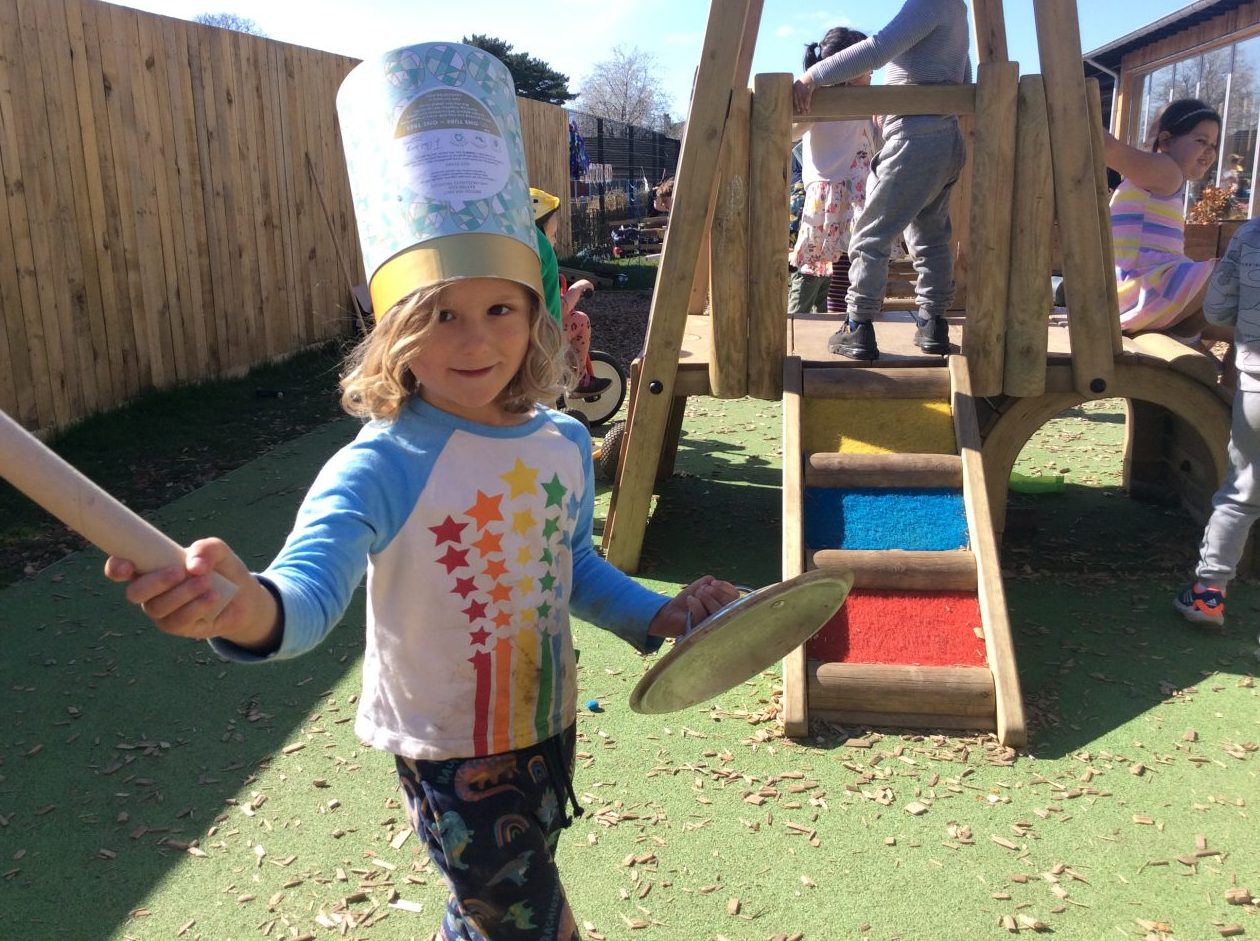
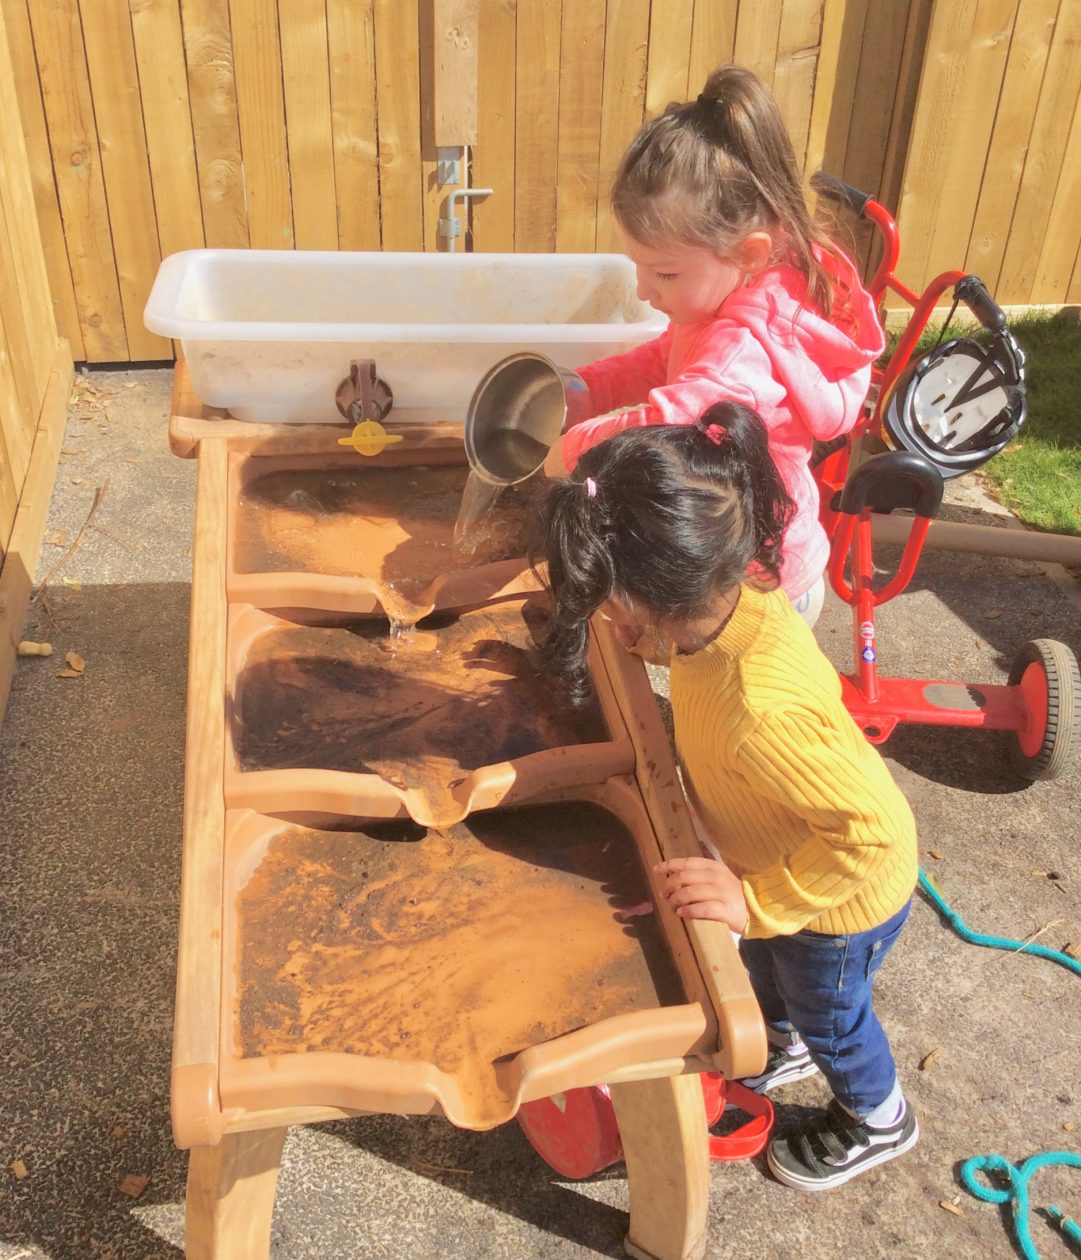
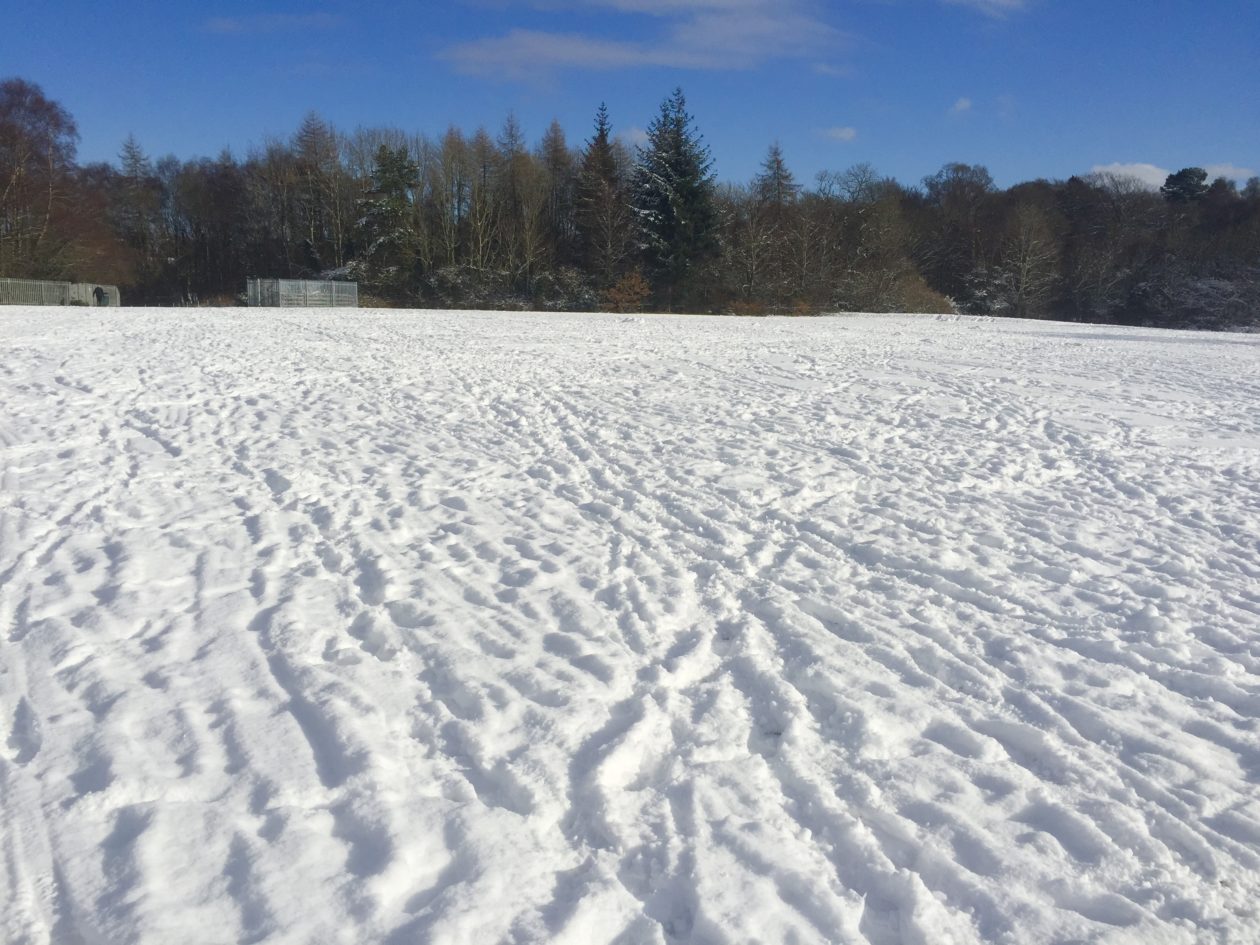
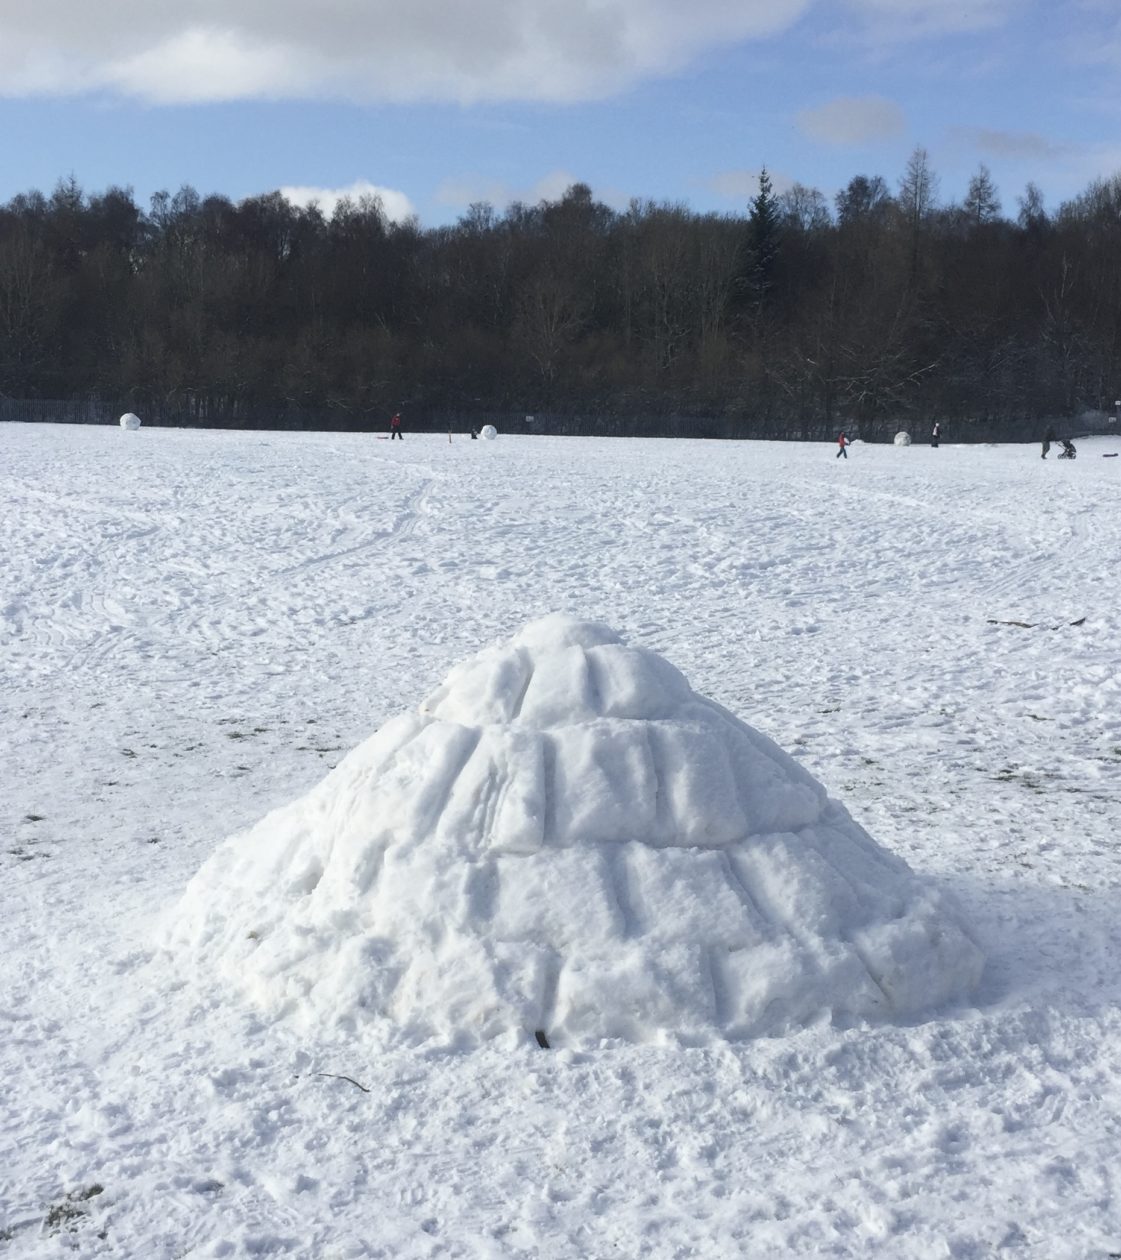
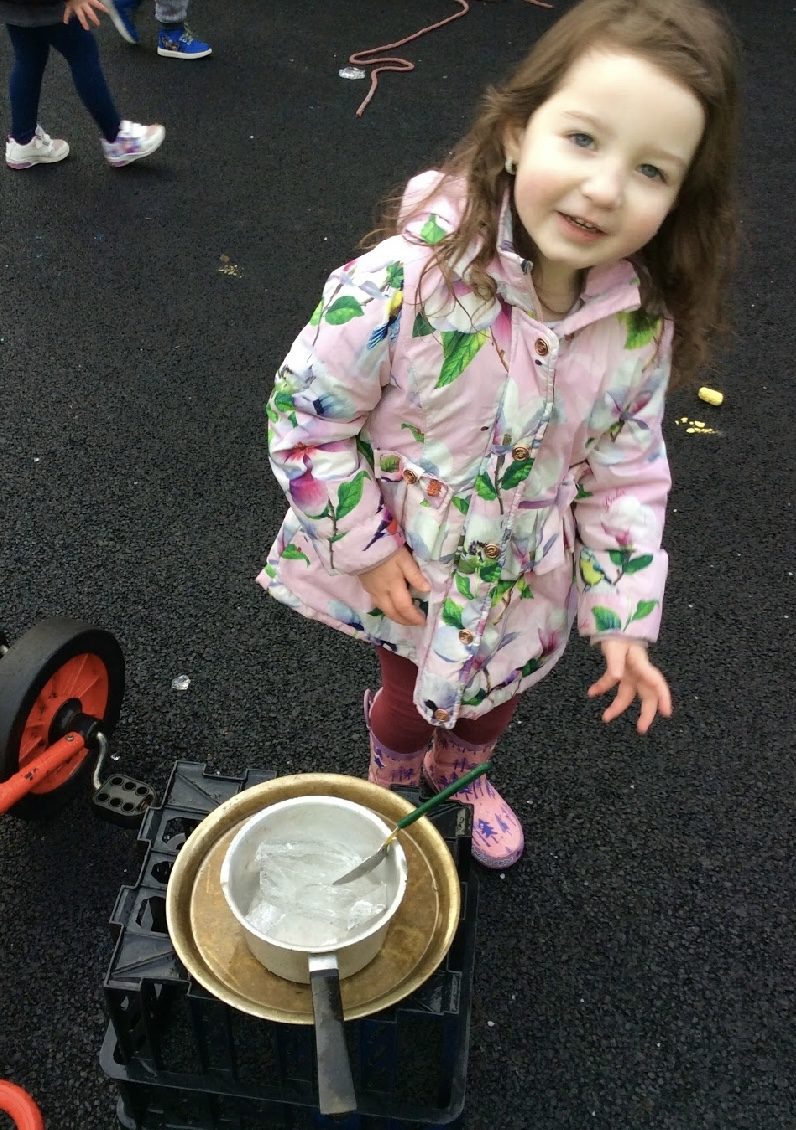
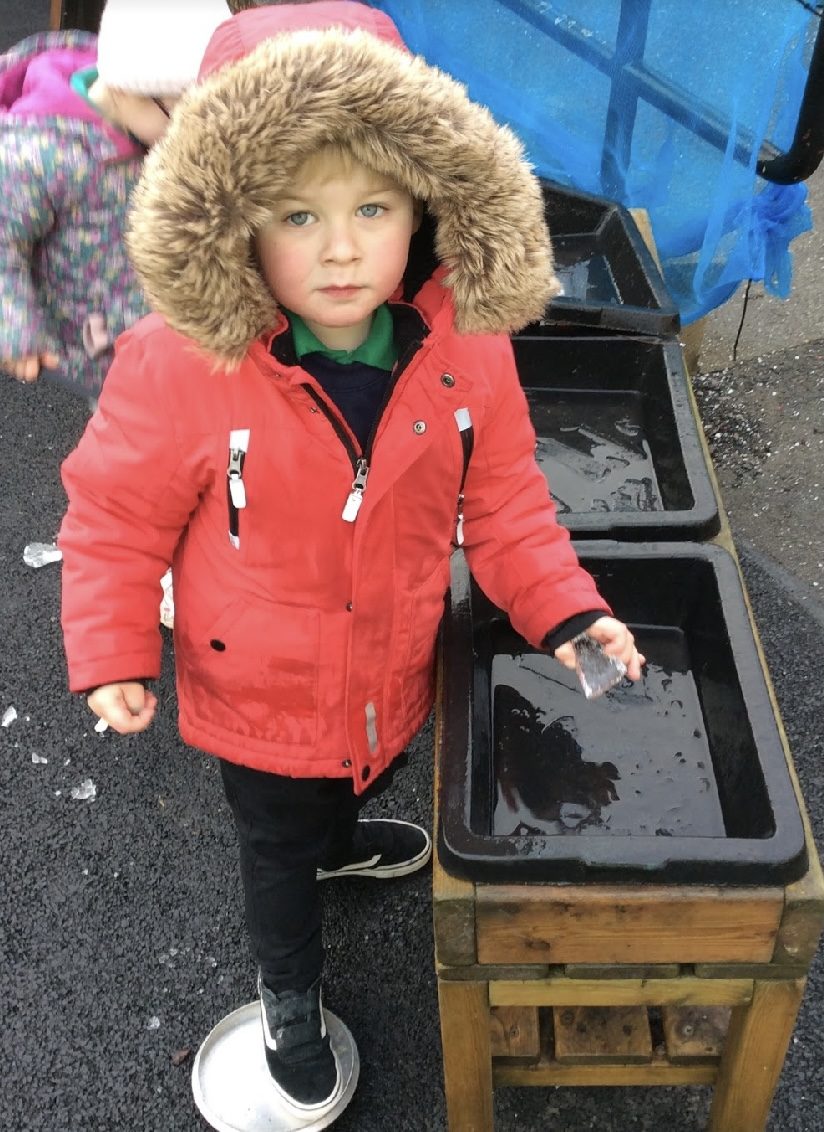
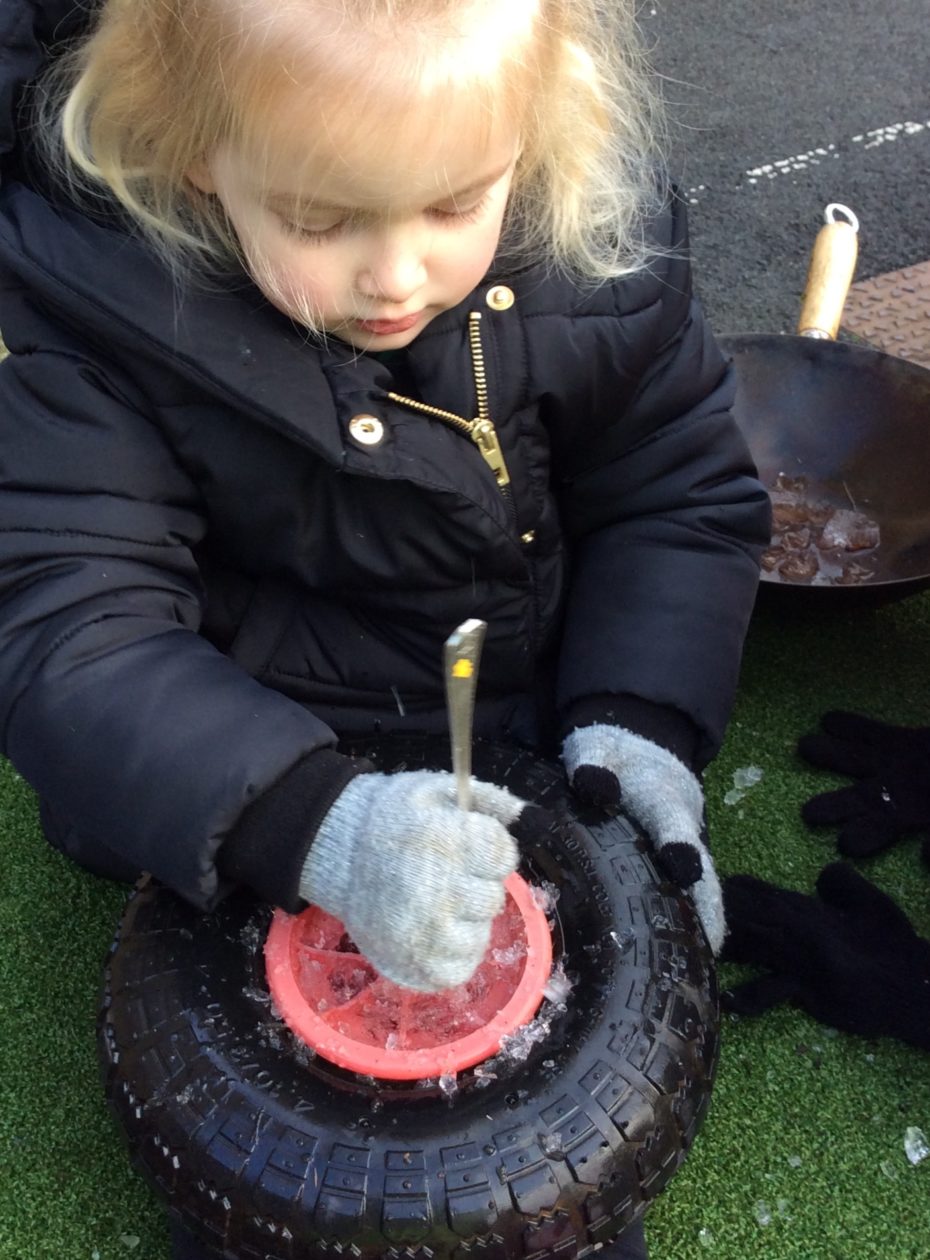
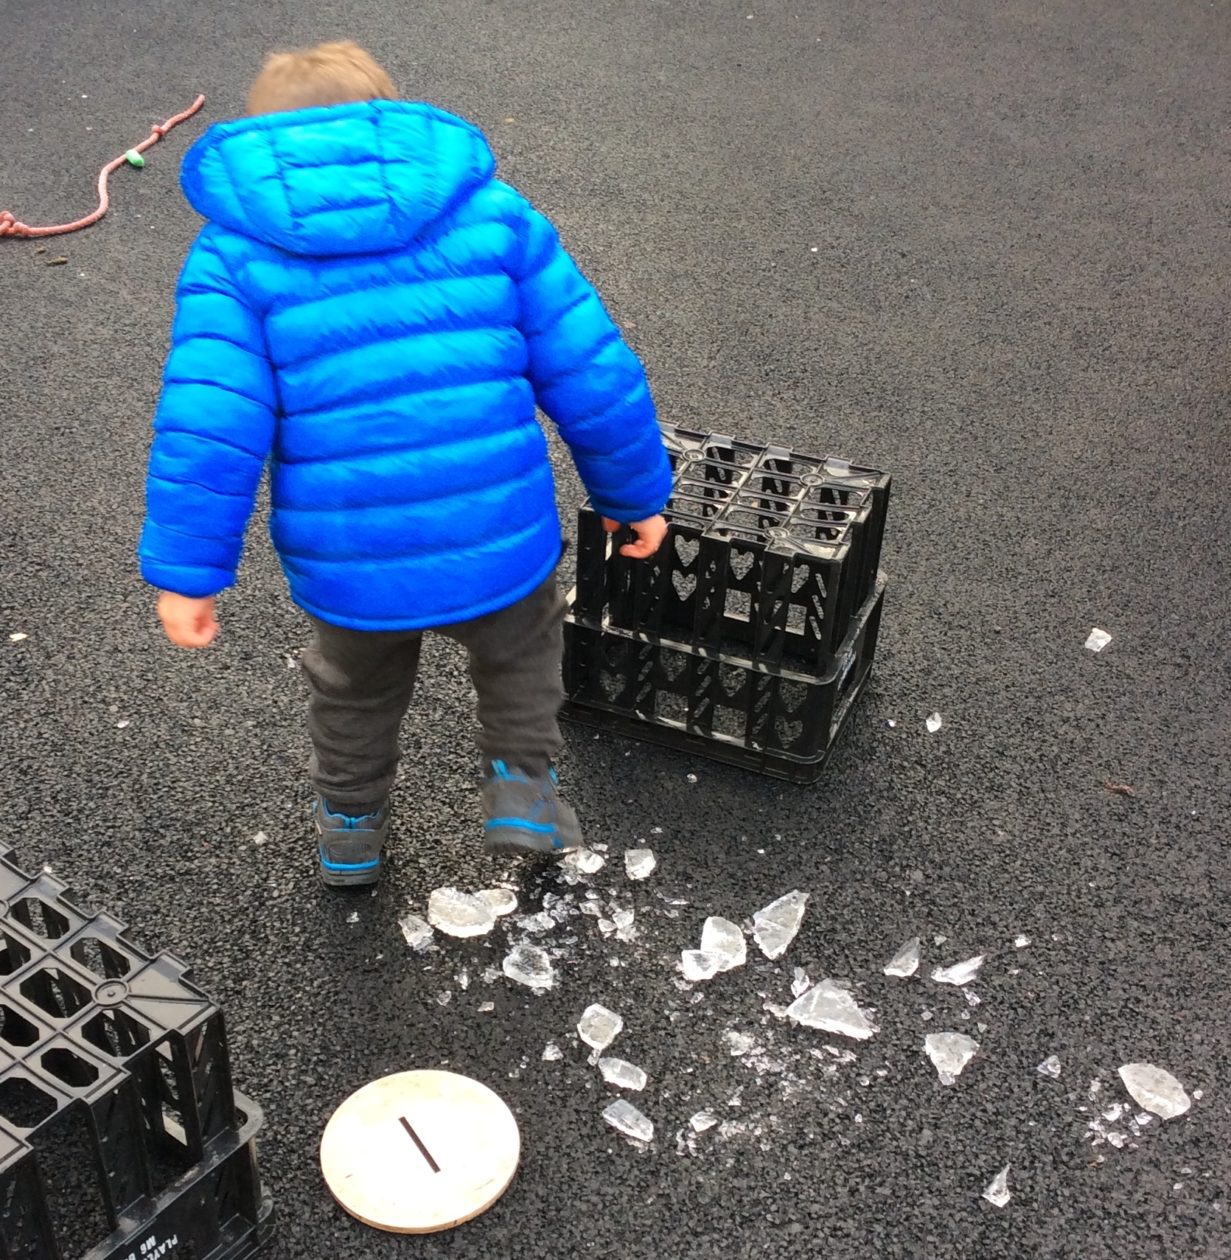
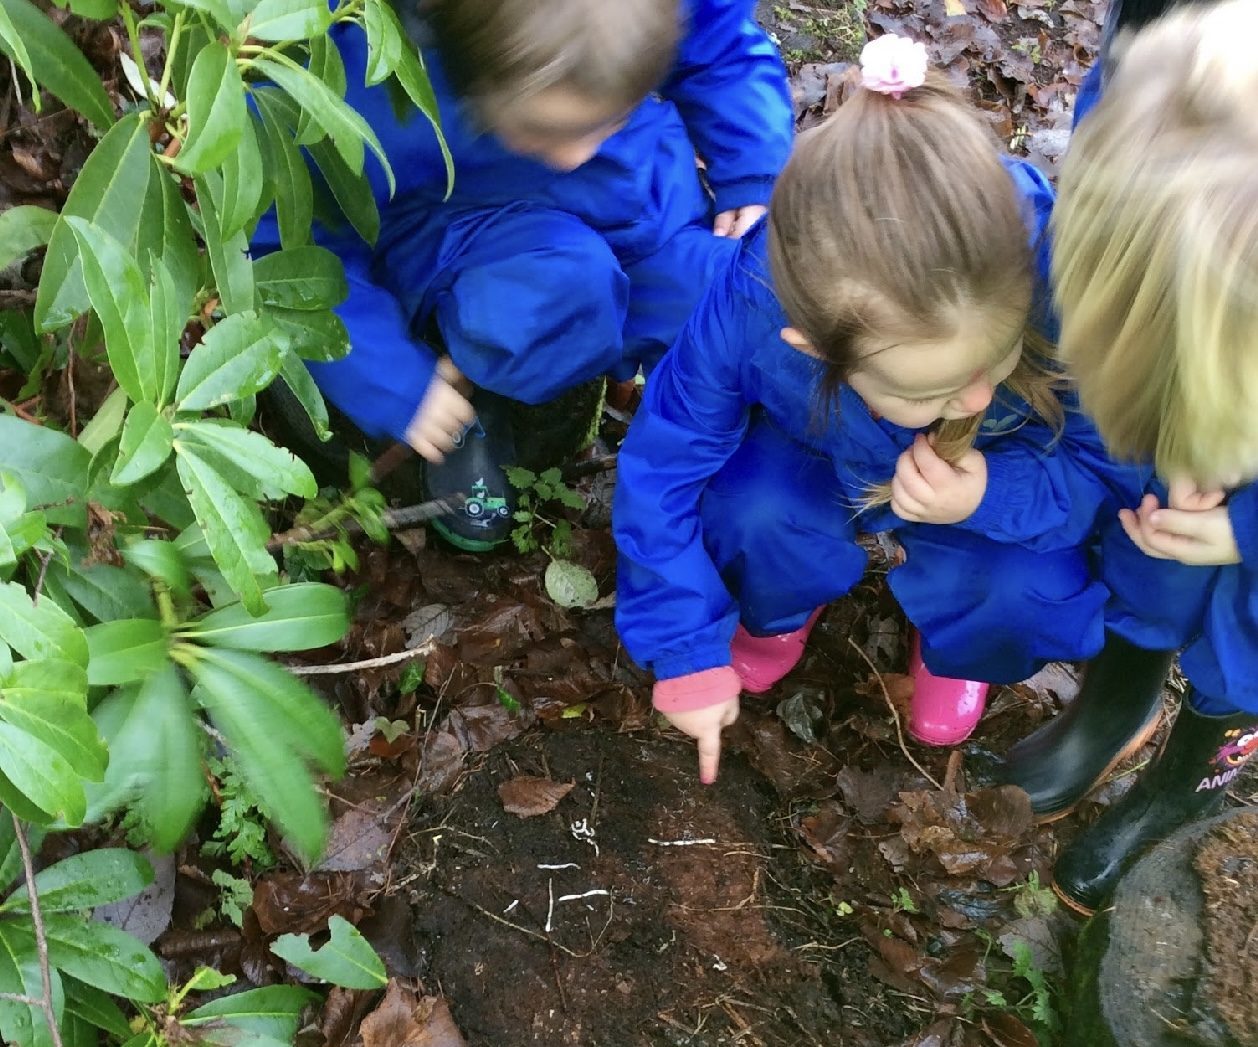
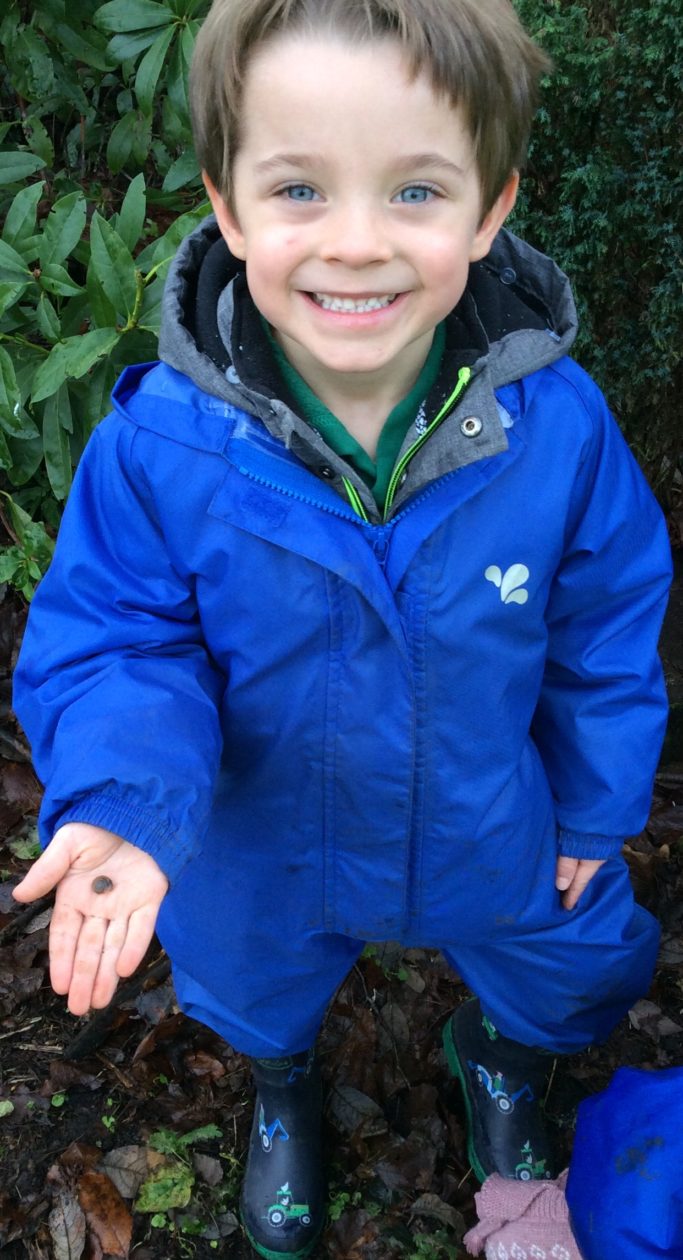
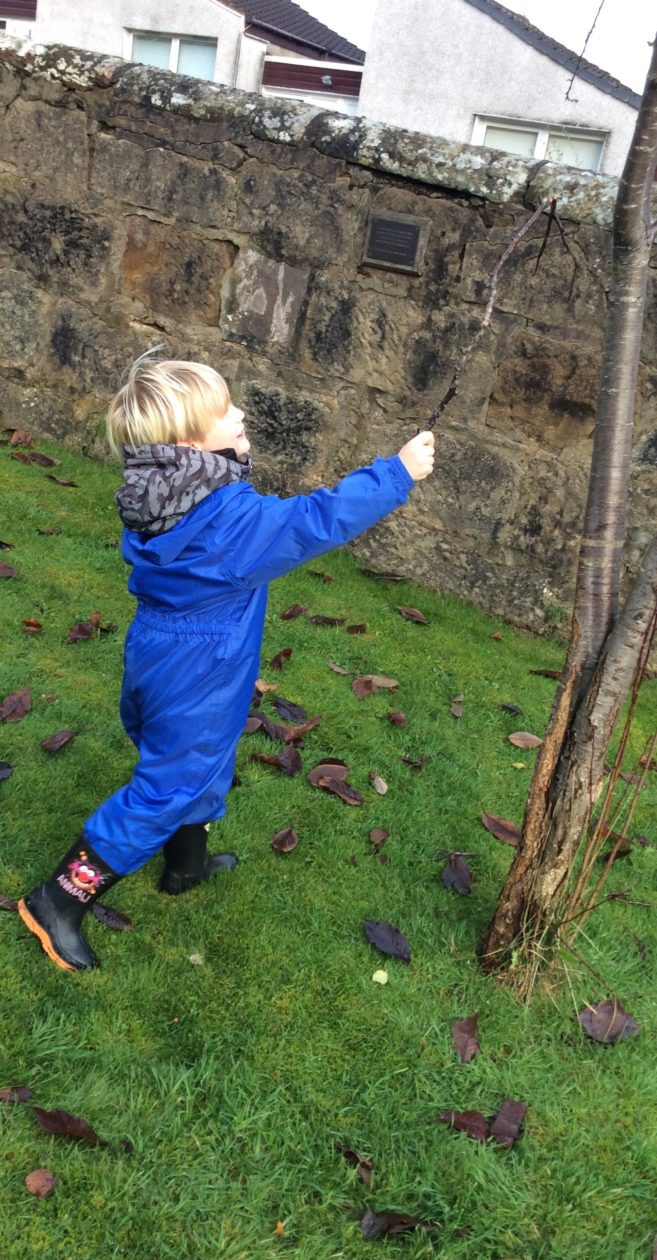
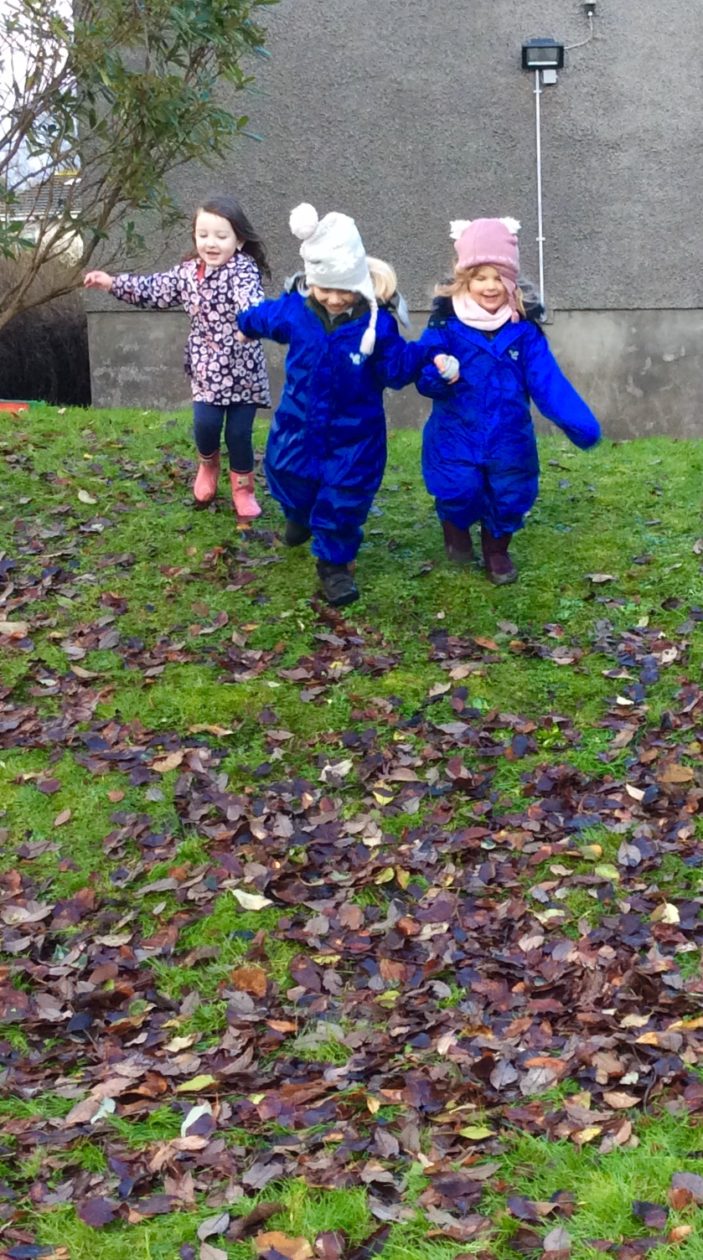
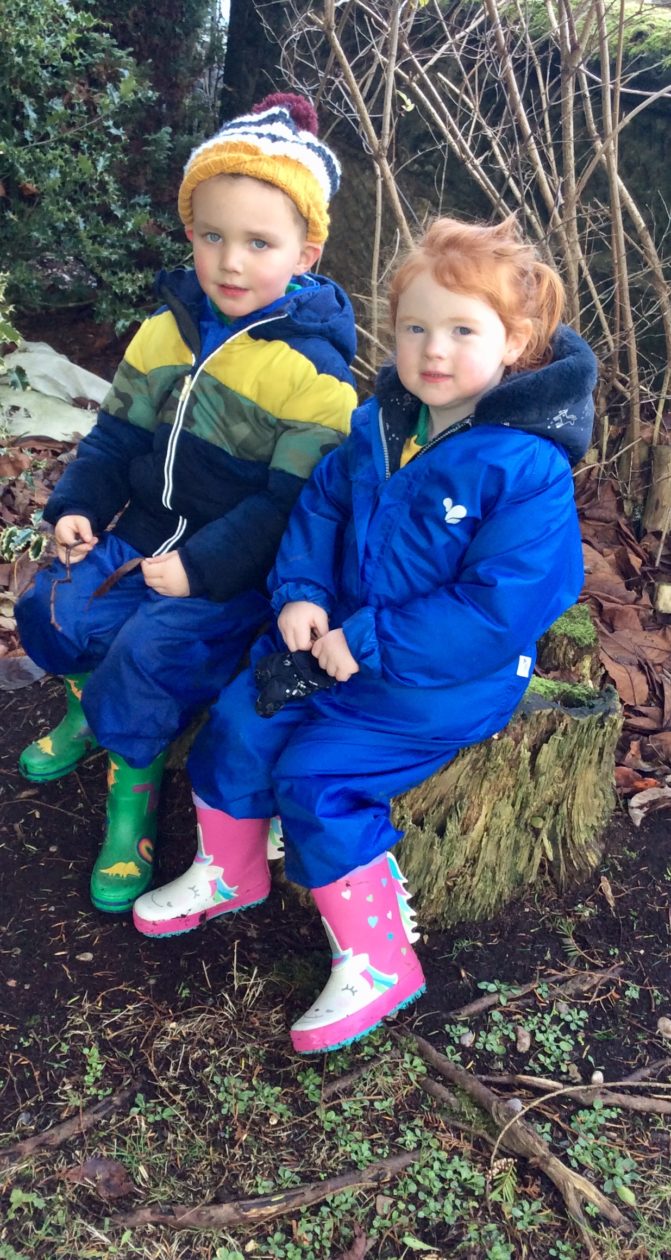
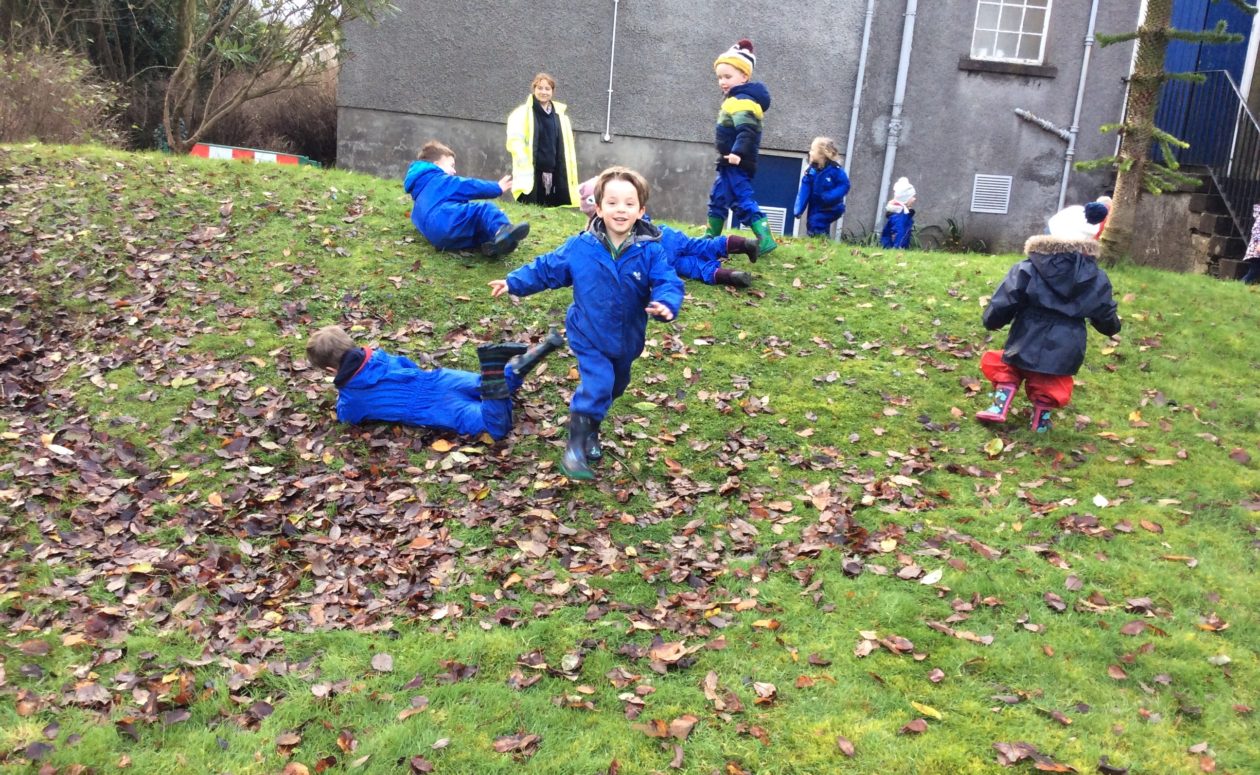
Some other outdoor fun in the sun!


Easter Treats!

Making Easter Nests

The children in the yellow and pink group have been learning and talking about nests. We decided that we would make our own easter egg nests!

We all took turns melting the chocolate, mixing the chocolate and the rice krispies together in a bowl! We learned how to scrape the mixture into our cupcake cases by using two spoons and we all did this using our hand eye co-ordination!

‘1,2,3 eggs’

‘We used mini eggs and chocolate rice krispies’

‘We put chocolate and cereal in our nests’

‘I can’t wait to eat mine when I go home!’

‘It smells so nice!’

‘The chocolate was soft and then it went hard!’

We then counted out 3 mini eggs and placed them on our nest! Lastly, we found our plastic bag and picked the one that had our name on it and put our Easter nests in it ready  for us to take home for the Easter holidays!

We all wish the children and their families a very Happy Easter 2021 and we are looking forward to welcoming you back on the 19th April. Happy Holidays!

Exploring Eggs and Nests 🐣

Plenty of eggs exploration has been going on this week…
The children have been learning about how birds are making nests at this time of year and will soon be laying eggs. They have been creating their own clay eggs and various Easter designs.

Eggs Role Play and Exploring  Properties & Materials
“This is Bird World!”

“This egg is light and this one’s very heavy.”
“It’s made of stone.” “This one’s made of rock.”
“This one rattles.” “That’s metal.”
“That’s a rooster. Don’t put him in the pond – roosters can’t swim, but ducks can swim ‘cos they’re waterproof.”

“These are the baby birds saying “We’re hungry!”


Birds & Block Play:
“Look, we’ve built this for them. This is the tree bird (green), this is the water bird (blue) and this is the lava bird (orange).”

Later we made birds’ nests using twigs, ivy, moss, fern, leaves and feathers. Great snipping and fine motor skills!

“I like the smell of that” (ferns)
“Maybe we should go outside and put these out for the birds. It should be up a tree so we need a ladder. We need feathers as well…”

Making Eggs with Clay Modelling

Painting the Clay Eggs

Printing Marbled Eggs
The children squeezed shaving foam, then added marbling inks to create a marbled pattern on egg shapes.


Designing individual Easter Cards


Eggs exploration and squidgy colour gel beads in the water tray


 More Nest-making and an Egg matching game. 

Have a very Happy Easter and Spring Break, everyone!


Warm Pancakes and Warm Hands… 🥞🧤

There’s still lots going on for you in Google Classrooms.
This week Miss Lawson has posted a second Virtual Nursery, where you can choose from a variety of fun learning experiences, including stories and cutting out newspaper letters.

In addition there are some recipes and demonstrations from your Key Workers on making pancakes this Shrove Tuesday:

And for more fun making things, if you want to keep your fingers toasty in cold weather, in Google Classrooms you can also watch Mrs Toman‘s Skills Academy video on how to create Hand Warmers using  some old socks and rice,


Slimy, Bumpy, Sticky Sensory!

If you fancy some sensory & science exploration at home, why not try out one of these fun ideas from Miss Hampton, Miss MacFarlane, Miss Henderson, Mrs Krivickiene & Mrs McInnes!
1. MAKING GLOOP with Miss Hampton:
One way we can explore our senses is by making gloop. You’ll need:
2 x cups of cornflour
1 x cup of water
2 drops of food colouring (optional)
In this video Miss Hampton demonstrates what to do:


How does the gloop feel? Is it a solid or a liquid?
The great thing about gloop is it can be both. There are lots of ways to explore gloop. Did you know that cornflour is made of lots of long stringy particles and when the water is added they don’t dissolve, they just spread out? When you roll it in your hands the particles join together and it becomes solid, but if you hold it up and let it dribble it becomes a liquid.


2. MAKING PLAY SNOW with Miss Henderson:
If your fingers are getting cold from the snow outside you could make some non-melting play snow of your own.
All you will need is:
 Cornstarch
Hair Conditioner (white conditioner works best)

Mix the ingredients together to form a smooth dough. If it’s too sticky, add more cornstarch. If it’s too crumbly add more conditioner. Think about the textures and the smells as you make the dough. Is it cold or warm? Is it smooth or sticky? Hard or soft? Has the conditioner made it smell like coconut, fruit or flowers?
Another way to explore our senses and science is:
3. MAKING SNOW SLIME with Miss MacFarlane

For this you will need:
1 cup of white glue
2 cups of shaving foam cream
1/2 tbsp of baking soda
1 table spoon of contact lens solution (it must contain boric acid!) 

Put the cup of white glue in a bowl and mix in the shaving cream, then stir until well combined. Add in the baking soda and stir. Slowly add 1 tablespoon of contact lens solution until a slime has formed. Once the glue starts sticking to the spoon that’s when you knead it with your hands until you are happy with the consistency!
And there you have made your own snow slime!
Use your senses to explore the slime:
What words can you use to describe how the slime feels?
Can you think of any words to describe its smell?
Can you think of words to describe how it looks?
Does it make any sounds?   Why don’t you use different materials & tools to investigate what different sounds it makes? Go around your house and find different things to poke your slime with!


4. Make a SENSORY WRITING PLATE  like Mrs Krivickiene for practising your letter/number writing and at the same time explore your sense of touch.
You’ll just need a plate, any dry grains you have in your cupboard (rice, lentils, couscous, etc). Feel the grains and then write or draw in them with your finger or any kind of stick.
(If you want to avoid too much hoovering afterwards, you can do it outside, or cover the plate in cling film first.)

5. Mrs Krivickiene has  also been making a SENSORY JAR, using water, oil and a drop of food colouring. 

This is a great experience if you want to have a mindful break and look at something extremely mesmerising. Besides, there is true science behind it. Water and oil have different molecule structure (molecules are the tiny building blocks of everything you see around.) This means that water and oil won’t mix.

First,  pour some baby oil into a glass  jar or bottle. Then add some water coloured with a little food dye and close the lid tightly. Watch the effects as you gently tip and jiggle you jar…

6. As if that wasn’t all enough, in Google Classrooms this week you can also watch Mrs McInnes use all of her 5 senses as she dissects and investigates an onion!

The Wonder of Snow ❄️


Hello everyone,
This week we are focusing on Sensory Play and Fine Motor Skills.
We have been given a free gift of one of the best sensory experiences ever – SNOW – and lots of it!

What have you been doing with this sparkly new toy?

If you are building snow people or an igloo, or rolling giant snowballs or sledging, these are all great for your gross motor skills like strength and co-ordination, as well as your creativity. Drawing or writing your name in snow is also really good for your fine motor skills.

And we can use all our 5 Senses to enjoy the wonders of snow.
For example can you –
See the snow sparkling in sunlight, like millions of tiny diamonds?
Hear the “crunch crunch” sound as you stomp through the snow?
Feel snow with your hands, feet, cheeks?
Smell the freshness in the air?
– Catch a snowflake on your tongue – how  does it Taste?
What do you notice about the snow?
Snow has many different forms:
When is falls, is it light or heavy?
What about when it is rolled into a giant snowball?
And when it melts, what is it like then?
What colour are snow shadows?

Have fun investigating and playing in the snow!


Let’s Get Crafty!

Here are a few ideas of fun ways to get creative, using some household objects you may have lying around:

PASTA ART with Miss Hampton
“Today I felt creative, so I thought I’d share my idea to see if any of you wanted to be a creative designer. All you need is pasta! I have attached some of my creations, plus a masterpiece I found online, to inspire your creative juices. There are lots of ways you can be creative with your pasta. I used a glue and some colouring pens to make a flower, but don’t worry if you don’t have these things because the great thing about not using glue is that you can make something different every time by rearranging the pasta into different patterns or shapes.”


Make a flower, a boat, a face… whatever you can think of!

PRINTING with STRING and FOIL with Mrs MacLeod
☀️ 🌤 🌦 🌧 🌨 ❄️ ☃️
“We’ve  had all sorts of weather recently – rain, snow, ice, frost, sleet, sunshine and rain. Today I tried printing some weather pictures with different objects. Perhaps you would like to try printing patterns too. These are some items you could use to print with: corks, fruit or vegetables cut in half (ask an adult to help cut), string, old cardboard, tin foil, cotton buds – plus some paint.

Watch these quick videos if you’d like to see how to try foil printing and string printing.

You can use the same technique, wrapping string around a square of card then painting  it blue to print rain next to your sunshine. You might also use a cork, dipped in white paint, or cotton wool balls or buds to print snow falling.

Have fun getting crafty!


⭐️ Shining Stars ⭐️

In Arran the children have been getting into the Christmas spirit – role-playing and hammering in the elves’ workshop, potting their hyacinths in silver pots, creating seasonal artwork, using clay to design decorations of their choice, counting penguins, making cards, calendars, lanterns and much more…
What a busy bunch!
Outdoors we have been exploring the properties of ice and enjoying frosty walks to Busby church gardens.
Role Play: “It’s a polar landscape.”

Literacy: In the Story Box,  The Gruffalo’s Child has been very popular, with the children keen to act out the story and make up their own versions using the props for character and setting.
Stick Man has been another seasonal favourite story to explore.

We also read Little Owl and the Christmas Star and looked at different types of stars, before the children designed their own.

Rolling, moulding, cutting, imprinting: the Red, Yellow & Pink groups experimented with clay and water to create stars, snowmen and other decorations,  using beads and various implements to make patterns, then metallic paints with varnish to finish them off.


“I’m going to make mine so pretty!”


The children were very proud of their different shining stars. We hope you enjoy hanging them on your tree or around the house!

Science: Planting & Growing: We have been watching the hyacinth bulbs that we planted start to grow. The children repotted them in silver pots for you and hope you enjoy the flowers later at home.

Science: Watch us mixing up fake snow using baking soda and hair conditioner…

Science: Ice Experiments: nature has kindly provided us with lots of thick ice shapes to investigate and experiment with.


Outdoors the children had great fun rolling down hills and investigating bugs found under logs

“I want to hold the wood louse… we have to be gentle. I’m going to put him back.” “Look, black beetles!” “A centipede!”

We have been gradually adding to our Kindness/ Christmas Tree with snowflake decorations, sunshine sticks and kind deeds.

“Share my lego with friends.”  “I helped with lunch.”

Making lanterns to light up Busby


Numeracy: Christmas counting games


The children have also been offering ideas for a new nursery logo and then voting for their favourites to create a simple pictogram.


We’ve seen some fabulous Christmas outfits!

We wish a Merry Christmas to all our star children and their families!
We hope you have a very happy time together during the break.

Celebrating St Andrew’s Day!

St Andrew’s Day!

The pink and yellow group have been having lots of fun celebrating ‘St Andrew’s Day’.

We decided to make our playdough ‘blue’ and ‘white’ as we learned that ‘blue’ and ‘white’ are the colours of our Scotland flag.

We mixed, measured and kneaded the dough to make our Scottish play-dough!

We had lots of fun using our fine motor skills such as cutting, sticking and gluing to make our own Scottish kilts! The ‘pink‘ and ‘yellow’ group learned about tartan and that each kilt has different colours and patterns on it. We created our own patterns on our kilts!

Have a look…

The ‘pink’ and ‘yellow’ group also read the storybook  ‘The Gruffalo in Scots’ by Julia Donaldson and learned the Scottish way to say certain words like;

‘Moose’ – ‘Mouse’
‘Broon’ – ‘Brown’
‘Hae’ – ‘Have’
‘Whit’ – ‘What’
‘Lang’ – ‘Long’
‘Sherp’ – ‘Sharp’

We then ate porridge and potato scones for our snack!

“I have porridge for my breakfast!”
“I love porridge!”
“I live in Scotland”

We finished our exciting day by listening to the nursery rhyme ‘3 Craws Sat Upon a Wall’ and trying some Scottish dancing! We had lots of fun learning and celebrating St Andrew’s Day!

Health and Well-being with green and blue

For health and well-being week we have been discussing and learning all about our differences and similarities.

We have been reading “Elmer the Elephant“ which conveys the important message of being proud of who you are despite your differences. The children used the character puppets to act out the story as Mrs Branco read to them.

With a choice of a variety of different materials the children were able to create their own transient art elephants.

Some of the children also decorated an elephant picture to take home. Lots of glueing, sticking and colouring to help develop our fine motor skills.


Following on from Elmer the children listened to the story “All Kinds of People” , helping us to visualise the differences there are in people. They then used mirrors to assist in their self portraits, this opened up a dialogue between the children about hair colour, eye colour, height and skin tone etc.


We were able to express to our friends the things we liked about their pictures and the differences between us. Each picture was beautiful and unique just the same as us!