This morning we took part in the Hour of Code programme. Before we started we watched a video telling us just how important the world of coding is. Can you tell someone at home all about it? You could even show them the video. Click the link below if you want to watch the video again.
Once we watched our introductory video it was time to take part in some Star Wars themed coding. What fun everyone had …… even at the tricky parts! We found that we had to read the instructions very carefully to ensure we used the correct code for each level or it wouldn’t work properly. Even I had a wee go with some of you and managed it!
Have a look at our photographs from today’s session.
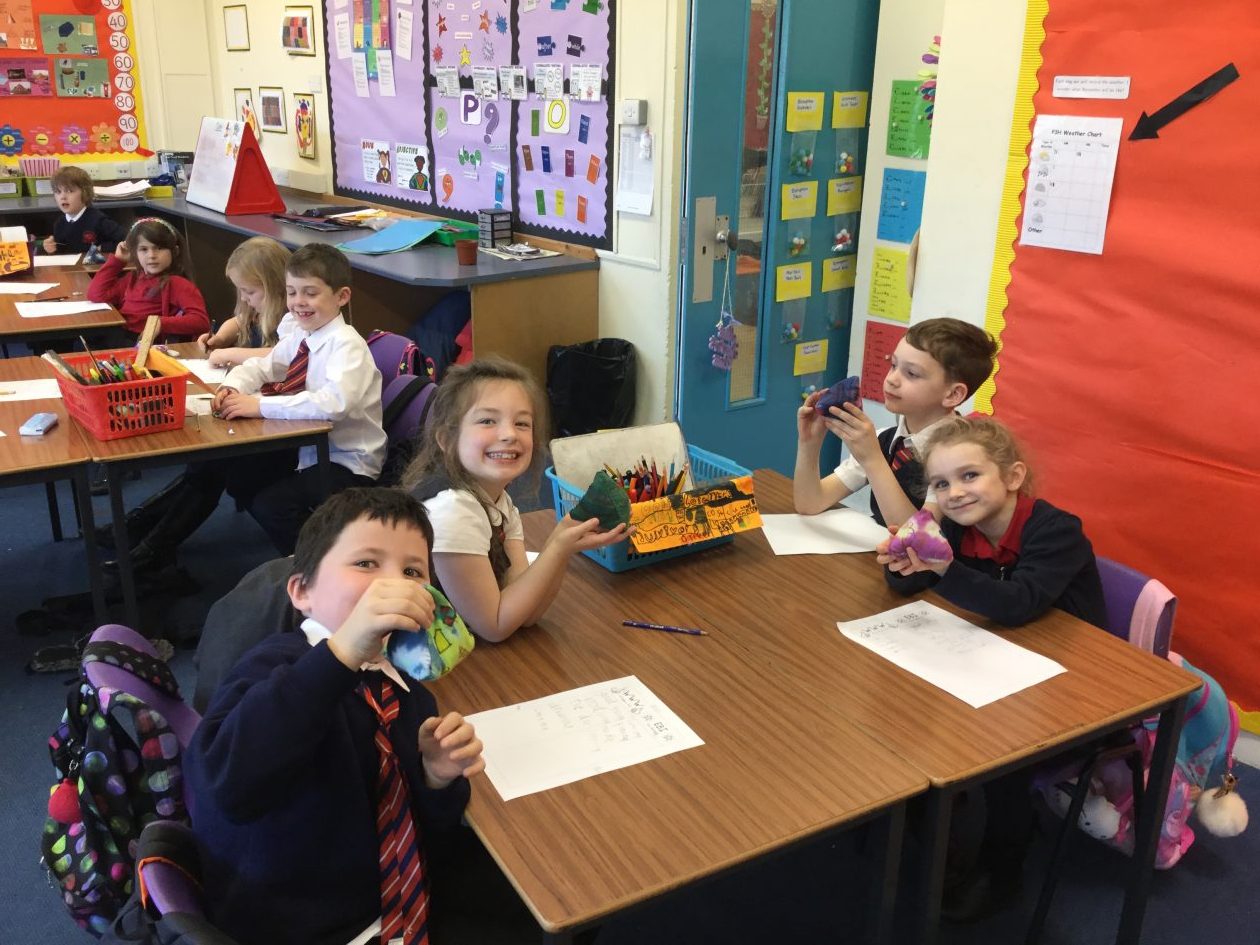
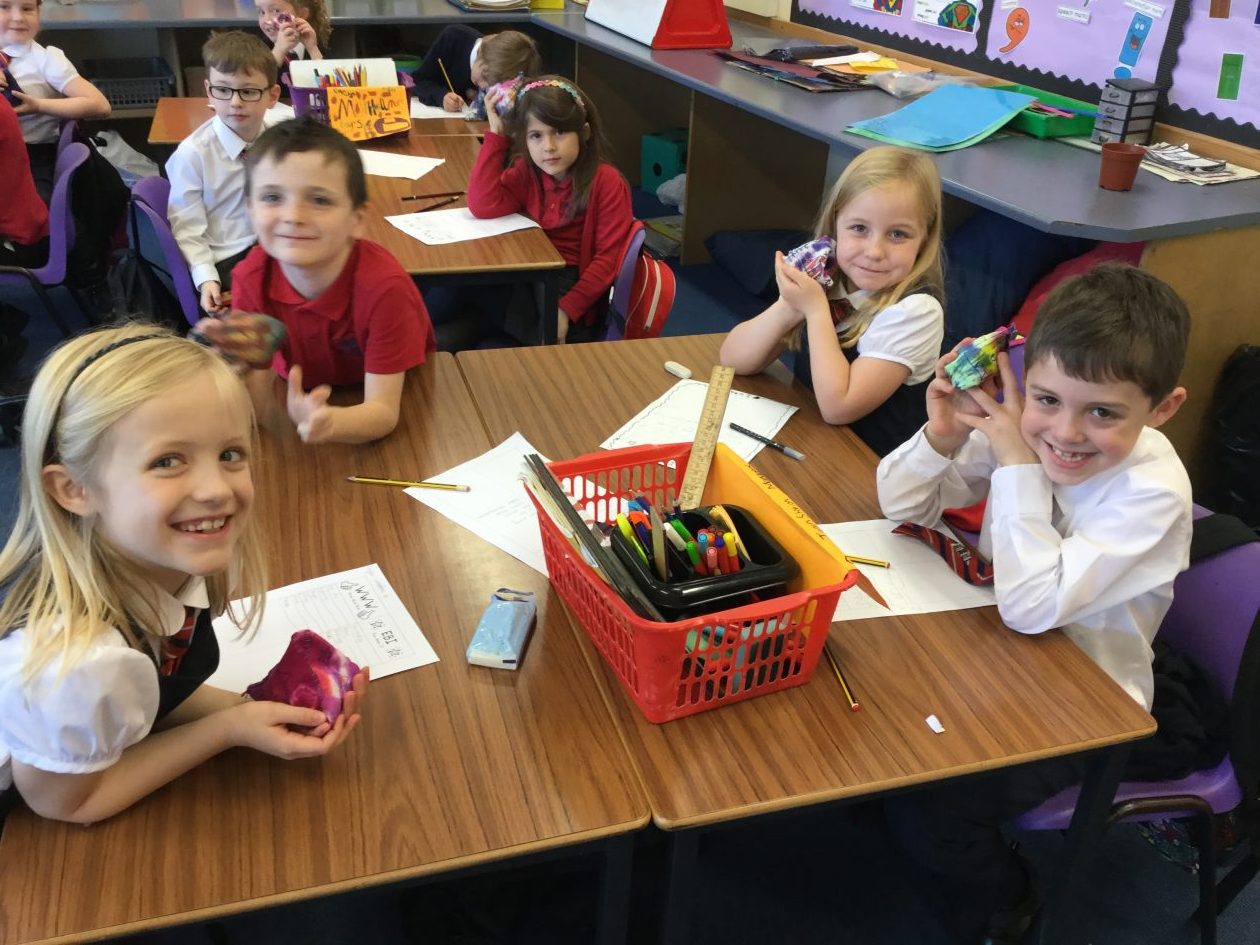
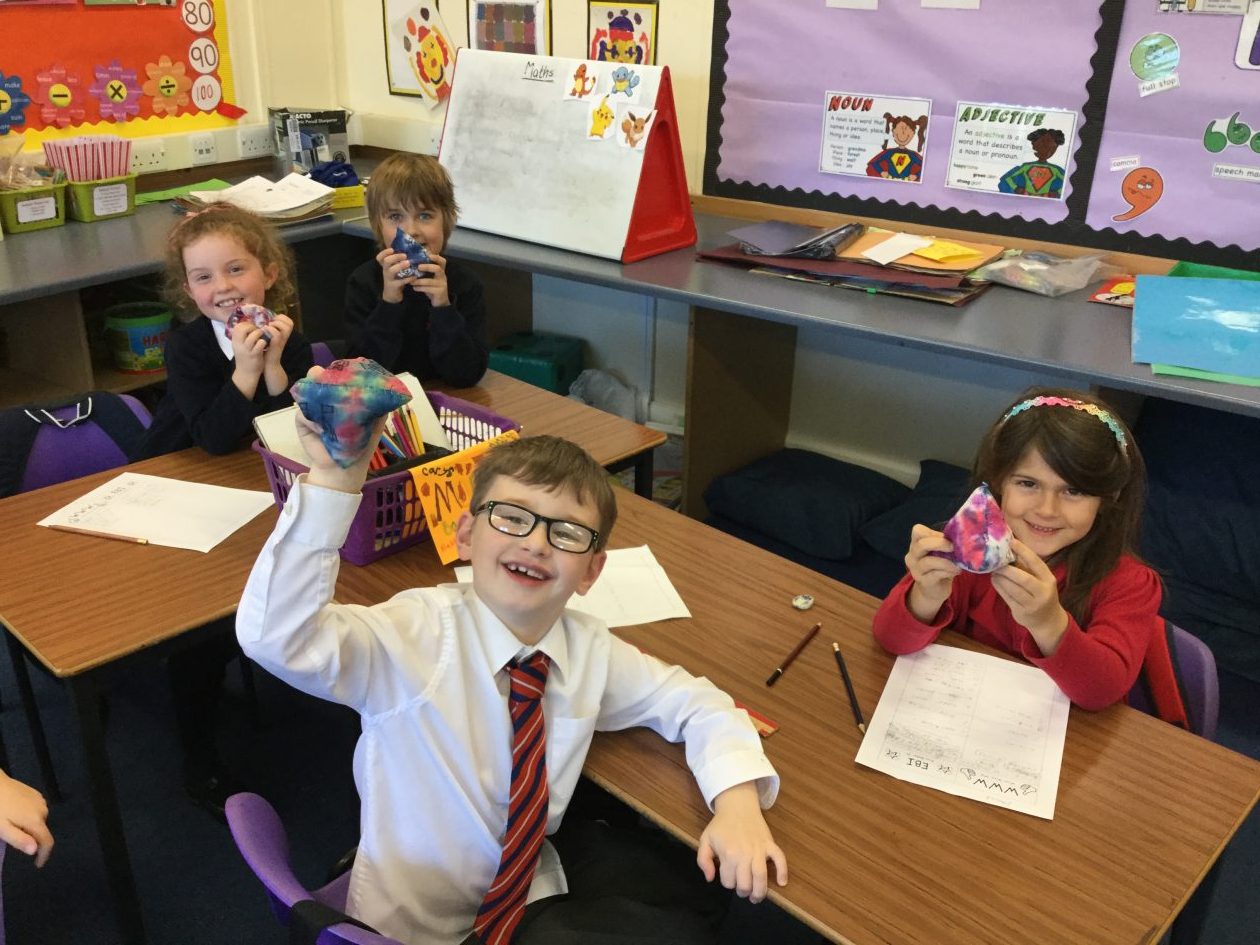
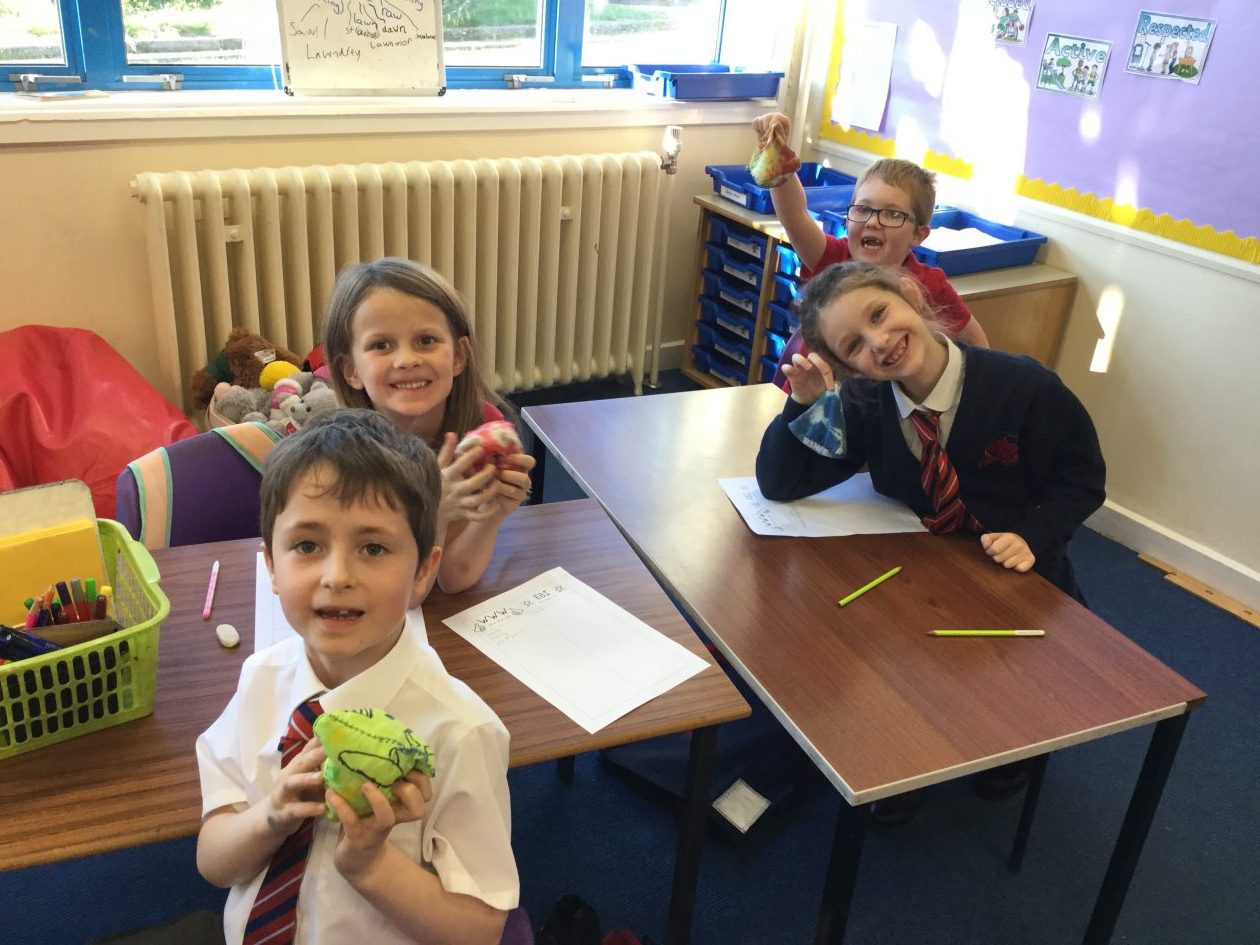
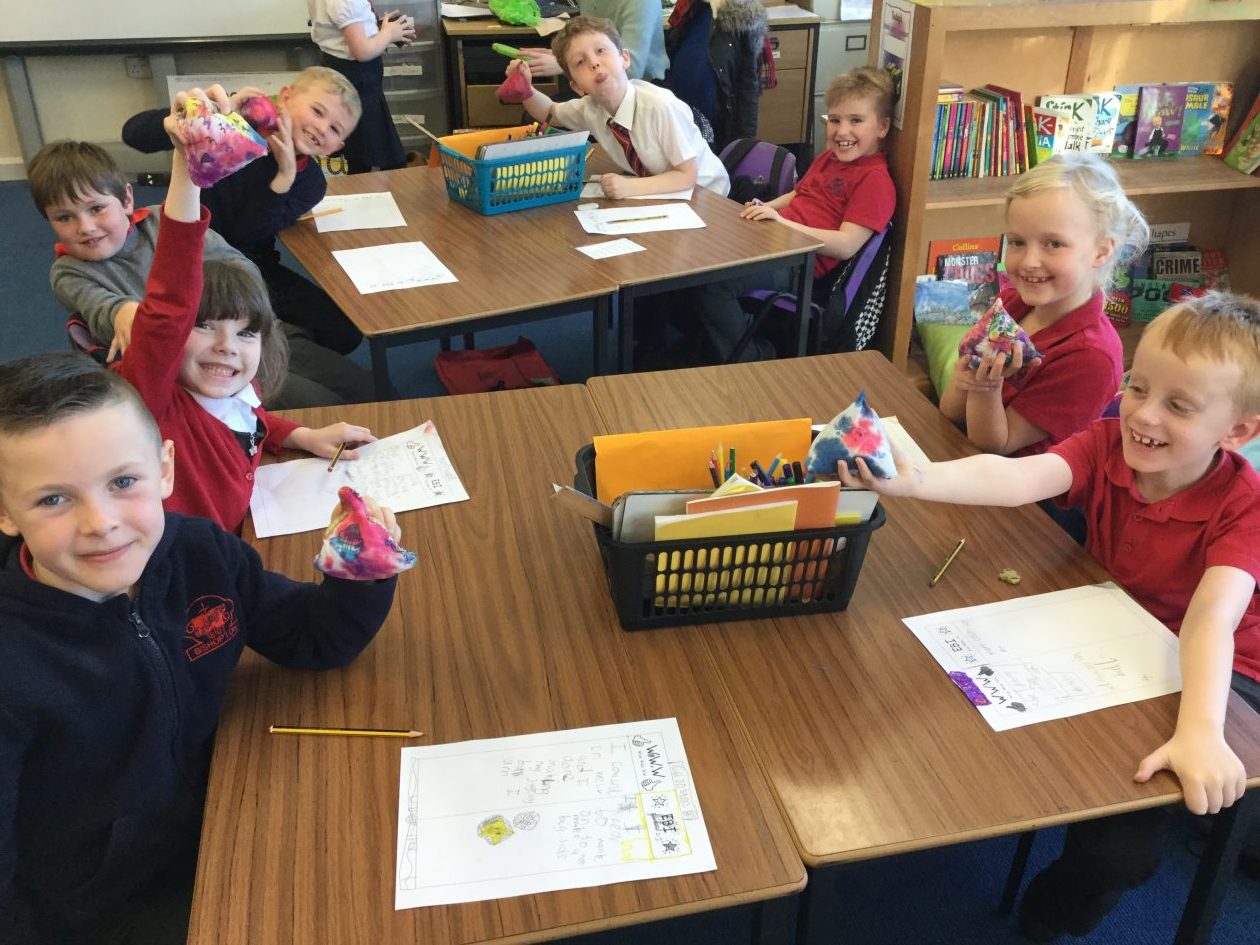
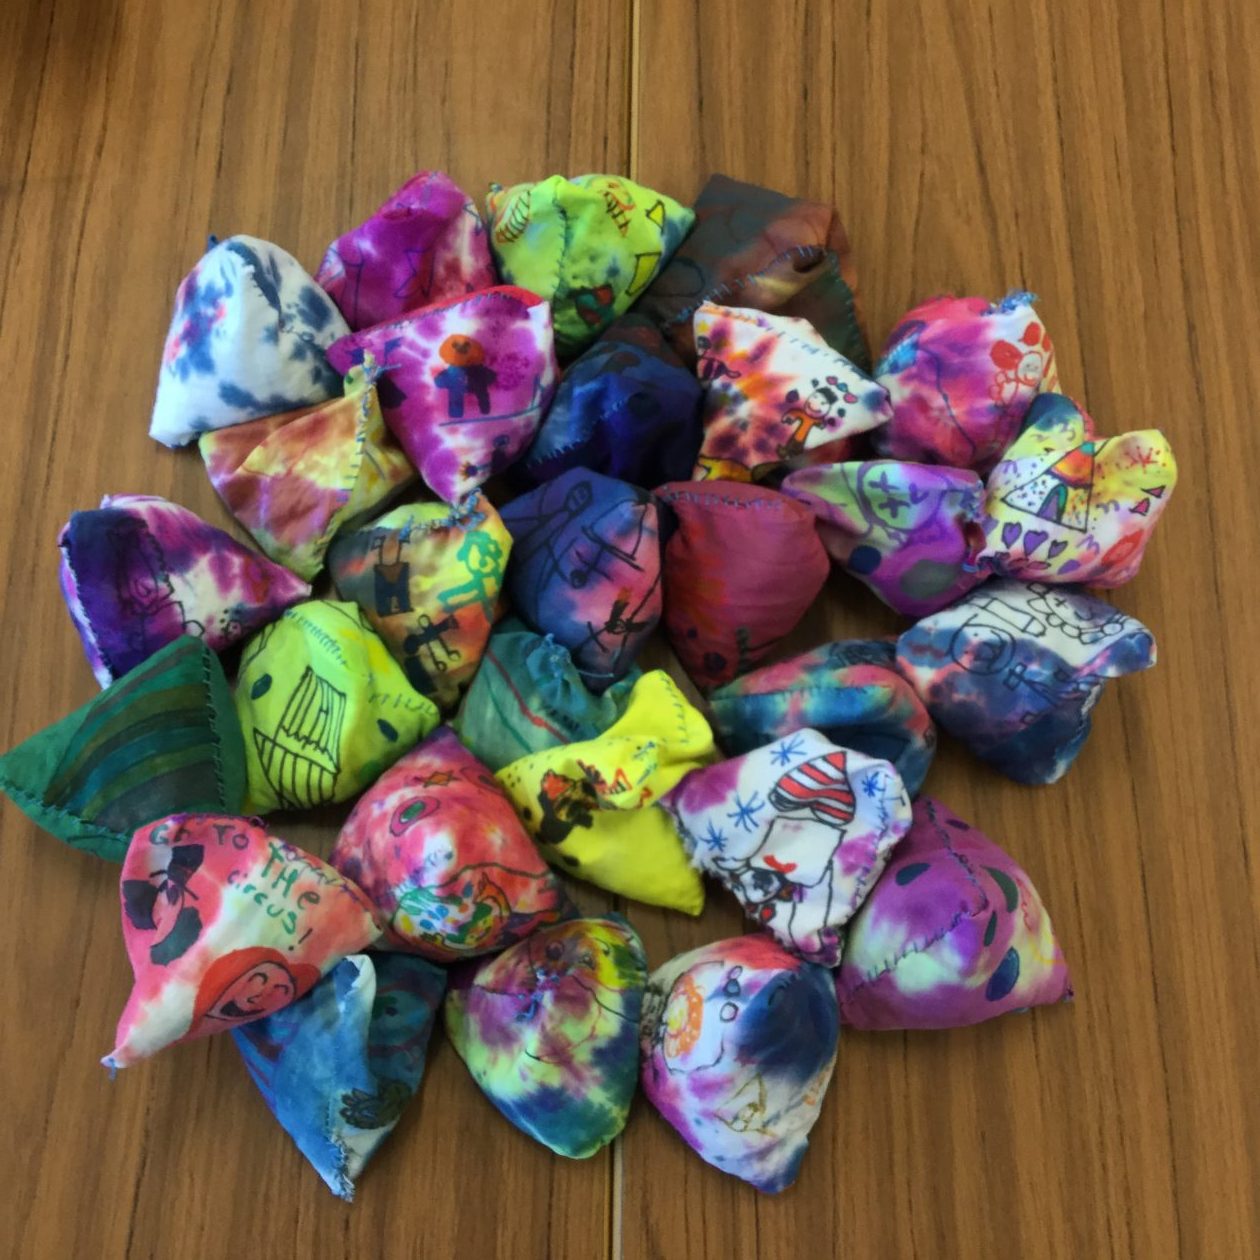
This week P3H finished their juggling balls craft and design project – hurray! They have all worked extremely hard through each stage of this project and the finished products look excellent.
The class then took some time to evaluate their juggling balls and the whole design process. They thought about WWW (What Went Well) and how it could be EBI (Even Better If). This allowed them to identify the strengths and potential next steps when designing and creating.
P3/2 started their new technologies topic today using Turtle Logo to create basic algorithms. We used 2 different websites to create our code and learned about the following commands in Turtle Logo:
fd 100 – move forward 100 spaces
rt 90 – turn right
lt 90 – turn left
cs – clear screen
We use the commands to create an algorithm to draw a square and a rectangle with our Turtle. At the end of the lesson we had a quick look at the Angry Birds Code Studio website. This uses similar commands to make the Angry Bird catch the pig.
Click on the pictures below to access the sites and let me know how you get on!
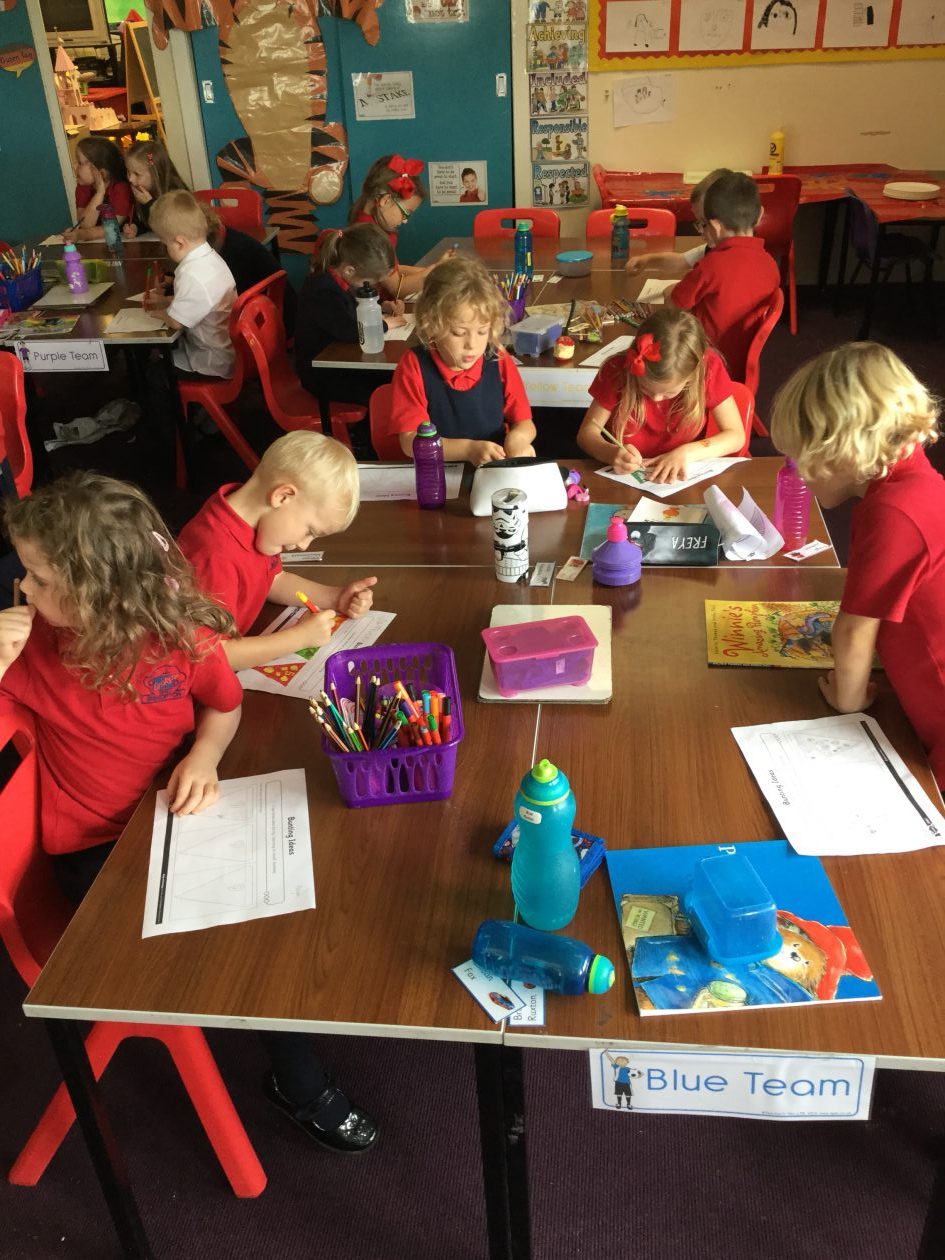
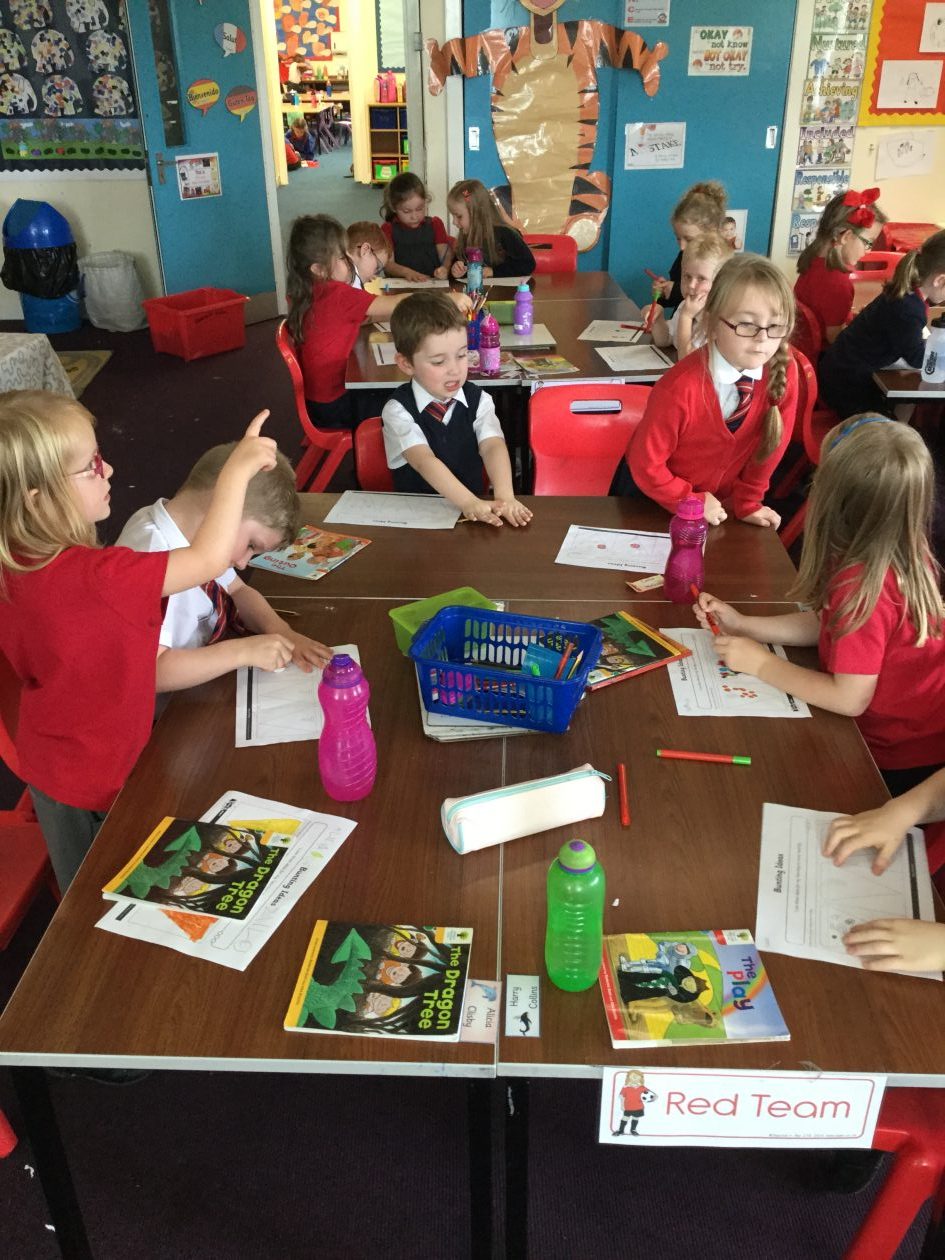
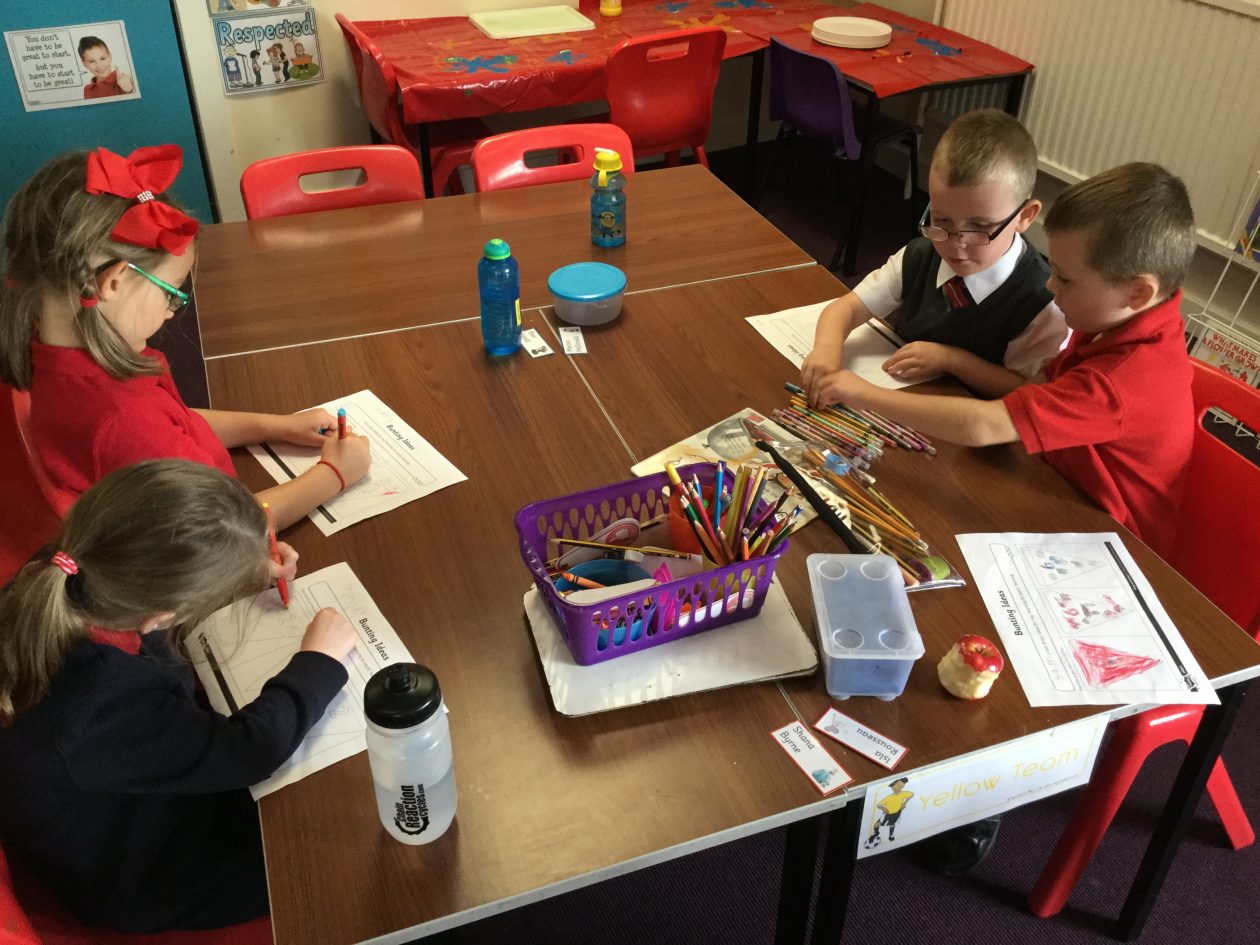
P1F are making great progress with their bunting craft and design project. They started by creating some fantastic designs for their bunting. It was then time to give each other some feedback by using 2 stars and a wish. This is when they think about 2 things they like about the design and 1 thing they would like to improve.
In the photos below you will see the class hard at work on making their templates for the bunting. This will ensure the bunting is all the same size. We discussed how to hold and use scissors safely and correctly. I was very impressed with how well the class worked and how good their cutting skills were.
P1F are making great progress with their bunting craft and design project. They started by creating some fantastic designs for their bunting.
The design criteria said that the designs should be; bright and colourful, have an easy to read number and, if possible, have drawings on it that match the number on the bunting.
It was then time to give each other some feedback by using 2 stars and a wish. This is when they think about 2 things they like about the design and 1 thing they would like to improve.
P1H are making great progress with their bunting craft and design project. They started by creating some fantastic designs for their bunting.
The design criteria said that the designs should be; bright and colourful, have an easy to read number and, if possible, have drawings on it that match the number on the bunting.
It was then time to give each other some feedback by using 2 stars and a wish. This is when they think about 2 things they like about the design and 1 thing they would like to improve.
P7S have started their catapult craft and design project. They started by researching various tabletop catapult designs. Each group picked 2 designs and created a rough annotated sketch of each. When picking the designs, they had to think about how successful the catapults will be when tested on: distance, accuracy and power.
Here are P7S researching various catapult designs.
P2/1 are making great progress with their bunting craft and design project. They started by creating some fantastic designs for their bunting.
The design criteria said that the designs should be; bright and colourful, have an easy to read number and, if possible, have drawings on it that match the number on the bunting.
It was then time to give each other some feedback by using 2 stars and a wish. This is when they think about 2 things they like about the design and 1 thing they would like to improve.
Last week, P3/2 started their craft and design project based on the story, The Lighthouse Keeper’s Lunch. We read the story and then discussed the problems found in it. It was clear that the basket Mrs Grinling was sending down to the lighthouse had lots of issues that could be fixed!
The class then had to sort different statements about the basket into positives and problems. Next week, we will begin to think about how we can solve the problems in the basket to improve the product.
We also looked at some of the lunchboxes in the class to give us ideas of how Mrs Grinling’s basket could be made even better.
Here are P3/2 sorting the statements into positives and problems.
Last week, P3H started their craft and design project with great enthusiasm! They will be making a class set of juggling balls.
We discussed that before starting to design a new product, we should evaluate what has gone before. In groups, they reviewed 3 different kinds of juggling balls. They gave the following criteria a mark out of 5 using the star profile sheet: shape, colour, child appeal, function and decoration. They then totaled up the marks for each of the criteria to give a score for each ball.
Here are P3H sharing their ideas and evaluating the products.
Last week, P6P started their craft and design project with great enthusiasm! They will be making felt cases to hold their mobile phones/music players/Nintendo DS.
We discussed that before starting to design a new product, we should evaluate what has gone before. In groups, they reviewed some of the phone cases belonging to people in the class. They thought about the aesthetics (how a product looks), target market (who the product is aimed at), quality (how well it is made) and the functionality (how well it works).
Here are P6P sharing their ideas and evaluating the products.
P5S have started their Let’s Go Fly a Kite craft and design project. We started by discussing previous experience of kite flying and making. We then learned all about the different parts of a kite and discussed what would happen to the kite if any of these parts were missing. This will help us when it comes to designing the kites in the coming weeks.
Today in technologies we started our craft and design project – building a kite!
We started by discussing who had flown a kite before and the different types of kite we had seen. Each group shared their ideas on what kites are made of and what it is that makes them fly. There were some fantastic discussions – well done!
After that, we learned about the different parts of a kite. They are as follows:
Line – this stops the kite from flying away, the thicker the line is, the stronger it will be
Bridle – this keeps the kite at the proper angle to the wind
Tow Point – this is where the line connects to the bridle
Spars – these give the kite structure (the cross shape)
Keel – kind of like the bridle, it acts like a rudder to keep the kite in the right direction
Sail – catches the air to allow the kite to lift and fly
Tail – adds “drag” to the kite and keeps it pointed into the wind
Without any of these parts, the kite will not fly. We discussed what would happen if any of the parts were missing.
Here are some photos of P5S working on their kite ideas and labelling the parts of a kite. Next week, we will be learning about the different shapes of kites and how they can impact how the kite flies.