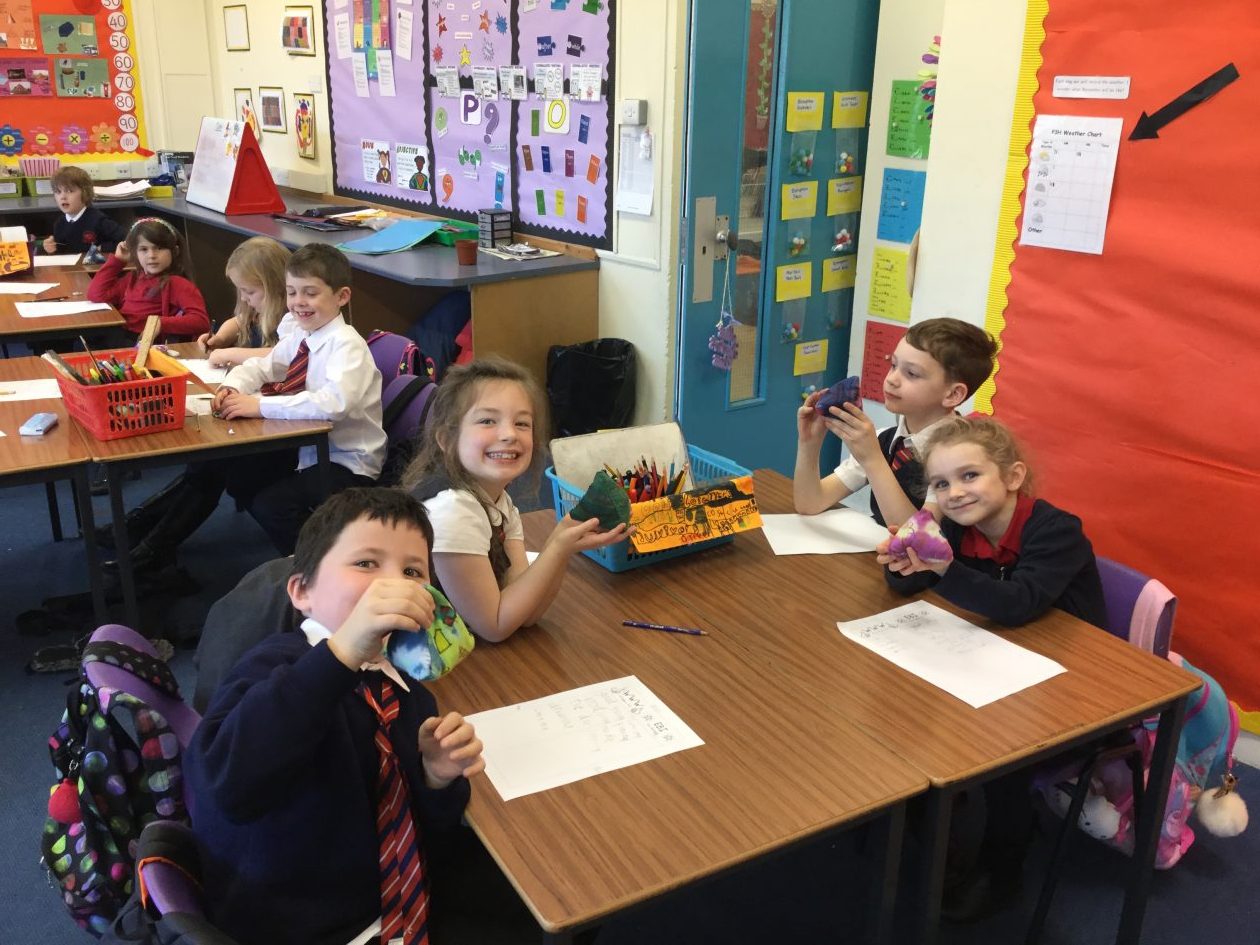
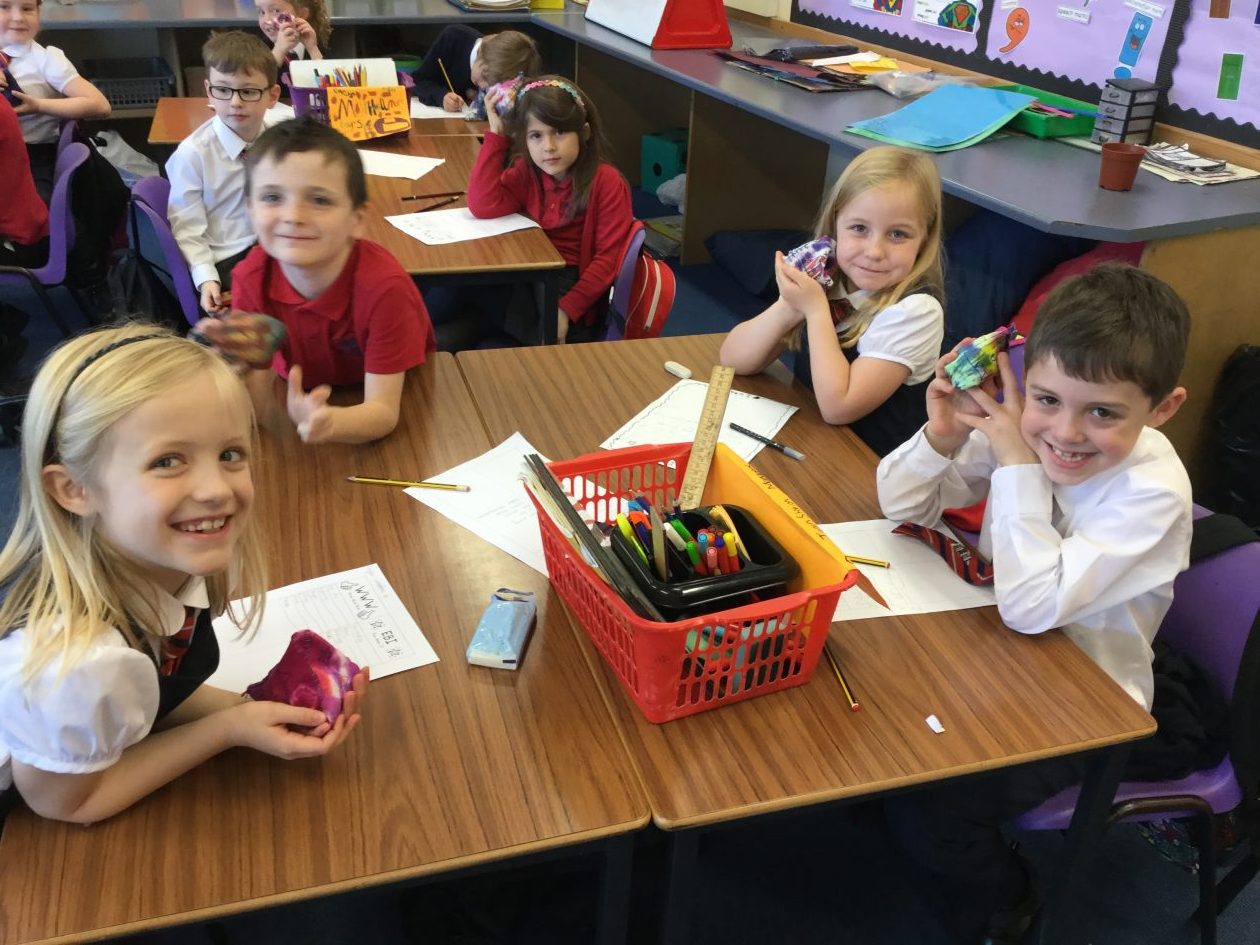
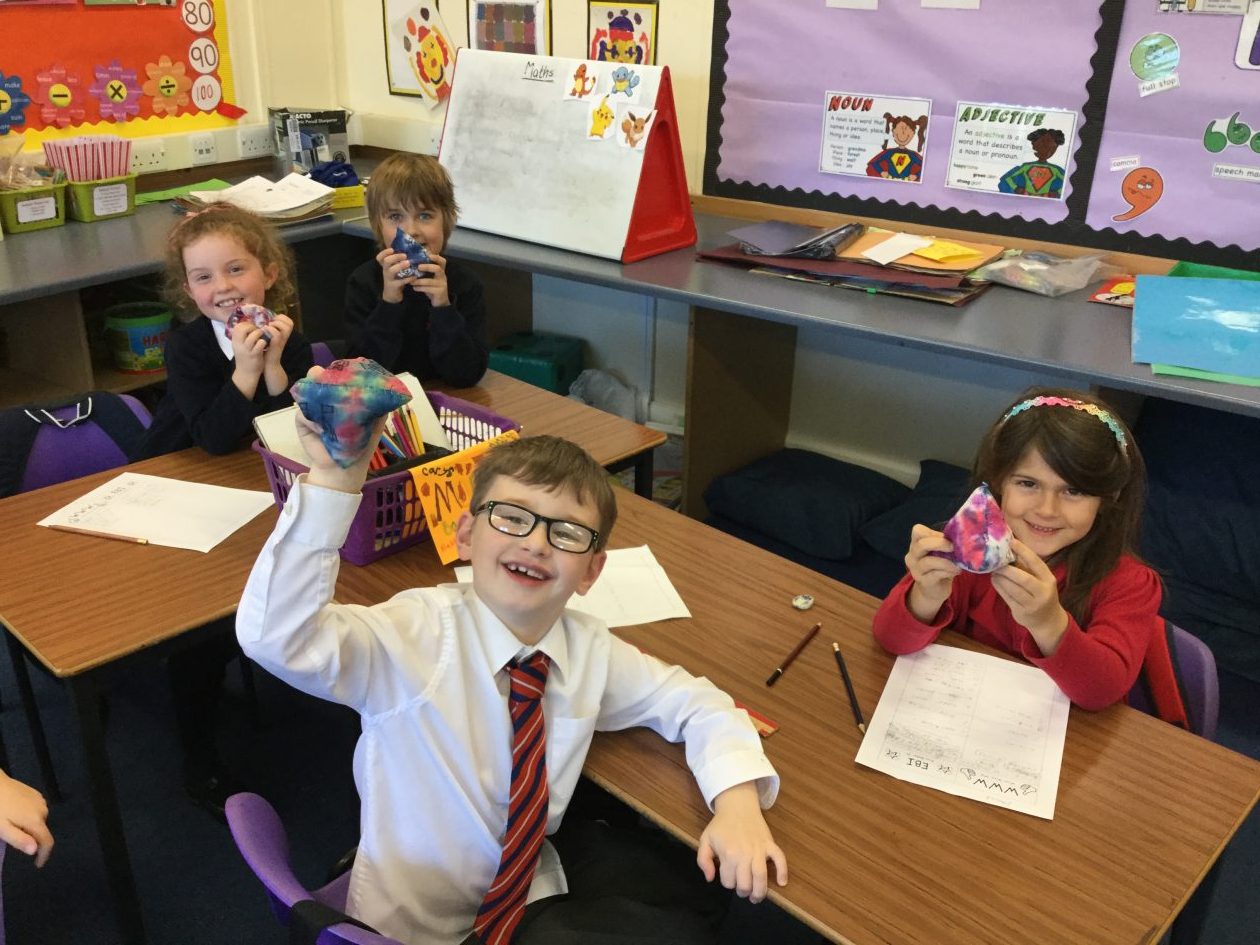
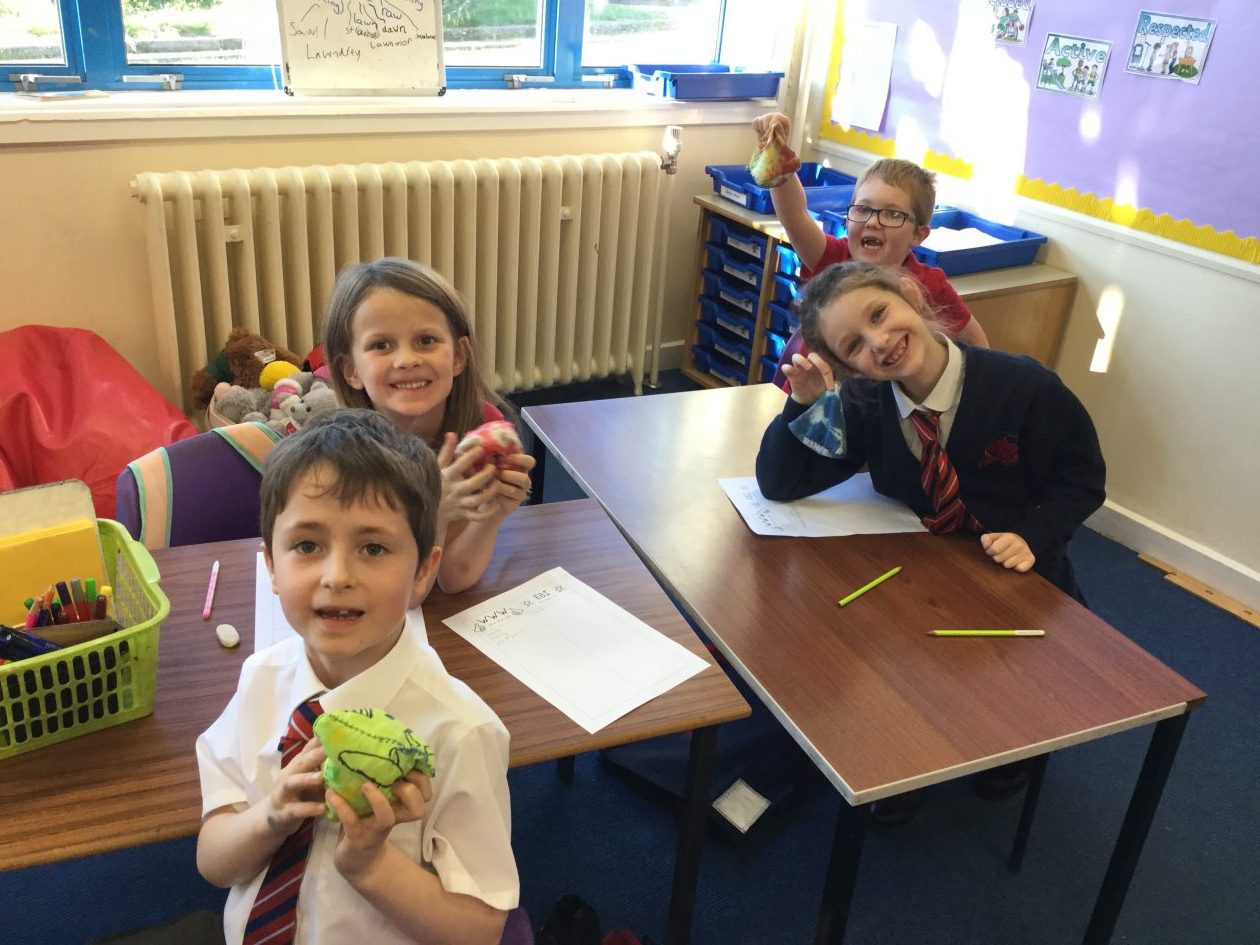
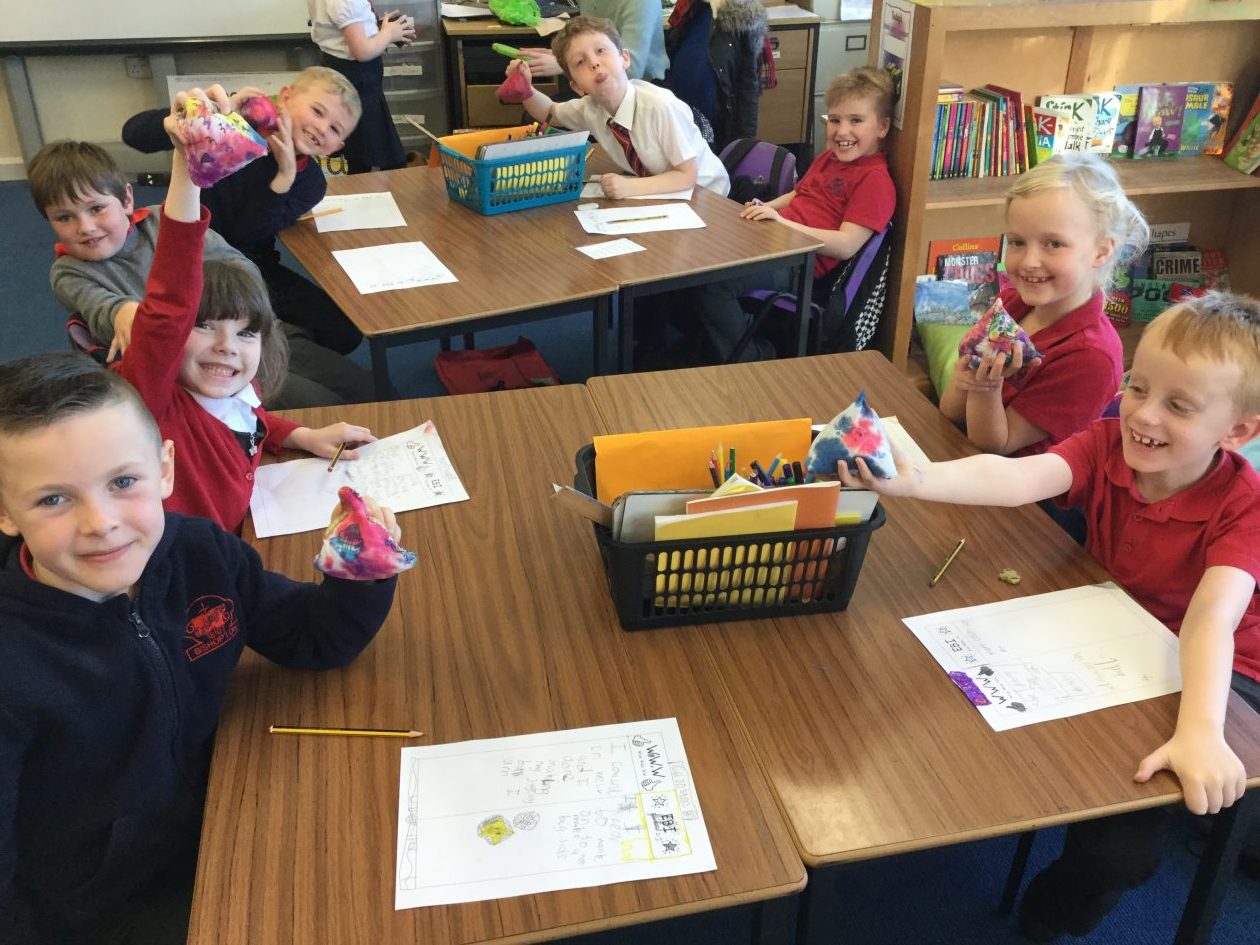
This week P3H finished their juggling balls craft and design project – hurray! They have all worked extremely hard through each stage of this project and the finished products look excellent.
The class then took some time to evaluate their juggling balls and the whole design process. They thought about WWW (What Went Well) and how it could be EBI (Even Better If). This allowed them to identify the strengths and potential next steps when designing and creating.
P3/2 started their new technologies topic today using Turtle Logo to create basic algorithms. We used 2 different websites to create our code and learned about the following commands in Turtle Logo:
fd 100 – move forward 100 spaces
rt 90 – turn right
lt 90 – turn left
cs – clear screen
We use the commands to create an algorithm to draw a square and a rectangle with our Turtle. At the end of the lesson we had a quick look at the Angry Birds Code Studio website. This uses similar commands to make the Angry Bird catch the pig.
Click on the pictures below to access the sites and let me know how you get on!
During technologies, the class are learning to understand simple computer programming. We have been using the ScratchJr app for tablets and iPads. This is a great app that introduces computer coding to 5-7 year olds. You can find out more information about this free app on the website by clicking the picture above.
If you or your child has a tablet, you can download the app to use at home. Let me know if you manage to create something together using ScratchJr at home!
After completing the new and improved lunchboxes for Mr Grinling, it was time to test them out! The lunchboxes were sent down the line one at a time to see how well (or not so well!) they travelled from top to bottom. We used a water spray to pretend it was raining to test how waterproof the boxes were. We also pelted the boxes with balls of paper to see how they would withstand being hit and poked at by the seagulls.
Sadly, some of the lunchboxes did not make it down the line. However, the designers quickly suggested improvements they would make to stop this from happening again. Everyone did a really great job and could explain what they had done well throughout the whole design process, and what they would improve for next time.
Calling all residents of Bishopton! We need your help.
Primary 7S are about to start a new technologies project linked to the history of the village. We would like to turn back the clock to learn all about Bishopton in the past. If you have any stories, photos, books, mementos (or anything else you can think of!) that would help with this project, we would be very grateful. Please send items in with your child or drop in at the school office.
After it has been logged, your item will be returned, so please ensure your name, or child’s name and class, is clearly labelled on what you hand in. If you, or a family member, would be willing to be interviewed about what Bishopton was like in years gone by, please let us know.
The more information we have, the more successful our project will be!
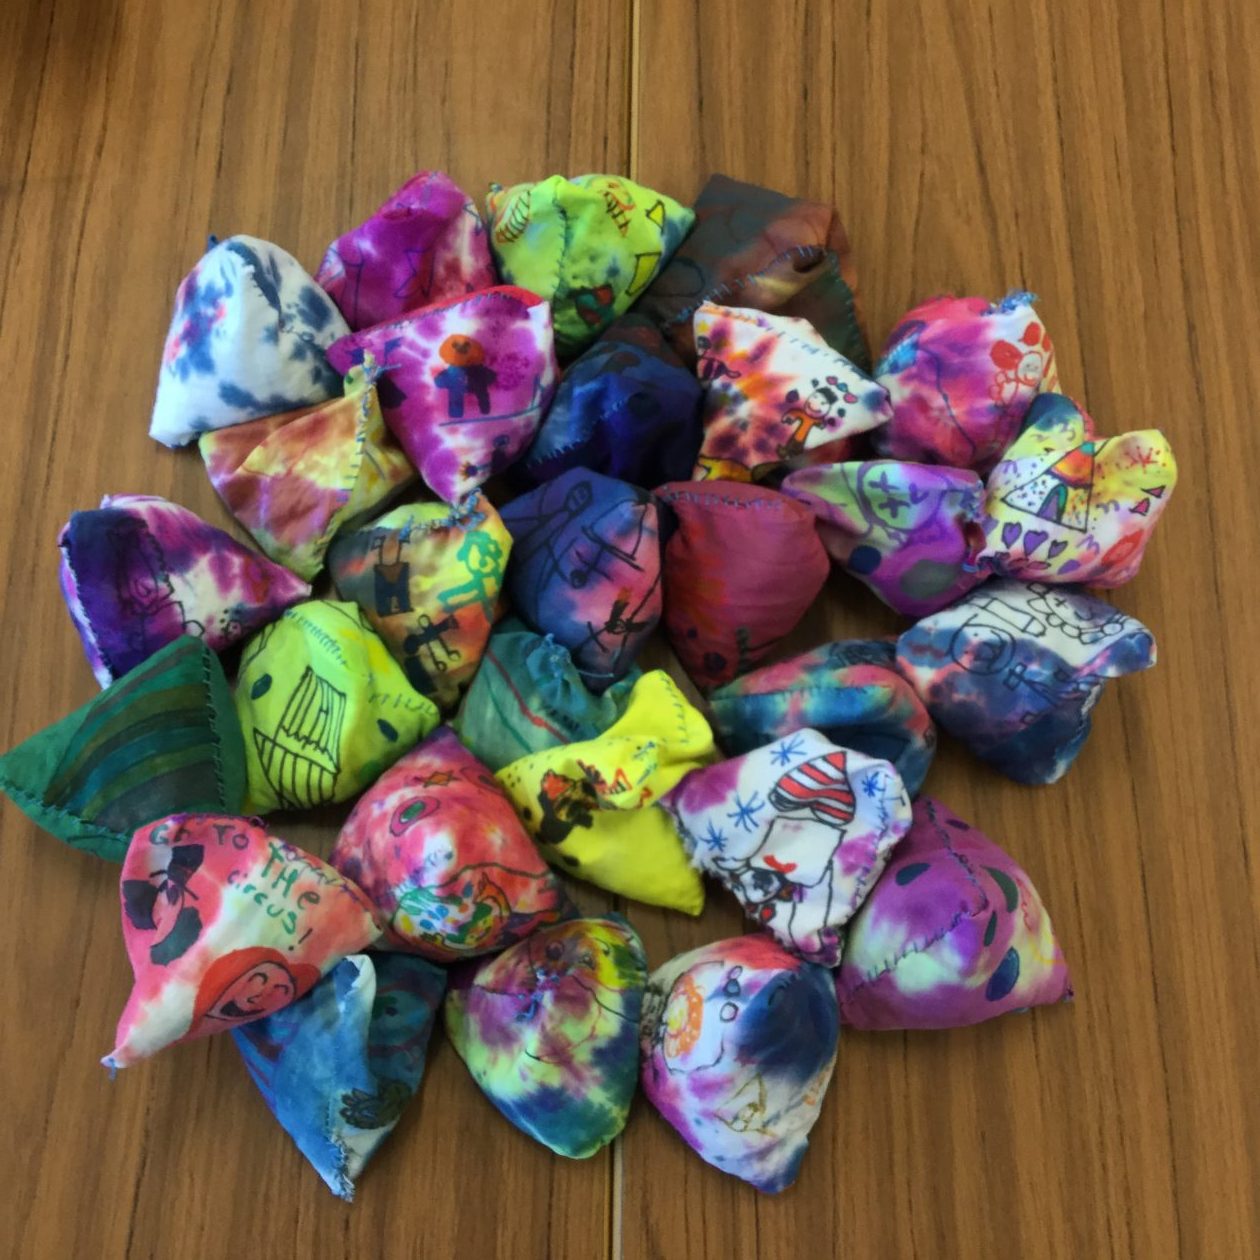
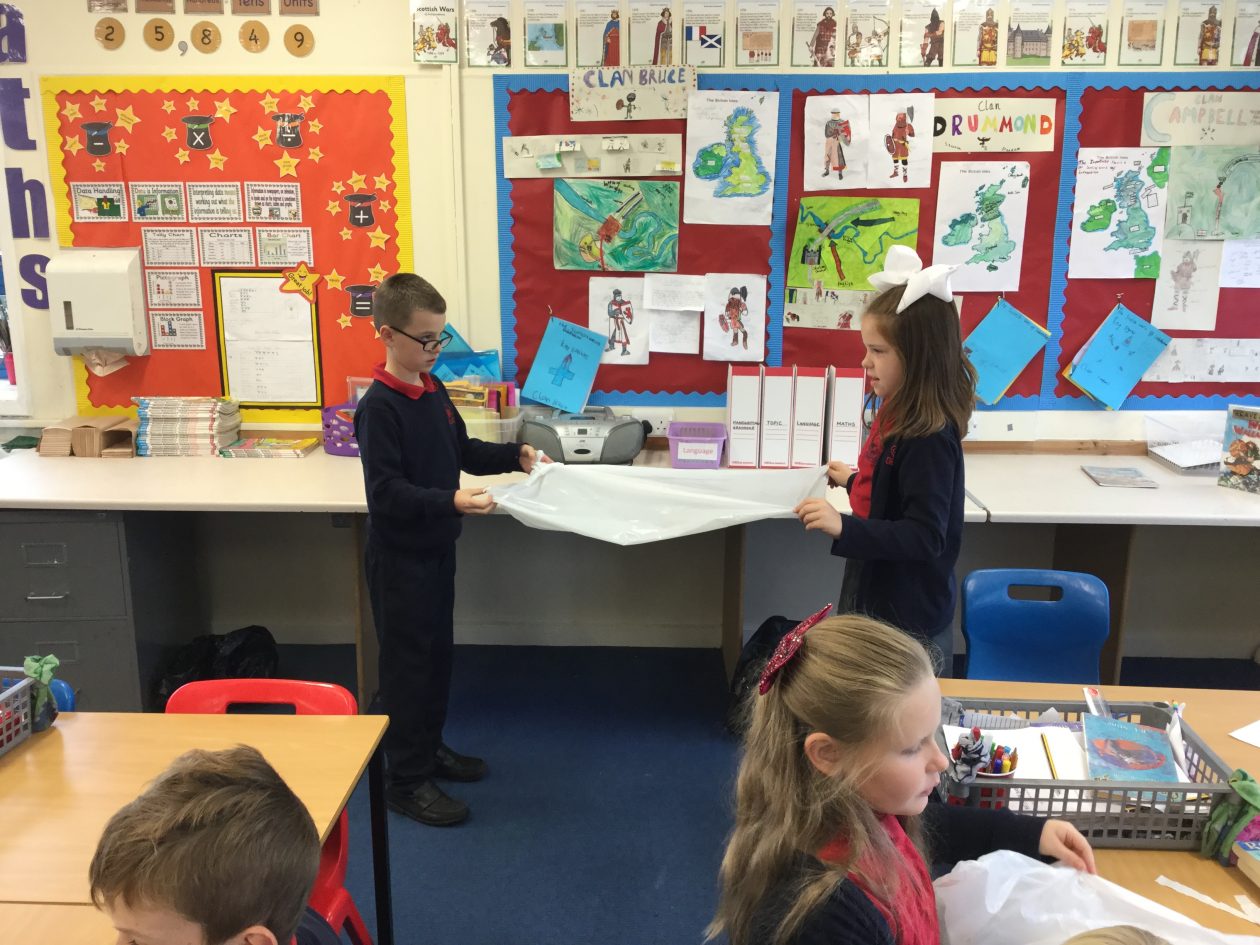
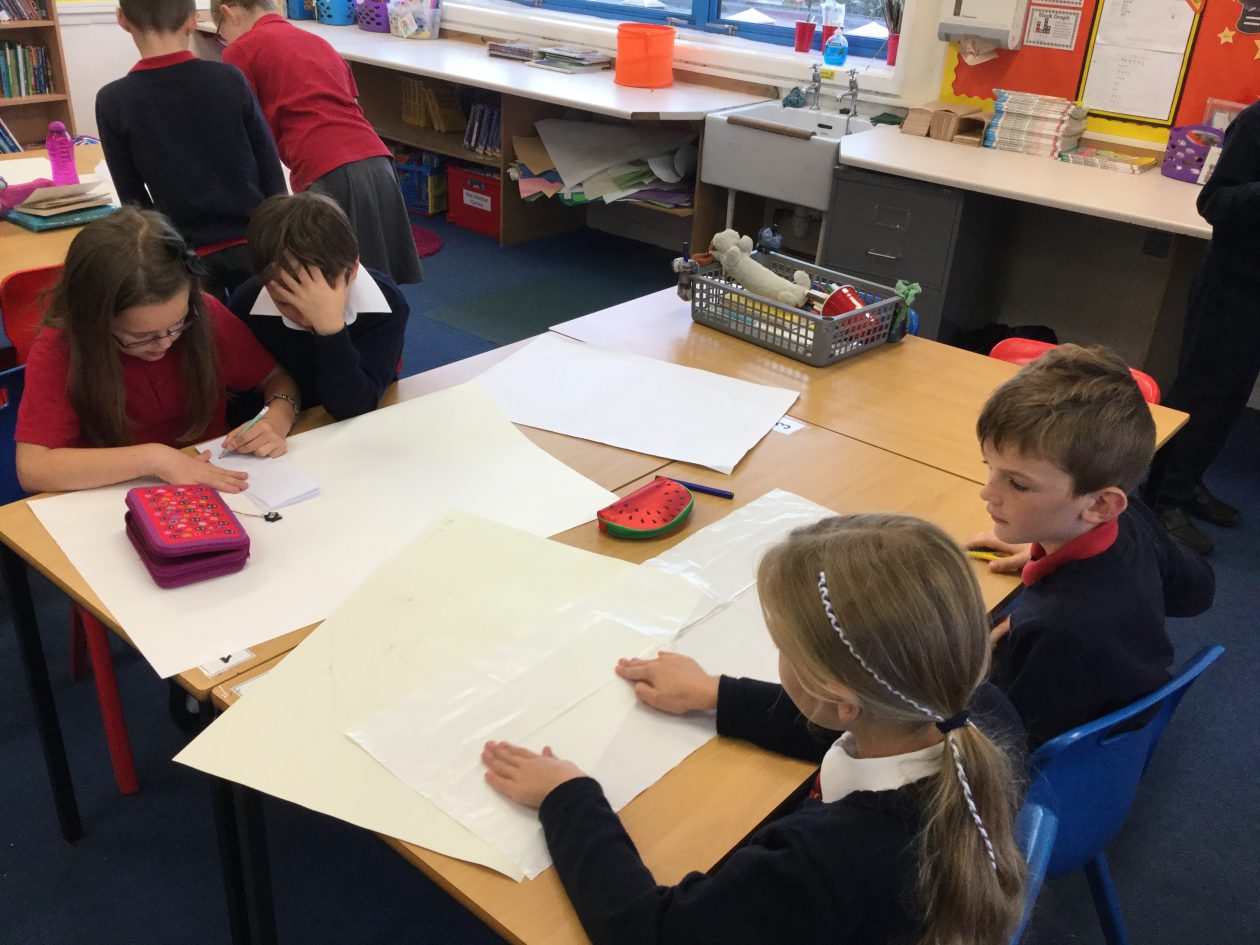
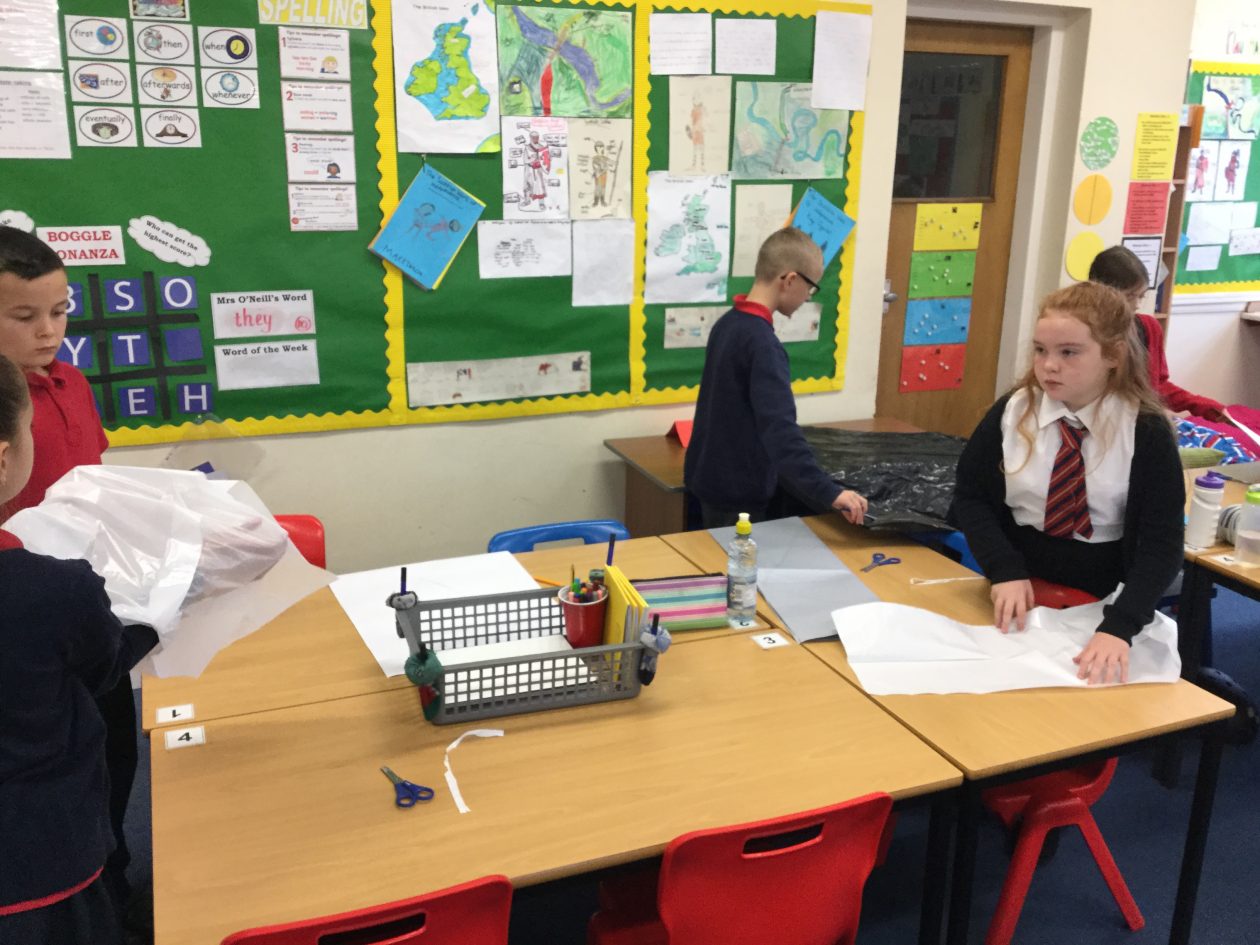
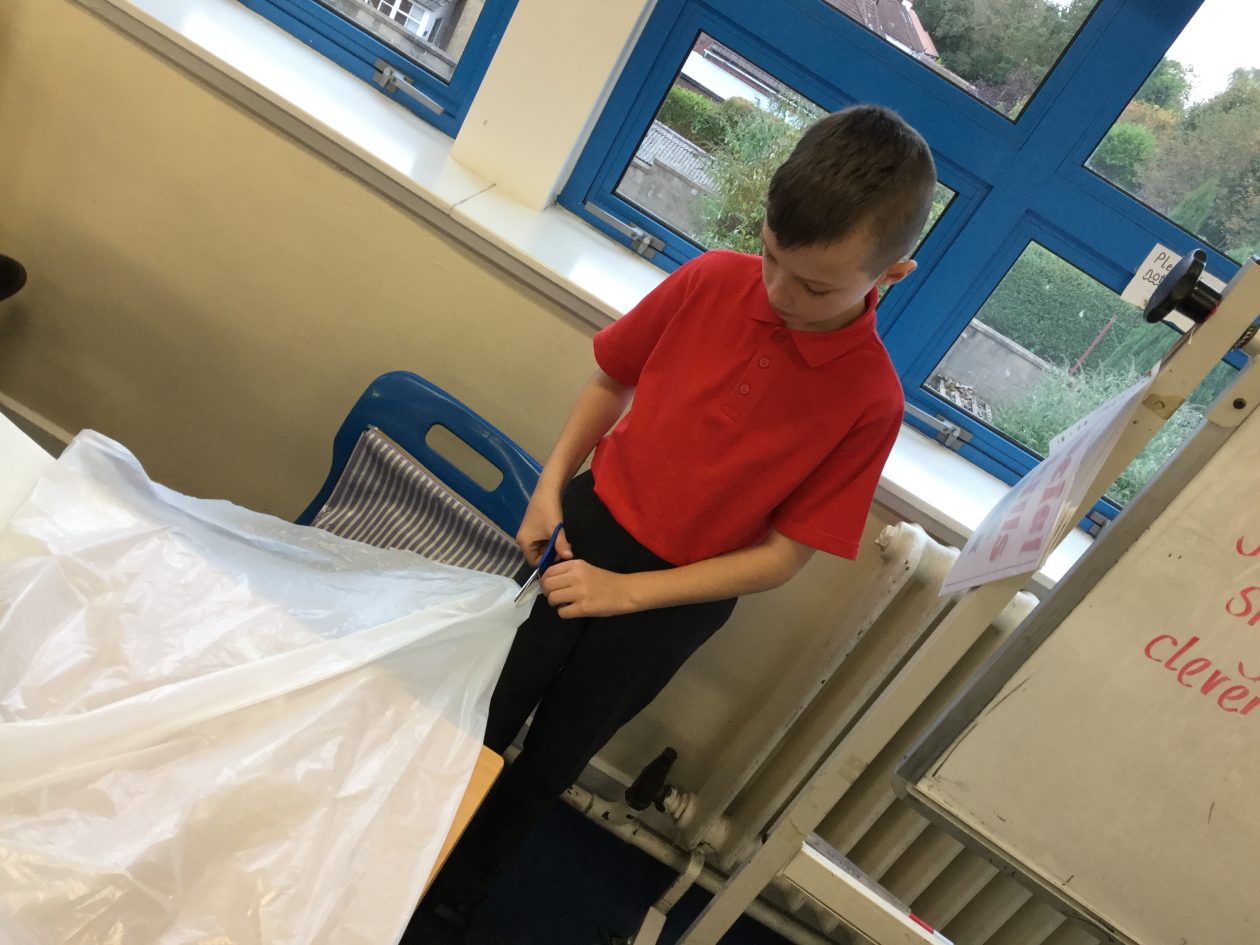
P3H were very excited to see their finished tie-dye material! The next stage involved cutting out a paper template parallelogram. We then traced round the template with pen onto the material (our shoulder partners helped to keep the template steady) and cut the shape. This shape will be used to create our juggling ball. Finally, we chose from plain black and coloured fabric pens to decorate the fabric with our circus-themed design!
Well done everyone! The fabric and your designs look excellent!
This week, P6P started the first stage of materials to make their felt phone cases. They started by transferring their phone measurements to squared paper. They needed to use their maths skills to ensure they had the correct number of boxes so the shape was correct. They then added on a seam allowance around the edge. This stops the case from becoming too small when we start to sew it all together.
Once they had completed this, they had to cut out their template. This template will be used to make sure the material is cut accurately and will fit the phone properly. The paper template was attached to the felt with pins to hold it on securely. The felt was them cut out for both the front and back of the case.
Well done on working so hard P6P and concentrating to get the measurements and cutting done neatly and accurately.
Today P7S completed building their catapults. Some last minute changes had to made to the designs to make the catapults work. The groups were then given the opportunity to try using their catapults on the testing stations for power, accuracy and distance. After the October holiday, each catapult will be tested fair to work out which team have created the best catapult overall.
Here is the class building and testing their catapults!
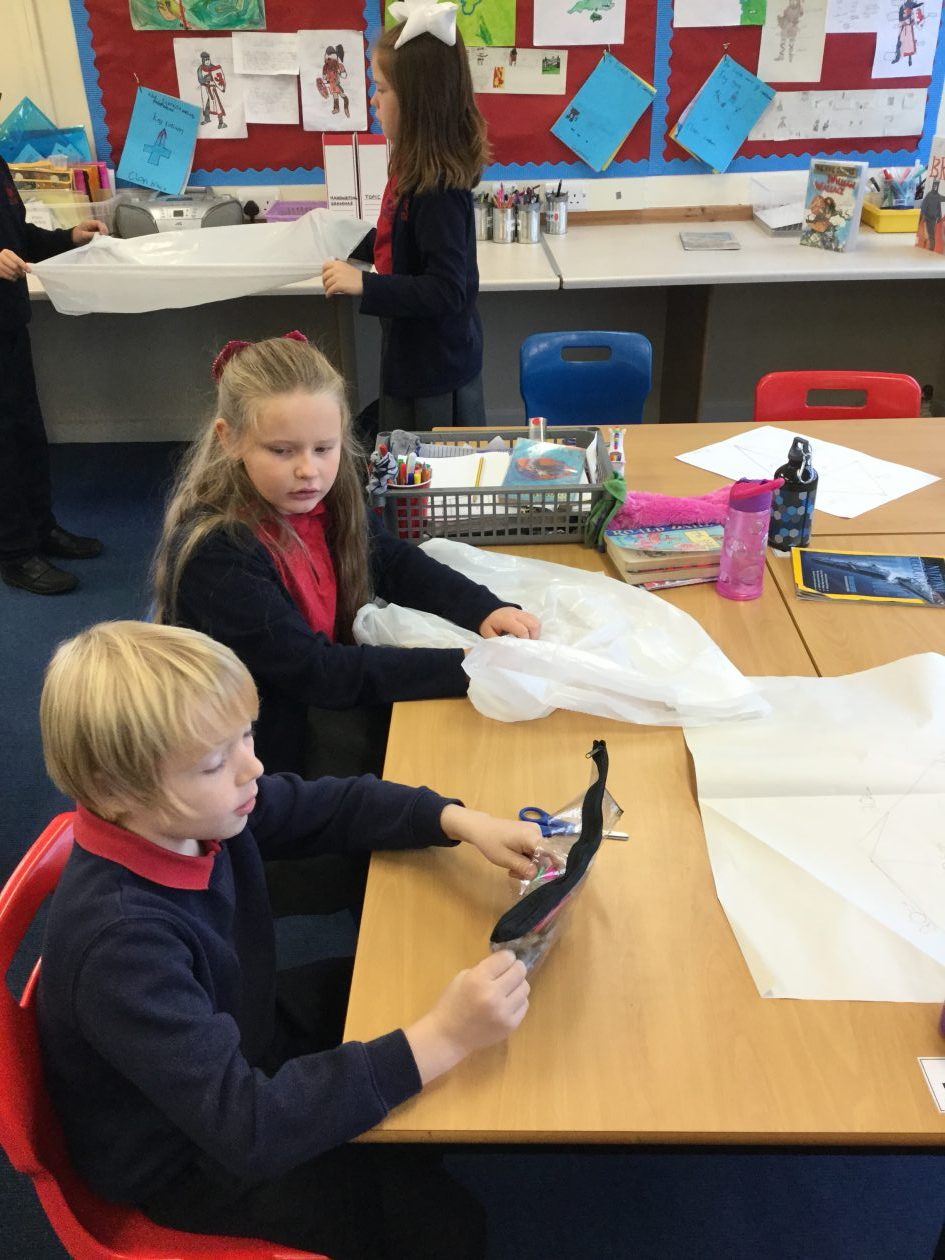
After many weeks of planning and preparation, P5S started to build their kites this week. The first step was to measure and cut the kite sail out of their chosen material. Next they decorated it to make it look good when it flies.
The next step was creating the frame for the kite. The class learned how to use a hacksaw safely to cut the wooden dowels. Only one group managed to get to this stage so after the holidays the rest of the class will work on completing this frame.
I have been really impressed with how hard the class have worked on this project and can’t wait to see the finished kites! Well done P5S.
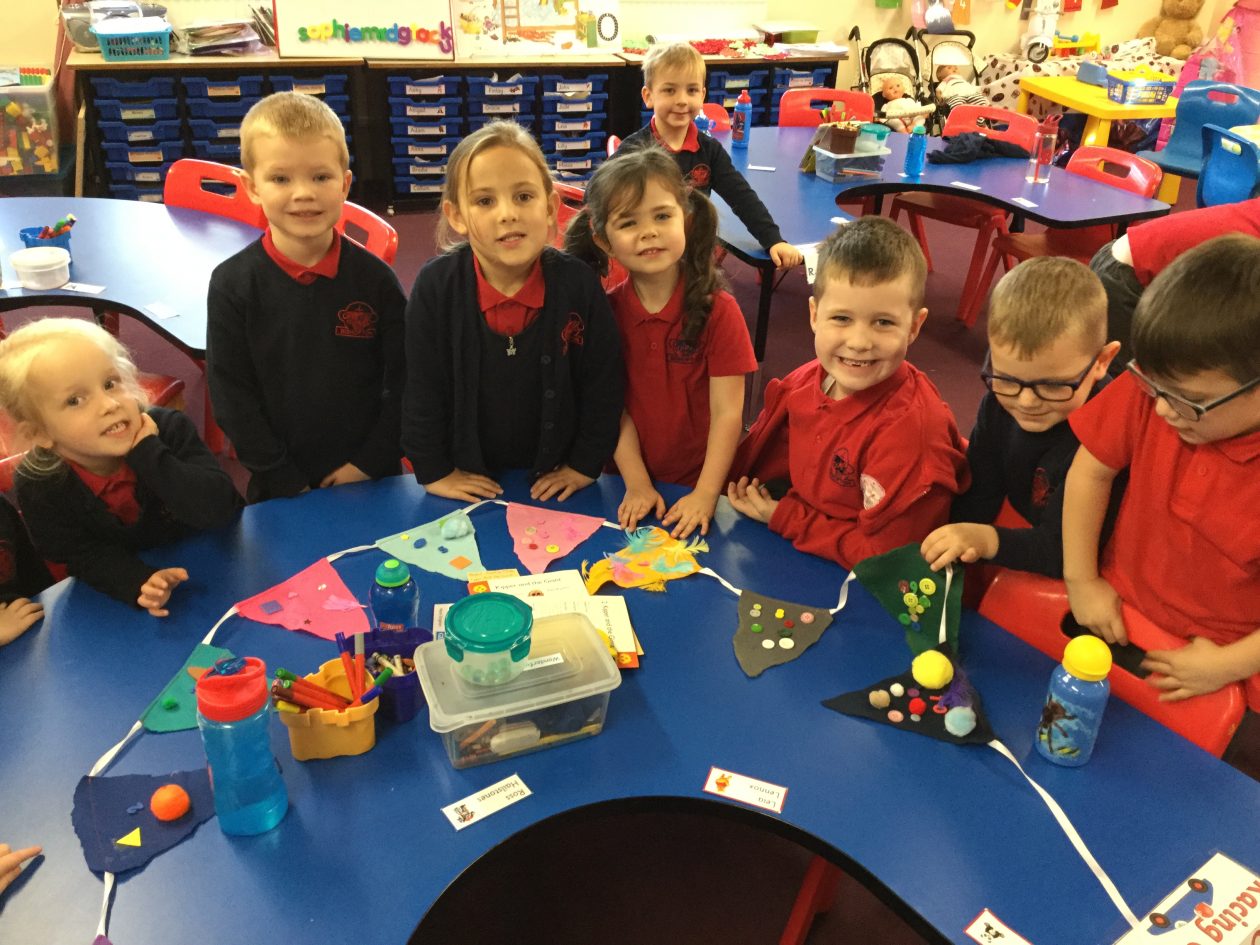
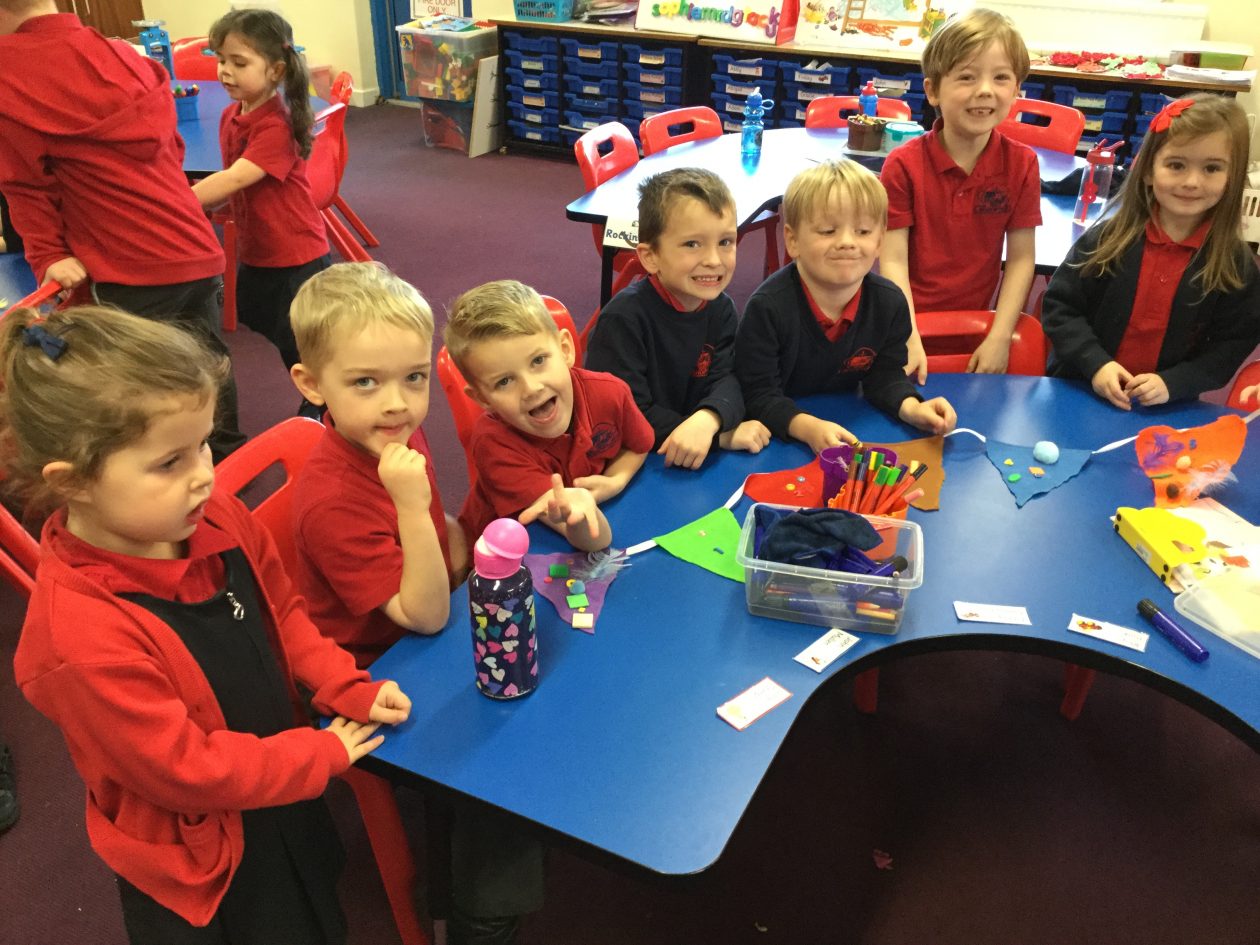
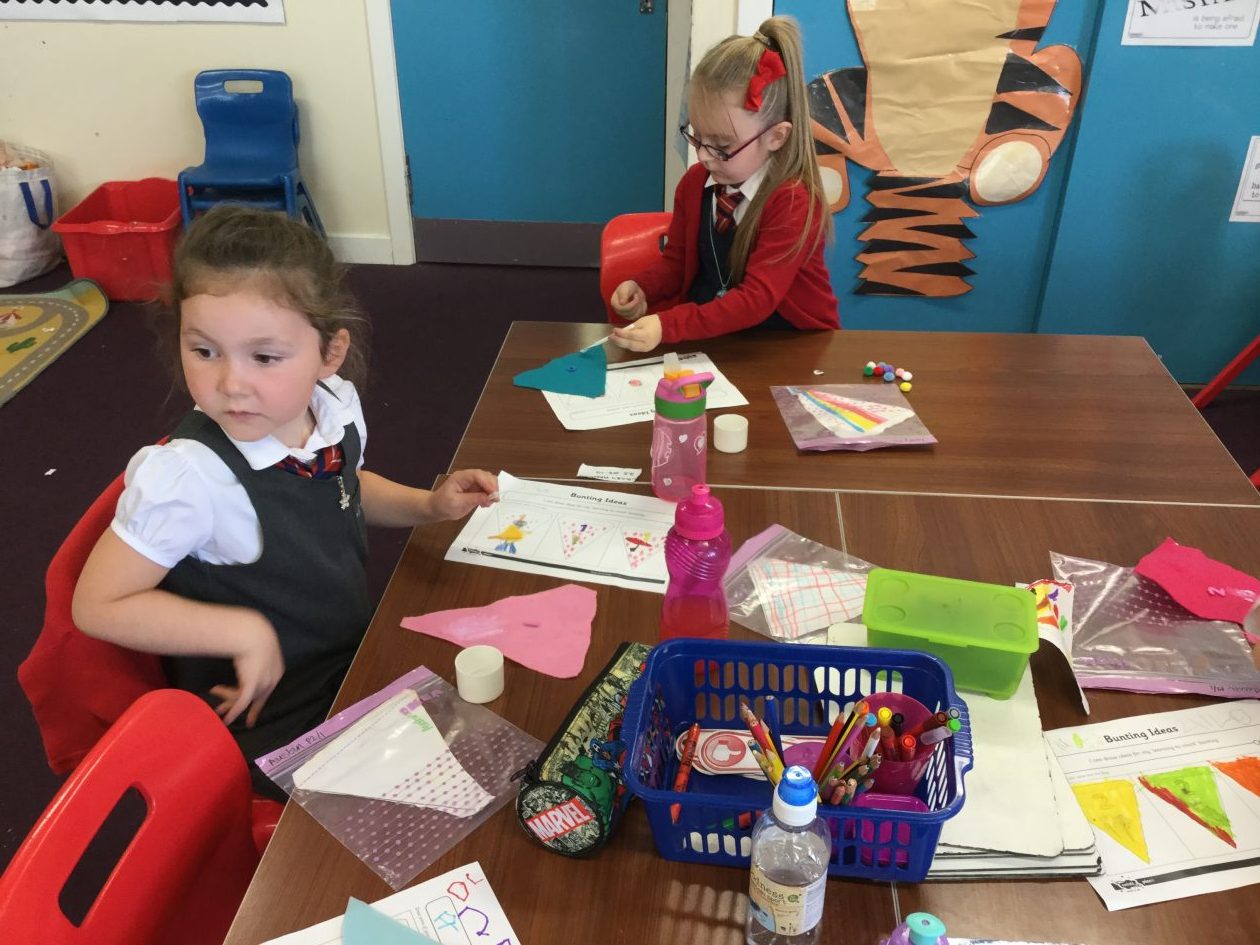
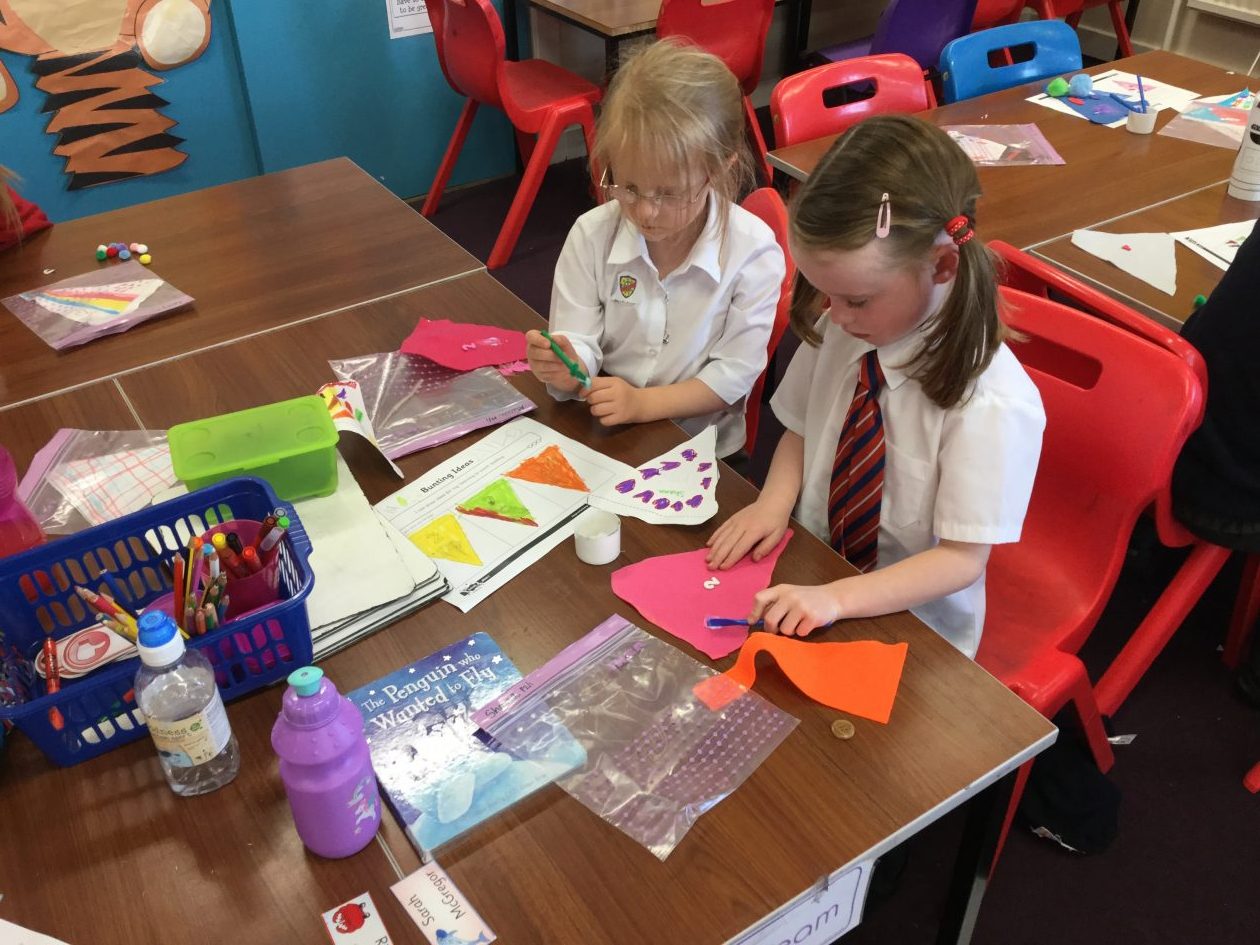
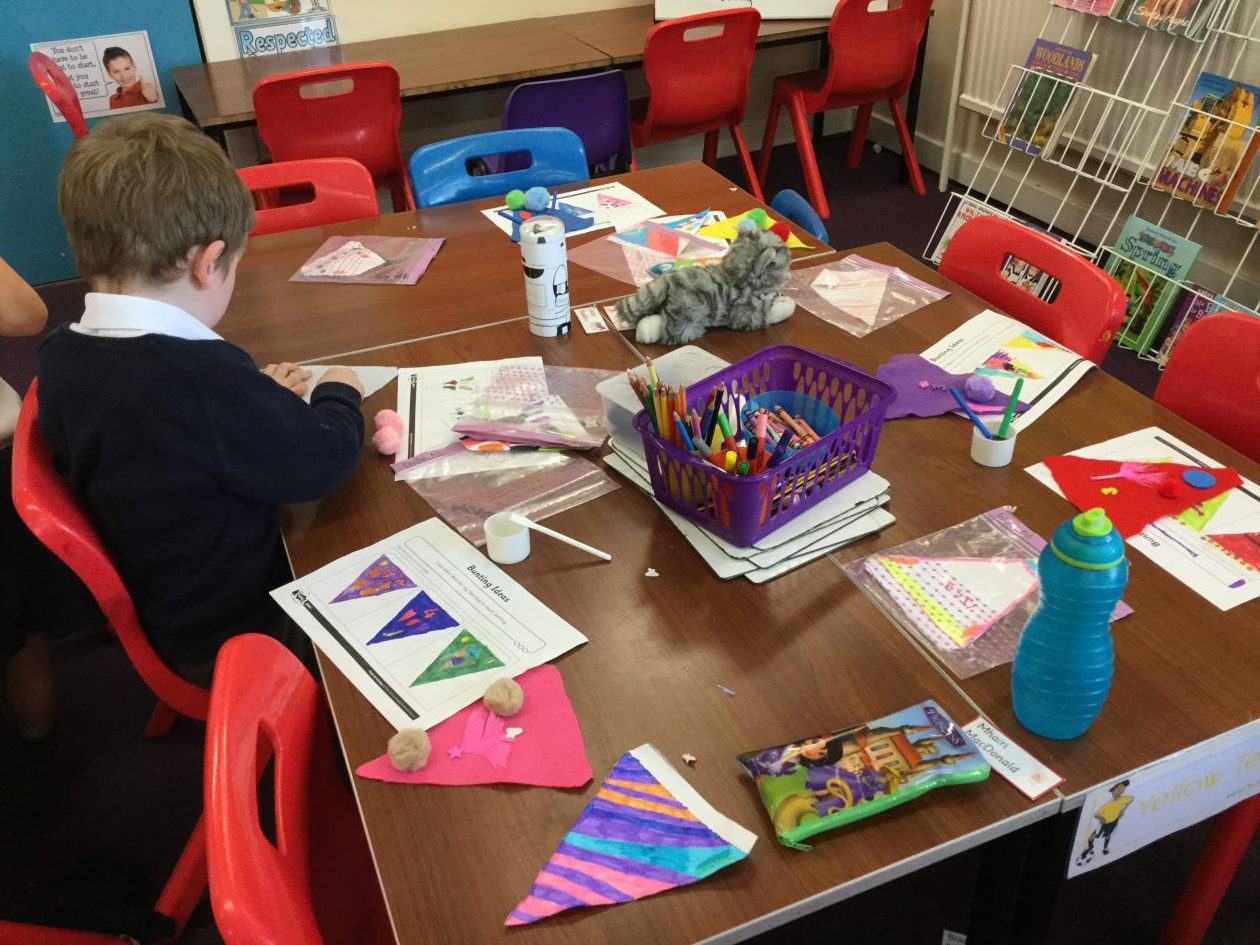
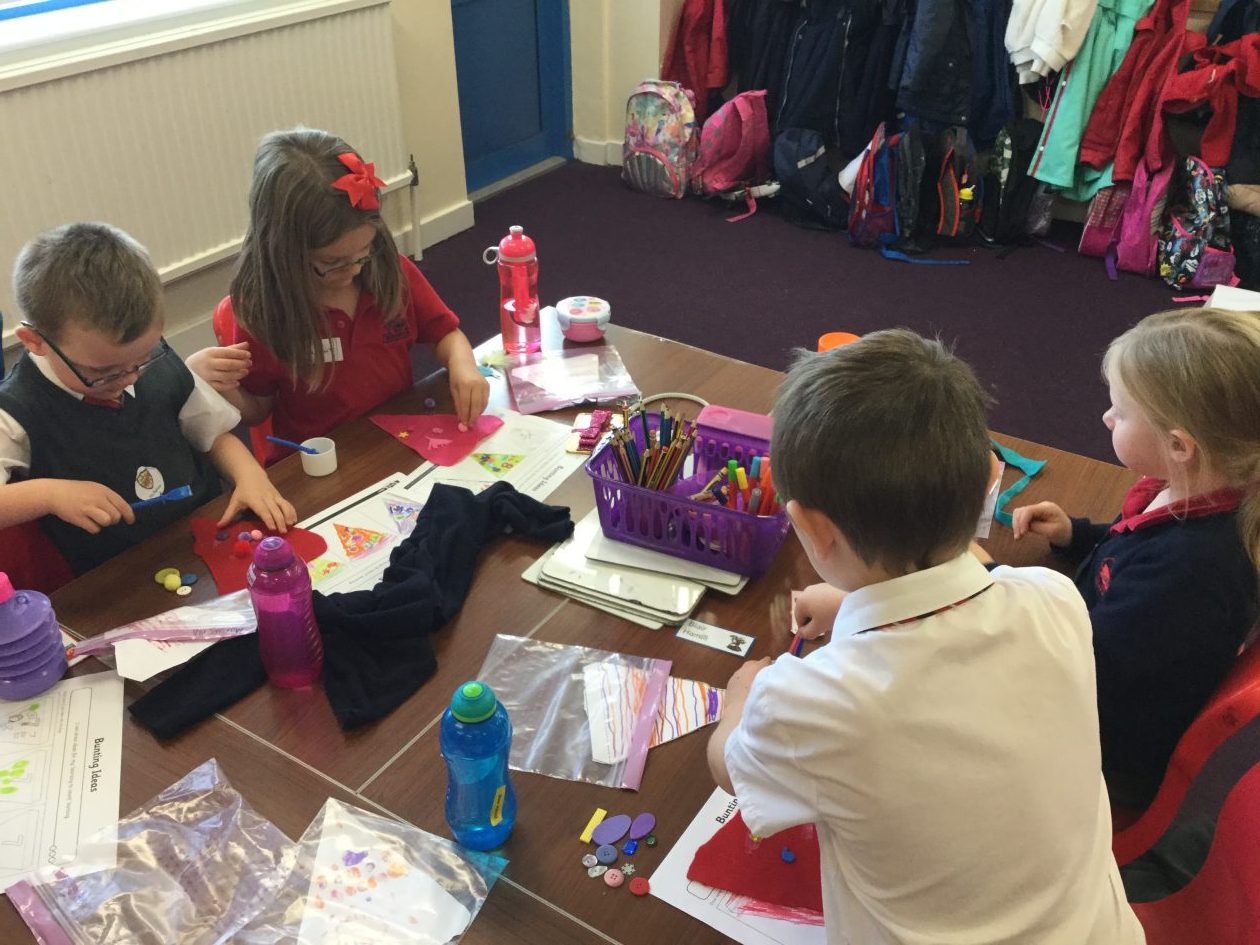
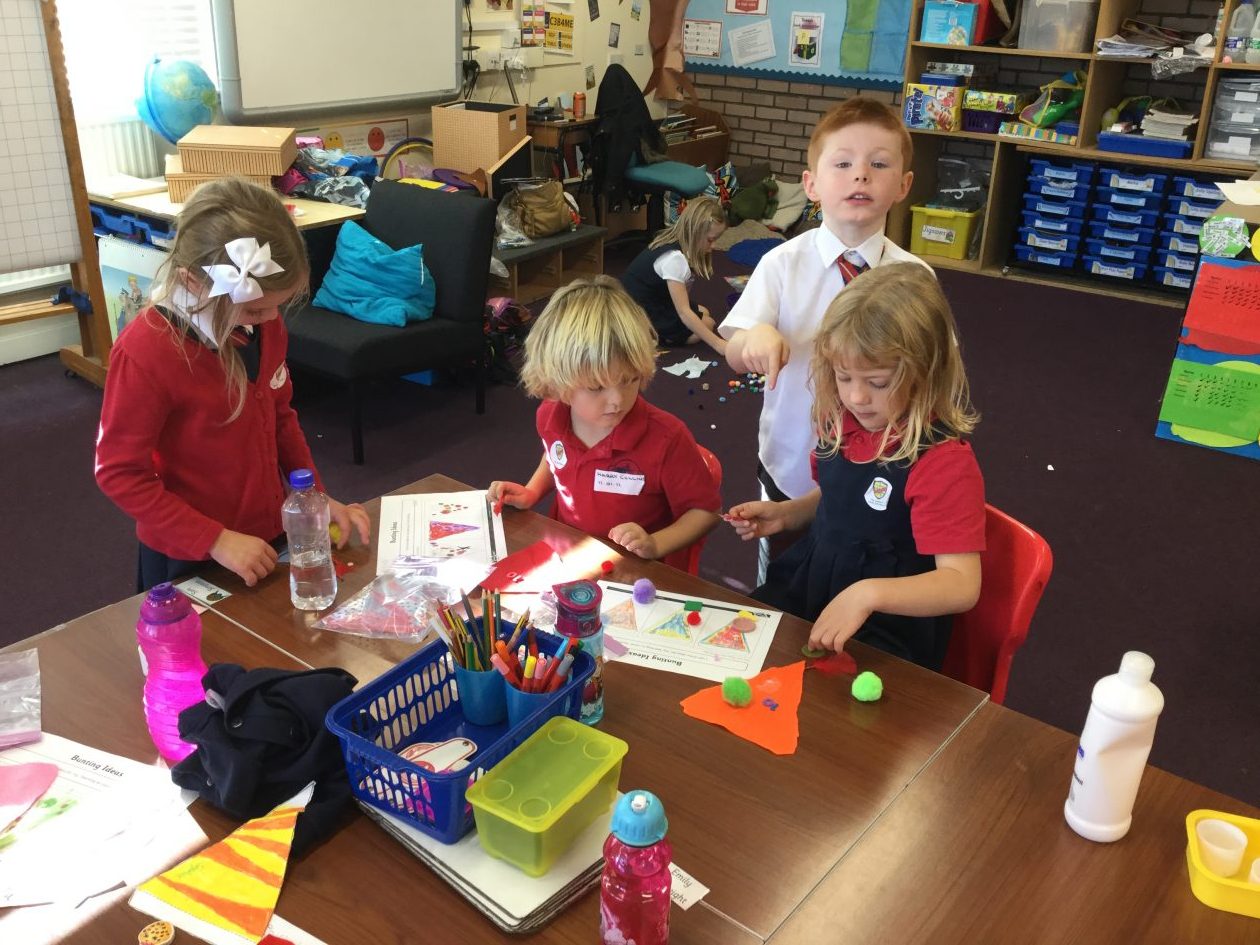
P1F are making great progress with their bunting craft and design project. They started by creating some fantastic designs for their bunting. It was then time to give each other some feedback by using 2 stars and a wish. This is when they think about 2 things they like about the design and 1 thing they would like to improve.
In the photos below you will see the class hard at work on making their templates for the bunting. This will ensure the bunting is all the same size. We discussed how to hold and use scissors safely and correctly. I was very impressed with how well the class worked and how good their cutting skills were.
P1F are making great progress with their bunting craft and design project. They started by creating some fantastic designs for their bunting.
The design criteria said that the designs should be; bright and colourful, have an easy to read number and, if possible, have drawings on it that match the number on the bunting.
It was then time to give each other some feedback by using 2 stars and a wish. This is when they think about 2 things they like about the design and 1 thing they would like to improve.
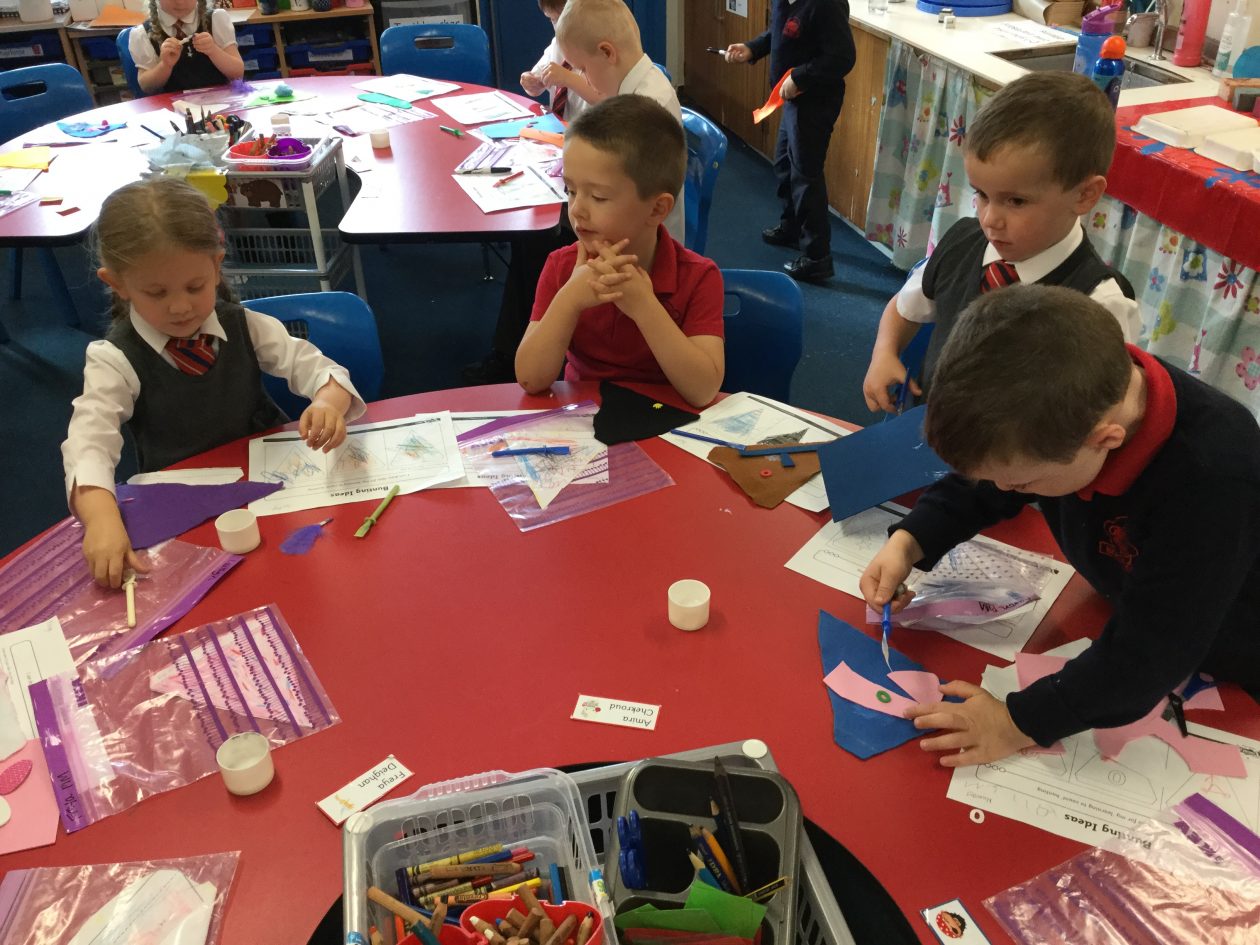
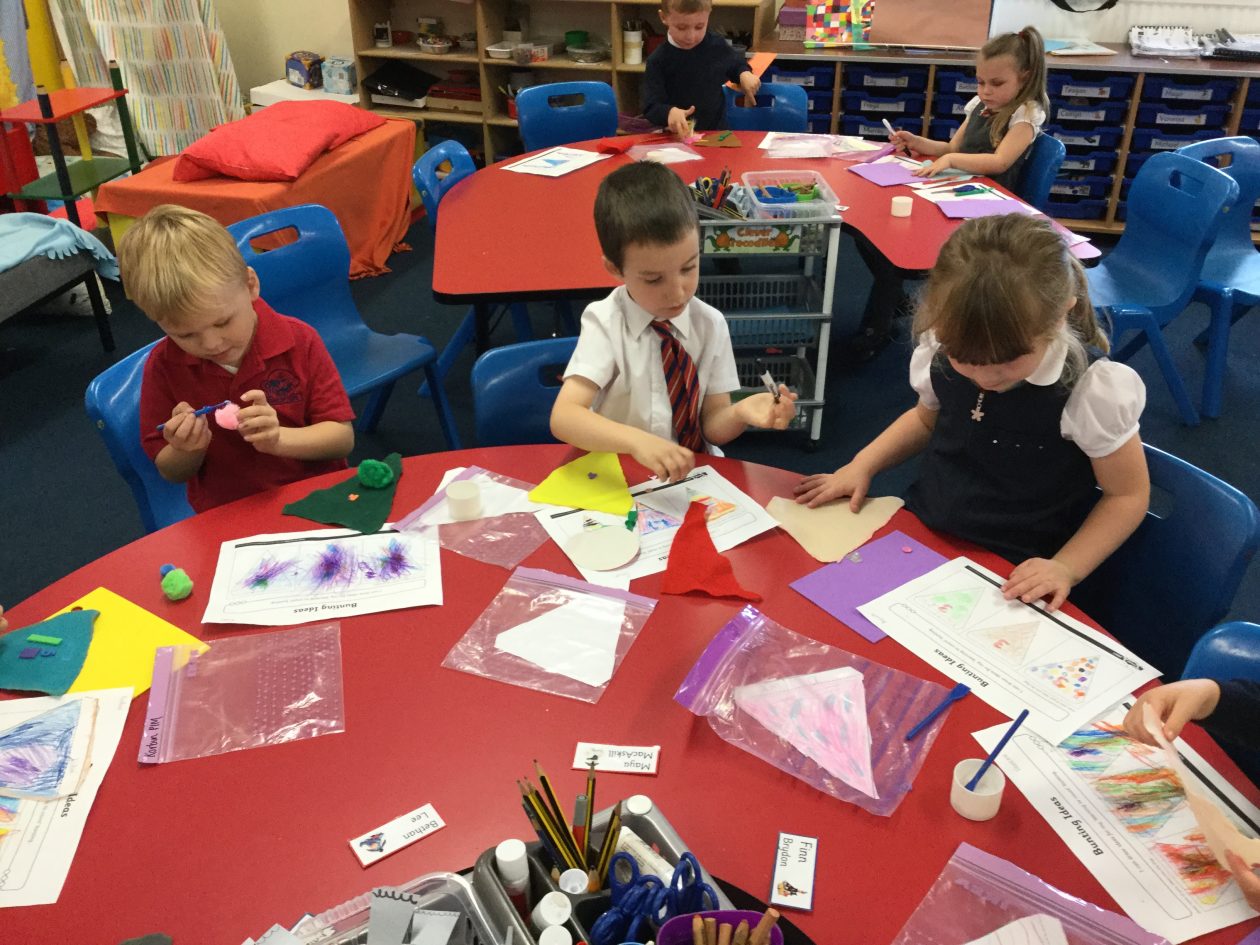
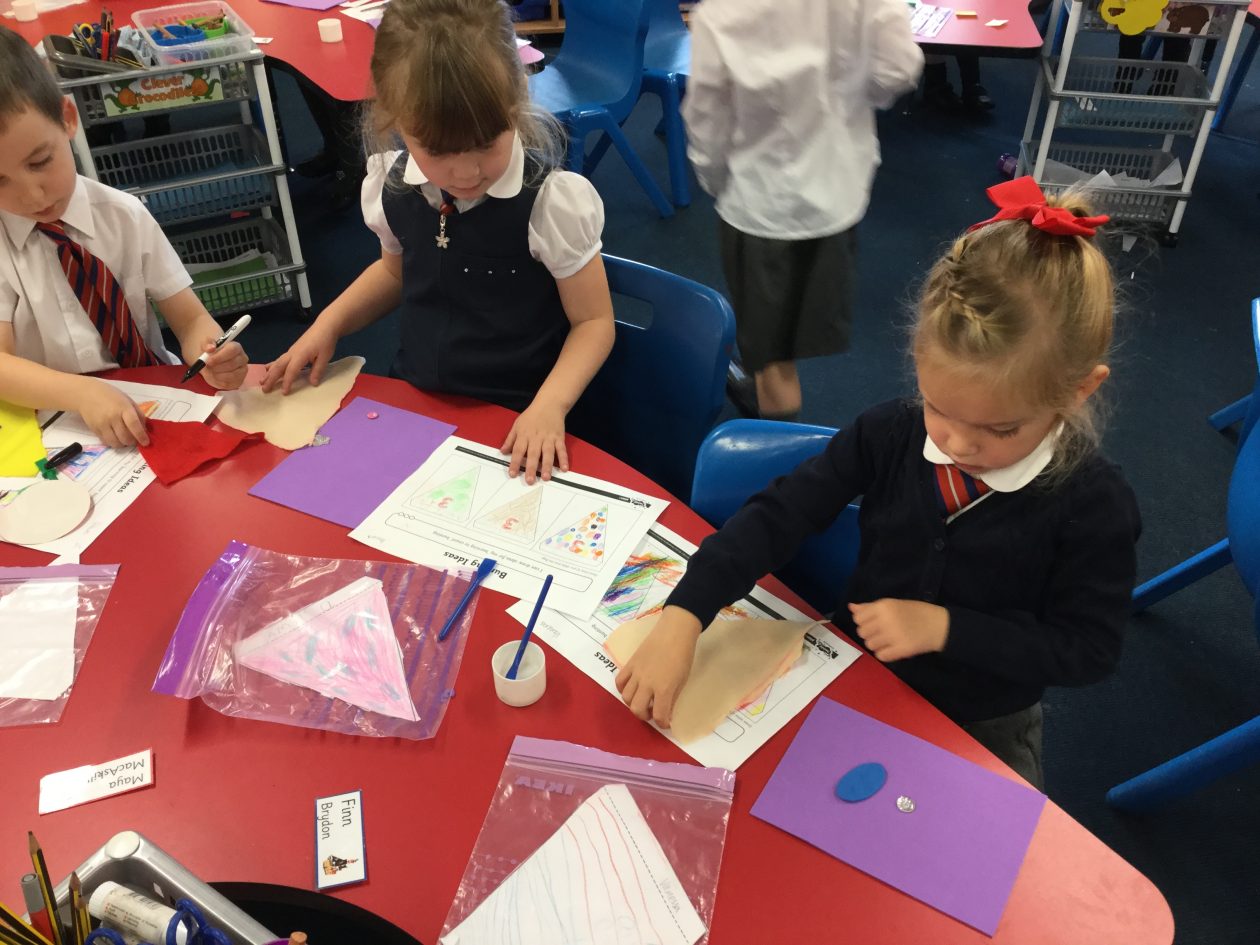
P1H are making great progress with their bunting craft and design project. They started by creating some fantastic designs for their bunting.
The design criteria said that the designs should be; bright and colourful, have an easy to read number and, if possible, have drawings on it that match the number on the bunting.
It was then time to give each other some feedback by using 2 stars and a wish. This is when they think about 2 things they like about the design and 1 thing they would like to improve.
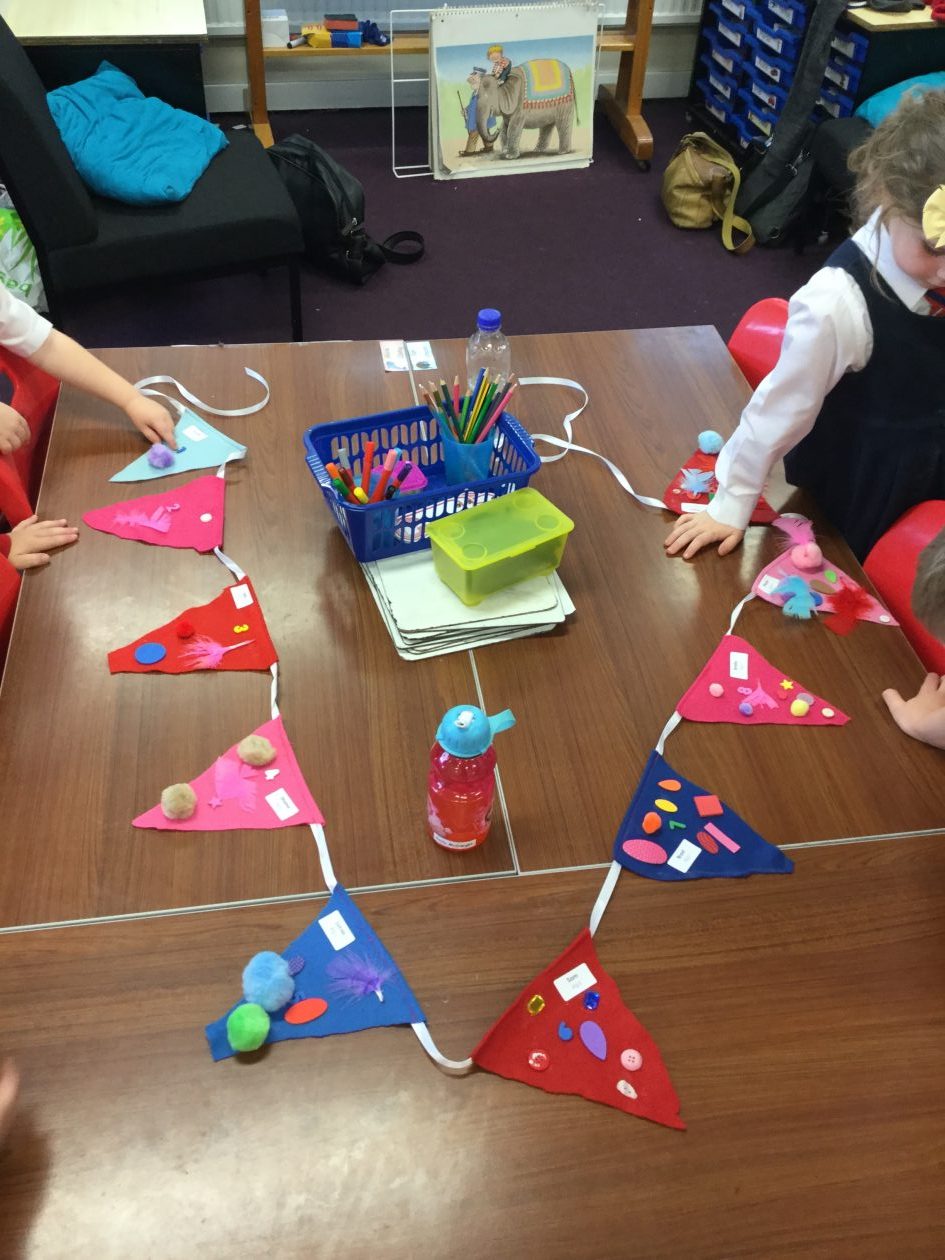
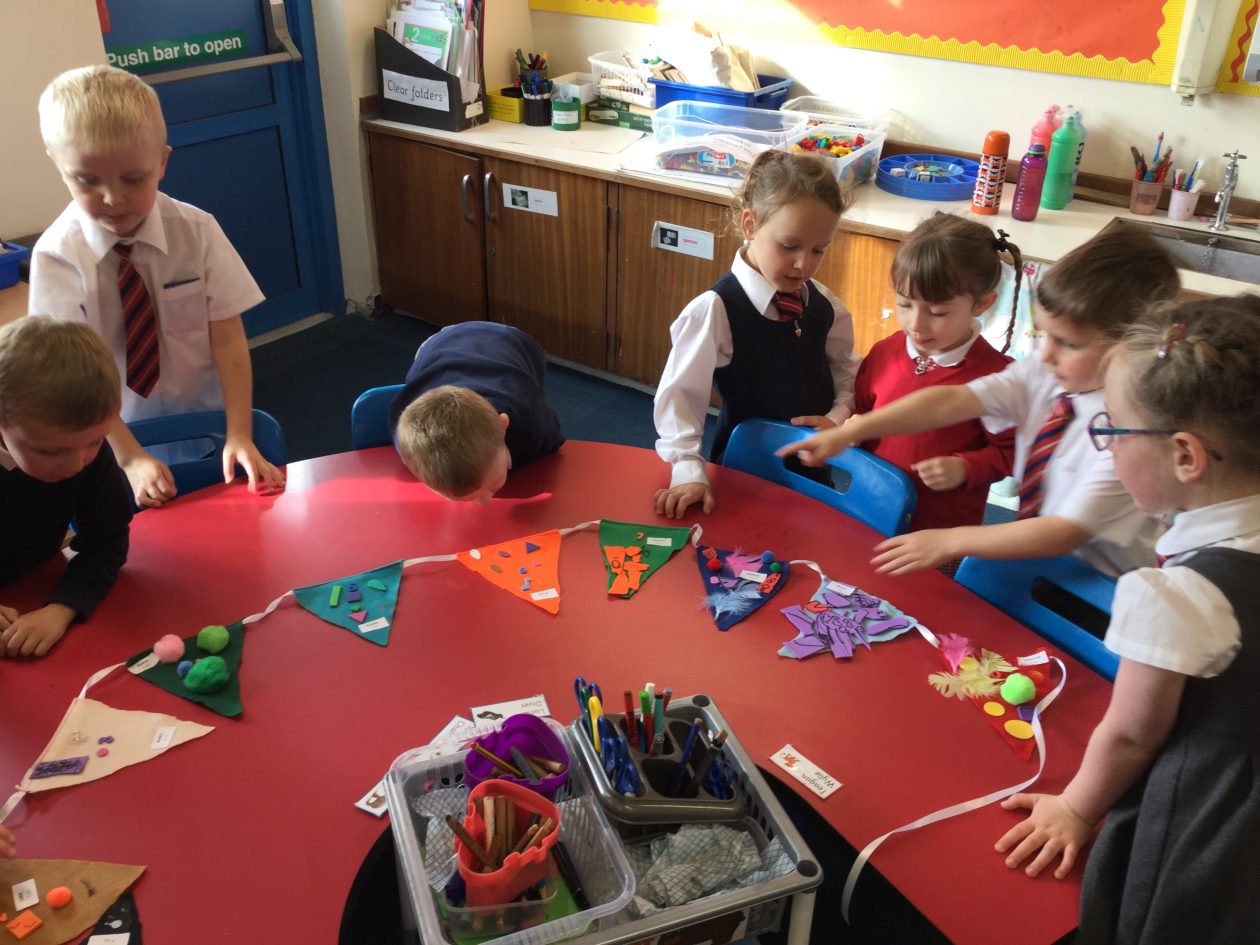
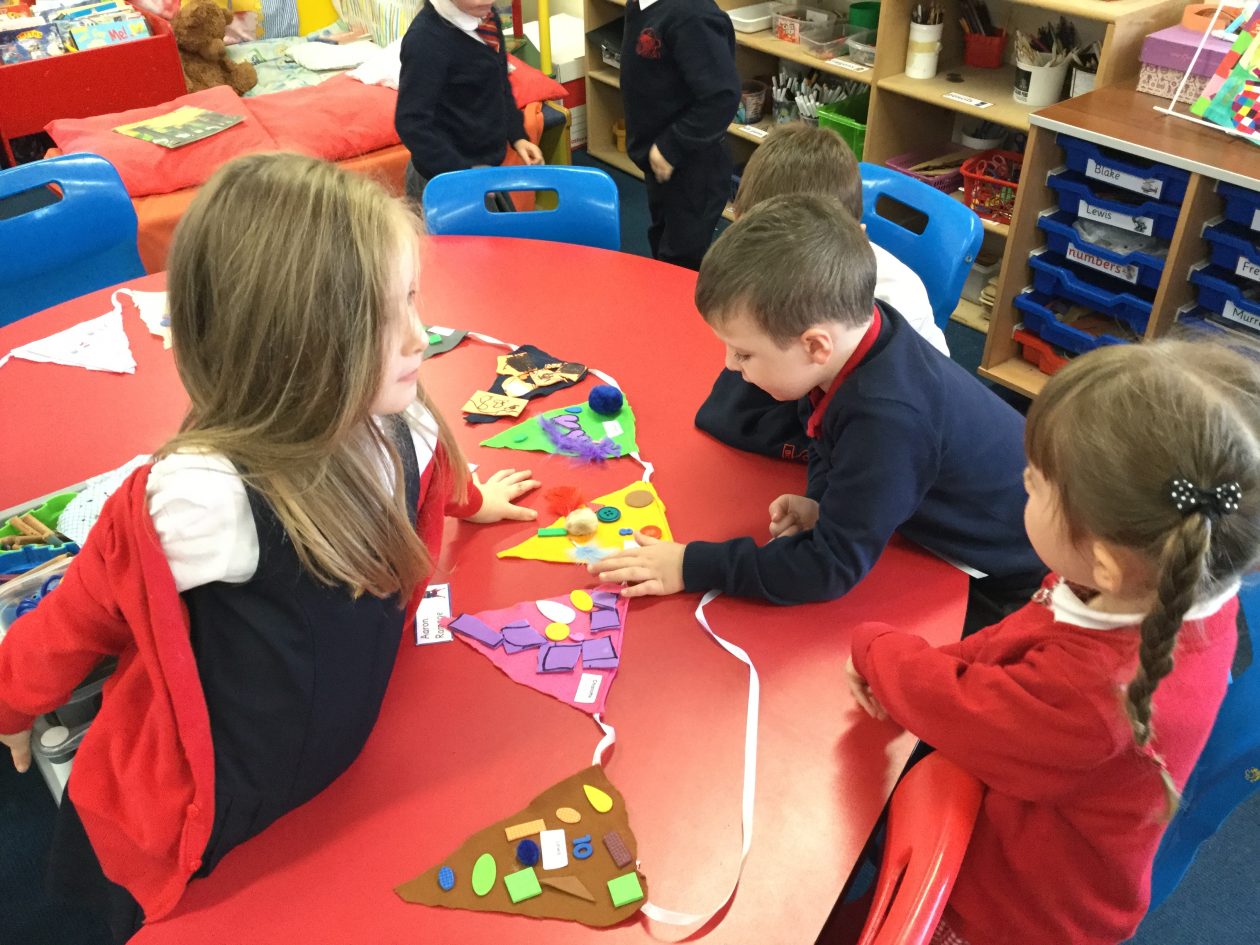
This week, P2/1 completed the final stage of their bunting craft and design project – decorating the bunting! They were given a wide selection of materials to use to decorate their flag and had to try and match up their flag number to the number of items they glued onto their flag.
The class worked well together to check the counting and number matching were correct. When they were finished, the class checked their flag against our project design criteria. The numbers had to be easy to read and be flags needed to be bright, colourful and appealing to other children.
When the glue has dried, I will take the flags home and sew them all together to make our amazing 0-10 counting bunting!
This week, P7S finished off their annotated drawings of their catapult designs and started to build them. Thank you to the groups who remembered to bring items in with them to create their catapult. If you are in a group who did not bring their materials with them, please remember to have them in for next week! This will be the only time available to build the catapult before the October holidays and you cannot change your design from the one on the drawings at the last minute!
We will try out the catapults when they are finished but will not be testing them properly until after the holidays so we can do it fairly and without being rushed.
Here are some photos from the catapult building session.
After the success of the prototype kite-flying last week, P5S got down to work on their final kite designs. This week they were tasked with creating a detailed annotated plan of their kite and writing a list of all the materials they will need. They made great progress with their designs. Once these are finished off next week, P5S will begin work on building their kites.
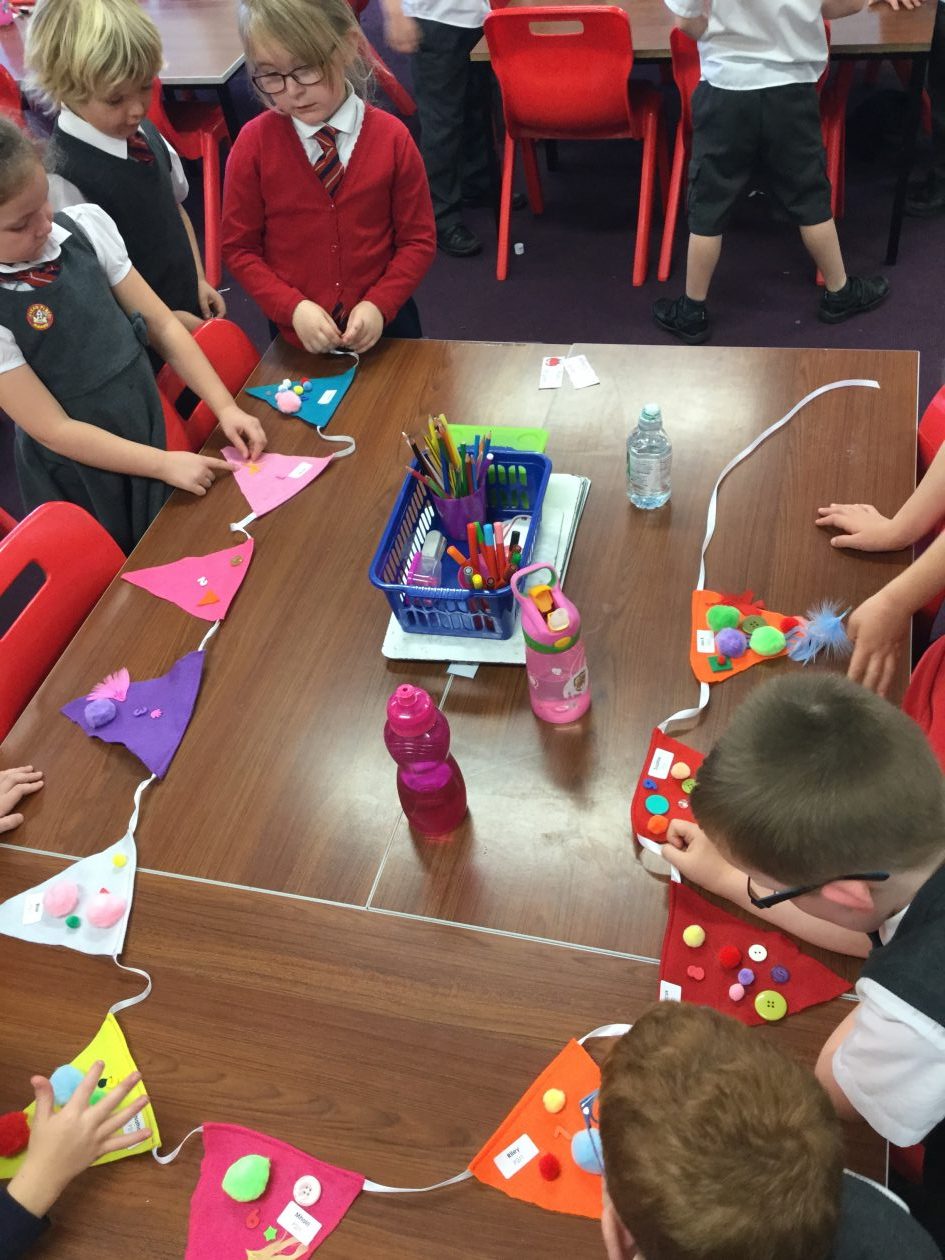
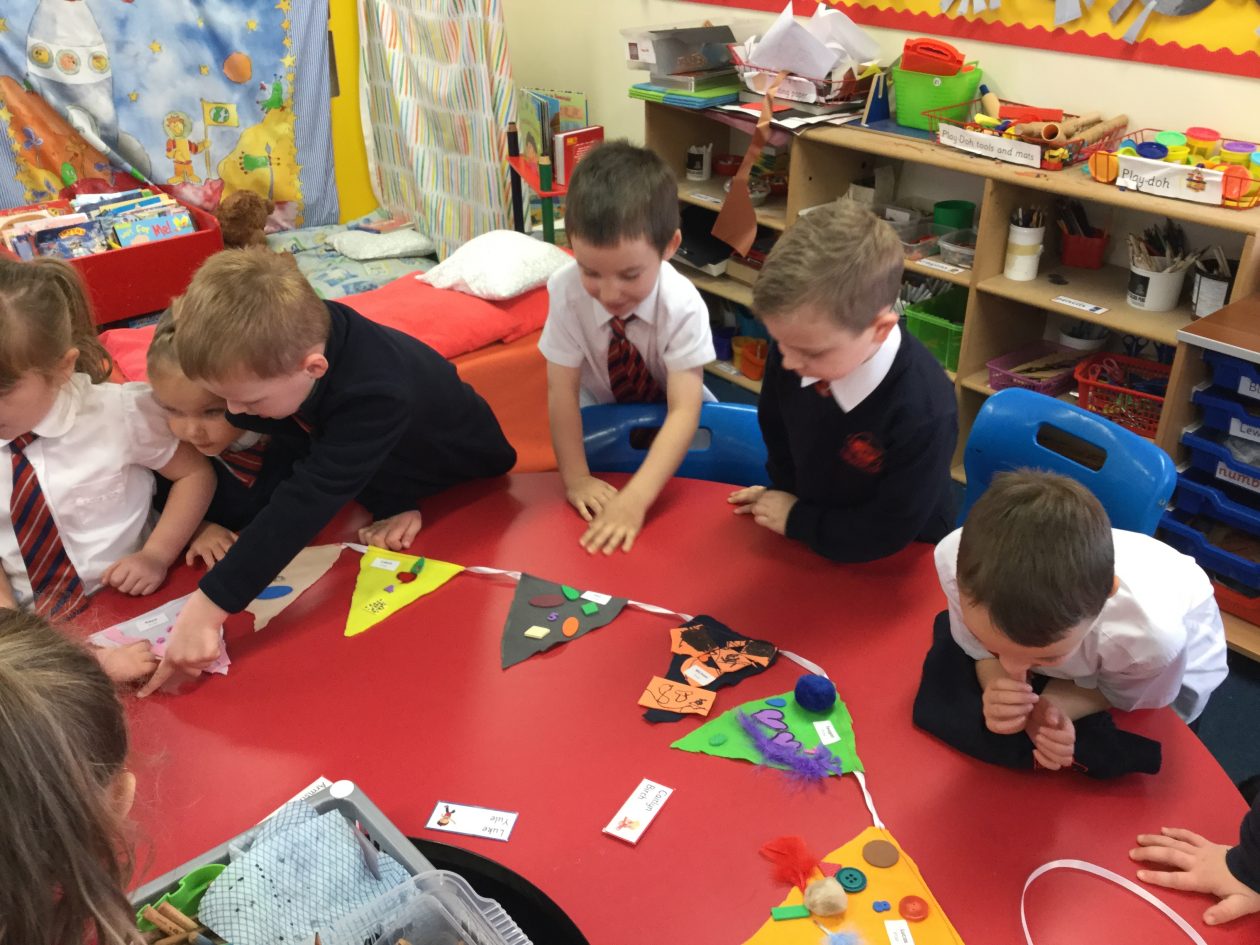
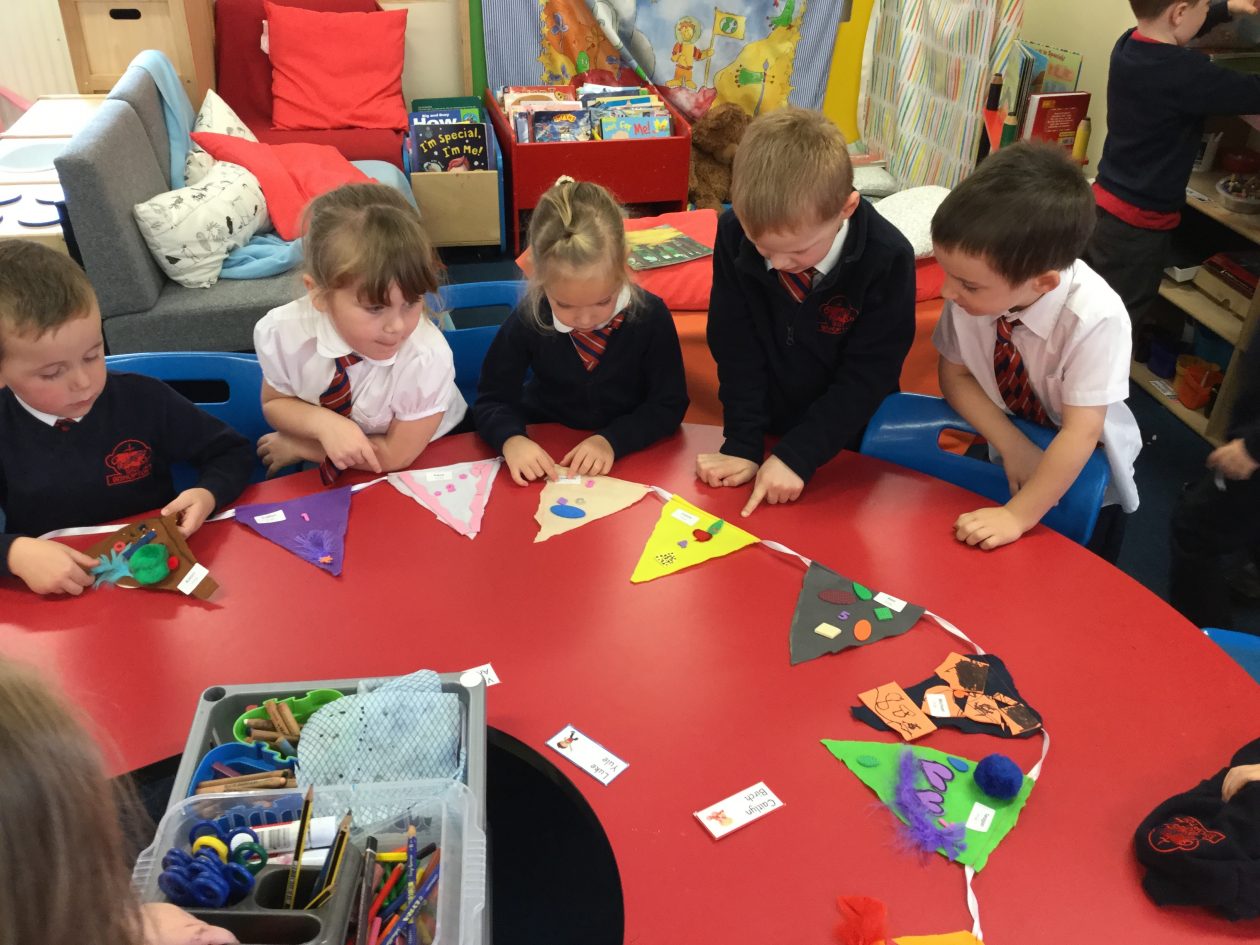
This week, P1M completed the final stage of their bunting craft and design project – decorating the bunting! They were given a wide selection of materials to use to decorate their flag and had to try and match up their flag number to the number of items they glued onto their flag.
The class worked well together to check the counting and number matching were correct. When they were finished, the class checked their flag against our project design criteria. The numbers had to be easy to read and be flags needed to be bright, colourful and appealing to other children.
When the glue has dried, I will take the flags home and sew them all together to make our amazing 0-10 counting bunting!
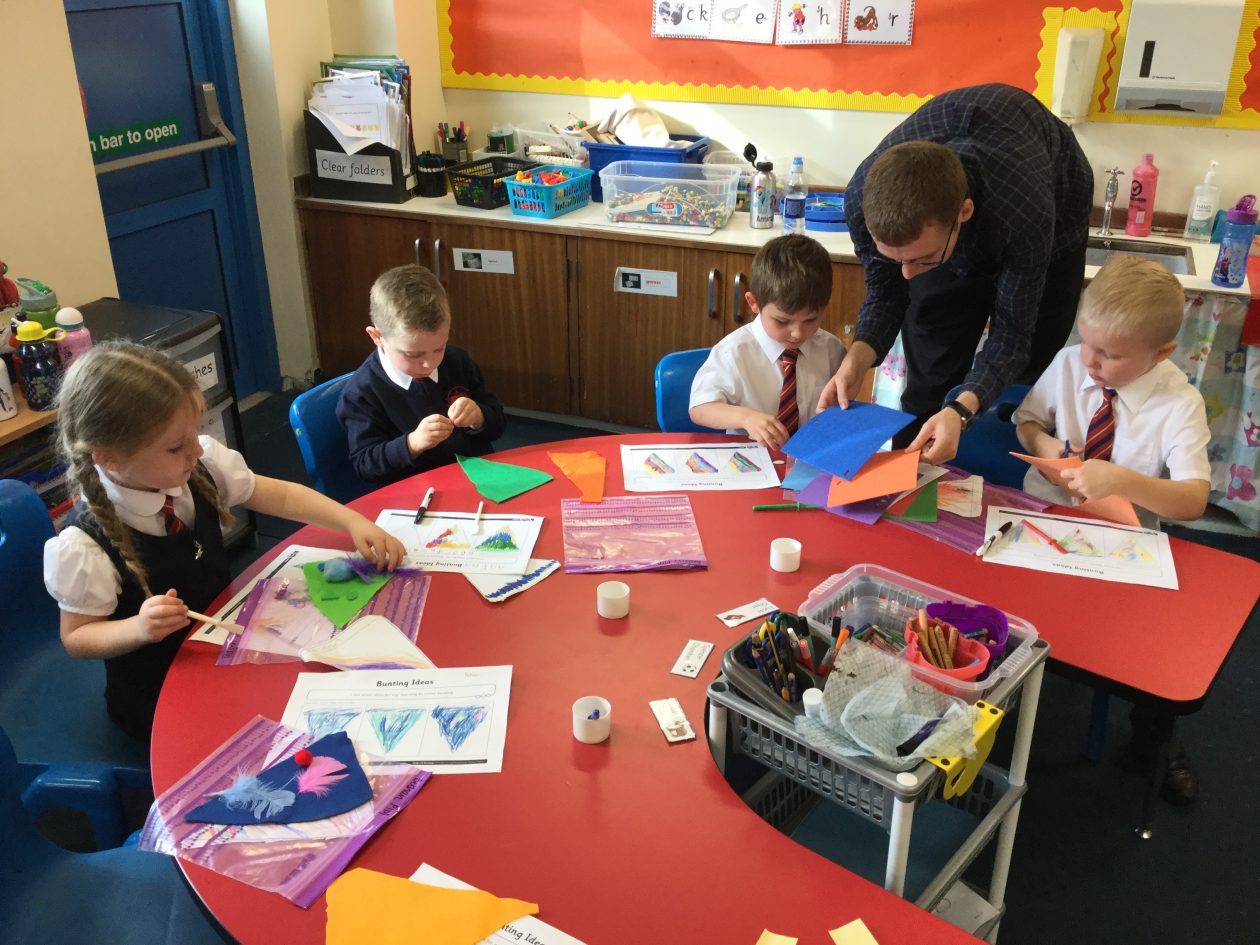
P3H are continuing to make great progress with their juggling balls craft and design project. This week, they learned how to tie dye to give their juggling ball material an interesting pattern. The tie dye will be the background for their circus-themed drawings on the balls that they designed last week.
We learned about the different knotting techniques used when tie dyeing to give a different effect. The effects include: spots, spirals, stripes and grids. It is important to tie the elastic bands tightly around the fabric before dyeing as this is what stops the dye from staining the fabric and creates the brilliant patterns.
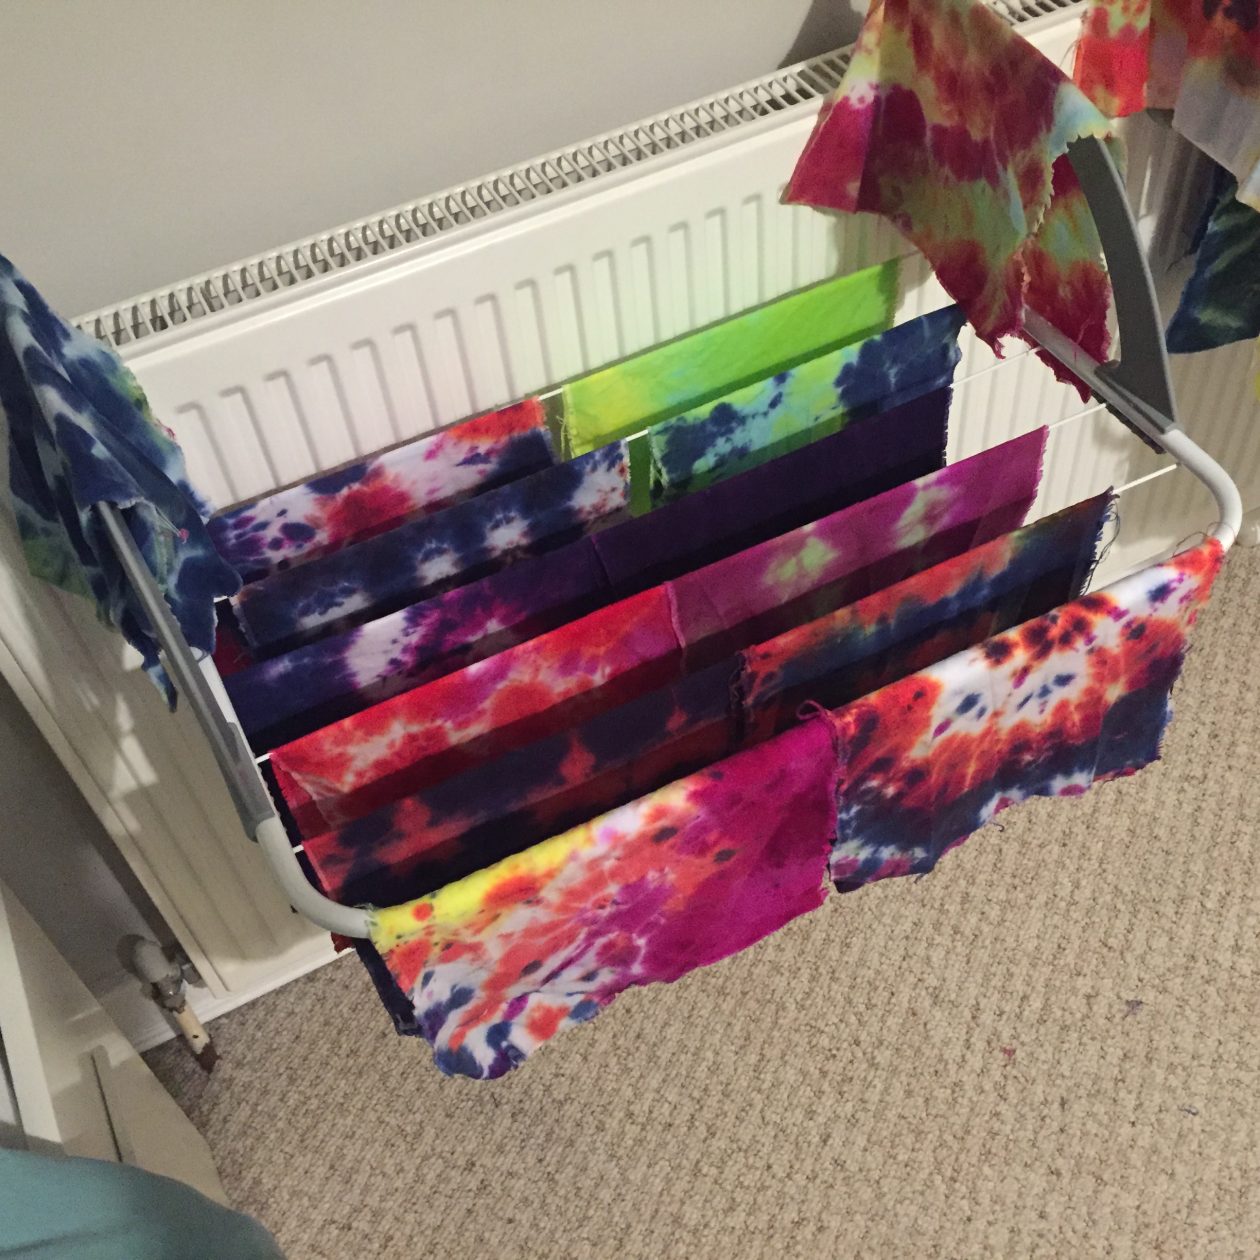
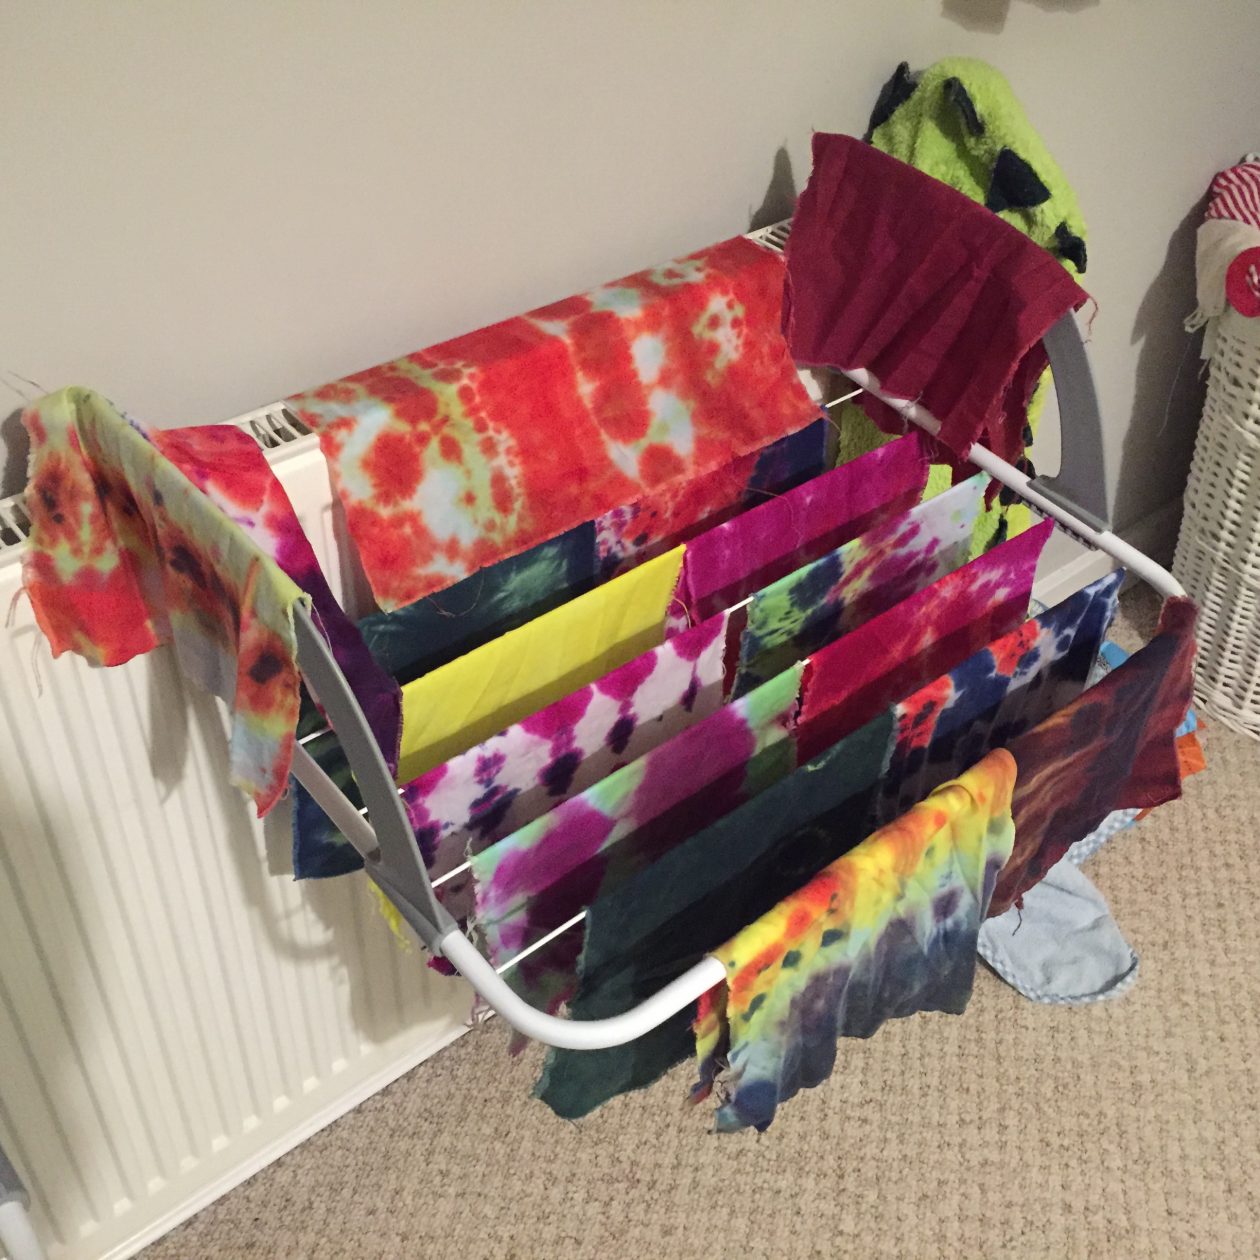
I thought I’d give you a little sneak peek of your tie dyed material. Next Thursday seems too long to wait to see how wonderful it looks. Here are the fabrics after having the extra dye rinsed out and then washed at a very hot temperature in my washing machine. They are looking fabulous! Unfortunately, I forgot to take gloves home with me for the washing so my hands are now very purple!
Next week, P3/2 will be creating new, and improved, lunchboxes for Mr Grinling. To help with this, we would be grateful if you could send in any empty shoe boxes, cereal boxes and any other materials our lunchbox designers think tfhey need for their design.
Well done to to the Ospreys for receiving the most house points over the last 4 weeks. They have a non-uniform day tomorrow (Friday 7th) from P2H upwards.


