After clicking to create New H5P content locate the Find Multiple Hotspot content type and click Details, the information screen appears:

Click Install:
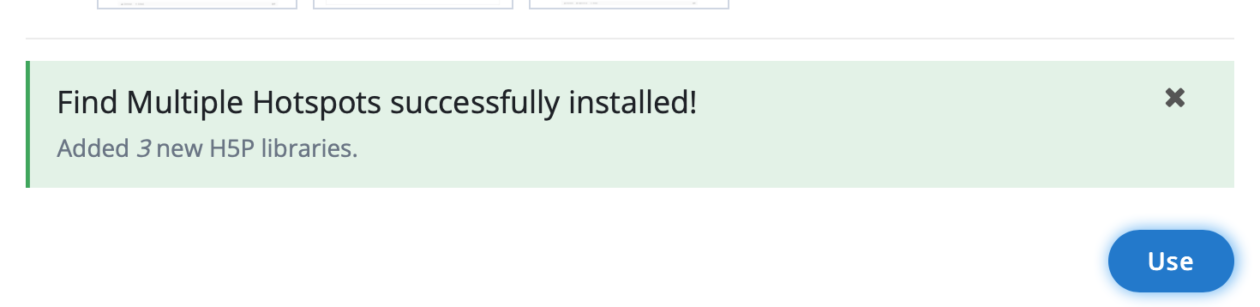
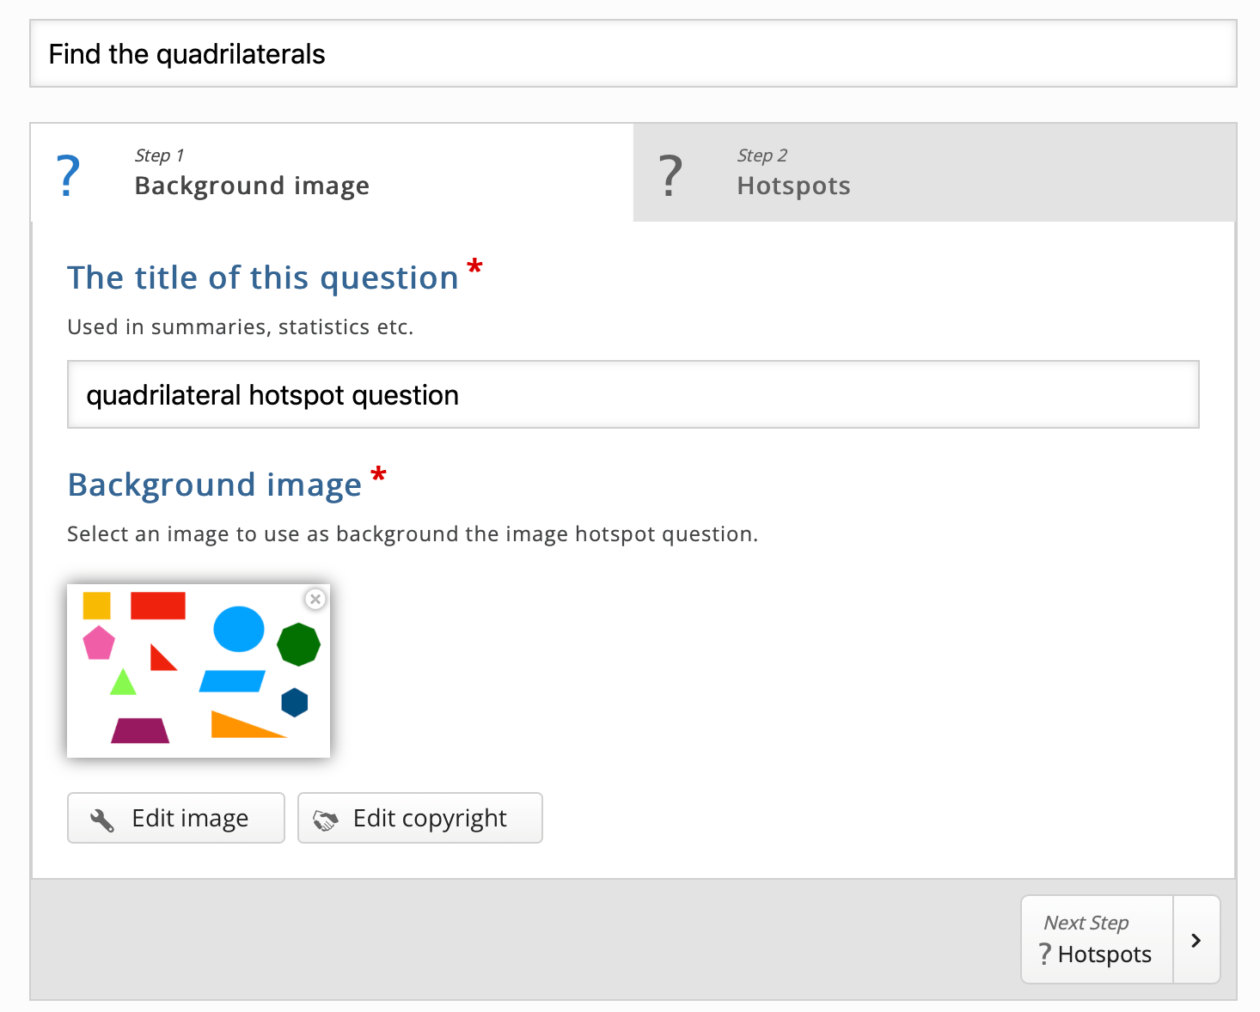
Then click Use, and the creation screen appears. Give your content a title:
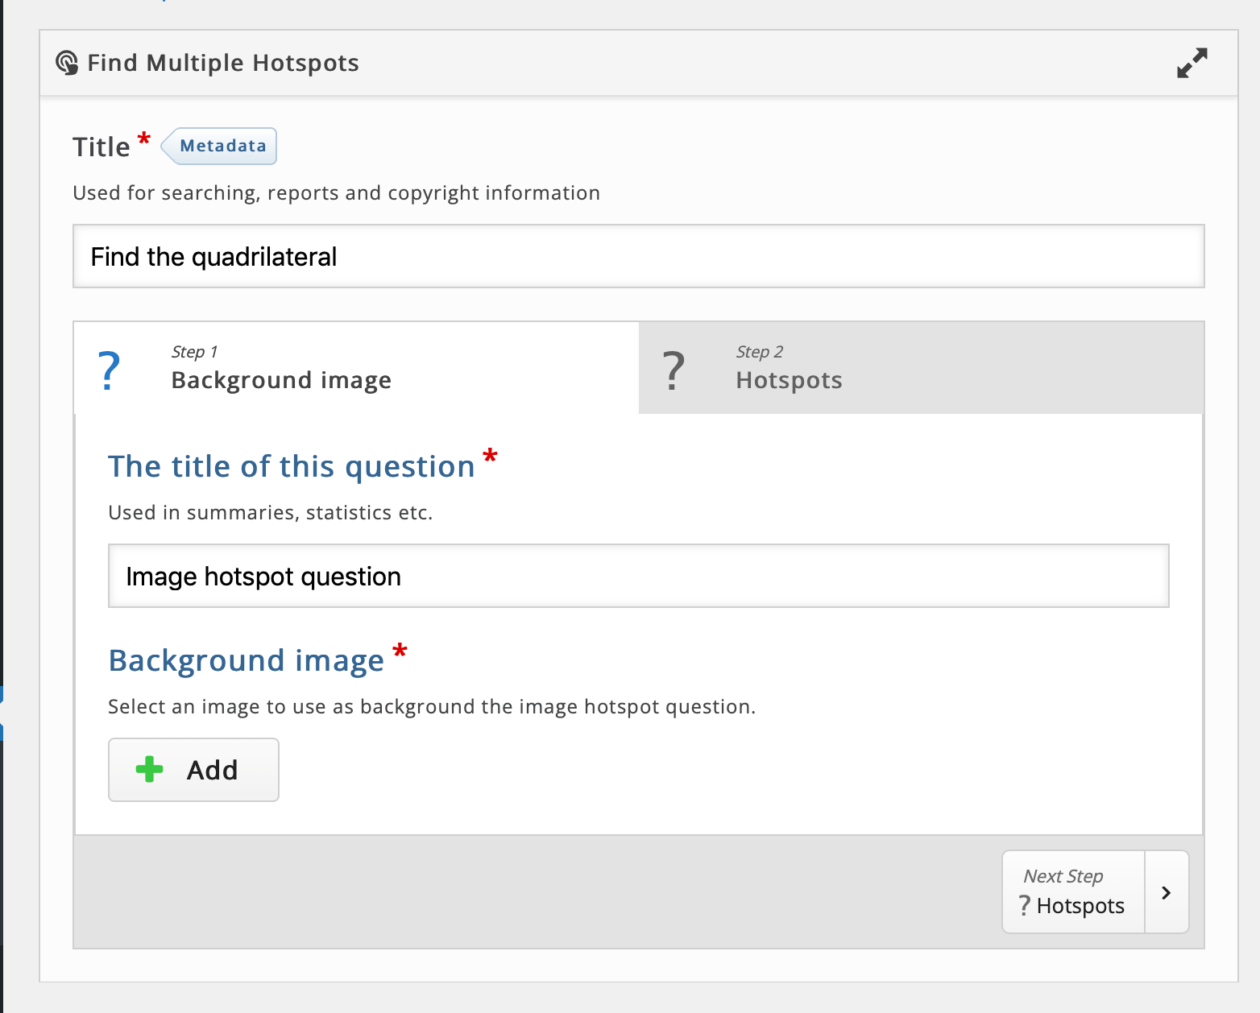
And click the Add button to add the image you want to use.
Click the Hotspots tab or the Next Step Hotspots button.
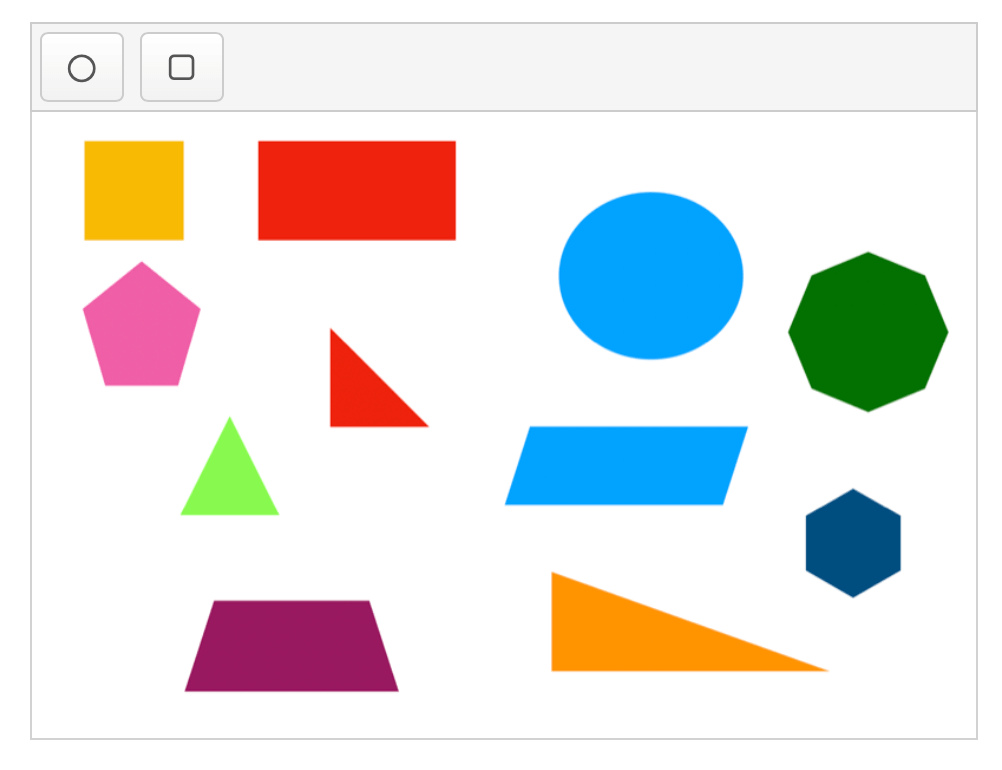
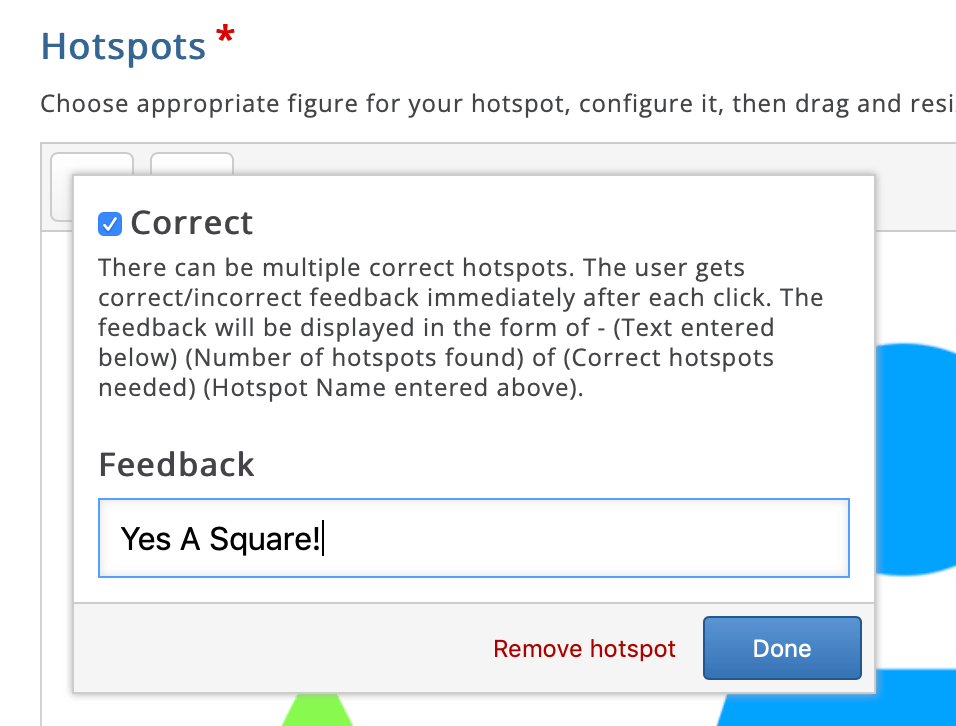
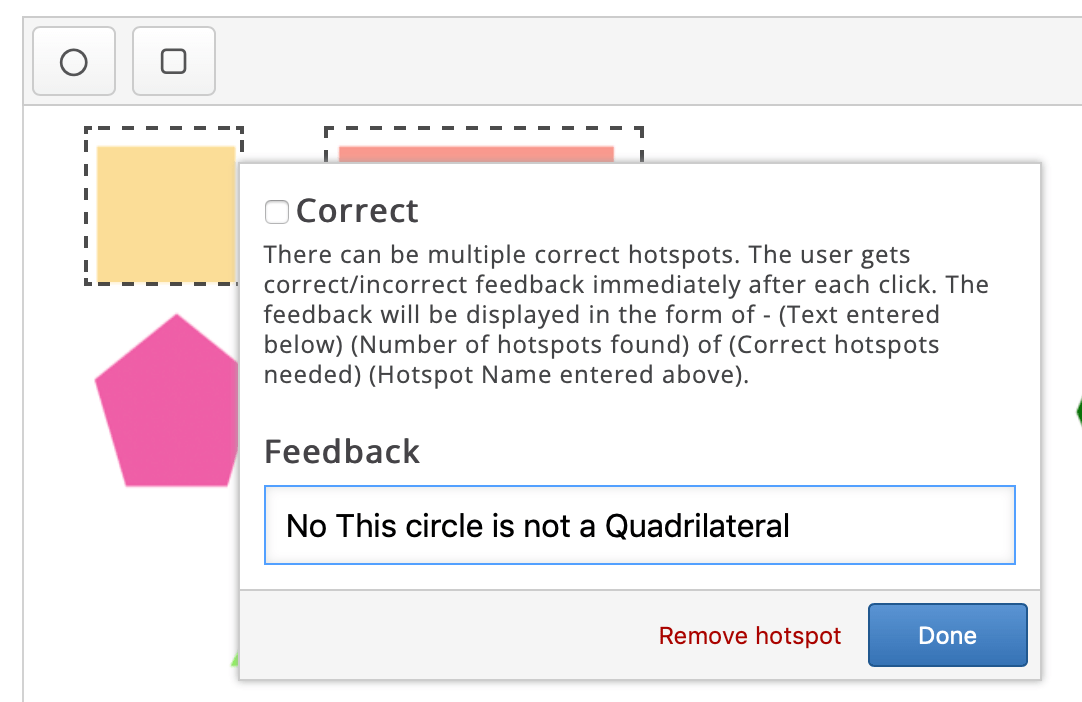
you can use the circle or square button at the top left to add a hotspot. When you do a dialog appears where you can indicate if the hotspot is the right one and give feedback:
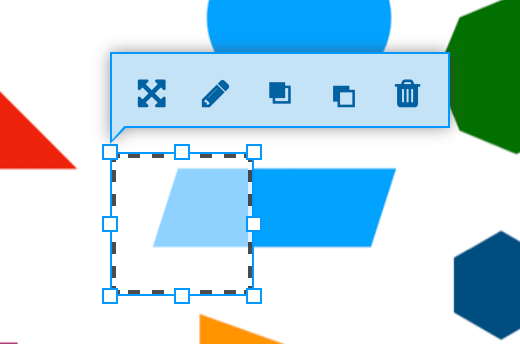
When you click Done you can resize and move the Hotspot:
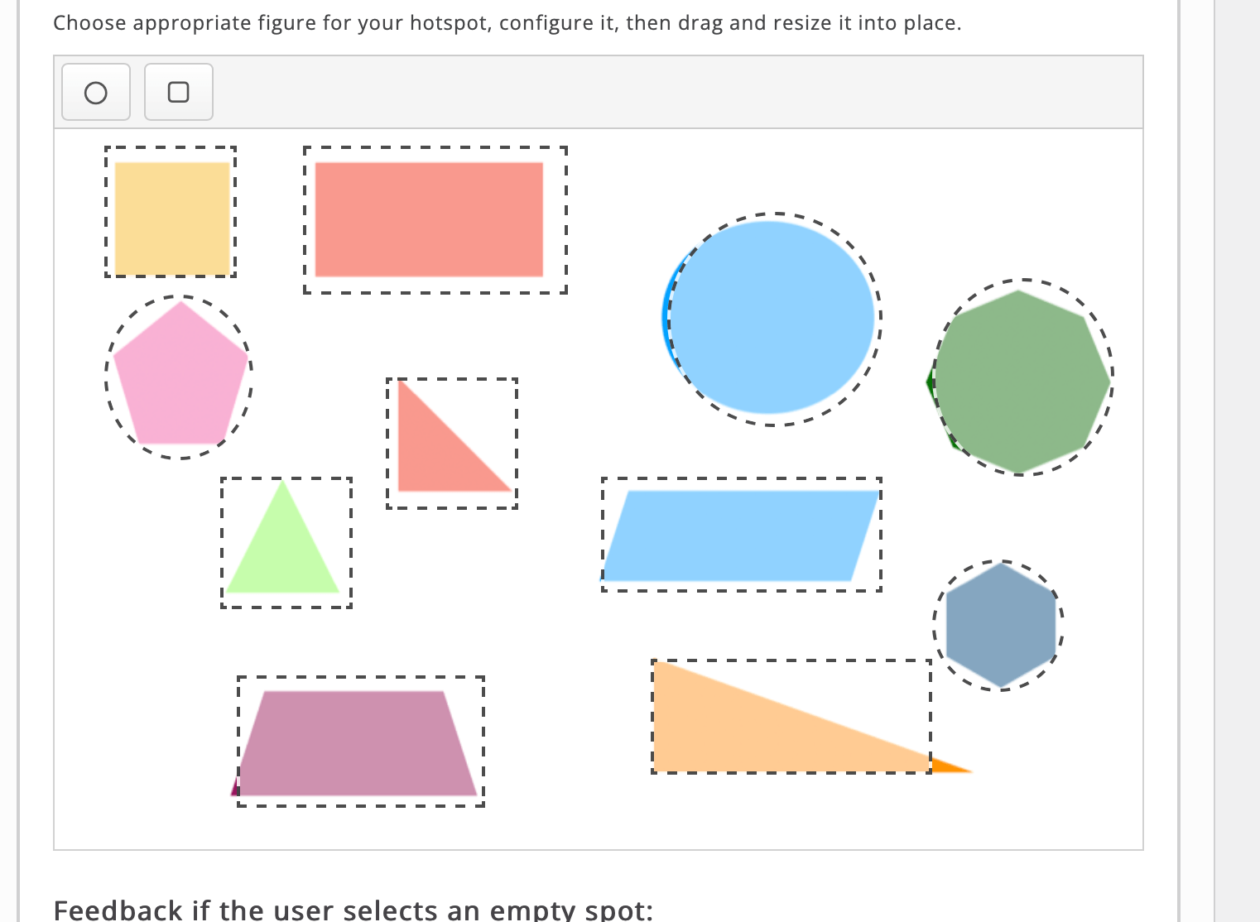
Repeat for all the hotspots you need:
Once we have added all the hot spots we need to create the content.
Creating Contents
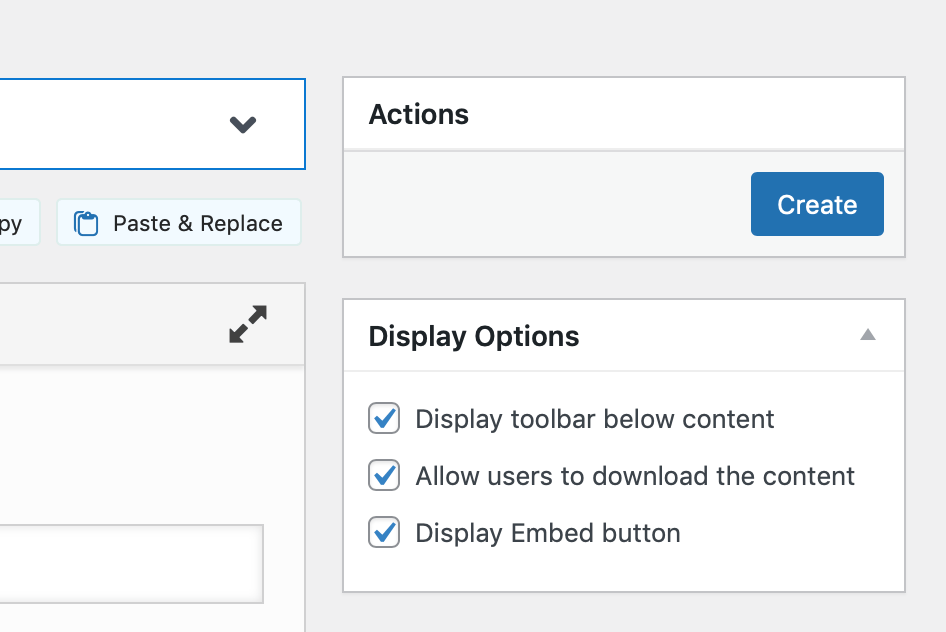
In this case we disallow the copying or downloading of content:
After clicking Create it can take a few moments for the content to be created.
Publishing the Content on a Post or page
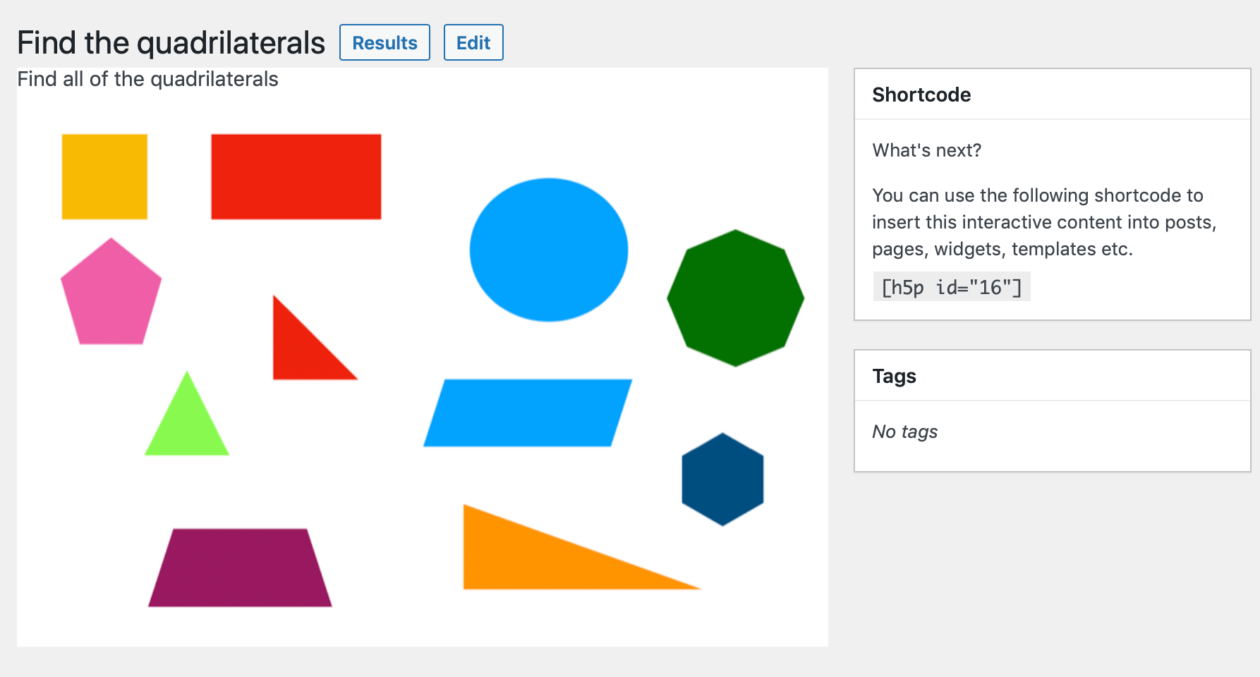
On this screen you can try out the content and copy the shortcode to add it to a post or page.

So here is the content, I just pasted [h5p id="16"] into the page editor:
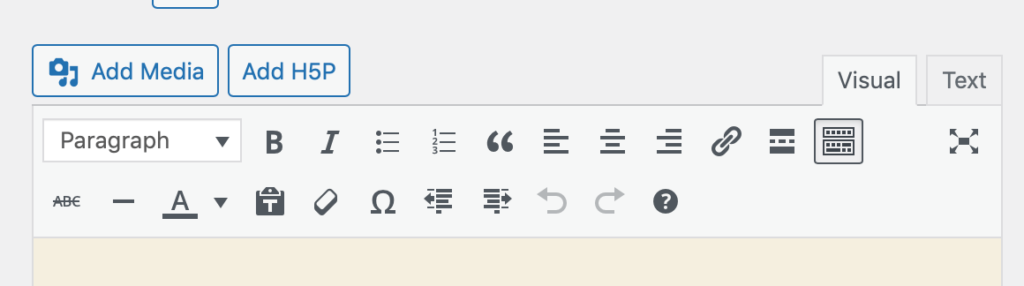
You can also use the Insert H5P button on the classic editor toolbar.
There are a lot more detailed tutorials for adding different content types on the Tutorials for authors page on the H5P site.