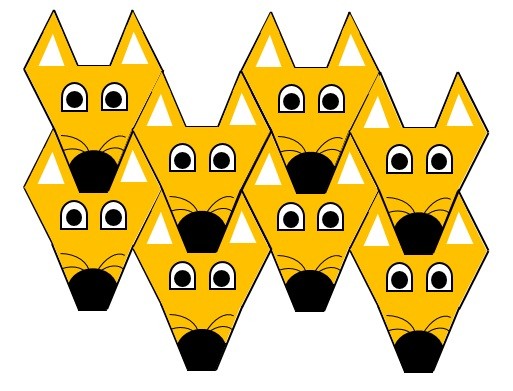
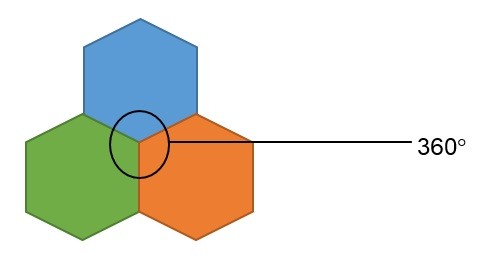
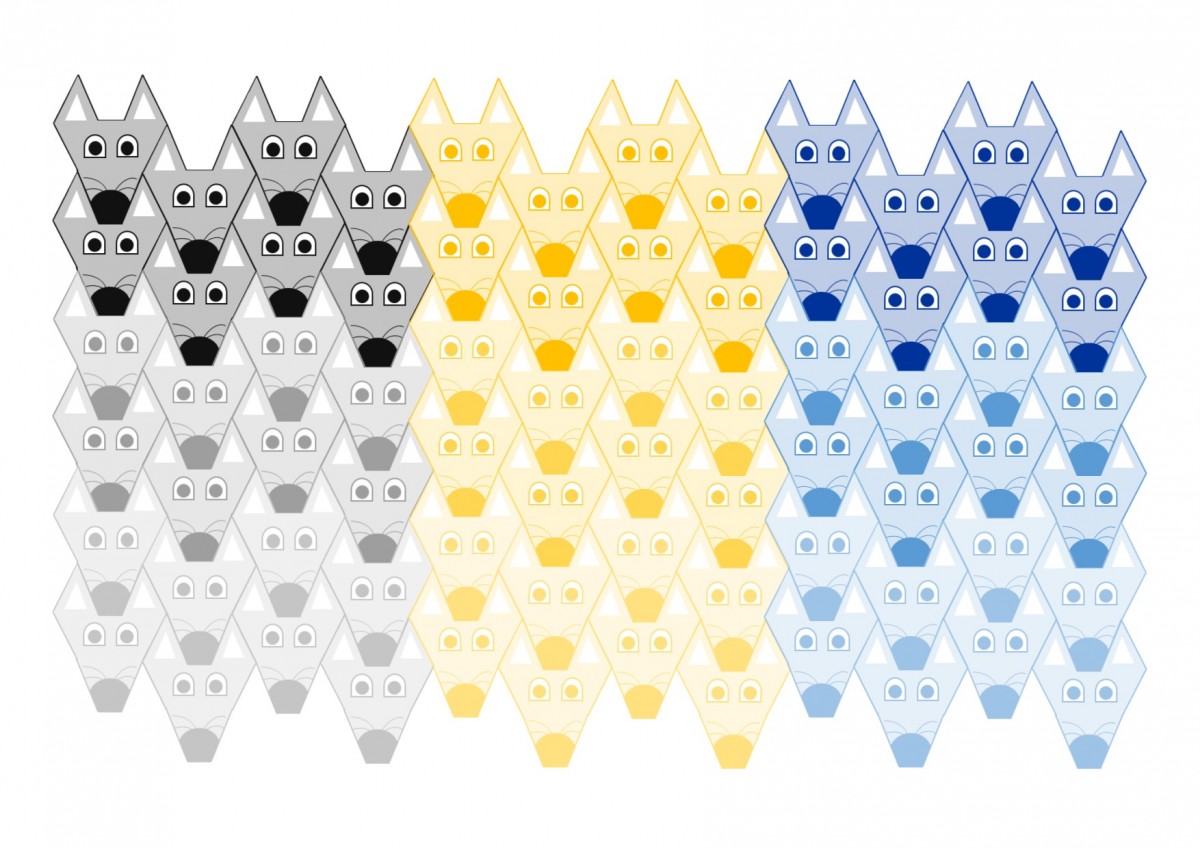
As a small group we were set the task to create our own number system. We had already looked into different ways and symbols used to represent numbers (Egyptians, Roman numerals, Ancient Indian numerals, the Munduruku tribe and many more). After taking inspiration from all of these different number systems we had decided to create one that had links to mathematics in another way. Below we can see our small chart which explains the original number in one column, the symbol in the next column, the name of the value in the next column and finally the pronunciation in the last column.
This activity was very interesting to complete and to see how well we could develop our own system without it being too difficult. Once we started we found that it was going to be very hard to drift away from our normal base 10 system and our recognisable numbers. However, after giving it another relationship to maths then this allowed for us not to get too mixed up.
We could have continued this up to 10 or 12 however, if we keep it a 6 based system it would have a different method. For example once I had reached hexiy (6) I would go back to the start adding Oyo to the start of each number; Oyo-oyo (7), Oyo-veya (8) and so on. Once reaching Oyo-hexiy (12) you then would change the Oyo to a Veya; Veya-oyo (13), Veya-veya (14) etc. This method would continue all of the way up, working through each number (1-6) until we got to Hexiy-hexiy (42). What would happen here is that a new column would open up what could effectively mimic the hundreds column: Oyo-noy-oyo (43), Oyo-noy-veya (44).
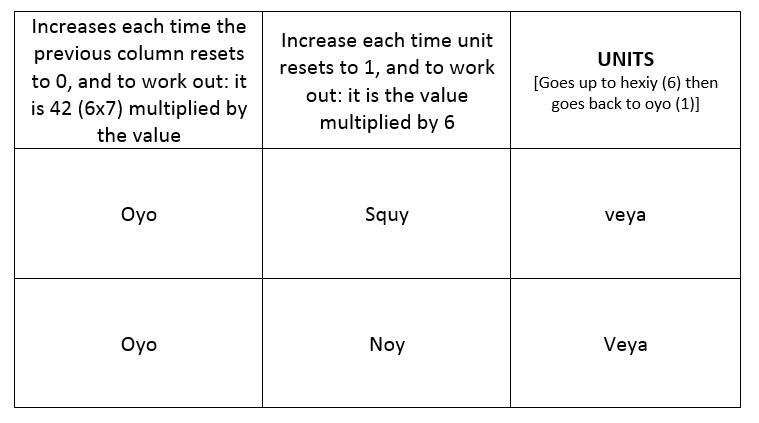
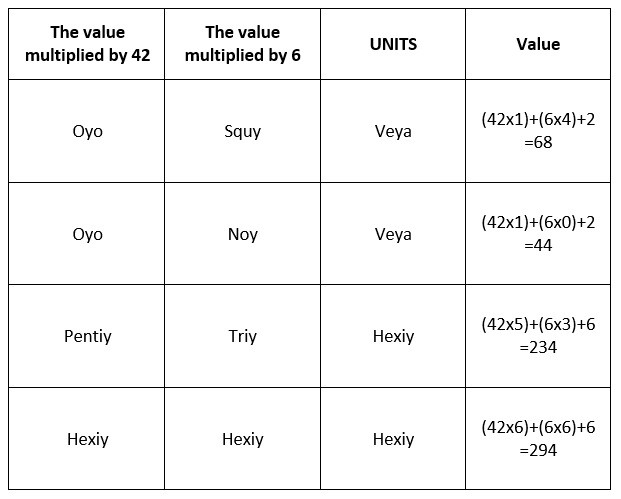
Without going into too much depth the way in which these numbers work would be through columns. The first column on the right acting as a units column then every time we reach a six the next column to the left increase by 1 while the ‘units’ column always goes back to 1. Then when we reach six within that column the next column increases by 1 while the previous column resets to 0. To work out how much a number is worth you calculate the columns through multiplying and addition. The columns below show the values and methods for calculating the value.
The way in which we work this out is to constantly increase the unit’s column and then reset to 1. Each time this happens we increase the following column by 1. To work out the total value of these first two columns we multiply the second column value by 6 and then we add this onto the unit’s value, which gives us our total value of the number. We then take this further and when the second column reaches the value of 6 it resets to 0 and we increase the third column by 1. By this point to work out the total value you would multiply the third column value by 42 to get one value. Then multiply the second column value by 6 and then add the unit’s value with the two values already calculated from the second and third columns to give us our overall value. This has been shown briefly in the last column of our table
Although this may be quite complicated, and I must admit a calculator was needed to try and help with some of the calculations, I am very pleased that I have managed to devise a number system that I can explain how it works (although quite complicated).
Also this could be used in the classroom setting; we could get the children to try and make up their own, although this example is very complicated, number systems. You could have the children drawing their symbols out, creating different names or using physical objects to represent their number system. The process of discussing, planning, designing and then possibly making their number system.


 Then what you do is you begin to, in a sense, ‘nibble’ away sections of the hexagon that will be used to move later on to create the animal. In the picture below we can see the hexagon being cut up into five different sections, four of which are blue. The reason why they are blue is to show that these are the pieces that are being removed from the hexagon.


