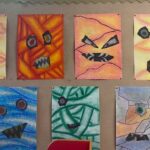
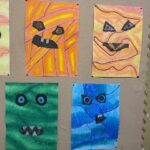
For Halloween we made Halloween Mummies! Halloween Mummies are an art project that we worked on.
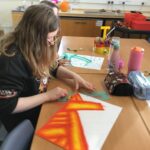
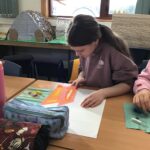
First, we got an A3 piece of paper and got our colours (we used oil pastels and chalk and used colours that went well together or different shades of the same colour)
Then, we made our bandages by drawing (almost tube like) lines on our paper. The bandages had to be thick enough but not too thick.
After that, we got our darkest colour out of the ones we chose and coloured the edge of the bandages.
Next, we did the same with the other colours (we had to make sure the dark colours were on the outside and the lighter colours were on the inside) slowly going in to the middle to create an ombre effect.
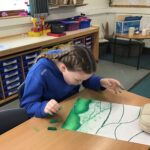
Then, we got a black piece of paper and carefully ripped circles. The circles we ripped out would become our eyes. Once we had done that, we ripped a mouth piece (trying to make it size appropriate).
Next, we coloured the eyes and mouth onto the black pieces of paper.
Quickly, we prepared some PVA glue and a little bit of water in a tub. Then we slowly mixed it up until it had a good consistency. Then we smothered it onto the eyes and mouth.
We waited till it dried then enjoyed our amazing art piece!
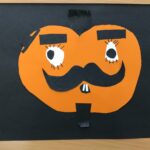
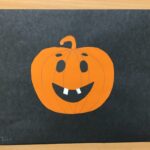
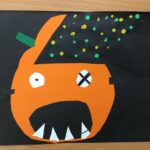
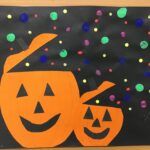
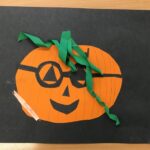
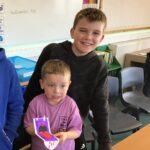
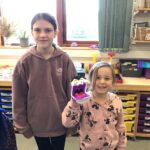
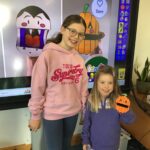
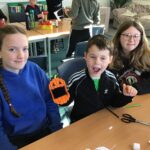
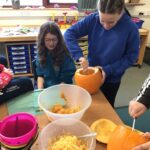
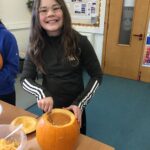
This was a fun art project! We have also enjoyed other Halloween crafts including: making pumpkins in art, carving out real pumpkins and making Halloween puppets with our buddies.
By Merryn Burgess