Dynamic Earth Planetarium

We were lucky to have a visit from the Dynamic Earth Planetarium!

First they showed us how far away space is.  Then we went into a rocket ship and we travelled into space.  I felt like I was moving – it was crazy!

They showed us the distance Katy Perry travelled when she went into Space and technically she wasn’t even in Space!  It is so far away.

We looked at the stars and the planets and the people told us cool facts about them.

Then we learned about Apollo 11 and it’s journey – it is still in space today!

It was so interesting!

By Evie

Sugar Crystals Experiment

By Merryn Burgess

This week we did an experiment making sugar crystals! Sugar crystals is a concentrated (saturated) mixture of sugar and water that turns into a spectacular experiment.

The things we needed was: sugar, skewers, food colouring, chopping board, water, access to a hob and a pot.

First, we all thoroughly washed our hands.

The second thing we did was set the hob to the hottest possible temperature.

Then, we carefully soaked half of the skewers in water.

Next, we put a chopping board down a put a little bit of the sugar onto it. Then we rolled the wet end of the skewer onto the sugary chopping board.

Once we did that, we boiled a cup of water and 4 cups of sugar (slowly, putting them in one by one making sure the water turns clear before you add in the next one). We had to make sure we were gently stirring so that the hot water and sugar mixture didn’t splash up at us.

Finally, we got two jars and put 5 or 6 drops of food colouring into one jar. Then we poured half of the mixture into one jar and half of the mixture into the other jar.  Lastly, we put the stick held with a peg into the mixture.  It was important the stick did not touch the bottom or the sides of the jar.

Now we need to let them sit for a week and be careful not to move or disturb them.

Watch this space…


Buddying with P1 – 2D Shape Fireworks!

By Merryn Burgess

At last week’s budding session, we made firework pictures! Not using paint or pencils – but using 2D shapes!

The P1s have been learning about 2D shapes and symmetry so we based our lesson on that.

First, we partnered up with another P1 and their buddy.

They were lots of boxes with 2D shapes inside them. We had to choose which shapes we wanted.

Once we had chosen our shapes, we had to make a symmetrical picture of a firework.

Everyone’s looked unique and different.  We discussed what shapes we had used and how many of each we had used.

We even had glowsticks! Mrs Emslie turned off the lights and the room was glowing.

Once we had finished, we let the P1s keep the glowsticks and make them into bracelets (they really loved it)!

Remembrance Day

Remembrance Day is a day to remember and honour people who have fought and died in wars.  It marks the end of World War I, which ended at 11 a.m. on November 11th, 1918, and people observe a two-minute silence at that time to think about the bravery of soldiers and the importance of peace. Many people wear a poppy, a flower that grew in the battlefields following World War I, as a symbol of remembrance.

Leading up to remembrance Sunday we had poppies delivered to the school with a donation box. Every day for the past week we have gone around the school asking if anyone wanted to buy a poppy. There is no set price for a poppy but we remind people that all the money is for veterans who fought for our freedom and safety.

On Sunday the 9th of November our school representatives, Grace and O-Jo, went to the Sunday service and teas. Then they sang songs and prayed. After that they walked to the memorial on the hill nearby the school. They laid a wreath of poppies at the bottom of the memorial and then had two-minute silence, thinking about all who have died in a war.

On the 11th we had a special assembly for remembrance and also had a one-minute silence.

by Saoirse

Glow Stick STEM Experiment

By Mia

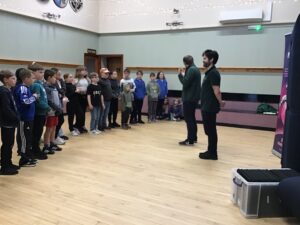
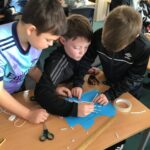
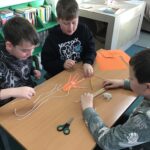
This term our topic is Fix It so we are doing lots of  experiments with p5 and p6.

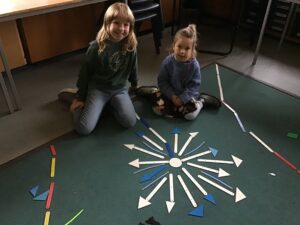
We talked about fireworks and chemical reactions.  Chemical reactions is when two things mix together and react. There are clues a chemical reaction has happened. A colour change, temperature, bubbles (gas), a new smell and making a solid or a powder.

Chemical reactions and science happen in everyday life.  We use activator which makes the slime into a solid and when we go to watch fireworks, they use fuel, oxidizer and metal salts which help the fire work to explode. More common ones you would do more often would be baking, when you bake the ingredients and absorb heat from your oven makes the ingredients solid and that’s how you get you cake or whatever you were making.

Another thing we learned was about chemiluminescence. We noticed that we also see chemiluminescence reactions in ever day life like: an exit sign that is above an exit door in nearly every building.

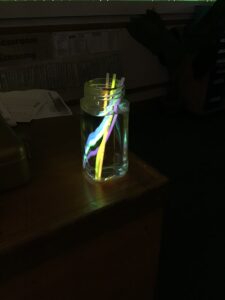
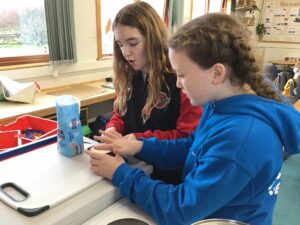
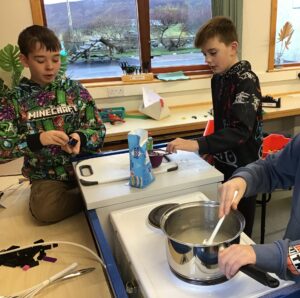
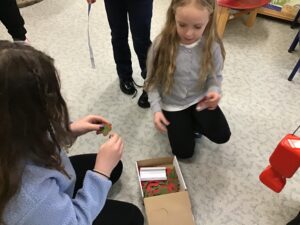
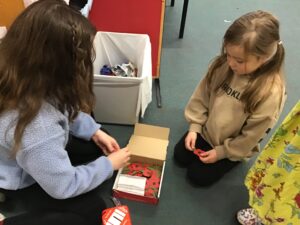
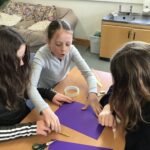
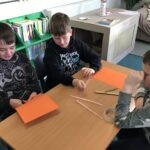
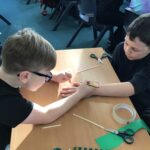
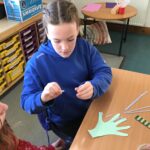
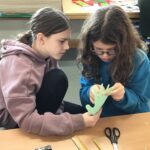
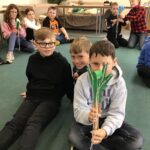
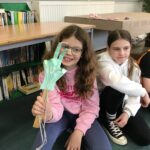
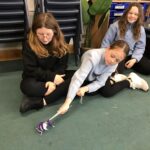
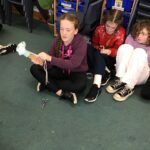
This week on Tuesday we did a glow stick experiment.

We learned about the chemical that is inside the glow sticks (hydrogen peroxide, phenyl oxalate and a fluorescent dye).

There is a little glass cylinder in the glowstick which holds one of the chemicals and around the cylinder there is another chemical mixed with the fluorescent dye.

The glass cylinder is what gives a glowstick the crack sound when you snap it.

We had to predict what would happen in our experiment.  This is called making a hypothesis.

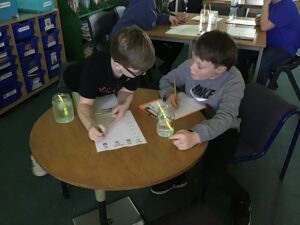
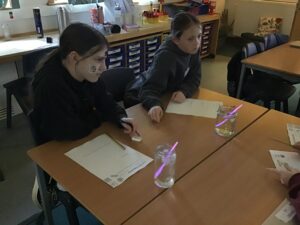
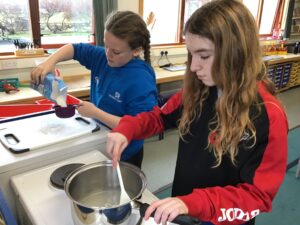
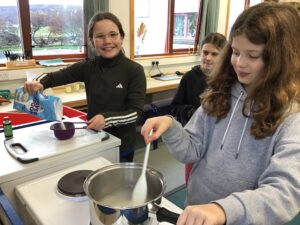
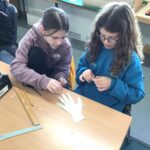
For the experiment e filled three glasses full of water: one cold, one room temperature and one hot.

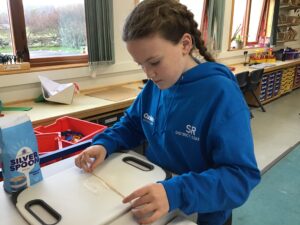
Once we had filed the glasses full of water we cracked and shaked the glow sticks then we put one glowstick in each jar. Then every 5 minutes for the total of 30 minutes we would check and see if the glowsticks had changed.

We found out that the hot water made the glow stick really bright quickly but it faded the fastest.  The room temperature water was as you would expect.  The cold water glow stick was duller but lasted the longest.

Temperature affects the speed of chemical reactions.  This is because the water molecules were moving around very fast so it glowed brightly instantly but the cold water the molecules were moving slowly so it slowed it down.

So we have had so much fun learning about chemiluminescence and watching the glowsticks.

STEM Hand Models

By Merryn Burgess

This week we made hand models! The hand models that we made was a STEM activity that we did with P5/6 as part of out topic ‘Fix It’.

Because it was Halloween, we made a skeleton type model of a human hand and were learning about the bones, joints and tendons.

We had a challenge to make a moving hand!

First, we got into groups of 3 and got all of our supplies (card, scissors, sellotape, some straws, string and a ruler.)   Then we figured out who had the biggest hand and drew the outline onto the paper.

The second thing we did was carefully cut out the hand and drew on all of the finger joints.

Next, we had to take straws and cut them to the correct size and attach them to the hand.  This was to represent the tendon sheaths.

The next bit was quite fiddly!  We had to take a piece of string and thread it through the straw and tie a knot at the end so it wouldn’t slip out.

Finally, we stuck the hand model to a ruler (this was acting as the arm.)

It was important we had time to fix our models before the challenges.  Some groups realised their straws were too long or that the Sellotape was getting in the way.

In our groups we had lots of fun activities to do.  We had to pull on certain strings to make signals like: a peace sign, the rock sign and the shaka.

Then we had to use our model to pick up a piece of paper.

I liked it when we joined another group and used our model hands to high five, fist pump, pinkie promise and play a game of rock, paper, scissors!

Halloween!

For Halloween we made Halloween Mummies! Halloween Mummies are an art project that we worked on.

First, we got an A3 piece of paper and got our colours (we used oil pastels and chalk and used colours that went well together or different shades of the same colour)

Then, we made our bandages by drawing (almost tube like) lines on our paper. The bandages had to be thick enough but not too thick.

After that, we got our darkest colour out of the ones we chose and coloured the edge of the bandages.

Next, we did the same with the other colours (we had to make sure the dark colours were on the outside and the lighter colours were on the inside) slowly going in to the middle to create an ombre effect.

Then, we got a black piece of paper and carefully ripped circles. The circles we ripped out would become our eyes. Once we had done that, we ripped a mouth piece (trying to make it size appropriate).

Next, we coloured the eyes and mouth onto the black pieces of paper.

Quickly, we prepared some PVA glue and a little bit of water in a tub. Then we slowly mixed it up until it had a good consistency. Then we smothered it onto the eyes and mouth.

We waited till it dried then enjoyed our amazing art piece!

This was a fun art project!  We have also enjoyed other Halloween crafts including: making pumpkins in art, carving out real pumpkins and making Halloween puppets with our buddies.

By Merryn Burgess