PowerPoint Christmas Cards
This lesson is based on last years Disco Lights project. It’s a festive time of year and I thought it might be good to create an animated Christmas card. (Teacher note:- this lesson can be adapted for any type of festivity)
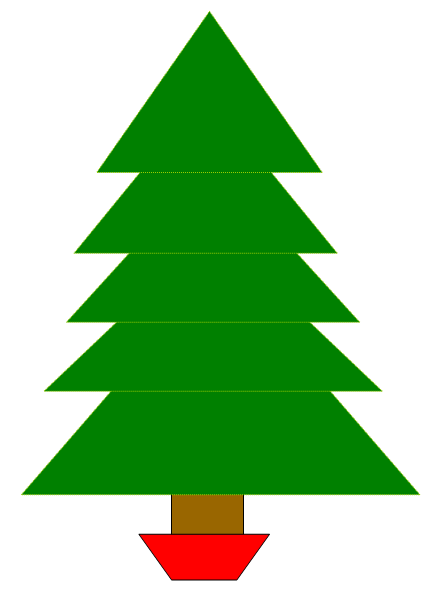
Step 1. Load PowerPoint and draw a Christmas tree, we do this by using triangles and copy and paste.
- Remove any text boxes on the slide
- Draw a triangle using the auto shapes tool and colour it in
- Copy and paste the triangle, placing them to create a Christmas tree shape. You might need to change their order to move them to the back or front to get the correct look
- Add a trunk and pot
- Group all the shapes and resize the tree to fill the slide
- save your presentation
Step 2. Add a bauble and animate it.
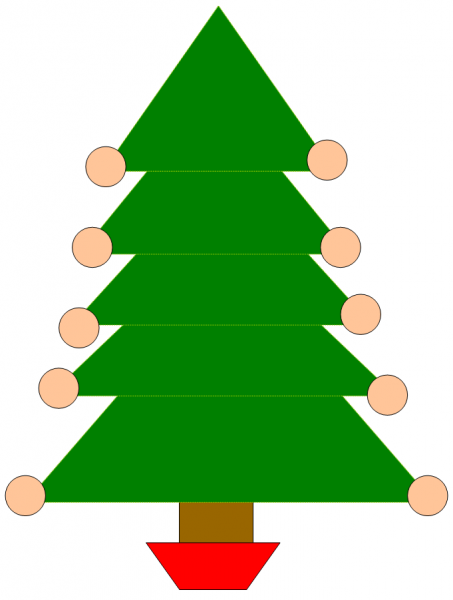
- Draw a circle using the drawing tools.
- Format it to make it the colour you want
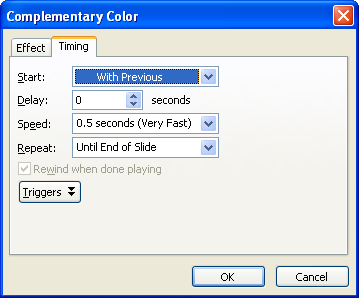
- Go to custom animation and add an emphasis effect ( Complementary colours gives a nice effect)
- Change the timing in effect options, to make it start with previous, reverse and play to the end of the slide.
- Check the animation is the way you want it.
- Copy and paste, changing the start colour if you want to.
- Save your presentation
Step 3. Add other items and effects
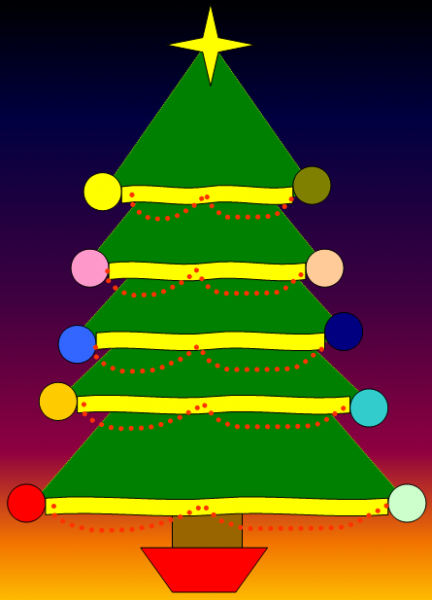
- Add more appropriate auto shapes to the tree
- Add animation effects to the objects
- Add some nice Christmas text
- Change the background
- Save your work
You can find the sample PowerPoint here.


You must be logged in to post a comment.