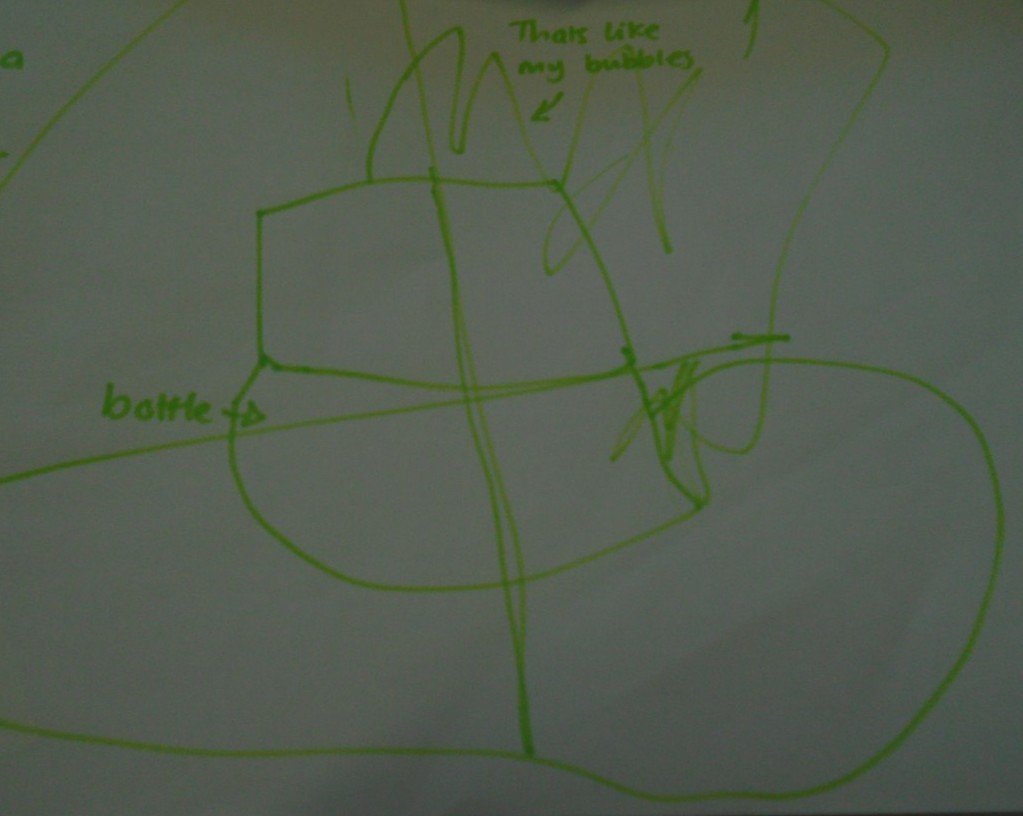
We returned to our scientific method of predicting, experimenting and reporting in our logbooks.
The question I posed was what would happen to the light from a torch if we shone it through a glass of water? I didn’t want to mention colour as I didn’t want to lead the children in their predictions. As a result the predictions showed that the children drew on their previous knowledge and experiences. (Applying knowledge is a higher order thought process – showing deep learning!)
“I don’t know………maybe a gas?” – Gabriel
(click on each picture to see whose is whose).
“It’ll explode – BOOM!”
“It’ll just besplode this size” (gestures about 20 cm)
“It’ll turn pink”
“It’ll make dark in the water because torches make shaddows.”
The light “goes in the water”.
“The water will glow”
“The water will change colour”
“It will go dark”
“It will go dark”
Charlie’s was the most poetic prediction however:
It will “get a bit gleamy”
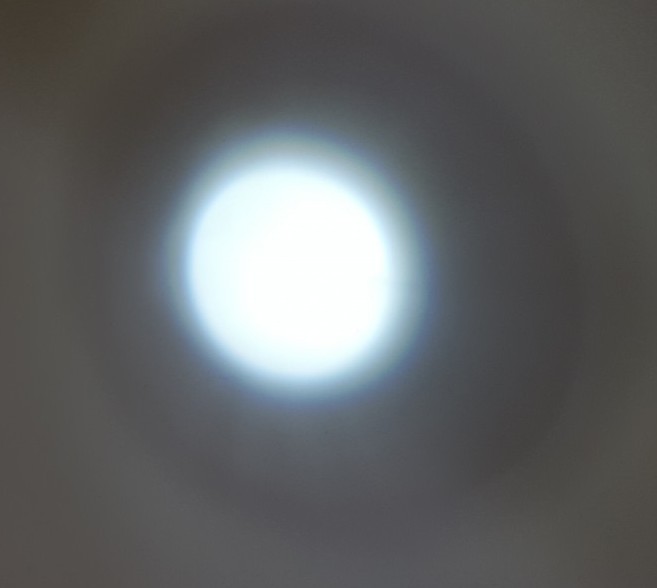
Fisrt we checked what the torchlight looked like normally:
There was some debate as to the colour of the light – silver, white, bluey or grey!
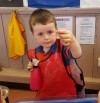
Then we took turns to shine the light through the glass of water…..
These photos don’t really capture what we noticed. So take it
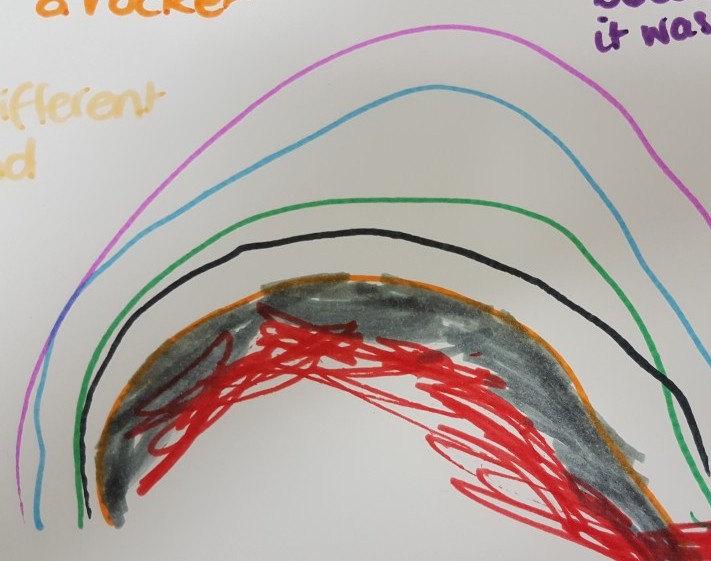
“I made a rainbow”
from Caoimhe:
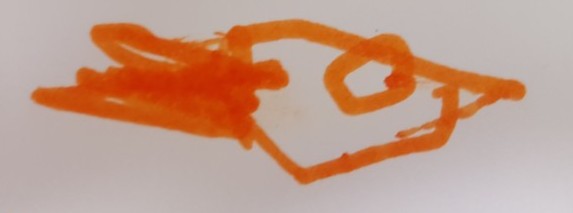
or Zach:
“It looked like a rocket!”
and others (again click on the pictures to see who said what)
“Mine’s was gold!”
“It went like a fire – it was green!”
“It made golden blue”
“It makes like a ladder.”
“The light changed into blue and yellow on the paper”
“It put a light line”
“It was like a brown-y blue”.
“It turned into a moon shape and it was brown-y blue colour”
Again Charlie described it well:
“It’s like 10 different shapes and colours!”
Or have a look for yourself – how would you describe it?
So why? Where did the colours come from?
“the water changed the light”! – Gabi
“It bends, it was pushing it away” – Innes
The water bends the beam of light which has a affect on each different colour that makes up white light, all bending at a different angle. In other words the water seperates the colours that make white light. This is called refraction. It is what happens to sunlight reflected on raindrops which creates a rainbow in the sky.
The experiment didn’t impress everyone. Every session ends with a question:
“What could we do better?”
Normally I just get shrugs and “don’t know”s but today I got a couple of good replies:
“I prefer the spray experiment” – Charlie
“Maybe changing the colours a different way” – Gabi
So now we have evaluating to add to our skills that we practice with our science!
I thought we could continue to explore colour as the children were so entranced with the colours mixing rather than dancing during the magic milk experiment.
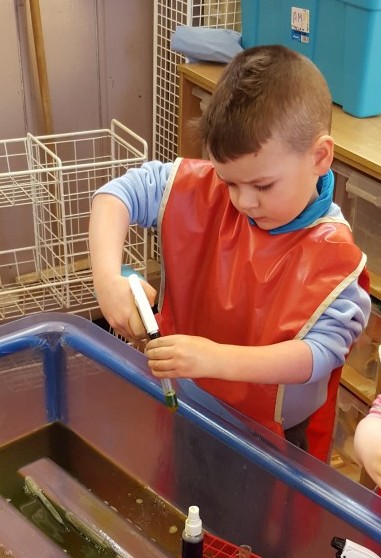
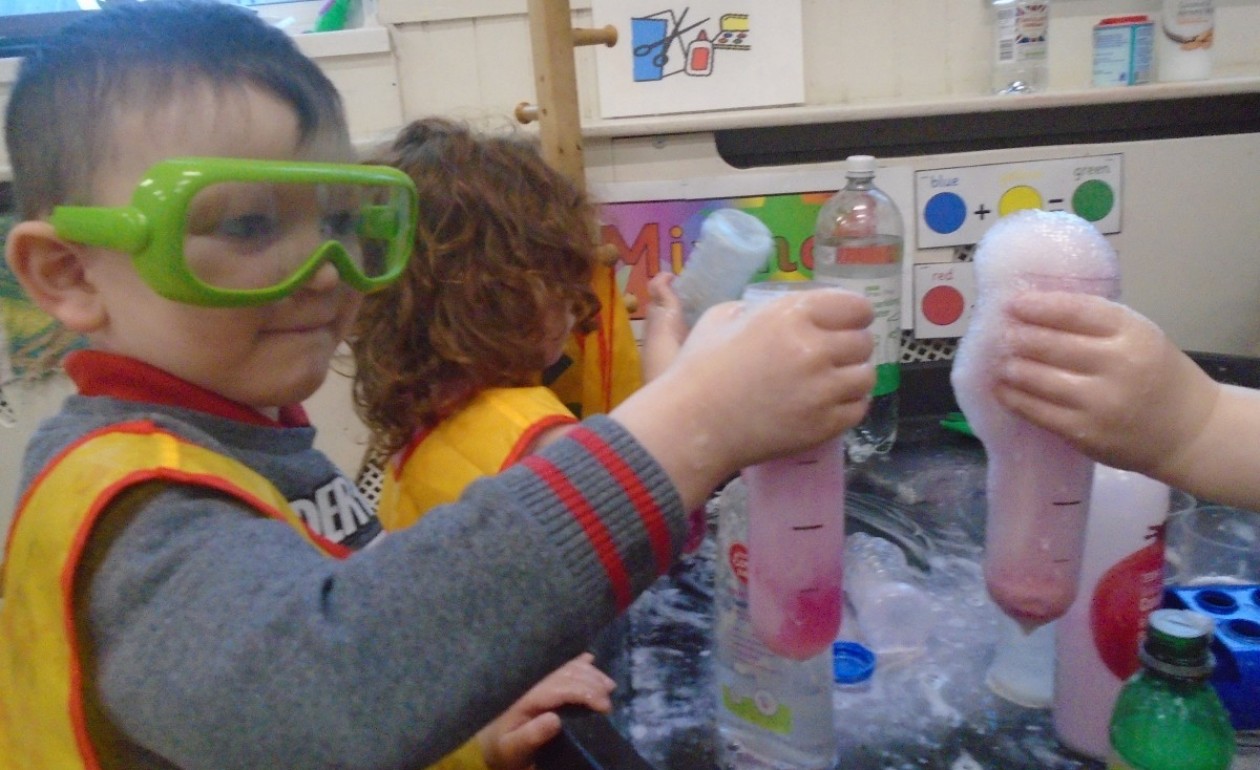
I had intended on using the squirty bottles to make a mist for us to attempt to reflect light on and make rainbows but our inquisitive and curious scientists were so taken with the squirty bottles it seemed wrong not to let them freely explore colours using the sprays as they wished. So I added red, yellow and blue water to the bottles as well as the test tubes.
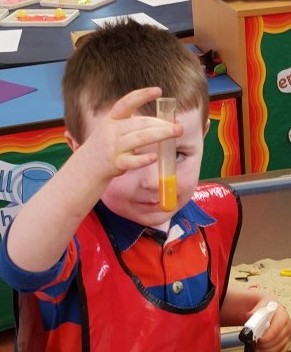
Daniel had to coordinate his movements and use his hand muscles to fill the test tube using the squirty bottle. He mixed yellow and blue and made green!
It was hard to make out the colours that were being mixed in the test tubes however,
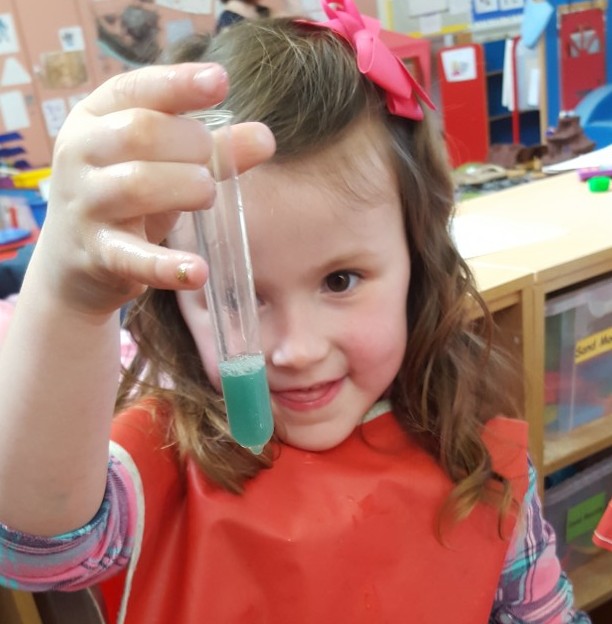
“I made black!” – Natalie
So I fetched a big bit of paper for us to spray the colours on to.
“It’s not black it’s a bluey green!” – Natalie
“I made it orange by doing 2 colours at the same time!” – Gabi
“Look it’s changing red – it’s mixing orange!” – Belle
Natalie, Daniel and Tommy each sprayed a different colour at the paper to see what colours they could make.
But the paper got soggy and absorbed the spilled water in the tray making the colours tricky to make out. So we added a shelf from the drying rack and it worked a treat!
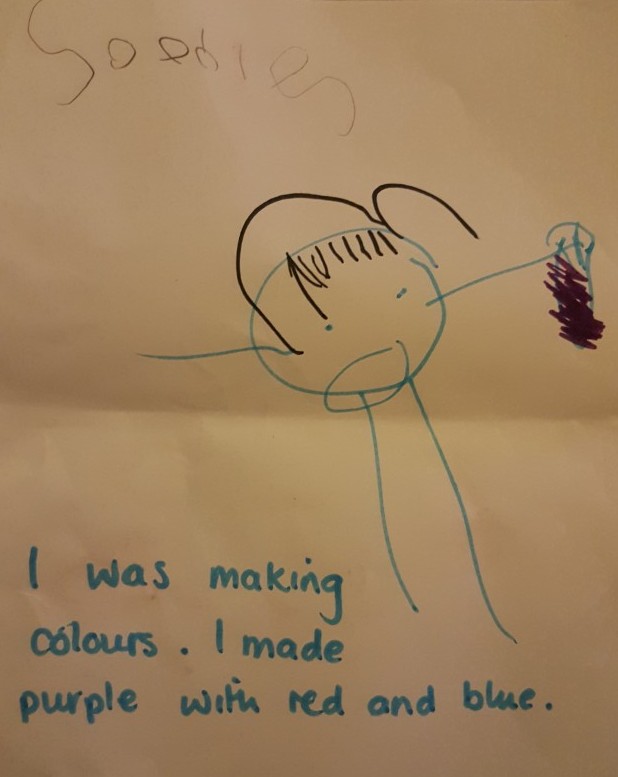
“Look we made purple!” – Sophie
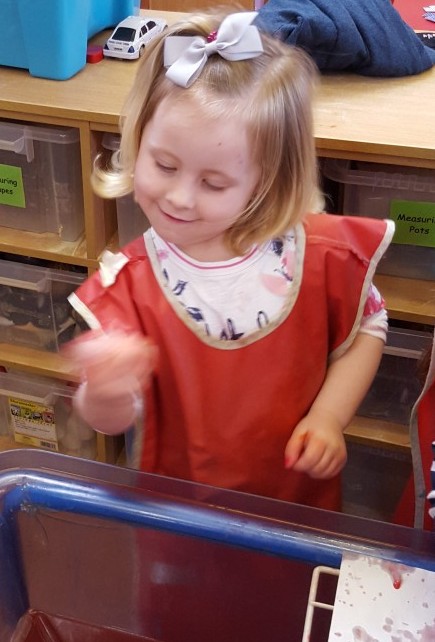
Persevering with the tricky wee vaporizers – having to use strong finger muscles.
“I’m making orangey brown!”
We talked to one another about what the colours that we made.
The paper got really soggy and tore easily after we soaked it with the colours.
Sometimes we had to mix the colours a little with our fingers.
We had to be coordinated to shoot the colour where we wanted.
It lookedlike a big palette of colours that we had made!
We sprayed lots of red and yellow to make bright warm colours. The paper felt very wet and thin.
Finlay tried 2 colours at once! He had to use coordination and both sides of his brain to spray both at the same place!
Finn made orange by adding yellow to the red.
Isla helped Lauren fill the tube with yellow – great team work!!
Caoimhe had to be quick and coordinated to catch the water dripping off the paper.
We had to use our hand muscles and coordination to spray the colour out of the bottles and on to the paper or the tray. We made a range of colours and talked about what we had created. We remembered which colours we had added and attempted to remake purples, oranges and greens although often ended up with browns.
Patrick and An were sure they had created more than just colours…
” I made dynamic soda! It powers rockets!! – Patrick
“It’s a samurai colour!” “It’s sacorizing! (It’s like a decorated surprize!)” – An
“Look I made Bicarbonate Soda!!!”
We had to take turns for the bottles and work together, developing our social skills.
“Yes! You CAN help me!” – An to Lauren
We also had to solve problems when things didn’t work as we’d hoped like the wee vapourizers being stiff, the bottles stopping working or when we set ourselves the challenge of filling the test tubes using the bottles. We compared amounts to see who had the most and the least, using lots of comparative language.
“I’ve got many!” – Adam
Amy realised that she could fill the test tube using the big squirty bottle.
We used those pincer grip movements to work the pipettes to mix colours in the test tubes.
Jayden watched the others and worked hard to be abole to use the wee blue vapourizer.
Adam focused on filling test tubes with the squirty bottles. He liked getting them full to the brim before tipping them out and starting again.
Zara exercised those important pincer movements and finger muscles to fill the test tubes with the pipettes.
James had to concentrate so as not to spill any colour.
Working together to solve tricky problems.
Isla helped Lauren fill the tube with yellow – great team work!!
Some of the colours didn’t mix straight away so we had to solve the problem of how to get them to mix.
Broghan added red to her yellow and it didn’t mix- it looked like a cocktail! She had to give it a shake to make orange.
Zara’s blue and yellow didn’t mix completely!
Finlay added red to his yellow and made orange but it didn’t mix properly!
So we shook them (with the top covered of course!)
“Shake shake shake tomato!” sang Evie
Evie enjoyed mixing colours by shaking. She created a little song and wiggle dance to help mixing!
The shaking (and singing!) did the trick and the colours mixed well.
“Look at my green!”
I don’t think we have exhausted the exploration of colour mixing. I think on Wed we shall revisit the learning and experience again but this time with coffee filters to see what happens to the colours with them.
And who knows maybe we’ll get on to rainbows, but then maybe we’ll explore another area altogether.
“Oh I made brown – do you think this would make a penny shiny?”
After all Patrick did mention the cleaning properties of Coke! Hmmmmm……
While working on the potions it became clear that erupting and exploding reactions were the ones that the children sought the most. After a quick browse on Pinterest we came across Elephant’s Toothpaste. How could we resist?
We used hydrogen peroxide as part of this experiment which is obviously nasty on the skin so some time was spent discussing ways of ensuring we were safe. This is always part of our process but was especially focussed on for this experiment.
We were careful to keep our hands away from the bottles –
“It’s dangerous! Don’t touch! But we can watch.”
“Don’t touch! It would burn your skin!”
The hydrogen peroxide was mixed with a little washing up liquid and food colouring, grown ups needed to do that bit. The experiment used yeast as well which we could touch and so help with that.
We mixed the yeast in a beaker first.
It was smelly!
We all took turns to mix.
We watched closely as Ailie carefully poured the chemicals together.
Then we poured the mixtures together….
We had a range of different predictions. Alfie thought the yeast would turn green. Millie predicted it would go bubbly. Jack thought it would turn into water. Everyone else just thought the colour would change. However no-one predicted quite what happened.
“It Exploded!!” – Alfie
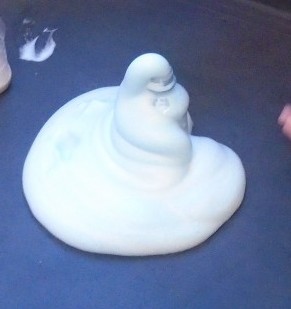
It foamed up and over the top and kept growing.
The peroxide and yeast have an exothermic reaction (it releases heat) which burns all the peroxide away leaving hydrogen and oxygen which with the washing up liquid means it turns into harmless foam. The reaction continues until all the yeast or the peroxide is gone so the foam keeps growing.
Or as Ramsay put it…
There was a bottle and it went over the bottle and made a volcano!
Here are our volcanic eruptions:
Scott was impressed.
We made different clours
We remembered to be careful.
We watched the different reactions
Some seemed to go on for longer and make more foam.
We carefully touched the foam – it was warm!
When they slowed right down the, Ailie took the dangerous bottles away.
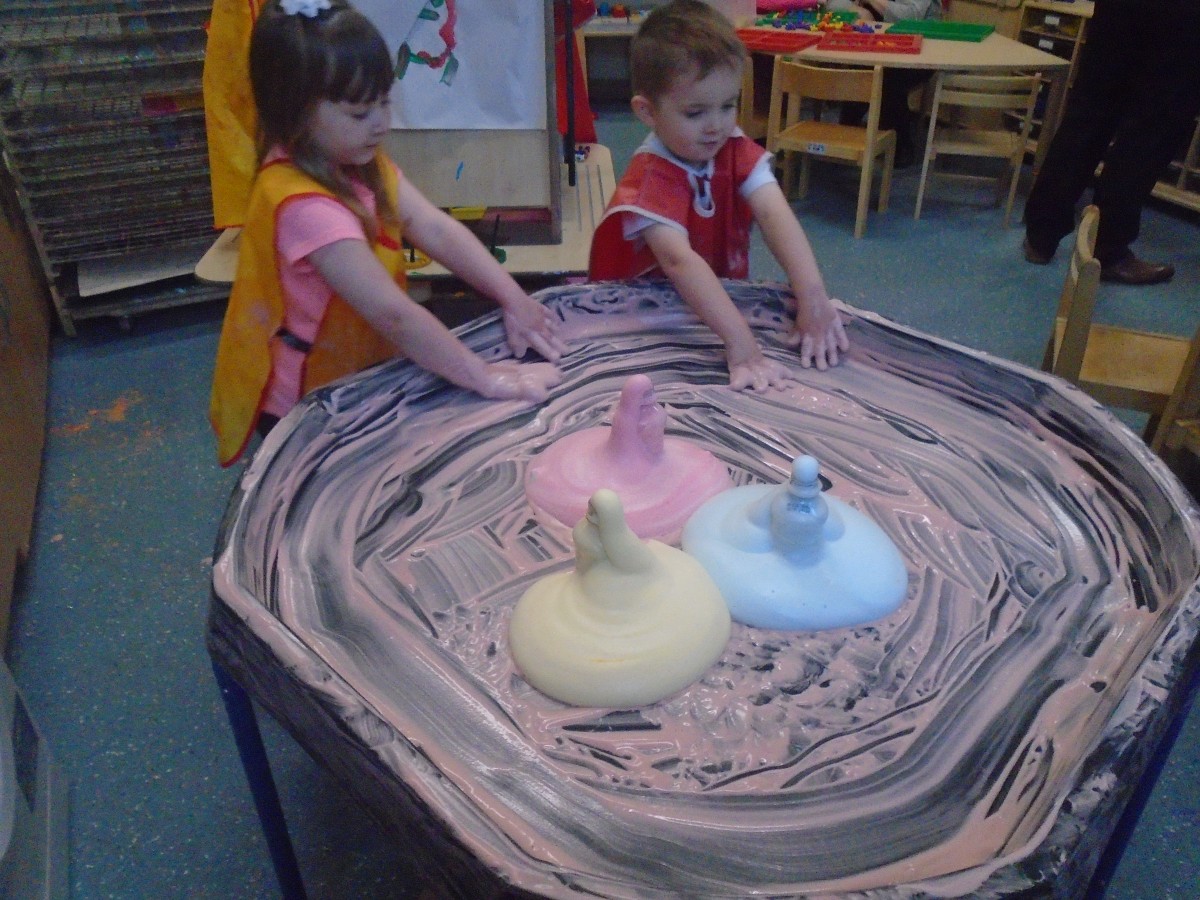
So then we were left with coloured foam. Hmmmm what could we do with that? Well we had to play and explore the texture and colours of course!
We all got stuck in.
“It’s soft!” “It’s warm!”
“It’s gooey!” “It’s slimy!”
We were fascinated with the mixing colours.
The afternoon children were more tentative.
“It’s nice!”
“I’m getting the blue!”
“Let’s mix them up”
After a while it all turned pink and slimy.
We found we could draw patterns and marks in it.
Aaron drew himself!
It was great for early writing patterns.
Eventually the mixture got a little too runny. But it was fun to make a huge circle pattern by running around and around the tough spot. There was only one way to make it better….
Make more!
The instructions for elephants toothpaste can be found on Pinterest. The hydrogen peroxide can be bought at Sally’s and the yeast can be bought at any supermarket in the baking section.
Please remember that anti bacterial washing up liquid is NOT to be used in the experiment. Cheap bubble bath can be substituted instead.
Why not have a go yourself? Don’t forget to share how you get on in our comments.
Happy experimenting!
Science blog from the children and staff of Kelly St. Children's Centre.
 Well we finally got to try and make a rainbow!


 The water bends the beam of light which has a affect on each different colour that makes up white light, all bending at a different angle. In other words the water seperates the colours that make white light. This is called refraction. It is what happens to sunlight reflected on raindrops which creates a rainbow in the sky.