While on placement within a primary 4 class last year, I created a story box b ased on the book ‘The Worst Witch’. When I was a child, I wasn’t a big fan of reading but instead read only when I was forced too by my teacher or parents. However, ‘The Worst Witch’ was one book I never had to be persuaded to read. Although I chose books for myself from the school library, they were often never looked at or even touched until it was time to return them. ‘The Worst Witch’ was different though. I found the book to be extremely enjoyable as a child and read it from beginning too end within a few nights – not something that I was seen to do. Due to my experience of the book, I chose it to base my story box around it for the class as I believed they’d love it too.
I started off by re-reading the book in order to help inspire me with ideas for activities that I wanted to have within the box. I also focused my attention on the topics the children were studying within each subject such as maths and literacy. I then started searching the internet for worksheets or activities which were linked to magic or witches. As they were learning about coordinates in maths, I managed to find a few different witch styled activates for varied abilities 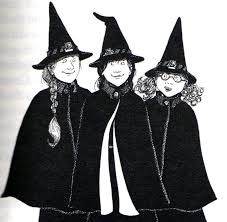 based on that topic. I also managed to find a witch’s position poem along with the lyrics to the school song that the girls sing within the book. As I was finding all these worksheets on the internet, I edited them with pictures of ‘The Worst Witch’ characters and even changed the text to make them look a lot more interesting in order to engage the children. As I had read through the book once, I read through it once again and found phrases or words the children would maybe not understand and created flash cards with the meanings on the other side – the side with the words or phrases were all coloured purple as I believed this colour linked to witches. Creating the box itself was a fun task for me as I wanted the children to be able to look at it and know that the contents were related to the book. For this I found some black wrapping paper which had gold speckles on it and wrapped the box with it. I then printed and cut out photos of the characters and the name of the book in order to arrange them on the box as well.
When working through the story box with the class, I always began the lesson by reading part of the book then moved on to an activity from the box. Throughout the reading process, I would ask the children questions to make sure they’re understanding the story before moving onto the next part. I would also often recap before starting the next lesson.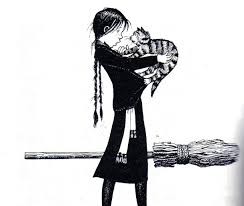
Reflecting back on my experience delivering my story box, I found the creating part the most enjoyable as I’m a very creative person and enjoyed editing the worksheets to fit in with ‘The Worst Witch’ theme. I believe I need to work on my confidence when reading out loud to a class as I felt nervous doing this and occasionally stuttered and lost my place. However, I did recover well and reread from the beginning on the sentence in order to make sure the children weren’t getting confused with my mistakes.
If I was to do the story box/sack with younger children such as primary ones or twos, I would most likely chose a fairy tale picture book. I would make sure that I would be able to use props with the particular book in order to use whilst telling the story. For example, Goldie Locks and  the Three Bears would be a good story to tell as I would be able to pull bowls, teddy bears etc. out of the box/sack. Another good way to tell a story would be to use finger puppets and get the children to act as the certain characters while I read through the story. This process would help with the younger children’s understanding of the story overall.
Overall, a story box or sack is a great way to get the children engaged and interested in the book or story that is being read. The different activates which link to the book are great ways to continue the children’s learning within different subject areas while constantly connecting back to the book.
 to explore the term molecular polarity and what it means.