Once you log on to an instance of Glow Blogs your account is created and you have a profile.
Video: Profiles on Blogging Bootcamp This is now quite an old video.
Important note: saving the user profile will only work if there is an email address set in the email field. These are usually set automatically, but you may have to set one before you can save settings.
Accessing Your Profile
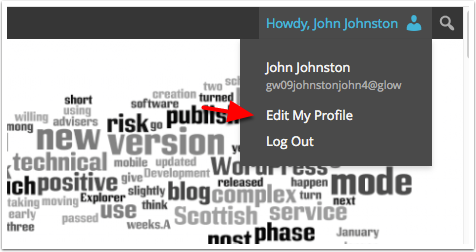
When you are logged onto Glow Blogs you will see your name(display name) at the top right of the screen on the admin bar.
Hovering over this revels a menu, choose Edit My Profile.
Profile – Personal Options
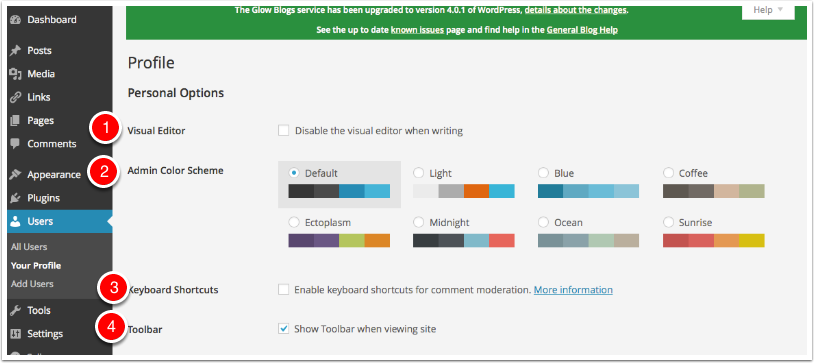
The profile is spilt into several sections the first of which is Personal Options.
- Visual Editor: if you disable the Visual Editor you will be presented with the Text Editor when editing posts. This require s you to use html for editing posts. Most people will use the Visual Editor.
- Admin Color Scheme: affects the colours you see in your Dashboard.
- Keyboard Shortcuts: these add extra keyboard short cuts for comment moderation, it is unlikely that many users will use this.
- Toolbar: this sets if you see the Admin bar on all pages when logged into a Glow Blog instance. Defaults to on.
Profile – Name
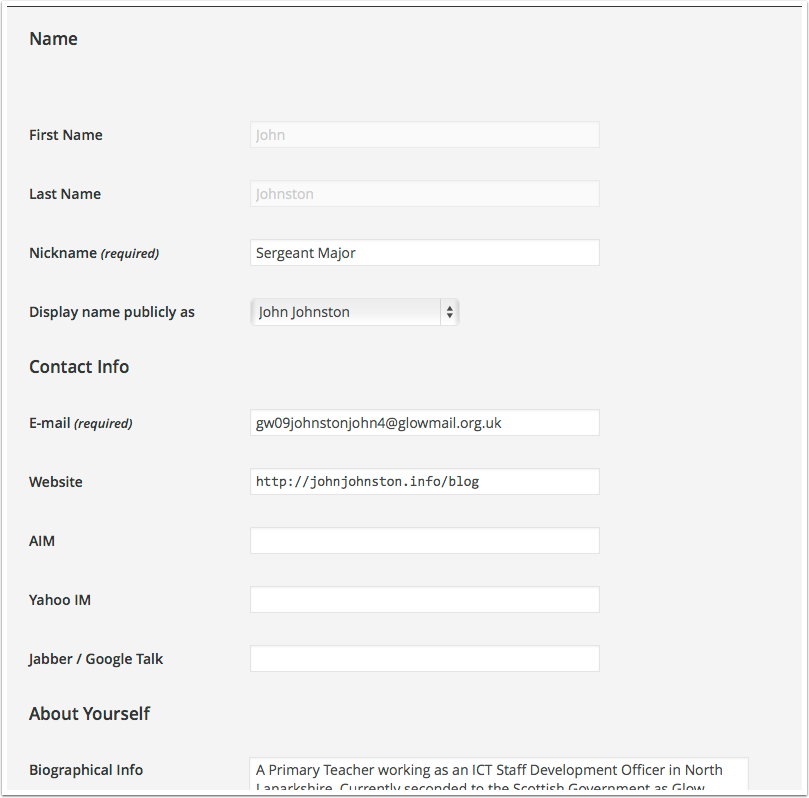
This section lets you set some personal information. It can be used to hide you identity on public blogs.
First Name and Last Name are not editable they come from Unify and Seemis.
Nickname will initially be filled with your glow display name, you can change it to anything you want. This is very useful if you do not want to expose pupils names on a site.
Display name publicly as, lets you choose what you want displayed on the blog, as Author name and when you make a comment on another glow blog. That lets you set it as First Name or anything else (coming from the Nickname) if you are worried about your name being displayed.
Email, will initially be whatever comes from Unify, if you do not have O365 Mail it will be an non-working mail. You can change this to any e-mail address you have access to, you will need to respond to an email to ‘set’ this.
Website: if you fill in a full url (don’t forget https:// ) your name will link to this site in the comments.
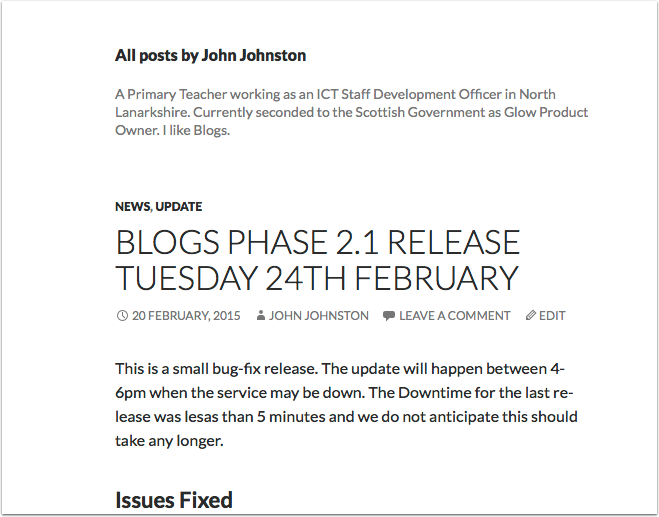
Biographical Information: some themes use this and will display it on the author’s page. You can see the author page by clicking on an Author’s name on a post. This page will show all their posts.
Author Page Example
This shows the Authors page in a twenty fourteen themed blog. My biographical information is shown at the top.
Avatars
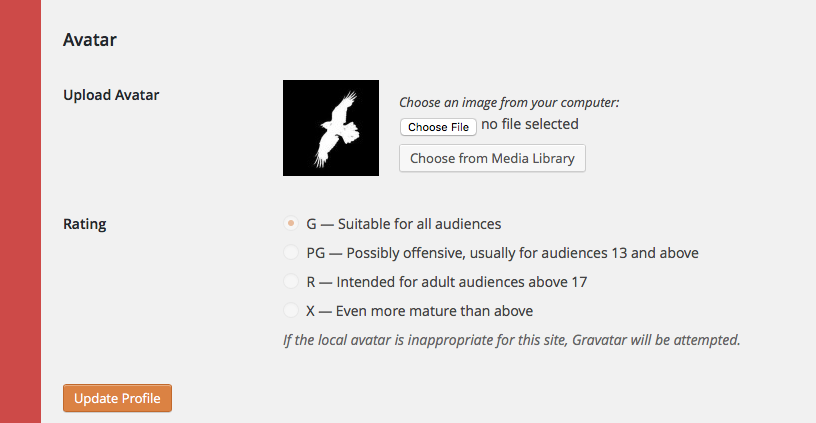
There is a setting that will allow you to upload an image to act as your avatar. You need to be on the dashboard of a blog you have a role on. In the unlikely event you are on the Blog home page, the Choose File button will not work.