
Are you using Microsoft Teams with more than one account on the same device? If you are then you may find the following helpful:

Are you using Microsoft Teams with more than one account on the same device? If you are then you may find the following helpful:

Every online platform hiccups from time to time: you might get error messages, things don’t update, you can’t upload files, you can’t share what you need to share – and you can probably add to that list!
And, of course, it happens when you are trying to do umpteen different things.
Take a breath….and don’t panic – it really can happen when you are using any online tool, to anybody, anywhere. So don’t rush to change platform or switch tool. There are a few steps to try to see what you can do, and sometimes it’s doing things a slightly different way.


Microsoft Teams in Glow provides the facility for you as the teacher to present live to your class via video meet. This can be useful if you want your pupils to have the familiarity of seeing you and hearing your voice, and to hear each other.
Don’t feel under pressure to use this video meet facility right away. And take on board safeguarding and employer requirements in use of such a tool, as well as being mindful of your professional teaching association advice.


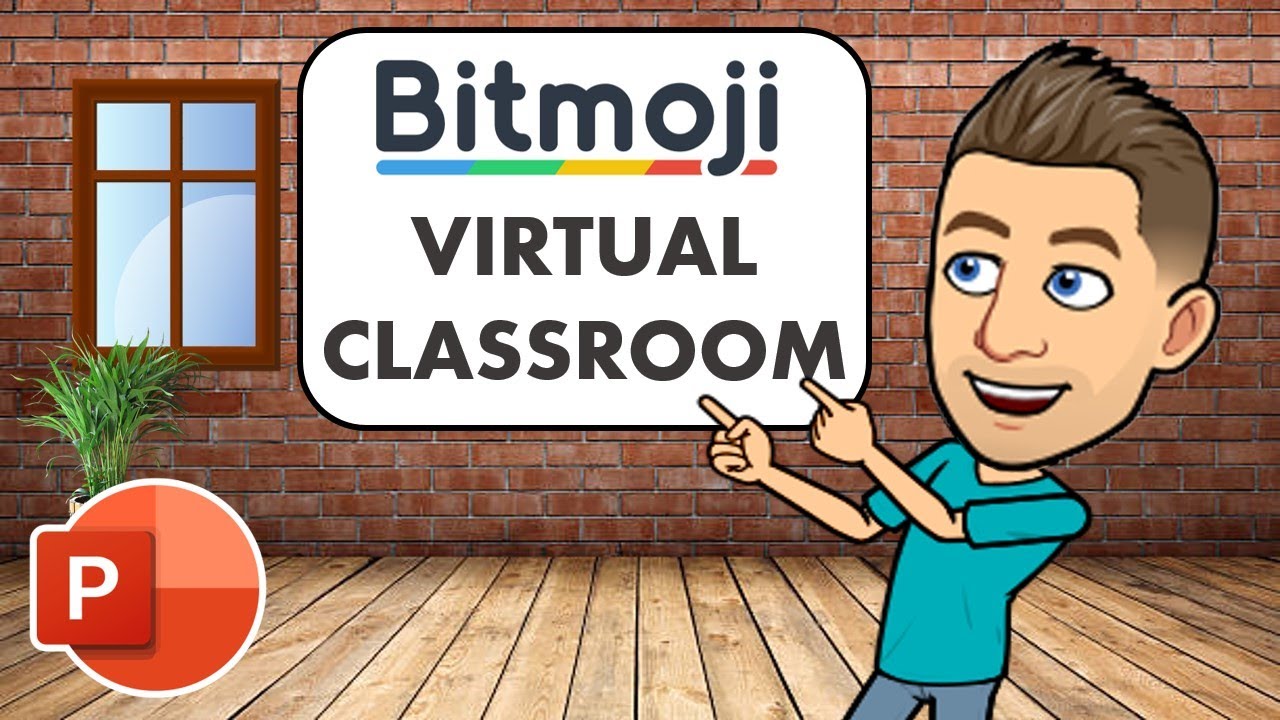
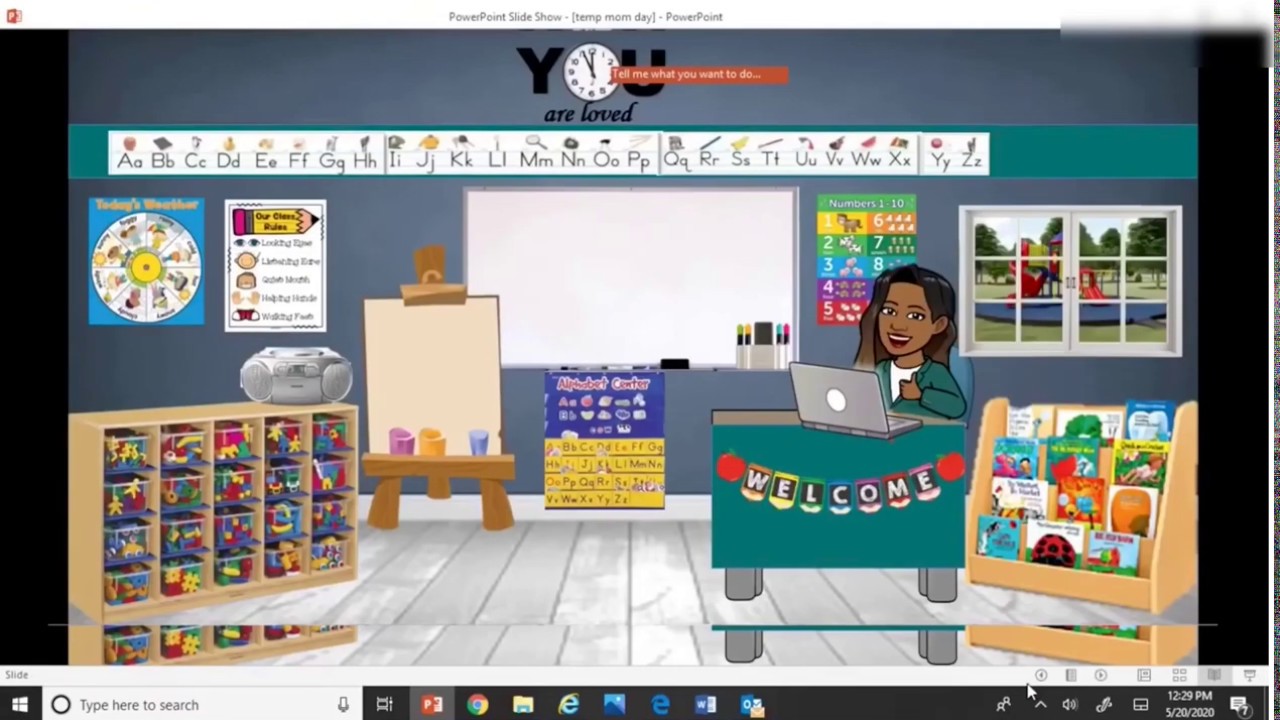
You’ve no doubt seen lots of teachers sharing their interactive virtual classroom images – a visually-friendly way to connect with your learners via an online platform where they can click on elements in the picture to view details of learning activities, or view videos, or read books chosen for the class, or click on a link to online resources to support their learning.
Click on this link to see the image above as an interactive virtual classroom shared as a PowerPoint show
Click on this link to see the image above as an interactive virtual classroom shared as a PDF
You can set up an interactive virtual classroom image in several online platforms and using a variety of digital tools. This blogpost is specifically looking at how to do so if your school uses Microsoft Teams.
 What you need to set this up in Microsoft Teams
You will need the following to set up your interactive virtual classroom image:
 How to set up you virtual classroom image in PowerPoint
View this super detailed step-by-step video by Brian White showing how to create the virtual classroom slide in PowerPoint online – this includes how to use the Bitmoji plugin in the Chrome browser, how to search within PowerPoint online for transparent backgrounds, how to add items for the class scene, how to add a video from YouTube as an embedded video, and how to create the link from a shared PowerPoint link which makes it a play-only view for pupils to interact with it – by adding &=&action=embedview to the end of the weblink from your shared PowerPoint link.
This how-to video by Patricia Foley guides you through how to create a virtual classroom using PowerPoint
This video on the Mrs M Shares YouTube channel gives a step by step guide to creating your virtual classroom in PowerPoint, with lots of advice about adding items to your classroom scene.

This video (on the Mrs M Shares YouTube channel) shows how to add interactive elements to your PowerPoint image for your virtual classroom
Interactive elements will be the links you attach to the individual items so when clicked on by your learners they will automatically be taken to what you have added. This might include websites, online resources, YouTube videos, or login to platforms your class uses.
Here’s a Bitmoji Virtual Classroom Tutorial Step by Step using PowerPoint video on Mrs Sekhon YouTube channel

 How to remove the background from an image
There are different ways you can remove the background from any image so that when you place it on your background image it does not show anything from the background of the image you wish to place on the classroom background.
 This how-to guide from Microsoft shows how to remove the background from any image – this also includes a guide to how you can choose which elements of an image to keep and which parts to remove. This guide includes a video but also illustrated text step-by-step guide.
![]() You can also use the free online tool RemoveBG to remove the background from any image (this also works from mobile devices)
You can also use the free online tool RemoveBG to remove the background from any image (this also works from mobile devices)
![]() There is a very helpful guide to “How to create Bitmoji classroom” on Shana Ramin’s “Hello Teacher Lady” site
There is a very helpful guide to “How to create Bitmoji classroom” on Shana Ramin’s “Hello Teacher Lady” site
 How to share your Interactive Virtual Classroom in Microsoft Teams
You can choose whether to share your interactive virtual classroom as a simple image (which will have no interactivity) or PDF (which will retain any interactive links you added) or PowerPoint
To create an image from PowerPoint click on File > Save as > choose location on your device > from dropdown “Save as type” choose “PNG Portable Network Graphics” format
To create a PDF from PowerPoint click on File > Save as > choose location on your device > click on “Options” and specify single slide you wish to use
When uploading to Microsoft Teams you can choose to share in the Posts/Conversations by clicking on the paperclip attachments icon – you will then be asked where you wish to share the uploaded item so choose to save in the “Class Materials” folder as this is read-only for your learners.
You can alternatively choose to upload the PowerPoint into your OneDrive and when choosing the share link ensure the permissions are set to “anyone with the link” (and ensure edit rights are disabled). To ensure the PowerPoint link opens as a play-only view for your learners to interact with it you can add &=&action=embedview to the end of the weblink from your shared PowerPoint link from OneDrive before you share it in the Microsoft Teams Posts/Conversations (this method also permits sharing outwith Microsoft Teams, such as on website or social media).
This video by Patti Duncan shows how you can save your interactive virtual classroom created in PowerPoint as a PowerPoint show and upload to Microsoft Teams so that anyone viewing it in your class will go straight to “present” mode and not have the option to do anything other than view the PowerPoint and click on the links you’ve added.
 Want to find out how others are using interactive virtual classrooms in Microsoft Teams?
 There is a Facebook group (called Bitmoji Classrooms for Teams) just for teachers sharing about their use of interactive Bitmoji virtual classrooms in Microsoft Teams.
 Want to add even more interactivity?
You can also upload the image from your PowerPoint slide to ThingLink to add hotspots which, when clicked by your learners, give you the option to add the links as popout windows so that the learners don’t leave your virtual classroom space. ThingLink also gives the option to have text read aloud using Immersive Reader, and also to let you add audio recordings of your voice if you choose.
Creating Visual Learning Materials with ThingLink – a free online course on the Microsoft Educator Centre guiding you through learning how to use ThingLink to bring images, video and 360-degree virtual tours to life with added popup links, voice and text notes, and more. ThingLink creations can be shared via Microsoft Teams anywhere a link can be added.

Glow Blogs uses cookies to enhance your experience on our service. By using this service or closing this message you consent to our use of those cookies. Please read our Cookie Policy.